

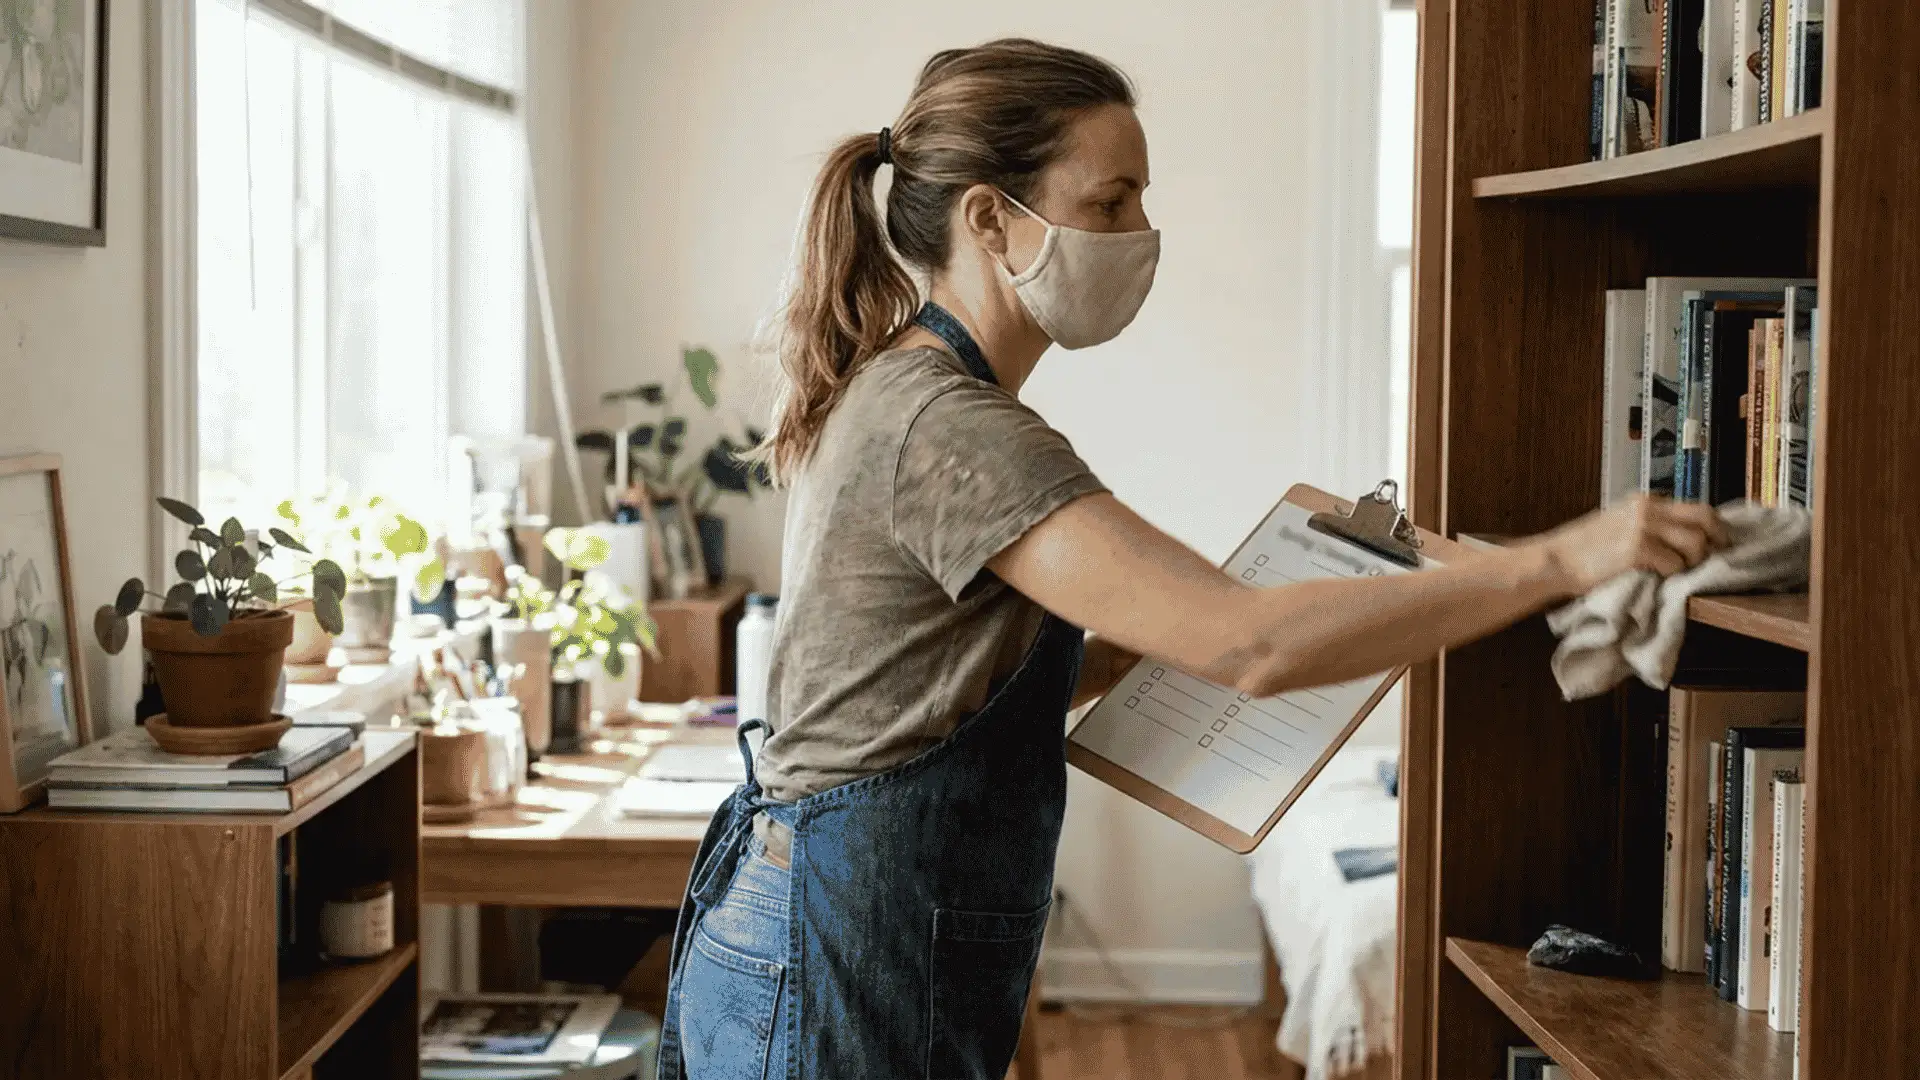
Spring hits, the windows finally open, and suddenly every dust bunny under the couch feels like a personal insult.
If you are staring at your house wondering where to even start, you are not alone, and that is exactly why a solid spring cleaning checklist matters so much.
They follow an order because doing things out of sequence means having to redo half the work twice. That same logic works for your living room, kitchen, and everywhere in between.
This guide walks you through the exact order that pros use, plus a full room-by-room breakdown so nothing gets missed.
Grab your gloves, put on a playlist, and let’s get your home feeling brand new after a long winter.
What You Will Need: Spring Cleaning Supplies
Before you start scrubbing anything, gather your supplies so you are not running to the store mid-task with soap in your hair.
- Microfiber cloths: soft cloths that trap dust instead of pushing it around the room.
- All-purpose cleaner: it wipes counters, cabinets, and most hard surfaces without much scrubbing.
- Vacuum with attachments: helps you quickly reach vents, corners, and tight spaces under furniture.
- Baking soda and vinegar: cheap, natural options for tough grime and bad smells.
- Mop and bucket: for floors that need more than a quick sweep or wipe.
- Duster with a long handle: great for ceiling fans, vents, and high shelves you cannot reach.
- Trash bags and bins: keep clutter separate as you sort things to keep, donate, or toss.
How to Plan Your Spring Cleaning?
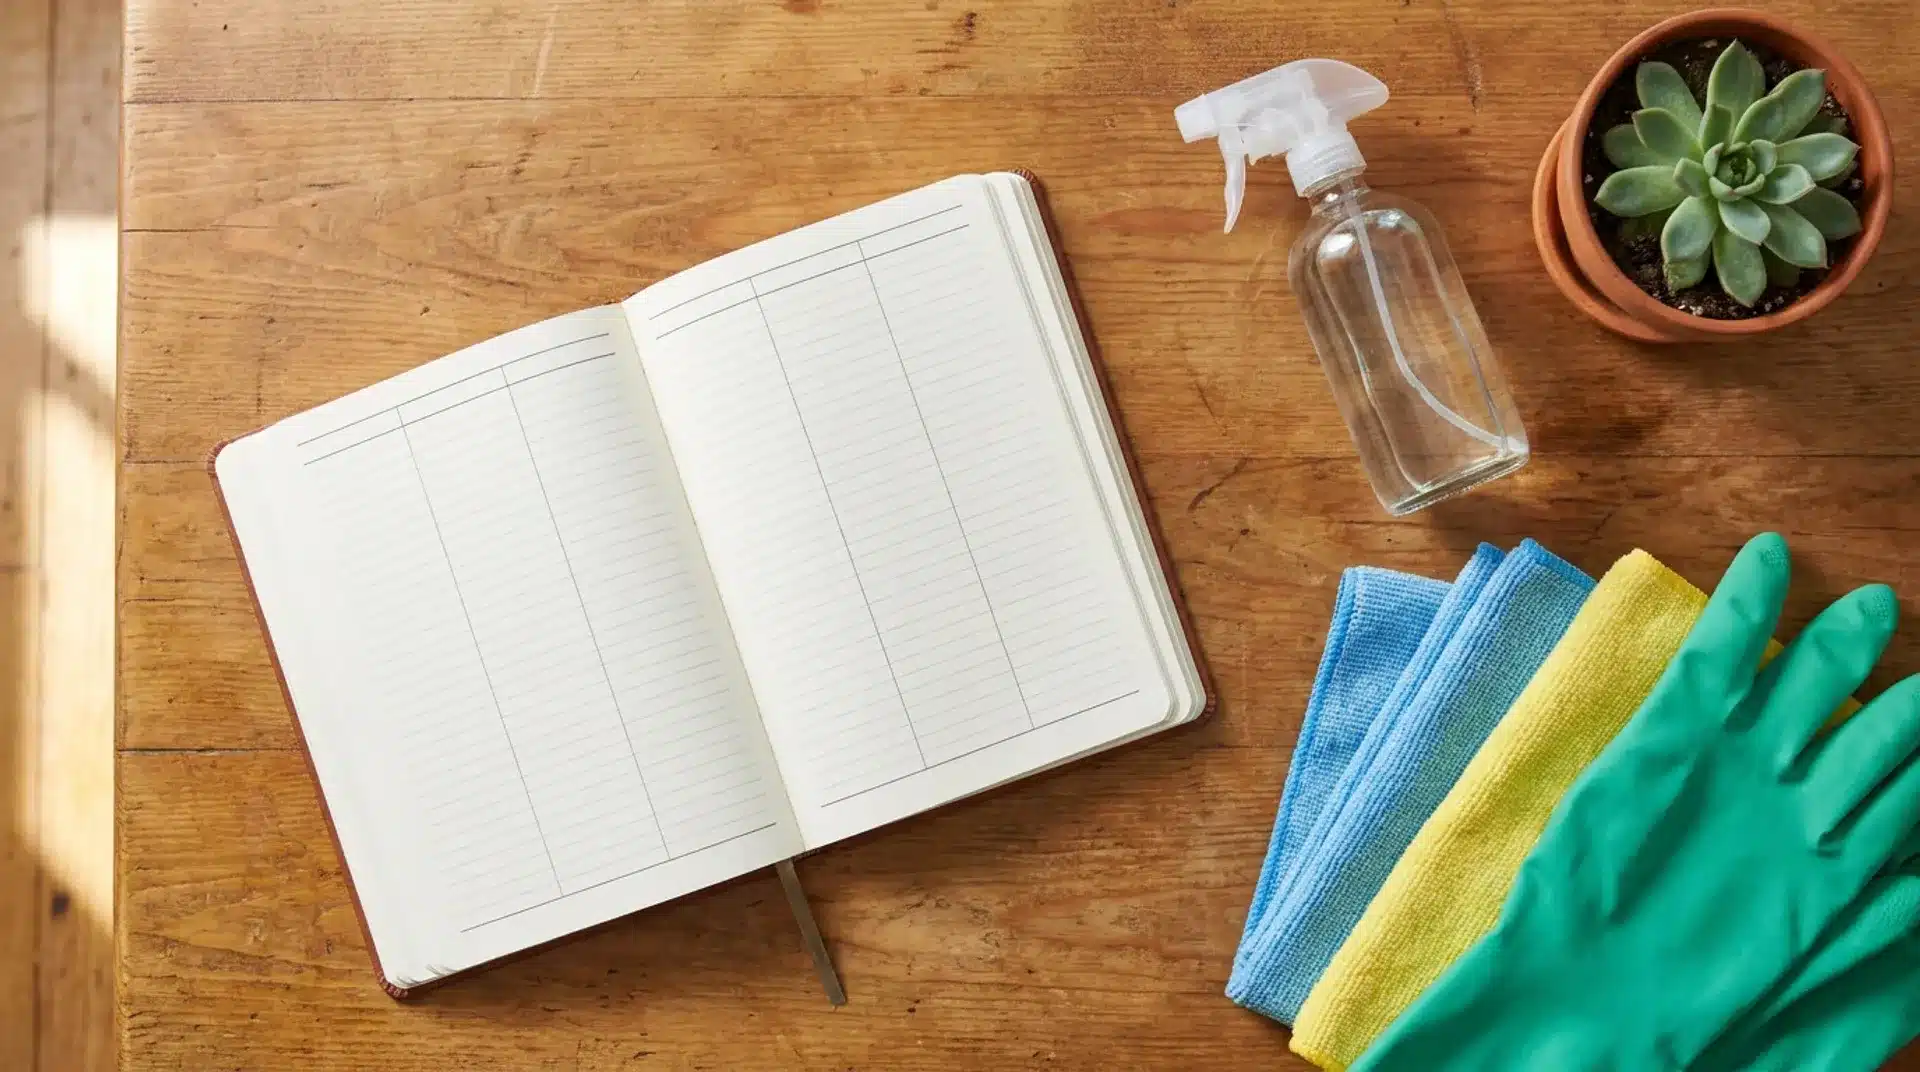
Do not just grab a rag and start wiping random shelves, because that wastes time and energy fast. The smartest move is to declutter every room first, since clean spaces are pointless if junk still covers every surface.
Once you have picked out things to donate or toss, adding smart home storage upgrades can keep the reset from falling apart again.
After decluttering, work from top to bottom in every room, since dust and dirt always fall downward as you clean. Wipe down ceiling fans and shelves before you vacuum the floor, or you will just have the vacuum again later.
Most households spread these cleaning tasks over 6 days rather than cramming everything into one weekend. Breaking the work into smaller chunks keeps the whole project from feeling impossible to finish.
Whole-House Tasks to Knock Out First
Some jobs do not belong to one single room, so knock these out before you start the room-by-room list below.
People spend about 90% of their time indoors , so tackling dust in these whole-house spots first makes a real difference in the air you breathe every day.
- Ceiling fans and light fixtures: dust collects here fast and spreads every time the fan spins.
- Walls and baseboards: wipe off scuffs and dust before you clean the floors under them.
- Windows and screens: clean glass lets more sunlight into your home once winter grime is gone.
- HVAC filters: swap them out as part of your energy-efficient home upgrades for the season.
- Doorknobs and light switches: these get touched the most but cleaned the least in most homes.
Room-by-Room Spring Cleaning Checklist
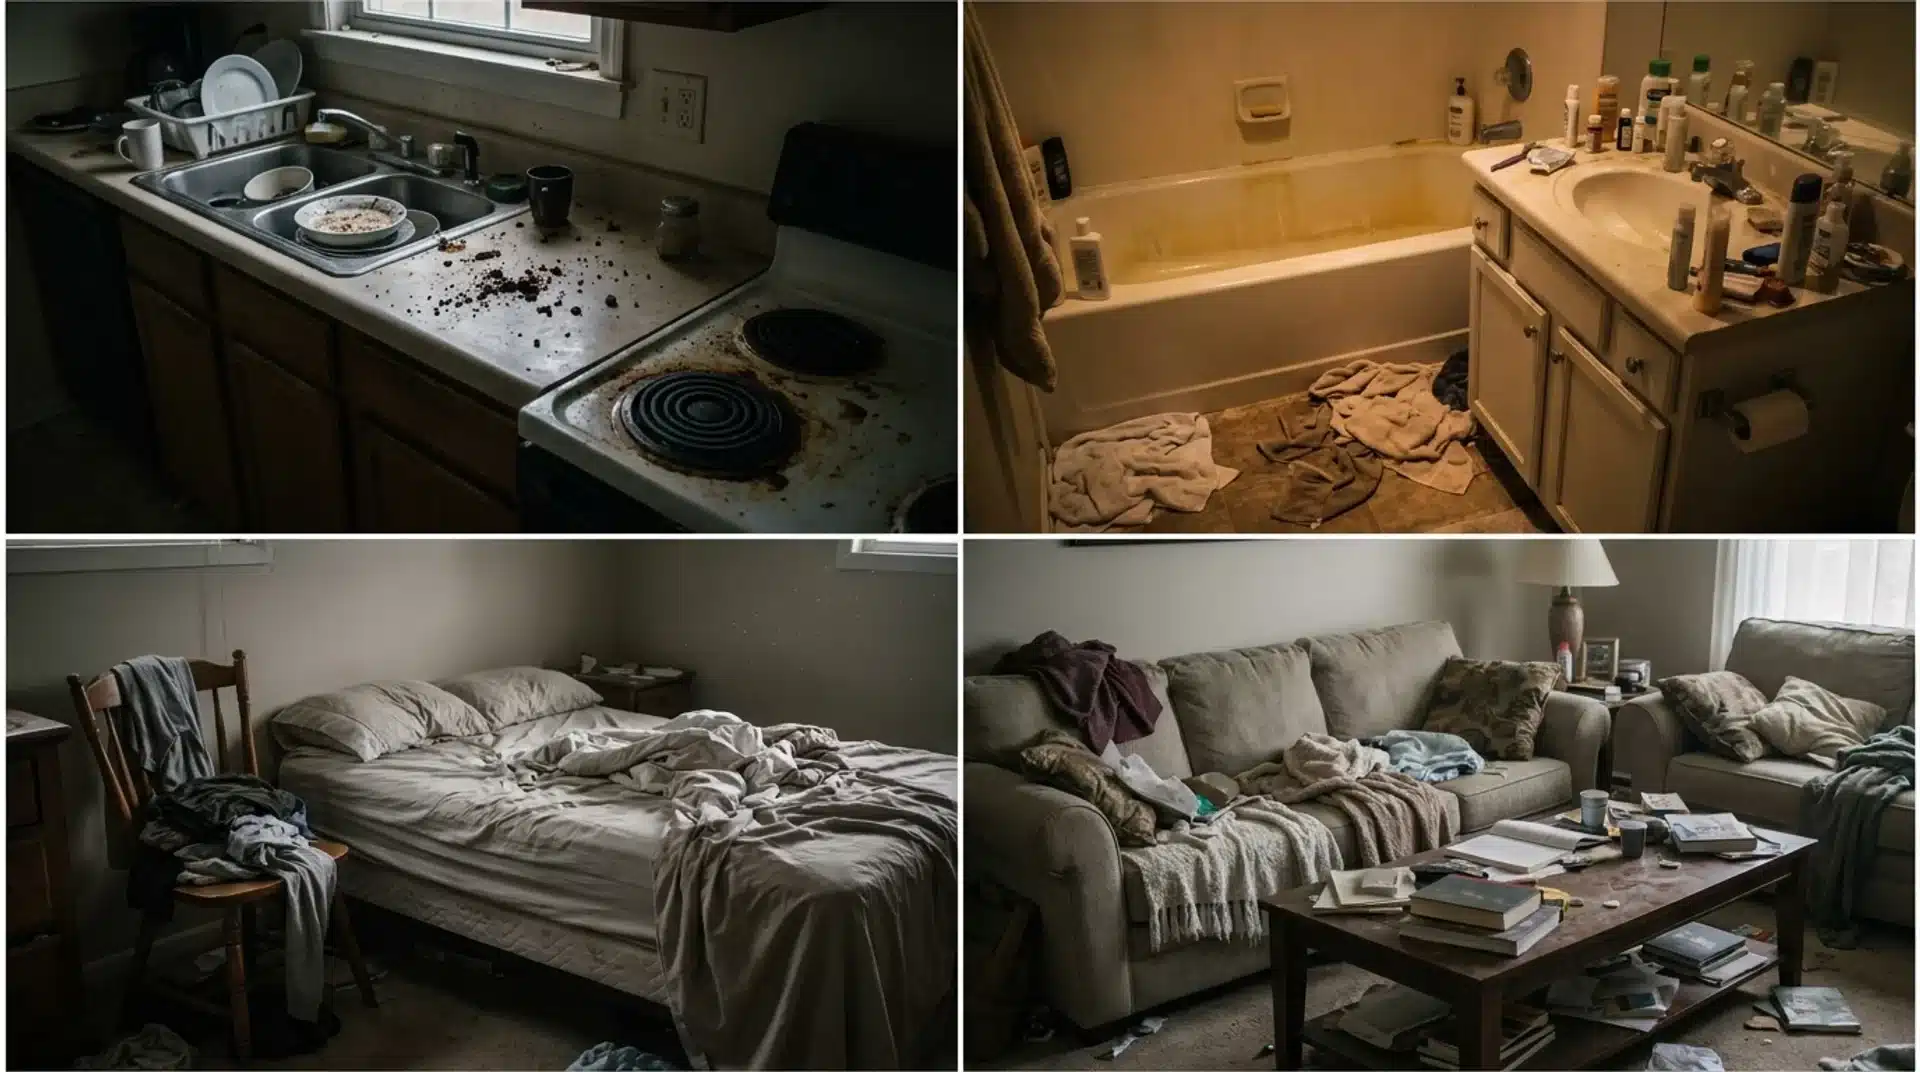
Now that the whole-house basics are done, it is time to move room by room. Follow this numbered breakdown so nothing important gets skipped along the way.
1. Kitchen
The kitchen collects grease and crumbs quickly, so give it extra attention during your spring cleaning checklist.
- Empty and wipe down the fridge, then toss anything expired or forgotten in the back.
- Deep-clean the oven and stovetop, since baked-on grease builds up quickly over winter.
- Wash cabinet fronts with warm soapy water to remove sticky fingerprints and grease film.
- Clean the sink and disposal, then run a cycle with ice and lemon peels to freshen them.
2. Bathroom
Bathrooms deal with moisture and soap scum daily, so this room needs a proper deep scrub.
- Scrub the tub, shower, and tile grout to clear away mold and soap buildup.
- Wash or replace the shower curtain liner, since it traps grime you cannot always see.
- Clean out the medicine cabinet and toss anything expired, especially old medication.
- Wipe down the mirror and faucets until they shine without leaving streaks behind.
3. Bedroom
Bedrooms are easy to skip, but dust and clutter build up fast under the bed and in closets.
- Wash all bedding, pillows, and mattress covers in hot water to kill dust mites.
- Rotate or flip your mattress so it wears evenly and lasts a lot longer.
- Sort through your closet and donate clothes you have not worn in over a year.
- Organizing your closet space with better shelves makes it easier to stay tidy all year.
4. Living Room
The living room sees the most daily traffic, so dust and grime pile up here quickly.
- Vacuum under couch cushions and furniture, where crumbs and dust hide the most.
- Wash throw pillow covers and blankets, since they collect dust and pet hair fast.
- Wipe down electronics and remotes, which carry more germs than most people realize.
- Dust bookshelves and picture frames from top to bottom before you vacuum the floor.
5. Laundry Room
The laundry room is small, but it plays a big part in keeping your whole home running smoothly.
- Clean the lint screen after every load, since buildup can slow drying and even start fires.
- Wipe down the washer drum and door seal to stop the mildew smell from building up.
- Vacuum behind and under the washer and dryer where lint and dust collect unseen.
- Refreshing your laundry layout with better shelving keeps supplies organized and off the floor.
Safety Checks to Add to Your List
Cleaning is not just about looking nice; it also includes a few safety checks that protect your home from real hazards.
Test your smoke alarms monthly and swap the batteries once a year to keep them working when it matters most.
- Smoke alarms: Test them once a month and replace the whole unit every ten years.
- HVAC filter: Change it to help your system run better and reduce dust in your home.
- Under-sink leaks: Check for slow leaks before they turn into mold or water damage.
- Fire extinguisher: Look at the gauge to make sure it still has full pressure.
- Garage door sensors: Test them, as a faulty sensor can pose a serious safety risk.
Conclusion
A spring cleaning checklist works best when it gives your home order rather than extra pressure during an already busy season.
You should start with clutter, move from top to bottom, and leave the floors until the dusty work is done.
I would also add small safety checks, because filters, alarms, leaks, and vents matter as much as clean counters.
Your home does not need to look perfect in one weekend, and slow progress still counts when each room feels easier to work on.
Pick one space first, finish it properly, then move to the next room instead of jumping around.
Frequently Asked Questions
How Long Should Spring Cleaning Take?
Most homes take about 1-2 weeks if you clean a little each day instead of doing it all at once. Bigger homes or ones with more clutter might need closer to a month. The important part is sticking to a room-by-room plan instead of rushing through everything in one exhausting weekend.
What Order Should I Clean My House in?
Start by decluttering every room first, since clean surfaces mean nothing if junk still covers them. Next, work from the top down, dusting ceiling fans and shelves before you vacuum the floor. Finally, move room by room instead of jumping around the house, so nothing important gets missed or forgotten.
How Often Should I Deep-Clean vs. Regular-Clean?
Regular cleaning, like wiping counters and vacuuming, should happen weekly to keep daily mess under control. Deep cleaning tasks, like scrubbing grout or washing curtains, only need attention once or twice a year. Spring and fall are the easiest times to fit a deep clean into your schedule.
What is the Difference Between Spring Cleaning and Regular Cleaning?
Regular cleaning keeps your home looking tidy day to day, including dishes, floors, and counters. Spring cleaning goes much deeper, reaching spots you skip during normal weeks, like behind the fridge or inside closets. It also includes safety checks, such as testing smoke alarms and replacing HVAC filters.