
Imagine turning a simple block of clay into a beautiful pumpkin that captures the warm essence of autumn. Terracotta pumpkins are more than just decor.
They’re a rustic celebration of creativity that brings farmhouse magic into your home, whether you’re a craft enthusiast or a complete beginner.
My guide will walk you through creating beautiful handmade pumpkins that look like they came straight from a cozy countryside cottage.
These earthy-toned treasures are surprisingly simple to make. With just a few materials and some patience, you can craft decorations that work perfectly for fall festivities or as year-round accent pieces.
No special skills required! I’ll break down each step so clearly that anyone, from kids to adults, can enjoy this fun, budget-friendly project.
Ready to get crafty? Let’s begin!
Tools and Materials
- Plastic jack-o’-lantern candy buckets (from Walmart, Target, or dollar stores)
- Acrylic paints (Apple Barrel: Jack-O’-Lantern, Golden Sunset, Chestnut)
- Baking soda (for texture)
- Paintbrush (chippy brush or any wide brush)
- Small mixing container or cup
- Scissors or craft knife (to remove bucket handles and cut features)
- Hot glue gun (optional, for stacking pumpkins)
Step-By-Step Instructions: Terracotta Pumpkins
Create beautiful and rustic fall decor with simple terracotta pots. This easy craft brings seasonal warmth to your home without breaking the bank.
Step 1: Go Pumpkin Hunting
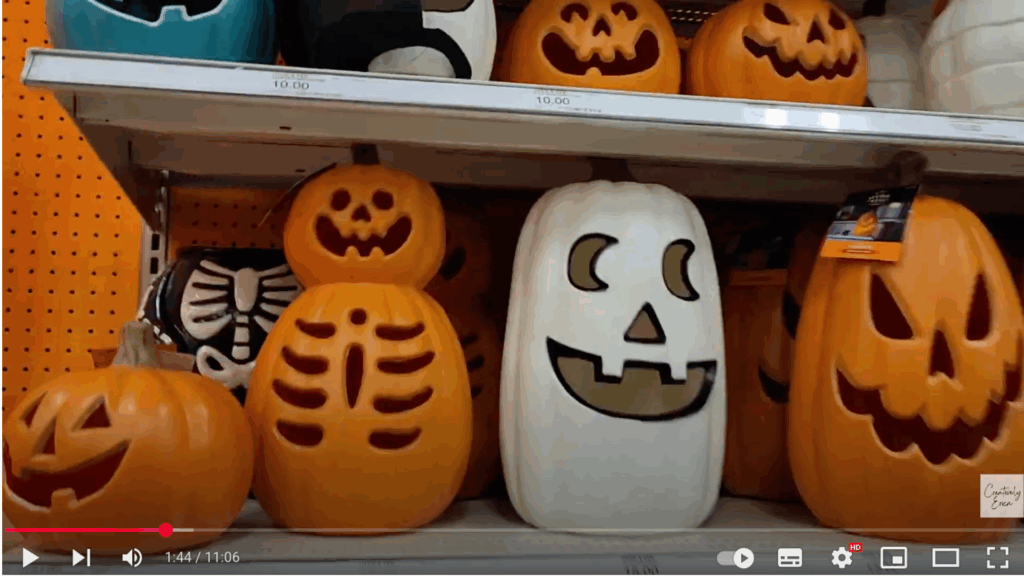
Kick off your DIY by heading to local stores in search of inexpensive plastic pumpkins. Walmart often carries classic jack-o’-lantern candy buckets for just a few dollars, though stock may vary.
If Walmart’s selection is limited, Target usually offers better options, including light-up pumpkins or decorative ones with unique faces. Use whatever you can find that fits your style. Remember, you’re going to paint over it anyway!
Step 2: Mix the Paint to Get Terracotta Color
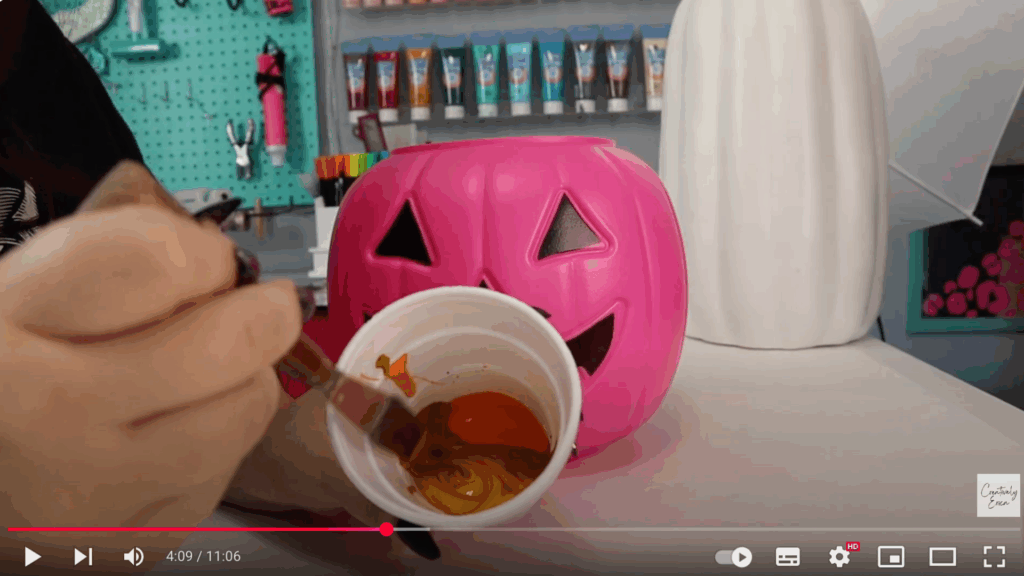
Terracotta has a warm, earthy orange tone with hints of brown. To achieve this look, mix your three paint shades (Jack-O’-Lantern, Golden Sunset, and Chestnut) in a cup or container.
Start with larger amounts of Jack-O’-Lantern and Sunset, and add Chestnut gradually until the mixture looks like sun-baked clay.
Give it a good stir with your brush until the color is even. It should resemble that signature terracotta tone you’d find in pottery.
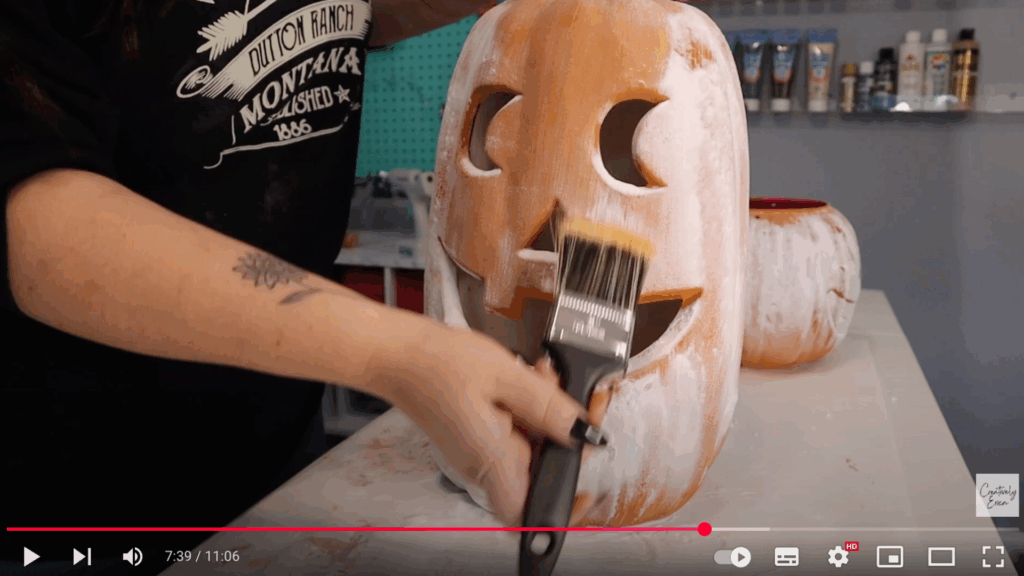
Step 3: Paint the First Coat
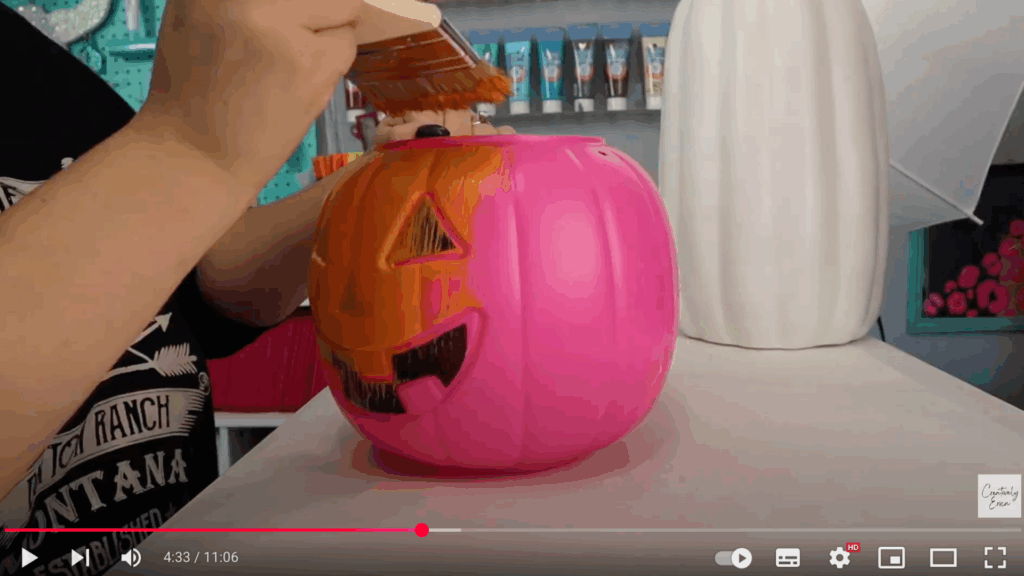
Now comes the fun part, painting! Use a chippy brush or wide brush to coat the entire surface of each pumpkin.
Don’t forget to get into the creases and facial features if your pumpkin is carved. Work in smooth strokes and ensure full coverage.
Once the first pumpkin is coated, set it aside to dry and repeat with the others. The paint dries fairly quickly, but wait at least 30 minutes before applying a second coat.
Step 4: Add a Second Coat for Coverage
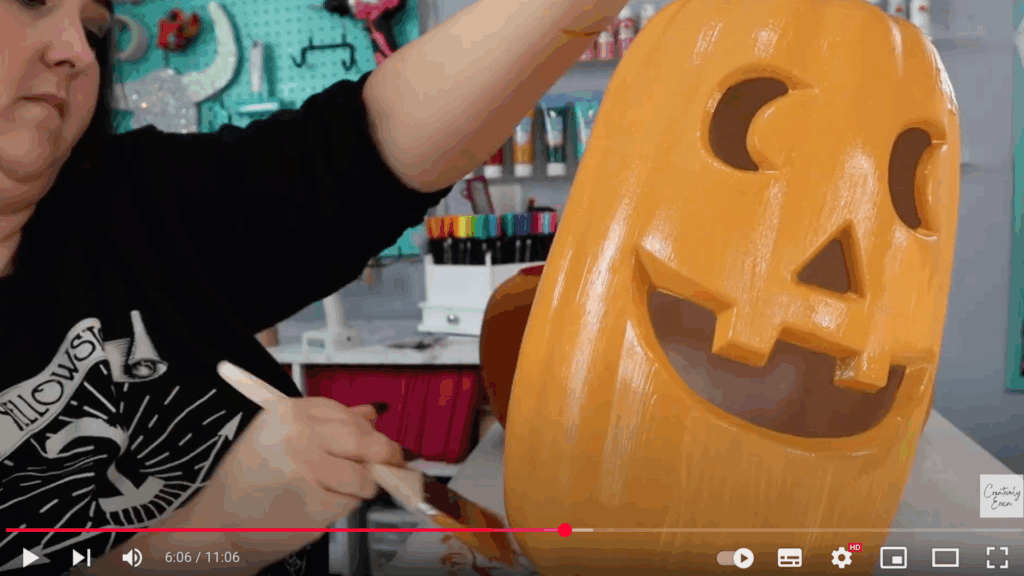
After the first coat dries, your pumpkin might still show hints of its original color. Go in with a second layer of paint to build opacity and get that rich terracotta tone.
This also helps the baking soda texture (coming next!) adhere more effectively.
Step 5: Add Baking Soda for a Textured Look
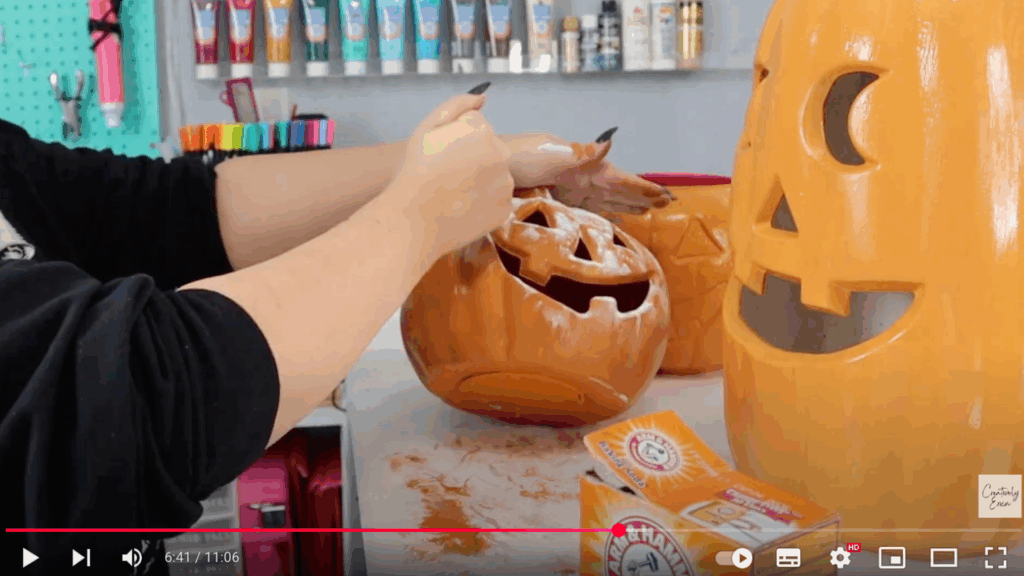
While the second coat of paint is still wet, sprinkle baking soda directly onto the surface. Focus on the top, grooves, and facial details for a dusty, aged effect.
The baking soda sticks to the wet paint and creates a subtle, gritty texture that mimics real clay or aged pottery. Leave the pumpkins to sit for 20–30 minutes so the baking soda can set into the paint.
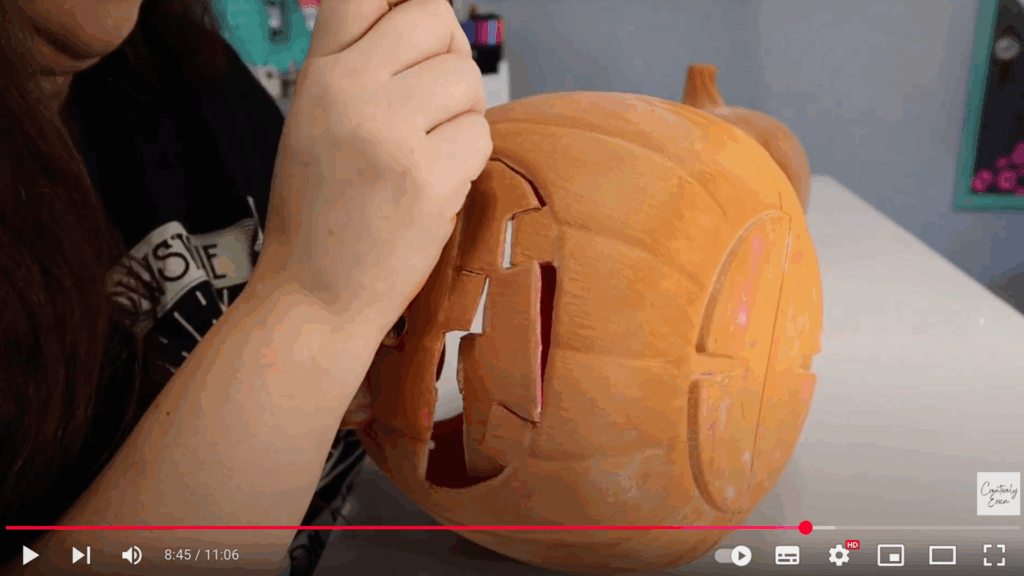
Step 6: Brush Off the Excess Baking Soda
After drying, take a clean, dry paintbrush and gently sweep off any loose baking soda. You’ll be left with beautifully textured pumpkins that look like they were made from real terracotta.
The creases and carved details will have a powdery finish, giving them a beautiful vintage feel.
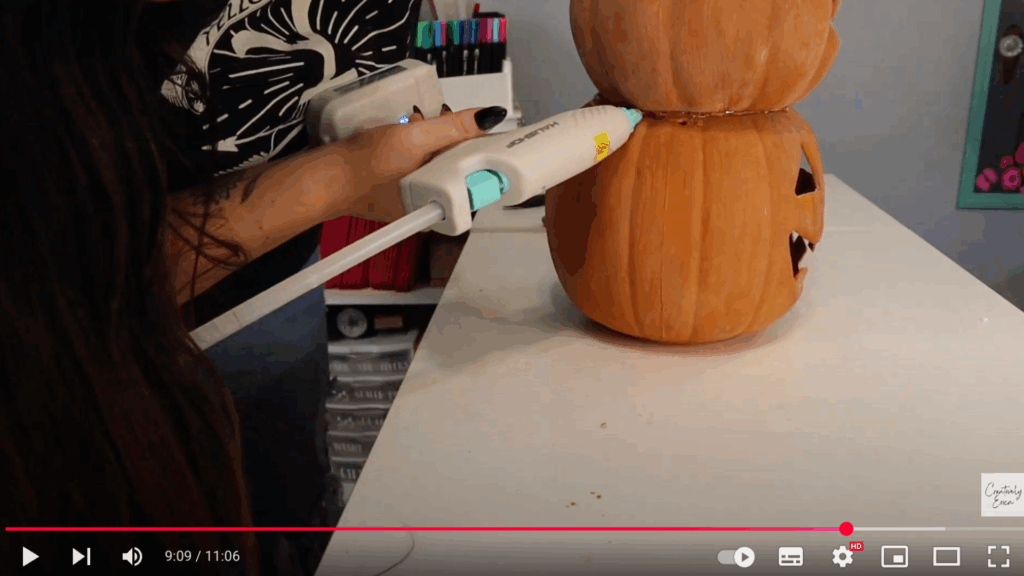
Step 7: Customize or Stack (Optional)
If you plan to stack your pumpkins, now’s the time to prep them. Use scissors to carve matching face holes into the second pumpkin for a cohesive look.
She then applied hot glue to the top rim of one pumpkin and placed the other on top, creating a tall stacked centerpiece. If you’re not stacking, feel free to skip this step or get creative with your own arrangement!
Step 8: Touch Up and Blend Seams
Once stacked, touch up the glued areas with your paint mixture. This helps disguise the seam between pumpkins and gives the illusion of one solid sculpture.
Add another light sprinkle of baking soda to maintain the texture. Let the whole thing dry for at least 20 more minutes before moving or displaying.
This step-by-step guide is based on a fantastic video from Creatively Erica. Huge thanks to Erica for sharing such a clear and detailed tutorial. You can find the original video on her YouTube channel or watch it right below.
Affordable Ways to Make Terracotta Pumpkins on a Budget
Crafting beautiful terracotta pumpkins doesn’t have to drain your wallet. Learn clever strategies to create gorgeous fall decor without spending a fortune.
Start with What You Have
Crafting terracotta pumpkins doesn’t mean breaking the bank. I’ve learned that the best projects begin right in your own home.
Look around your space. Those old Halloween decorations tucked away in the closet? Perfect base materials. Check your storage boxes, attic, or garage for forgotten pumpkins waiting to be changed.
Thrifty Shopping Strategies
Dollar stores are my go-to for budget-friendly crafting. The clearance sections are like hidden gems, filled with supplies just waiting to be used.
I’ve also found great deals on online marketplaces like Facebook Marketplace or local buy-and-sell groups. People often sell or even give away craft materials for next to nothing.
DIY Chalk Paint Magic
Want to save money on expensive paint? I’ll show you a trick. Mix 1 part baking soda with 2 parts acrylic paint.
Homemade chalk paint that costs pennies. This method lets you create that gorgeous matte terracotta look without spending a fortune.
Reuse and Repurpose
Old fall decorations can be given a second life with a little creativity. That wreath from three years ago or the fabric leaves gathering dust? Cut them up, glue them on, and your pumpkin will look professionally designed.
It’s amazing how a few simple tweaks can completely transform something you already own, proving that creativity truly costs nothing.
Smart Supply Hunting
I always recommend checking discount craft stores, end-of-season sales, clearance bins, secondhand shops, and online discount retailers.
Remember, making something beautiful doesn’t require spending lots of money. It’s about imagination, creativity, and a willingness to experiment.
Maintenance and Care Tips
Learn how to protect and preserve your handmade terracotta pumpkins, ensuring they stay beautiful season after season. Find simple care techniques that will keep your DIY creations looking fresh and vibrant.
- Understanding Moisture Risks: Terracotta-style pumpkins are sensitive to moisture. Keep them in dry spaces to prevent flaking or damage from humidity. Think of them like delicate flowers – they can wilt with too much moisture.
- Indoor Cleaning Techniques: Dust is inevitable, but cleaning your pumpkins should be gentle. Use a soft, dry cloth or microfiber cloth to wipe away dust. Avoid wet wipes or damp rags, as moisture can cause damage.
- Smart Storage Solutions: When autumn ends, store your pumpkins carefully. Use a sturdy cardboard box with soft padding like bubble wrap or old towels. Store them in a cool, dry place away from direct sunlight to prevent damage.
- Outdoor Durability Tricks: For outdoor displays, apply a clear, matte sealant to protect your pumpkins from the elements. Two thin coats work best – let each coat dry completely before applying the next.
- Seasonal Rotation Tips: Rotate your pumpkins to avoid uneven wear from sunlight, which can fade colors. A little movement ensures they stay fresh and vibrant throughout the season.
Conclusion
Creating terracotta pumpkins isn’t just a craft; it’s a journey of creativity. Every brushstroke tells a story. I’ve watched countless crafters turn simple materials into creative decorations that spark joy and memories.
Don’t worry about perfection. Your unique touch matters most. Experiment with different colors, sizes, and styles.
Make a pumpkin that screams your personality. Whether you’re going for rustic farmhouse or modern minimalist, there’s no wrong way to create.
Want to share your masterpiece? Share your crafts in the comments below! I’d love to see how you’ve brought this DIY project to life. Your creation might inspire someone else to pick up a paintbrush and start crafting.
Remember that you don’t need to be a pro to make something beautiful, just start and enjoy the process.