

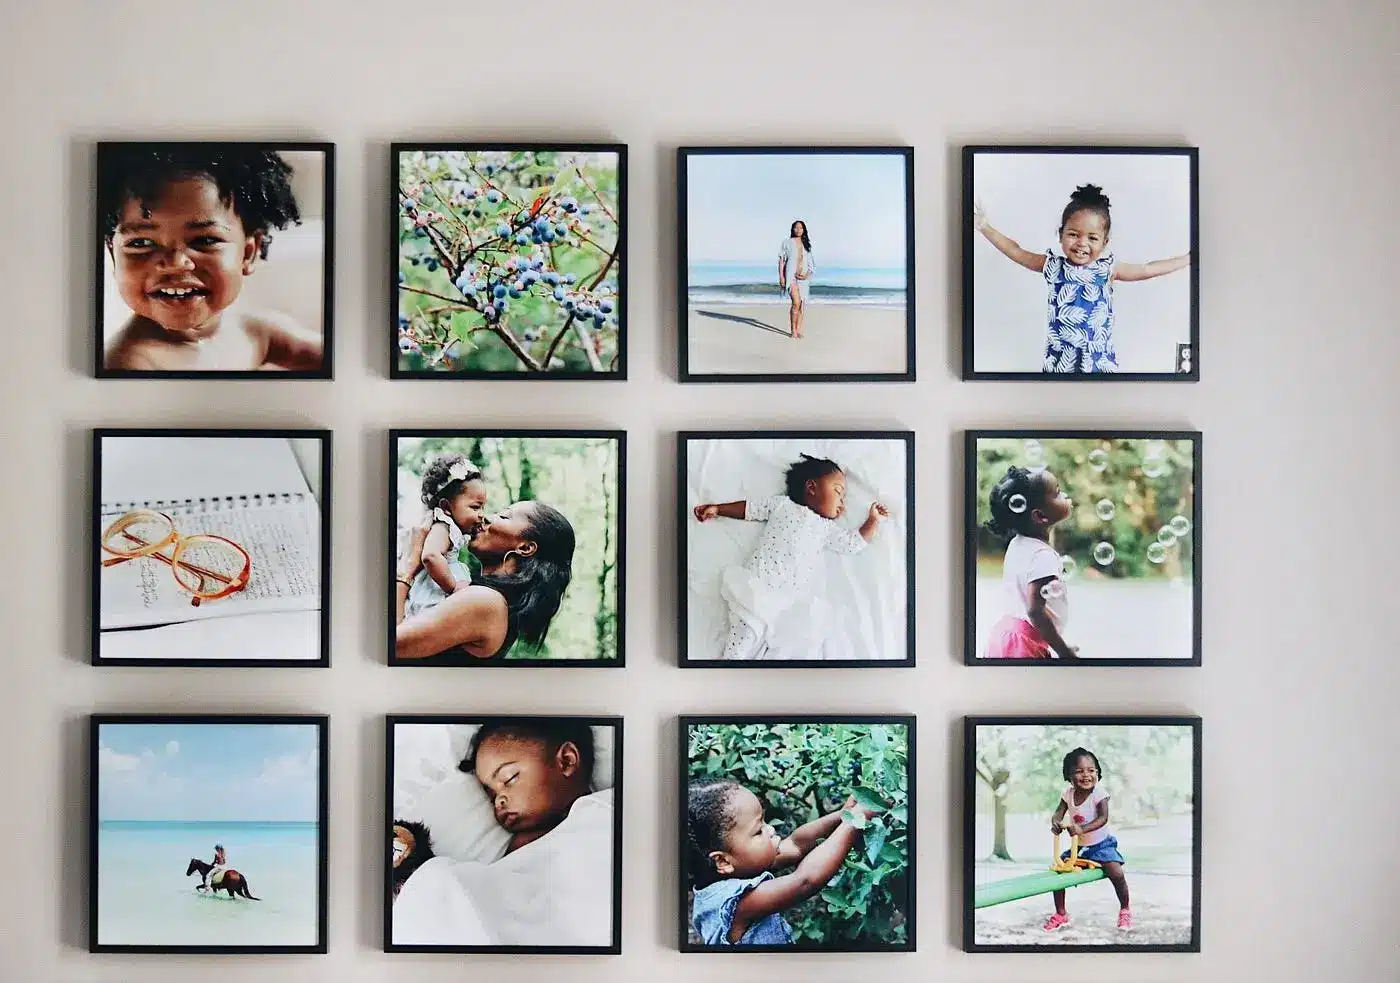
We live in an era of unprecedented digital documentation. Every milestone, weekend getaway, and quiet family moment is captured instantly, stored in high-resolution clouds, and saved onto smartphone camera rolls. Yet, this abundance of digital imagery often leads to a strange paradox: the more photos we take, the less we actually look at them. Trapped behind glass screens, our most meaningful memories risk becoming fleeting data points rather than permanent fixtures of our lives.
Why Choose Textured Fabric Over Traditional Framing?
Transforming those digital files into physical, tangible wall art is the most effective way to reclaim your history and honor your journey. Among the various printing mediums available today, shifting your images onto textured fabrics offers a distinct depth, warmth, and timeless elegance that traditional paper prints simply cannot replicate. This ultimate guide will explore how modern canvas prints bridge the gap between digital photography and high-end interior design, helping you choose, prepare, and display your memories like a professional curator.
Before diving into layout and design strategies, it is essential to understand why this medium has become a staple of contemporary interior design. Traditional paper prints require glass or acrylic glazing to protect the ink, which inevitably creates reflections and glare under natural or overhead lighting.
Textured canvas, by contrast, features a non-reflective matte or low-lustre surface that absorbs light smoothly. This glare-free characteristic ensures that your artwork remains completely visible from any angle in a room, regardless of how many windows you have. Furthermore, the subtle, woven texture adds an organic, three-dimensional quality to photographs, softening harsh digital edges and giving family portraits, landscapes, and candid shots an upscale, painted aesthetic.
Step 1: Selecting the Perfect Imagery
Not every photograph on your phone is destined for a large-scale wall display. To create a piece of art that truly resonates, you must look for images that carry both emotional weight and visual clarity.
- Emotional Resonance: Focus on milestone moments or evocative candids rather than perfectly staged, stiff portraits. A genuine laugh shared between siblings, a quiet glance on a wedding day, or a sweeping landscape from a transformative vacation will always age better than a forced smile.
- Lighting and Contrast: Images with rich contrast, distinct shadows, and deep highlights translate beautifully onto fabric textures. Very dark, underexposed smartphone shots can sometimes lose detail when printed on matte materials, so prioritize photos with clean, natural lighting.
- Composition: Look for photos with balanced framing. If your subject is off-center, it can create a beautiful, modern asymmetrical look that draws the viewer in and leaves natural breathing room within the composition.
Step 2: Technical Preparation for a Flawless Result
The most common mistake people make when printing digital files is ignoring image resolution. What looks incredibly sharp on a five-inch phone screen can become pixelated or blurry when stretched across a two-foot wall display.
Before submitting an image to be manufactured, verify its file size. For large-scale displays, aim for a resolution of at least 300 DPI (dots per inch) to guarantee crisp lines and vibrant color representation. If you are using an older photo or a cropped image, modern AI upscaling tools can help enhance the resolution safely. Additionally, avoid applying heavy, trendy digital filters before printing. Colors can shift slightly during the physical ink transfer process; keeping your edits natural, warm, and timeless ensures your art will look spectacular for decades.
Step 3: Finding Your Style (Wrapped Edges vs. Floating Frames)
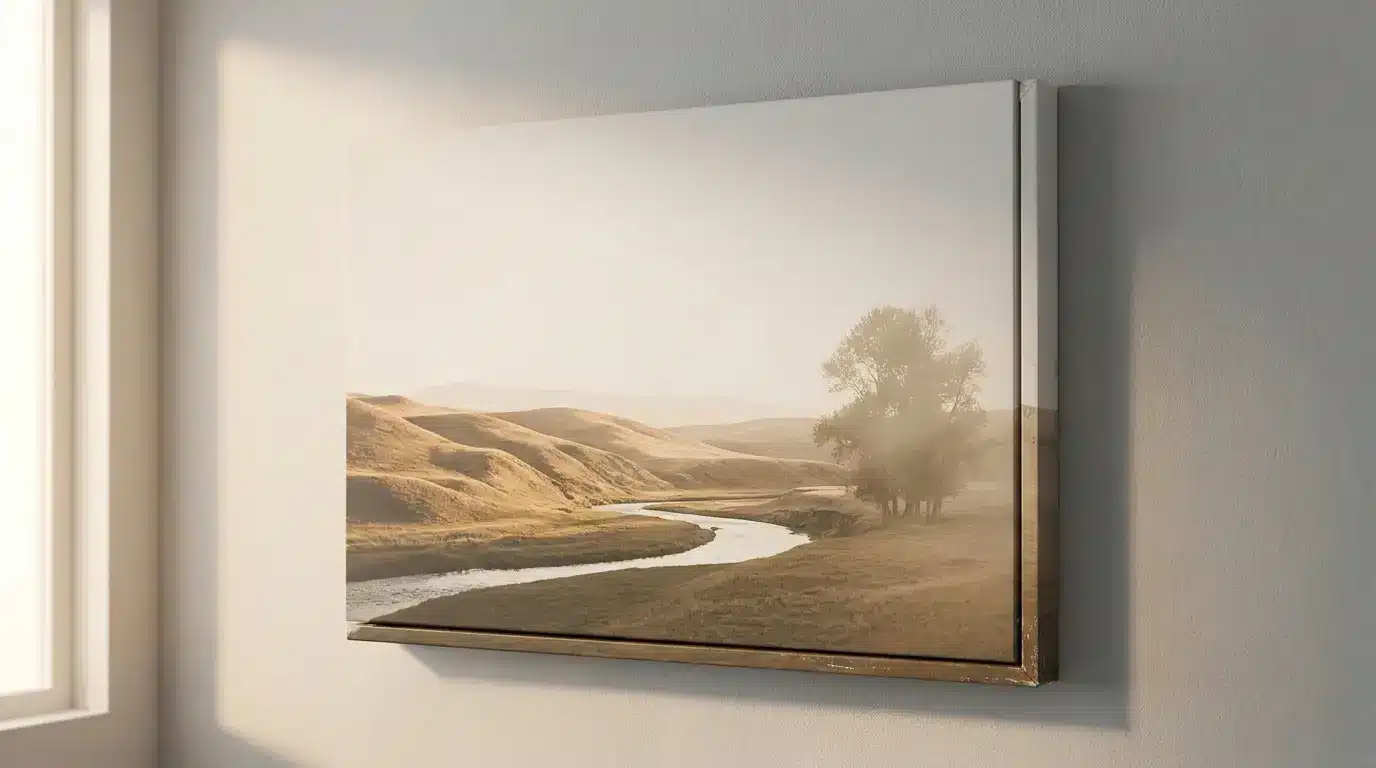
How your print is finished around the sides determines how it will interact with the rest of your room’s decor. There are two primary contemporary styles to consider:
The Classic Gallery Wrap
In this style, the image or a solid color block continues around the edges of the structural wooden frame. This creates a clean, frameless, and minimalist three-dimensional appearance that looks as if it is floating effortlessly on the wall. It is a fantastic choice for modern, industrial, or Scandinavian interiors where clean lines are preferred.
The Modern Floating Frame
For a more formal, high-end gallery aesthetic, you can opt for a floating frame. This design places a thin wood or composite border slightly outside the edge of the canvas, creating a small visual gap or “shadow line” between the artwork and the frame. It provides the structured elegance of traditional framing while preserving the unique texture of the woven material.
Step 4: Structuring Your Wall Display
Once your physical prints arrive, the way you arrange them can entirely alter the mood of your living space. Consider these three timeless layout strategies:
- The Focal Point Anchor: Place one oversized, high-impact piece directly above a major furniture anchor, such as your living room sofa or bedroom headboard. The width of the piece should span roughly 60% to 75% of the furniture underneath to maintain flawless architectural proportions.
- The Chronological Storyline: Use three or four medium-sized prints hung in a perfect horizontal or vertical line. This linear configuration works beautifully in entryways and long hallways, allowing visitors to read your family’s narrative like a book as they walk through the space.
- The Eclectic Cluster: Mix different sizes and orientations to build an organic, evolving gallery wall. Start with your largest piece slightly off-center and build outward, keeping a strict two-inch boundary between all frames to ensure the cluster looks intentional rather than cluttered.
Caring for Your Physical Memories
Modern printing technology uses archival inks designed to resist fading, but a few simple maintenance habits will ensure your custom artwork lasts for generations.
First, never hang your art in areas prone to extreme humidity, such as directly inside a small, unventilated bathroom, as moisture can warp the wooden support structures over time. Second, keep the artwork out of intense, direct afternoon sunlight to prevent UV rays from degrading the color pigments over long periods. Finally, skip chemical cleaners and wet washcloths entirely; a gentle sweep with a dry microfiber cloth or a feather duster once a month is all it takes to keep the surface pristine.