

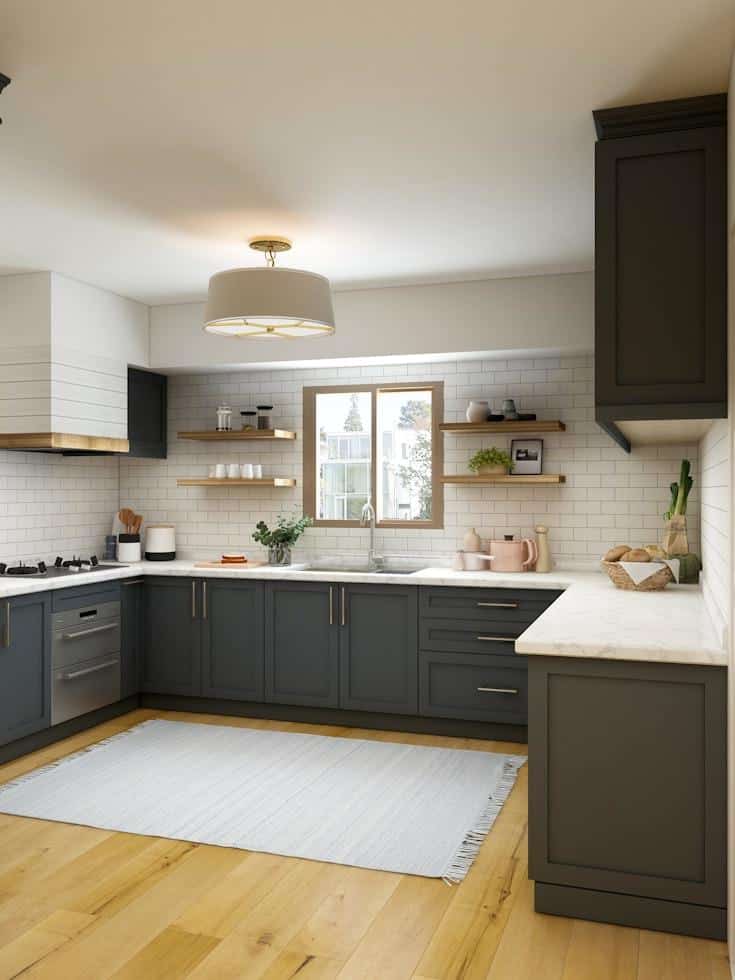
Restoring kitchen storage units can refresh the whole room without a full remodel. The secret is to follow a simple order that protects your work. Clean, fix, refinish, then add storage helpers that match how you cook.
Assess What Can Be Saved
Start with a quick inspection. Check boxes for water damage, swollen particleboard, or loose joints. Look at doors for warping and at drawers for racking or sticky slides that fight you.
If cabinet shells are sturdy, you have a strong base. Solid frames make most upgrades faster and cheaper. Weak shells, on the other hand, waste effort and may need replacement parts.
Open every door and drawer. Note squeaks, rubbing, or misalignment. Tag items that only need adjustments, then list parts that require new hinges, slides, or screws.
Deep Clean Before You Repair
Grease hides cracks and blocks adhesion. Wash doors, frames, and drawer fronts with a degreasing solution and rinse well. Label each piece as you remove it so reassembly is simple.
Lay doors flat on padded sawhorses to scrub edges and profiles. You can scrub doors on a flat surface, and if you have many units, consider business property painting services for uniform prep and spraying, which keeps results even. Let everything dry fully before sanding or patching.
Dry time matters. Moisture trapped in seams can swell veneers and fillers. Give parts a few extra hours so primers and putties bond without bubbling or peeling.
When Refacing Beats Replacing
If frames are sound but style is dated, refacing is a smart middle path. You keep the layout and the cabinet boxes. New doors, drawer fronts, and edge banding provide the visible change.
A remodeling guide from The Spruce reports typical refacing costs around $275 per linear foot, with a range of $100 to $455 depending on materials and complexity. That keeps demolition mess low while giving you a fresh face. It also shortens downtime in a busy kitchen.
Choose doors that fit your daily cleanup routine. Simple Shaker profiles trap less splatter than ornate raised panels. Ask for durable edge banding so corners do not chip with heavy use.
Fix Hardware And Functionality
Function upgrades often deliver the biggest daily win. Replace tired slides with full extension versions so you can see the back of each drawer. Add soft-close hinges to stop slams and protect finishes.
Square cabinets before fine-tuning doors. Shim boxes so reveals look even. Then adjust hinge screws in small turns until doors sit flush and stay put.
Replace worn shelf pins and add extras where shelves sag. Tighten pulls with thread locker if they loosen often. A few minutes here can make old units feel sturdy and quiet.
Prime, Paint, And Cure Cabinets
Good paint starts with tooth for bonding. Scuff sand glossy surfaces, vacuum dust, and use a bonding primer rated for your material. Light, even coats build a smoother finish than heavy passes.
A well-known DIY source, Bob Vila, notes that cabinet paint often needs about 30 days to fully cure. Treat doors gently during that window to avoid dents or blocked edges. Reinstall felt bumpers to soften contact points.
Label every hinge and screw bag by location. Rehang doors in the same holes for easy alignment. Keep your color code, sheen, and brand on a card for future touch-ups.
Smart Storage Upgrades That Fit
Plan upgrades while shelves are empty. Work from daily use to deep storage. Focus on items that cause clutter first, like pans, baking sheets, and snack bins.
Try these quick wins:
- Roll out trays for pots and small appliances
- Vertical dividers for baking sheets and cutting boards
- Tiered risers to stack cans without burying labels
- Under-shelf baskets for wraps and towels
- Turntables in corners for oils and spices
Measure before you buy so hardware clears doors and hinges. Check load ratings on slides and anchors. Small, well placed add ons save time every day.
Set a simple maintenance rhythm to protect your work. Wipe fronts weekly with a damp cloth and mild soap. Catch drips fast, and tighten any loose hardware before it strips.
Edge Repairs And Veneer Fixes
Chipped corners and peeling edges make cabinets look tired fast. Trim any loose veneer with a sharp utility knife. Apply wood glue under the lift, clamp or tape it flat, and let it set before sanding.
Where edging is missing, iron-on edge banding is a clean fix. Cut to length, warm it with a household iron, and press with a roller for firm contact. Trim the overhang with a flush trimmer, then lightly sand for a uniform feel.
For small dents and seams, use a stainable wood filler and let it dry fully. Sand smooth with a fine grit so the repair disappears under primer. Touch up tiny nicks with a color-match marker to keep the surface looking consistent.
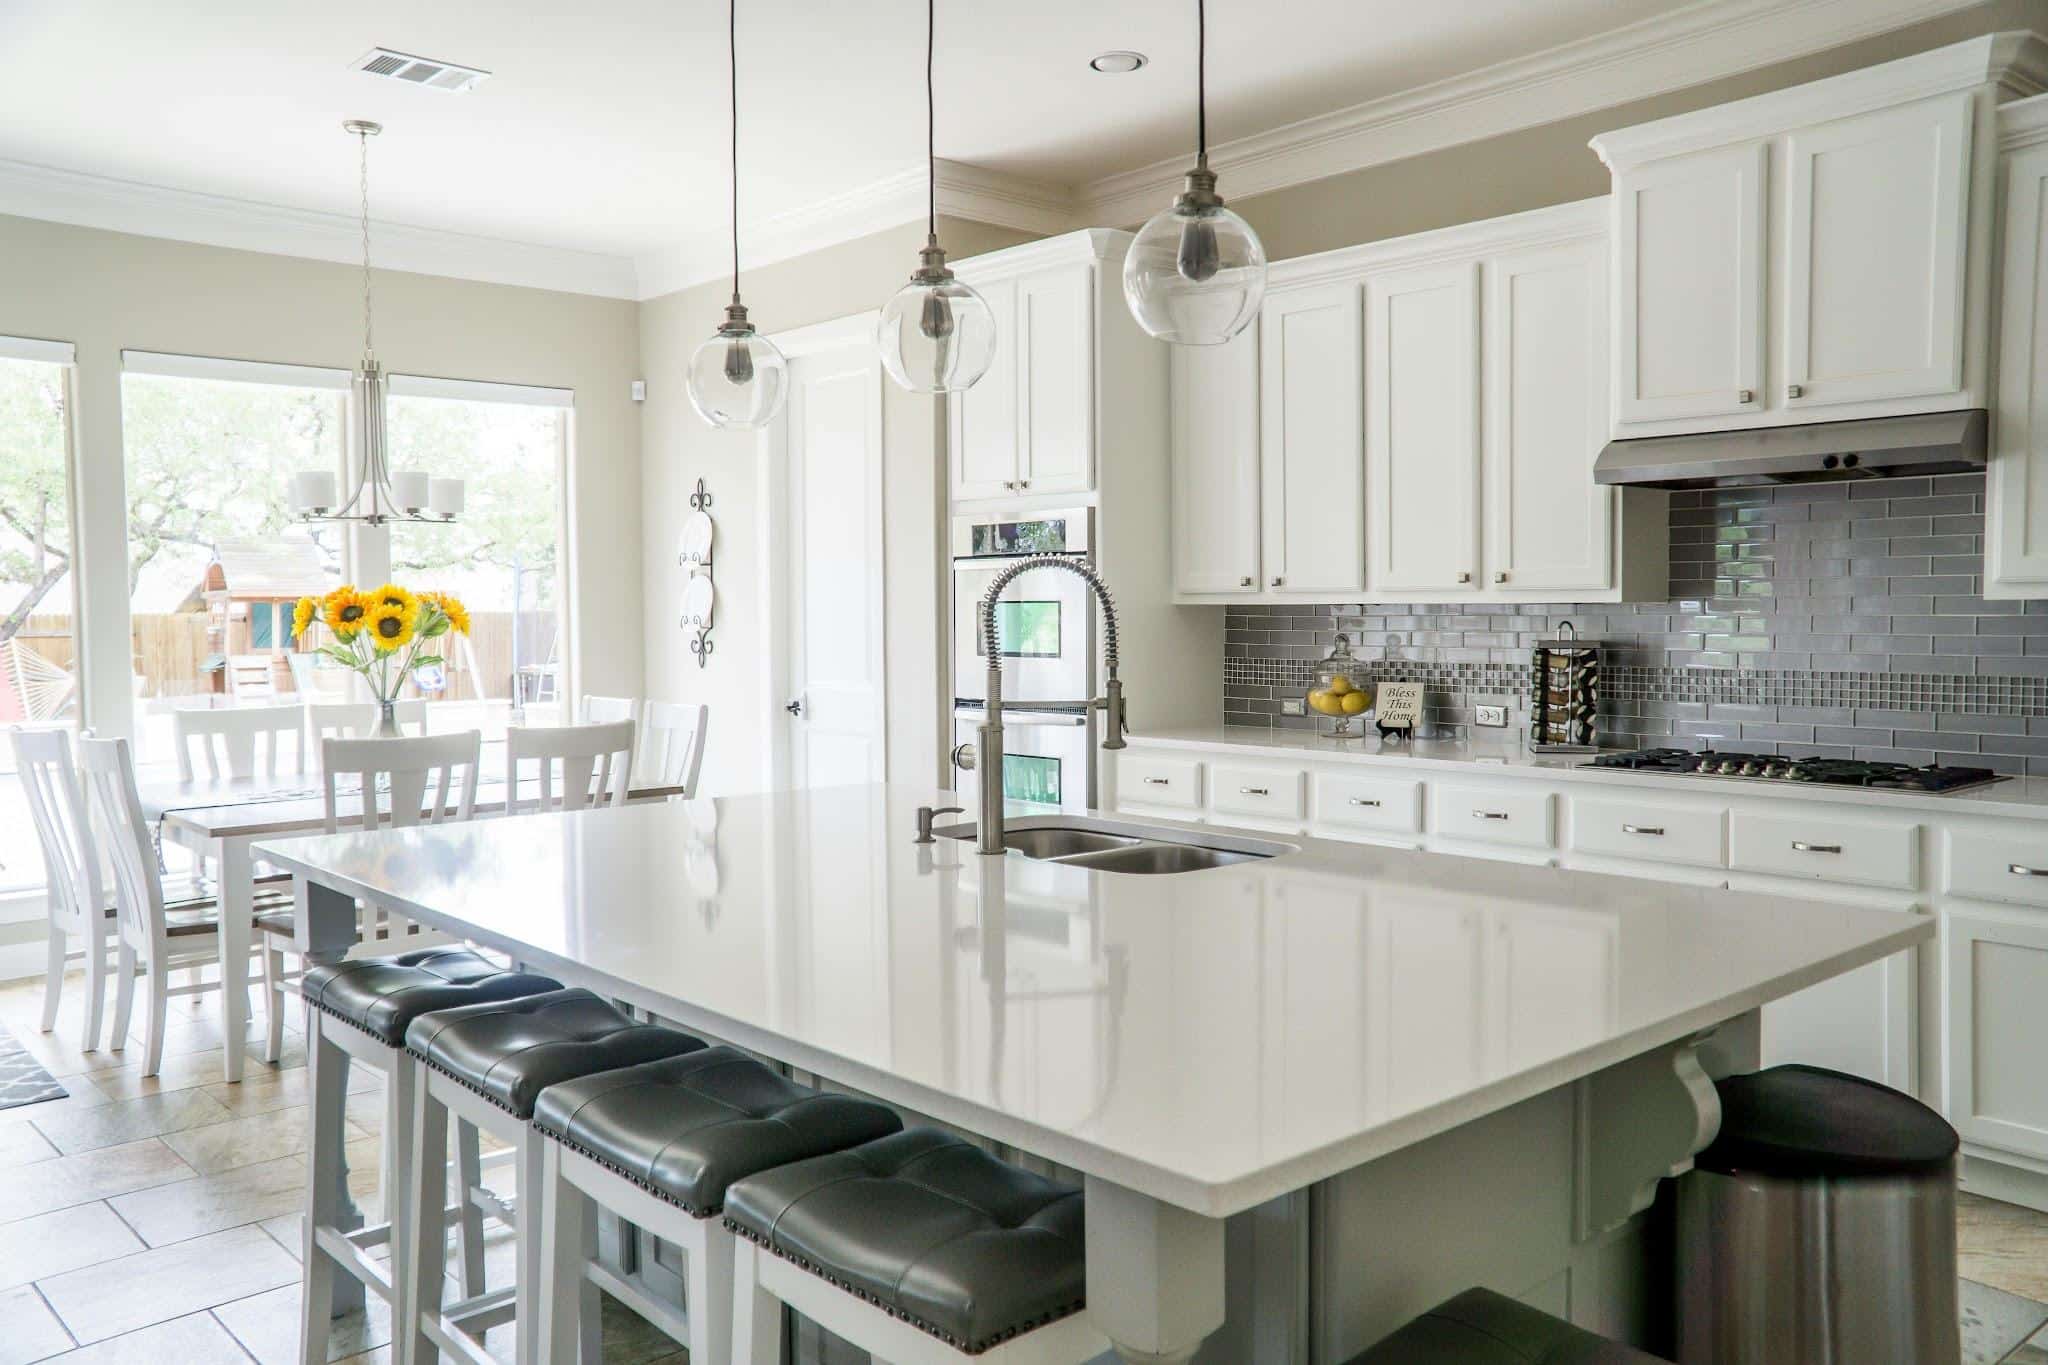
A careful order keeps the project calm and predictable. Clean first so repairs stick, fix the function second so the kitchen works, then finish with coatings and storage helpers. With steady steps, your cabinets can feel ready for years of everyday use.