
If you’re looking to add some color to your garden, growing hollyhocks is a great choice.
These beautiful flowers are easy to grow once you understand the best time to plant hollyhock seeds and the proper care they need.
In this guide, let’s walk through the entire process, from choosing the right location to harvesting the seeds for next season.
Even if you’re a beginner or an experienced gardener, these simple steps will help you grow healthy, amazing hollyhocks in your garden.
I’ll share common issues you may face and how to handle them, so you can enjoy a hassle-free growing experience.
Let’s make your garden bloom with beautiful hollyhocks!
Best Time to Plant Hollyhock Seeds
Planting hollyhock seeds at the right time helps them grow strong and healthy, giving you tall, beautiful blooms that brighten your garden season after season.
| Climate Type | When to Plant | Method |
|---|---|---|
| Cooler climates | Early spring (6–8 weeks before last frost) | Start seeds indoors, then transplant |
| Warmer climates | Early spring (after soil warms) | Sow seeds directly outdoors |
| All climates | Late fall | Direct sow for spring growth |
Choosing the right planting time based on your climate ensures better germination, stronger plants, and more flowers, while avoiding damage from frost, heat, or poor soil conditions.
Choosing the Right Location for Hollyhocks
When choosing the right location for your hollyhocks, consider both sunlight and soil quality.
Hollyhocks thrive in full sun, so look for a spot in your garden that receives at least 6 hours of direct sunlight each day. This will help the plants grow tall and produce vibrant blooms.
Additionally, hollyhocks prefer well-drained soil. They do best in slightly alkaline soil but can tolerate a variety of soil types as long as it doesn’t stay too soggy.
If your soil is heavy or clay-like, consider adding compost to improve drainage. Hollyhocks also need plenty of space to grow, as they can reach up to 6 feet in height. Plant them at least 18 inches apart to give them room to spread.
Finally, pick a location that’s sheltered from strong winds, as the tall flower stalks can be easily damaged. A sunny spot with good airflow will keep your hollyhocks healthy and strong.
How to Plant Hollyhock Seeds?
Planting hollyhock seeds is a simple process, but it does require some patience. Follow this step-by-step guide, and you’ll be on your way to growing beautiful hollyhocks in your garden.
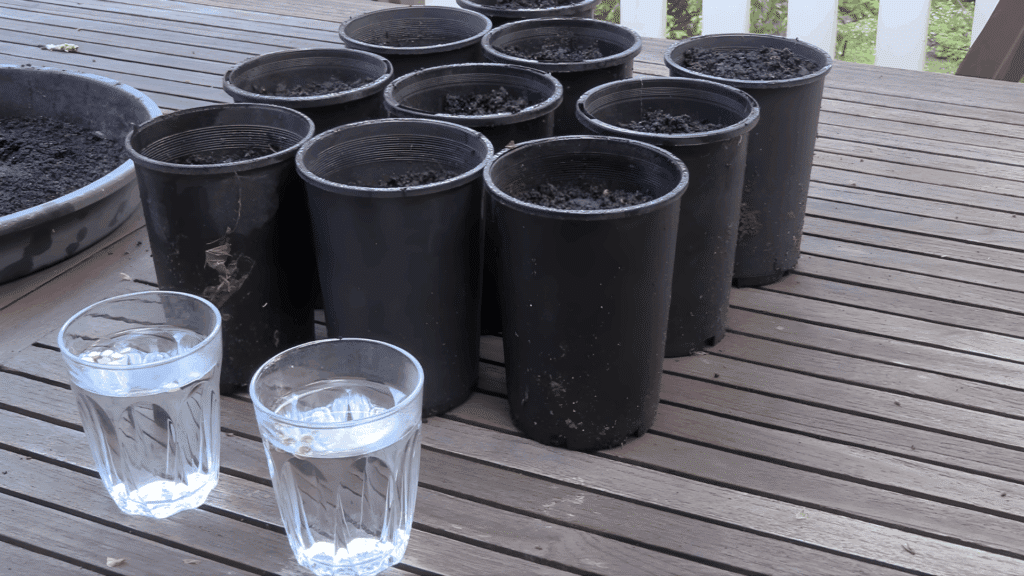
Step 1: Soak the Seeds

Start by soaking hollyhock seeds in warm water for about an hour. This helps break down the seed coat and speeds up the germination process.
Soaking also encourages the seeds to absorb moisture, which aids in sprouting. After soaking, drain the water, and the seeds will be ready for planting.
This simple step improves the likelihood of successful germination and should be done before planting, whether in pots or directly in the soil.
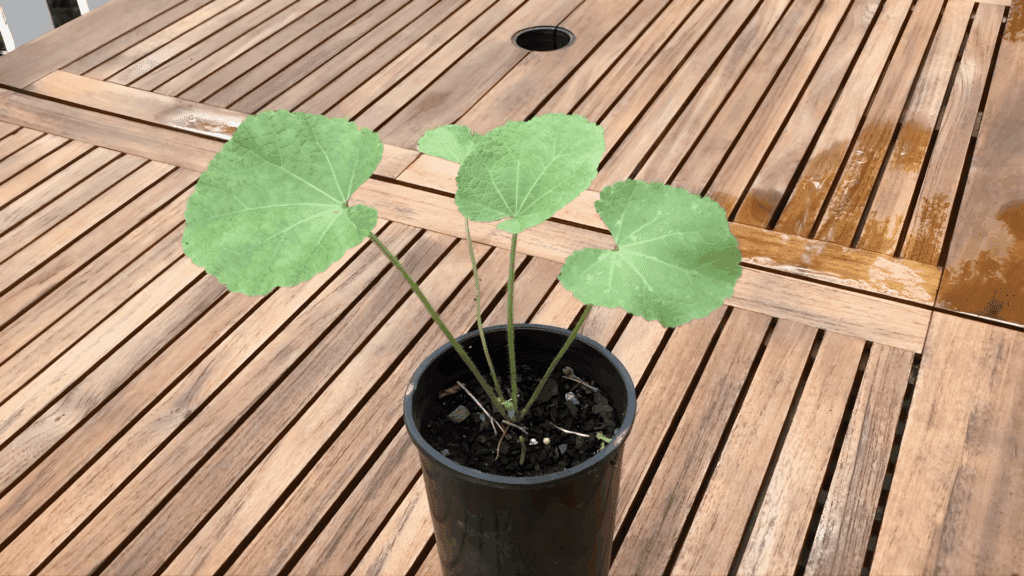
Step 2: Prepare the Pots
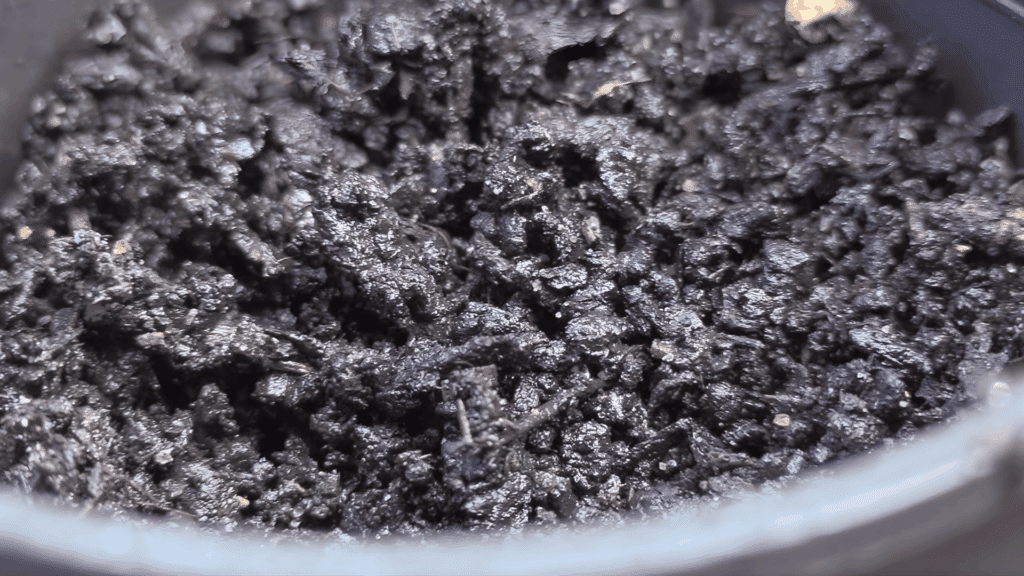
For optimal growth, use tall pots filled with well-draining potting mix. Sift the soil onto the surface to create a flat, even base, ensuring the seeds are in good contact with the soil.
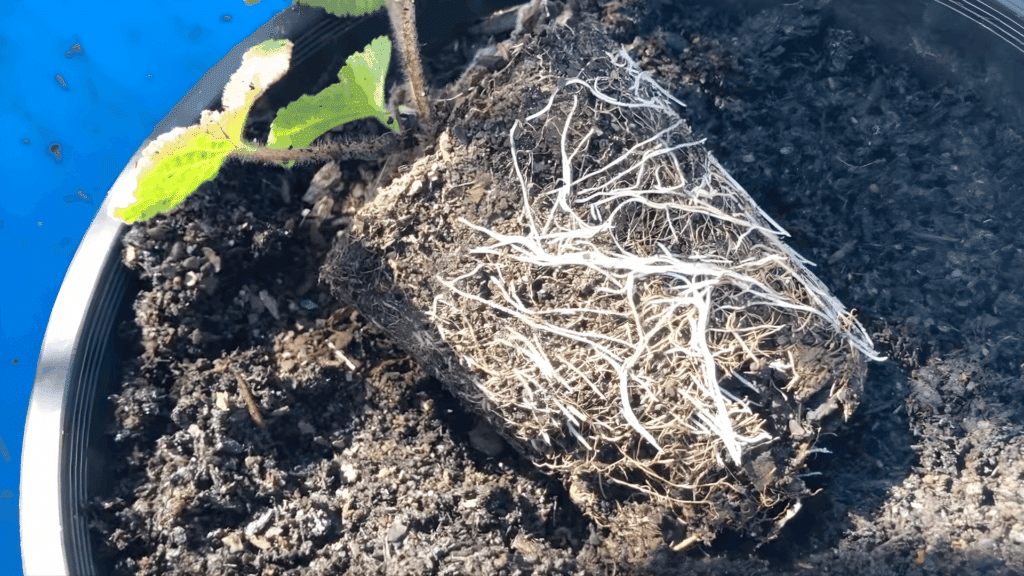
Hollyhocks have deep root systems, so tall pots give the roots plenty of space to grow.
This method also helps control the growing environment and encourages strong root development. Proper pot preparation gives your seeds the best chance for success.
Step 3: Plant the Seeds
Plant two or three hollyhock seeds in each pot, as germination can be inconsistent. Lightly cover the seeds with a thin layer of soil, since hollyhock seeds require light to germinate.
Overcovering them can hinder their growth, so make sure the soil is only lightly pressed over the seeds.
This method promotes even germination and ensures the seeds receive enough light to sprout. Keep the pots in a warm, shaded location to promote germination.
Step 4: Water the Seeds

After planting the seeds, lightly mist the soil to settle it and provide moisture without soaking the seeds. The soil should remain moist but not wet, as too much water can lead to rot.
A light misting helps ensure the seeds stay in place and encourages gentle soil settling. Keep the soil moist, but avoid overwatering.
Regular, gentle watering is key to preventing seed rot while encouraging healthy germination.
Step 5: Place Pots in a Warm Location
Once you’ve planted and watered your seeds, place the pots in a warm, shaded spot. Hollyhocks need warmth to germinate, but direct sunlight can overheat the soil and dry it out.
A warm location encourages seed sprouting while avoiding excessive heat. You can place the pots under shade cloth or in a part-shaded area of your garden.
Ensure the soil remains moist and check regularly to maintain optimal germination conditions.
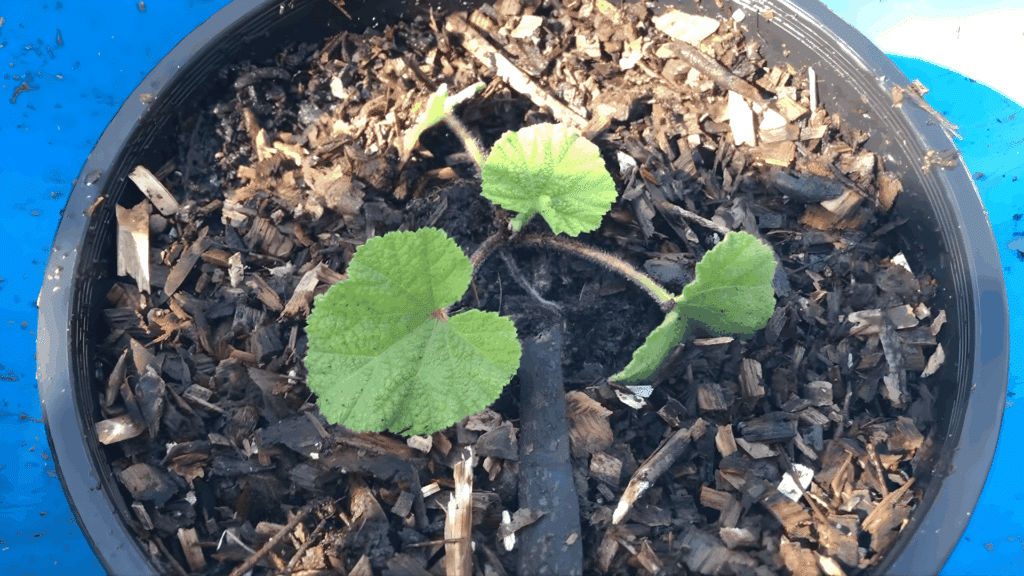
Step 6: Prick Out Seedlings
As your hollyhock seeds germinate, you’ll notice several seedlings. Once the seedlings grow large enough, thin them by removing the weaker ones, leaving the strongest seedling in each pot.
This process, called “pricking out,” ensures that only the best plants have enough space and nutrients to thrive.
Gently remove the smaller seedlings, being careful not to damage the remaining plant’s roots. This step helps your hollyhocks grow strong and healthy.
Step 7: Overwinter and Prepare for Planting
Hollyhocks are biennials, meaning they bloom in their second year. Overwinter the plants in their pots, allowing them to grow through the first summer.
In the second spring, you can transplant them into the garden where they will bloom. During winter, keep the plants in a cool, sheltered location.
When the weather warms up in spring, they’ll be ready to thrive in your garden and produce flowers. Overwintering strengthens the plants for better blooms.
Step 8: Plant in the Garden or Containers
When your hollyhocks are ready, plant them in the garden or in large containers. If planting in the garden, ensure they are spaced at least 18 inches apart to allow for proper growth.
In containers, use well-drained, humus-rich soil. Adding compost or a balanced fertilizer will help the plants grow strong and healthy.
Whether in the garden or containers, make sure the plants have plenty of room to develop their roots and reach their full height.
Step 9: Wait for Blooms
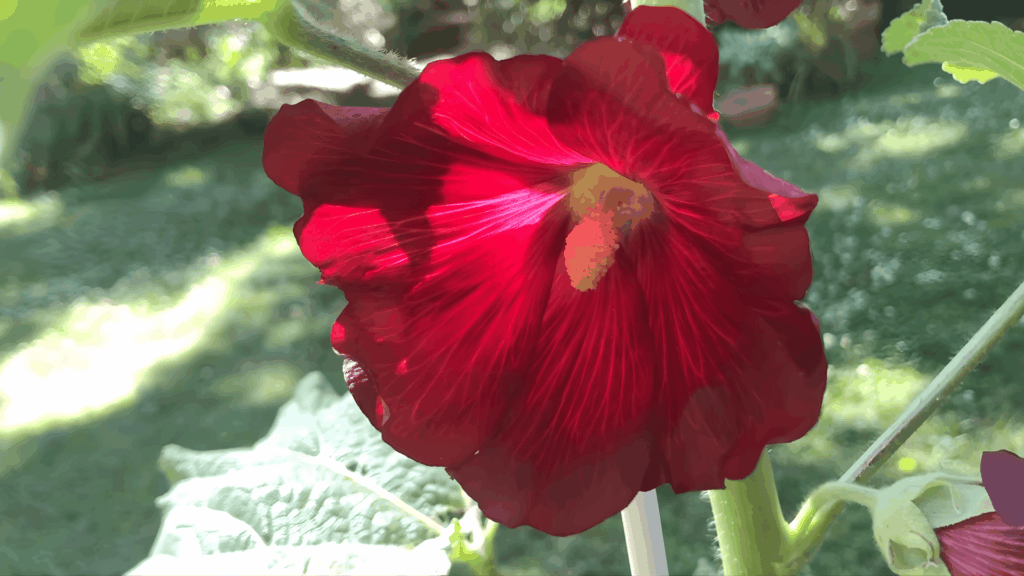
Hollyhocks are worth the wait, but they can take up to two years before they start blooming. After germinating and growing through their first season, they will bloom in their second season, providing tall, vibrant flowers.
Be patient and allow the plants to mature fully. Once they bloom, you’ll see beautiful flowers that grow sequentially along the stem.
The wait is well worth it, as hollyhocks are known for their beautiful visual impact and colorful display in the garden.
This tutorial is based on a helpful video by Now This is Gardening with JohnnyA. You can check out the original video on their YouTube channel here or watch it below.
Preparing the Soil for Hollyhocks
Hollyhocks prefer well-drained, fertile soil to grow healthy and strong. Start by loosening the soil to a depth of at least 12 inches using a garden fork or tiller.
This helps create space for the roots to spread. Add compost or well-rotted manure to enrich the soil with essential nutrients and improve its structure, making it easier for roots to grow deep.
If your soil is heavy or clay-like, mix in some sand or perlite to enhance drainage. Hollyhocks also thrive in slightly alkaline soil, so check the pH; it should be between 6.5 and 7.5.
If needed, amend the soil by adding lime to raise the pH. Once the soil is well-prepared, your hollyhocks will have the best chance for strong growth and beautiful blooms.
Make sure the soil stays moist but well-drained to prevent root rot.
Caring for Hollyhocks: Watering and Maintenance Tips
Caring for hollyhocks is easy once you understand their basic needs. These flowers require proper watering and attention throughout the growing season.
- Water regularly: Ensure the soil stays moist, especially during dry periods. Deep watering is best, but avoid soaking the soil to prevent root rot.
- Mulch around plants: Apply a layer of mulch to help retain moisture and keep weeds at bay, creating an ideal growing environment.
- Prune spent flowers: Removing dead flowers encourages fresh blooms and helps maintain a tidy appearance, promoting better overall plant health.
- Stake tall plants: As hollyhocks grow tall, use stakes or supports to prevent them from falling over, especially in windy conditions.
- Fertilize in spring: Feed your plants with a balanced fertilizer in early spring to promote healthy growth throughout the growing season.
- Watch for pests: Inspect your hollyhocks regularly for aphids and rust. Treat them promptly to avoid spreading to other plants.
- Cut back in fall: After blooming, cut the plants back to the ground to prepare them for the winter months, helping them stay strong for the next season.
When to Expect Hollyhocks to Bloom?
Waiting for hollyhocks to bloom can feel like a test of patience, but the reward is worth it. Hollyhocks are biennial plants, which means they usually bloom in their second year.
If you’ve just planted your seeds, you might have to wait a full year for your hollyhocks to bloom, but don’t worry, this gives the plants plenty of time to establish strong roots.
By the second year, they’ll reward you with tall, impressive flower spikes.
For those who are growing hollyhocks from seeds, you’ll see germination within a few weeks after planting, but blooms typically won’t appear until the following summer.
If you plant them in the spring, expect flowers the next year, usually starting in late spring or early summer.
Remember, these plants thrive in full sun, so ensure they’re planted in a sunny spot for the best bloom results. Even though it takes time, seeing those bright, colorful flowers is a moment you’ll never forget.
Common Issues when Growing Hollyhocks
While Hollyhocks Are Relatively Easy to Grow, There Are a Few Common Problems You May Encounter. Knowing how To Handle These Issues Ensures Your Plants Stay Healthy and Continue to Bloom Year After Year.
- Rust: a Fungal Disease that Causes Orange Spots on Leaves. to Control Rust, Remove Infected Leaves and Avoid Overhead Watering. Apply a Fungicide if Necessary.
- Aphids: these Tiny Pests Suck Sap from Hollyhock Plants, Causing Leaves to Curl. Use Insecticidal Soap or A Strong Jet of Water to Wash Them Off.
- Powdery Mildew: a White Powdery Coating on The Leaves. Increase Air Circulation Around the Plants, Remove Affected Leaves, and Apply Fungicide if Needed.
- Hollowness of Stems: this Occurs when Plants Don’t Get Enough Sunlight or Are Too Crowded. Ensure Your Hollyhocks Are Well Spaced and Receive Full Sunlight.
- Tall Plants Falling Over: hollyhocks Can Grow Tall and Become Top-Heavy. Stake the Plants or Use Supports to keep them upright in windy areas.
- Poor Flowering: If Your Hollyhocks Aren’t Blooming, They May Not Be Getting Enough Sunlight. Ensure They Are in A Sunny Spot and Avoid Overcrowding.
- Yellowing Leaves: This Can Be a Sign of Nutrient Deficiency or Overwatering. Ensure the Soil Drains Well and Consider Using a Balanced Fertilizer.
Seasonal Considerations for Planting Hollyhocks
These Biennial Plants, Like Hollyhocks, Thrive when Given the Right Conditions, and Understanding the Seasonal Needs Can Help You Achieve a Vibrant Garden.
1. Spring Planting
The Best Time to Plant Hollyhocks Is in Early Spring, Right After the Last Frost.
This Timing Gives the Plants Enough Time to Establish Strong Roots During the Growing Season Before the Colder Weather Arrives.
In Areas with Cold Winters, Starting Hollyhocks in Spring Ensures They Have the Entire Growing Season to Develop, Preparing Them to Bloom the Following Year Beautifully.
By Planting Them in Spring, You Set the Foundation for Healthy, Vibrant Flowers in The Second Season.
2. Fall Planting
In Warmer Climates, Fall Planting Is a Great Option. by Sowing Seeds in Late Fall, You Give Them a Chance to Overwinter in The Soil.
When Spring Arrives, the Seeds Will Start to Grow, Giving Your Hollyhocks a Head Start for The Growing Season.
This Method Works Well Because the Cooler Winter Temperatures Help the Seeds Stay Dormant until The Warmth of Spring Triggers Germination.
It’s an Excellent Way to Get an Early Bloom the Following Year.
3. Temperature Needs
Hollyhocks Thrive in Cooler Temperatures, Making Them Best Suited for Spring or Fall Planting. the Ideal Temperature Range for Germination and Growth Is Between 60–75°f (15–24°c).
If Planted During These Temperatures, Hollyhocks Are More Likely to Sprout Quickly and Grow Healthy. Too Much Heat Can Stress the Plants, Making Them More Susceptible to Pests and Diseases.
By Planting Within This Range, You’ll Give Your Hollyhocks the Best Conditions for Establishing Strong Roots and Blooming Effectively.
4. Avoid Extreme Heat
Hollyhocks Can Struggle in Extreme Heat, Especially in Areas with Intense Summer Sun. If you’re planting in The Summer, it’s Best to find a Location with Partial Shade.
This Will Protect the Young Plants from Heat Stress While Still Allowing Them to Get Enough Sunlight to Grow.
During Very Hot Weather, Make Sure to Water Them More Frequently, as The Soil Can Dry out Quickly. Proper Care During Heat Waves Ensures Healthy Growth and Vibrant Blooms Later On.
How to Harvest Hollyhock Seeds for Next Season?
Harvesting Hollyhock Seeds for The Next Season Is a Rewarding Process that Allows You to Grow New Plants without Needing to Buy More Seeds.
- Wait for The Flowers to Wilt: Allow the Flowers to Fully Bloom and Fade, Letting the Seed Pods Dry and Turn Brown.
- Cut the Seed Pods: Use Pruning Shears to Cut the Dry Seed Pods Before They Split Open and Release the Seeds.
- Extract the Seeds: Open the Dried Seed Pods and Gently Tap or Shake to Release the Seeds, Separating Them from Any Chaff.
- Store the Seeds Properly: Store the Seeds in An Airtight Container in A Cool, Dry Place to Keep Them Viable for Next Season.
- Label and Organize: Label the Container with The Date and Variety to Keep Your Seeds Organized and Ready for Planting.
What Do People on Reddit Think?
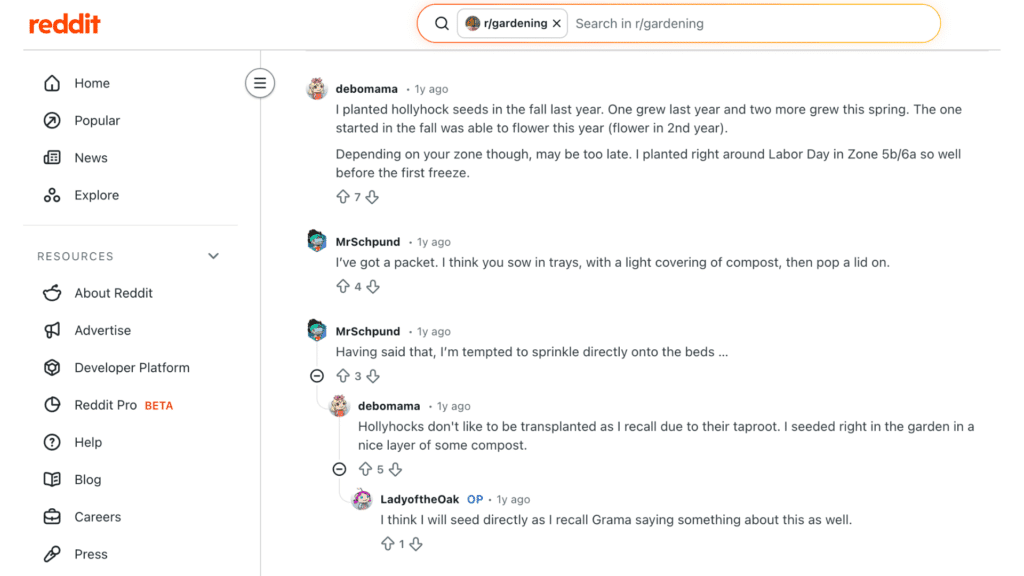
Reddit Users Have Shared a Wealth of Advice and Experiences About Growing Hollyhocks.
Many Recommend Planting Hollyhocks in The Fall, as This Allows the Seeds to Establish Roots Before Winter, Leading to Blooms the Following Year.
For Those in Colder Zones, Planting Around Labor Day Is Ideal. A common tip is to Seed Directly into Garden Beds, Since Hollyhocks Don’t Transplant Well Due to Their Deep Taproot.
Some Users Also Suggest Starting Hollyhocks in Peat Pots Indoors to Avoid Disturbing the Roots when Transplanting Them Into the Ground.
Others Recommend Experimenting with Both Fall and Spring Planting to Increase the Chances of Success, as It Allows for A Range of Blooming Times.
Many Gardeners Agree that Hollyhock Seeds Are Resilient, with Some Even Sharing Stories of Seeds Sprouting After Being Stored for Years. This Makes Hollyhocks a Forgiving and Rewarding Plant to Grow.
Expert Tips for Growing Healthy Hollyhocks
Growing Healthy Hollyhocks Requires a Bit of Attention and Care, but With the Right Tips, You Can Enjoy Vibrant Blooms Year After Year.
- Choose the Right Location: Plant Hollyhocks in A Spot that receives at least 6 Hours of Direct Sunlight Each Day. They Thrive in Full Sun and Need It to Bloom Fully.
- Use Well-Drained Soil: hollyhocks Prefer Slightly Alkaline, Well-Drained Soil. Adding Compost or Organic Matter Can Improve Soil Quality and Prevent Waterlogging.
- Space Them Properly: Space Hollyhocks at Least 18 Inches Apart to Ensure Good Airflow, Which Helps Prevent Disease and Encourages Strong Growth.
- Water deeply but sparingly: water Hollyhocks Deeply, ensuring the Soil Is Moist but Not Soaked. Avoid Overhead Watering to Reduce the Risk of Fungal Diseases.
- Stake Tall Plants: as Hollyhocks Grow, They Can Become Top-Heavy. Use Stakes or Plant Supports to Keep Them Upright, Especially in Windy Areas.
- Prune for Health: Remove Dead Flowers to Encourage New Blooms and Prevent Wasted Energy on Unproductive Parts of The Plant.
- Control Pests Early: Keep an eye out for common pests like aphids or slugs, and take action quickly to prevent damage to your plants.
Wrapping Up
Growing hollyhocks has taught me one simple thing: patience really pays off. From picking the right planting time to caring for tall stems, every step matters.
If you give them sunlight, space, and a little care, they will reward you with tall, colorful flowers that truly stand out in any garden.
I know it can feel slow at first, especially when waiting for blooms, but trust me, it’s worth it. Once they flower, you’ll see why so many gardeners love them.
I always enjoy saving seeds for the next season, because it keeps the cycle going without extra cost. It also feels great to grow new plants from your own garden.
If you’re thinking about growing hollyhocks, start this season and see the results for yourself. And if you’ve already tried them, share your tips or questions below. I’d love to hear from you!