
A diy garden fence was my go-to choice when I wanted to protect my plants without spending a lot of money.
If you are working on a tight budget, building it yourself is a smart outdoor project. You get control over the look, the size, and the cost, which is hard to beat.
In this article, I share how to choose a fence style, what low-cost tools and materials you need, and how to build it step by step.
I also cover tips to keep it straight, common mistakes to avoid, and what the full project may cost you.
You do not need advanced skills or special tools to get started. Most diy garden fence projects take a weekend or two and basic effort.
If you can measure, dig a little, and follow simple steps, you can build a clean and strong fence on your own.
Choosing the Right Fence Style
Choosing the right fence style depends on how you plan to use your garden and how much space you have.
For vegetable gardens, simple wire or wooden slat fences work well because they keep plants safe without blocking light.
If pets are the main concern, a sturdier style with tighter spacing helps stop digging or squeezing through.
Small yards do best with low-profile fences that mark space without making it feel closed in. Budget also matters. Recycled wood, wire mesh, and pallet fences cost less and still do the job.
Always think about purpose first, then match it with size and cost.
A fence does not need to look fancy to work well. It just needs to fit your garden’s needs.
When you focus on function, size, and budget, choosing a fence style becomes much easier and saves you time, money, and frustration later.
Best Low-Cost Tools and Materials that You’ll Need
Having the right items ready makes the build smoother and helps avoid delays. Most of these tools and materials are affordable and easy to find.
- Posts and panels (this build uses 1800 mm panels)
- Bolt-down post holders (for concrete or solid surface)
- Spiked post holders (if fixing into soil)
- Concrete bolts (M8 used here)
- SDS drill with a 7 mm bit
- Socket set or impact driver with socket attachment
- Tape measure, spirit level and plumb
- String line or chalk line
- 3×2 and 4×2 timber for rails and fixing blocks
- Panels spacer (one panel on edge works well) and small timber for consistent height
- Saw for trimming existing posts
How to Build a DIY Garden Fence?
The steps below follow a clean, logical order to keep the work smooth. Taking time with each stage helps avoid mistakes and saves effort later.
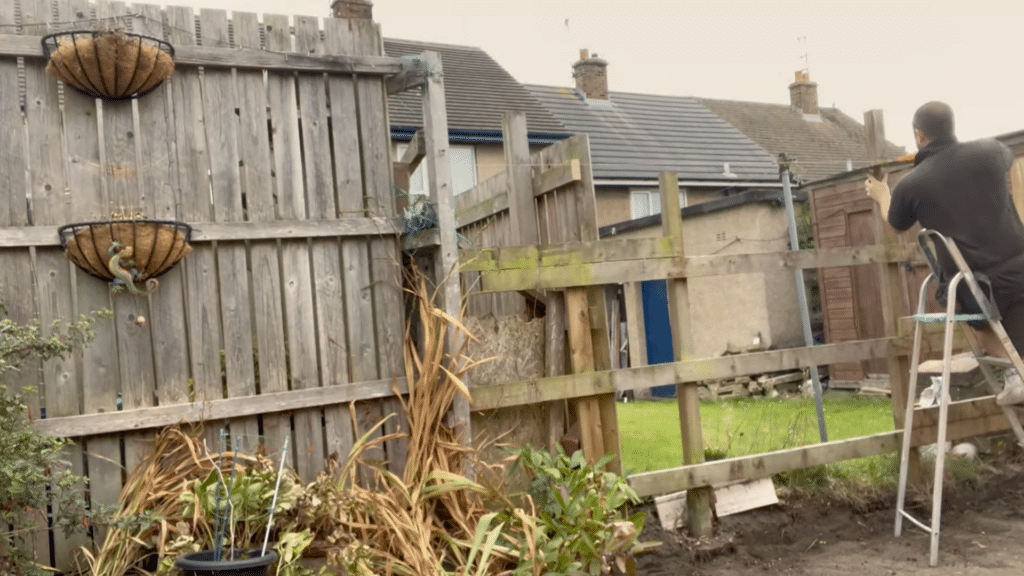
Step 1: Clear the Area and Plan the Run
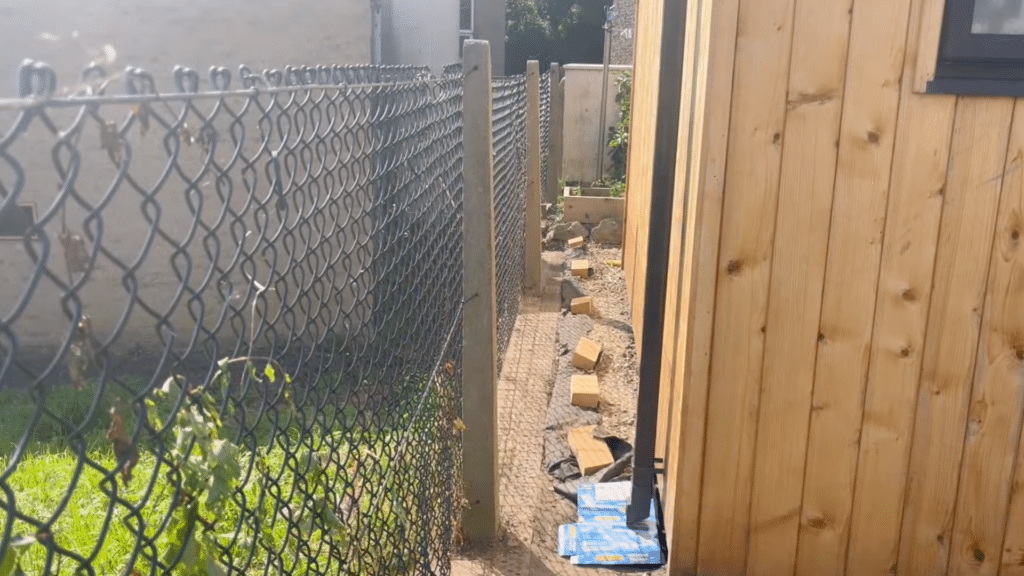
Start by removing any old fencing, loose debris, weeds, and plants along the fence run so the area is clear and easy to work in.
Look closely for retaining walls, raised beds, or sloped ground, and note any level differences that may affect post height. Next, decide how the posts will be fixed.
Solid surfaces like concrete require bolt-down post holders for stability.
For soil or grass areas, spiked post holders work better and are quicker to install without digging deep holes.
Step 2: Mark Post Positions and Set Spacing
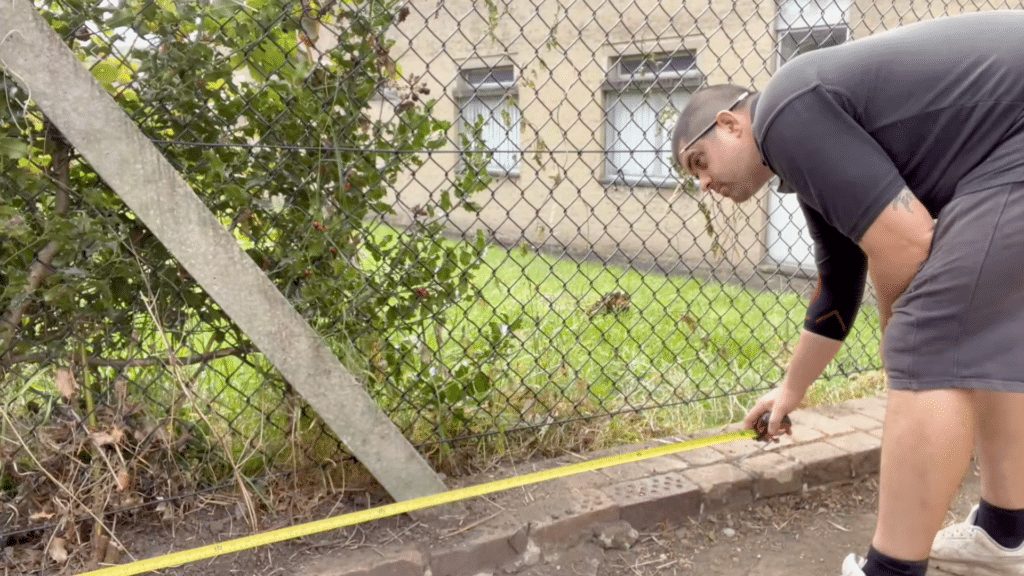
Lay out the fence posts using consistent spacing to keep the structure strong and straight.
A practical spacing for standard fence panels is 1800 mm between each post. Measure carefully and mark each position clearly on the ground.
Use a 3×2 batten or any straight piece of timber to sight along the line as positions are marked. This helps spot alignment issues early.
Taking time to check spacing and straightness now prevents uneven panels and weak sections later in the build.
Step 3: Drill and Fix Bolt-Down Post Holders
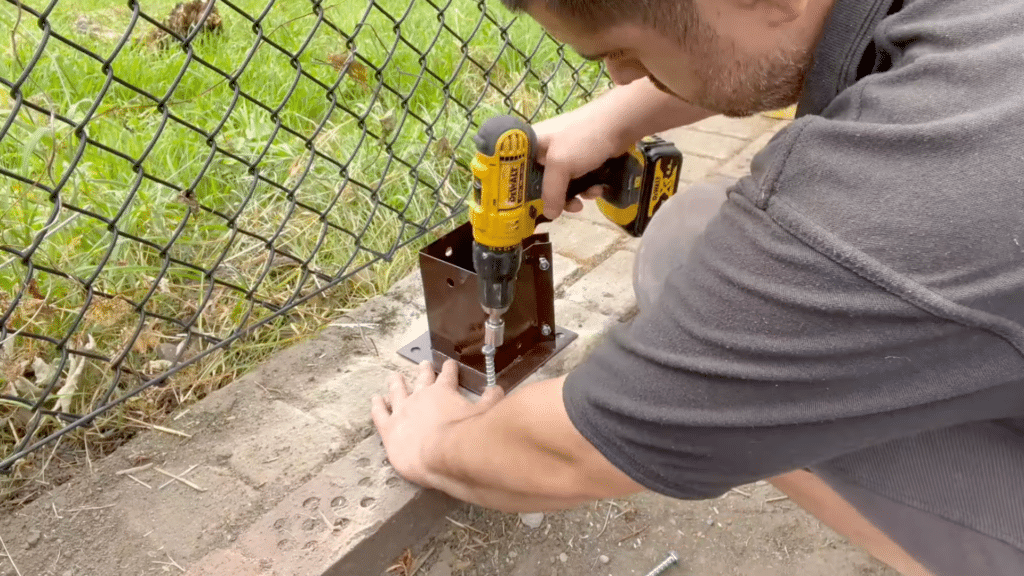
When fixing posts into concrete or a retaining wall, start by positioning the post holder and marking each fixing hole clearly.
Drill the holes using an SDS drill to ensure clean and accurate results.
A 7 mm drill bit works well for M8 concrete bolts. Push the bolts firmly into the holes and tighten them evenly.
Using a cordless drill with a socket attachment makes the job easier, while an impact driver provides extra torque. Properly fixed concrete bolts create a strong, stable base for posts.
Step 4: Position and Align Posts
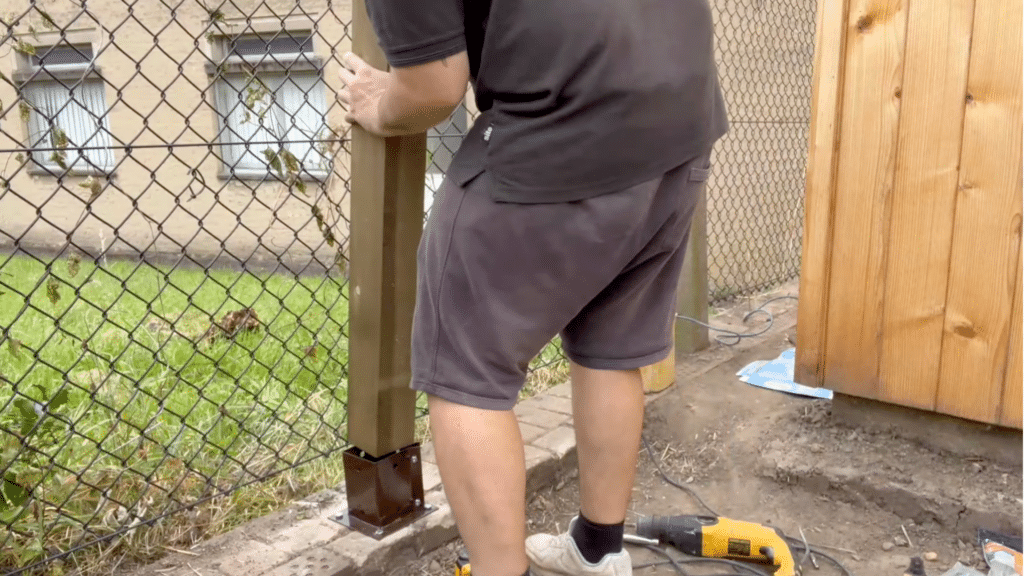
Push each post into its fixed holder and secure it loosely so adjustments can be made.
Use a tape measure to confirm spacing and a spirit level to check that the post is straight from front to back and side to side.
Run a temporary batten or string line along the tops of all posts to keep the run aligned.
Check both the level and plumb carefully for every post. Make small adjustments as needed before fully tightening the fixings to lock everything in place.
Step 5: Fix End Posts to Adjacent Structures
Where the fence meets a neighbor’s wall or an existing structure, add timber to create a solid fixing point for the rails.
Fix a short piece of 4×2 timber half on and half off the wall, leaving about a 50 mm overlap for secure rail attachment. Use suitable wall plugs and masonry screws to hold it firmly in place.
On the opposite side, fix a 2×2 batten to the structure.
This provides a clean anchor without attaching rails directly to old or unattractive wire fencing.
Step 6: Fit the Top, Middle, and Bottom Rails

Start with the top rail. Have someone hold the rail while you level and mark its position on the posts.
Screw two fixings near each end and a couple along the length as needed. Repeat the process for the middle and bottom rails.
Small adjustments at this stage ensure the panels sit squarely with no gaps and the rails remain level.
Two screws on each end are usually enough to hold the rail while you level and plumb the post.
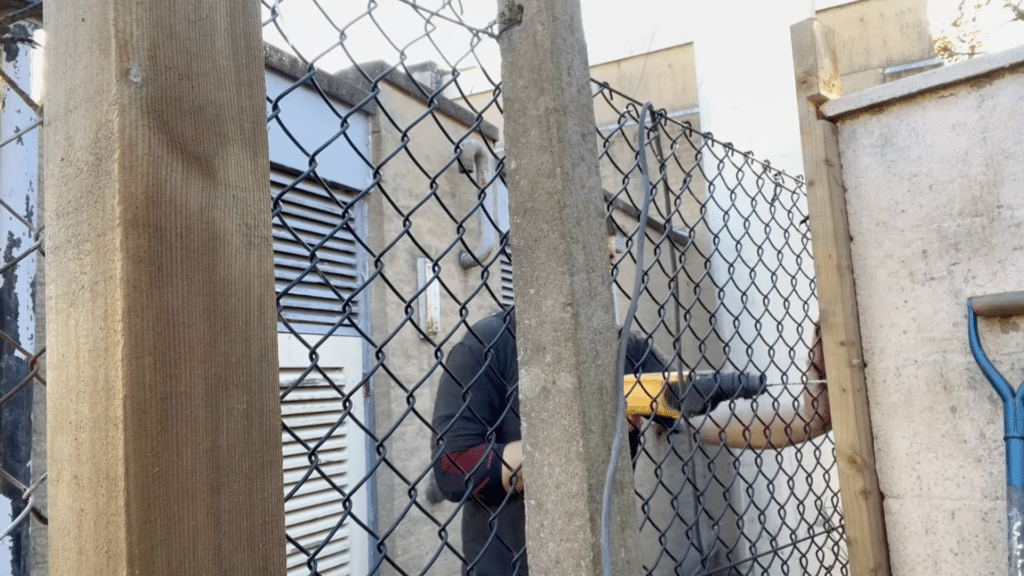
Step 7: Trim Any Existing Posts to Hide Behind Panels
If older posts extend above the height of the new fence panels, trim them down before installing the panels.
Use a string line to mark a clear and even cut line below where the panel tops will sit. This keeps the fence line neat and consistent.
Cut the posts carefully using a saw to achieve straight, clean edges. Once trimmed, the panels should sit just above the old posts so they remain hidden.
This step helps create a clean look and prevents uneven lines along the top of the fence.
Step 8: Use a String Line as Your Guide for Uneven Ground
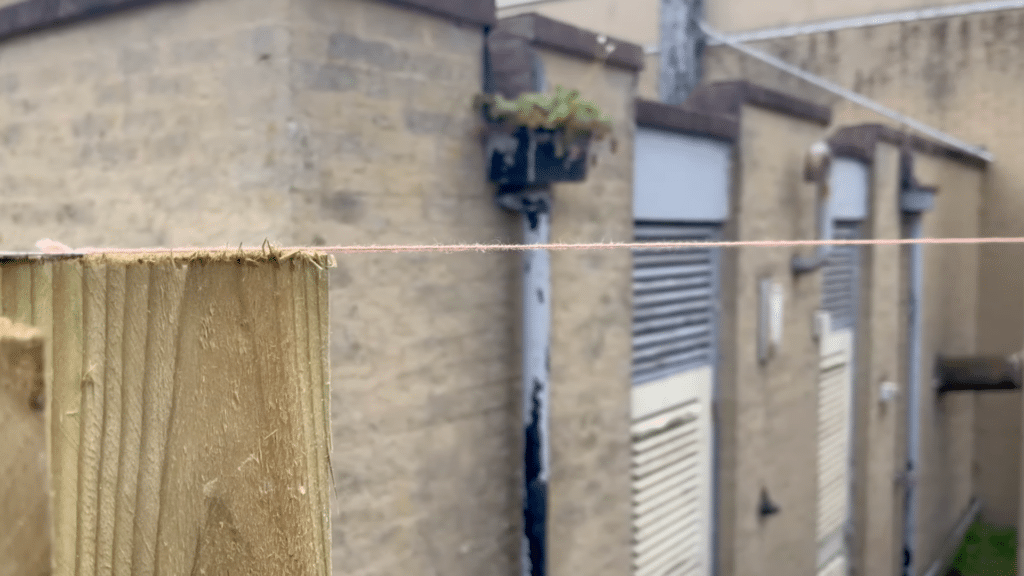
When the ground is uneven, using a string line or chalk line helps keep the fence looking straight.
Run the line from one end of the fence to the other so it sits at the exact height where the panels will finish.
If needed, tie the string to a small screw fixed into a 2×2 block attached to the end post. Leave about 20 to 30 mm of clearance above the posts.
This space prevents the string from getting in the way while fixing panels and rails.
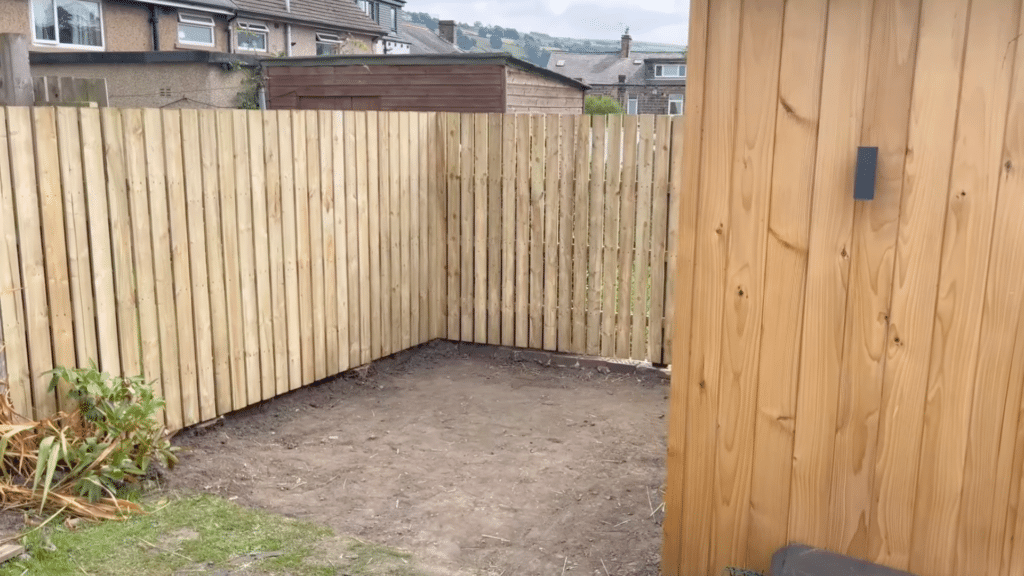
Step 9: Fit the Panels with a Consistent Spacer
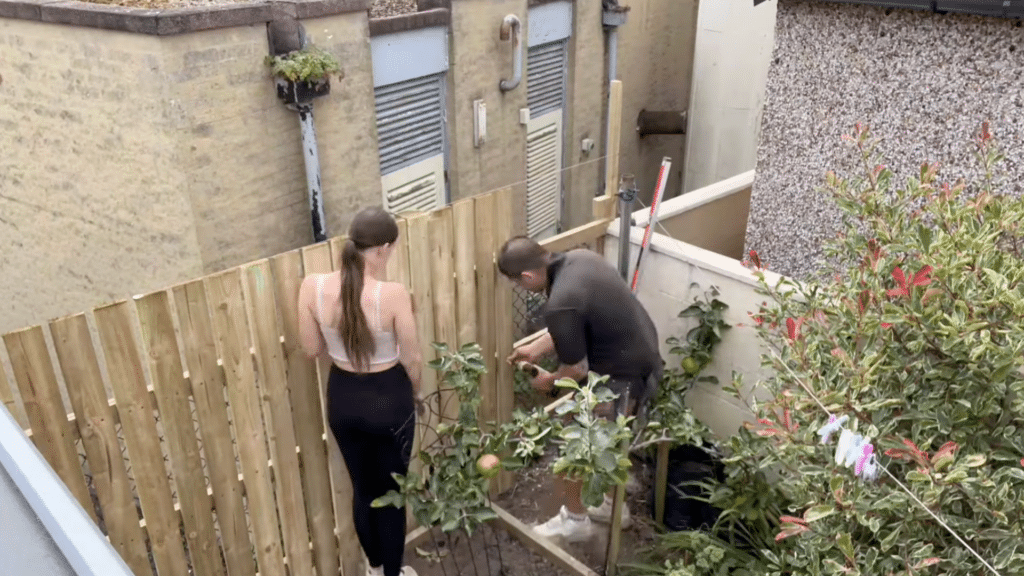
Use one panel on edge as a spacer, plus a small length of timber under the bottom to achieve a uniform height above the retaining wall or uneven ground.
If your panels are sized to 1800 mm, you may not need to cut them.
Hold each panel against the rails, align the top with the string line, and screw it into the rails.
Working with a helper speeds this part up significantly; one person can hold the spacer while the other fixes the screws.
Step 10: Final Checks and Finishing Touches
Walk along the full length of the new fence and inspect each section carefully. Check that posts and panels are level, straight, and firmly fixed in place.
Tighten any screws or bolts that feel loose and look for areas that may need small adjustments. Trim off excess timber or sharp edges to improve the overall finish.
Remove scrap wood, leftover fixings, and debris from the area.
Finish with a final pass using a spirit level to confirm the fence looks neat, solid, and properly aligned from end to end.
This tutorial is based on a helpful video by The DIY Fix. You can check out the original video on their YouTube channel here or watch it below.
Tips to Keep Your Fence Straight and Strong
A few small steps during the build can make a big difference later. These tips help your fence stay solid and look neat over time.
- Measure post spacing carefully before digging. Use a tape measure and mark spots with stakes so posts stay even.
- Set posts deep enough to support the fence. A depth of one-third the post length helps prevent movement.
- Use a level on every post as you set it. Check from two sides to avoid leaning.
- Pack soil or concrete tightly around each post to remove air gaps that cause shifting.
- Keep fence panels off the ground to reduce rot and water damage.
- Check alignment often while building instead of fixing issues later.
How Much Does a DIY Garden Fence Really Cost?
The cost of a diy garden fence depends on the size of your space and the materials you choose. Most DIY fences cost between $100 and $500 for small to medium gardens.
Wire fencing and recycled wood sit on the lower end, while new wood panels cost more. Fence height and post spacing also affect the total price.
Hiring a professional often costs $1,500 or more, even for simple jobs, which makes DIY the cheaper option.
Before you start, measure your garden and list every supply you need. This helps avoid last-minute purchases that raise costs.
Always add a small buffer for extra posts or fasteners.
When you plan around materials, size, and labor savings, you get a clear budget and fewer surprises during the build.
Common DIY Garden Fence Mistakes to Avoid
Small oversights during planning or building can lead to extra work later. Paying attention early helps save time, money, and effort.
- Skipping proper measurements and guessing post spacing instead
- Using the wrong materials for soil type or weather conditions
- Setting posts too shallow, which leads to leaning over time
- Not checking the level often while installing posts and panels
- Forgetting drainage needs in areas that collect water
- Attaching panels before the posts are set, causing weak sections
- Ignoring long-term upkeep like sealing or treating wood
Conclusion
Building your own garden fence is easier than it may seem. With a clear plan, low-cost materials, and proper post setup, the project feels manageable.
You save money, work at your own pace, and end up with something that fits your space.
Even small steps, like double-checking measurements or leveling each post, make a big difference.
Starting small helps build confidence, and you can always improve or extend the fence later. The best part is knowing you built it yourself and did it right.
If you have been waiting for the “right time,” this is it. Grab your tools, start simple, and trust the process.
Would you give this a try? With the steps above and the right fixings, you can build a durable fence that looks tidy and stays straight for years.
Frequently Asked Questions
Do Garden Fences Need Permits in Residential Areas?
Permit rules vary by city and neighborhood. Some low fences do not need approval, while others do. Checking local codes or HOA rules helps prevent fines or removal later.
Which Fence Material Handles Weather Best Over Time?
Pressure-treated wood, cedar, and metal perform well outdoors. Longevity depends on climate, moisture levels, and maintenance. Regular sealing or rust prevention greatly extends fence life in harsh conditions.
Can a DIY Garden Fence Be Changed or Moved Later?
Many DIY fences can be adjusted if the posts are not set in concrete. Using gravel bases and modular panels allows easier relocation as garden layouts or needs change over time.