
I love bringing the scent of Lavender into my home, especially after the growing season ends. If you have fresh Lavender from your garden or the market, drying it is a great way to enjoy it longer.
I’ll show you how to dry lavender bundles the right way so the flowers keep their color and calming scent.
You do not need special tools or experience. I will share when to harvest Lavender, how to bundle the stems, and the best place to hang them for drying.
I’ll also share simple tips to help the fragrance last. By the end, you will know how to dry lavender step by step and store it properly.
If you want dried bundles for decor, sachets, or potpourri, these methods are easy to follow and work well at home.
Best Time to Harvest Lavender for Drying
Timing makes a big difference when drying Lavender. I always check the buds before cutting the stems. The best time to harvest is when the buds are formed but not fully open.
At this stage, Lavender holds the strongest scent, which helps the fragrance last after drying.
Morning is usually the best time to cut Lavender. I wait until the dew dries, then harvest before the sun gets too warm.
This helps keep the natural oils inside the flowers. Choose stems that look fresh and healthy. Avoid stems with fading flowers or weak growth.
Healthy stems dry better and keep their scent longer.
Try to cut longer stems when possible. Longer stems make bundling easier and allow you to hang the Lavender neatly while it dries.
Tools and Supplies Needed to Dry Lavender Bundles
Drying lavender bundles is simple, and you do not need many tools. Gather a few basic items before starting, so the process stays easy and organized. Most of these supplies are already found in many homes.
- Fresh Lavender Stems: Cut long, healthy stems with flowers fully open. Fresh stems dry better and keep more scent.
- Rubber Bands or String: Use these to tie stems into small bundles. They hold the bunch tight as the stems shrink during drying.
- Sharp Scissors or Pruners: Clean cuts help protect the plant and make bundle prep quicker and easier.
- Paper Bags (Optional): Cover bundles with a paper bag to catch loose buds and protect from dust while drying.
- Twine or Hook for Hanging: Hang bundles upside down in a dry place. Good airflow helps them dry evenly.
- Dry, Dark Space: A well-ventilated area, like a closet or attic, keeps color and scent strong.
- Tray or Mat (Optional): Place under hanging bundles to collect any falling petals and keep the area clean.
How to Make Lavender Bundles Before Drying?
These steps give you a clear view of how the method works from start to finish. Following them makes it easier to prepare your materials, organize the stems, and move through each stage in the right order.
Step 1: Choose the Right Lavender Variety

The type of lavender matters. Two common types are French Provence lavender and English lavender.
French lavender usually grows taller and has thicker stems. These sturdy stems bend more easily and retain their shape once the bundle dries.
English lavender can still work, but the stems are thinner and softer.
If you plan to grow lavender specifically for bundles, French Provence lavender is often the better choice.
Step 2: Prepare and Clean the Stems
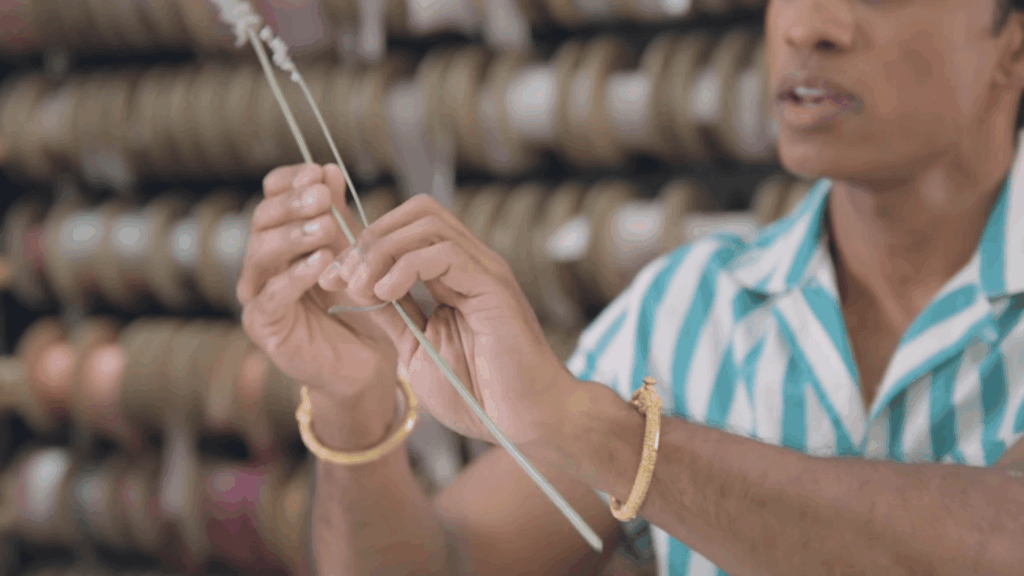
After cutting the lavender, the next step is preparing the stems. Begin by removing any leaves or small side branches from the stems.
The goal is to keep only the flower heads and clean stems.
Removing extra leaves helps prevent moisture buildup while the lavender dries.
Another benefit is that rubbing the stems releases their scent, filling the area with a light lavender fragrance while you work.
Step 3: Gather the Stems into a Bundle
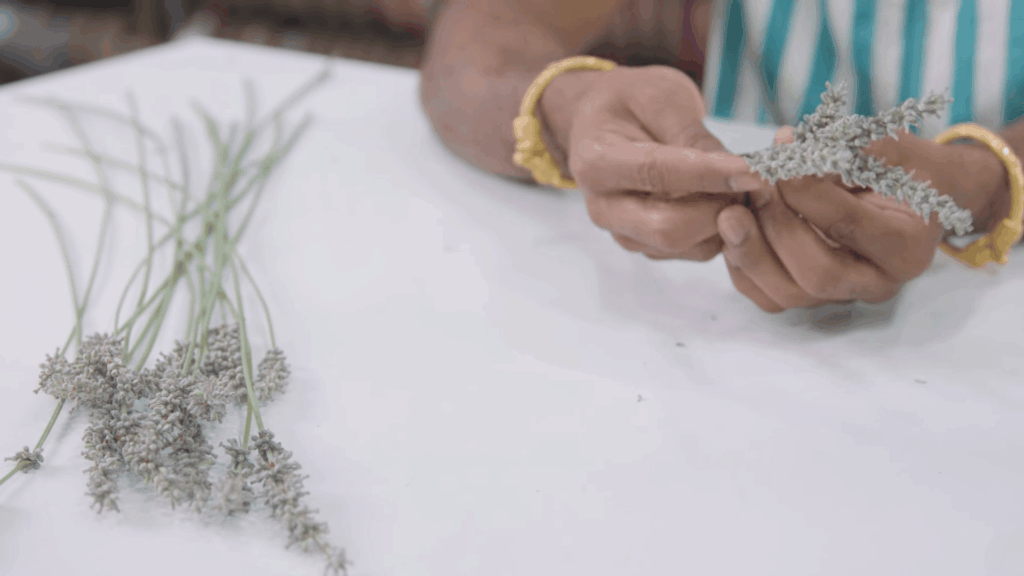
After cleaning the stems, gather them so the bases of each flower head sit at the same level. Use about twenty to thirty stems for one bundle.
Hold the stems together just below the flower heads while you arrange them.
If some stems are longer, place them in the center to keep the bundle even.
This helps the bundle look neat and balanced when you tie it with ribbon and keeps the shape uniform. It also makes drying more even and improves final results overall.
Step 4: Tie the Bundle with Ribbon
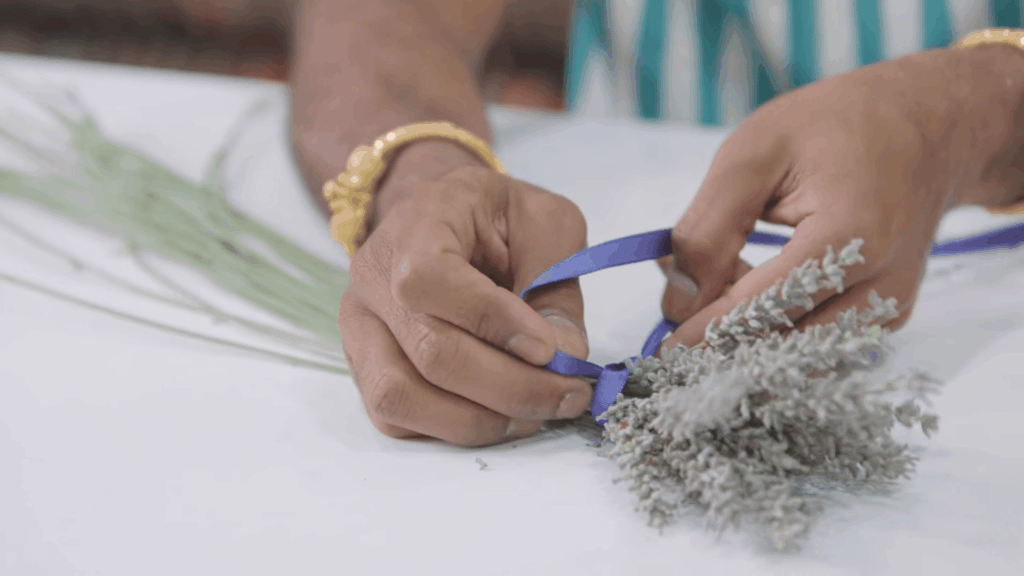
Cut a ribbon about one to one and a half yards long. Slide it under the flower heads and tie it tightly at the base of the stems.
This knot keeps the bundle firm and ready for the next step. Make sure the lavender is still fresh while doing this part.
Fresh stems are soft and easy to bend, which helps prevent cracks.
This also makes weaving smoother and helps you shape the bundle neatly while keeping everything secure and in place.
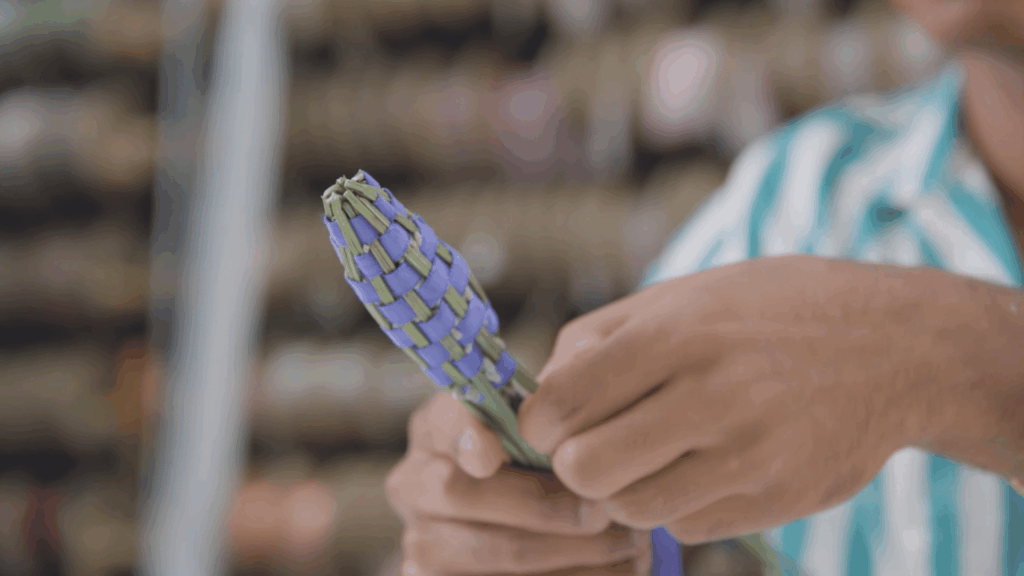
Step 5: Bend the Stems Over the Flower Heads
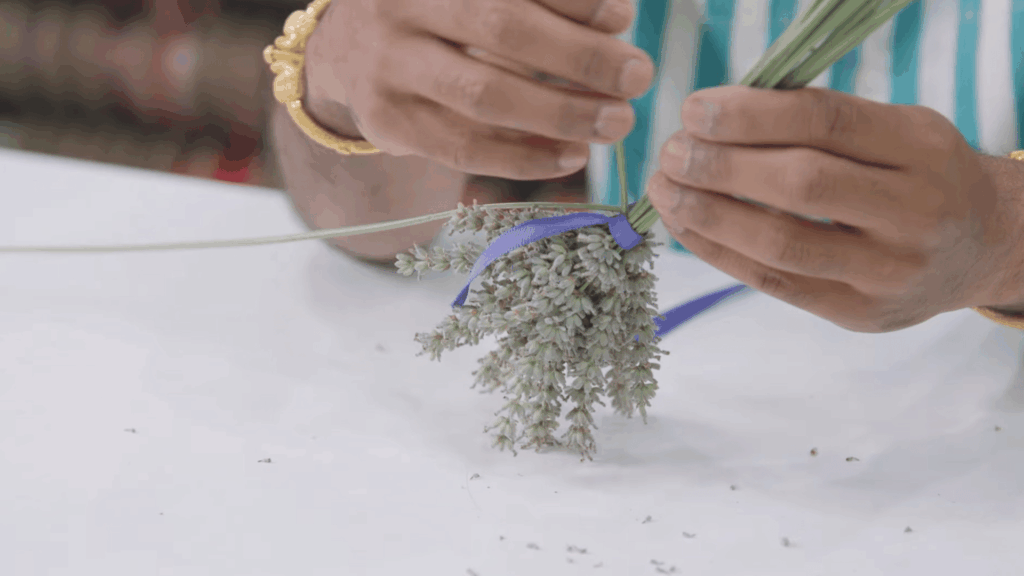
After tying the ribbon, turn the bundle upside down. Gently fold each stem down over the flower heads, one at a time.
Make sure the stems bend evenly around the flowers to keep the shape balanced. This forms a cage-like cover around the lavender buds.
It helps hold everything together and keeps the flowers safe.
This step builds the main structure of the bundle and protects the buds while they dry, so they stay neat and in good condition.
Step 6: Wrap the Ribbon Around the Stems
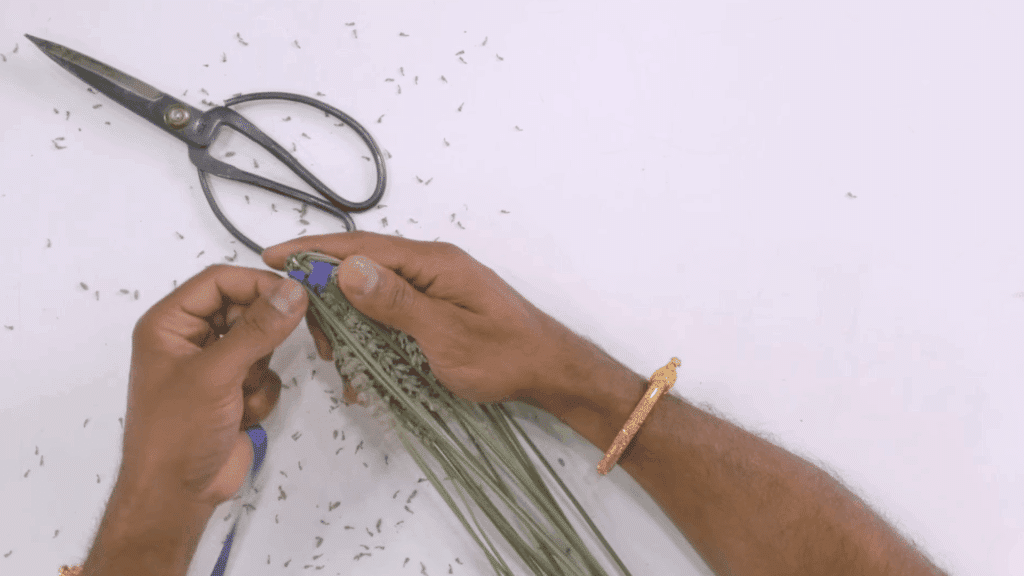
Now the ribbon wrapping begins. Using the long ribbon, wrap it over two stems and under two stems repeatedly around the bundle.
The first round is the most difficult because the stems are still loose. Take your time and keep the pattern consistent.
Once the first two rows are complete, the basket pattern becomes easier to follow. Continue wrapping until you reach the bottom of the flower section.
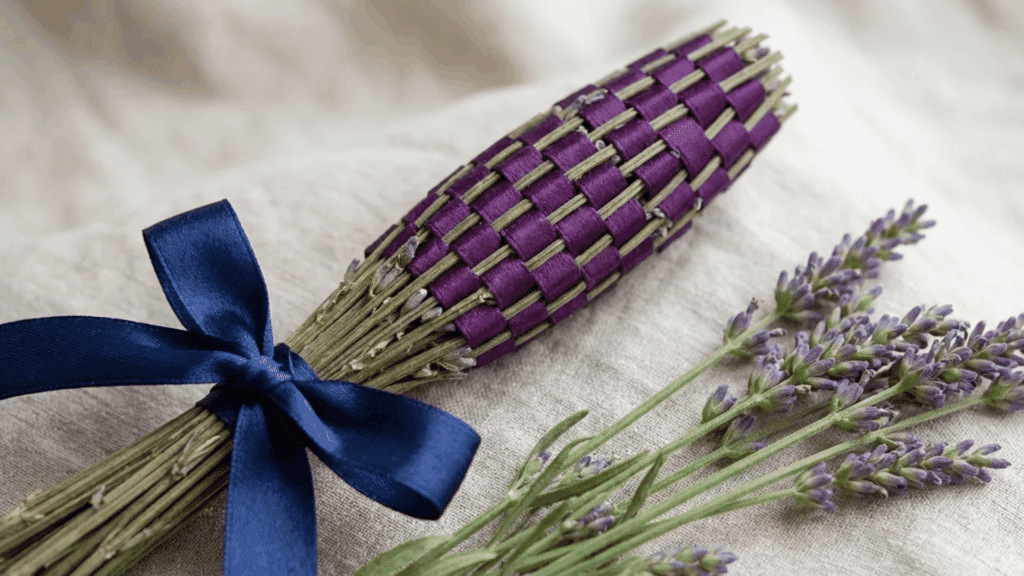
Step 7: Secure the Bundle and Trim the Ends
When the weaving reaches the bottom, tie another knot to secure the ribbon firmly in place. This step helps keep the pattern tight so it does not loosen over time.
After that, wrap a decorative ribbon around the base and tie it into a bow for a clean finish.
Trim the stem ends so they look even and neat.
At this point, the lavender bundle is complete. It is now ready to dry while holding its shape and keeping its scent fresh.
Step 8: Let the Lavender Dry Naturally
Place the finished bundle in a dry, well-ventilated area. As it dries, the stems harden and the lavender buds inside release a gentle scent. These bundles can last many years.
They are often placed in drawers, closets, or under pillows to keep fabrics smelling fresh.
If the scent fades over time, gently press the dried buds. This releases the oils again and refreshes the lavender fragrance.
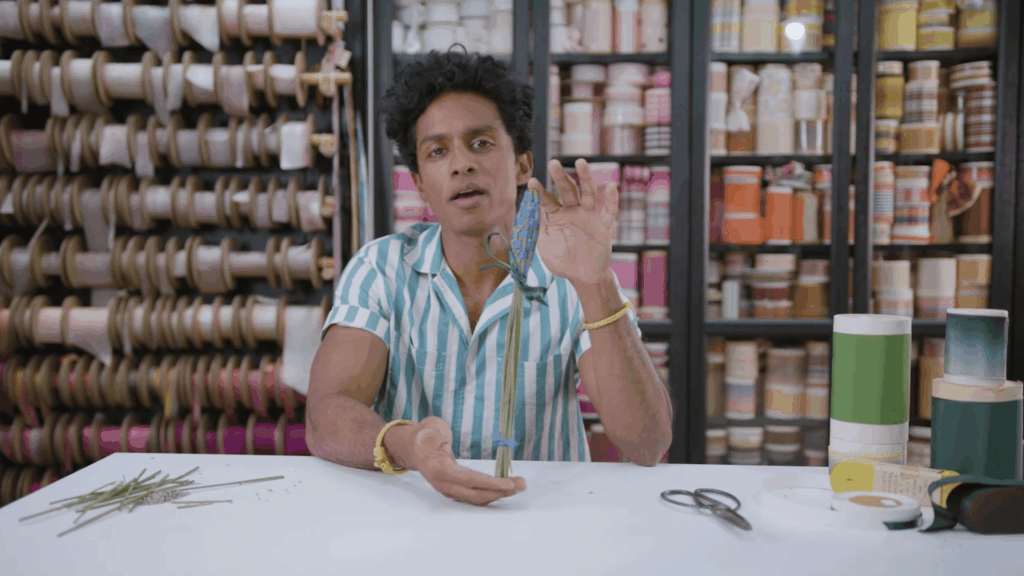
This tutorial is based on a helpful video by HGTV Home . You can check out the original video on their YouTube channel here or watch it below.
Tips to Keep Lavender Color and Fragrance
Small details during drying can make a big difference in how Lavender looks and smells later. These simple tips help preserve both the natural purple color and the gentle scent.
- Harvest Lavender Early: Cut Lavender when buds are mostly closed, just before full bloom. This stage holds the strongest natural oils, which help the fragrance stay rich after drying.
- Keep Bundles Small: Use small bundles of about 10–15 stems. Smaller bundles allow better air circulation, which helps the flowers dry evenly without trapping moisture.
- Dry in a Shaded Area: Place Lavender in a dark or shaded space while drying. Direct sunlight can fade the purple color and weaken the natural scent of the flowers.
- Choose a Dry, Airy Spot: Hang Lavandein in a spot with good airflow below humidity. Too much moisture can dull the fragrance and slow the drying process.
- Handle the Flowers Gently: Avoid squeezing or crushing the buds when tying bundles. Gentle handling keeps the flower heads intact and helps them keep their natural look.
How to Store Dried Lavender Bundles Properly?
Once lavender bundles are fully dry, storing them the right way helps keep their scent and color for a long time. I usually move the bundles to storage soon after they finish drying so they stay fresh.
The most important thing is choosing a cool, dry, and dark place.
Light and heat can slowly fade the purple color and weaken the fragrance. A drawer, closet shelf, or storage box often works well.
If you want to store loose bundles, you can place them in glass jars, paper bags, or sealed containers.
These options protect the flowers from dust and moisture. Some people prefer to keep the bundles for decoration.
In that case, leave them tied together and place them in a vase or small basket in a shaded spot. This keeps them visible while still protecting their scent.
Different Ways to Use Dried Lavender Around the Home
Dried Lavender is useful in many simple ways around the house. You can use the bundles for scent, decoration, or small home projects.
- Drawer Sachets: Place dried lavender buds in small fabric bags and keep them in drawers. The scent helps clothes smell fresh and can help keep insects away.
- Closet Freshener: Hang a small bundle inside a closet or wardrobe. Lavender adds a light fragrance that keeps stored clothes smelling clean.
- Simple Home Decor: Put dried lavender bundles in a vase or small basket. This creates a natural decoration that also adds a gentle scent to the room.
- Potpourri Mix: Remove the dried buds and mix them with other dried flowers or herbs. This makes a simple potpourri for bowls or trays around the home.
- Wall or Shelf Display: Tie a ribbon around the bundle and hang it on a hook or place it on a shelf. It adds a rustic touch to the space.
Conclusion
Drying lavender bundles is a simple project that brings a little calm into everyday spaces. With the right harvest time, small bundles, and a good drying spot, you can keep the color and scent for months.
Once dry, the bundles can freshen drawers, decorate a room, or add fragrance to your closet.
The best part is that it does not take many tools or much time. A few stems from the garden can turn into something useful and lasting.
Small steps make a big difference when drying Lavender well. If you try this method, I would love to hear about it.
Did you grow your own lavender or use store-bought stems? Share your experience or tips in the comments below so others can learn from you, too.
Frequently Asked Questions
What Is the 888 Rule for Lavender?
The 888 rule means cutting lavender stems to about 8 inches, making bundles with around 8 stems, and leaving 8 inches of space for airflow to help proper drying.
How Long Does Lavender Take to Dry?
Lavender usually takes 1 to 2 weeks to dry completely. The exact time depends on air circulation, humidity, and bundle size. Smaller bundles dry faster because air moves more easily around the stems and flower heads.
How Can You Tell when Lavender Is Fully Dry?
Lavender is fully dry when the stems feel stiff and snap easily rather than bend. The buds should feel dry to the touch and may fall off lightly when rubbed between your fingers. This means the moisture has fully evaporated.