
If your bathroom vanity looks old and worn, you don’t need to replace it right away. You can refinish a bathroom vanity and give it a fresh, clean look at a much lower cost.
It’s a simple DIY project that most people can handle with basic tools and a little time. In this guide, I’ll walk you through each step in an easy way.
You’ll learn how to remove hardware, clean the surface, fix small damage, sand, prime, paint or stain, and seal it for a smooth finish. I’ll also share tips on drying and reassembling everything.
By the end, you’ll know exactly how to turn your old vanity into something that looks almost brand new.
Painting Your Bathroom Vanity
Painting your bathroom vanity is one of the easiest ways to completely change the look of your bathroom without tearing anything out. A fresh coat of paint can make an old vanity feel custom, updated, and much more stylish.
The key, though, is prep work. Since bathroom vanities are exposed to moisture, daily use, and frequent cleaning, you cannot simply paint over the existing finish and hope for the best.
If the surface is not cleaned, sanded, primed, and painted properly, the paint may chip, scratch, or peel much sooner than expected.
In this guide, you’ll learn how to paint a bathroom vanity step by step, including what supplies you need, how to prep the cabinet, when to prime, and how long to let the paint cure before reinstalling the hardware.
Supplies Needed to Paint a Bathroom Vanity
Before you get started, gather all your supplies to ensure the project goes smoothly.
- Screwdriver
- Cleaner or degreaser
- sanding block
- Painter’s tape
- Wet rag
- 4-inch foam roller
- Water-based primer
- Tack cloth
Step-By-Step Process For Painting a Bathroom Vanity
Refresh your bathroom vanity by cleaning, sanding, priming, painting, and carefully curing it. These steps help create a smooth, durable finish that looks clean and professional.
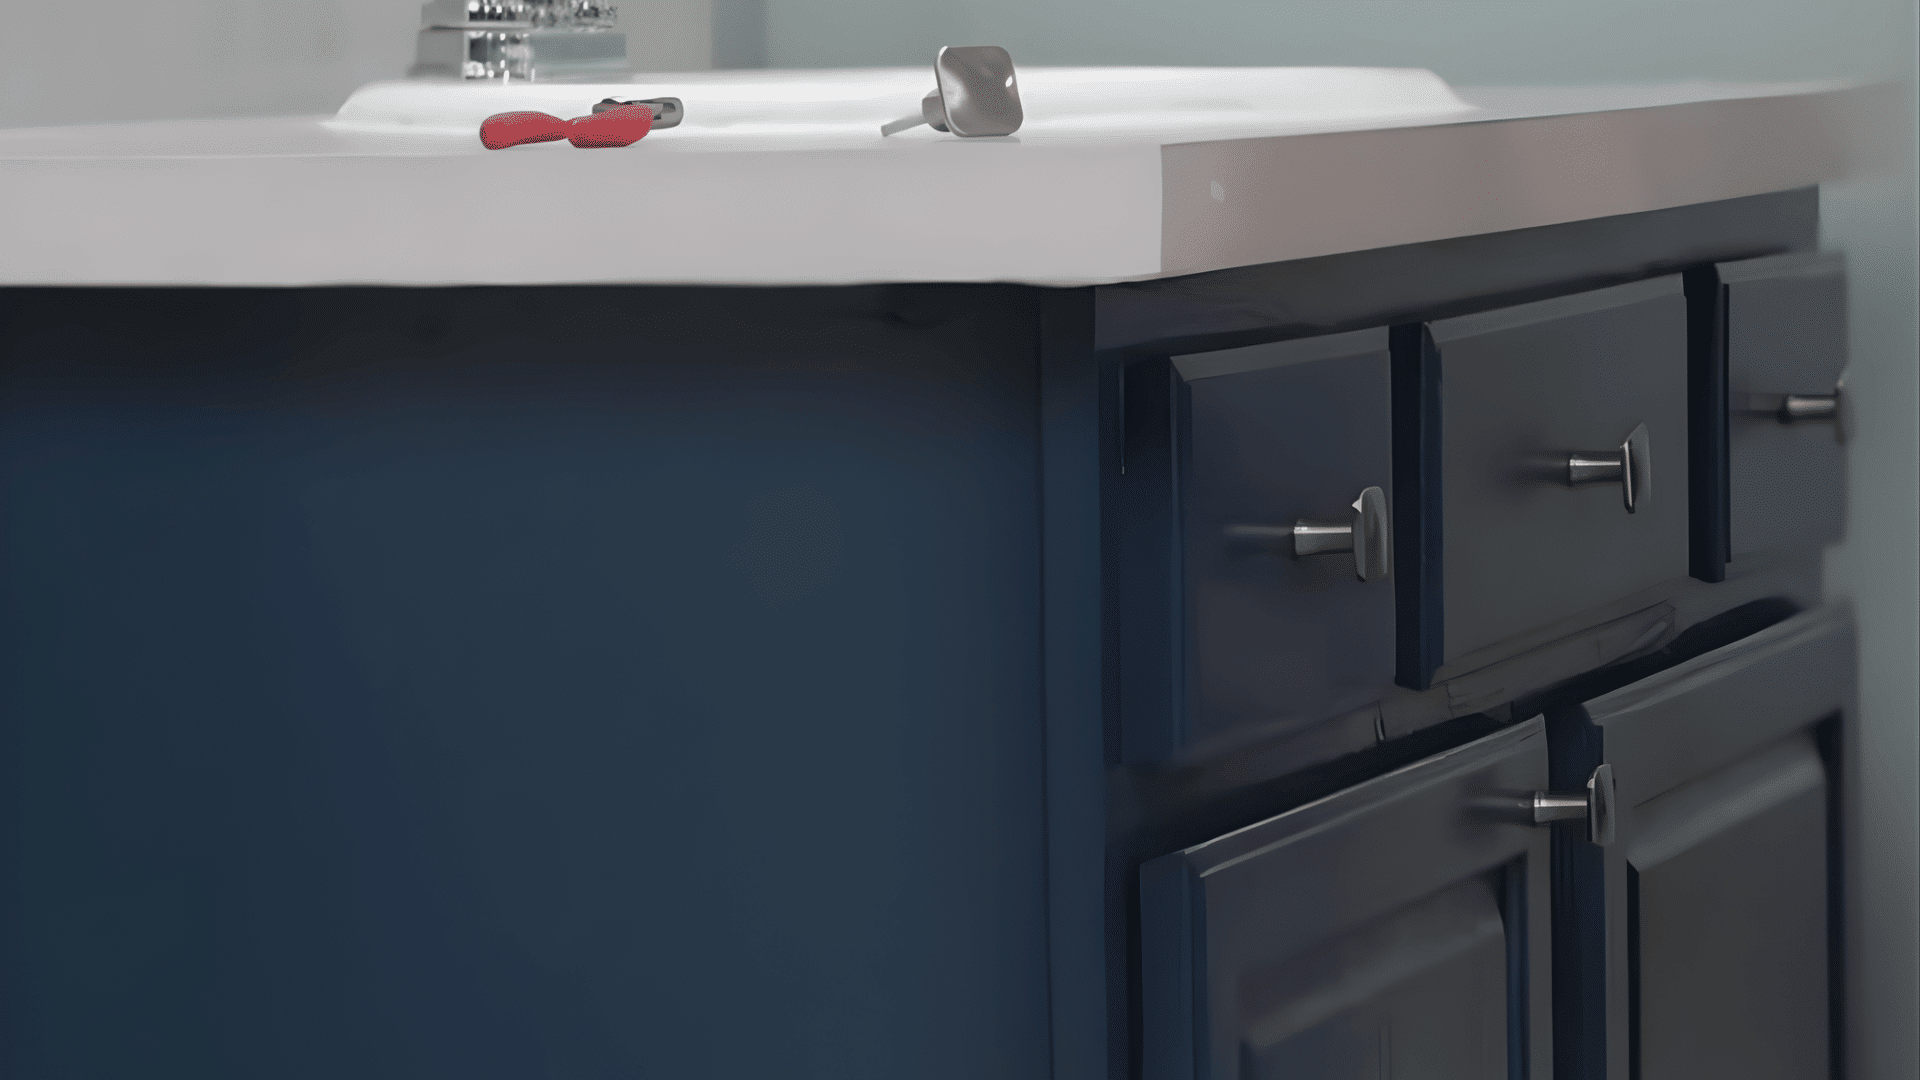
1. Remove the Hardware
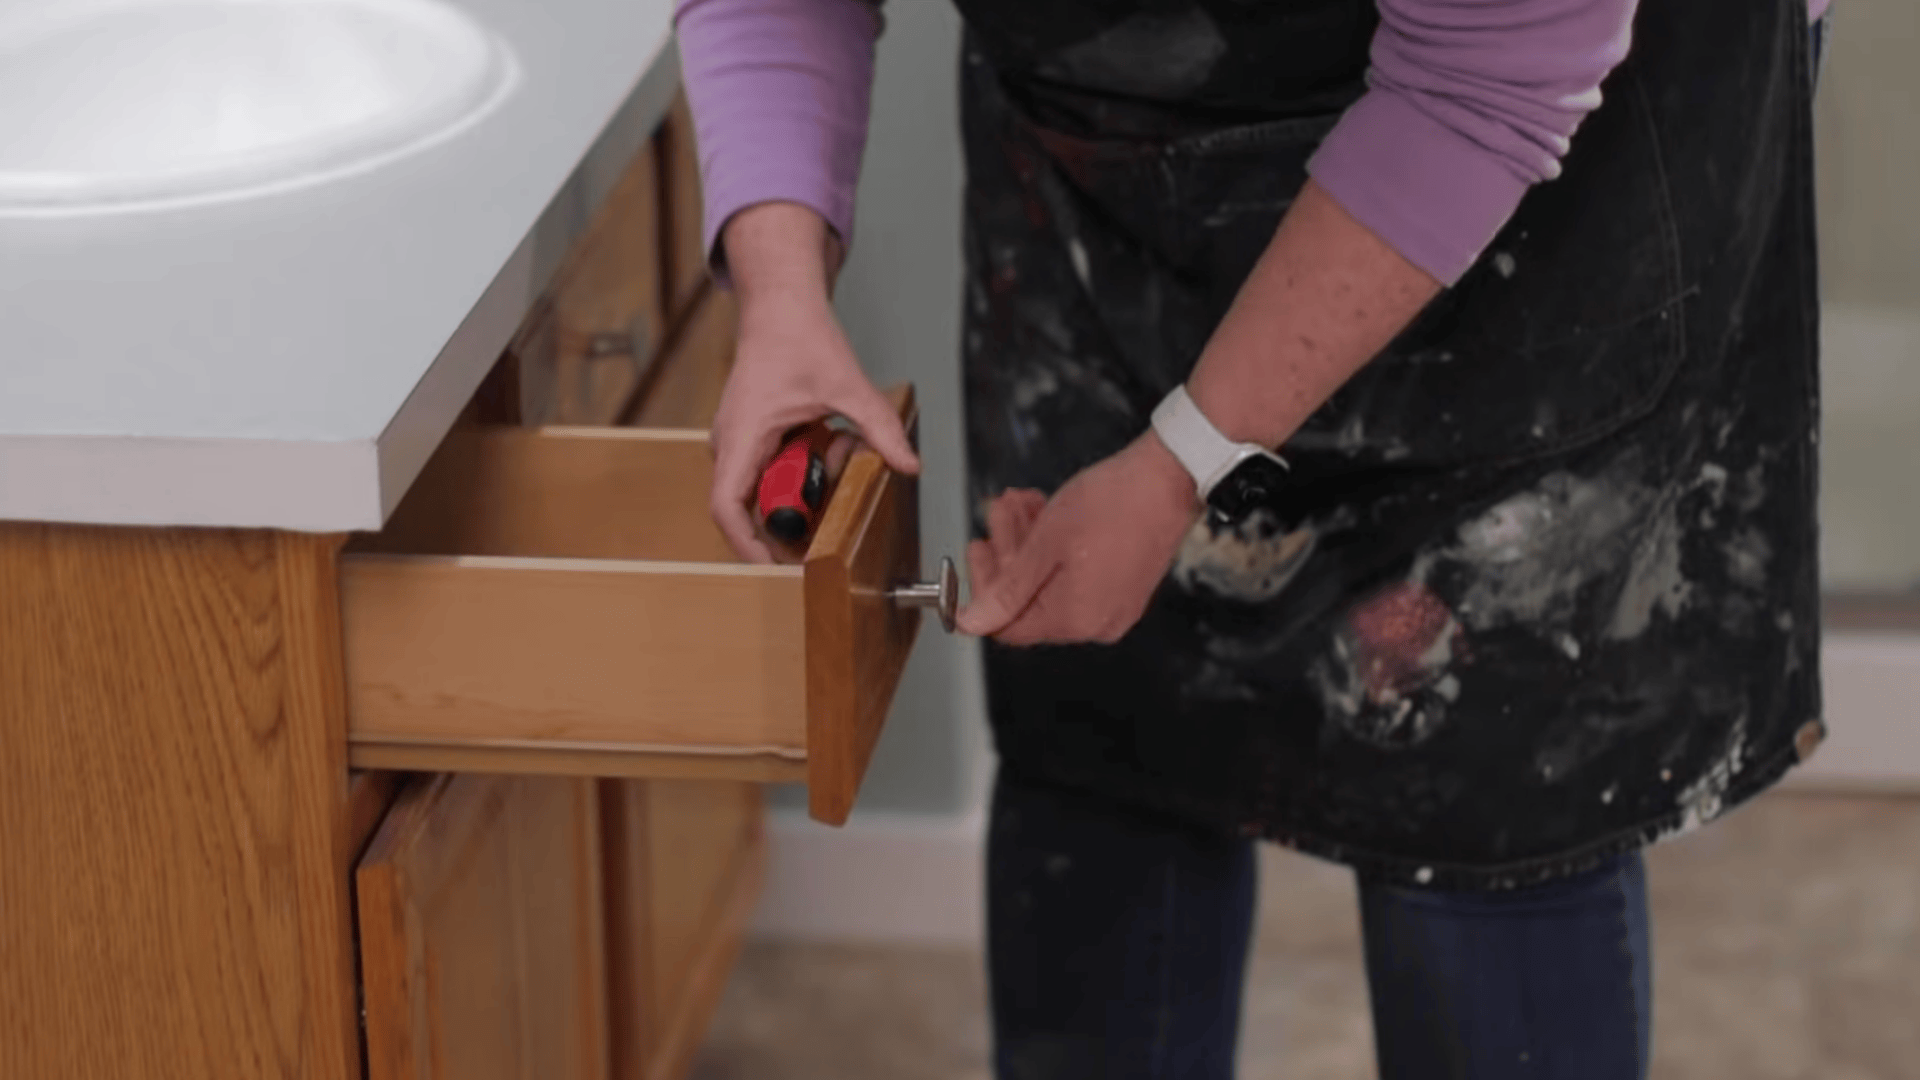
Begin by removing every knob, pull, handle, and decorative piece from the vanity doors and drawers. Taking the hardware off gives you clear access to the cabinet surface,
so paint can be applied neatly around edges, corners, and drawer fronts. It also prevents thick paint buildup around metal parts, which can look messy later.
Keep screws and hardware together in a small bag, cup, or container. Label the pieces if needed, especially when handles are different sizes or belong to specific drawers during the project.
2. Clean the Vanity Thoroughly
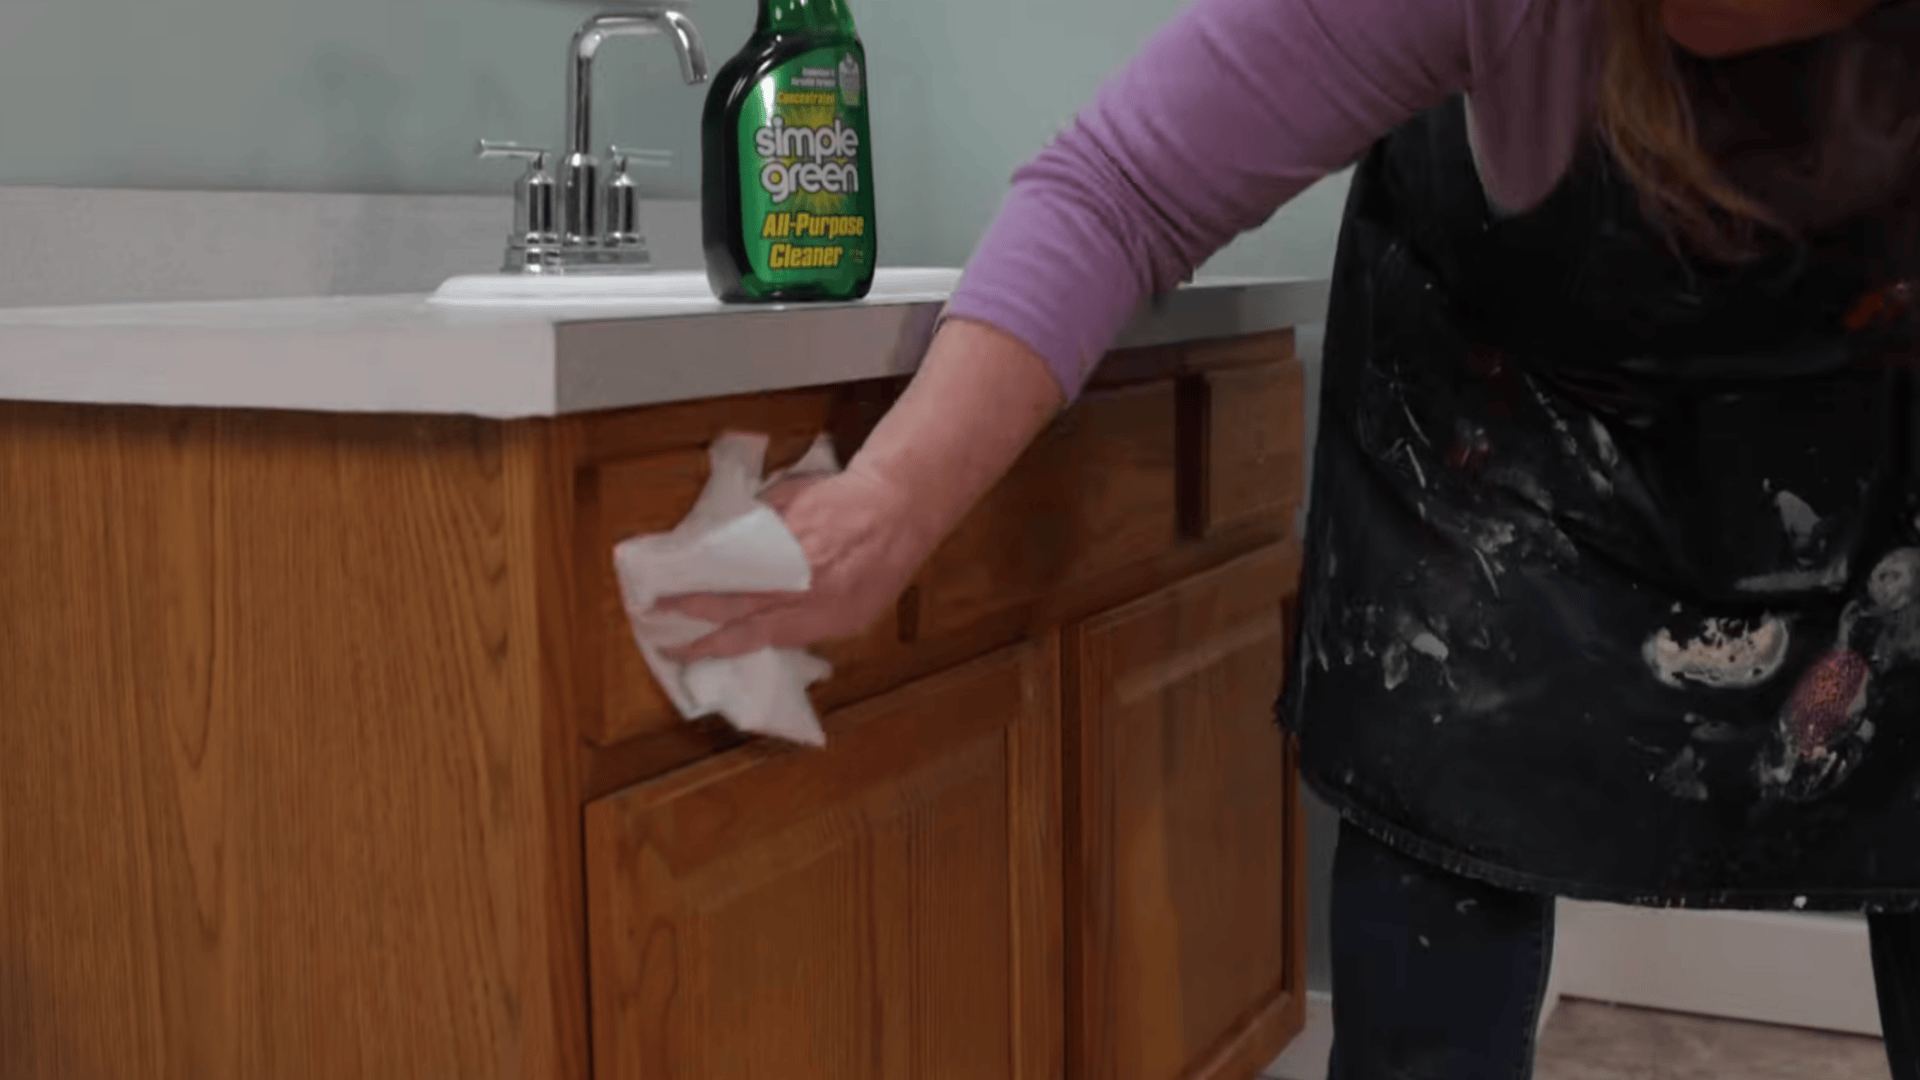
After the hardware is removed, clean the vanity carefully from top to bottom. Bathroom cabinets often collect dust, soap residue, skincare oils, hairspray, and grime, all of which can stop paint from sticking properly.
Use a suitable cleaner to remove buildup, then rinse the surface with clean water to remove any remaining cleaner. Dry everything with a clean towel or soft cloth.
Make sure the vanity is completely dry before sanding, because moisture can interfere with the primer, the final painted finish, and overall durability.
3. Sand the Vanity Surface
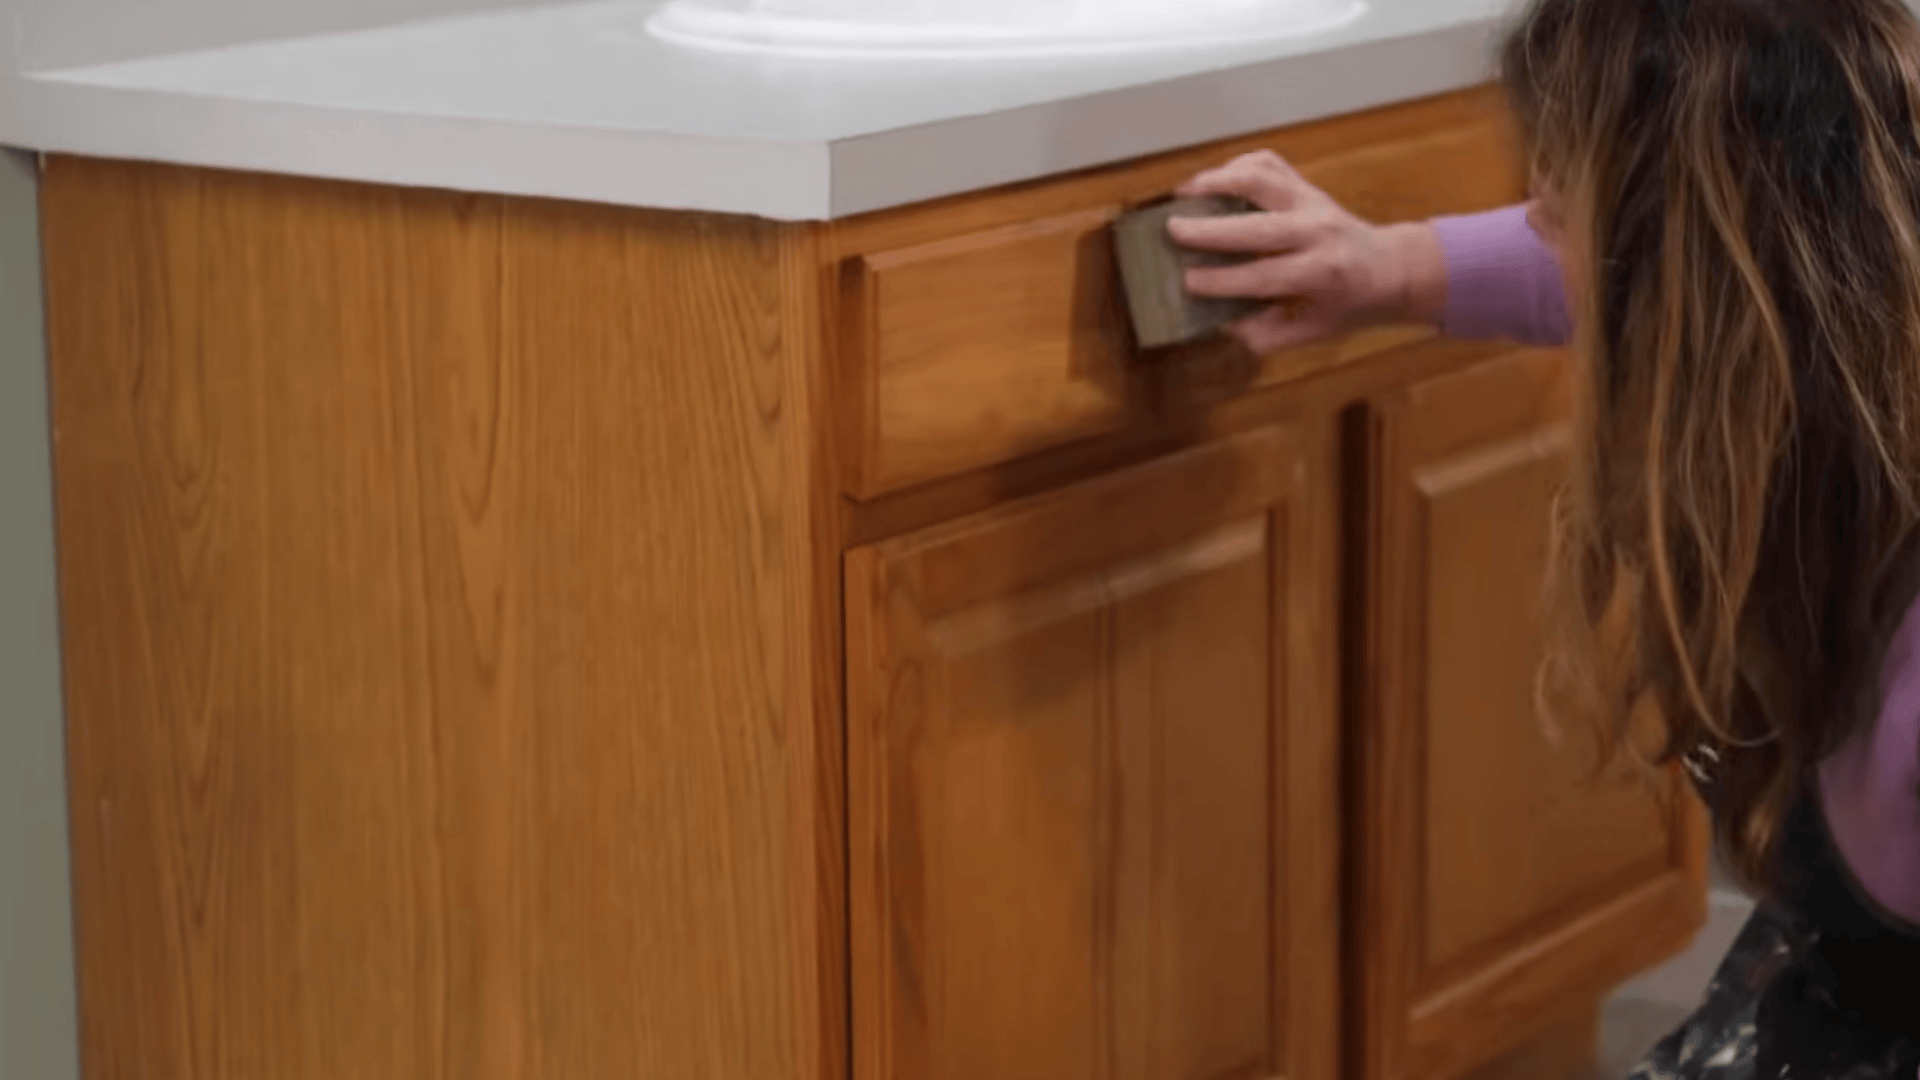
Sand the vanity surface to roughen the existing finish and help the primer grip better. If the cabinet has a glossy clear coat, use a 220-grit sanding sponge or palm sander to dull the shine.
You do not need to remove every layer or sand down to bare wood. The goal is to create a slightly scuffed surface that is no longer slick.
A sanding block is helpful for doors, drawer faces, and detailed areas because it gives better control and even pressure while working.
4. Remove Sanding Dust
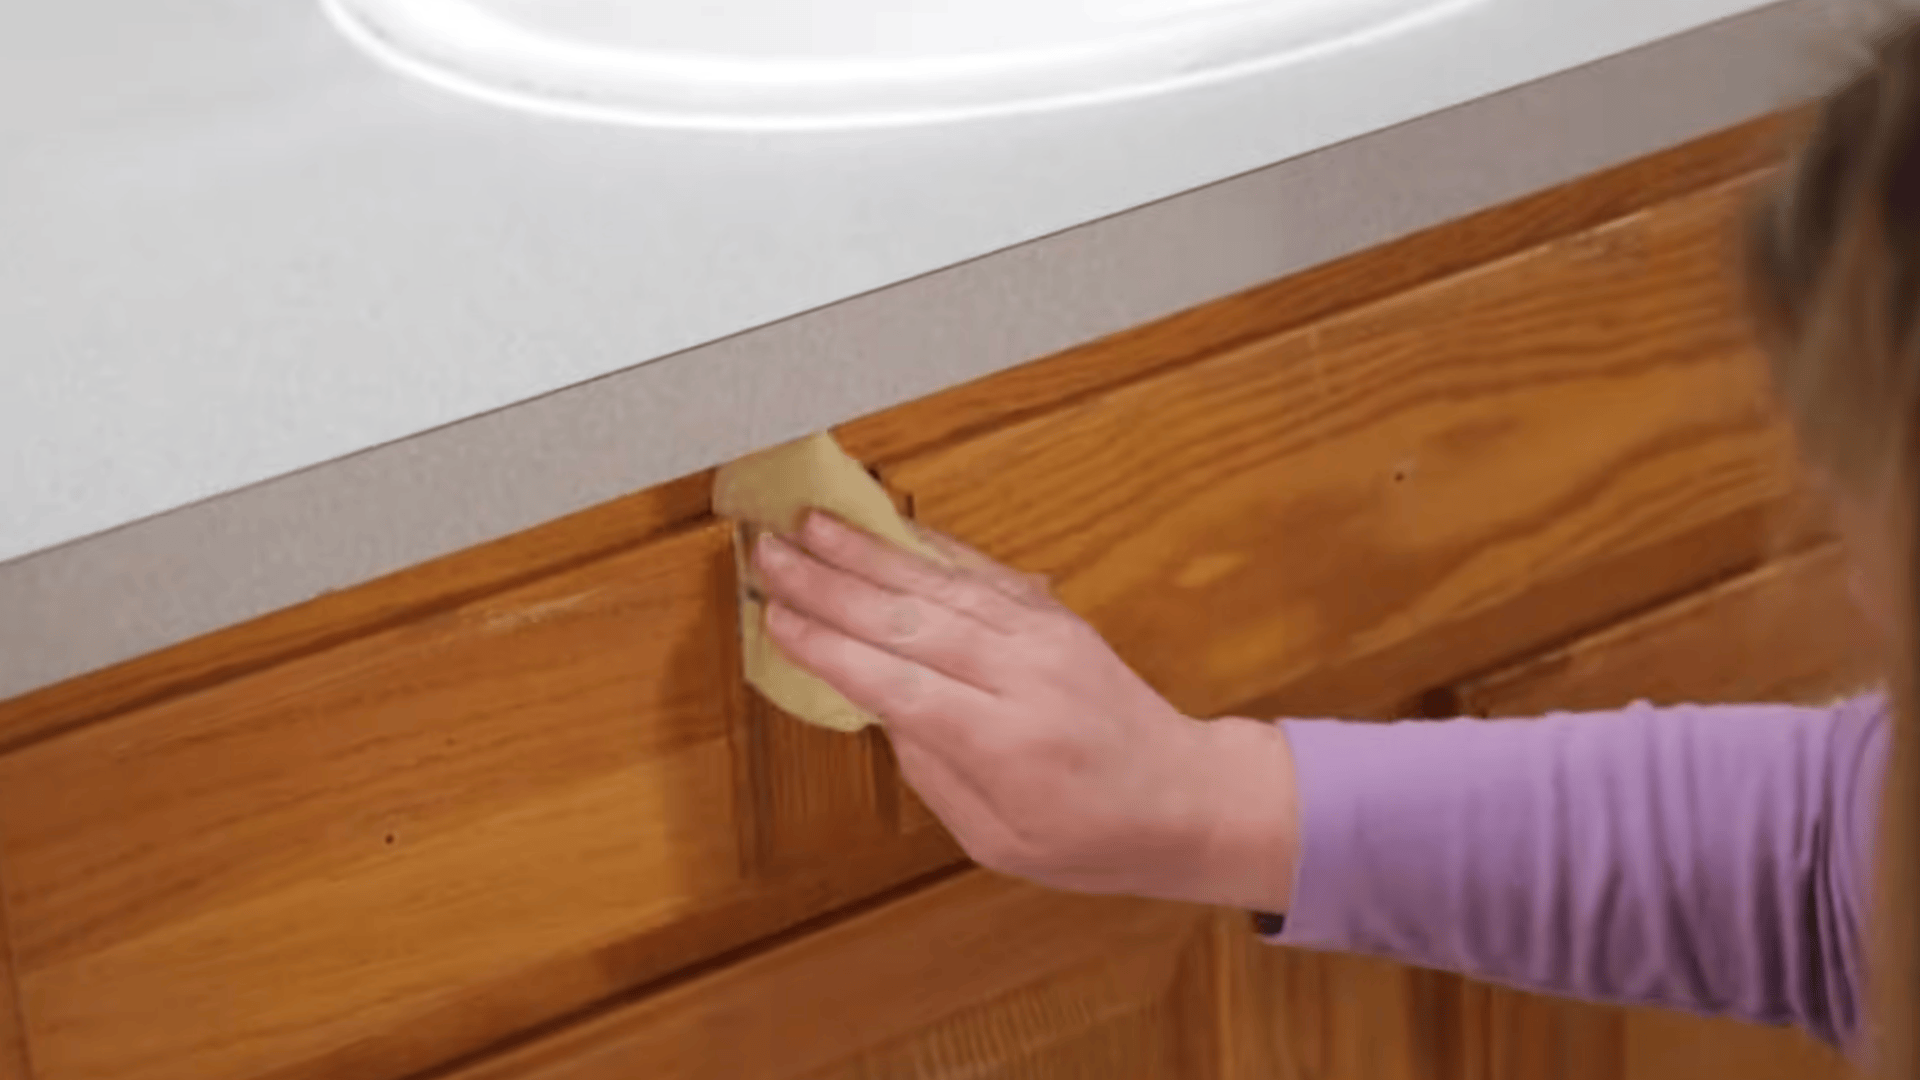
Once sanding is complete, remove all dust before applying primer. Start by cleaning the work area around the cabinet so loose particles do not settle back onto the cabinet.
Then wipe the vanity with a tack cloth to pick up fine sanding dust from flat surfaces, corners, trim, and grooves. This step is important because leftover dust can become trapped in the primer or paint.
A clean surface helps the finish feel smoother, look more even, and last longer once the project is fully complete.
5. Tape Off the Surrounding Areas
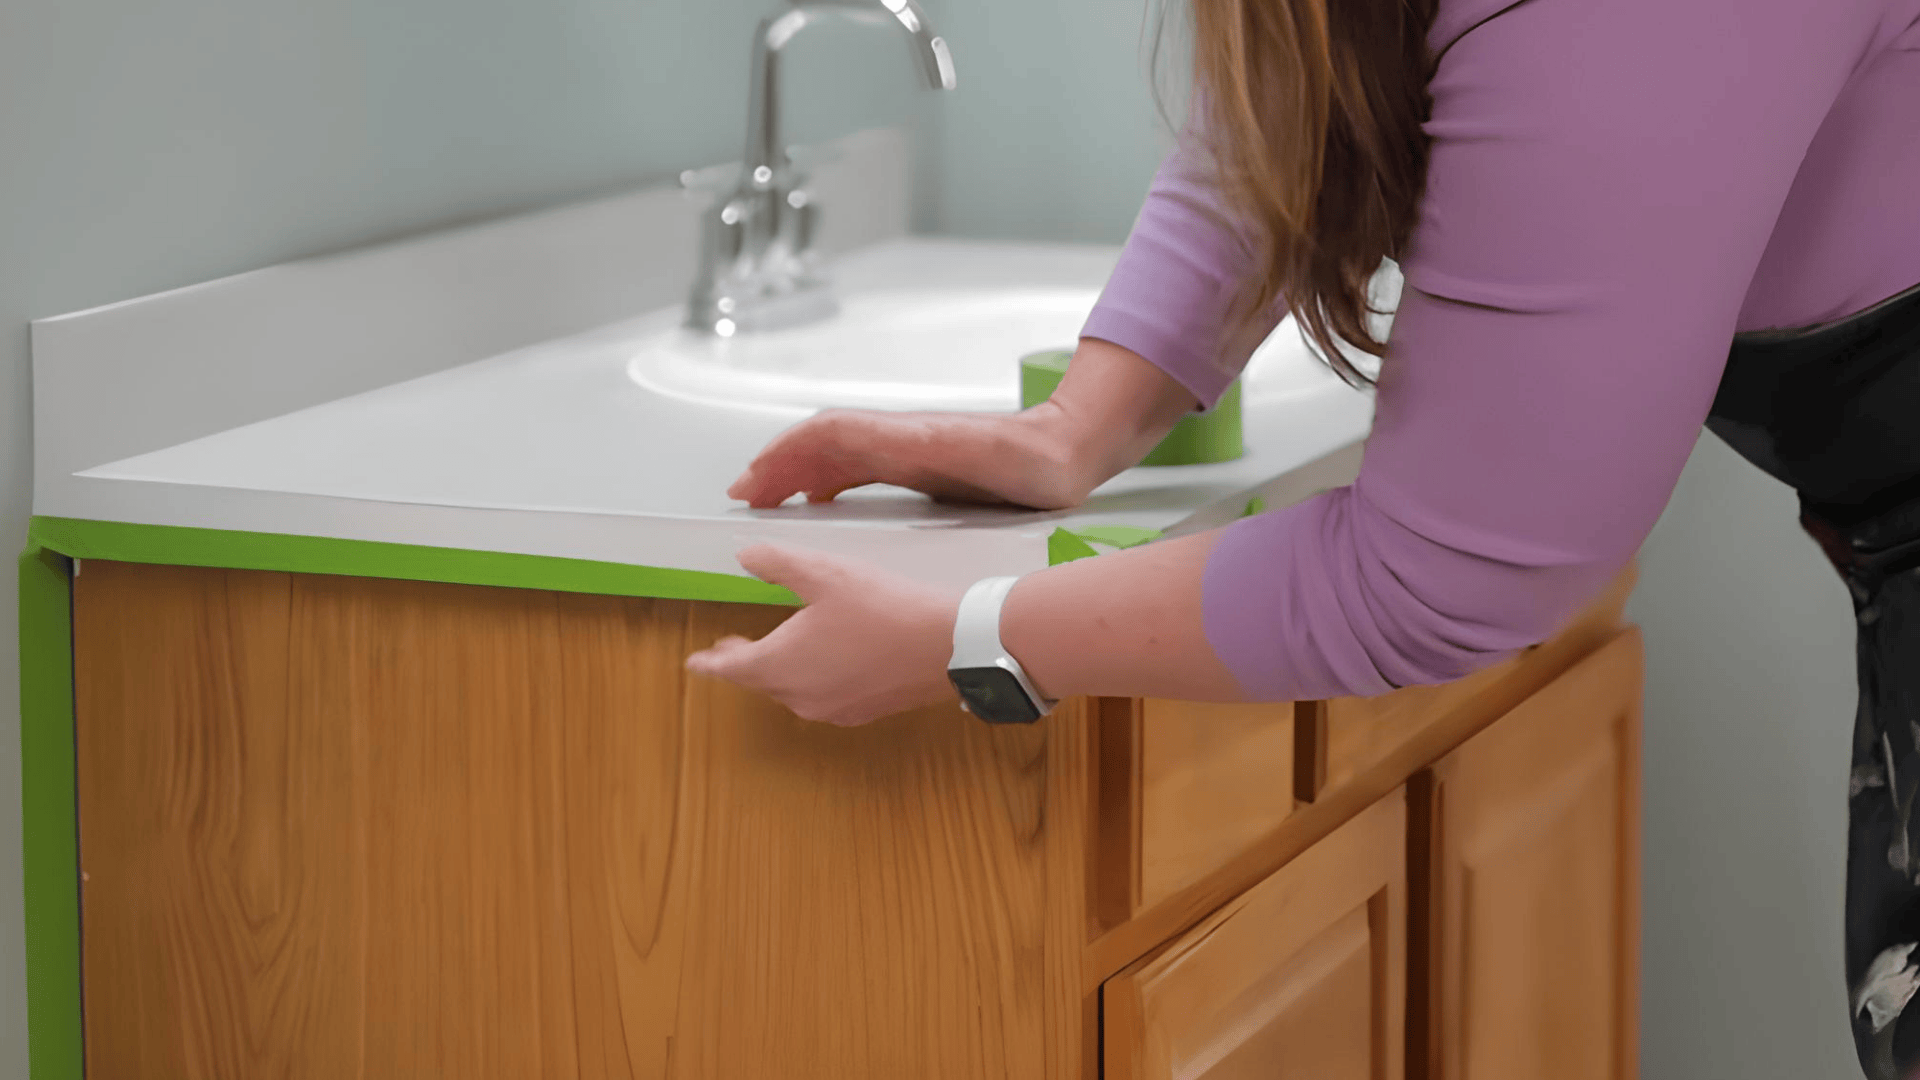
Protect the surrounding areas before opening the primer or paint. Apply painter’s tape where the vanity meets the wall, countertop, floor, trim, tile, or any other surface you do not want painted.
Press the tape down firmly and evenly to reduce paint bleeding under the edge. Work slowly around corners and narrow spaces for cleaner lines.
After taping, run a damp rag along the edge of the tape to help seal it in place. This small step can make the final result look sharper during painting work.
6. Prime the Vanity

Apply a separate primer even if your cabinet paint claims to include primer. A bathroom vanity is installed in a moisture-prone space, so primer improves adhesion, coverage, and durability.
Use a two-inch synthetic angled brush for edges, corners, recessed details, and trim. For flat sections, use a small four-inch foam roller to create a smoother coat with better control.
Cover the vanity evenly and avoid heavy buildup. Let the primer dry for about one hour, or follow the product directions on the label for best results.
7. Lightly Sand After Priming
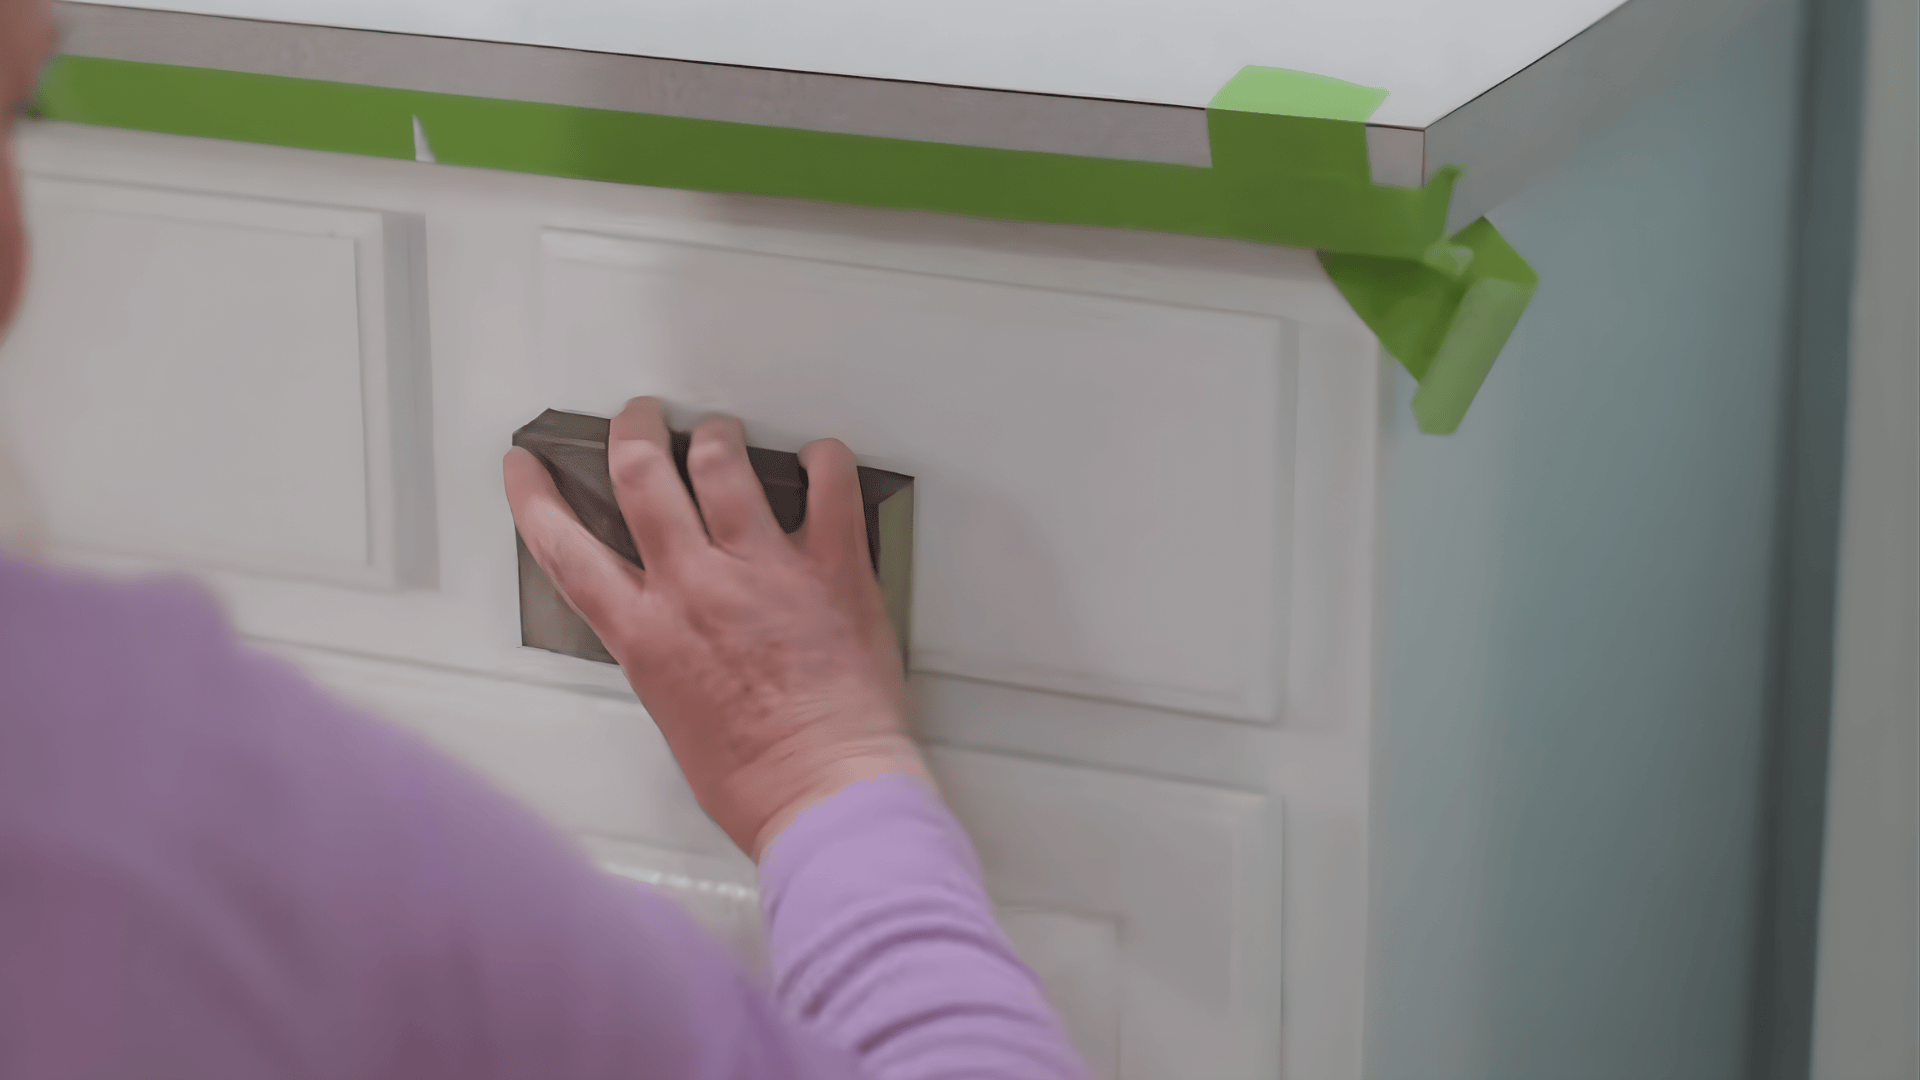
When the primer has dried, lightly sand the vanity again with a 220-grit sanding sponge. This step may feel optional, but it helps remove small brush marks,
roller texture, splatters, and rough, raised spots before paint is applied. Use gentle pressure so you smooth the primer without stripping it away.
Focus on flat areas as well as edges and details that feel uneven. After sanding, wipe the vanity thoroughly to remove dust, because clean preparation leads to a smoother final painted surface on the vanity.
8. Paint the Vanity
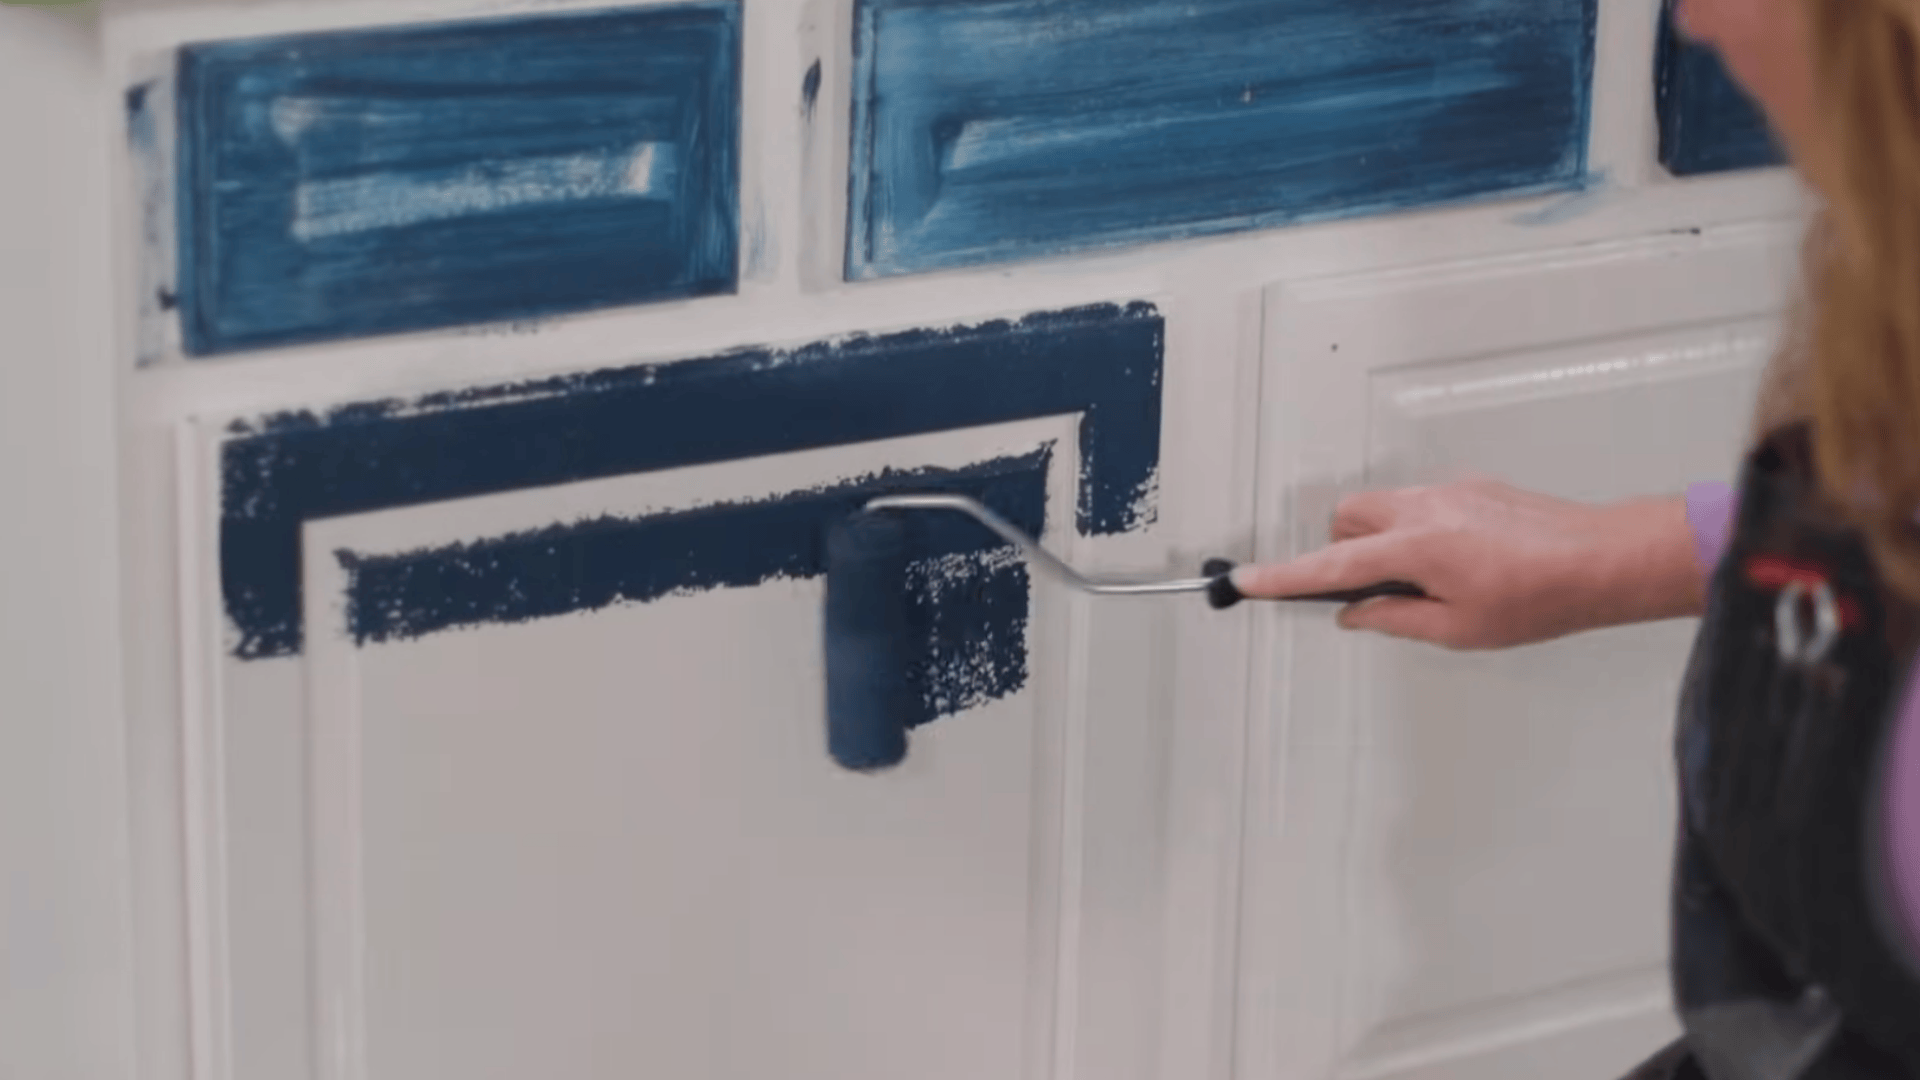
Now apply the cabinet paint color to the prepared vanity. In the source project, the chosen paint is a deep denim-blue semi-gloss cabinet paint, giving the vanity a bold, updated appearance.
Begin with the detailed areas using an angled brush, including edges, corners, trim, recessed panels, door fronts, and drawer fronts.
After brushing, use a small foam roller on the larger flat sections. Rolling after brushing helps smooth drips, reduce visible brush marks, and create a more professional-looking finish across the whole vanity.
9. Remove the Painter’s Tape
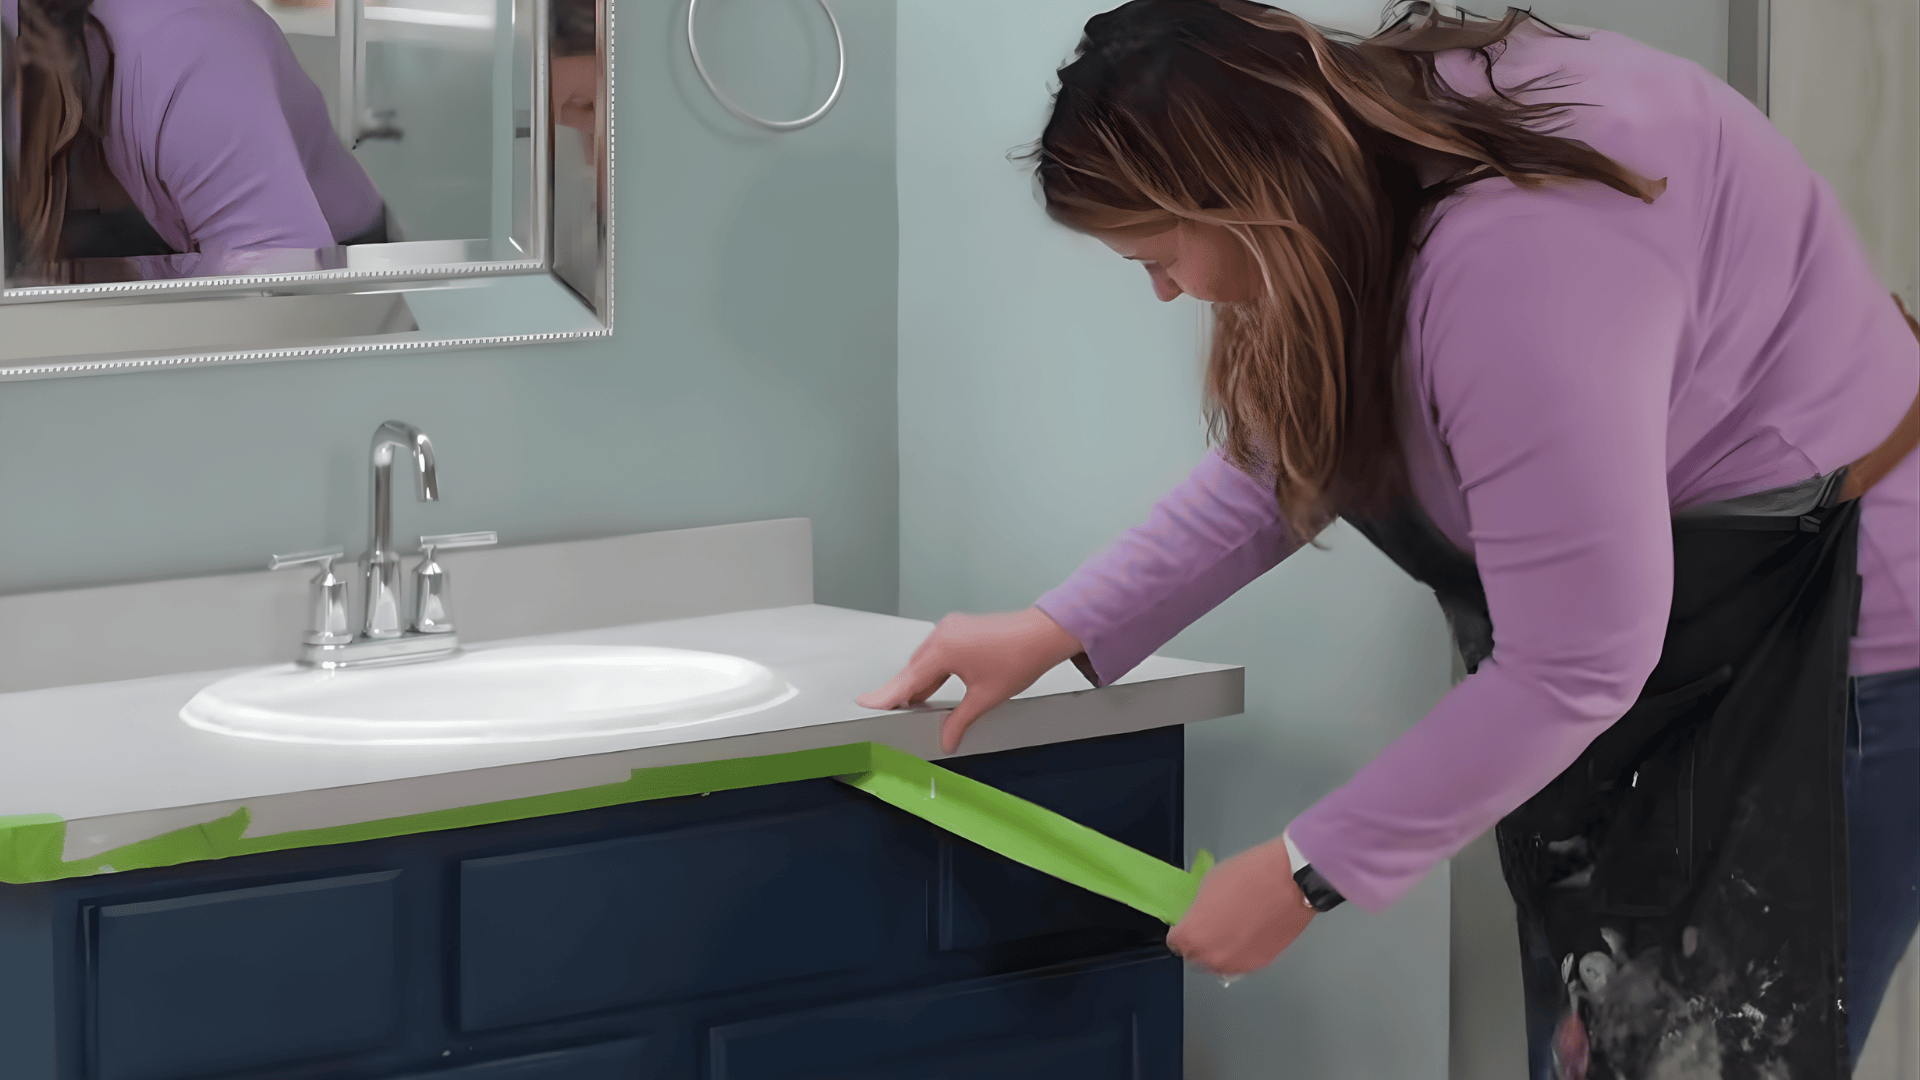
Remove the painter’s tape when the second coat is almost dry rather than waiting until the paint fully cures. If the paint hardens completely, the tape may pull up dried paint along the edges, damaging the clean line.
Peel the tape back slowly at an angle, keeping steady control as you move around the vanity. Work carefully near corners, trim, tile, and countertop edges.
Removing the tape at the right time helps reveal crisp borders and a neater finished appearance on all visible sides.
10. Let the Paint Cure Before Reinstalling Hardware
Although the vanity may feel dry to the touch within about 1 hour, the paint still needs time to fully cure. The source notes that curing can take about seven days, so avoid reinstalling hardware too soon.
Waiting helps prevent dents, scratches, smudges, or pressure marks in the fresh finish. Once the paint has cured, carefully attach the knobs, pulls, or handles using the saved screws.
Reinstall each piece gently so the updated vanity stays clean, smooth, and freshly painted without damaging the new finish.
This tutorial is based on a helpful video by Ace Hardware. You can watch it for a better visual guide:
Refinish Bathroom Vanity Based on Material Type
This table shows how to refinish bathroom vanity surfaces based on the material, so you can choose the right method and avoid damage.
| Vanity Material | Key Refinishing Tips |
| Solid Wood Bathroom Vanity | Best for painting or staining; handles heavy sanding; may need stain-blocking primer for oak or dark wood |
| Veneer Bathroom Vanity | Sand lightly; avoid cutting through the surface; fix peeling edges before priming or staining |
| Laminate Bathroom Vanity | Clean thoroughly; scuff sand; use bonding primer; paint works better than stain; seal for durability |
| MDF Bathroom Vanity | Keep water minimal; seal edges; apply primer carefully; paint only |
| Thermofoil Vanity | Remove loose layers; sand and prime; replace if peeling is extensive |
Tips for Getting a Smooth Finish
For the best results, take your time with each step. Rushing through the prep work is the most common mistake when painting a bathroom vanity.
- Always clean the vanity before sanding.
- Sand glossy finishes until they look dull.
- Use a tack cloth to remove fine dust.
- Press painter’s tape down firmly to prevent bleeding.
- Use a separate primer for better durability in a bathroom.
- Lightly sand after priming for a smoother finish.
Final Thoughts
Refreshing your bathroom doesn’t always need a big budget or a full remodel. Sometimes, a simple project like painting your vanity can make the whole space feel cleaner, brighter, and more modern.
When you take the time to prep the surface well, cleaning, sanding, and priming, you set yourself up for a smooth, long-lasting finish. The painting part is easy, but that careful prep is what really brings great results.
If you’re looking for a quick upgrade with less mess and cost, this project is a smart choice. It gives you that “new bathroom” feel without tearing everything apart.
If you try this at home, I’d love to hear how it turned out, share your experience, or tips in the comments below!
Frequently Asked Questions
What Type of Paint Works Best for Bathroom Vanities?
Semi-gloss or satin cabinet paint provides durability and moisture resistance for bathroom conditions.
Can Old Hardware be Reused After Painting?
Old hardware can be reused if cleaned properly or replaced with newer hardware.
Is Ventilation Important During Painting?
Proper ventilation helps paint dry evenly and reduces strong fumes during the process.
How to Prevent Brush Marks on the Surface?
Using a foam roller after brushing helps smooth out strokes and create an even finish.
Does Humidity Affect Paint Drying Time?
High humidity can slow drying and curing, leading to a less durable painted surface.