
Covering walls with texture is one of those projects that sounds tricky but isn’t, once you know what you’re doing.
When I first tried it, I learned that simple tools and joint compound can create patterns that make plain drywall look much better.
People want the look, but they assume it takes special skills or expensive tools. It doesn’t. You don’t need a contractor. You don’t need a big budget. Just the right tools, materials, and technique to add depth and character to any wall.
If you are covering drywall seams, hiding surface flaws, or simply updating the look of a room, wall texturing is one of the most cost-effective upgrades a homeowner can make.
Most techniques cost under $50 in materials and can be completed in a single afternoon.
In this guide, I’ll share how to create a textured wall as a beginner, from choosing your texture style to applying it step by step. By the end, you’ll know exactly what to do and feel ready to get started.
What Is Wall Texturing?
Wall texturing is a simple way to add patterns to drywall or ceilings using joint compound. Instead of keeping the surface flat, the compound is applied with tools like rollers, brushes, knives, or trowels.
Each tool creates a different look. You might see soft swirls, light ridges, or bold patterns.
One main reason people choose wall texture is to improve how a room looks. A plain wall can feel boring. Texture adds depth and gives the space more life without high costs.
It also helps cover small flaws. Minor dents, seams, or uneven spots become less visible once a pattern is added.
This makes it a good option for older walls or slightly damaged areas. Wall textures fall into two main types. Applied texture is done by hand using basic tools.
Spray texture uses a hopper gun or spray can for faster coverage.
This guide focuses on applied methods. They are easy to follow and work well for DIY projects without special equipment.
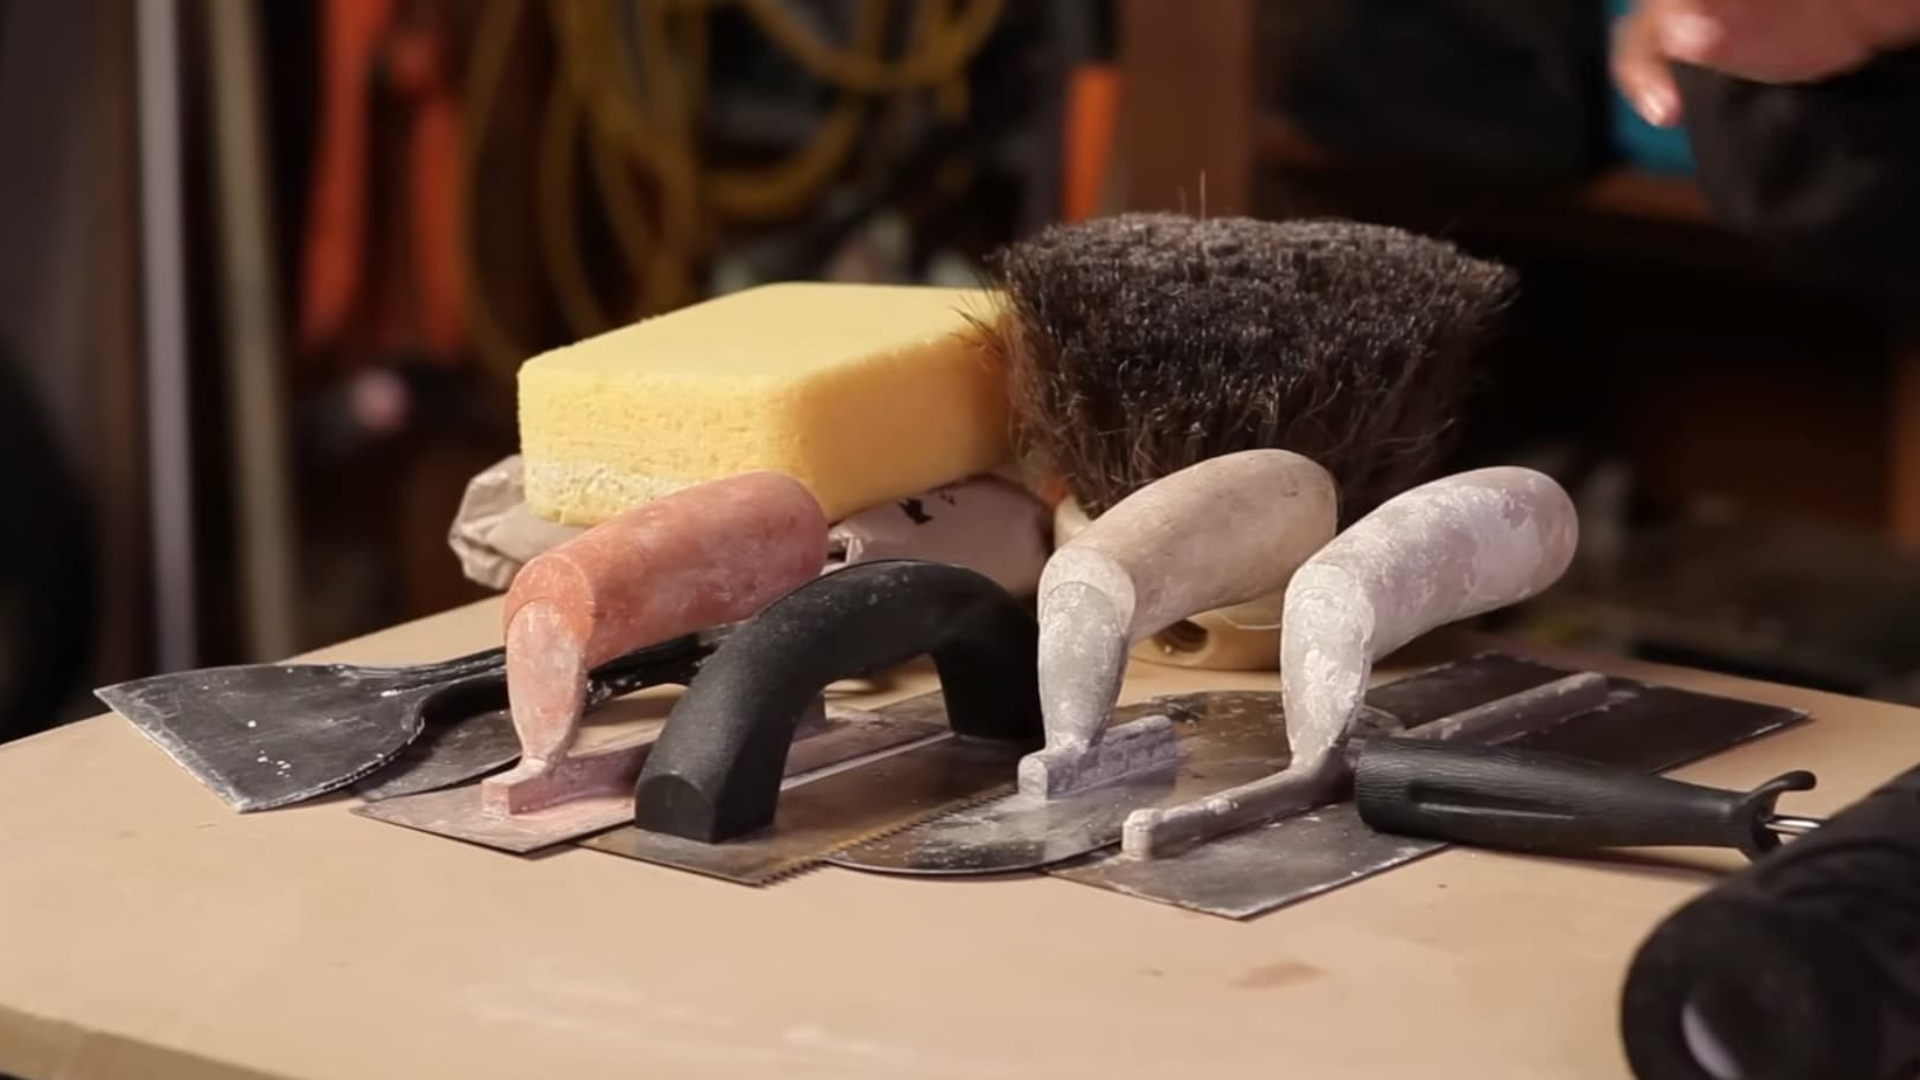
Tools and Materials Needed
Before you begin, gather a few basic tools and supplies so the process goes smoothly.
- Premixed joint compound
- Drill with mixing wand
- Paint roller (½-inch nap or thicker)
- Pattern roller
- Trowel
- Taping knife
- Texture brush
- Sponge
- Primer
I always keep two buckets on hand when I start a texturing job. One holds the working mix at the right consistency, and the second holds thicker compound I can add back in if the mix gets too thin from humidity or over-mixing.
Adjusting on the fly is much easier than starting over with a fresh batch.
How to Create a Textured Wall at home?
Make sure your wall is clean, dry, and free from dust before you start. A smooth base helps the texture stick better and gives a more even final look.
Step 1: Mix the Joint Compound
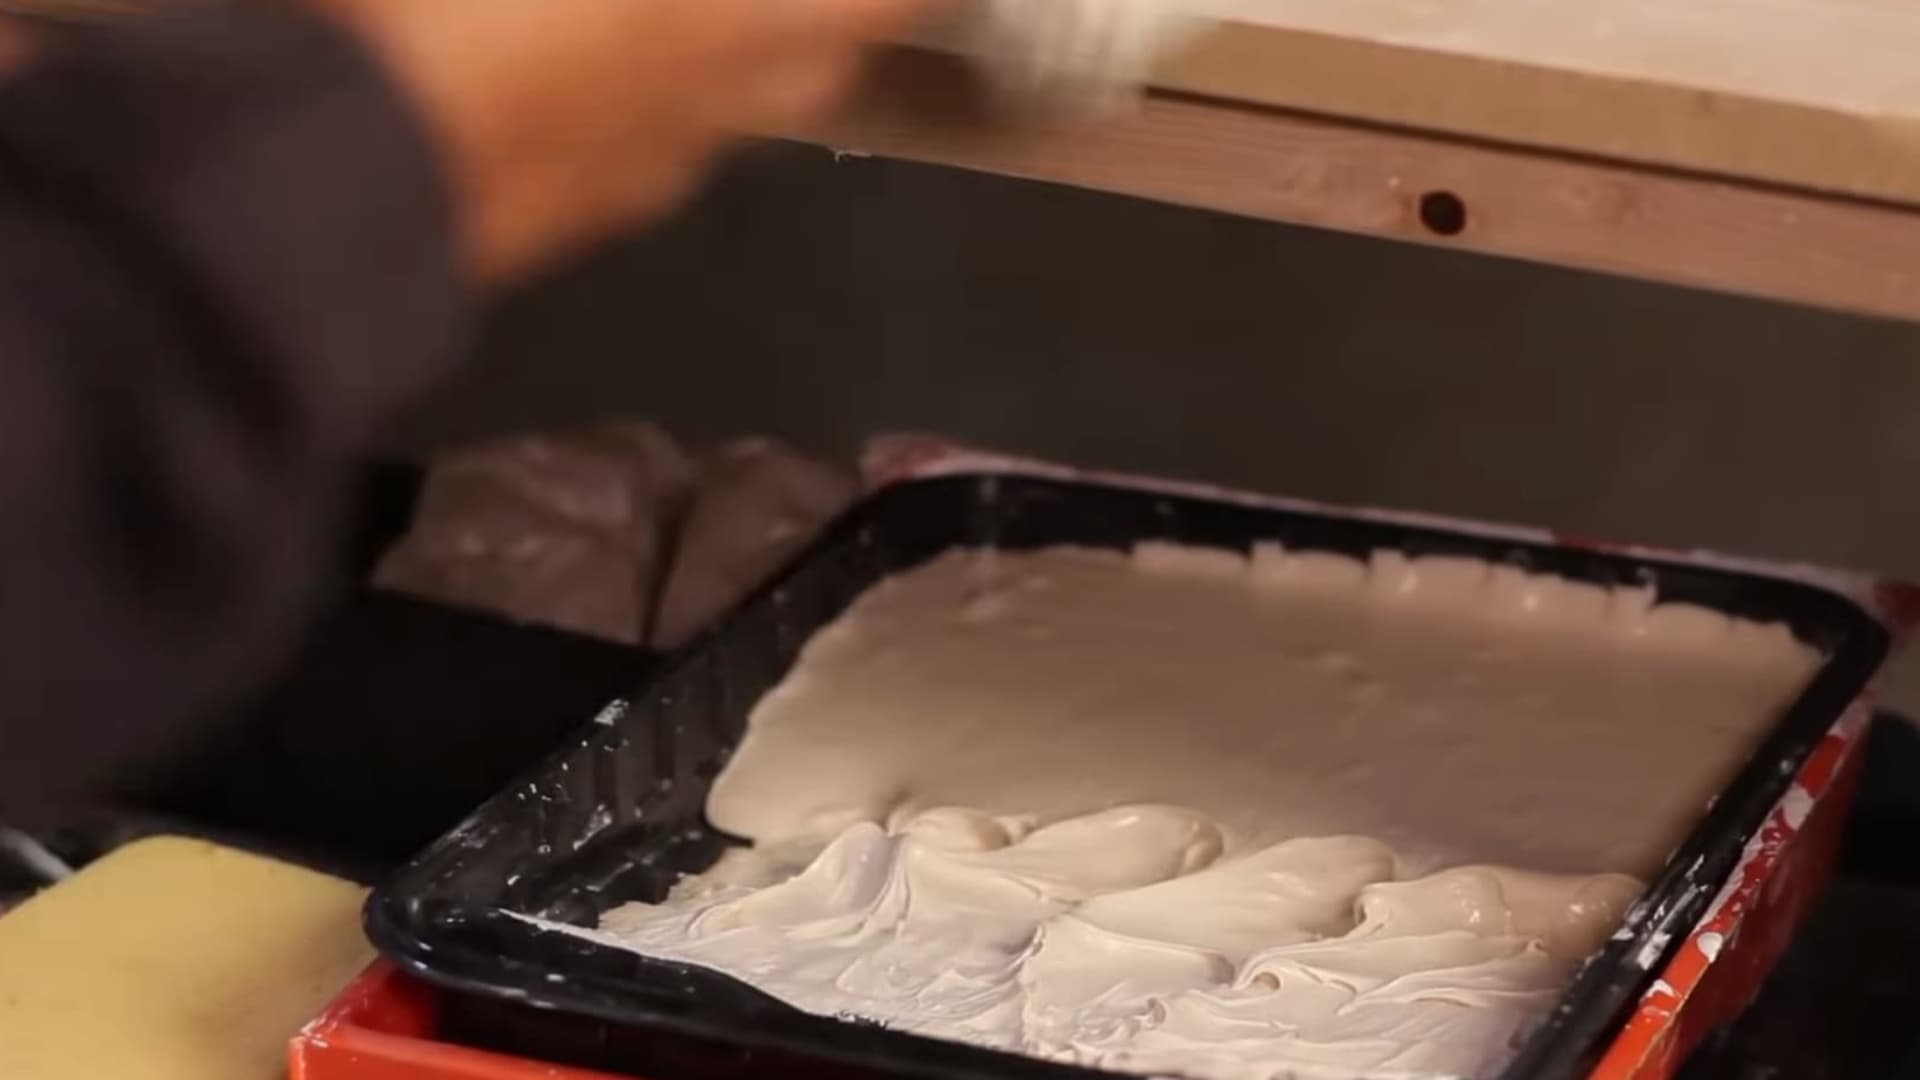
Start with premixed joint compound. Even though it comes ready to use, it usually needs a little thinning before you apply it. Add a small amount of water to the bucket.
Then use a drill with a mixing wand to blend everything well. Mix until the compound becomes smooth, creamy, and easy to spread.
Scrape the sides of the bucket so everything mixes evenly. The goal is a workable texture. Add water in very small increments, roughly a tablespoon at a time, and re-mix between additions.
Overwatering is one of the most common beginner mistakes and leads to compound that sags or cracks as it dries.
Step 2: Adjust the Consistency
The thickness of the compound affects how your wall texture will look. A thick mix, like peanut butter, works best for bold ridges and strong patterns.
A thinner mix, like pancake batter, gives softer designs with less detail. Always test the mix first. Add water if it feels too thick, or more compound if it feels too runny.
Before applying, prepare the wall properly. Clean off dust and grease so the compound sticks well.
Then apply a primer to seal the surface. Let it dry fully to avoid uneven texture or weak adhesion later.
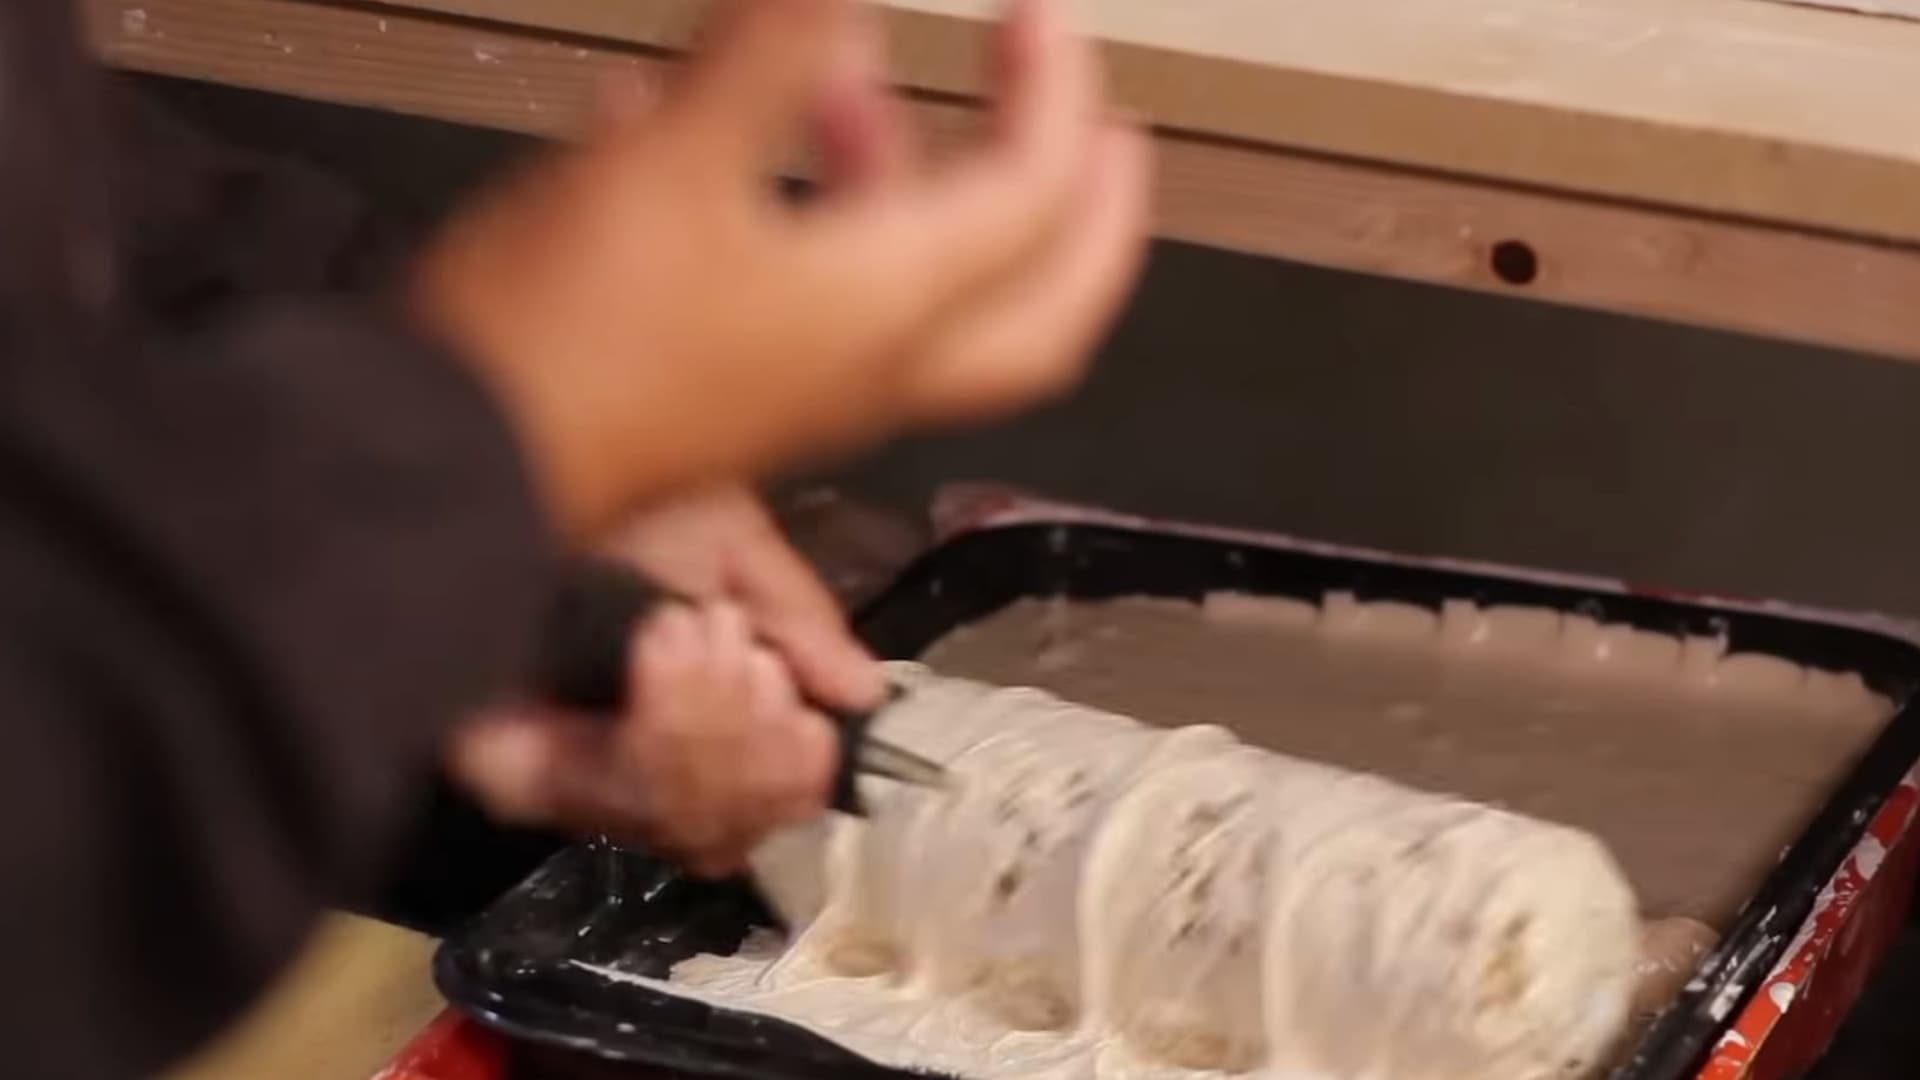
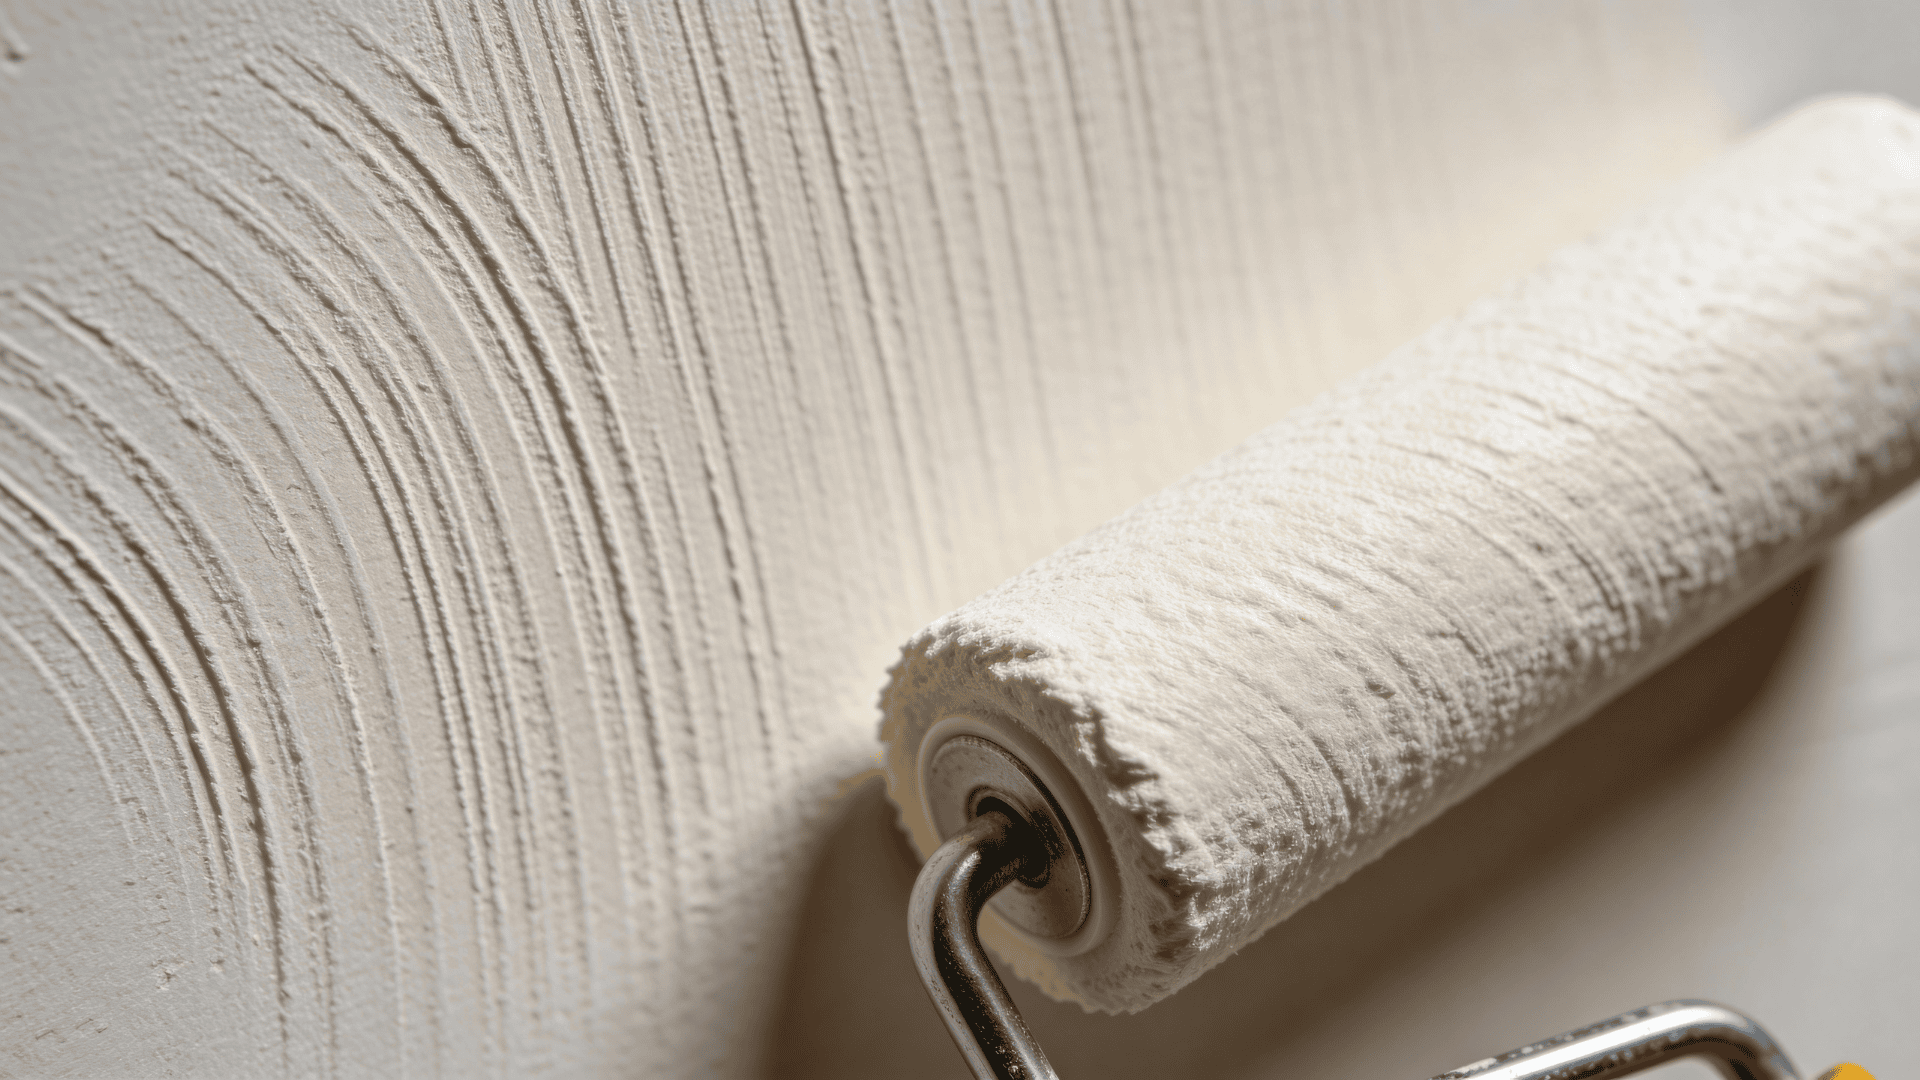
Step 3: Apply Joint Compound with a Roller
Once the wall is ready, you can begin applying the joint compound. Use a paint roller with at least a half-inch nap so it can hold enough material.
Load the roller with compound and remove any heavy buildup before rolling it onto the wall.
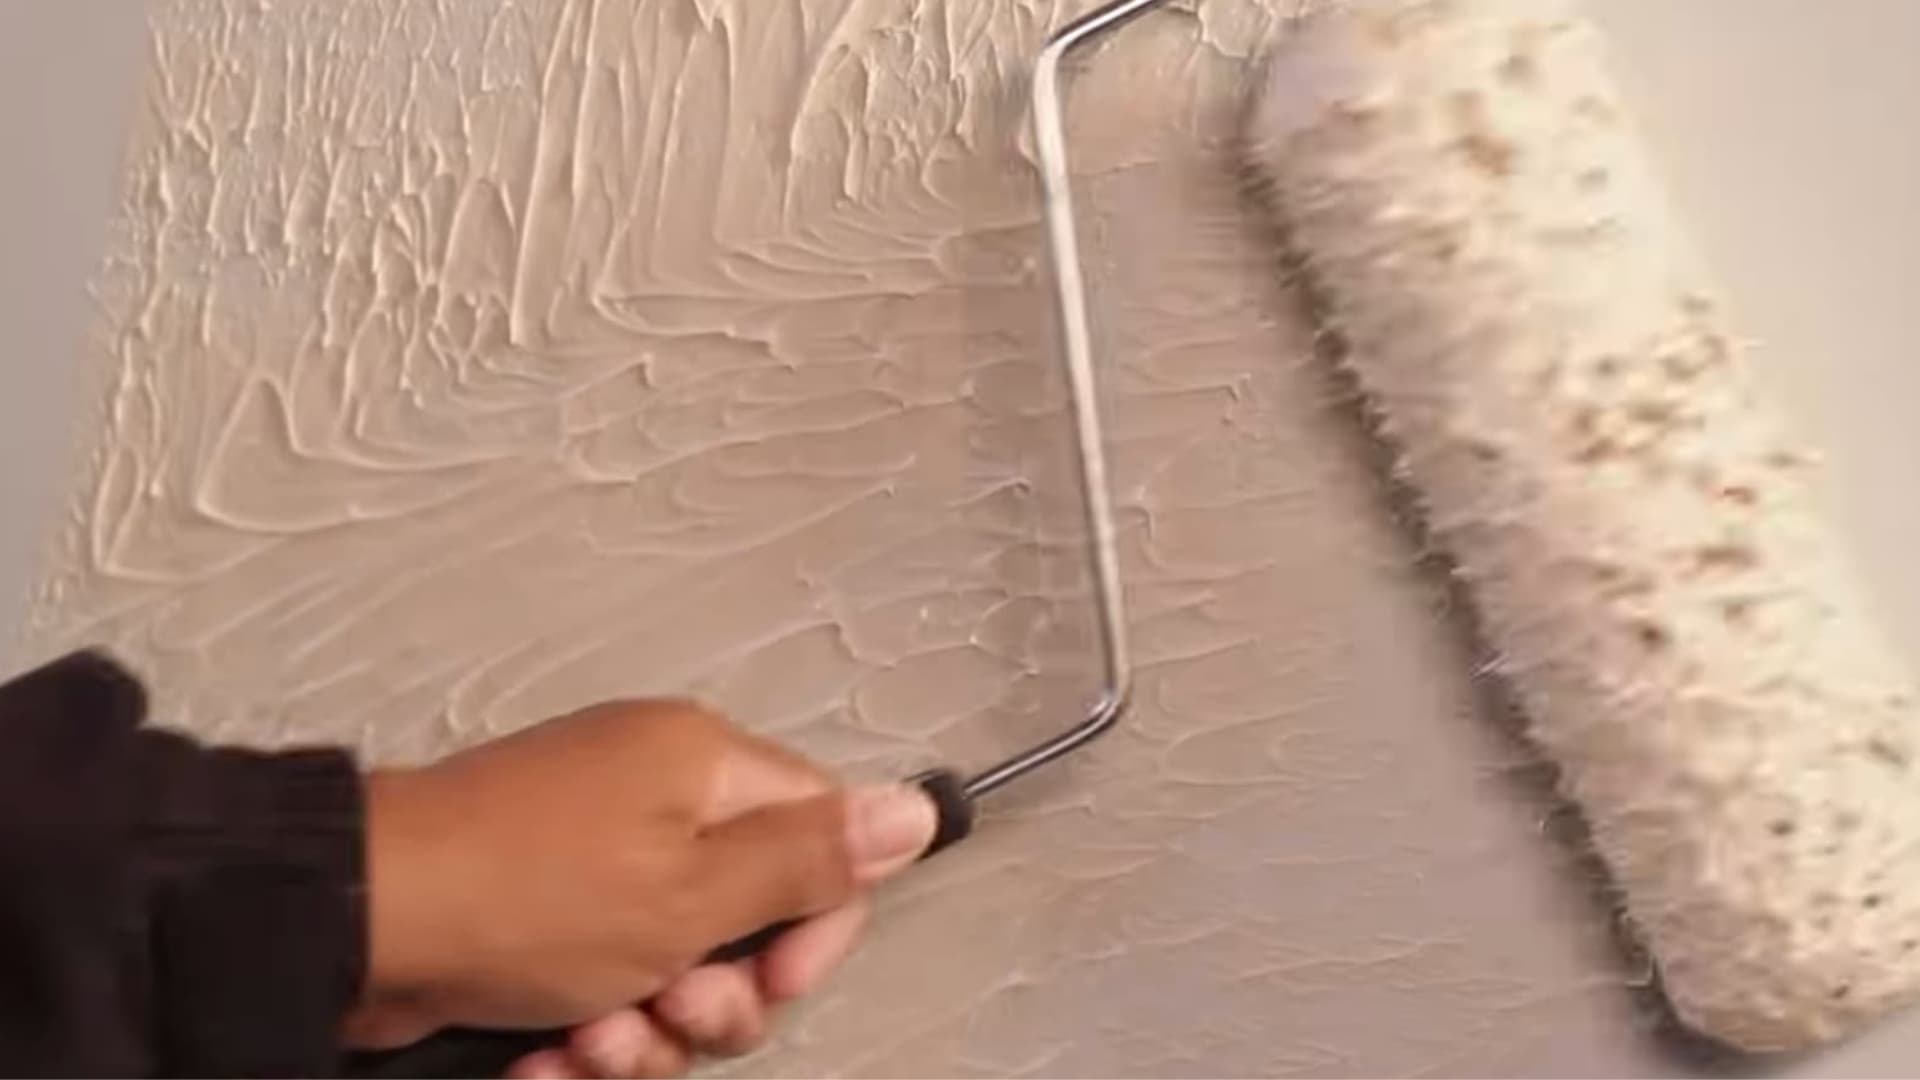
Apply the compound using steady, even strokes across the surface. Try to keep the layer consistent so the texture forms evenly later.
In some cases, the roller alone can create a light texture that gives the wall a simple antique-style finish.
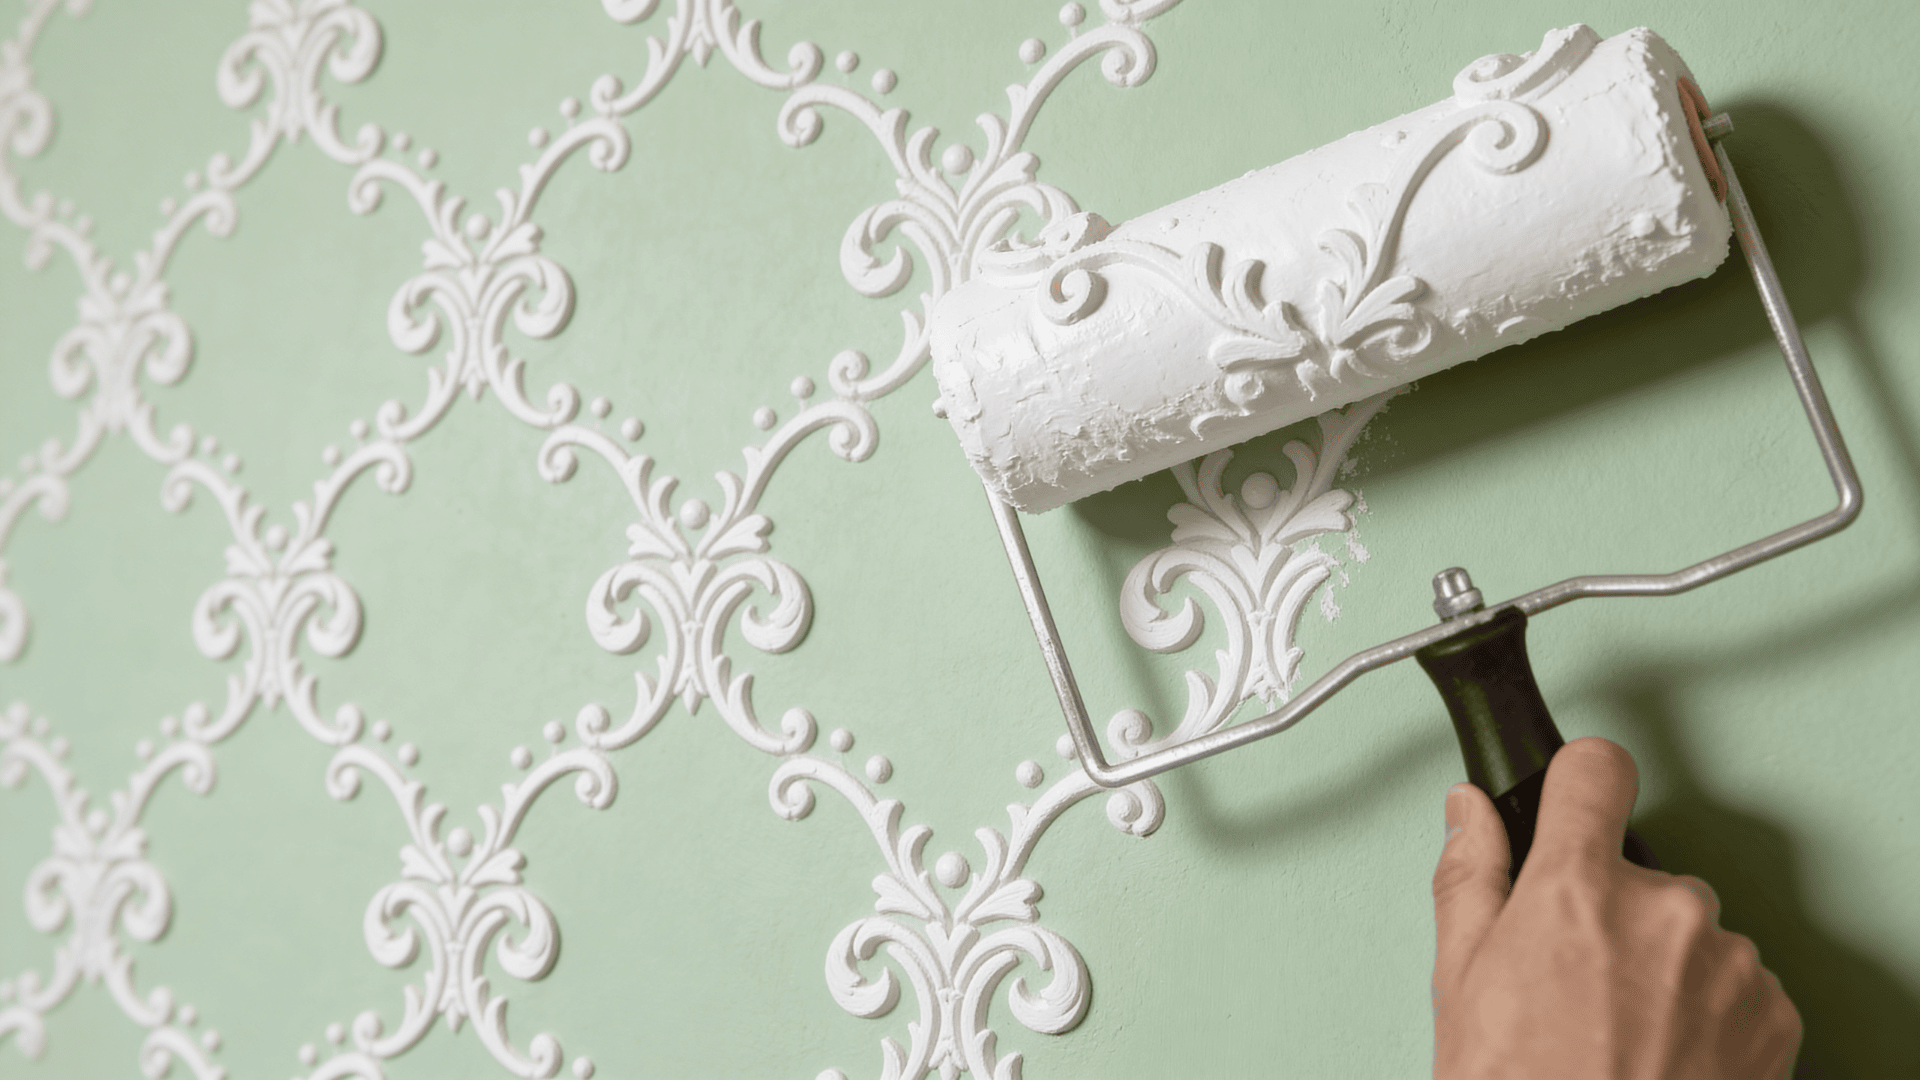
Step 4: Create Patterns with a Design Roller
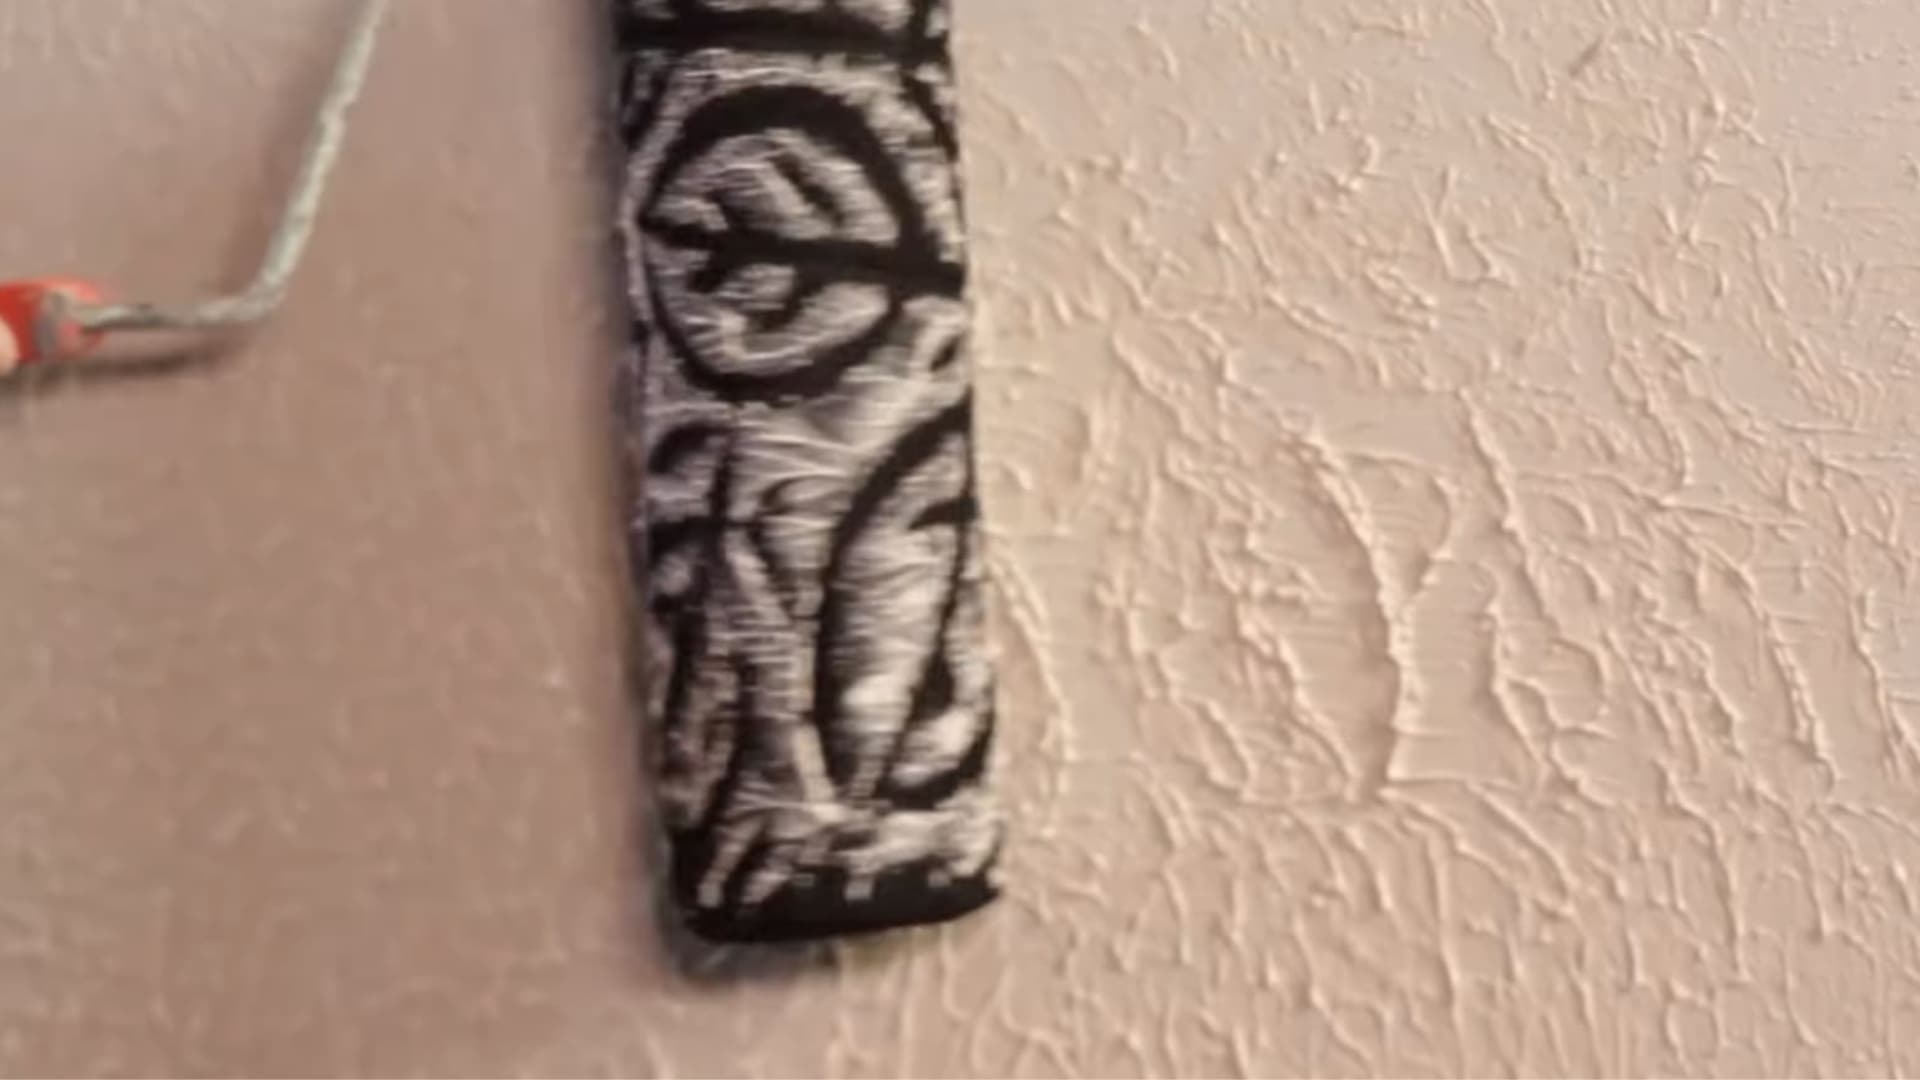
To add a decorative pattern, use a roller that has a design carved into its surface. Before using it, lightly dampen the roller so it moves smoothly across the compound.
Roll the patterned tool over the wet joint compound while it is still workable.
Move the roller in the same direction each time to keep the pattern even. Try not to press too hard, as that can flatten the design.
Steady pressure and consistent movement help create a clean, repeating pattern across the wall.
Step 5: Smooth the Background for Better Pattern Definition
If you want the pattern to stand out more, start by smoothing the compound slightly, then use the patterned roller. You can do this with a trowel or taping knife to level the background surface.
Once the compound looks even, roll the patterned tool across the wall. A smoother base helps the raised design show more clearly.
The pattern will look sharper and more defined, rather than blending into the background.
Run the trowel at a very shallow angle, almost flat to the wall, to avoid gouging the compound while you smooth it.
Step 6: Use a Trowel for Heavy Texture
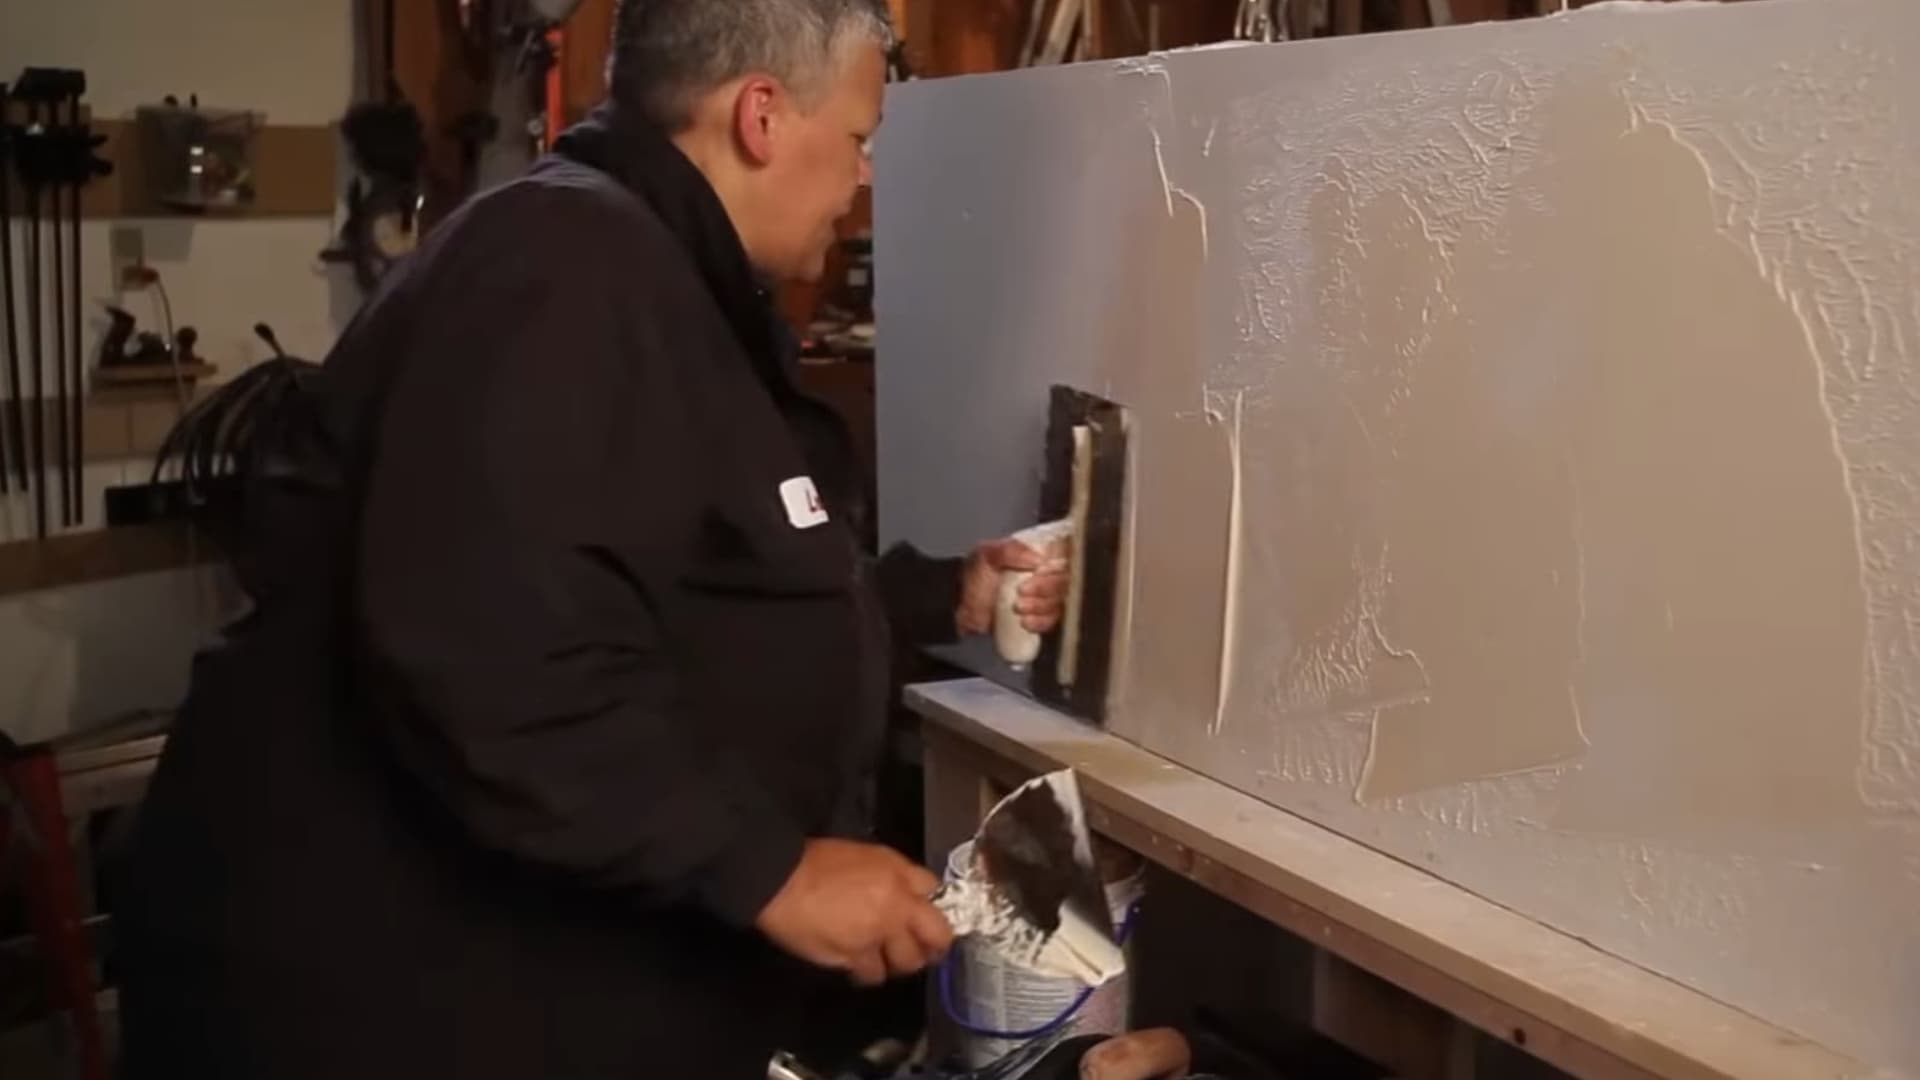
A trowel works well when you want a thicker texture on the wall. It also helps cover minor flaws such as seams, dents, or patched drywall areas.
Scoop some joint compound onto the trowel and press it onto the wall. Spread it across the surface using smooth, controlled strokes. You can apply a thicker layer in spots that need extra coverage.
This method builds a stronger texture and adds depth to the wall. Stainless steel trowels stay cleaner and are easier to control than plastic ones.
Rinse the trowel in clean water every few minutes to prevent dried compound from dragging across the fresh surface.
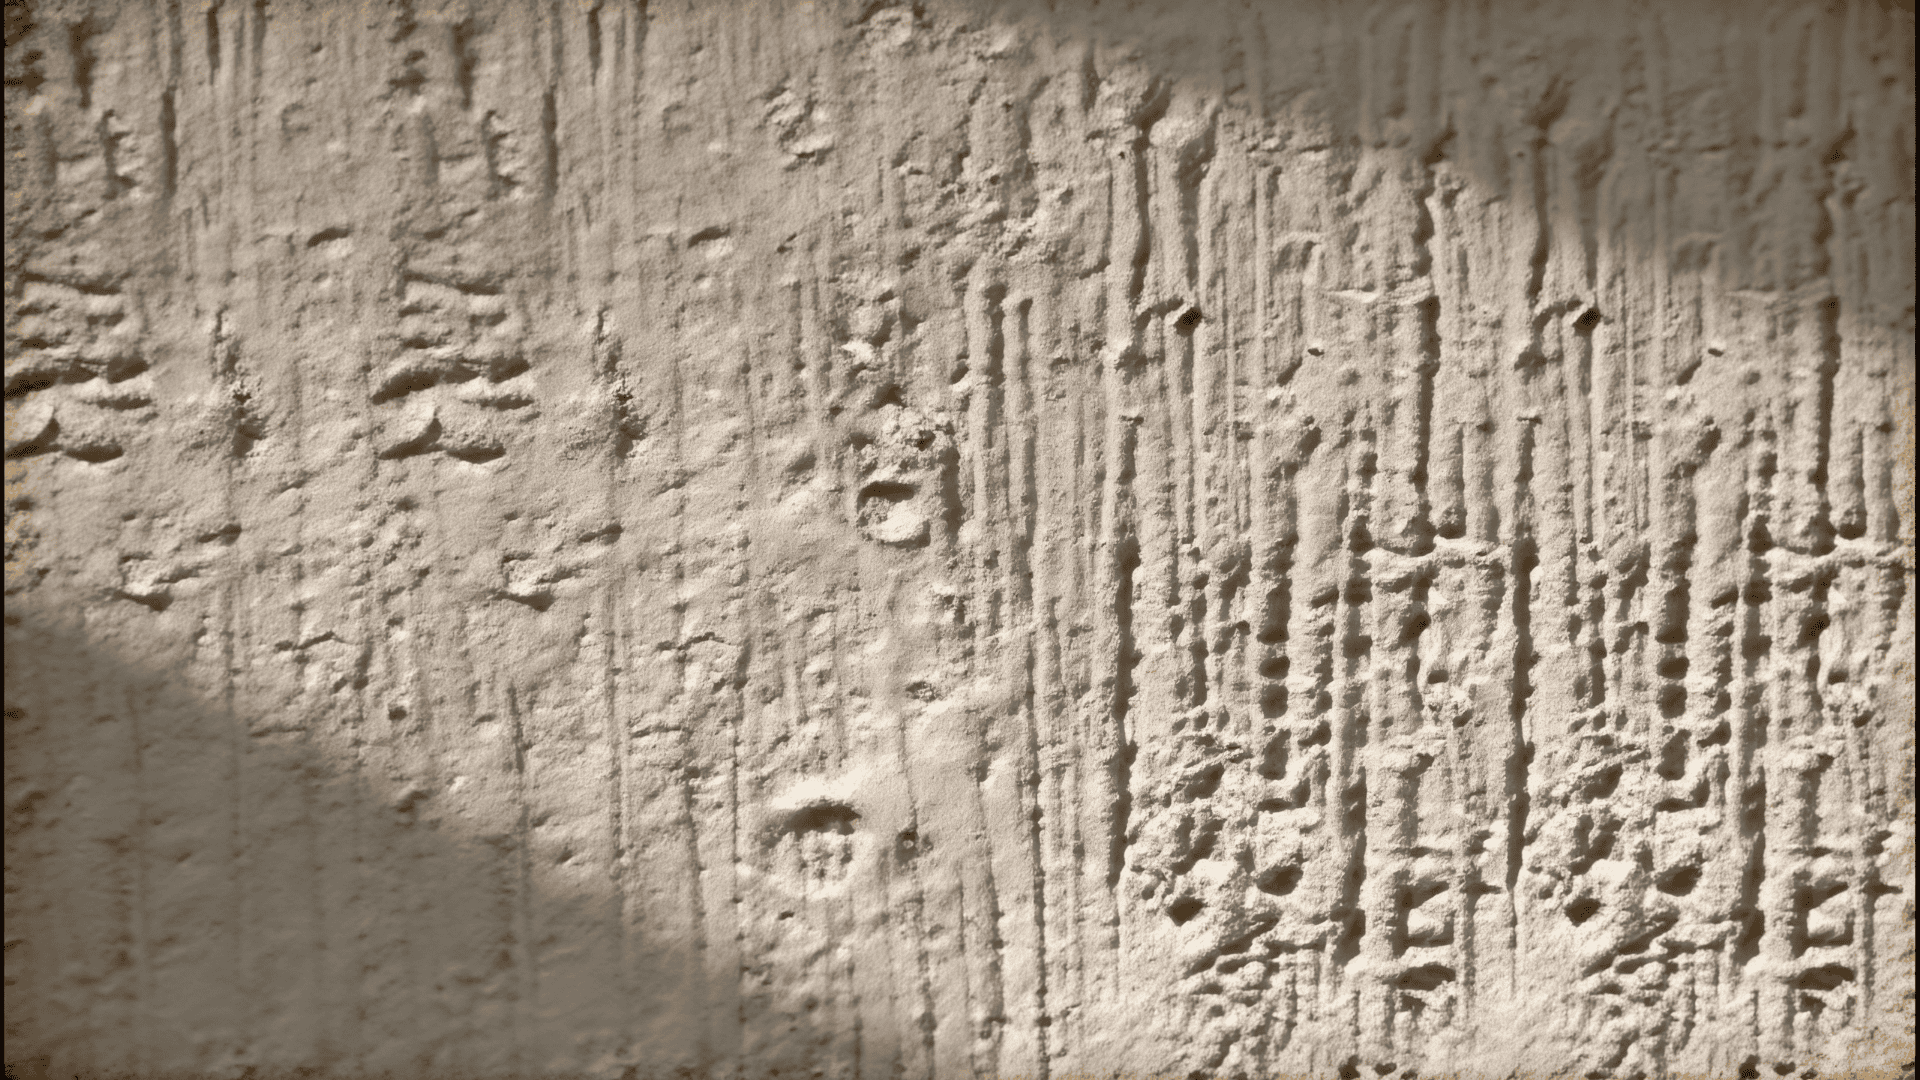
Step 7: Try the Skip Trowel Technique
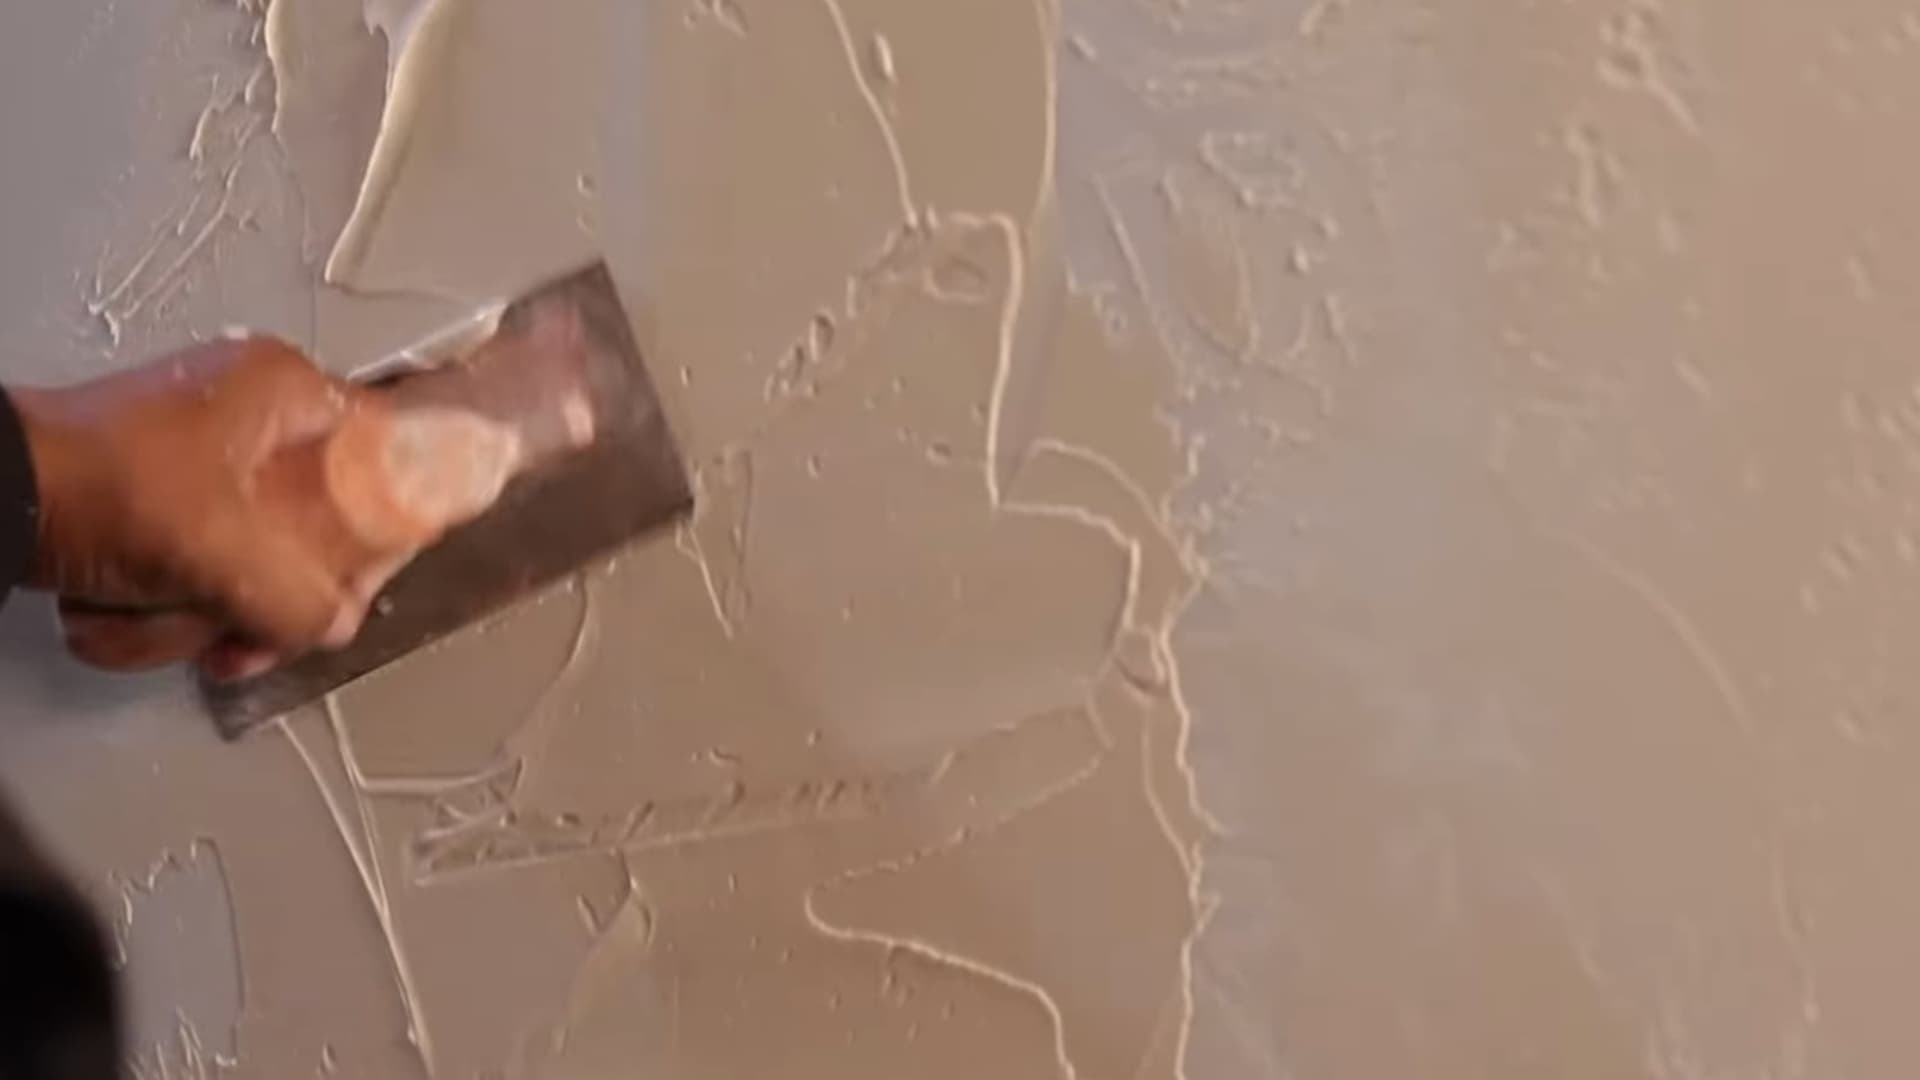
The skip trowel technique creates a loose, natural-looking texture. Start by placing joint compound on the wall with a trowel. Then drag the edge of the tool lightly across the surface.
As you move the trowel, lift it slightly so parts of the compound remain raised. This motion leaves broken patches of texture across the wall.
The pattern will not look perfectly even, and that is the goal. I find that warming up on a scrap board for five minutes before moving to the wall makes a noticeable difference.
It takes a few passes before your hand finds the right rhythm and pressure.
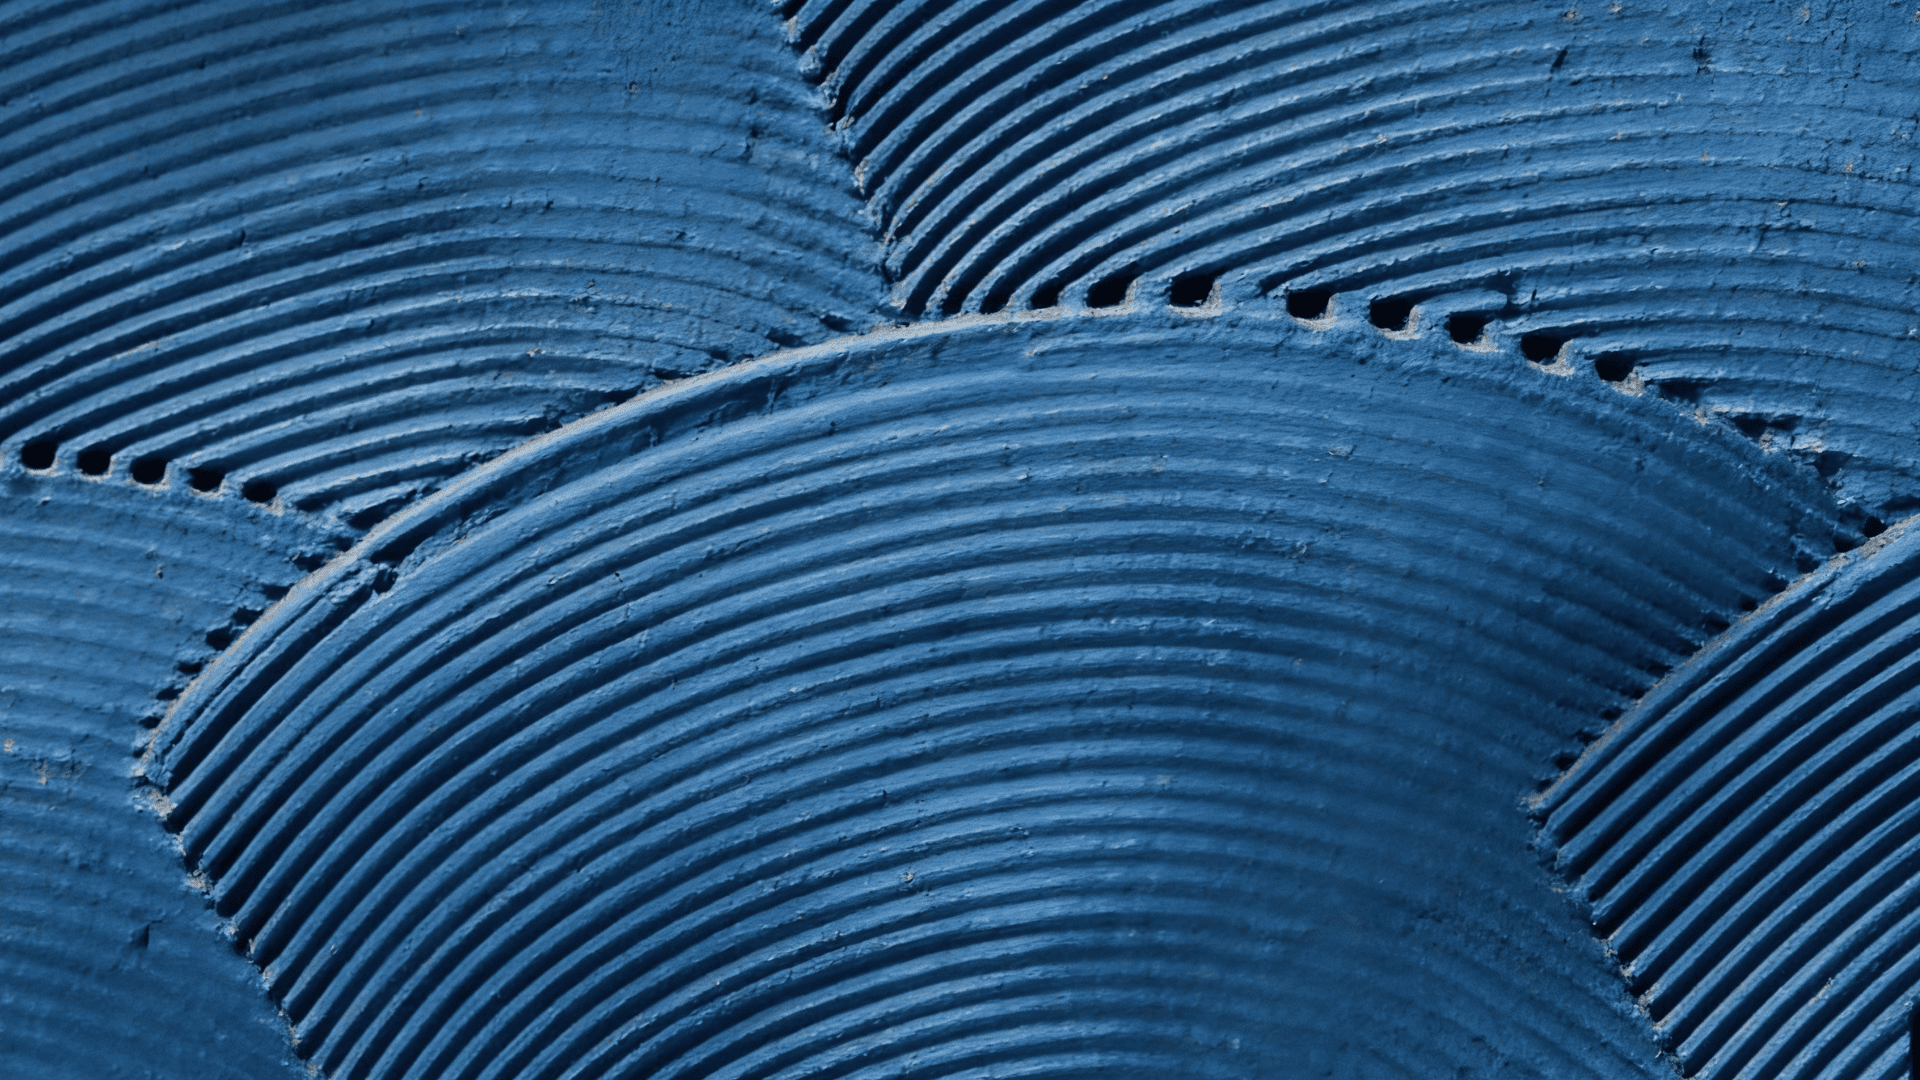
Step 8: Create Swirl Patterns with a Notched Trowel
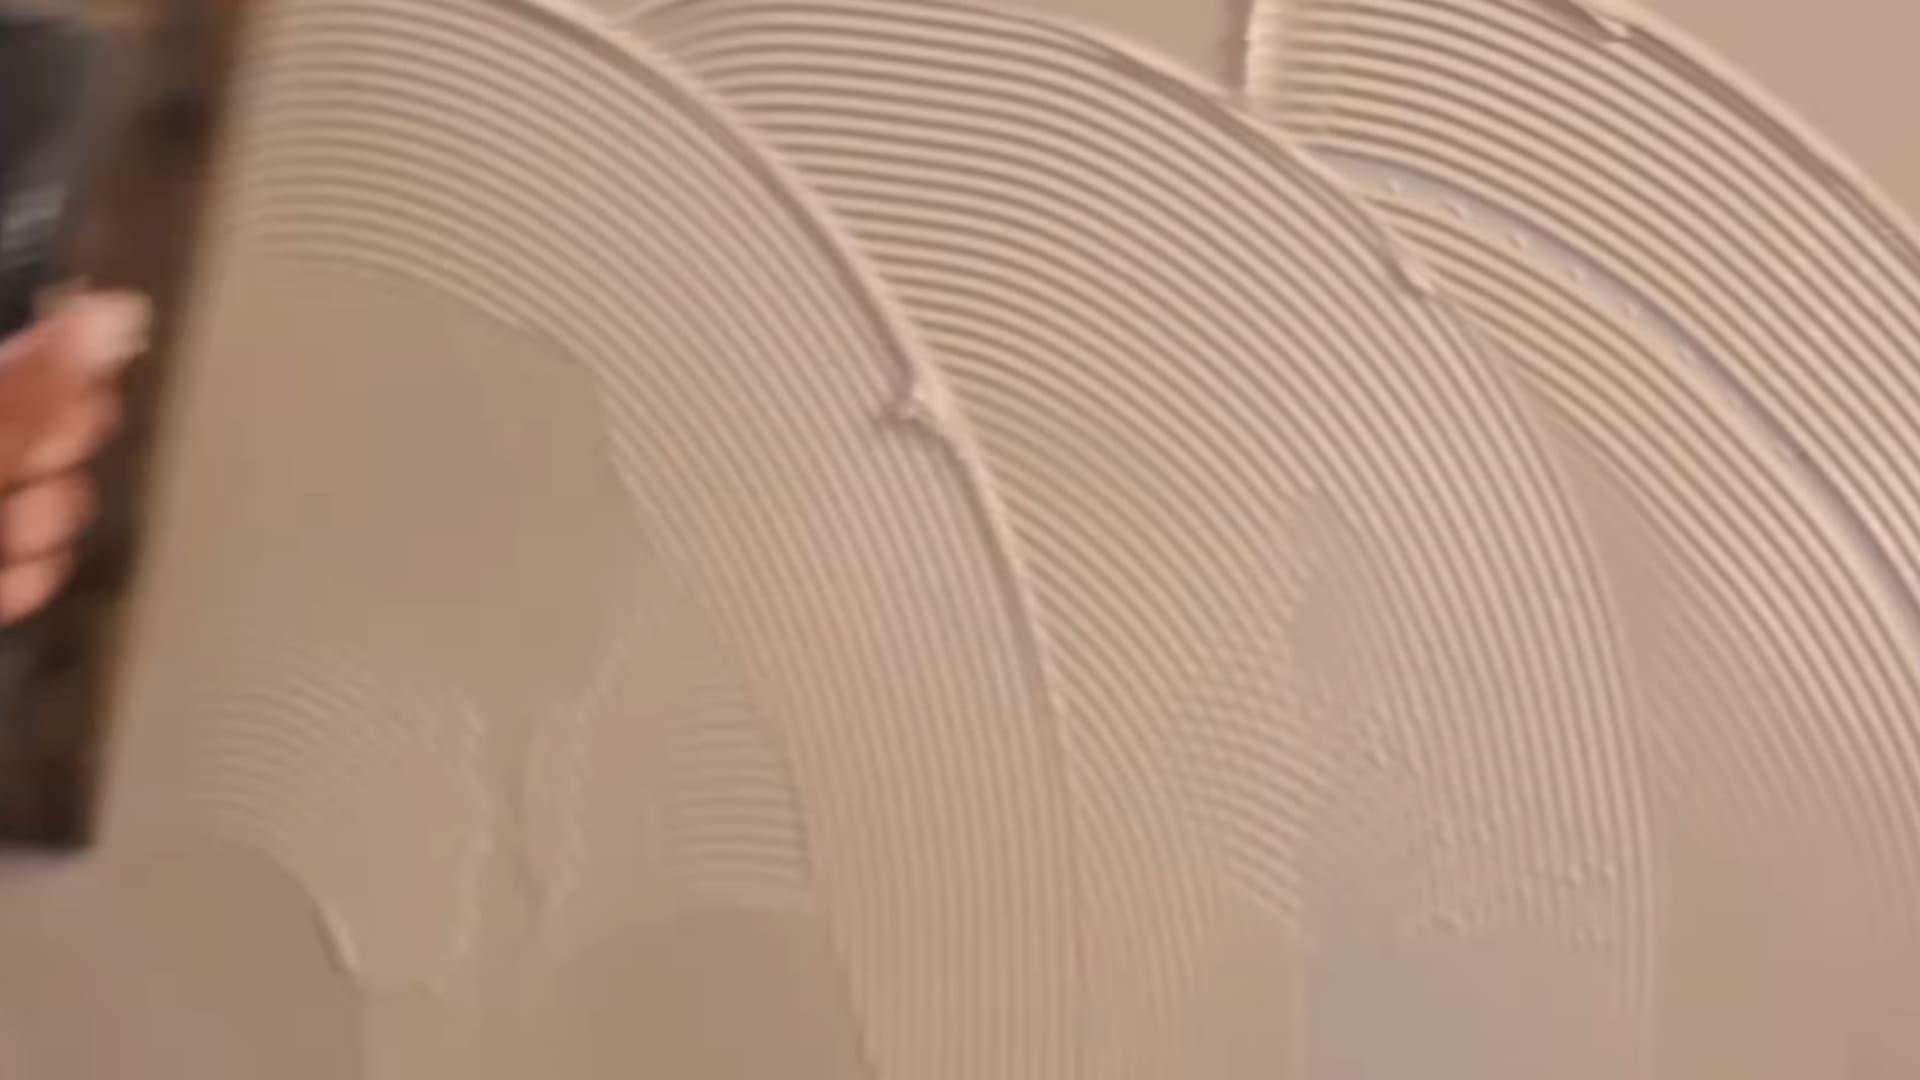
A notched trowel, often used for tile work, can create simple swirl patterns on a wall. Start by spreading joint compound across the surface with the flat side of the tool.
Once the compound is in place, turn the notched edge toward the wall. Move the tool in curved or circular motions while keeping light pressure.
The notches cut small grooves into the compound. As you move across the wall, these grooves form a repeating swirl pattern that adds movement and texture.
Step 9: Use a Stipple Brush
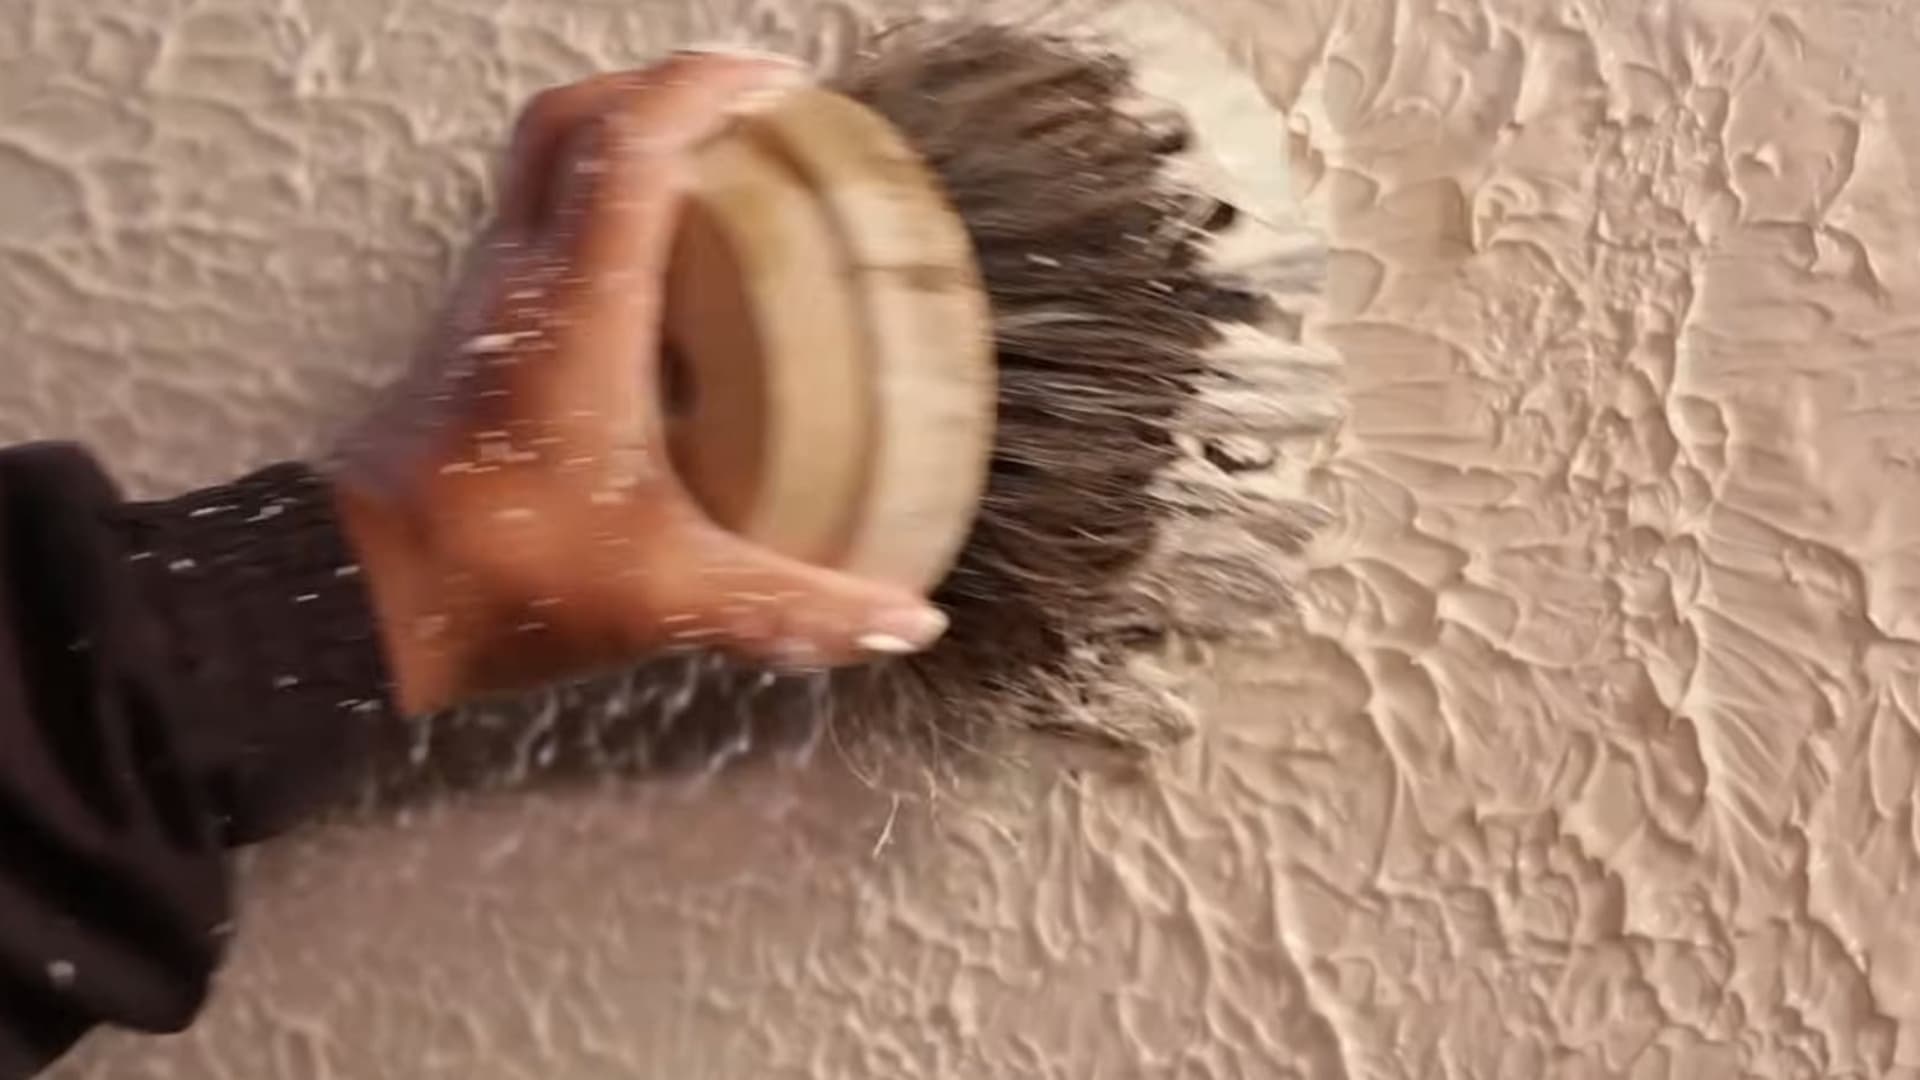
A stipple brush creates a dotted texture that many people use on ceilings or large wall areas. First, roll a layer of joint compound onto the surface using a paint roller.
While the compound is still wet, press the stipple brush gently into it.
Pull the brush straight back and repeat the motion across the area. Each press leaves small raised points in the compound.
Some workers cut a small hole in the center of the brush to deepen the pattern.
Keeping the brush perpendicular to the wall, rather than angled, produces a more uniform dotted pattern. Angling the brush creates elongated marks that can look inconsistent.
Step 10: Experiment with Other Tools
Wall texturing also allows room for creativity. Many everyday items can create interesting patterns in wet joint compound. You can press a plastic bag into the surface to form soft folds.
A sponge can create random marks, while brushes leave thin lines or rough textures. Even combs or simple hand tools can shape the compound in unique ways.
Before working on the wall, test these tools on a spare board. This helps you see the pattern and adjust your method.
This tutorial is based on a helpful video by Zillow. You can check out the original video on their YouTube channel here or watch it below.
Texture Wall Ideas for a Stylish Interior
Simple textures can turn plain walls into eye-catching features. These ideas use basic tools and methods to add depth and personality without major work.
1. Skip Trowel Texture Finish
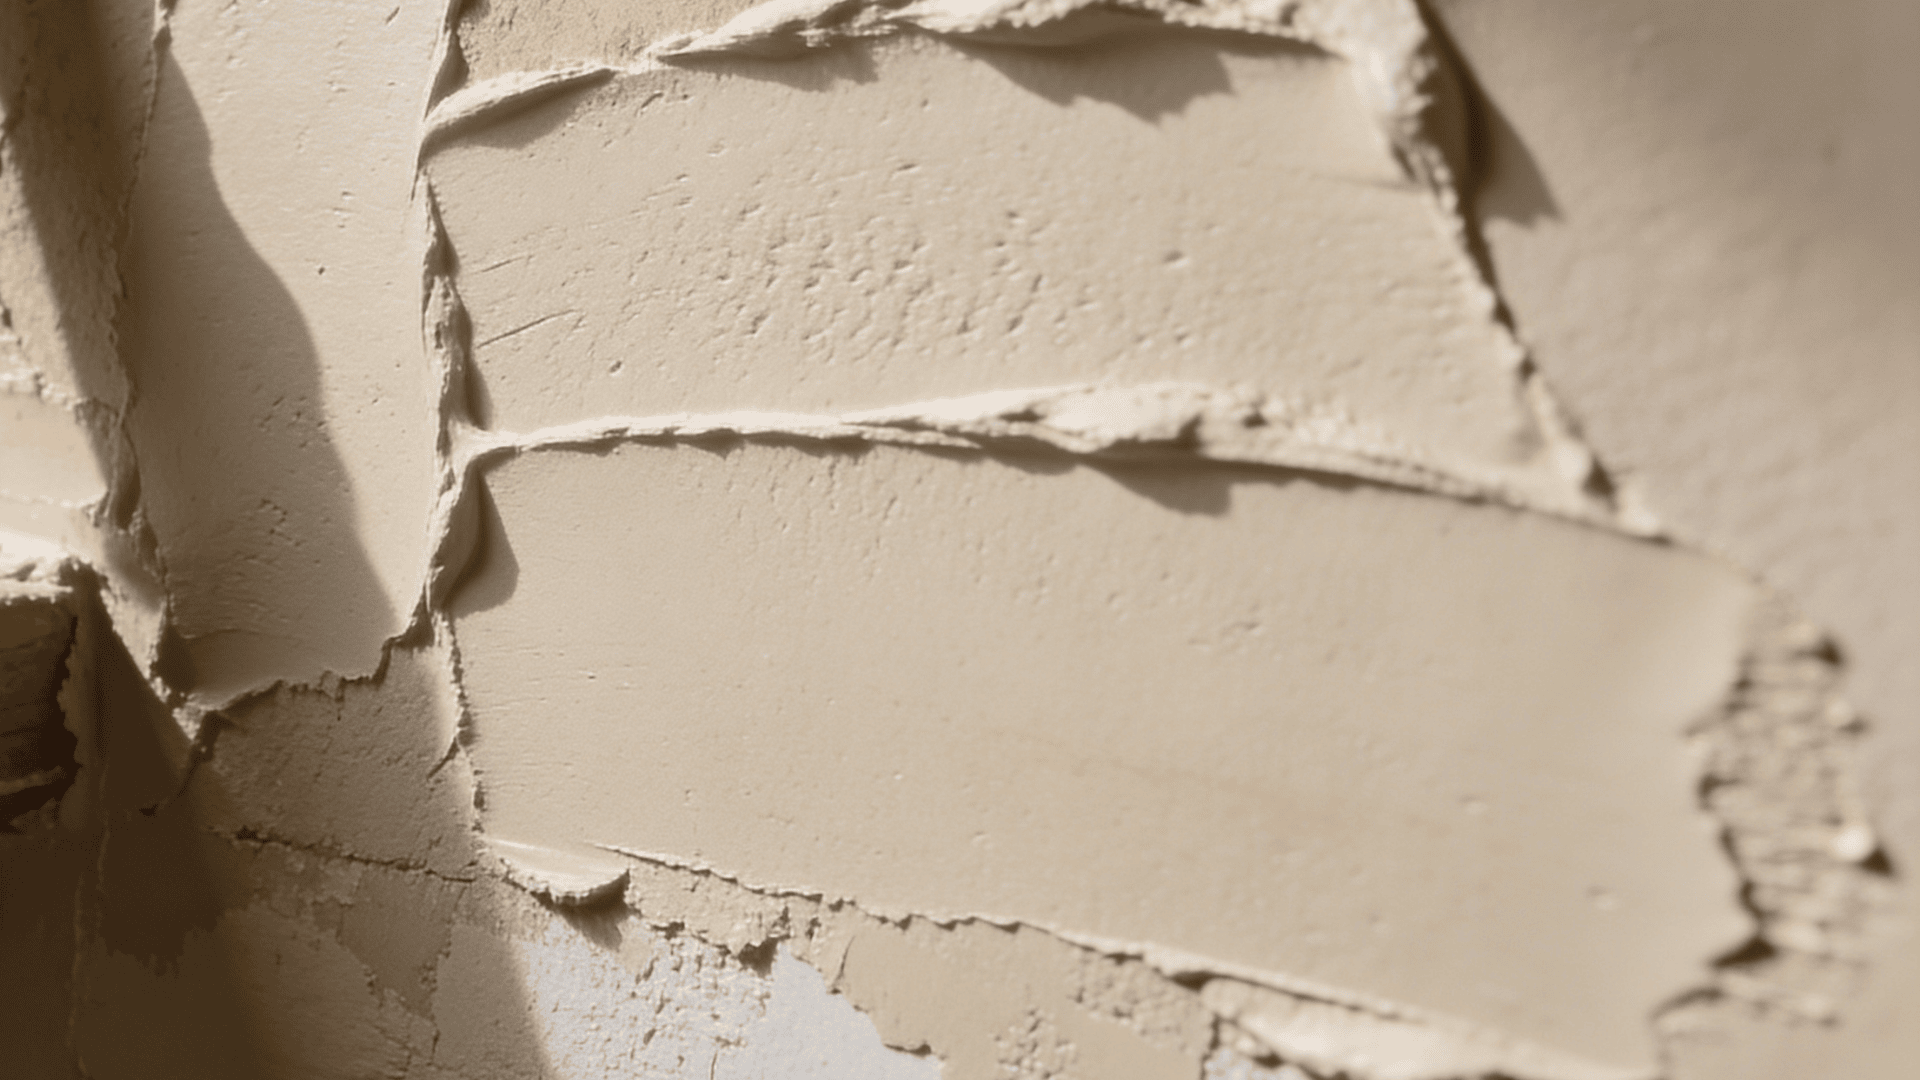
The skip trowel texture gives walls a relaxed and slightly rustic look that feels warm and natural. It is created by The skip trowel texture gives walls a relaxed and slightly rustic look that feels warm and natural.
It is created by applying joint compound and lightly dragging a trowel across the surface, leaving uneven patches behind.
This technique does not aim for perfection, which makes it great for beginners. It also helps hide minor wall flaws, such as dents or seams.
Keeping the trowel angle between 15 and 30 degrees produces the most natural-looking skip without overworking the compound. This method adds depth while keeping the design soft and visually appealing.
2. Stipple Brush Textured Walls
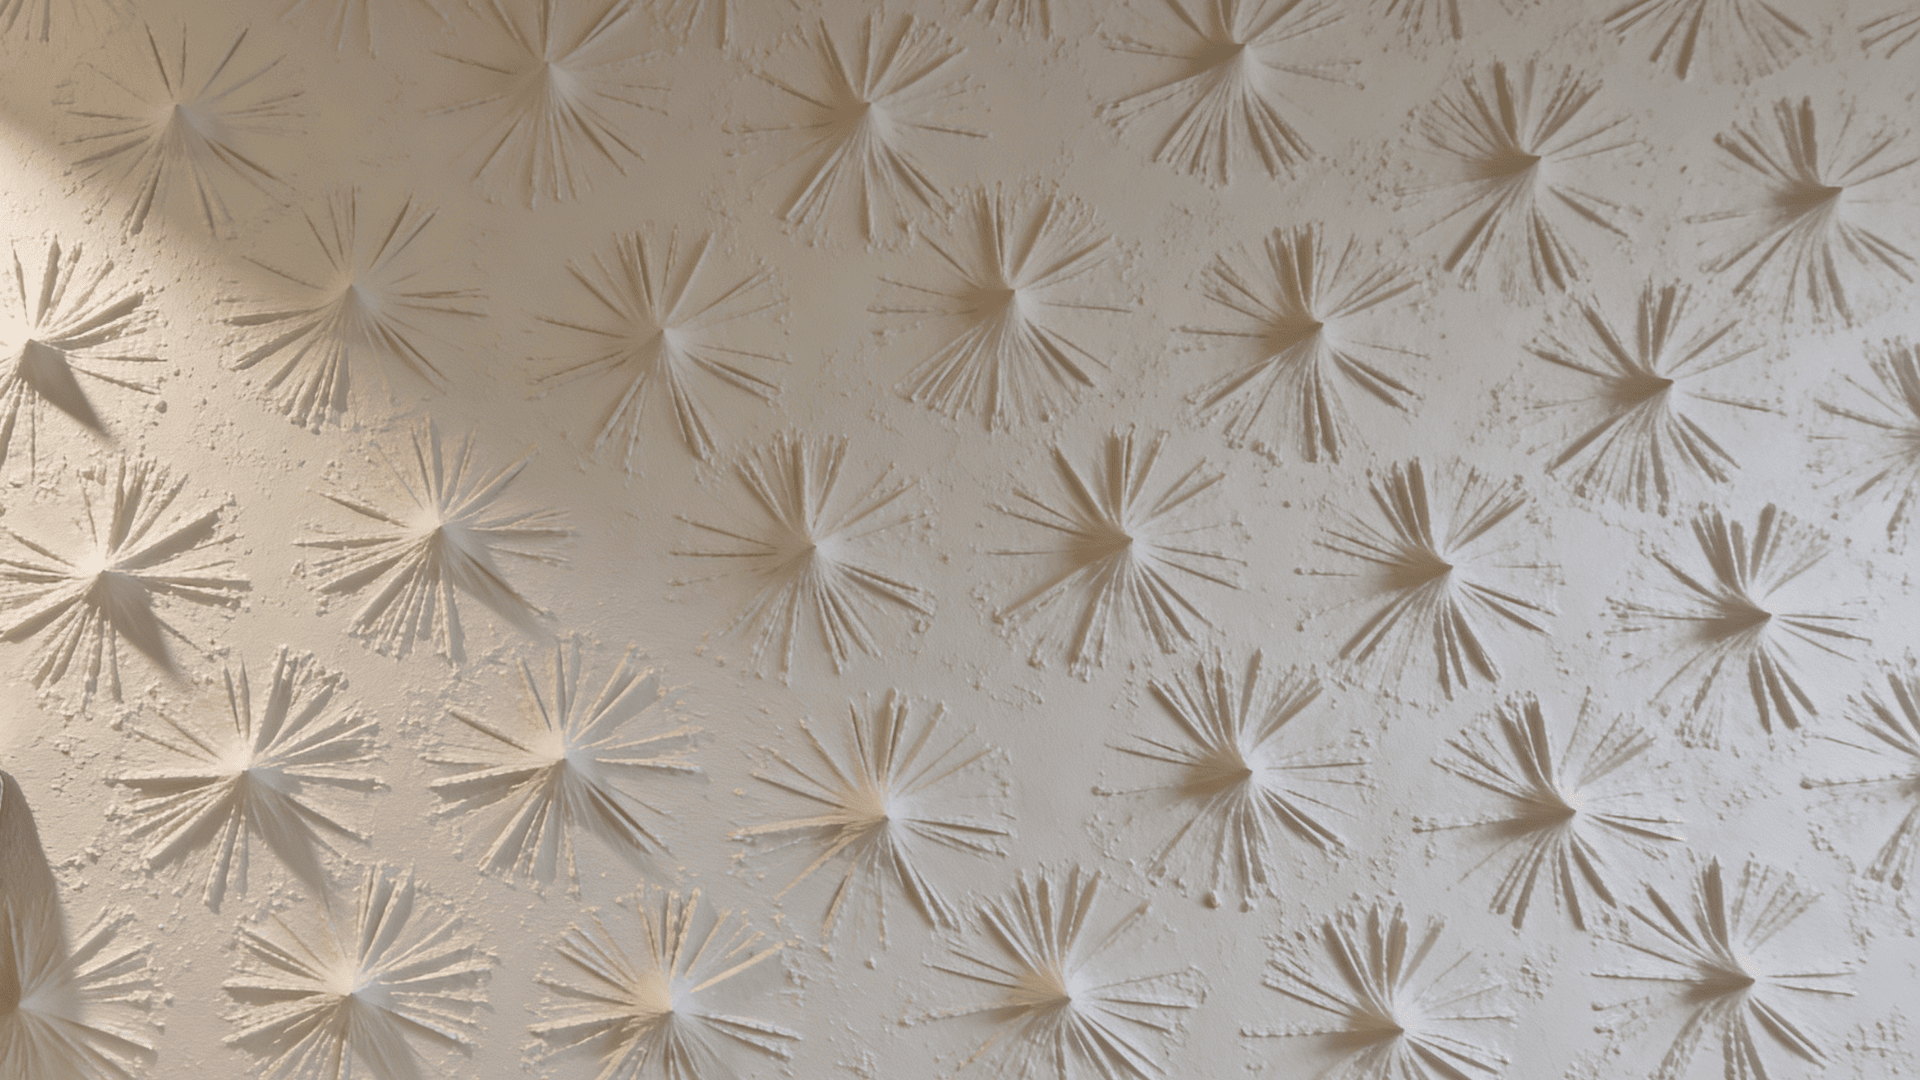
A stipple brush creates a dotted, raised pattern that works well on both walls and ceilings. The process starts by rolling joint compound evenly, then pressing the brush into the wet surface and pulling it away.
This repeated motion forms small peaks across the wall. The texture adds interest while also covering imperfections.
Working in 3-by-3-foot sections keeps the compound wet enough to stipple cleanly without tearing the surface. With practice, you can control how bold or subtle the final pattern appears.
3. Roller Pattern Texture Design
Pattern rollers are an easy way to add decorative designs without complex tools. After applying joint compound with a regular roller, a patterned roller is rolled over the surface to create repeating designs.
Keeping steady pressure and direction is important for a clean result. This method is beginner-friendly and produces consistent patterns across the wall.
It works well in living rooms or accent walls where you want a neat and structured design that still feels creative.
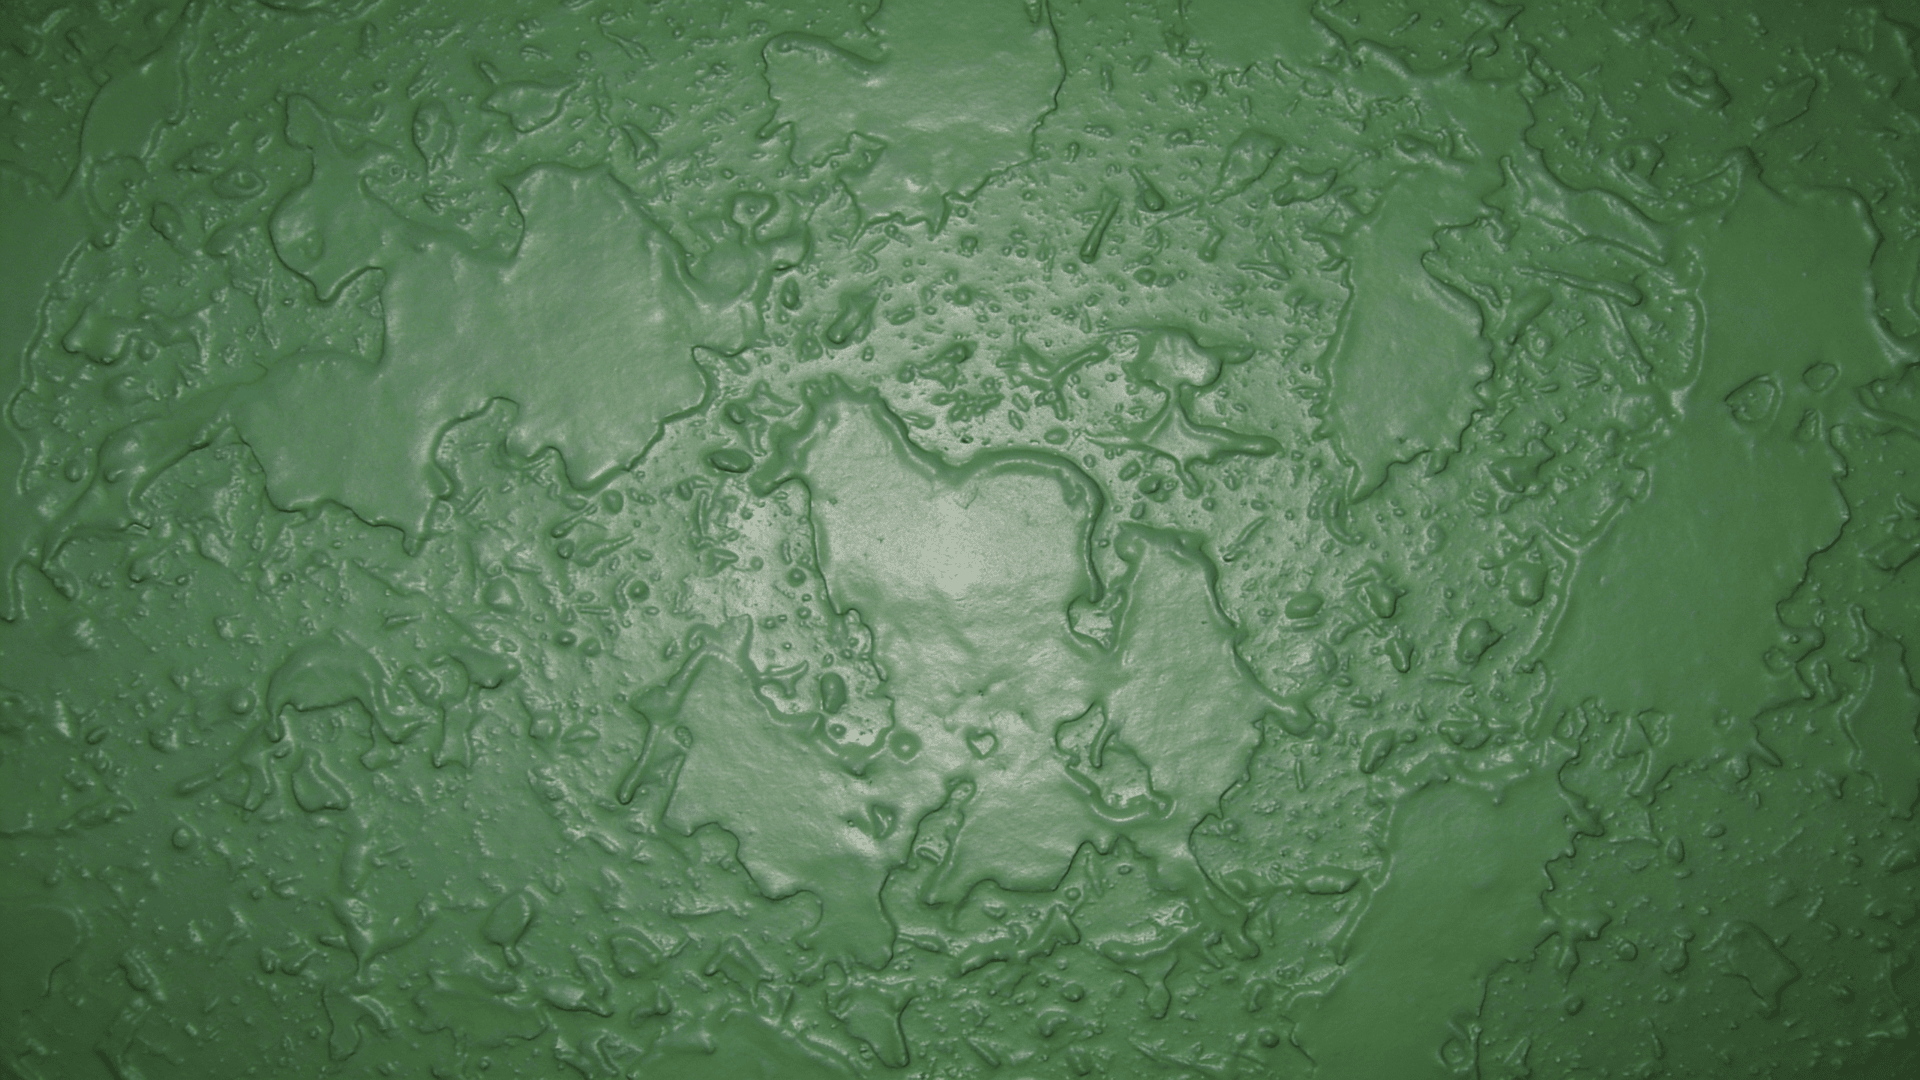
4. Sponge Texture Effect
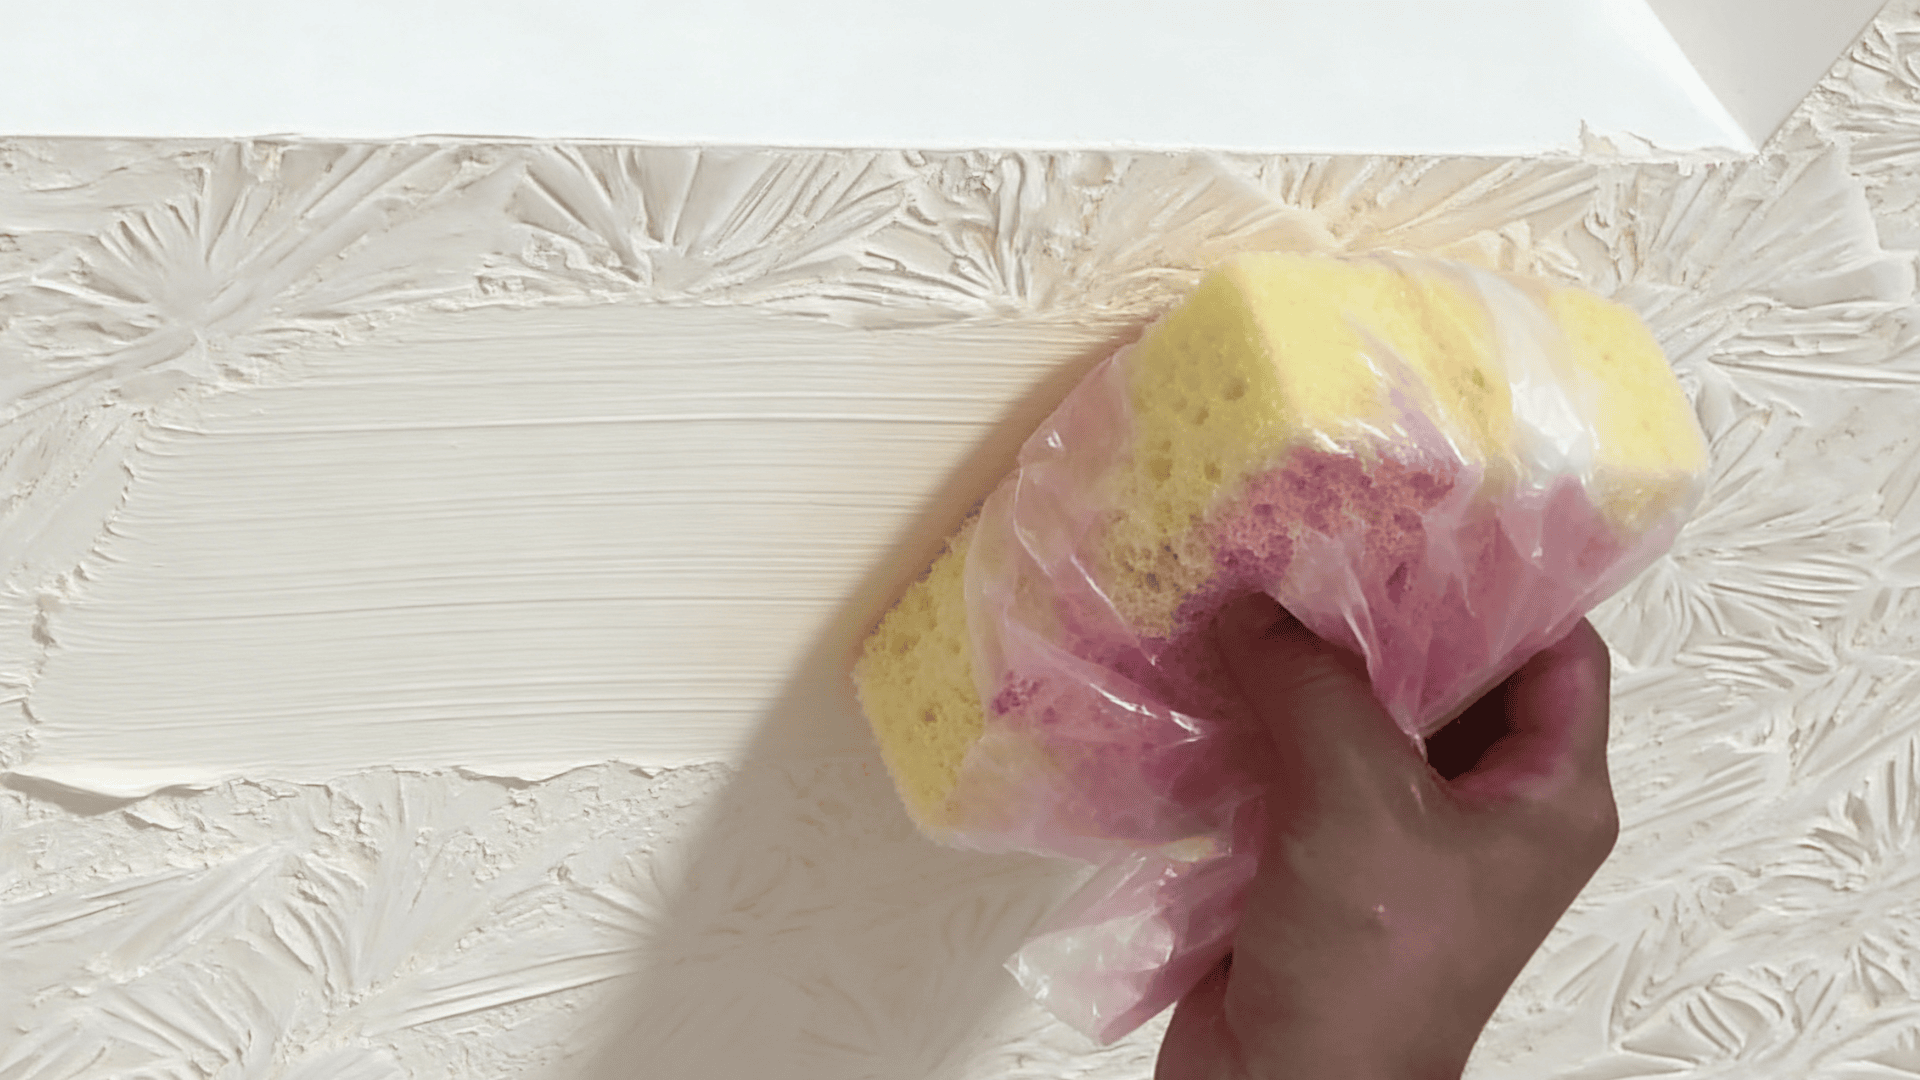
Using everyday items like sponges or plastic bags can create unique and random textures on walls. After spreading joint compound, press the material lightly onto the surface to form soft patterns.
Each press creates a slightly different shape, giving the wall a natural and artistic feel.
Sea sponges produce a more organic, varied pattern compared to synthetic sponges, which tend to leave more uniform marks.
Test both on scrap drywall before committing to the wall. This method is simple and budget-friendly, making it ideal for DIY projects. It also allows creativity, as you can test patterns first and adjust until you get the look you want.
5. Swirl Texture with Notched Trowel
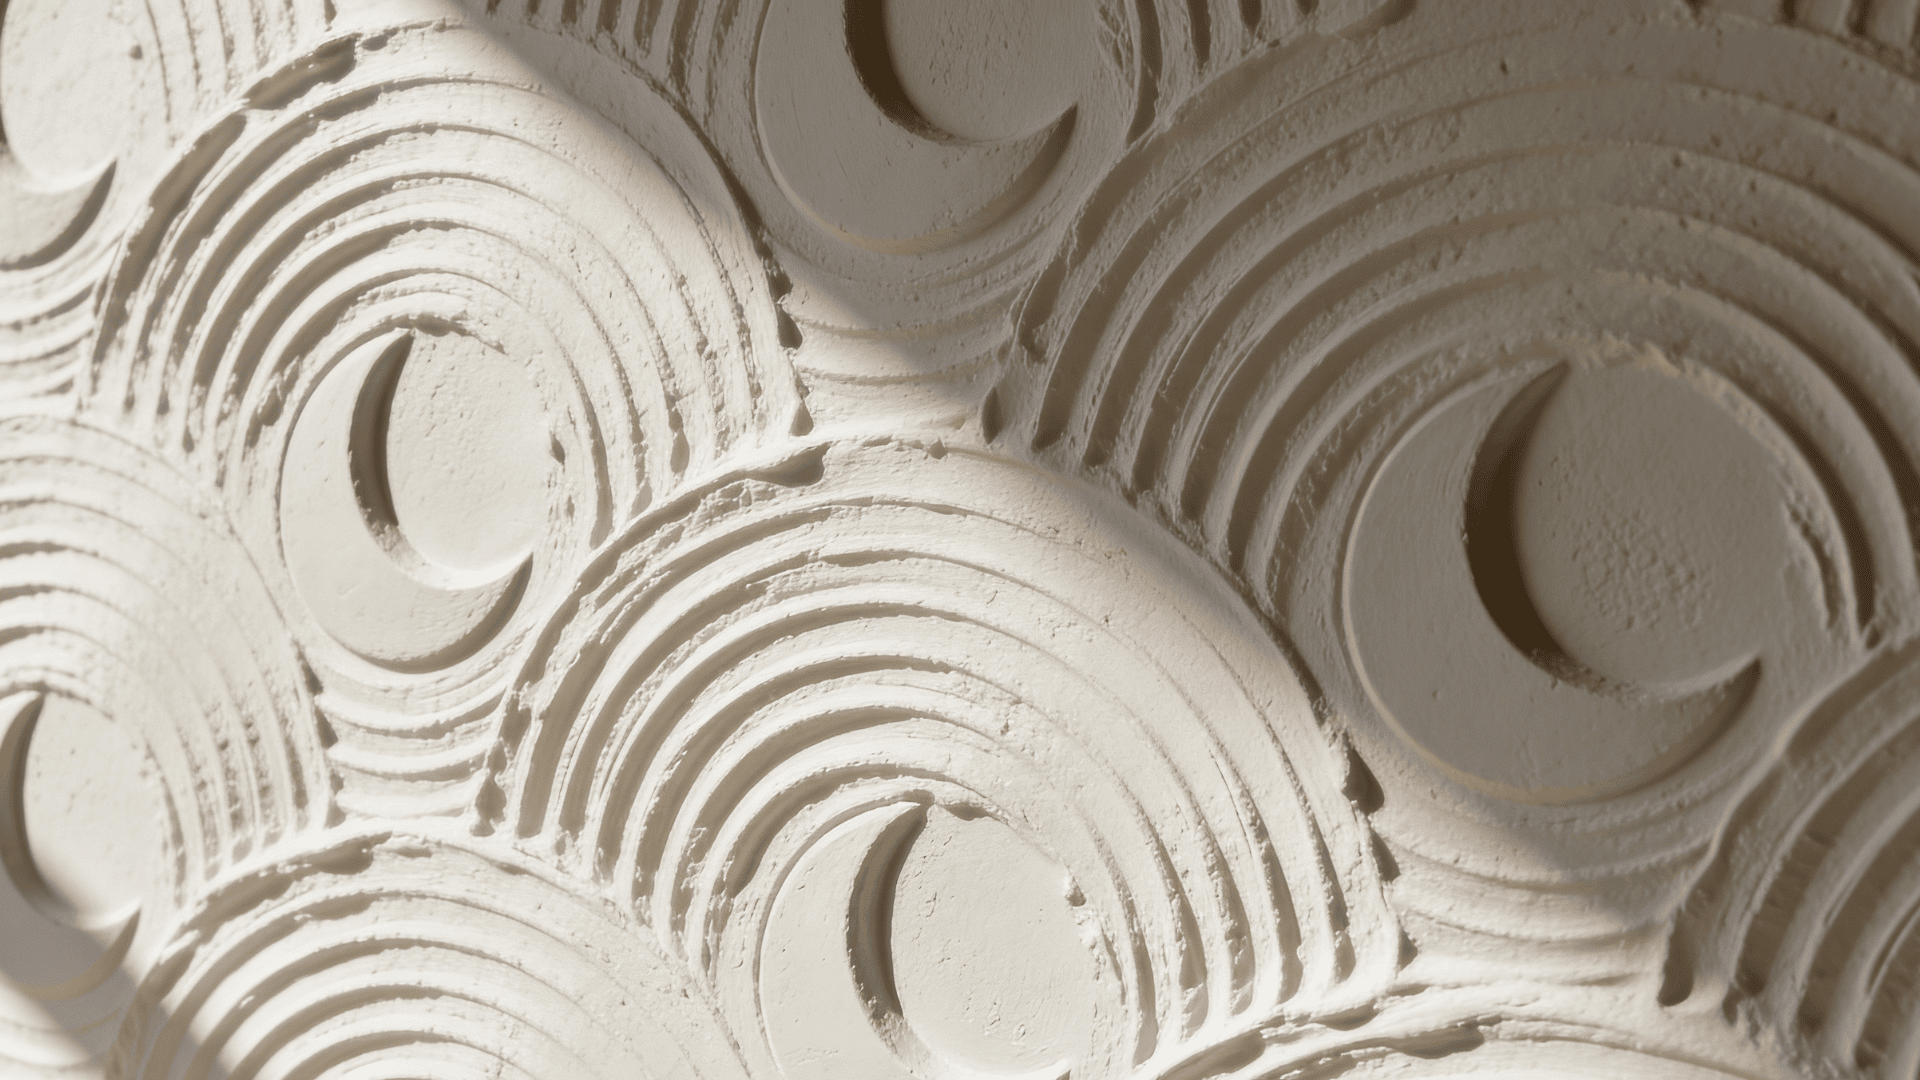
A swirl texture adds movement and a slightly decorative touch to any wall surface. It is made using a notched trowel that creates curved grooves in wet joint compound.
By moving the tool in circular motions, you form repeating swirl patterns that feel lively but not overwhelming. This style works well in both modern and classic interiors.
It also helps break up large wall spaces, making rooms feel more balanced and visually interesting without needing extra décor.
6. Heavy Trowel Texture Finish
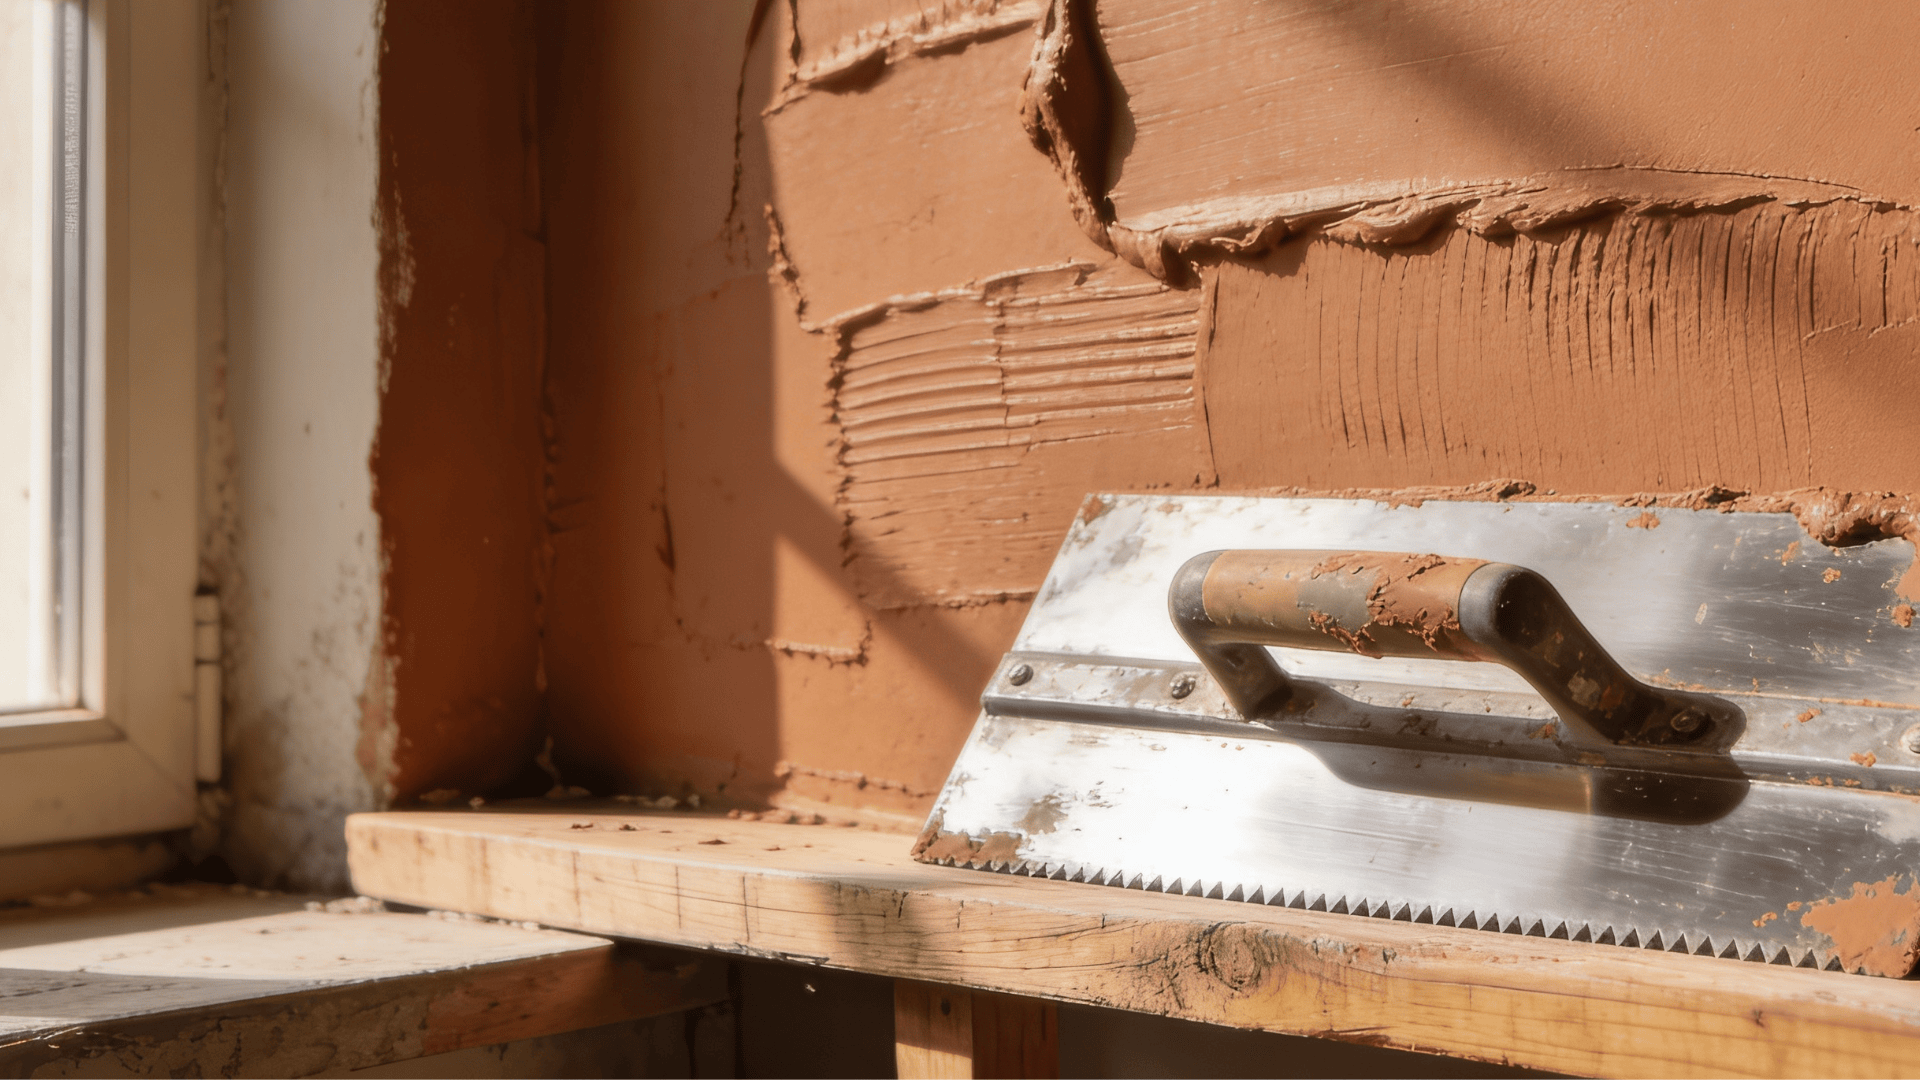
Heavy trowel texture is ideal when you want bold depth and strong visual impact. This method involves applying a thicker layer of joint compound and shaping it with a trowel using smooth strokes.
The result is a rich, layered surface that stands out immediately. It is especially helpful for covering uneven drywall or repaired areas.
Because the compound is applied thicker, drying time increases significantly.
Allow at least 24 to 36 hours before priming or painting to avoid cracking. This texture gives walls a more solid and structured look, making it a good fit for feature walls or areas that need extra character.
7. Light Roller Texture Finish
A light roller texture is one of the simplest ways to add subtle detail to a wall. By using a paint roller with joint compound, you can create a soft, even texture across the surface.
This style is perfect if you want something gentle that still adds interest.
A lambswool or medium-nap roller (3/8 inch) produces a lighter stipple than a thick-nap roller and is easier to control for a consistent finish. It works well in bedrooms and hallways where a calm look is preferred.
The finish also helps hide minor flaws while keeping the wall clean and smooth.
8. Brush Stroke Texture Design
Brushstroke texture creates a linear, slightly artistic pattern that feels modern and creative. After applying joint compound, a brush is dragged across the surface in straight or angled lines.
This creates a repeating pattern that can be customized to your movement.
The design adds depth without making the wall look too busy. It works well in spaces where you want a simple yet stylish finish that still feels unique and handcrafted.
9. Knockdown Texture Style
Knockdown texture offers a soft and flattened look that balances texture with smoothness. It is created by applying joint compound, letting it set slightly, and then gently flattening the peaks with a trowel.
The result is a subtle, layered effect that looks polished and clean. Timing is the most critical factor in knockdown texture. Waiting too long makes the compound too firm to flatten cleanly.
Most applicators start the knockdown pass about 10 to 15 minutes after application, depending on humidity and room temperature.
This style is popular in many homes because it adds texture without being too bold. It also helps reduce the appearance of small wall imperfections while keeping a neat finish.
10. Comb Texture Pattern Walls
Comb texture uses a simple comb-like tool to create lines and repeated patterns on wet compound. By dragging the tool in straight, curved, or wavy motions.
You can design a wall that feels structured and creative.
This technique offers a lot of flexibility, as you can adjust the pattern to your style. It works well for accent walls where you want something eye-catching but still neat and controlled.
11. Textured Accent Wall Panels
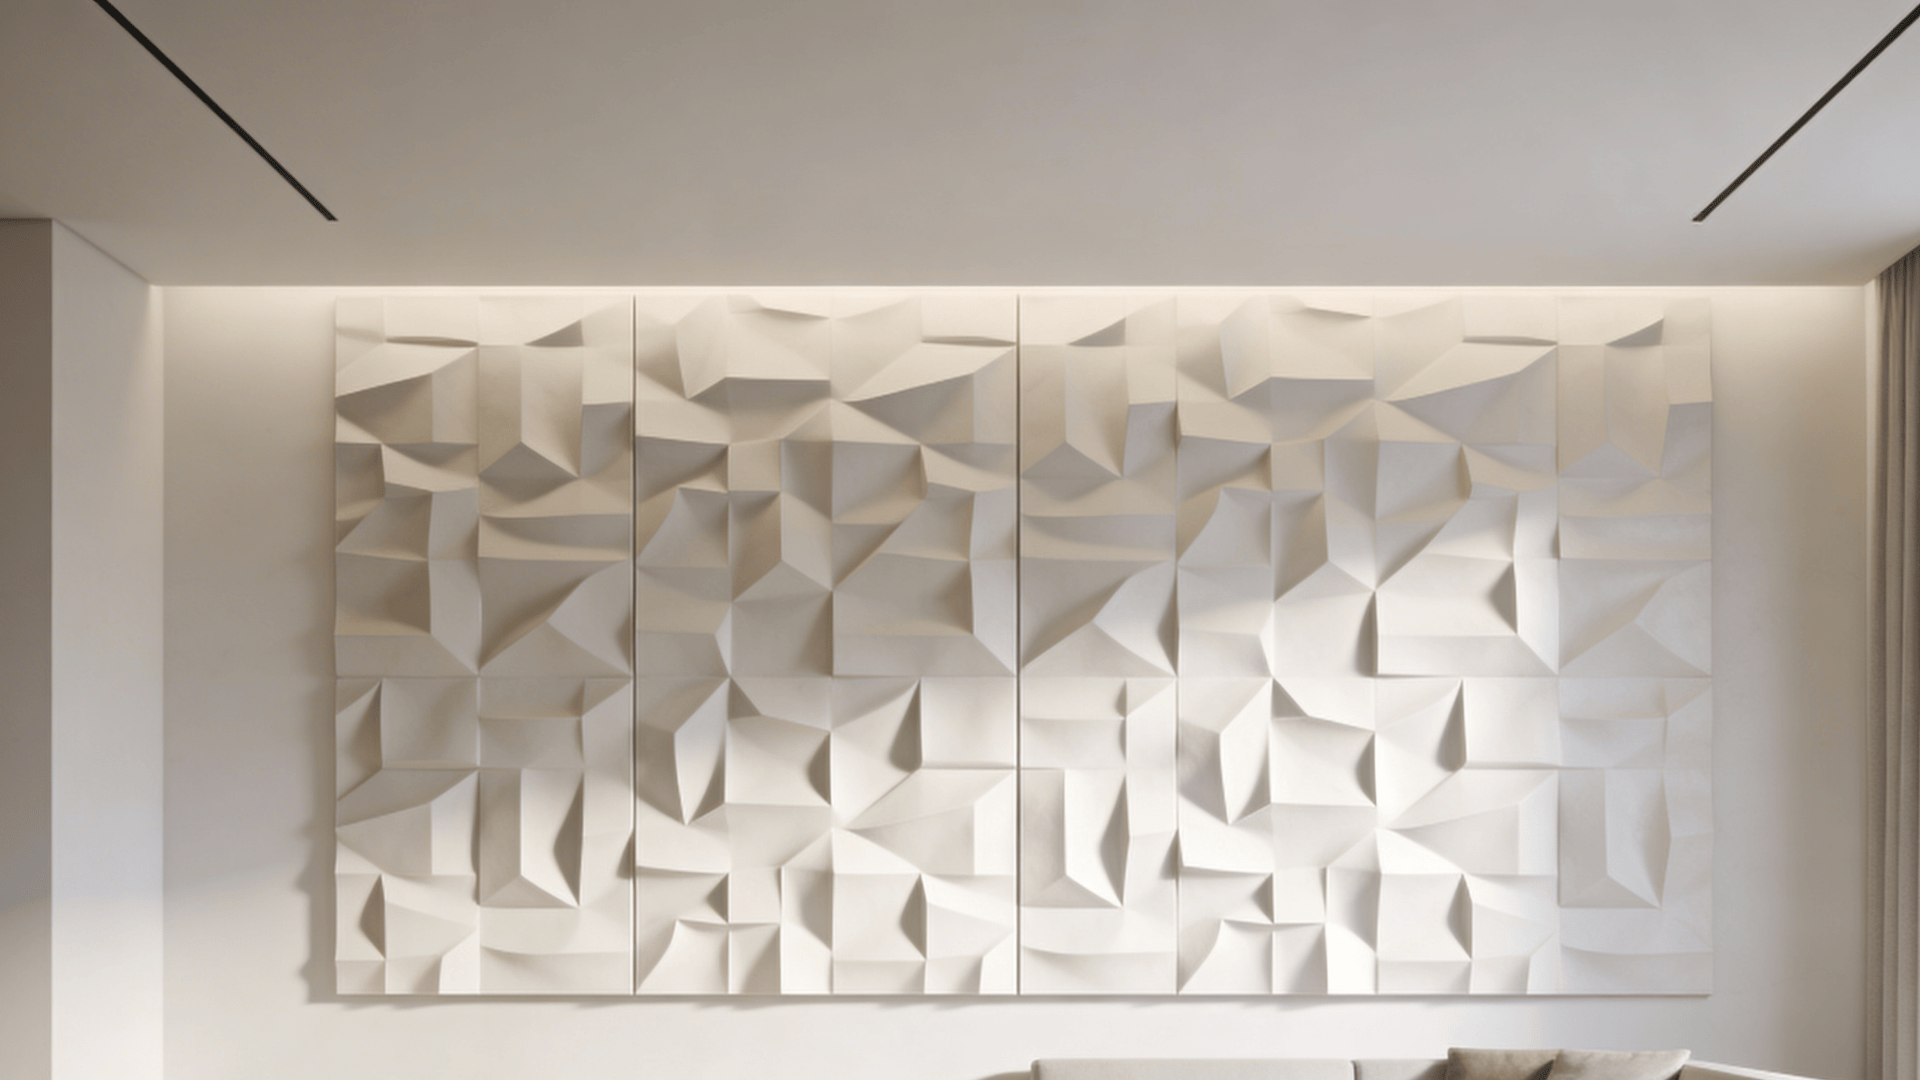
Textured accent panels combine traditional wall texturing with modern design ideas. Instead of covering the entire room, you focus on one wall and apply a strong texture pattern to create a focal point.
This approach adds depth and style without overwhelming the space.
Framing the accent wall with painted trim or a contrasting border color helps define the textured section and gives it a more intentional, designed look. It pairs well with simple furniture and neutral colors.
Which Wall Texture Should You Choose?
Different textures suit different skill levels, room types, and goals. This table can help you match the right technique to your specific situation.
| Texture Style | Skill Level | Best Room | Primary Purpose | Drying Time |
|---|---|---|---|---|
| Skip Trowel | Beginner | Living room, bedroom | Hides flaws, rustic look | 12–24 hrs |
| Knockdown | Beginner–Intermediate | Living room, hallway | Soft finish, hide seams | 12–24 hrs |
| Stipple Brush | Beginner | Ceilings, large walls | Bold dotted pattern | 12–18 hrs |
| Roller Pattern | Beginner | Accent walls | Decorative repeating design | 12–18 hrs |
| Heavy Trowel | Intermediate | Feature walls, entryway | Bold depth, cover damage | 24–36 hrs |
| Swirl / Notched Trowel | Intermediate | Living room, dining room | Decorative movement | 12–24 hrs |
| Sponge / Bag | Beginner | Any room | Organic, artistic finish | 12–18 hrs |
| Comb | Beginner–Intermediate | Accent walls | Structured, graphic lines | 12–18 hrs |
| Light Roller | Beginner | Bedroom, hallway | Subtle, calm finish | 8–12 hrs |
| Brush Stroke | Intermediate | Studio, office, accent wall | Linear, artistic look | 12–24 hrs |
Why Textured Walls Are Popular?
Textured walls are popular because they make a space feel more interesting without adding much cost. They add depth and break the flat look of plain walls, which can make a room feel dull.
Many people also like them because they help hide small flaws. Tiny cracks, dents, or uneven spots become less visible once texture is added.
This makes them a smart choice for older homes or walls that are not perfect.
Textured finishes can also reflect light in different ways, giving the room a softer look. Another reason is flexibility.
You can choose simple or bold patterns based on your style. Plus, most textures are easy to maintain and don’t show marks as quickly as smooth walls.
Helpful Tips for Better Results
A few simple steps can help you achieve a cleaner, more even wall texture.
- Prime the drywall first: Primer helps the texture stick better and keeps the finish consistent.
- Work alone if possible: Different people create slightly different patterns, which can make the wall look uneven.
- Test the texture on scrap drywall: Practicing first helps you see how the pattern will look before applying it to the wall.
- Apply the compound in thin layers: Thick layers can dry unevenly, leading to cracking.
- Work in small sections: This keeps the compound from drying too quickly and makes the texture easier to control.
- Do not skip the final prime coat before painting: Unpainted joint compound is porous and will absorb the first layer of paint unevenly, creating dull spots and requiring more coats to achieve an even finish.
Conclusion
Wall texturing may look complicated at first, but once you understand the basic tools and motions, it becomes a practical way to change the feel of a room.
Work slowly, test your pattern, and handle small sections. Good prep and practice make the job much easier.
Prime the wall, test your mix on scrap drywall, and work in manageable sections. Most texture problems, cracking, peeling, or uneven patterns, trace back to skipping one of these steps rather than a lack of skill.
Each tool, like rollers, trowels, or brushes, creates a different finish, so you can pick what suits your space best.
Start with a small area to build confidence. Have you textured a wall before, or is this your first try? Share your thoughts in the comments.
Frequently Asked Questions
What Type of Paint Works Best Over Textured Walls?
Flat or matte paint works best, as it highlights texture without adding unwanted shine.
Can Wall Texture Be Applied Over Painted Surfaces?
Yes, but the surface must be cleaned and primed to ensure proper adhesion.
How Long Does Wall Texture Take to Dry Completely?
Drying usually takes several hours, but full curing may require up to a day.
Is Sanding Required After Applying Wall Texture?
Light sanding may be needed to smooth rough spots and improve the final finish.
Can Textured Walls Be Removed Later If Needed?
Yes, removal is possible using scraping, sanding, or skim coating methods.