
Starting seeds indoors can feel confusing at first. People think they need trays, lights, and special tools.
In reality, healthy plants can grow with simple items already available at home, and the results are worth it.
This guide covers everything you need: the right supplies, soil, light, warmth, and water. Each step is laid out in order so you can follow along and get started.
When to Start Seeds Indoors
Timing is one of the most important parts of getting this right. Start too early and seedlings outgrow their containers before it’s safe to move them outside. Start too late and they miss valuable growing time.
The simplest approach is to count back from your last frost date to the average date in spring when freezing temperatures are no longer expected in your area. Most seed packets list how many weeks before that date to start indoors.
Here are a few common examples to work from:
- Tomatoes and peppers: 6–8 weeks before last frost
- Cabbage and broccoli: 6–8 weeks before last frost
- Cucumbers and zucchini: 3–4 weeks before last frost
- Basil: 4–6 weeks before last frost
Once you have the date, count back the recommended weeks on a calendar. That window is when you plant.
Understanding Seed Leaves vs. True Leaves
| Feature | Seed Leaves | True Leaves |
|---|---|---|
| First Appearance | Appear first after germination | Grow after the seed leaves |
| Shape | Simple, smooth, and often oval | Match the real shape of the plant |
| Function | Provide stored energy from the seed | Help the plant make its own food using light |
| Color | Usually light green | Often darker green and more defined |
| Growth Role | Support the early growth stage | Show active and healthy development |
| Lifespan | Short-lived and may fall off | Continue growing with the plant |
| Nutrient Need | No extra feeding needed | Needs nutrients after this stage |
| Care Signal | Early stage, basic care only | Time to increase light, care, and feeding |
| Strength Indicator | Weak and delicate | Stronger and more stable growth |
How to Choose the Right Soil Mix?
Soil choice has a bigger impact than most beginners expect. Heavy garden soil holds too much water and compacts around young roots, which blocks airflow and slows germination — or stops it entirely.
A light, loose mix works far better. It lets roots spread easily and allows excess water to drain out instead of pooling at the bottom.
Seed starting mix is the cleanest option. Regular potting soil works too. If you’re mixing at home, adding sand or coco peat keeps things soft and airy.
Avoid anything that stays soggy for long. Too much moisture sitting in the soil leads to mold and weak, struggling seedlings.
How to Create the Right Environment Indoors?
Seeds need three things in balance: light, warmth, and moisture. Get all three right and germination is usually fast and consistent.
Place containers somewhere that gets strong natural light during the day. A bright window is a good starting point for most plants.
Keep the area warm and away from cold drafts, air conditioning vents, or fans blowing directly on the soil. Temperature swings slow things down.
Keep soil slightly moist, not wet. Covering containers with plastic wrap or a lid at the start helps hold moisture in. Once seeds sprout, remove the cover so air can circulate around the young plants.
Step-by-Step Guide to Start Seeds Indoors
Once the steps are clear, this process becomes straightforward. Work through each one in order and you’ll have a solid setup from the start.
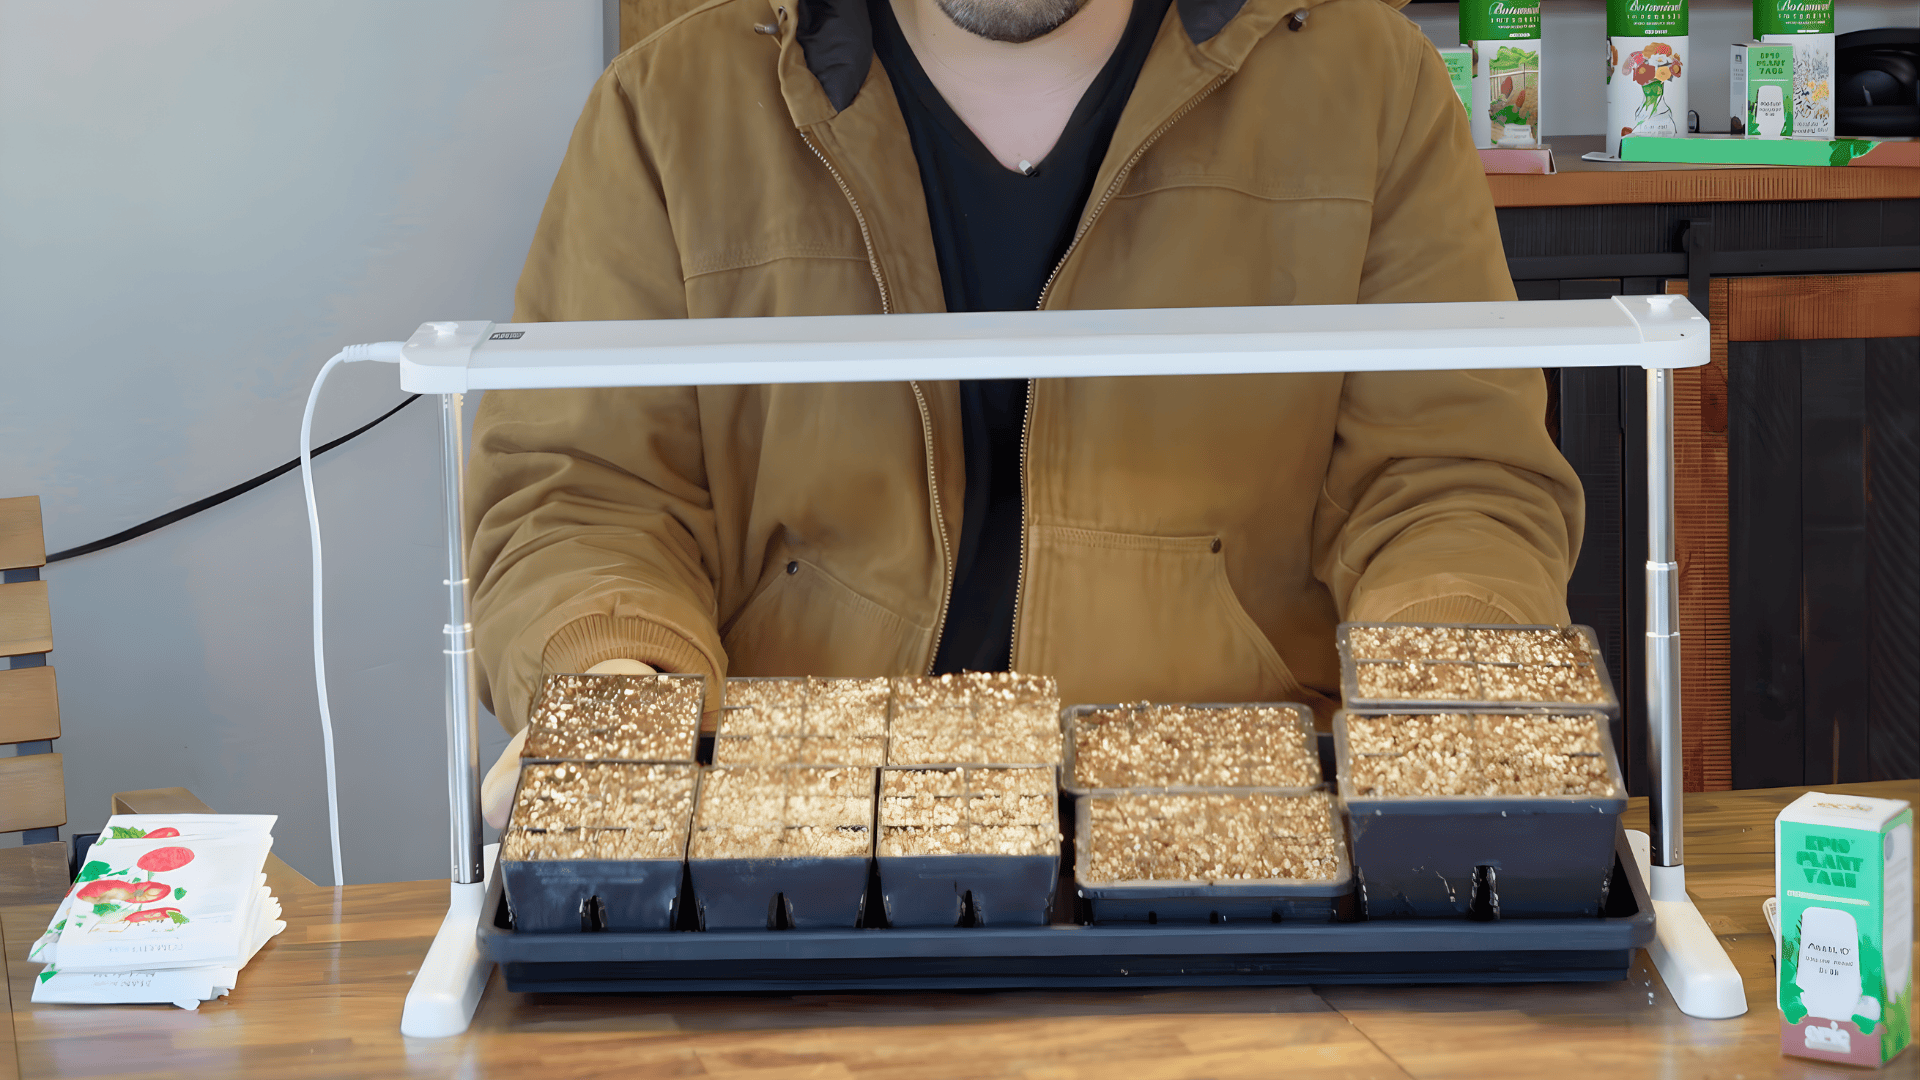
Supplies You Need to Start Seeds Indoors
- Seeds
- Seed starting mix or light soil
- Containers
- Spray bottle (optional)
- Plastic wrap or lid (optional)
- Labels or tape
- Tray or plate
- Sunny window or grow light
- Warm spot
- Containers with drainage holes
- Water
Step 1: Gather Basic Supplies
Collect your seeds, containers, and a light, well-draining soil mix before you do anything else. A light source, a sunny window, or a basic grow light is also essential once seeds sprout.
You don’t need a kit or special equipment. Basic items from around the house work just as well.
Step 2: Prepare the Soil Mix
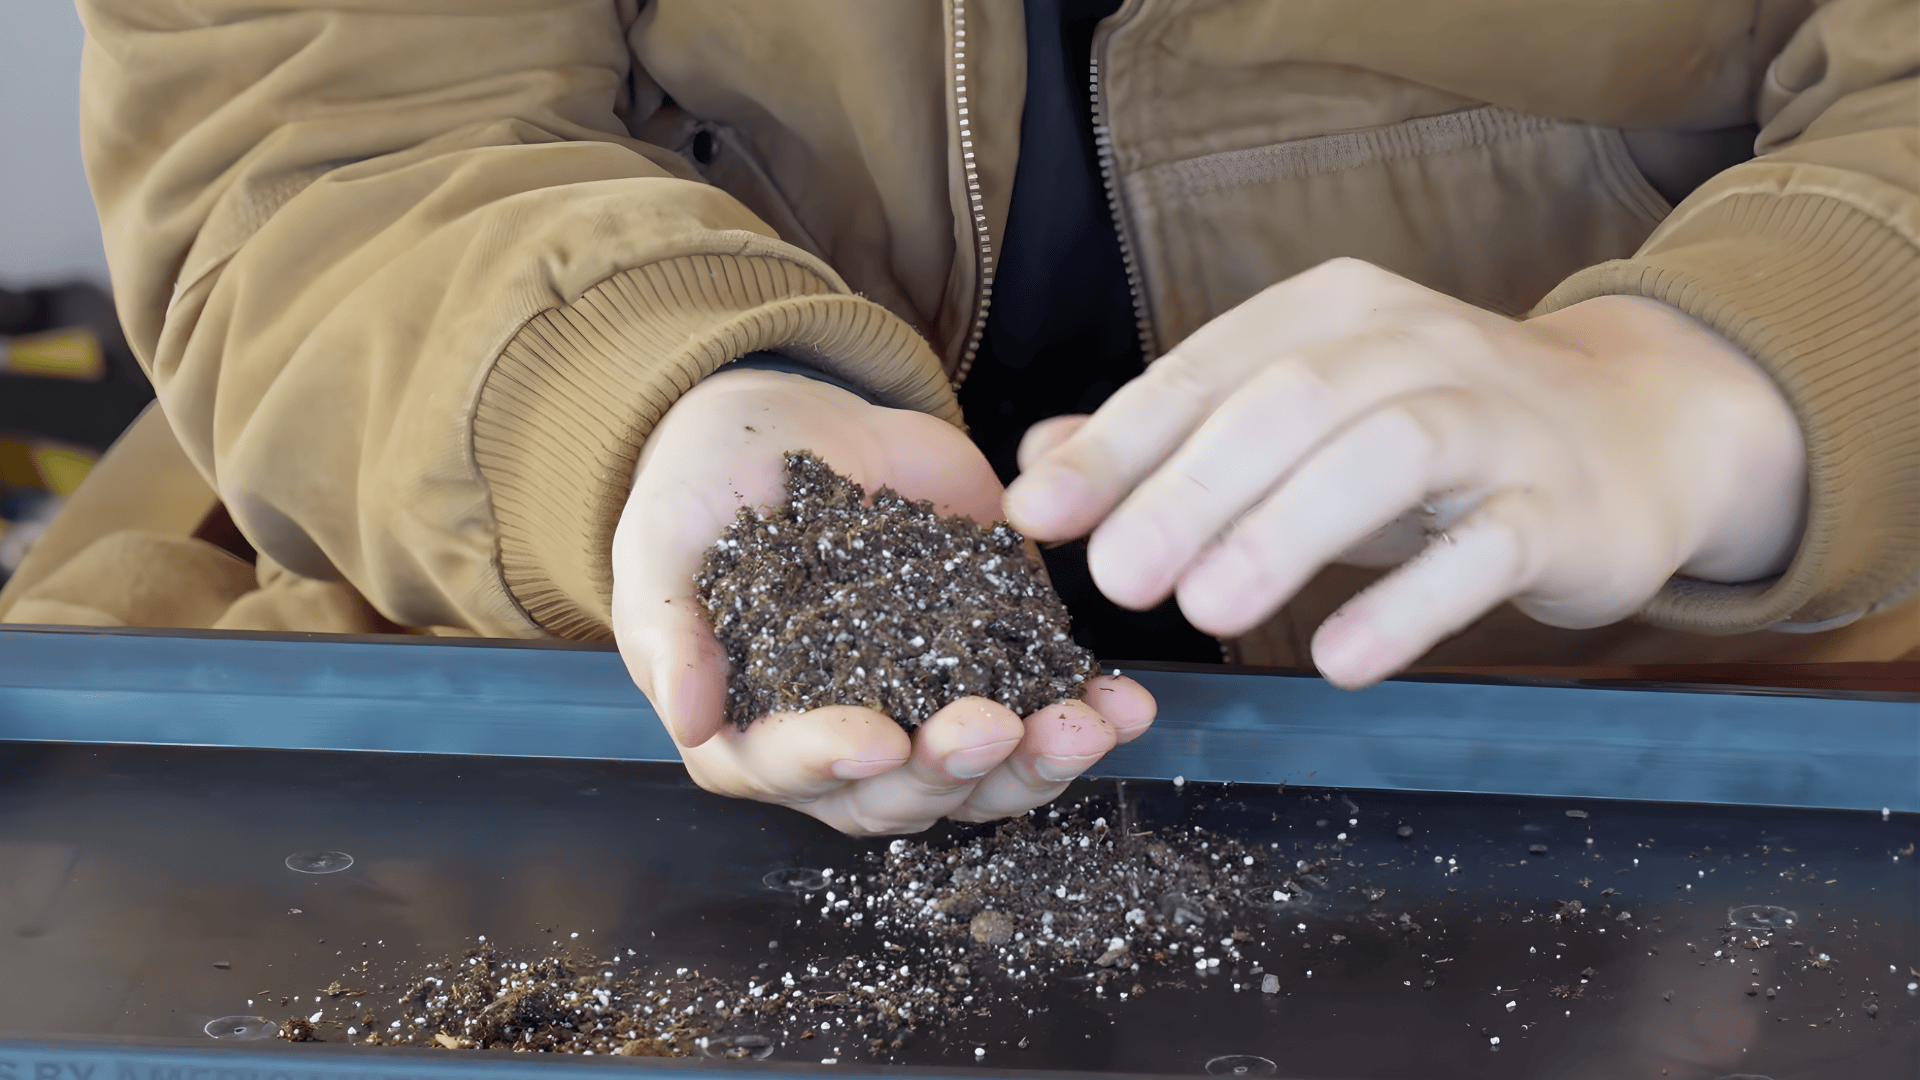
Use a fine, light mix so roots can spread without hitting resistance. Chunky or heavy soil stops roots from developing properly and tends to hold water in ways that cause rot.
Moisten the soil before filling containers — it should feel like a damp sponge when squeezed. Dry soil can cause seeds to fail to make contact with moisture. Wet soil invites mold before anything even sprouts.
Step 3: Fill Containers Properly
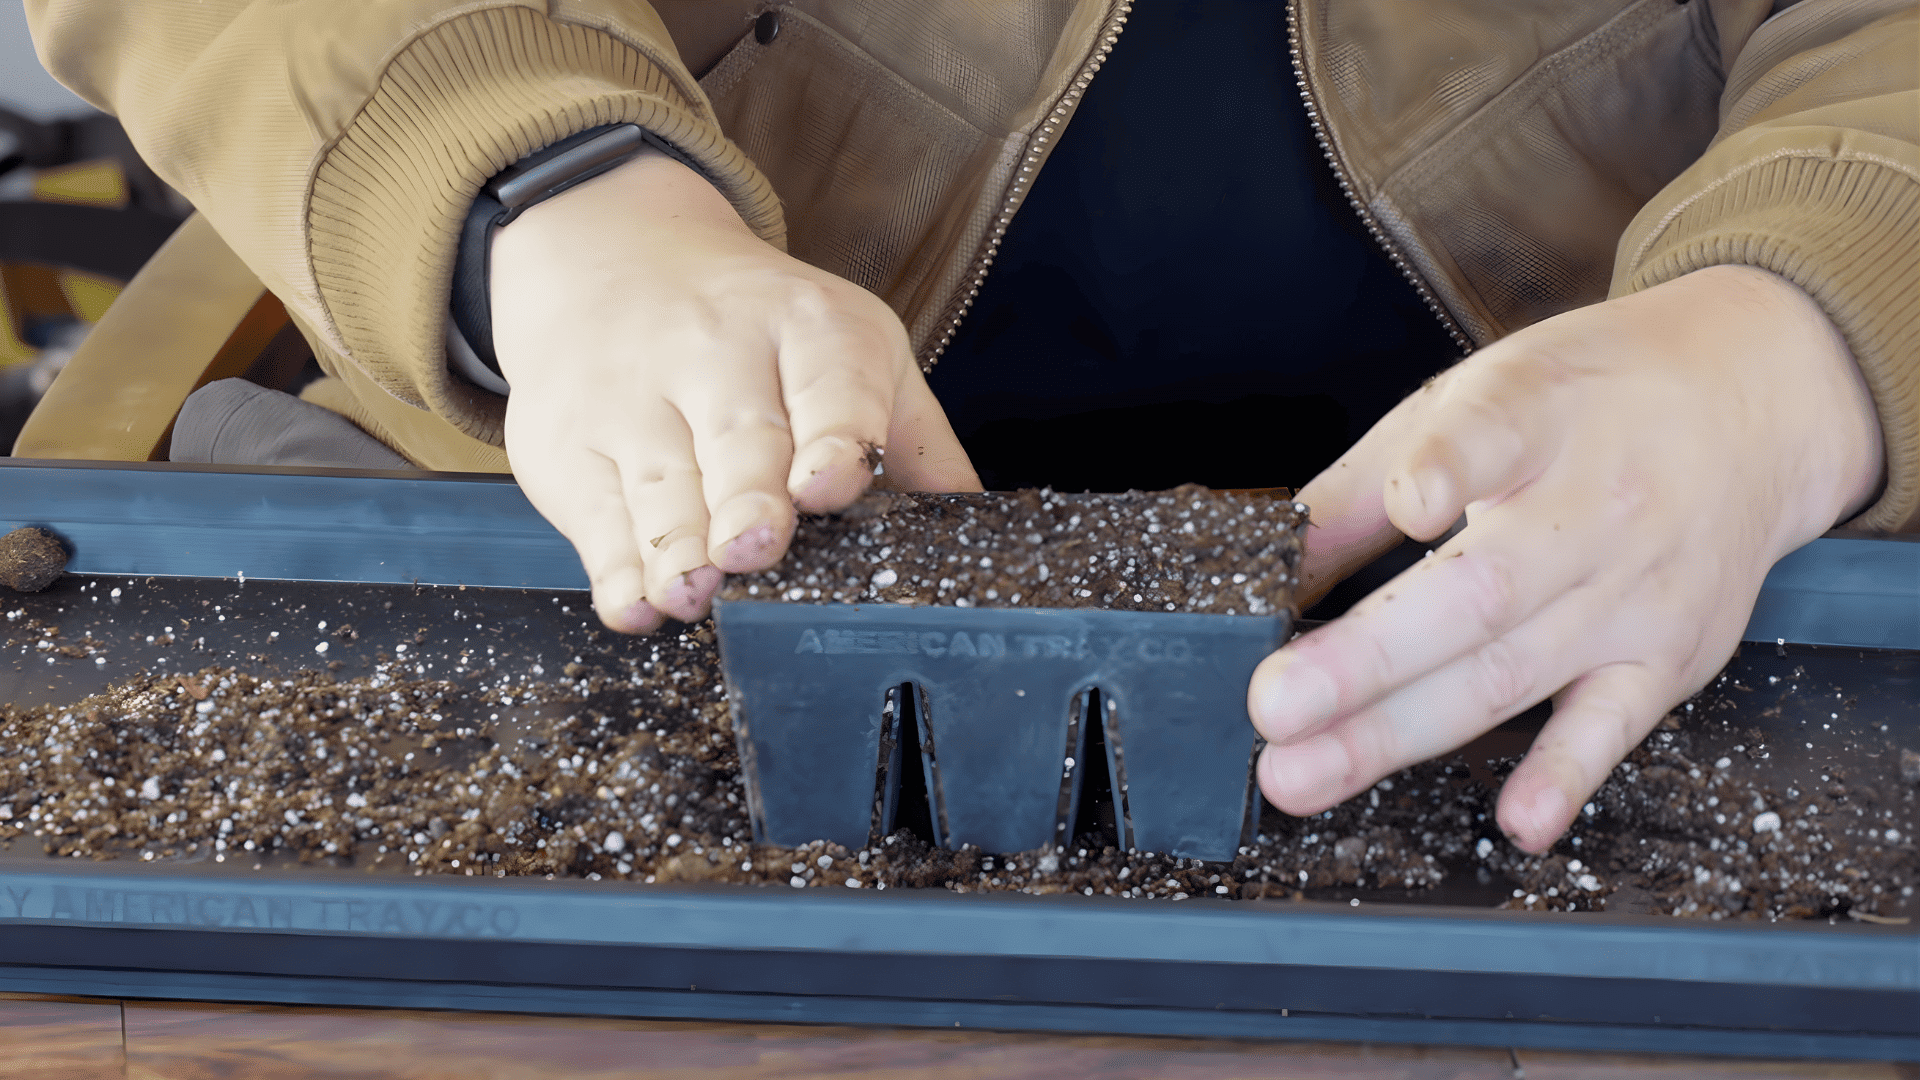
Fill each container with soil and press it down gently to remove air pockets. Loose soil sinks when watered, which can bury seeds deeper than intended or leave them exposed.
A firm but soft base gives roots something stable to grow into. It also helps water spread evenly instead of channeling through gaps in the soil.
Step 4: Plant Seeds at the Right Depth
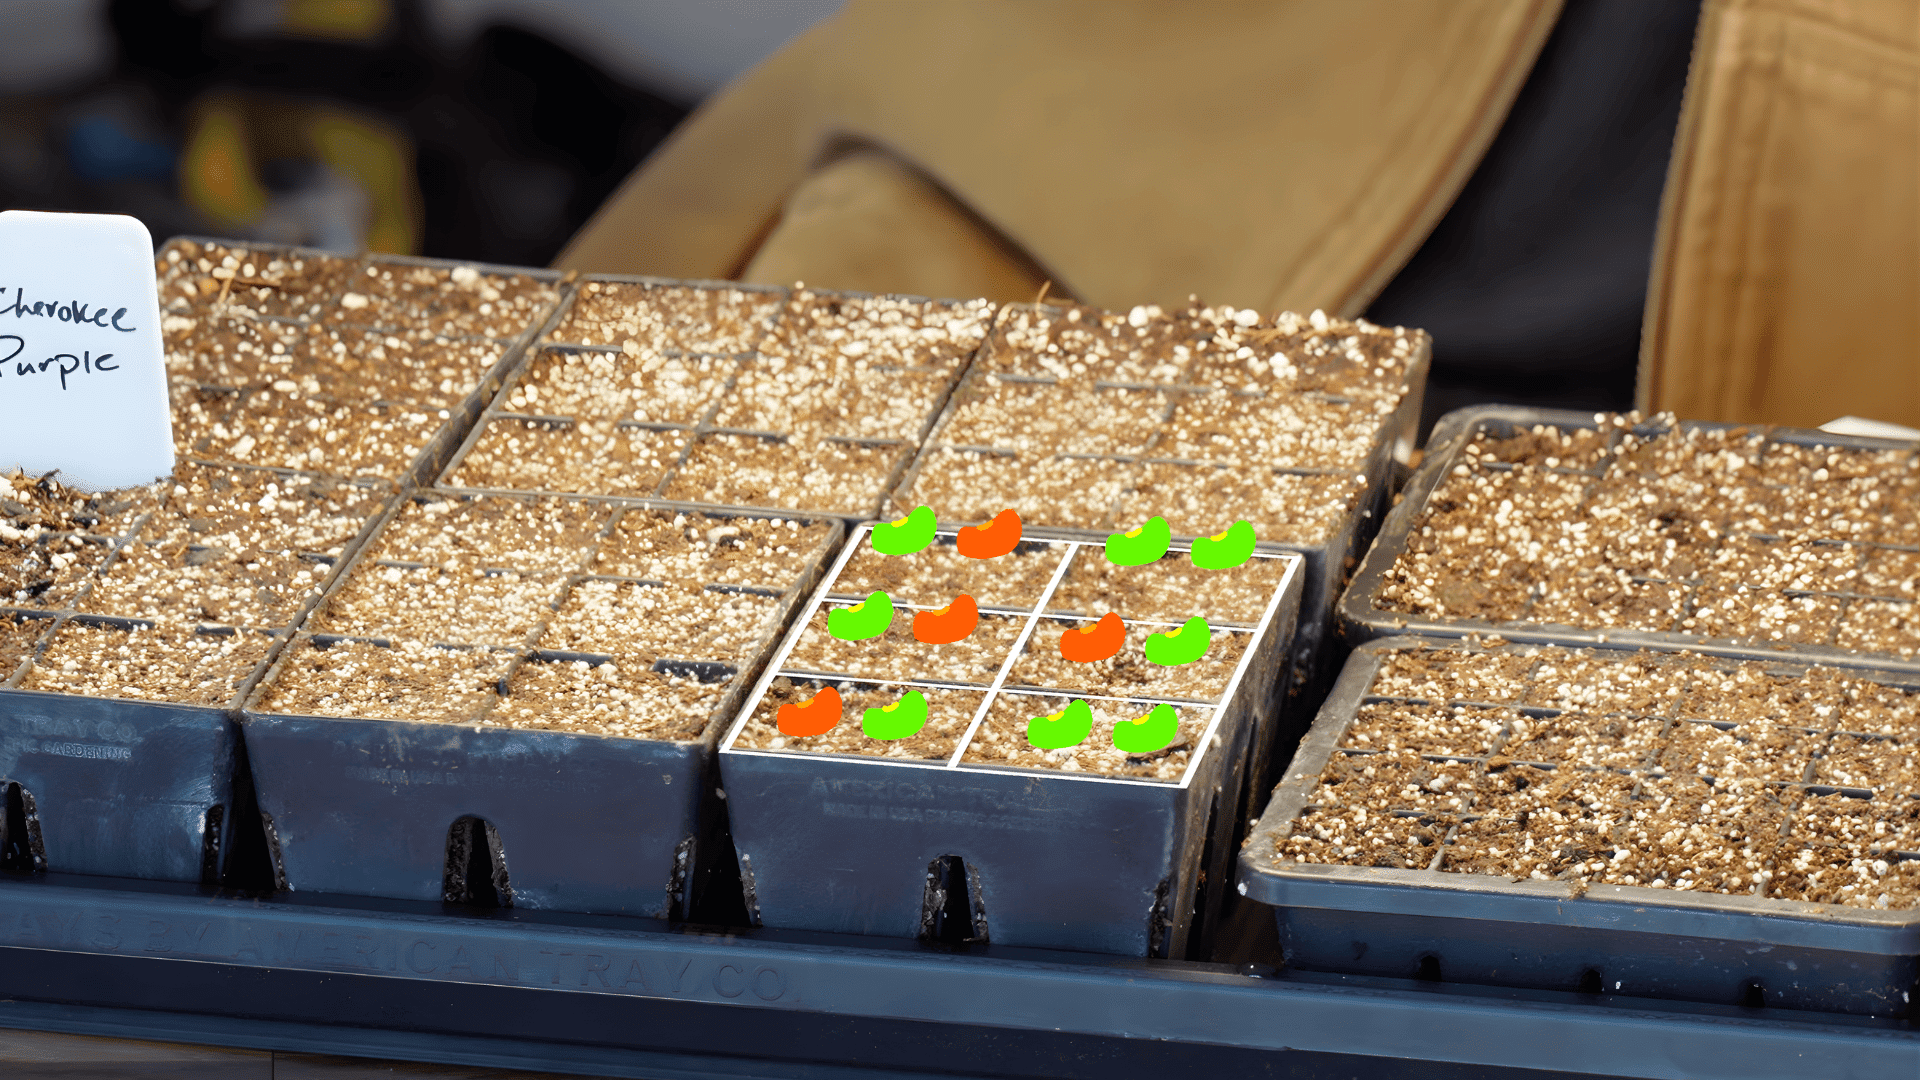
Make small holes with your finger or a pencil. The general rule is to plant seeds at a depth of about twice their width, small seeds near the surface, larger seeds a bit deeper.
Drop two seeds per hole to improve your odds. If both sprout, remove the weaker one later. Planted too deep, seeds run out of energy before reaching the surface. Planted too shallow, they dry out before roots can anchor.
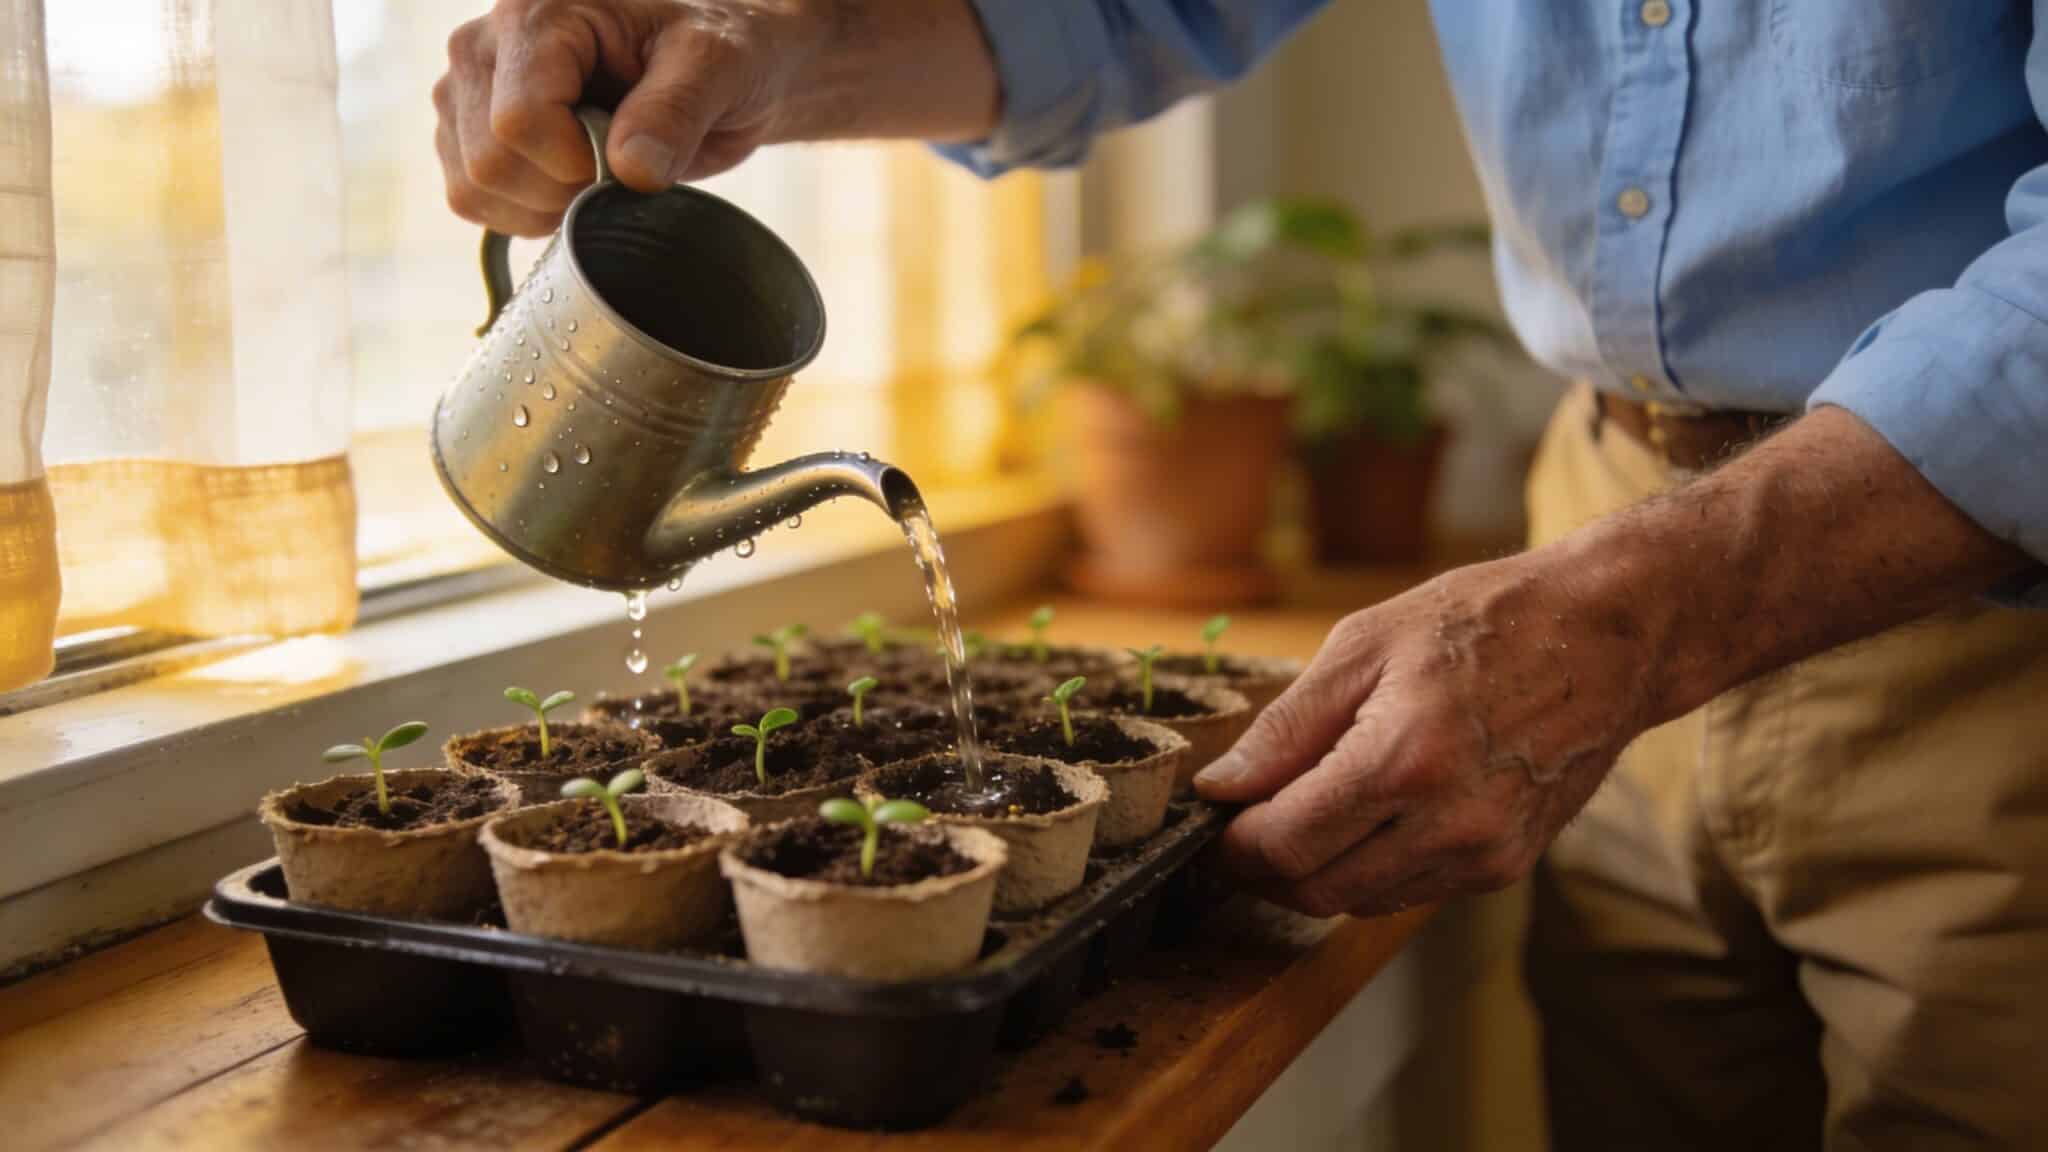
Step 5: Water Gently After Planting
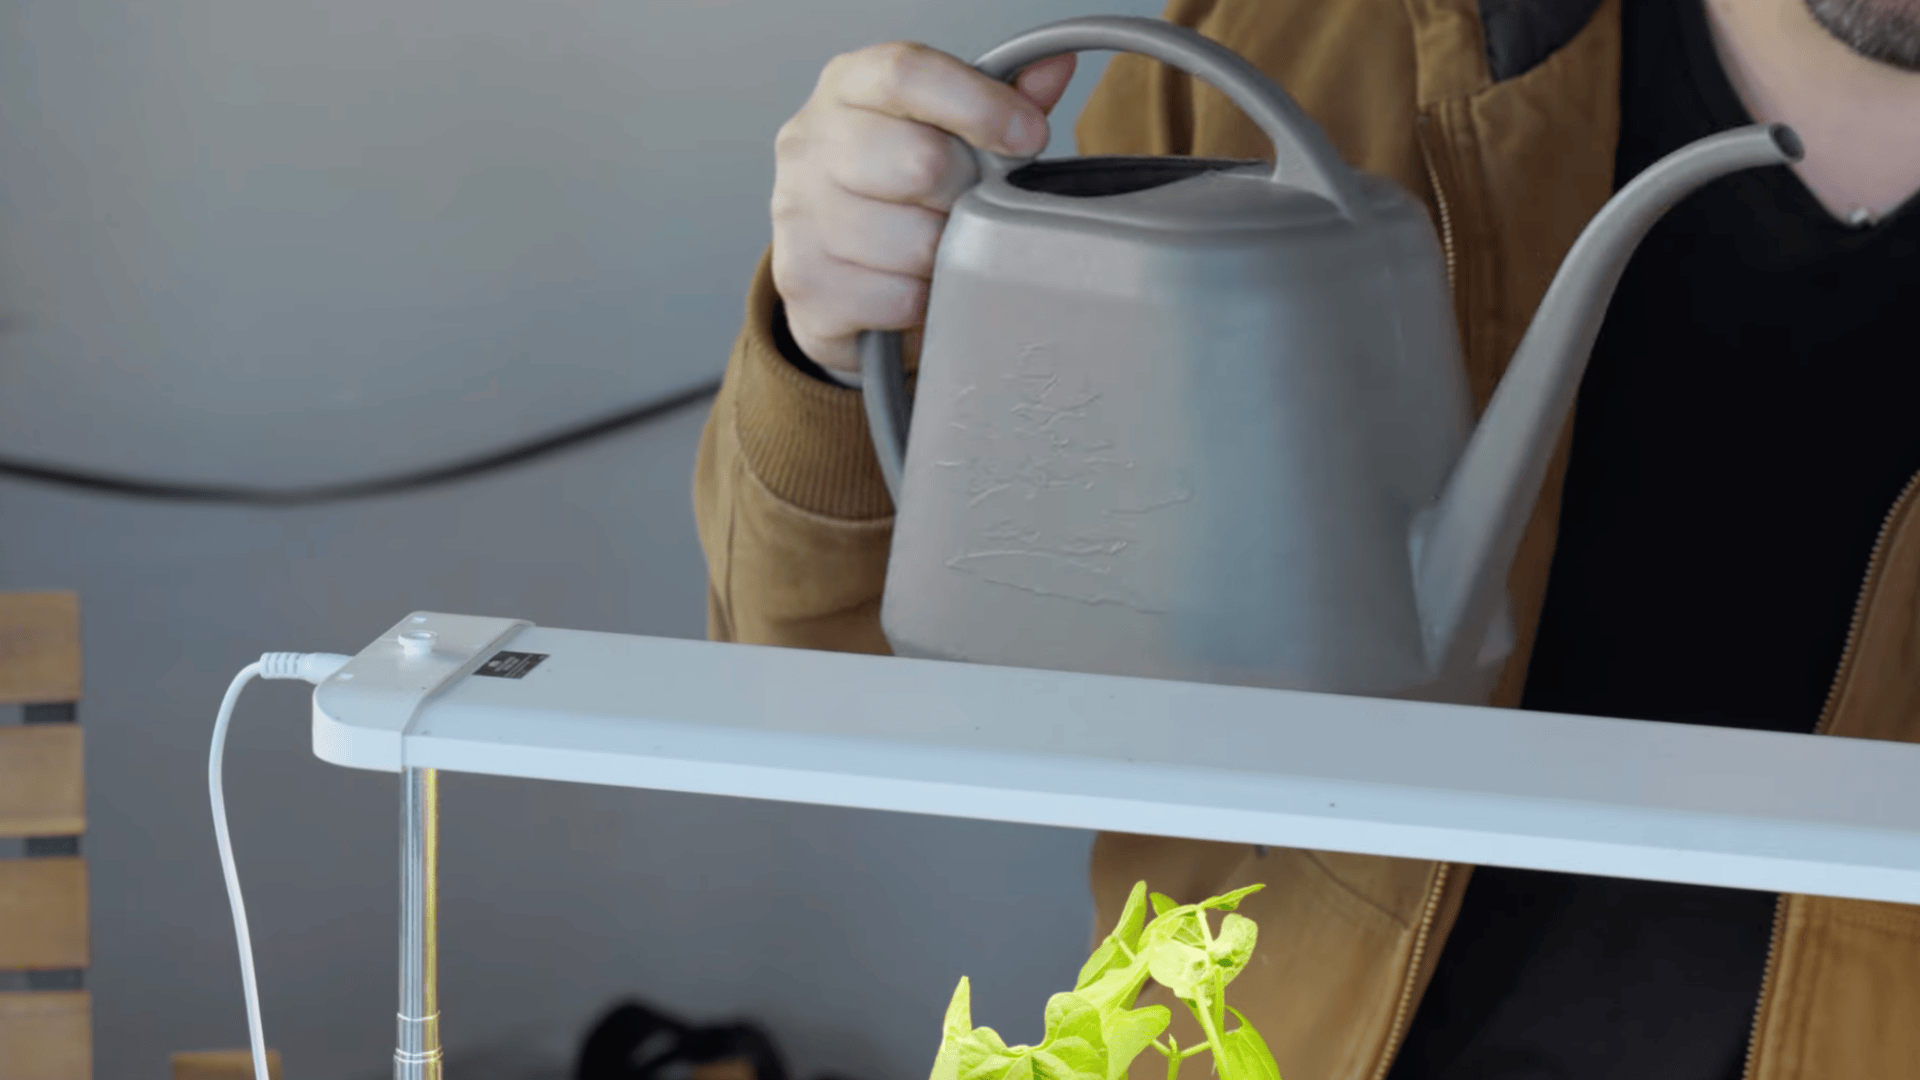
A mist or spray keeps seeds exactly where they were planted without disturbing the soil surface. Pouring water directly can shift seeds or push them deeper than intended.
The goal is evenly moist soil, not soaked. Too much water causes mold and root problems. Too little and seeds won’t sprout. Check the soil daily and water only when the top layer is starting to dry.
Step 6: Maintain Warm Conditions
Most seeds germinate best when soil temperature stays between 65°F and 75°F (18°C–24°C). Air temperature and soil temperature aren’t the same — containers sitting on a cold surface can run several degrees cooler than the room around them.
Keep containers away from cold drafts, exterior walls, and windows that drop in temperature at night. A stable, warm interior spot gives seeds the best conditions to sprout quickly and evenly.
Step 7: Prepare for Transplanting
Moving seedlings outside too quickly causes transplant shock, leaves wilt, growth stalls, and some plants don’t recover. The solution is a gradual process called hardening off.
Start by placing seedlings outside for just an hour or two in a sheltered spot. Increase the time each day over one to two weeks. This exposes them slowly to direct sun, wind, and outdoor temperature changes so they can adjust without stress.
Watch the process in action here:
Best Seeds for Beginners to Start Indoors
- Tomatoes: Germinate quickly and are easy to manage indoors before moving outside.
- Basil: Does well in small containers with basic care and minimal fuss.
- Chili peppers: Handle indoor conditions well and grow steadily with warmth.
- Spinach: Germinates fast and requires little effort to maintain.
- Lettuce: One of the easiest plants to grow, with quick and satisfying results.
- Cucumbers: Grow quickly with enough space and light — just don’t start them too early.
- Zucchini: Strong growers that do well even with a basic setup.
- Marigolds: Easy flowers that sprout fast and give beginners early wins.
Any of these will give you a good first experience. Start with one or two varieties, learn how they behave, and expand from there.
How Many Seeds to Plant Per Cell?
For most plants, plant 2 seeds per cell. This gives you a backup if one fails. If both sprout, remove the weaker seedling by snipping it at the base rather than pulling it out, which can disturb the remaining roots.
For very small seeds, you can add a few more since they take up less space. For larger seeds, one or two is plenty. It’s a small adjustment that makes your results much more consistent.
Where to Place Seeds for Good Light?
Light quality shapes how your seedlings develop. Low light produces weak, stretched plants that are hard to transplant successfully. Strong, consistent light produces compact, sturdy seedlings that handle the transition outdoors far better.
A south-facing window is the best natural option; it receives the most daylight hours through the day. Keep containers close to the glass so seedlings don’t have to stretch toward the source.
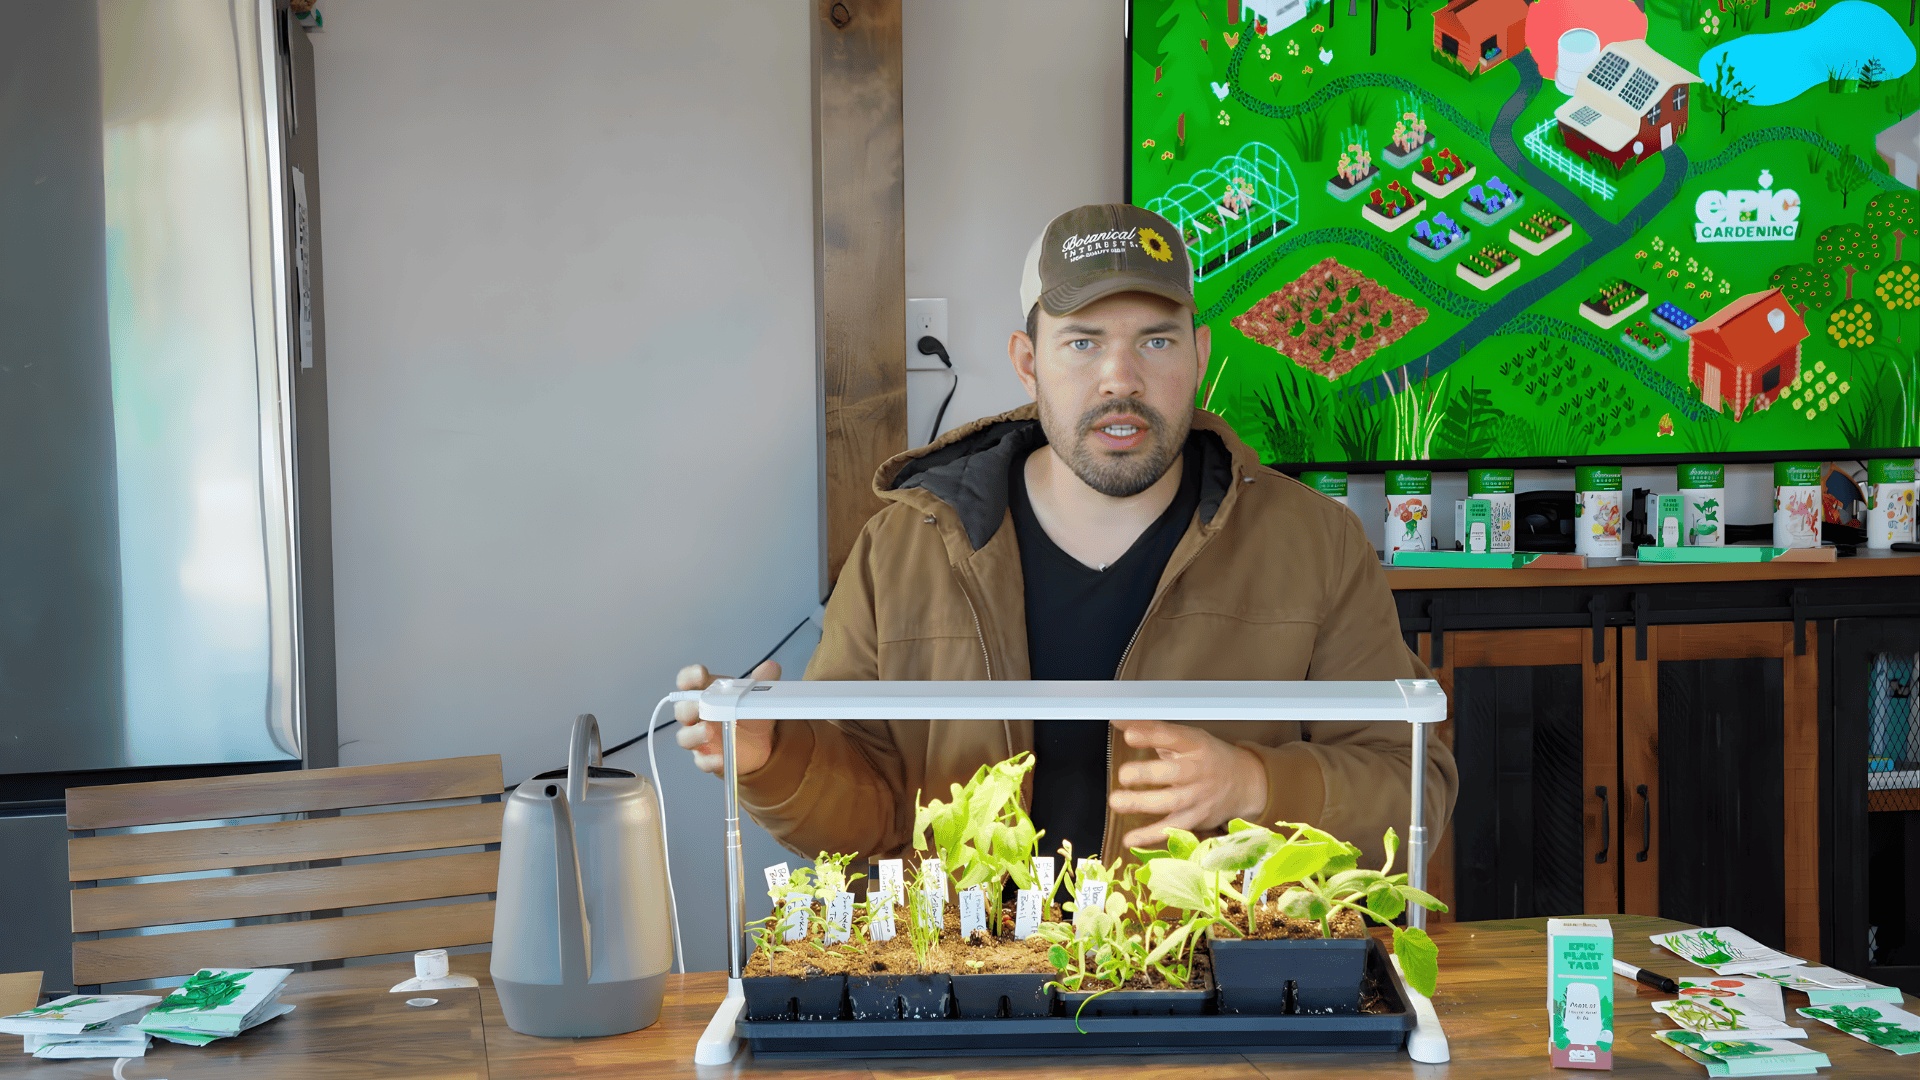
If natural light isn’t strong enough, especially in winter or in rooms with north-facing windows, a basic LED grow light works well. Set it on a timer for 14–16 hours per day and position it 2–4 inches above the seedling tops. Raise it as the plants grow.
Rotate containers daily to keep growth even and prevent plants from leaning toward one side.
Easy Ways to Keep Seeds Warm
- Seed-starting heating mat: Placed under containers, it warms soil from below and speeds up germination noticeably. This is the most consistent option and widely available at garden centers.
- Top of the refrigerator: Gives off gentle, steady warmth and works well before seedlings need light.
- Warm interior spots: Keep containers away from exterior walls, cold windows, and vents. An interior shelf or countertop holds heat much better.
Once seeds sprout, a heating mat is no longer necessary. Move seedlings to your light source and maintain normal room temperature from that point on.
How to Water Seeds the Right Way?
Watering is where most beginners go wrong, usually by doing too much. Soggy soil cuts off oxygen to the roots and creates the conditions for rot and fungal problems before the plant has any chance to recover.
After planting, use a spray bottle or gentle mist. This keeps seeds in place and adds moisture evenly without disturbing the soil. Avoid pouring water directly from a cup or watering can at this stage.
Once seedlings emerge, let the top layer of soil dry slightly between waterings. This encourages roots to grow downward in search of moisture, which produces stronger, deeper root systems over time.
Watering Techniques: Top Watering vs. Bottom Watering
Top watering is fine for seeds before they sprout. Bottom watering, where water is absorbed upward through a drainage tray, produces stronger roots and is safer for young seedlings once they’ve emerged.
| Method | Top Watering | Bottom Watering |
|---|---|---|
| How it works | Water added from the top | Water absorbed from the bottom tray |
| Best stage | Seeds before sprouting | After the seedlings grow |
| Risk | Can move or bury seeds | Safer for young roots |
| Moisture | May be uneven | More even moisture |
| Root growth | Shallow roots | Deeper, stronger roots |
When and How to Fertilize Seedlings?
Seedlings don’t need fertilizer right away. In the early stage, they draw nutrients from the seed itself. Feeding too soon doesn’t speed things up, it can burn young roots and set the plant back.
Once the first true leaves appear, usually around 2 to 3 weeks after sprouting, that’s when feeding begins. Use a balanced liquid fertilizer such as 10-10-10 or a fish emulsion blend, mixed at half the label strength. Full-strength fertilizer is too concentrated for seedling roots.
Apply once a week or every few waterings. Always check that the soil is moist before feeding; fertilizer applied to dry soil can damage roots. A steady, light feeding routine gives seedlings what they need without overwhelming them.
What Is Potting Up and When to Do It?
Potting up means moving a seedling from a small container into a larger one. As roots develop, they fill the available space, and once they run out of room, growth slows down noticeably.
The clearest sign it’s time is when roots begin growing out of the drainage holes, or when the plant dries out much faster than usual after watering.
Both indicate the roots have used all the space available.
To pot up, water the seedling first so the root ball holds together, then gently lift it into a larger container with fresh soil. Give the roots room to spread and the plant will pick up growth again before moving outdoors.
When to Move Seedlings Outside?
- Check the last frost date: Don’t move seedlings out until frost risk has passed in your area.
- Look for strong growth: Seedlings should have several sets of true leaves and sturdy stems before going outside.
- Start with short outdoor time: Begin with one to two hours in a sheltered spot and increase daily.
- Increase time gradually: Work up to full days outside over one to two weeks — this is the hardening off process.
- Avoid harsh weather days: Skip very windy, cold, or extremely hot days during this transition.
- Choose the right time of day: Early morning or late afternoon is easier on seedlings than midday sun.
- Watch soil moisture: Keep it slightly moist throughout the transition to reduce stress on the plant.
- Move to the final spot last: Once fully adjusted, plant seedlings in their permanent outdoor location.
Wrapping Up
Starting seeds indoors doesn’t require much: the right soil, consistent moisture, enough light, and a warm spot cover most of it.
The key is staying consistent. Light, water, and care don’t need to be perfect — they just need to show up reliably each day. Seedlings are more resilient than they look, and most mistakes are recoverable early on.
Start simple. Pay attention to how your plants respond. That feedback teaches you more than any guide can.