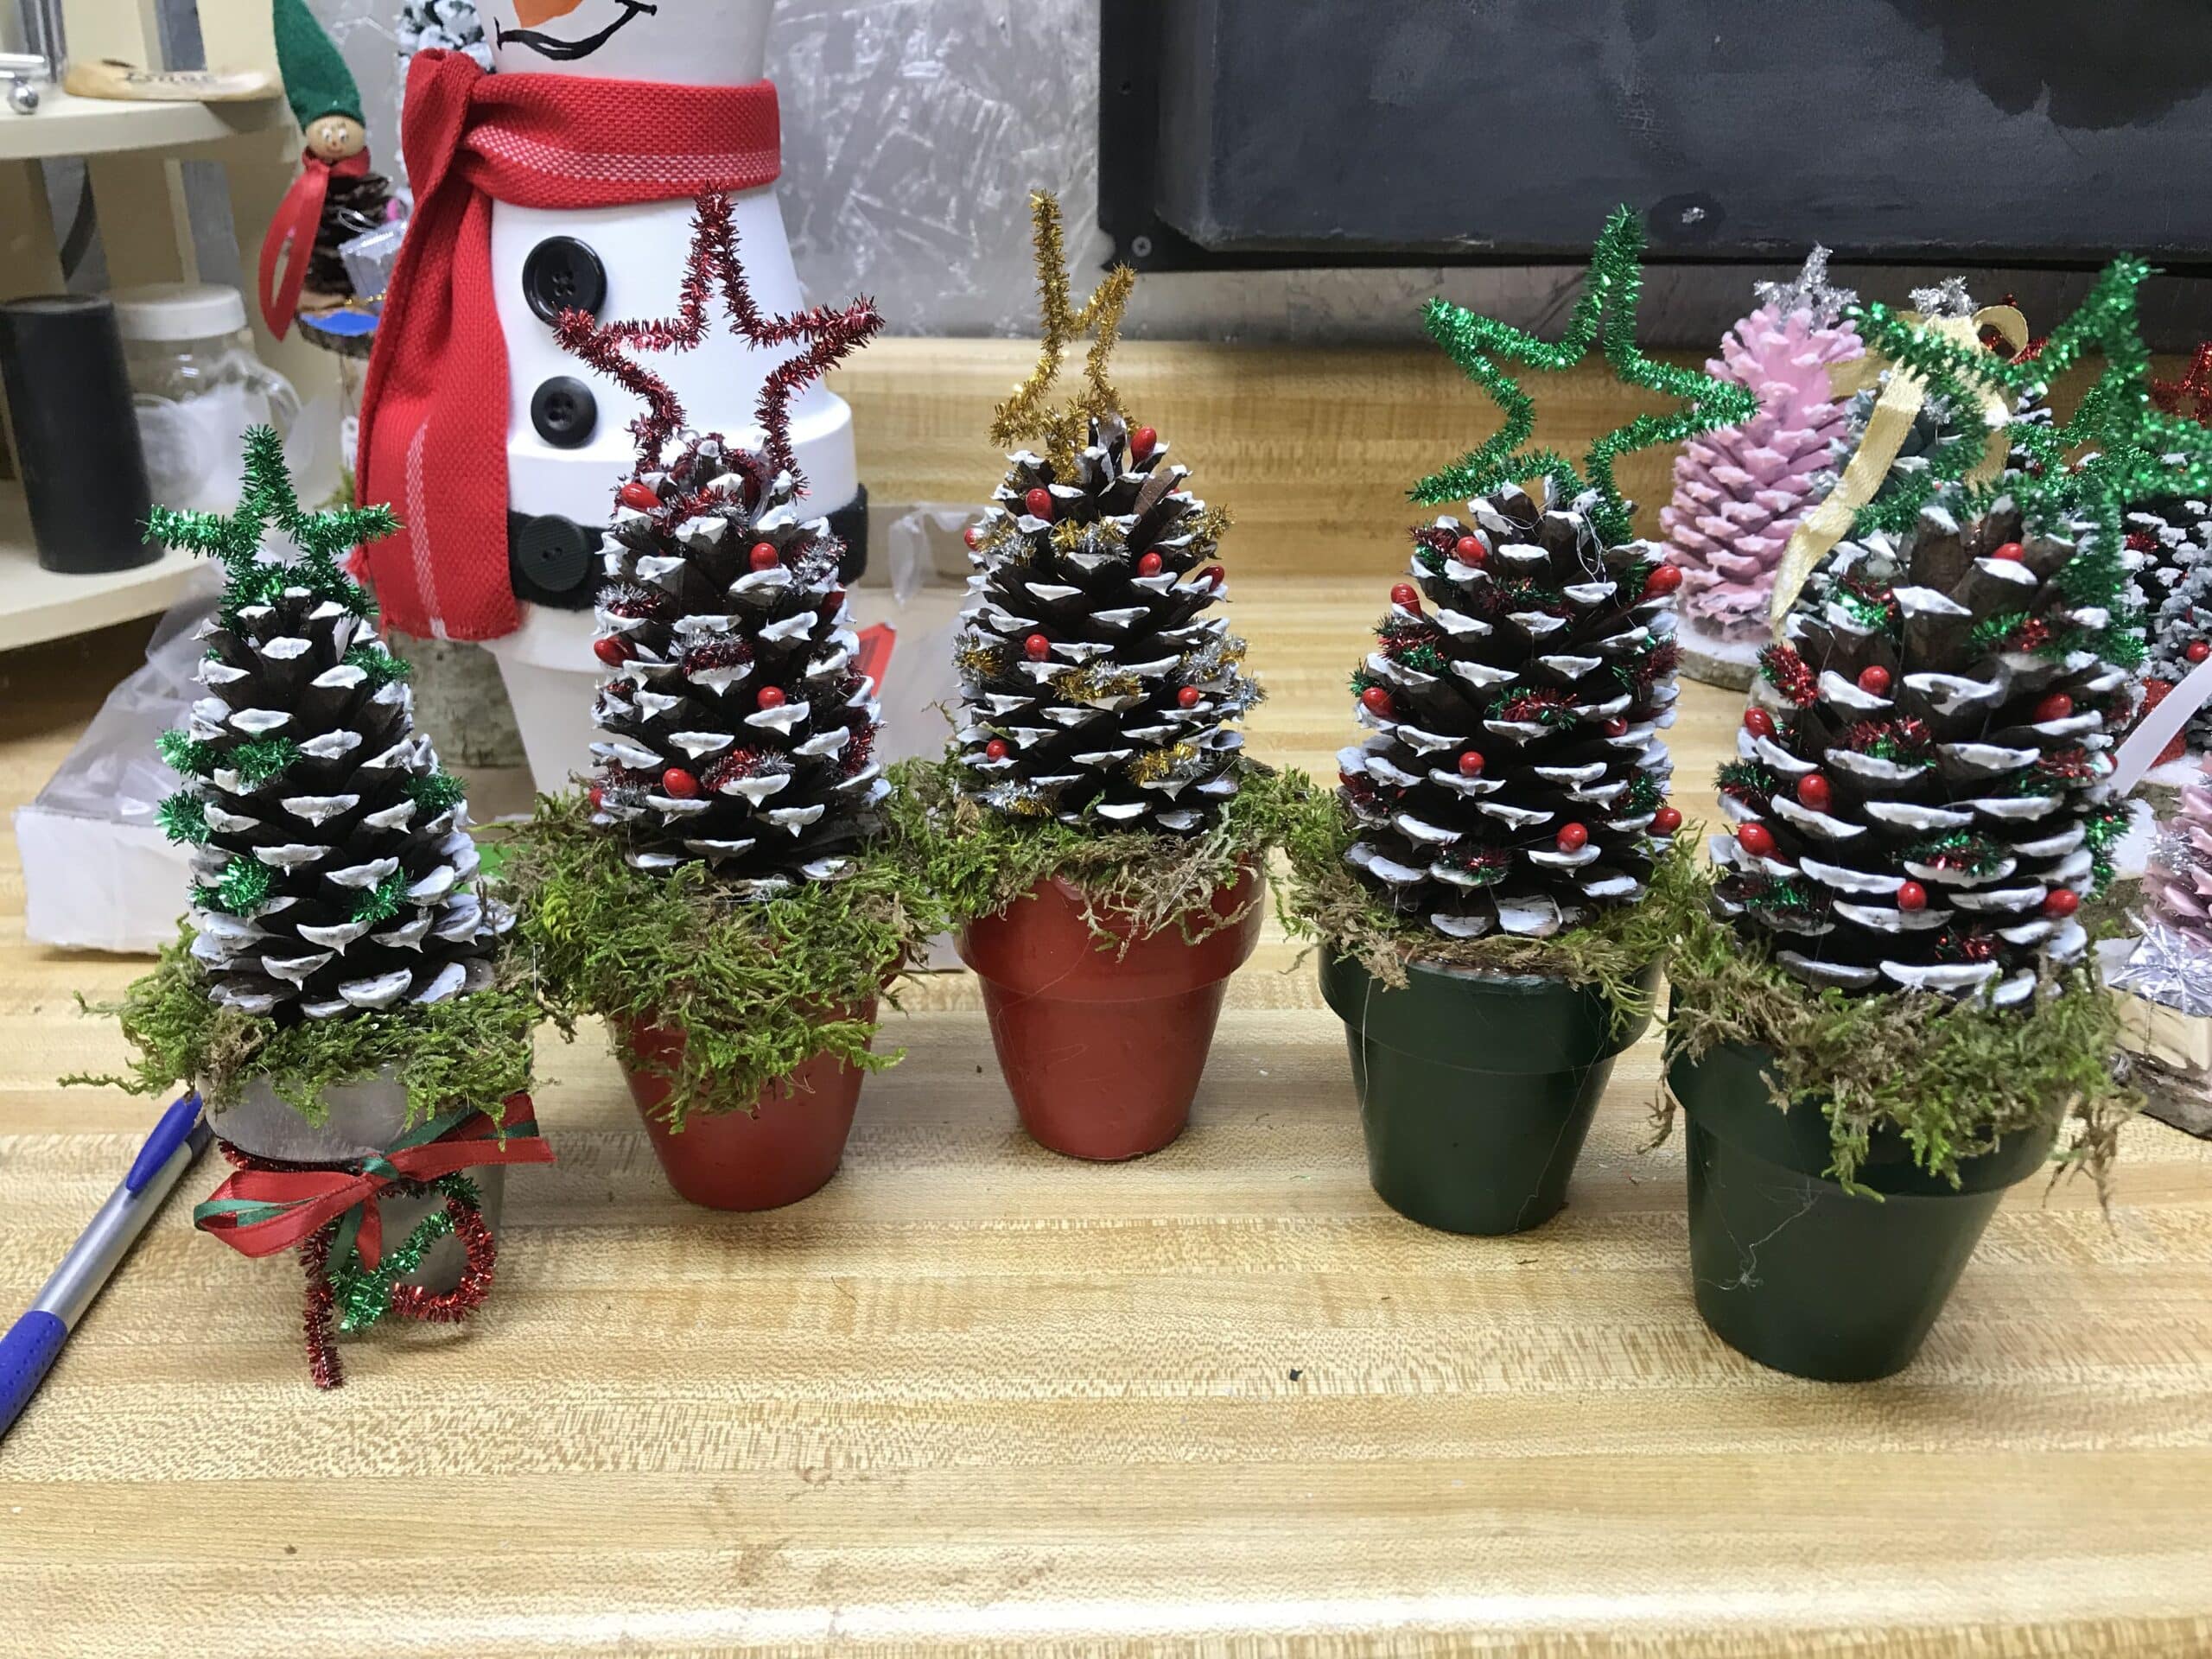
If you are a DIY enthusiast and like to make beautiful and creative things with basic materials, then you can think of using pine cones for your upcoming project. Pine cones can be used in various ways to create unique crafts for houses. They can be crafted in numerous forms and used to make any kind of DIY project, from traditional to modern. These pine cones are available in various patterns and sizes, which gives DIY lovers huge versatility to create stunning art pieces.
Many people have used pine cones to create artistic craft pieces that can be made easily and look great when displayed. If you also want to use pine cones to do something unique and appreciable and are looking for an easy way to use pine cones, then you can consider making Christmas trees out of pine cones.
The process involved is easy and will not take much time.
Why Pine Cones for Christmas Trees?
If you are wondering why you should use pine cones to make Christmas trees when there are so many other options available, then; here are a few things that you can consider.
- They look attractive. The look of the Christmas trees made with pine cones is eye-catching. They look very beautiful and unique. They can be decorated with a variety of items to achieve a stunning look. Pine cone trees are also eco-friendly.
- Pine cones offer high versatility. There are various ways in which you can use pine cones to make attractive Christmas trees. You can paint them, leave them unpainted, or use one or many pine cones to make Christmas trees. There is no end to the number of experiments that can be done.
- Easy to make: The pine cone trees can be made easily by following the steps mentioned. There is no need for supervision or high skills. Even kids can make small and beautiful pine cone trees within minutes.
Below are a few easy Christmas tree ideas that can be made quickly. In addition to this, you do not need any special equipment to make these trees. These simple and easy pine cone tree ideas can also be considered by people who are new to the art and craft, as making them you do not require skills.
Follow the steps carefully, and you can easily make your Christmas tree.
Pine Cone Christmas Trees with the Cardboard Base
Step 1: Select and Assemble
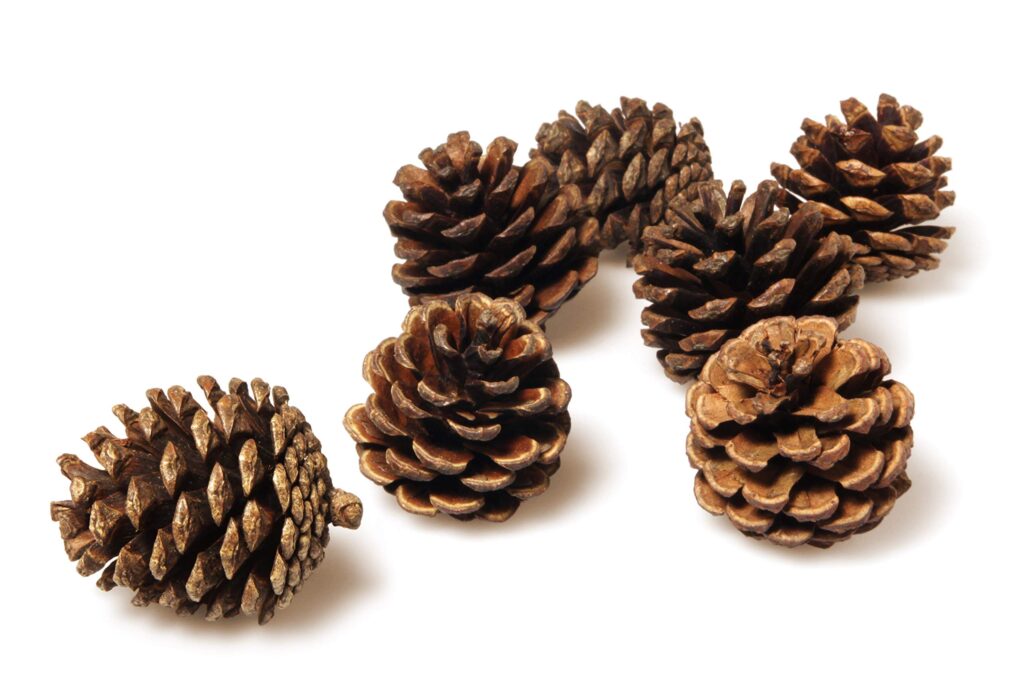
To achieve a good finish and; to make a stunning pine cone tree, always use dried pine cones. Other things that you would need are glue to stick the pine cones, paint, a paintbrush, and a thick base.
Step 2: Paint the Pine Cones
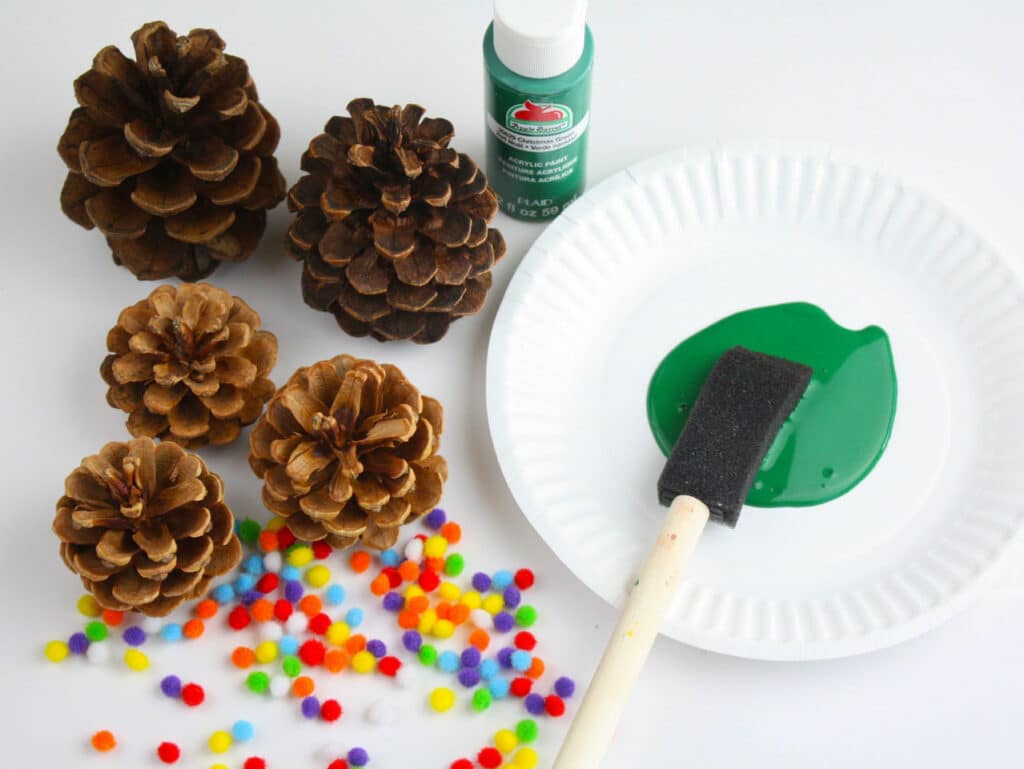
The next step involved in making a pine cone tree is to paint it with the help of any paint. Once painted, ensure that all the cones are dried properly. You can use many colors to make your pine cone vibrant and colorful. If you wish, you can also paint the tip of the pine cone some other color to make it more appealing.
Step 3: Select a Base for Your Christmas Tree
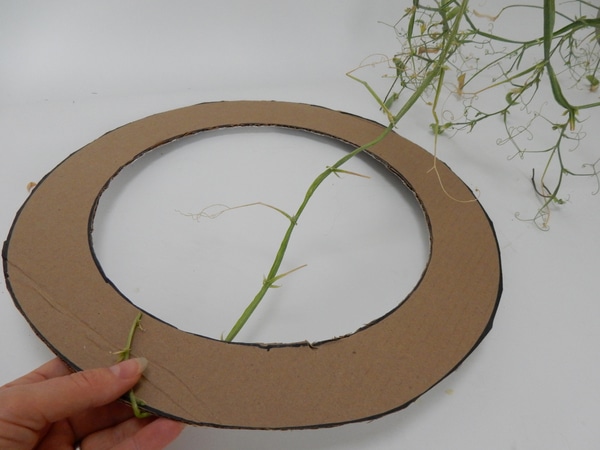
You can select any circular base for your Christmas tree. You can either purchase it online or cut a circle from any cardboard already present in your house. You can select the base as per your preference, depending on the size of the Christmas tree you want to make. Paint the base with a suitable color that will match the pine cones.
Step 4: Start Fixing the Pine Cones to The Base
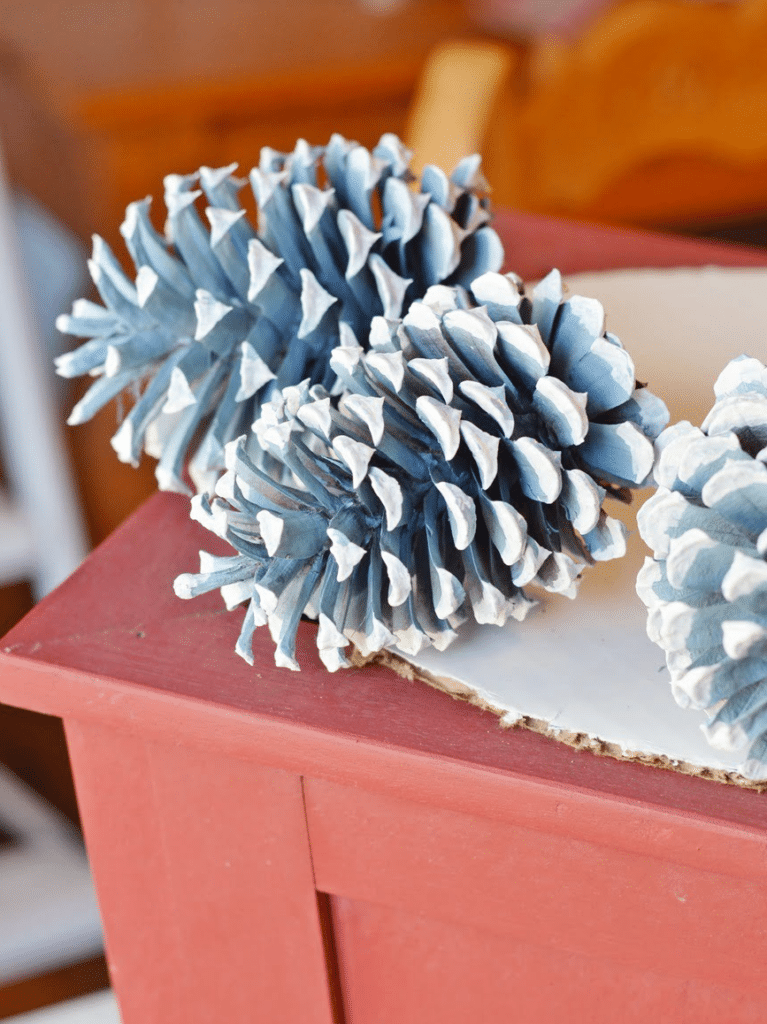
While doing this, make sure; you place the larger pine cones on the outside edge of the base. This will be helpful in making a taller pine cone tree and; also make it easier for you to work with the Christmas tree.
Step 5: Add Layers to the Christmas Tree
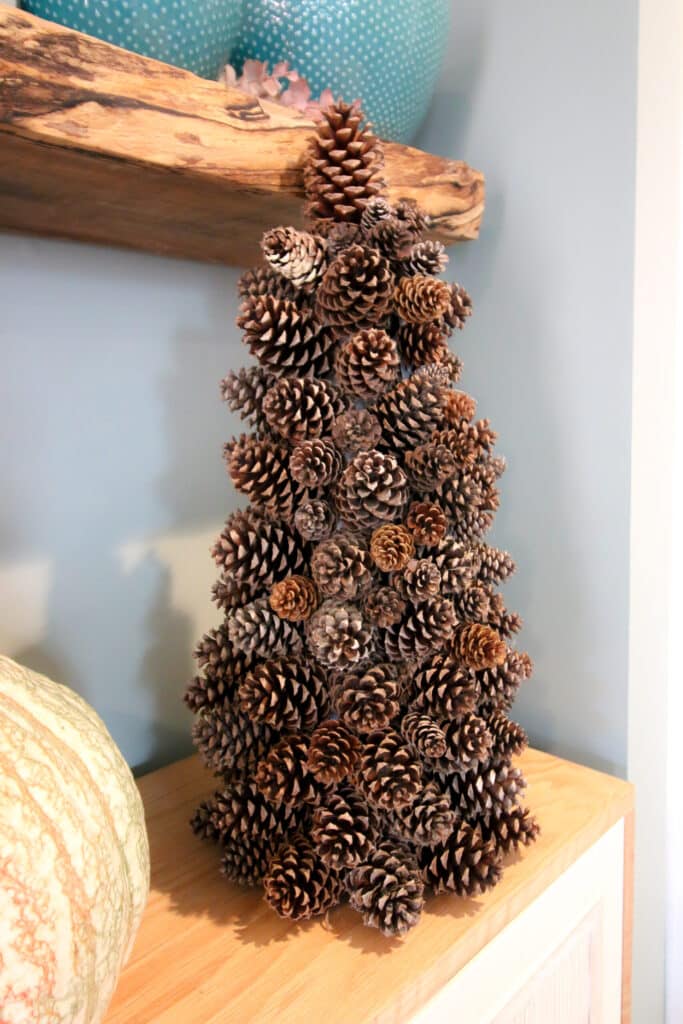
Once you are done with the first layer of the Christmas tree, start with the second layer. For this, you need to select pine cones of smaller size as compared to the first layer and paste them in between the spaces between two large pine cones. If you wish, you can even put a third layer on top of the second layer to get a better finish.
Step 6: Decorate the Pine Cone Tree
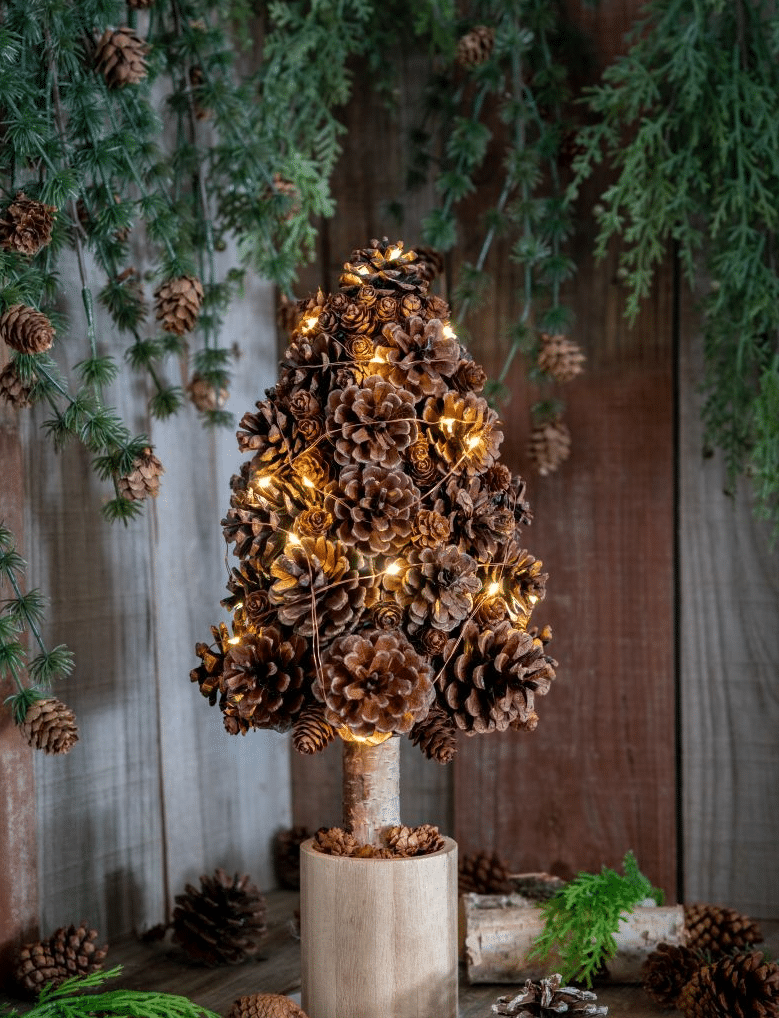
This is the last thing needed to make the Christmas tree more attractive and appealing. You can add decorative items like small gifts, stockings, balls, and fairy lights to make your Christmas tree quirky. These Christmas trees will definitely look spectacular once you have made them. You can keep them anywhere in your house and then enjoy the mesmerizing view of your art.
Precautions while Decorating with Pinecone Tree
- If you are using spray paint, then it would be better to work indoors. This is because spray paint generally tends to dry up faster, especially when working outdoors.
- When layering, as you move toward the top, make sure you achieve the shape of a proper tree. For this, you need to follow an angled construction approach. In case you are unable to make a tree shape, you can use a drawing sheet or folder like a triangle and then stick pine cones to it will also give the same look.
- Remove all the dried glue, else; this will spoil the look of your Christmas tree.
- Select a rigid base to prevent your Christmas tree from collapsing. If you want, you can add two layers of cardboard to make a thick base.
Christmas Tree with Clay Base
Step 1: Assemble
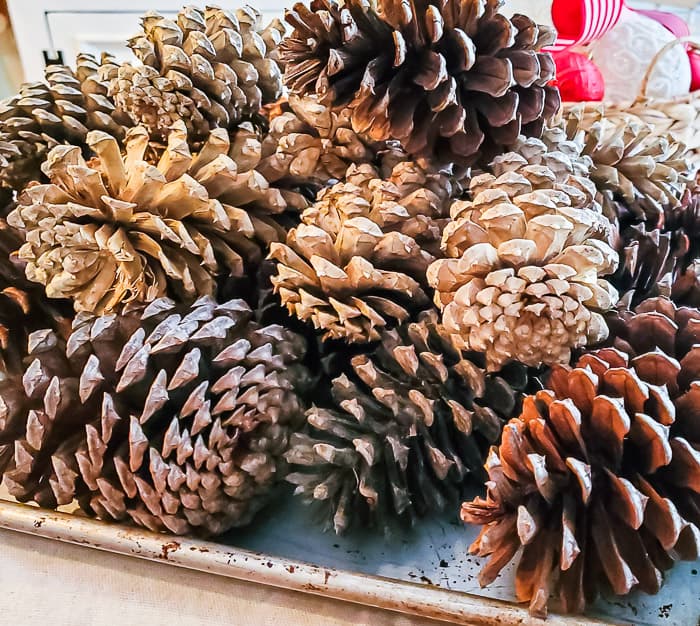
To make this pine cone tree, you need a pine cone of any size, paint colors,brushes, glue, a few decor items, and molding clay.
Step 2: Paint the Pine Cones

Paint your pine cones with any color you want. The more, the merrier, so; if you wish, you can paint the pine cones with more than one color to make them more attractive.
Step 3: Add an Extra Layer of Paint
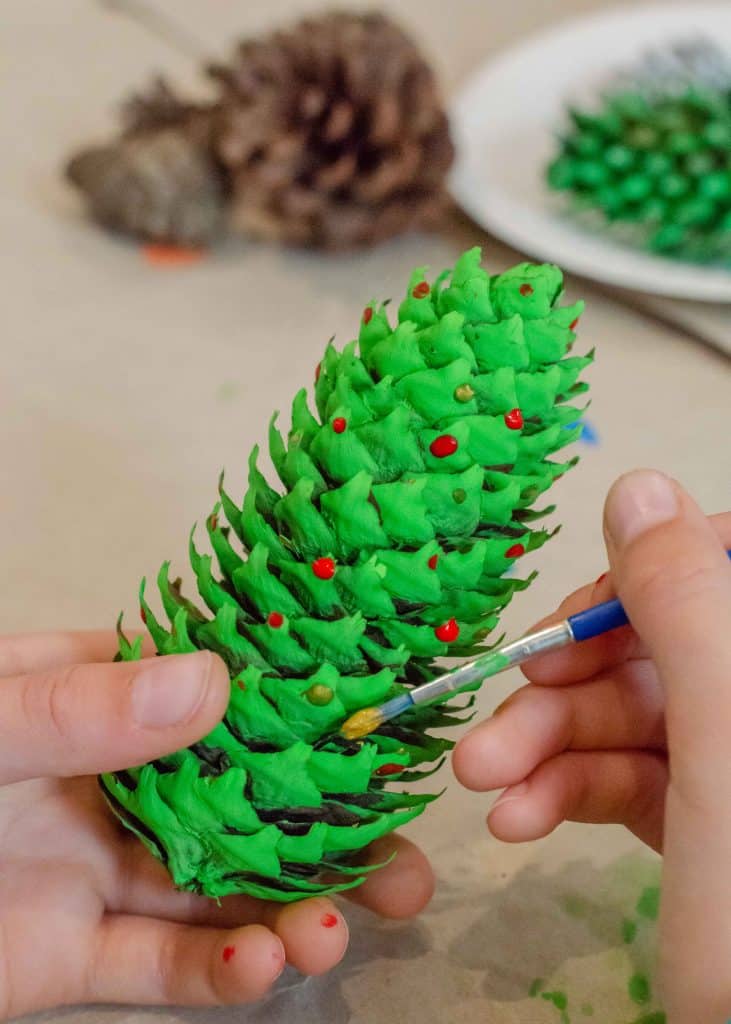
This is not a mandatory step; it is just done to provide a good finish to the pine cones. If you observe that after the paint has dried, a fine finish is not achieved, then you can repaint the pine cones.
Step 4: Create a Base for The Pine Cone Tree
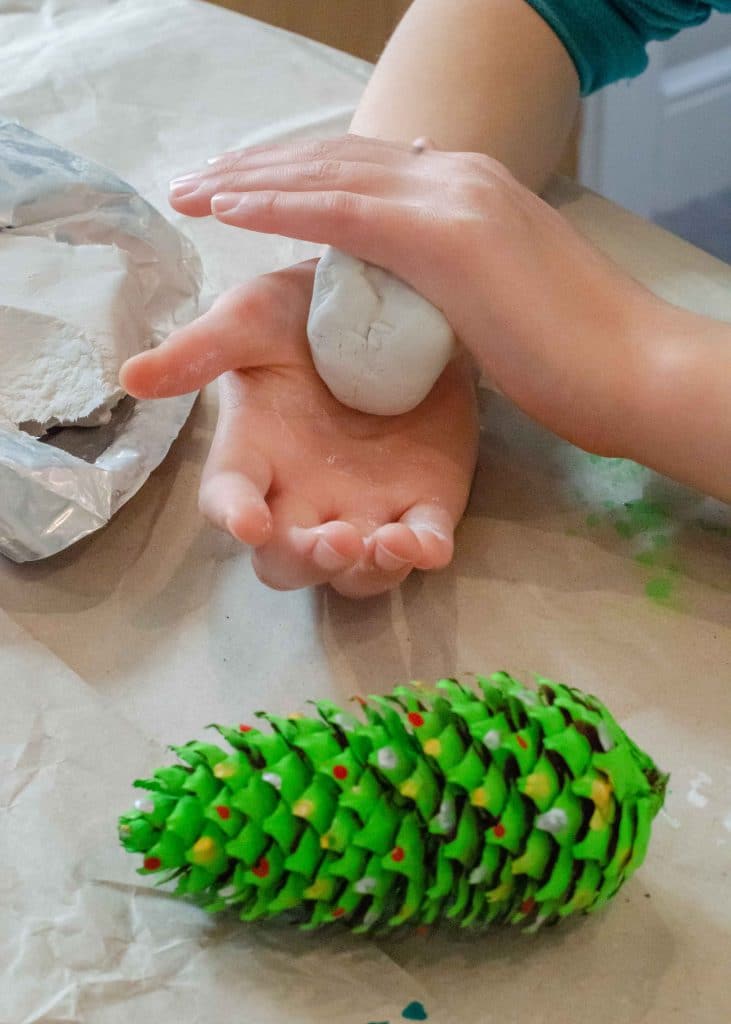
To create a base, you need clay (air-drying clay would be the best). To make the base, you simply need to roll the clay into a ball and then flatten the ball up to the desired height; you want for your pine cone tree. You can also paint the clay to achieve a better look.
Step 5: Attach Your Pine Cone to The Clay
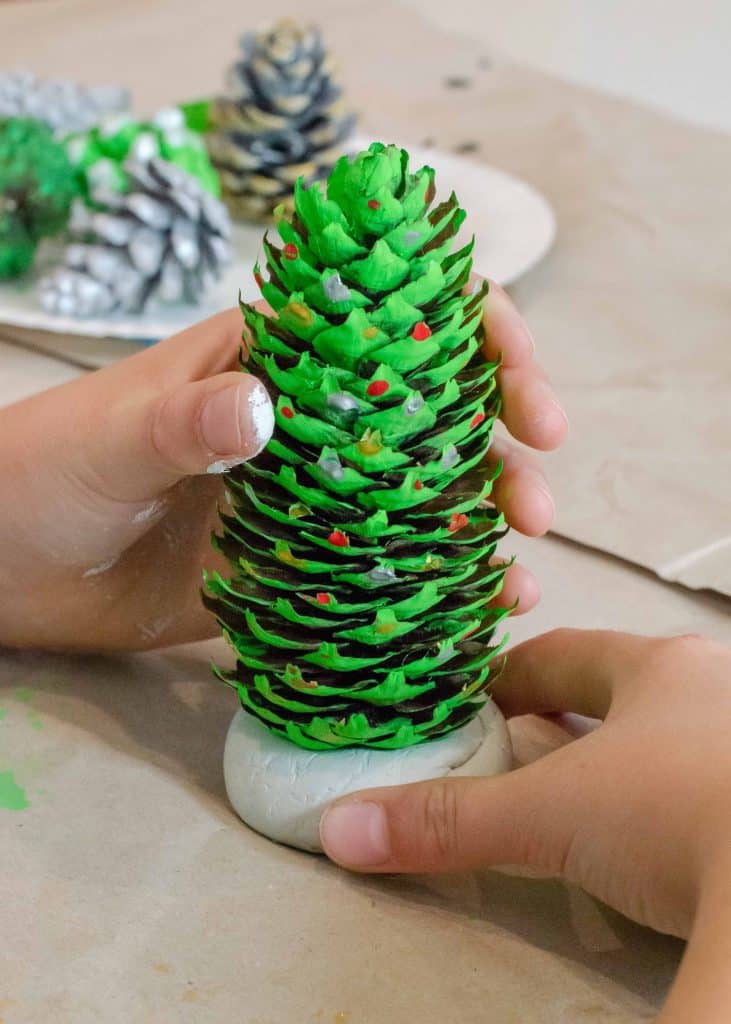
Once you have painted the clay and your pine cone, you can now stick your pine cone to the base to make your pine cone Christmas tree. Using glue, fix the pine cone to the clay base.
Step 6: Place the Pine Cone Christmas Tree Into the Pot
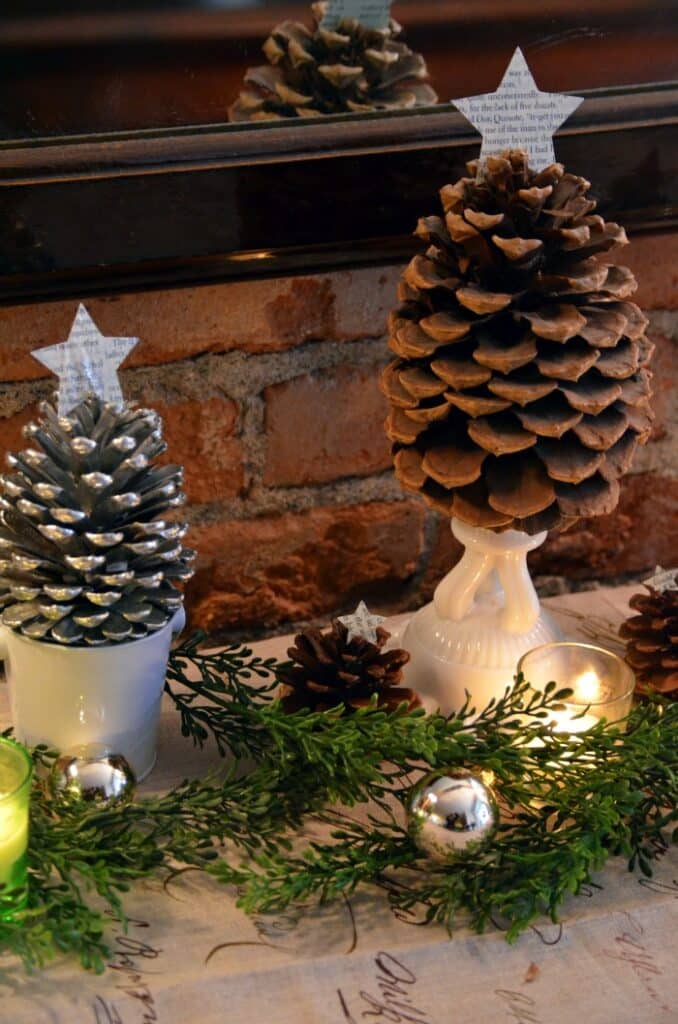
To make your pine tree more attractive and stable, you can place the whole assembly into a small pot. If you wish, you can decorate this pot to make it more appealing.
This is another easy DIY project that can be made on your own to get a cute decorative Christmas tree. When all the steps are completed, you will have your beautiful Christmas tree ready for the function you can display in your house. If you love the process, you can make more than one Christmas tree and decorate the corners of your house; using these pine cone trees.
These trees can easily be made within a few minutes and do not include the use of any other expensive things. Even you do not need many pine cones. You can make a Christmas tree with only one pine cone. You will definitely love the process of making a Christmas pine cone tree.
Pine Cone Tree with a Wooden Circular Base
Step 1: Select the Pine Cones
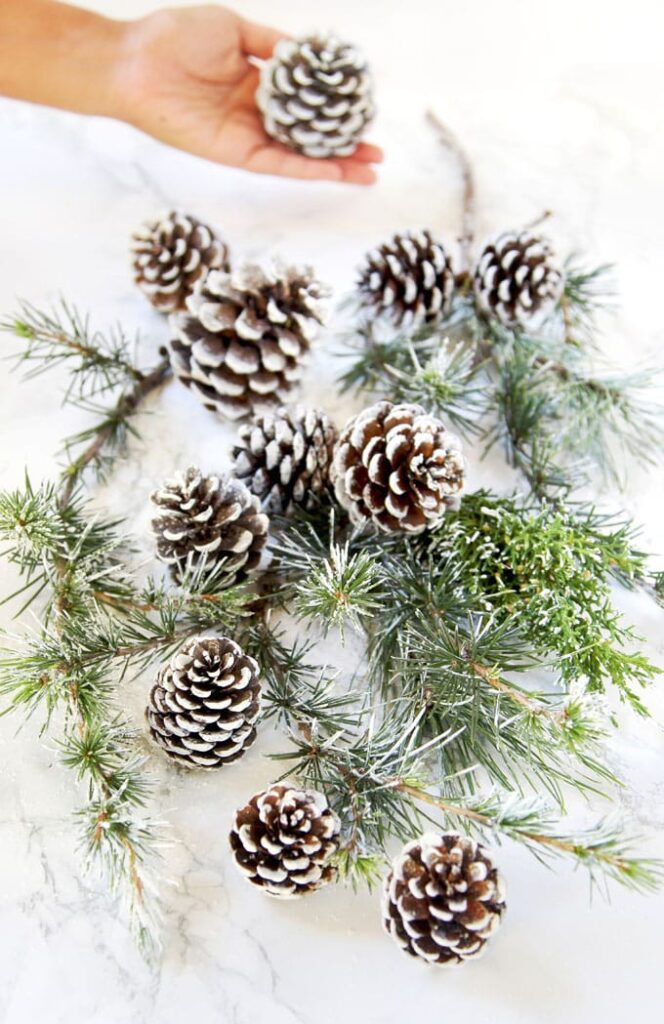
To make this Christmas tree select those pine cones having a flat base. Pine cones with a flat base will be able to stick to the surface and will break easily. Other things required are beads, a star that you can place on the top of the Christmas tree, glue, and a wooden base. Any other decorative elements can be selected according to your preferences.
Step 2: Paint Your Pine Cone with the Desired Color
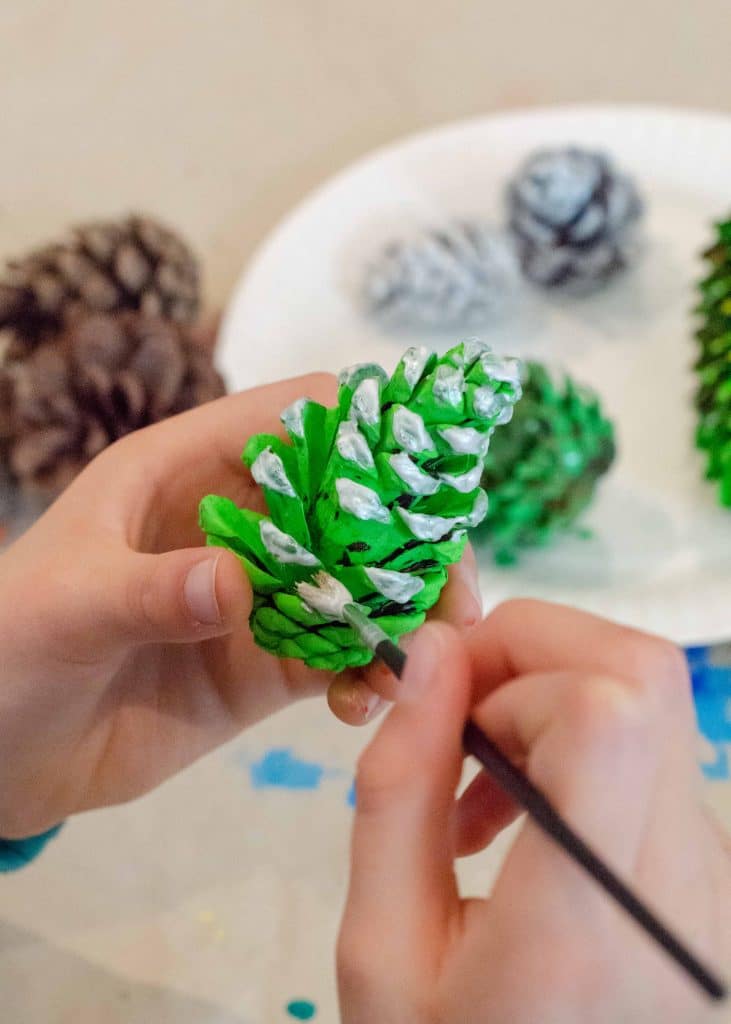
If you want to achieve a vintage look, you can opt for brown color. Else you can go for other colors like green, silver, blue, etc.
Step 3: Stick Colorful Beads and Other Decorative Items
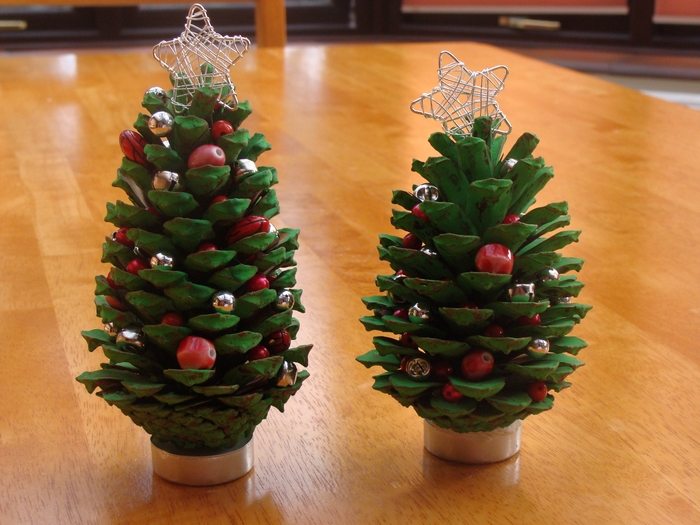
When your pine cone has dried, you can stick beads on the pine cone using hot glue. If you want, you can even add more decor elements to elevate the look of your Christmas tree.
Step 4: Stick the Pine Cone to The Base
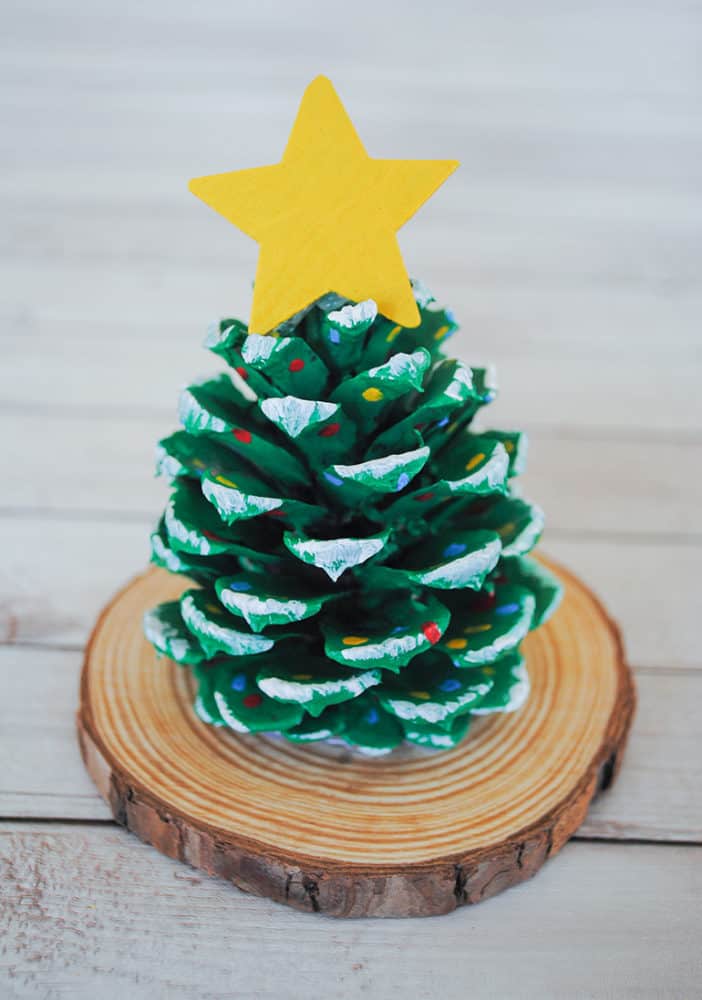
In this case, you need a wooden base available with you, or you can also purchase one from the market. Apply a thick coat of hot glue to make sure that the pine cone sticks properly to the wooden base.
Step 5: Let it Dry and Display
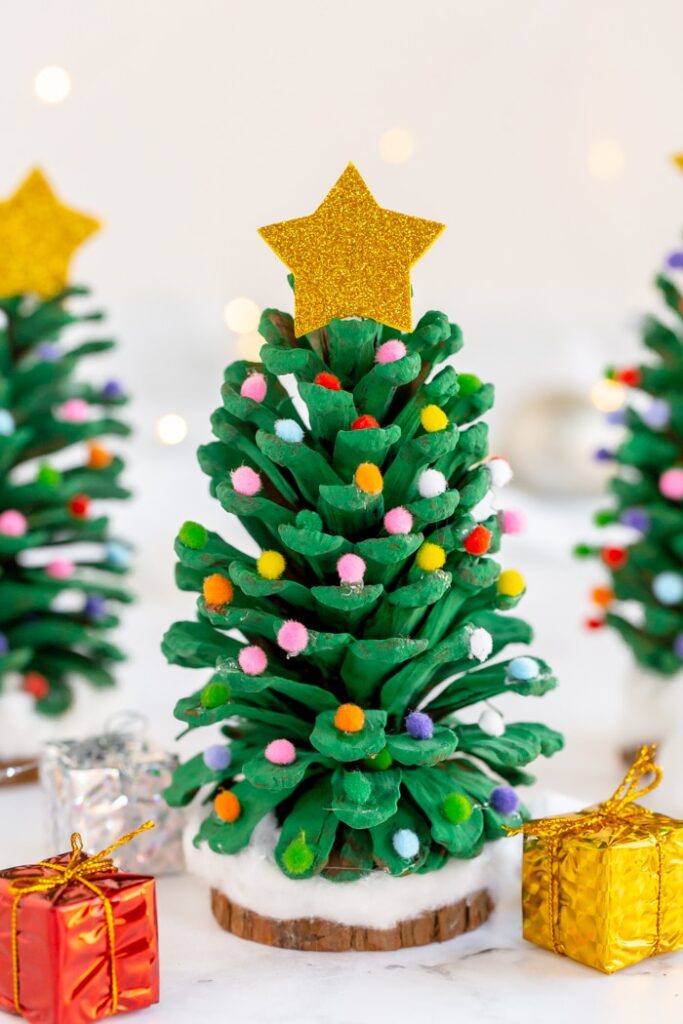
Once you have stuck the pine cone to the wooden base, allow it to dry. After it has dried, you can display it on a table and; decorate it with fairy lights, cotton balls, etc. and get ready for a wonderful Christmas Eve.
You can make even more than one Christmas tree if you like and enjoy the process. This process is super easy and can be completed within a few minutes. Just follow the simple steps, and you are done.
These pine cone trees will look so cute when displayed in your room that they will definitely grab everyone’s attention. Surprisingly no one would ever be able to guess that you have made these cute Christmas trees yourself.
Conclusion
These were 3 simple ideas that can be considered by beginners and other people who are looking for easy ideas to make a pine cone tree for their house this Christmas. However, there is no end to the ideas that can be used to make a Christmas tree. You can take the help of the above-mentioned ideas and experiment with the color combination, pattern, design, etc., to create something distinctive.
You can add as many colors as possible to create a vibrant Christmas tree or use a single color to keep it simple. You can use a single pine cone to make a small tree or use multiple cones to make a large tree.
The options are endless. So, what are you waiting for? Select a particular idea, follow the steps mentioned, and create your spectacular Christmas tree.

