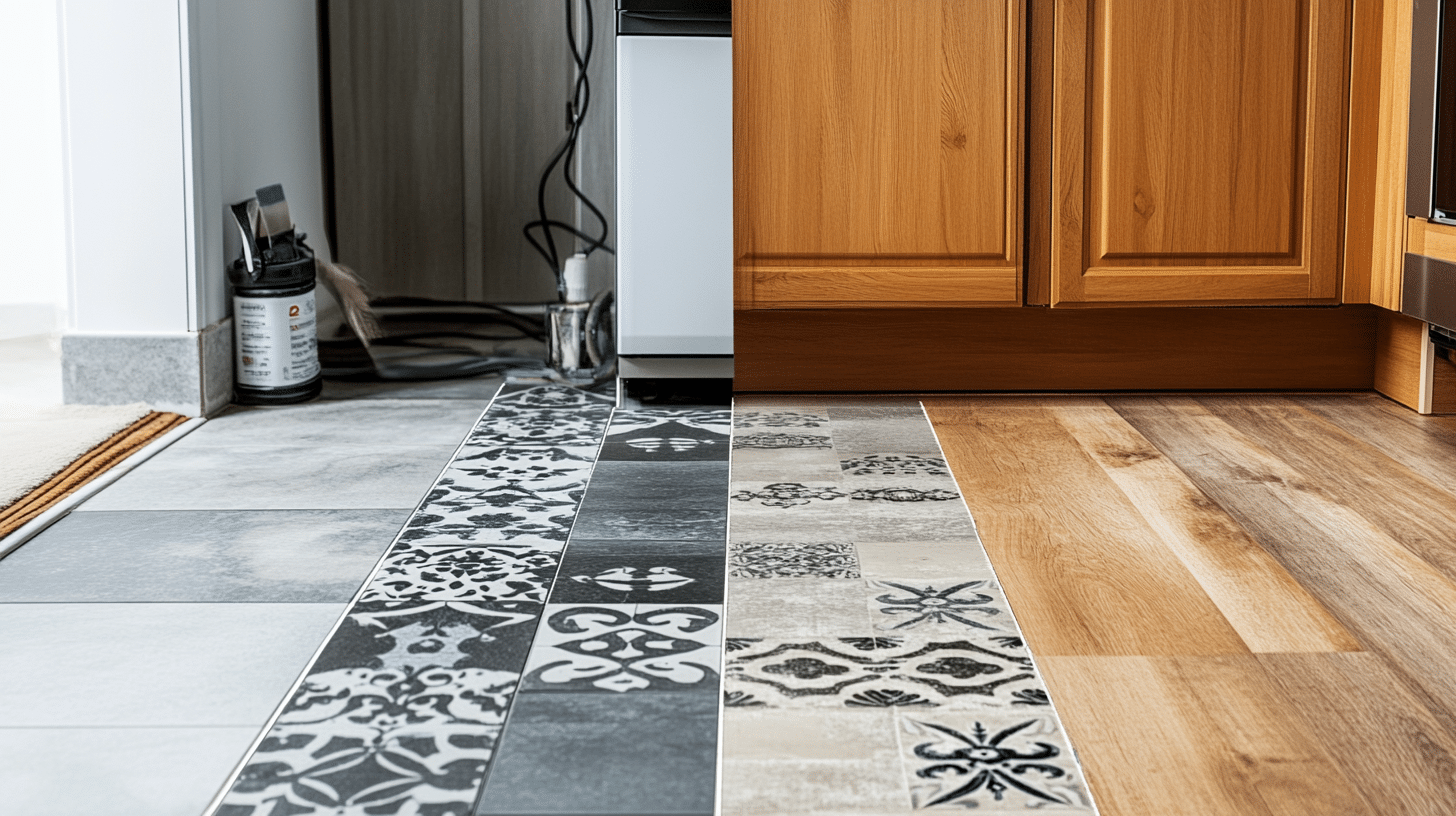
Peel-and-stick tiles have become a go-to choice for quick and stylish home upgrades.
Some varieties of peel-and-stick flooring tiles can also be placed over linoleum, but not all.
Be sure to check the product description of the tiles you’re buying to see which materials they can be placed over, as not all peel-and-stick flooring is the same.
After 15 years of wear and tear, our old linoleum floors were screaming for a refresh.
That’s when I discovered peel-and-stick tiles—a budget-friendly, stylish, and DIY-friendly option that has taken home improvement by storm.
These tiles seemed like the perfect solution to breathe new life into our tired floors without the hassle of a full renovation.
But could I install them directly over the linoleum? The answer is yes—if you prep the surface correctly! In this blog, I’ll share what I learned during my own installation, including practical tips, a step-by-step guide, and the pros and cons to consider.
Materials You’ll Need
When I tackled this project, I found myself at the home improvement store several times. Here’s everything I ended up using:
1. Essential Tools
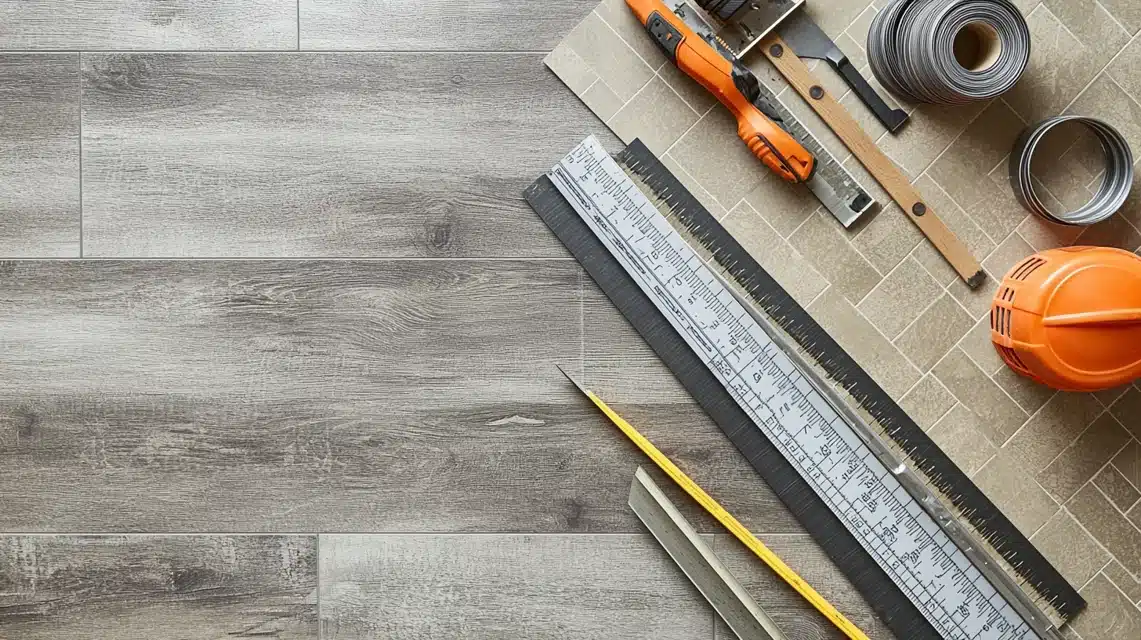
I spent about $75 on these must-have items.
My measuring toolkit consisted of a metal straightedge, measuring tape, and carpenter’s square.
These were crucial for getting perfectly straight cuts. A chalk line tool became my best friend for laying out my guidelines well worth the $8 investment.
For cutting, I bought a heavy-duty utility knife with extra blades (I went through about six blades during installation) and a pair of tin snips for tricky corner cuts.
The rubber roller I purchased was probably my most important tool – it ensured every inch of tile was firmly pressed down. I went with a 100-pound roller that cost around $25 to rent for the weekend.
2. Surface Prep Materials
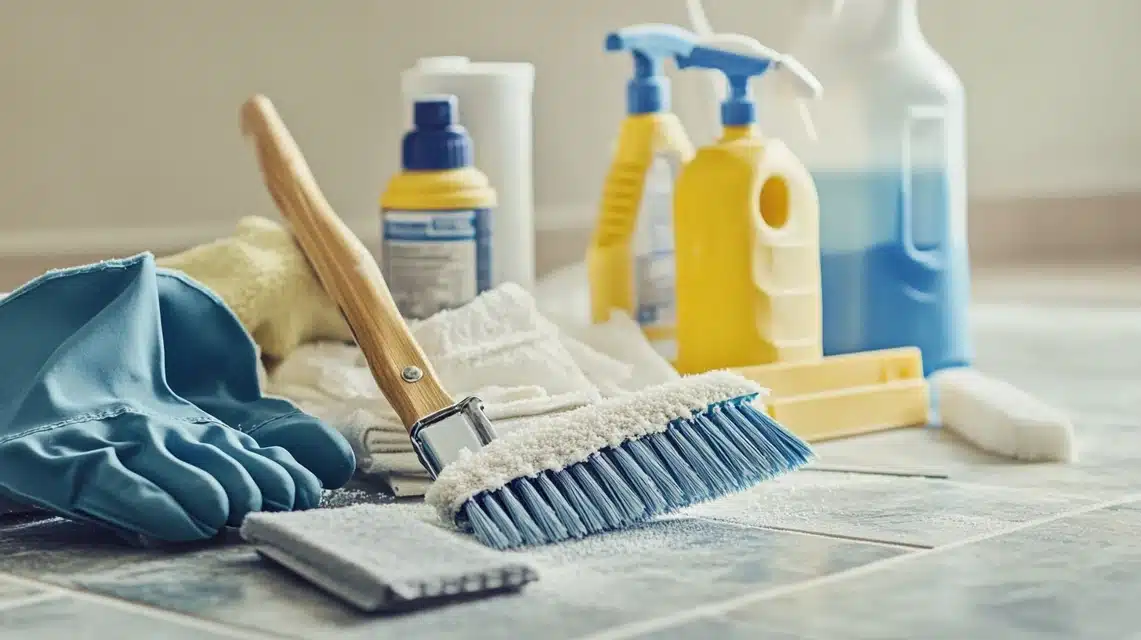
This ran me about $40
I used TSP cleaner for the deep clean, plus a stiff bristle brush and several cleaning cloths. For the sanding phase, I needed 220-grit sandpaper sheets, a sanding block, and my orbital sander (which I already owned).
Safety-wise, I made sure to have rubber gloves, knee pads (your knees will thank you!), and a dust mask for the sanding process.
3. Installation Materials
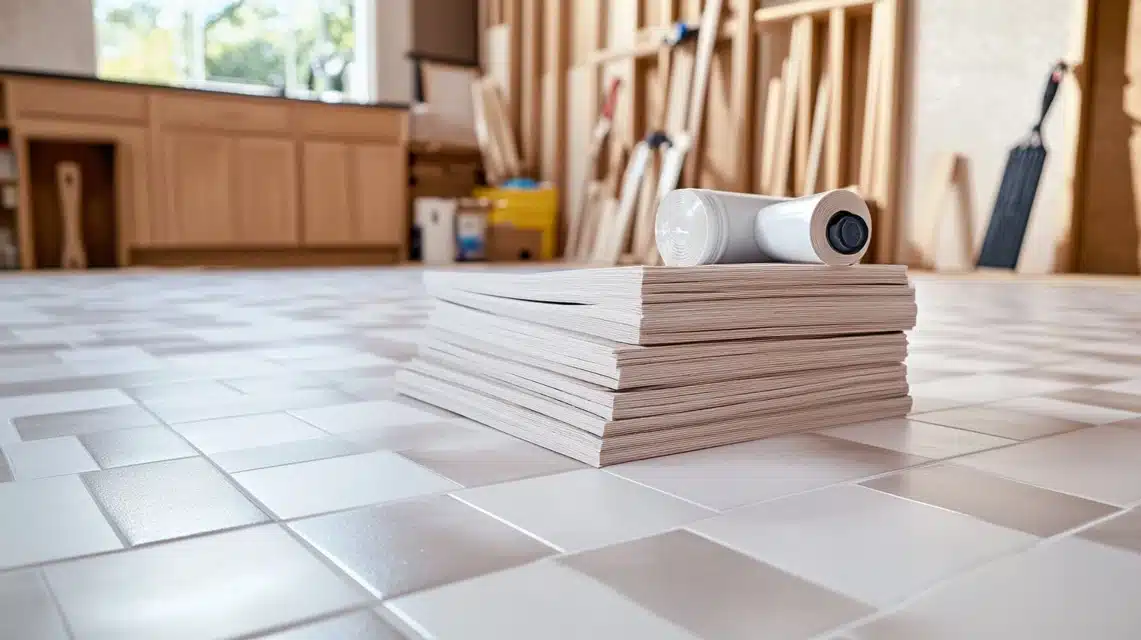
For the peel-and-stick tiles themselves, I ordered 15% extra for mistakes and future repairs. For my 120 square foot kitchen, this meant 138 square feet of tiles.
I also grabbed a tube of clear silicone caulk for waterproofing edges later, plus quarter-round molding to cover the expansion gaps.
4. Bonus Tools That Made Life Easier:
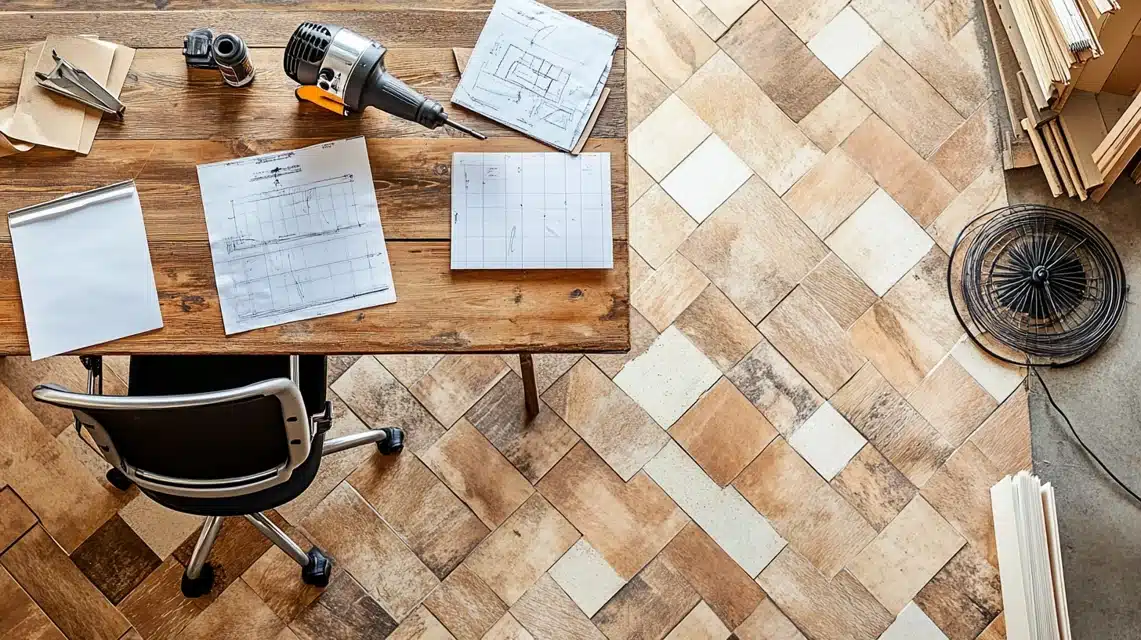
These weren’t strictly necessary but really helped
- A hairdryer for warming tiles before cutting (made them much more pliable)
- A laser level for double-checking my chalk lines
- A wheeled office chair (saved my knees during installation)
- Paper for making templates around odd corners
- A notepad for sketching my layout plan
I spent roughly $200 on tools and materials (not counting the tiles themselves), but many of these items have been used for other projects since then.
If you’re on a tighter budget, you could probably get by with about $100 in tools by skipping some of the “nice to have” items and borrowing what you can.
Steps to Install Peel and Stick Tiles Over Linoleum
Let me walk you through exactly how I transformed my tired kitchen floor. Trust me, taking my time with each of these steps made all the difference in the final result.
1. Deep Cleaning Phase
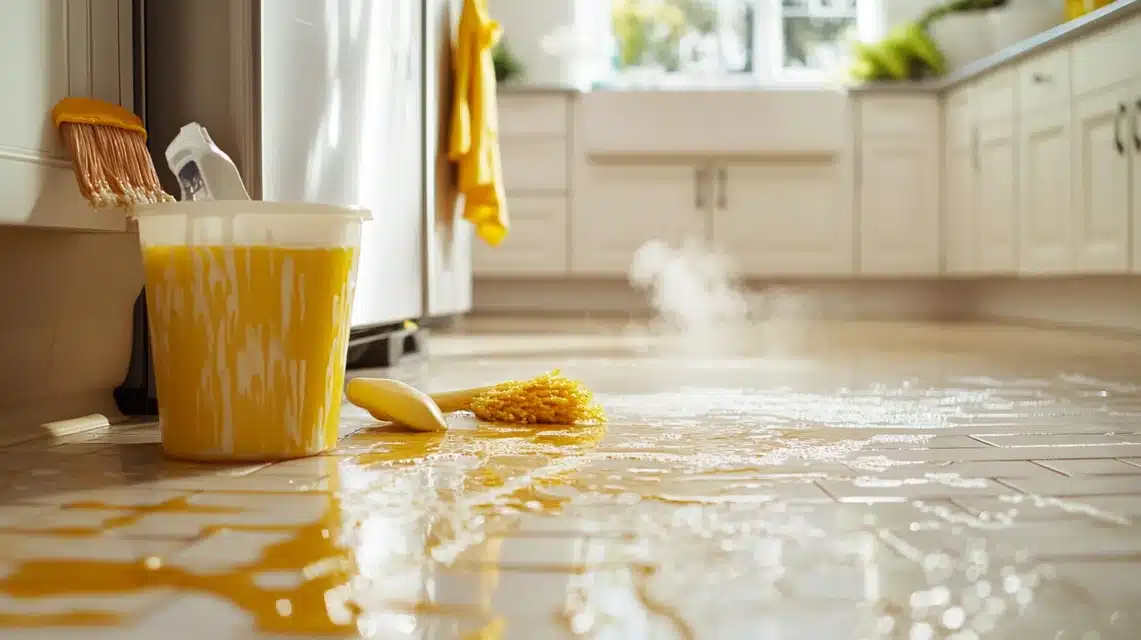
I started by removing everything from my kitchen – yes, even the refrigerator had to be rolled out. Then came the deep clean, which honestly took me about three hours:
I swept and vacuumed thoroughly first to remove loose debris. Then, I mixed TSP cleaner according to the package directions.
I used about a cup per gallon of warm water.
Working in small 3×3-foot sections, I scrubbed with a stiff brush, focusing extra attention on the corners and along the baseboards, where grime tends to build up.
What really surprised me was how much old wax came up – those yellow-brown streaks in my cleaning water showed just how much buildup there was.
I had to rinse three times with clean water to get all the cleaning solution off.
Tip: I discovered an amazing trick by accident – using very hot water (as hot as I could stand with rubber gloves) made the old wax come up much easier. The water would turn a milky yellow color when the wax was coming up – that’s how I knew it was working.
2. Creating the Perfect Surface
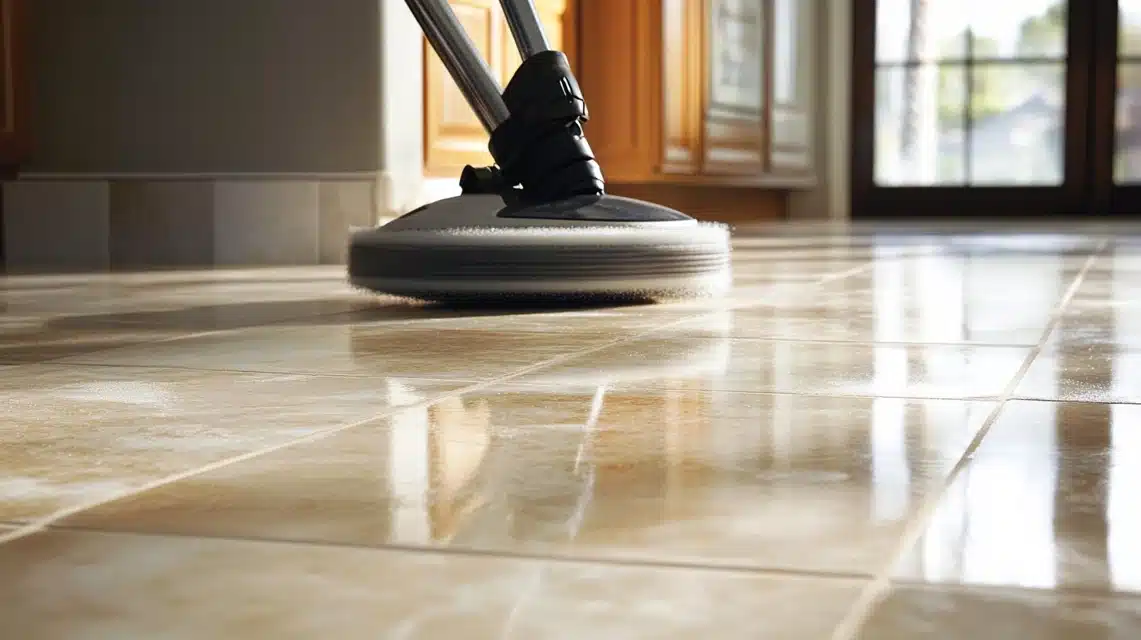
After letting the floor dry overnight (this was crucial – I learned that trapped moisture can affect adhesion), I started the sanding process:
I used my orbital sander with 220-grit sandpaper for the main floor areas. For corners and edges, I hand-sanded using a sanding block. The goal wasn’t to sand deeply – just to create a slightly rough surface that would give the adhesive something to grip.
The floor should feel like fine sandpaper when you run your hand over it.
After sanding, I vacuumed again and followed up with a microfiber mop dampened with just water to catch any remaining dust. Then I let it dry for another 4 hours.
3. Layout and Planning
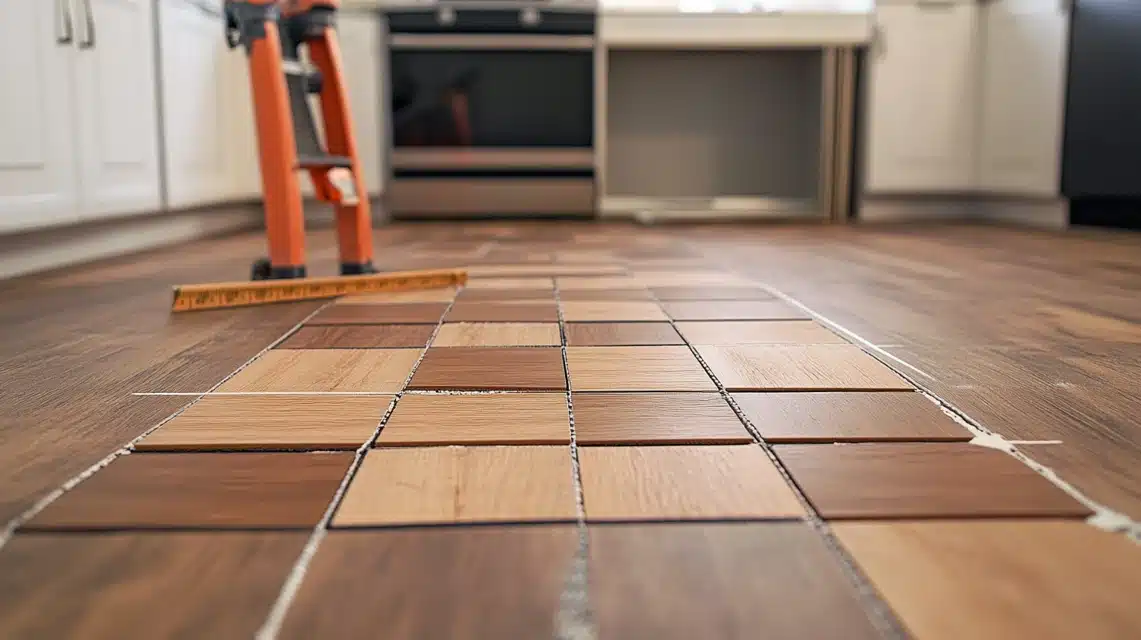
This step saved me from some potentially costly mistakes:
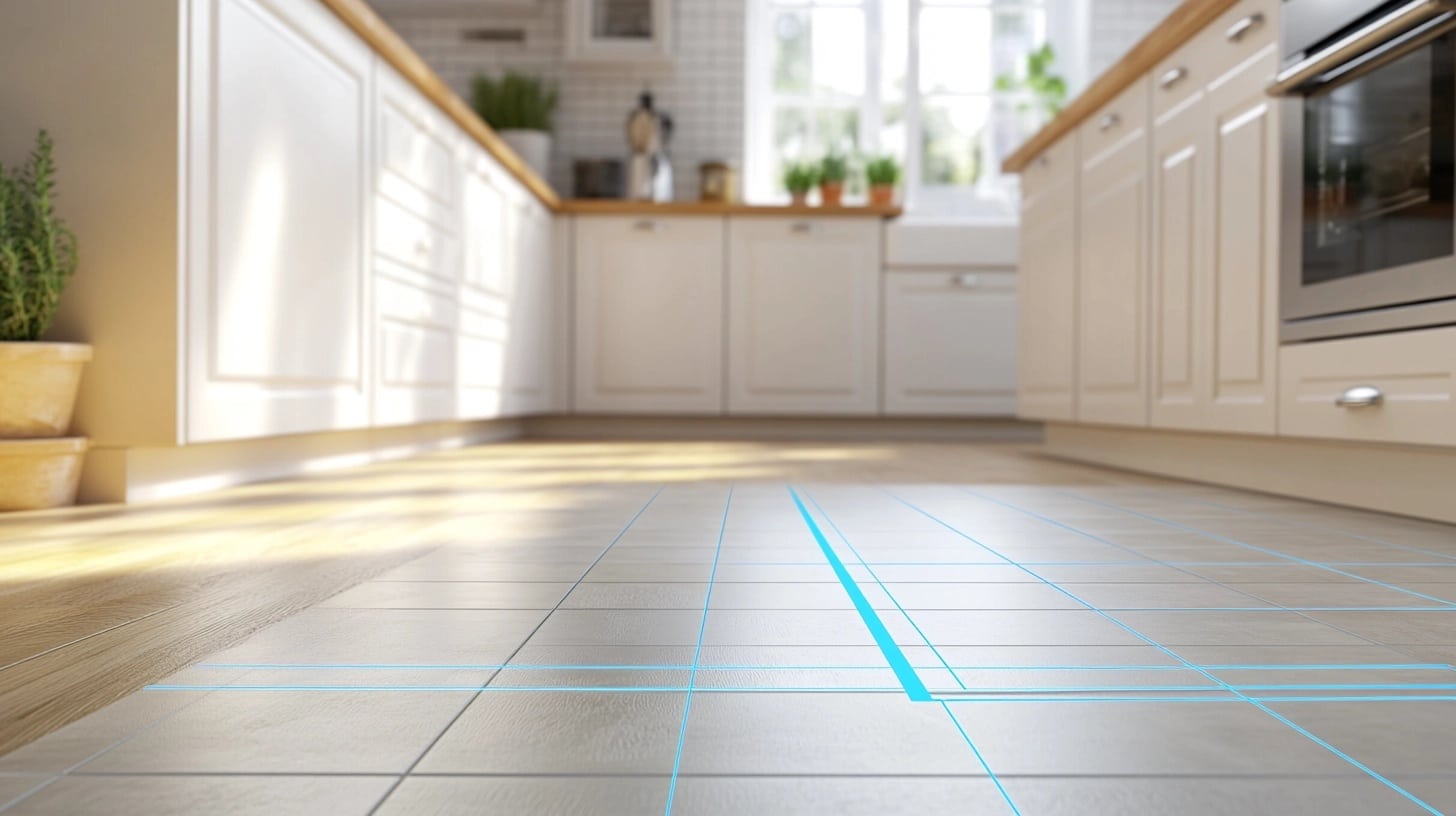
I measured my room and found the center point by snapping chalk lines between the middle of opposite walls.
These lines formed a cross in the center of my room. I did a dry layout first, laying tiles without peeling off the backing to make sure my pattern would work and that I wouldn’t end up with tiny slivers of tile along the walls.
I chose to stagger my wood-look tiles in a brick pattern, which required more cutting but looked more natural in the end.
4. The Installation
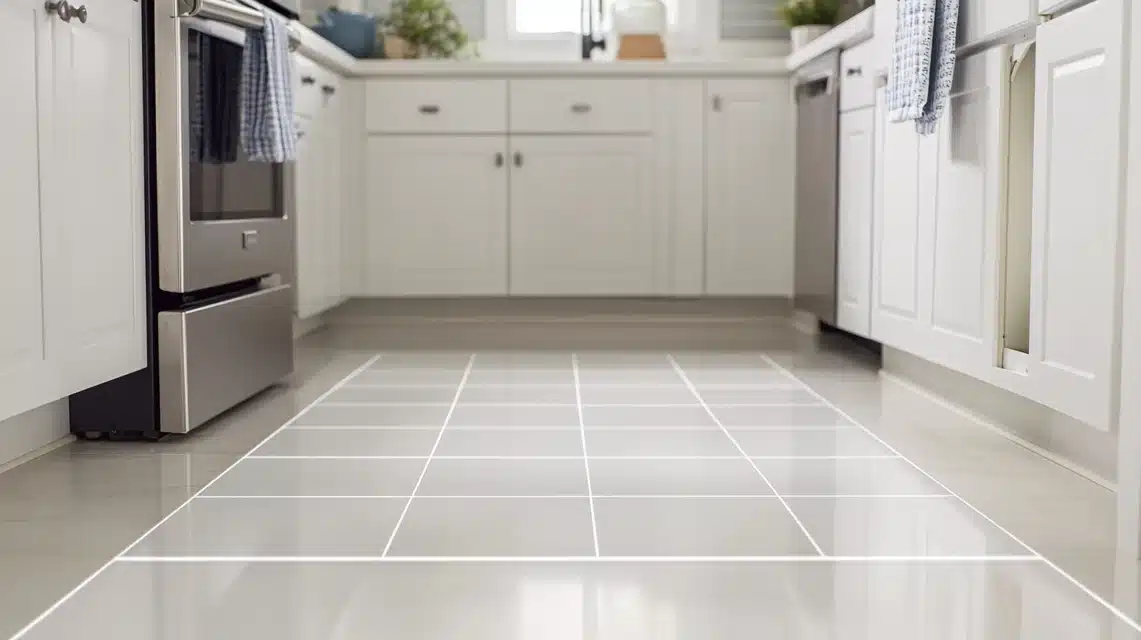
Here’s where the real transformation began:
Starting at the center where my chalk lines crossed, I peeled back about an inch of the backing from my first tile.
I aligned it perfectly with my chalk lines, pressed that edge down, and then slowly pulled the backing away while smoothing the tile down with my other hand. This technique prevented air bubbles from getting trapped.
For a really solid bond, I used my body weight with a clean rubber roller (you can rent these from home improvement stores) to press each tile firmly into place.
When I got to the edges and corners, I used paper templates to make cutting easier. Just laid paper over the area, creased it to match the space, and used those templates to cut my tiles. This saved me from making expensive mistakes on the actual tiles.
For cutting, I found that scoring the tiles three times with a sharp utility knife and then bending them worked better than trying to cut through them completely in one go.
5. Finishing Touches
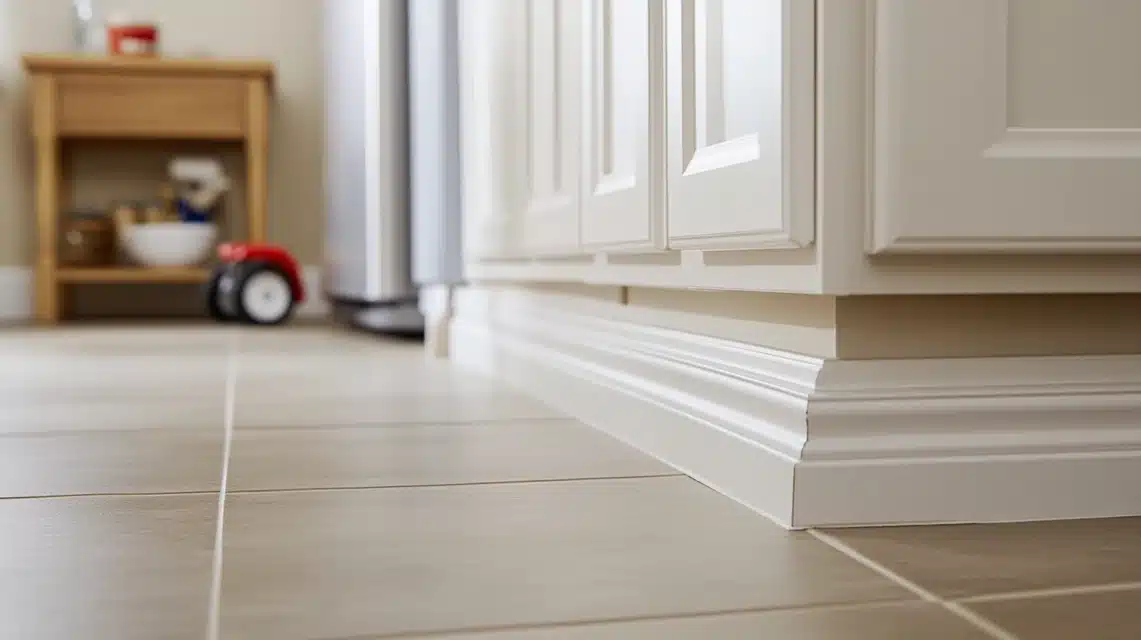
After all the tiles were down, I waited 24 hours before moving the furniture back in.
Even though the tiles felt firmly stuck, this extra time allowed the adhesive to fully bond.
I installed quarter-round molding along the baseboards to cover the expansion gap I’d left around the edges. This gave everything a really finished look and protected the edges of the tiles.
One year later, I applied a thin bead of clear silicone caulk around the edges where the floor meets the baseboards. This has kept water from seeping under the tiles during mopping.
Looking back, this methodical approach took me about 2.5 days total – half a day for cleaning, half a day for sanding and prep, and 1.5 days for actual installation.
But the careful preparation and installation have paid off in durability.
These floors have survived five years of dropped pots, spilled juice, and my kids’ toy car races with barely a scratch to show for it.
Repairing and Leveling
That dip I mentioned near the refrigerator? I filled it with floor leveling compound. After letting it dry overnight, I sanded it smooth. For the small tear near the dishwasher, I used epoxy filler and sanded it level.
Creating the Perfect Surface
The sanding phase was crucial, but I almost skipped it – thankfully, a contractor friend insisted it was necessary. Here’s what worked for me:
I used 220-grit sandpaper to scuff up the entire surface. The goal wasn’t to sand off the finish completely, just to give it some “tooth” for the adhesive to grip. I could tell it was enough when the floor had a uniform dull appearance instead of any shiny spots.
My Biggest Preparation Lesson
Looking back, my biggest lesson was this: when you think you’ve cleaned enough, clean one more time.
Any speck of dirt or residue left behind will prevent proper adhesion.
I actually had to pull up and replace three tiles in a high-traffic area because I rushed the cleaning in that spot, and they started lifting after a few months.
Remember: the preparation phase took me longer than the actual installation, but five years later, my floor is still holding strong because of this thorough prep work.
My Personal Recommendations
If you’re considering this project, here’s what I’ve learned:
Don’t skip the prep work. I spent almost as much time cleaning and sanding as I did laying tiles, and it was worth every minute.
Buy about 15% more tiles than you think you need. I was grateful for the extra pieces when I made some cutting mistakes around my cabinets.
Invest in a good utility knife and change the blade frequently. I went through about five blades during my installation, and sharp cuts make all the difference.
Temperature matters – I installed mine when it was around 70°F in my house, which seemed to be perfect for getting the adhesive to stick properly.
The cost came to about $2.50 per square foot for the tiles I chose, and my 120-square-foot kitchen took me a full weekend to complete. Looking back, it was one of the most rewarding DIY projects I’ve tackled, and I’d absolutely do it again.
Remember that your existing linoleum needs to be in relatively good condition for this to work. If you have any loose spots or deep gouges, you’ll want to address those first. But if your floor is like mine was – worn but stable – peel and stick tiles can be a fantastic solution.
1. The Good Parts of FloorPops
Having lived with these tiles for several years now, I can definitely vouch for some of their strengths.
The pattern I chose (Newport Grey Wood) has maintained its appearance remarkably well in my busy kitchen. The initial installation was straightforward – the adhesive had good grip but still allowed me to reposition tiles when I made mistakes (which happened several times during installation!).
I paid around $2.50 per square foot, making them significantly cheaper than traditional tile or hardwood. For my budget-conscious renovation, this was a huge plus.
2. Where FloorPops Could Be Better
I’ll be completely honest about the drawbacks I’ve experienced. In areas with heavy foot traffic (particularly in front of my sink), I’ve noticed some slight wear after about two years.
A few tiles have developed small gaps at the seams, though this might be due to my installation technique rather than the product itself.
The thickness of FloorPops tiles is relatively thin compared to other brands I looked at.
While this made cutting easier, I sometimes wonder if a thicker tile might have been more durable.
3. My Tips for Using FloorPops
If you decide to go with FloorPops, here’s what worked best for me:
I found that warming the tiles slightly with a hairdryer made them much easier to cut and manipulate around corners. When laying the tiles, I used a rolling pin (followed by a rented floor roller) to ensure maximum adhesion – this extra step has definitely paid off.
For cleaning, I’ve found that less is more. A damp mop with just water or a very mild cleaner works best. Harsh cleaners seem to dull the finish.
4. Would I Use FloorPops Again?
Yes, but with some caveats. For my kitchen and guest bathroom, where I installed them, they’ve been a good choice for the price point.
However, for my entryway, which sees extremely heavy traffic, I might choose a more durable option next time.
They’re perfect if you’re looking for:
- An affordable flooring update
- Something you can install yourself
- A temporary solution that still looks good
- Low-to-medium traffic areas
I wouldn’t recommend them for:
- Extremely high-traffic commercial spaces
- Areas with heavy rolling loads
- Spaces with frequent water exposure
In terms of value for money and ease of installation, FloorPops delivered what I needed. While they’re not a forever solution, they’ve held up well enough that I feel I got my money’s worth from the investment.
Things to Know When Using Peel And Stick Floor Tile
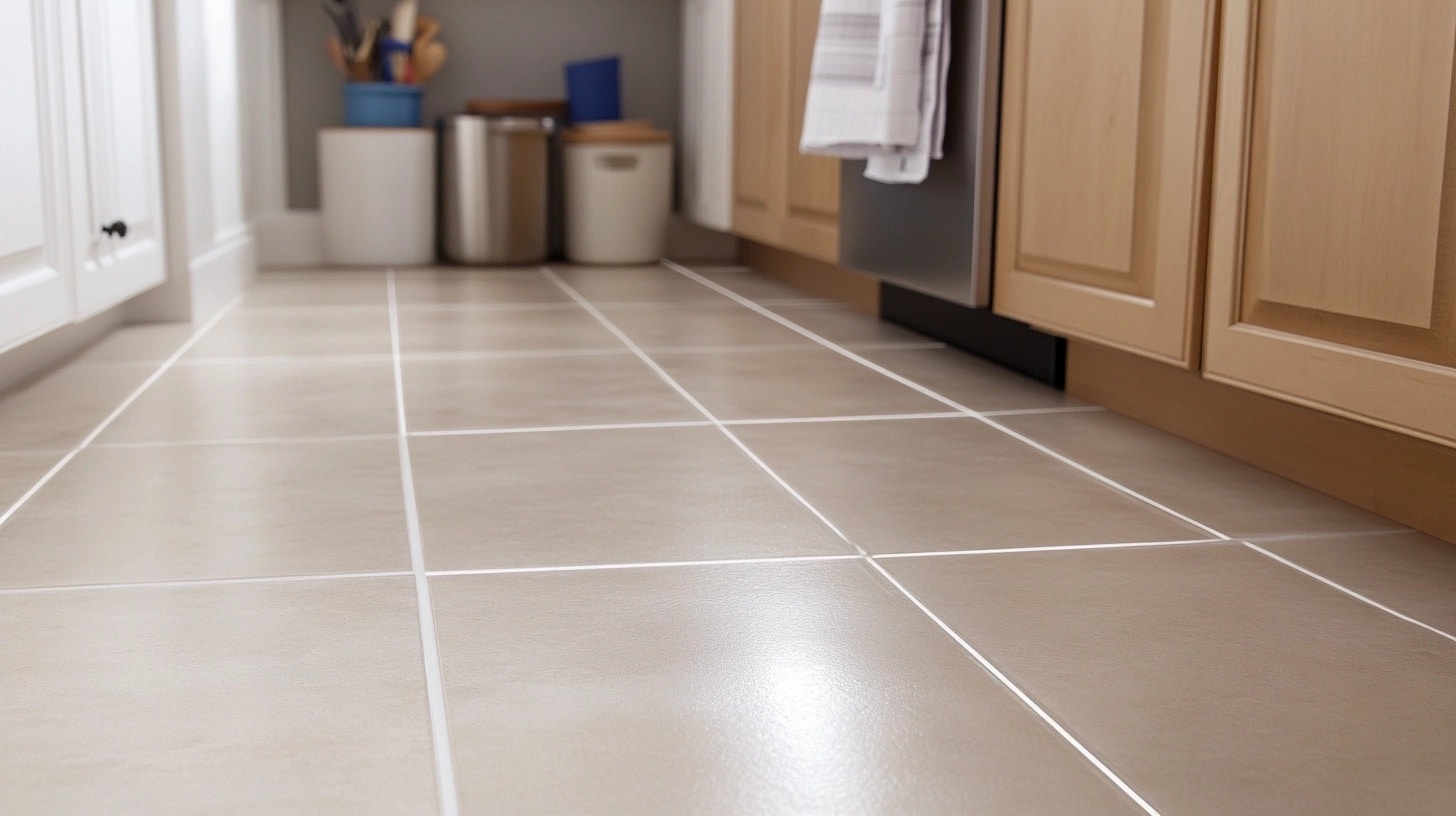
Looking back on my experience with peel and stick tiles, there are some crucial things I wish someone had told me before I started. Let me share what I’ve learned through trial, error, and five years of living with these floors.
1. Temperature Makes a Huge Difference
I discovered this purely by accident. I started installation on a cold morning, and the tiles were difficult to work with.
Once I turned up the heat and let the room warm to about 72°F, the tiles became much more pliable and stuck better. Now I know to:
Store the tiles in the installation room for at least 48 hours before starting. The day before installation, I set my thermostat to a constant 70-75°F and kept it there throughout the process and for 24 hours afterward.
2. The Truth About Durability
My tiles have held up pretty well, but I’ve learned they’re not indestructible. In my kitchen, the areas near the sink and stove show the most wear. Heavy appliances can leave permanent indentations – I learned this when I had to replace my refrigerator and noticed the floor underneath was compressed.
3. Moisture is Both Friend and Enemy
Too much moisture during installation prevents proper adhesion – I had to replace two tiles near my dishwasher because of this.
However, too little humidity in the room can also cause problems. I maintain about 45% humidity in my home now, which seems to keep the tiles from shrinking or expanding too much.
4. Pattern and Color Considerations
Dark colors show every speck of dust and dirt – I learned this the hard way with my first bathroom installation. In my kitchen, I went with a medium gray wood pattern that’s much more forgiving. The pattern also helps hide any slight misalignments in the tiles.
5. The Real Cost Factor
While the tiles themselves were affordable (around $2.50 per square foot), I hadn’t factored in all the preparation materials and tools.
My actual costs included:
The tiles ended up being only about 60% of my total project cost – something I wish I’d known for budgeting purposes.
Maintenance Lessons
I’ve developed a specific cleaning routine:
- Daily sweeping or dust mopping
- Weekly damp mopping with just warm water
- Monthly cleaning with a very mild cleaner made specifically for vinyl floors
- Immediate cleanup of any spills
I avoid:
- Steam mops (I learned this after damaging one tile)
- Harsh cleaners
- Excessive water during mopping
The Subfloor Truth
My kitchen installation was over linoleum, but I also did my bathroom over concrete. The concrete installation was much trickier and required additional preparation. I had to use a concrete sealer first, which added time and cost to the project.
Future Replacement Plan
One advantage I’ve discovered is that individual tiles can be replaced. I’ve done this twice – once due to damage from a dropped pot and once because of wear. The replacement tiles were slightly different in color (batch variation), so I swapped tiles from a less visible area instead.
These floors weren’t meant to last forever, and that’s okay. For the price and ease of installation, I’m satisfied with the value I’ve gotten. I’m planning to replace them in another year or two, and yes, I would use peel and stick tiles again – just with all these lessons in mind.
Conclusion
Peel-and-stick tiles can be a fantastic solution for upgrading your linoleum floors, offering an easy, affordable, and stylish alternative to more intensive renovations. With proper preparation, like cleaning, smoothing, and priming you can ensure a secure and long-lasting installation that looks great.
Remember, while this method is simple, taking the time to prep correctly makes all the difference.
Whether you’re refreshing a bathroom, kitchen, or living area, peel-and-stick tiles are a versatile option that can completely transform your space.
Now that you’re equipped with all the tips, steps, and insights, it’s time to tackle your flooring project confidently. Share your experience or ask any questions in the comments below—I’d love to hear how your space turns out!
Frequently Asked Questions
Can You Really Put Peel and Stick Tiles Over Linoleum?
Yes! I did exactly this in my kitchen. However, the existing linoleum must be firmly attached, clean, and free of damage. My old linoleum was worn but well-bonded to the subfloor, making it a perfect base. The key is thorough preparation – I spent nearly two days just cleaning and prepping the surface.
How Long Do Peel and Stick Tiles Really Last?
In my experience, with proper installation and maintenance, they can last 5-7 years in moderate-traffic areas. My kitchen tiles are five years old now, and while they are not perfect, they’re still holding up fairly well. The tiles near my sink have shown the most wear, while those under the cabinets still look nearly new.
What’s the Real Cost Compared to Traditional Flooring?
For my 120-square-foot kitchen, the total cost breakdown was:
- Tiles: Around $300 ($2.50 per square foot)
- Tools and materials: About $200
- Total project: Approximately $500
This was significantly less than the $2,000-3,000 I was quoted for traditional tile installation.
What’s the Biggest Mistake to Avoid?
Skipping proper preparation! I rushed the cleaning in one area of my kitchen and those tiles started lifting within months.
Take time to thoroughly clean, sand, and level the surface before installation.
How Do You Clean Them Without Damaging the Adhesive?
I’ve found that less is more. I use:
- Daily: Dust, mop or sweep
- Weekly: Damp mop with just water
- Monthly: Very mild cleaner specifically for vinyl floors
- Never: Steam mops or harsh chemicals

