
Looking at those dingy grout lines can be frustrating. They start out clean and bright, but over time, dirt and grime settle in. The once-pristine white lines between tiles turn gray or brown. It’s not a pretty sight.
Cleaning grout doesn’t have to mean harsh chemicals or expensive products. There are simple ways to get those lines looking fresh again.
Most solutions use things already sitting in the kitchen cabinet. A little effort goes a long way.
This blog shows how to tackle dirty grout with easy DIY tips and natural recipes. Get ready to see those tiles shine again.
Why Grout Gets Dirty Fast?
Grout is porous, which means it has tiny holes that trap dirt, moisture, and grime.
Every time someone walks across the floor or water splashes on the walls, particles seep into those little spaces. The texture of grout also makes it a magnet for buildup.
Kitchen grease, bathroom soap scum, and everyday foot traffic all play a part.
Even regular mopping doesn’t always reach deep into the grout lines. Over time, all that accumulation darkens the color.
The result? Lines that look old and neglected, even when the tiles themselves stay clean.
Types of Grout and When DIY Works Best
Not all grout is the same. Different types need different care approaches. Some respond well to homemade cleaners, while others need a gentler touch.
Knowing what kind of material sits between the tiles helps pick the right cleaning method and avoid damage.
| Grout Type | Description | DIY Friendly? |
|---|---|---|
| Sanded Grout | Used for wider joints, has sand mixed in for strength | Yes, handles scrubbing well |
| Unsanded Grout | Smooth texture for narrow joints, common in wall tiles | Yes, but needs gentle scrubbing |
| Epoxy Grout | Resin-based, stain-resistant, found in high-moisture areas | Somewhat resists most stains naturally |
| Sealed Grout | Any grout type with a protective sealant applied | Yes, easier to clean when sealed |
| Unsealed Grout | No protective layer, absorbs stains quickly | Yes, but needs more effort |
Best DIY Grout Cleaning Methods
These proven DIY grout cleaning methods focus on simple ingredients, proper dwell time, and effective scrubbing techniques to lift stains, cut grease, and restore grout color without harsh chemicals.
1. Baking Soda + Vinegar Fizz Method (Easiest for Light Stains)
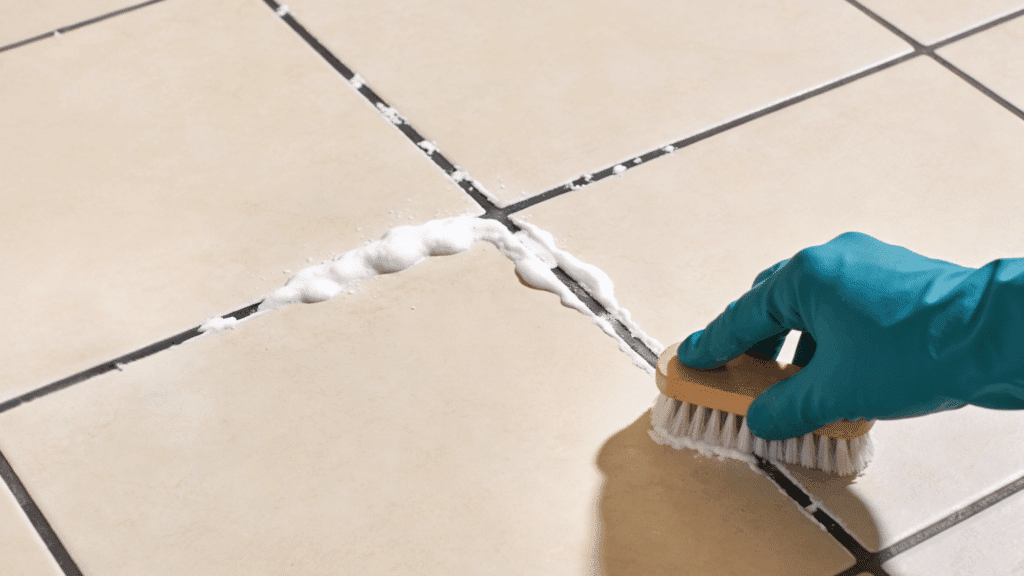
This gentle yet effective method works best for lightly soiled grout, using a foaming reaction to loosen surface stains and grime commonly found on kitchen floors and bathroom tiles.
Ingredients Required: Baking soda, water, white vinegar, and a spray bottle
Step-by-Step Instructions:
- Mix baking soda and water into a thick paste
- Apply paste directly onto grout lines
- Spray vinegar over the paste to activate the fizz
- Scrub gently after 5 minutes
- Rinse with clean water and wipe dry
2. Hydrogen Peroxide + Dish Soap Power Paste (Tough Daily Grime)
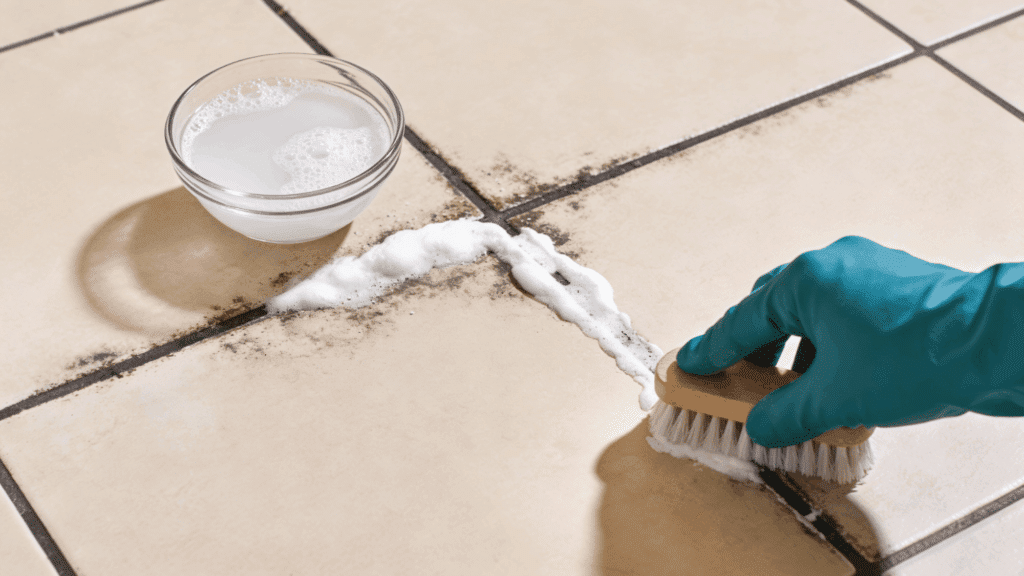
Designed for darker grout and heavy buildup, this power paste penetrates deeper stains using oxygen-based cleaning action combined with grease-cutting dish soap for visible grout brightening.
Ingredients Required: Hydrogen peroxide (3%), dish soap, baking soda, and a small mixing bowl
Step-by-Step Instructions:
- Combine peroxide, dish soap, and baking soda
- Spread paste generously along grout lines
- Let the mixture sit for 10 minutes
- Scrub vigorously using a grout brush
- Wipe residue away with a damp cloth
3. Steam or Hot Water Boost for Stubborn Spots
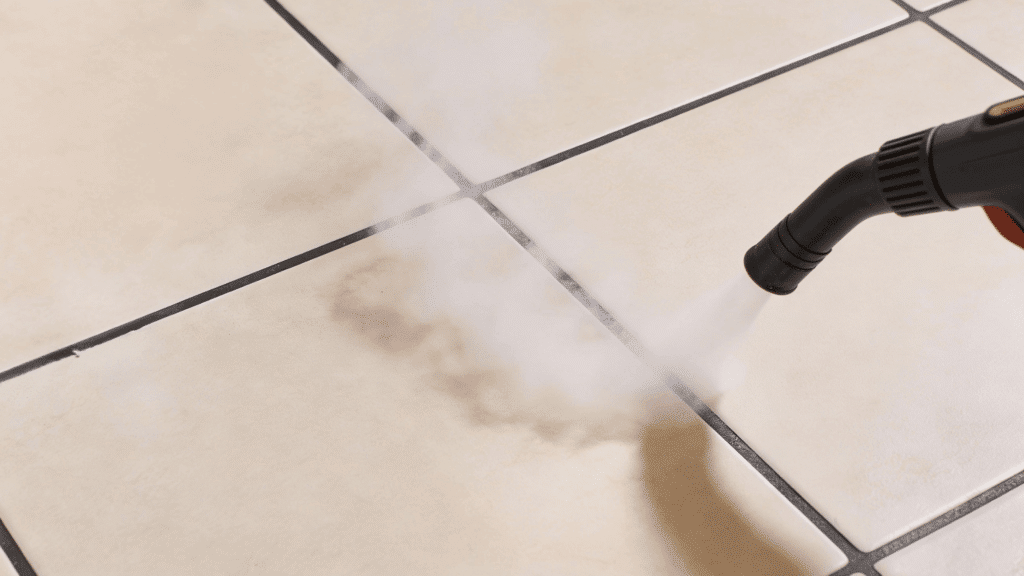
Heat-based pre-treatment softens hardened grime and soap residue, making DIY grout pastes more effective while reducing scrubbing effort, especially on older or heavily neglected grout areas.
Ingredients Required: Boiling water or steam cleaner, a heat-safe container (if pouring water), and a grout brush
Step-by-Step Instructions:
- Apply boiling water or steam to grout lines
- Work in small sections to control moisture
- Scrub immediately while the grout is warm
- Follow with preferred DIY paste if needed
- Rinse and dry the area thoroughly
How to Seal and Maintain the Grout Afterwards
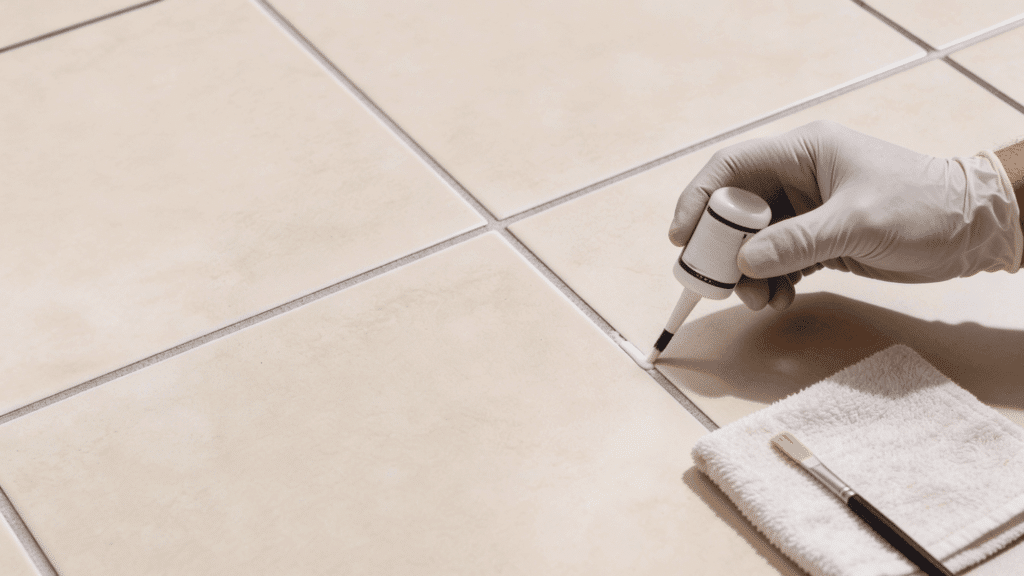
Sealing grout protects it from future stains and makes cleaning easier. A good sealant creates a barrier that keeps dirt and moisture out, extending the life of those clean grout lines.
- Choose the Right Sealer: Pick a penetrating sealer for most grout types. Read the label to make sure it matches the grout material. Some sealers work better for floors, others for walls.
- Clean the Grout First: The grout must be completely clean and dry before sealing. Any trapped dirt or moisture will get locked in. Wait at least 24 hours after cleaning to apply the sealer.
- Apply the Sealer Evenly: Use a small brush or applicator to coat the grout lines. Work in sections to avoid missing spots. Don’t let excess sealer sit on the tiles; wipe it off right away.
- Let It Dry Completely: Most sealers need 24 to 48 hours to cure fully. Keep the area dry during this time. Avoid walking on floors or using the shower until the sealer sets.
- Reapply When Needed: Sealers wear down over time. Test by dropping water on the grout every few months. If it absorbs instead of beading up, it’s time to reseal.
- Keep Up Regular Cleaning: Even sealed grout needs routine care. Sweep or vacuum regularly to prevent dirt buildup. Wipe spills quickly to avoid staining.
How Often to Clean Floor Grout
The cleaning frequency depends on how much traffic the floor gets.
High-traffic areas like kitchens and entryways need attention more often than guest bathrooms or spare rooms. Foot traffic brings in dirt that settles into grout lines quickly.
For busy households, a light cleaning every two weeks keeps grout from getting too grimy. Monthly deep cleaning works well for moderate traffic areas. Low-traffic spots can go longer, maybe every two or three months.
Kitchens need special attention because of cooking grease and food spills. Bathrooms collect soap scum and moisture, which means weekly spot cleaning helps prevent mold.
Sealed grout requires less frequent deep cleaning since it resists stains better.
Pay attention to how the grout looks. When lines start looking dull or discolored, that’s the signal to clean. Catching buildup early makes the job easier than waiting until stains set in deep.
The Bottom Line
Clean grout lines make a massive difference in how a space looks and feels. The effort put into scrubbing those lines pays off with a brighter, fresher room.
Regular maintenance keeps grout from reaching that stubborn, stained stage.
A little attention now saves hours of hard scrubbing later. Sealing adds an extra layer of protection that makes future cleaning sessions much easier.
Dirty grout no longer has to be an accepted fact of life. With the right techniques and consistency, those lines stay clean. The satisfaction of seeing sparkling grout between tiles makes the work worthwhile every time.