

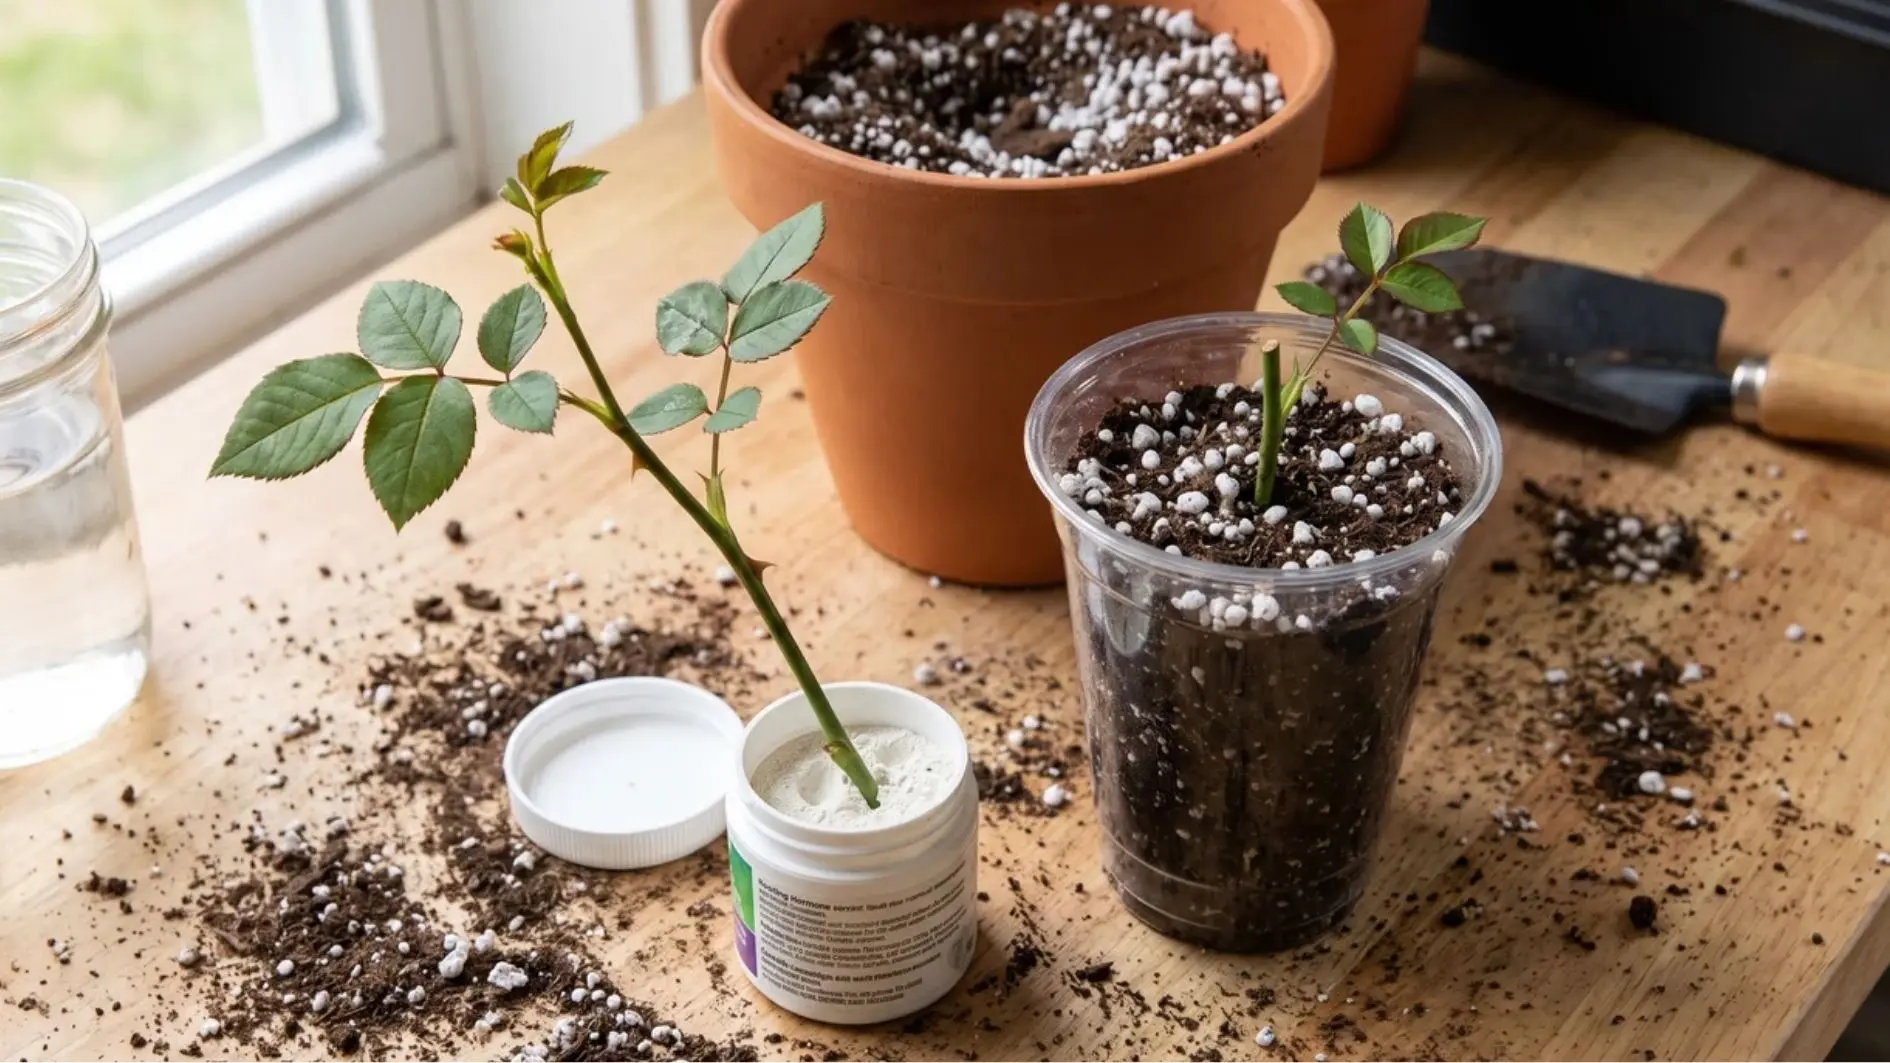
Growing a new rose bush from a cutting you took yourself is one of those gardening wins that never gets old, no matter how many times you do it.
The good news is that learning how to propagate roses does not require a greenhouse, expensive equipment, or any prior experience. A healthy stem, some rooting hormone, and a little patience are truly all you need.
This guide walks you through the entire process from timing your cut correctly to transplanting a fully rooted plant into your garden, with no steps glossed over and no beginner mistakes left unaddressed.
When Should You Take Rose Cuttings?
Timing the cut correctly gives the stem the best start before it reaches the soil. Knowing why this window works makes the steps that follow easier and improves your chances of success.
The Timing Windows that Actually Work
Roses give you two reliable opportunities to propagate from cuttings each year.
Semi-hardwood cuttings (late spring through summer) are the go-to for most home gardeners. The stem has finished its first growth push but remains biologically active enough to redirect energy toward root production. Most first-time attempts at propagating roses succeed best in this window.
Hardwood cuttings (late fall through winter) take longer to root, sometimes double the time of semi-hardwood cuttings. The payoff is lower rot risk since cooler temperatures slow down the bacteria and fungi that kill cuttings at the base.
The Bend Test: Your Best Go/No-Go Signal
Forget the calendar for a moment. The stem itself will tell you when it’s ready.
Pick up the stem and gently bend it between your fingers. A stem that snaps cleanly has fully hardened into wood. You can still use it in fall and winter, but it usually takes longer to form roots.
A stem that bends easily and stays in that position is too young. The tissue is still soft, which makes it less likely to handle the stress of rooting.
The stem you want sits right in the middle. It should bend with some resistance and then spring back into place. When it feels like a green rubber band pushing back against your fingers, you’ve found the right cutting material.
How to Take and Prepare the Cutting
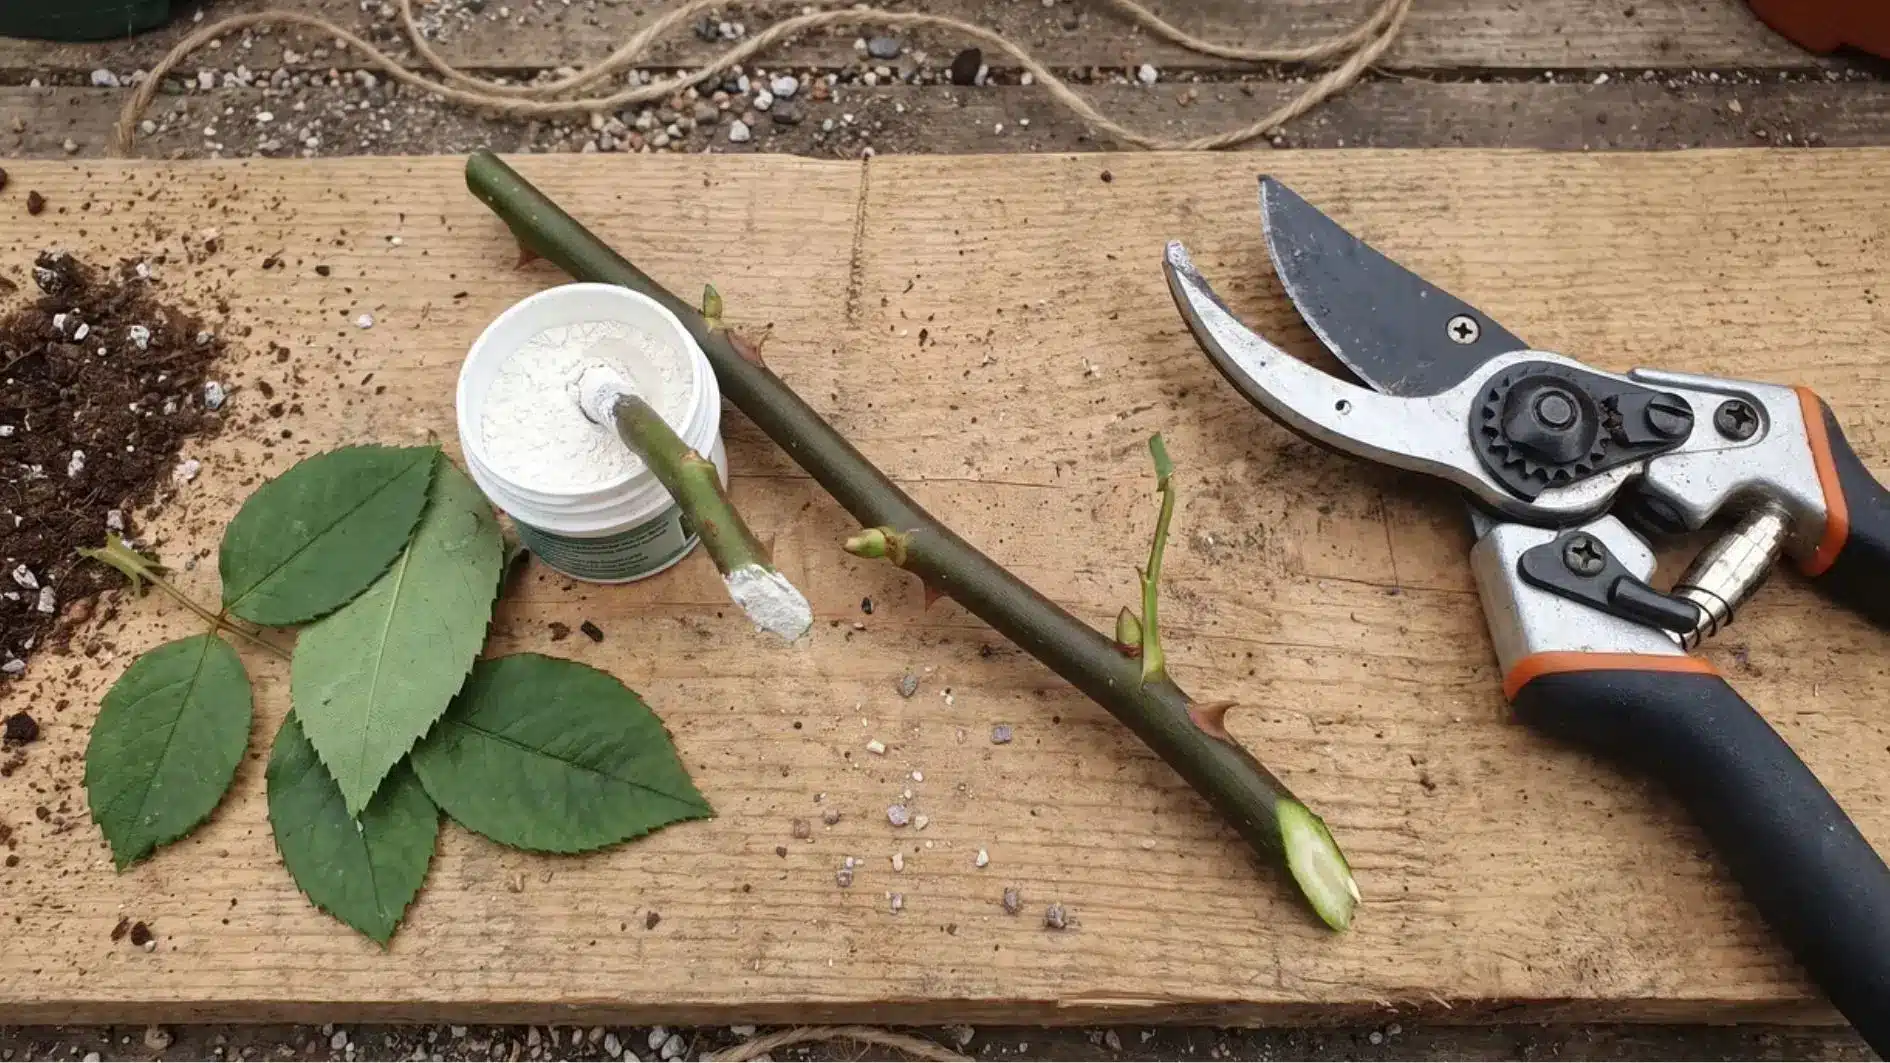
The difference between a cutting that roots and one that rots comes down to what you do in the first five minutes.
Step 1: Select and Cut the Right Stem
You want a stem from the current season’s growth that has recently finished blooming. A post-bloom stem has completed its reproductive push. It’s now available to redirect energy toward root production.
What a good candidate looks like:
| Trait | What to look for |
|---|---|
| Diameter | Pencil-thick, thinner stems lack enough stored carbohydrates to survive the rooting period |
| Length | 6 to 8 inches, shorter than 6 inches leaves too few nodes after trimming |
| Condition | Firm, green, and blemish-free, no discoloration or soft patches anywhere along the length |
| Tip | No open blooms, a flowering stem is still burning energy on reproduction, not storage |
Use clean, sharp pruning shears wiped down with rubbing alcohol. Make your cut at a 45-degree angle just below a bud node.
The angle creates more surface area than a flat cut. More surface area means more cells with a chance to initiate root growth.
Step 2: Strip the Leaves and Thorns
Work from the bottom up before anything else happens. Remove all leaves from the bottom half completely. Leaves below the soil line decompose and create an entry point for rot.
Keep one or two leaf pairs at the very top. Without any leaves, the cutting cannot photosynthesize or produce the sugars that fuel root development.
Scrape off thorns from the bottom third. Thorns left on the buried portion create small wounds. Those wounds invite fungal problems underground.
Step 3: Apply Rooting Hormone
Most people treat rooting hormone as optional. It is not. Treated cuttings root faster, develop larger root systems, and show higher survival rates after transplanting.
Powdered hormone is the better choice for beginners. It’s easier to control than gel and far less likely to be over-applied.
How to Apply It and Timings
Dip only the bottom inch of the stem into the powder. Too much can slow root growth, so tap off the excess and leave a thin, even coating on the base.
Plant the cutting right after dipping. Don’t leave the coated end sitting out for more than a minute or two, because the powder can lose its effectiveness.
Roots typically begin forming within 3 to 4 weeks, but wait the full 6 to 8 weeks before testing for resistance or attempting to transplant.
For a first attempt at propagating roses, I’d stick with commercial rooting powder over homemade options. It gives you a more reliable starting point and removes some guesswork. Now the cutting needs the right conditions to grow roots.
How to Plant and Root the Cutting: Step by Step
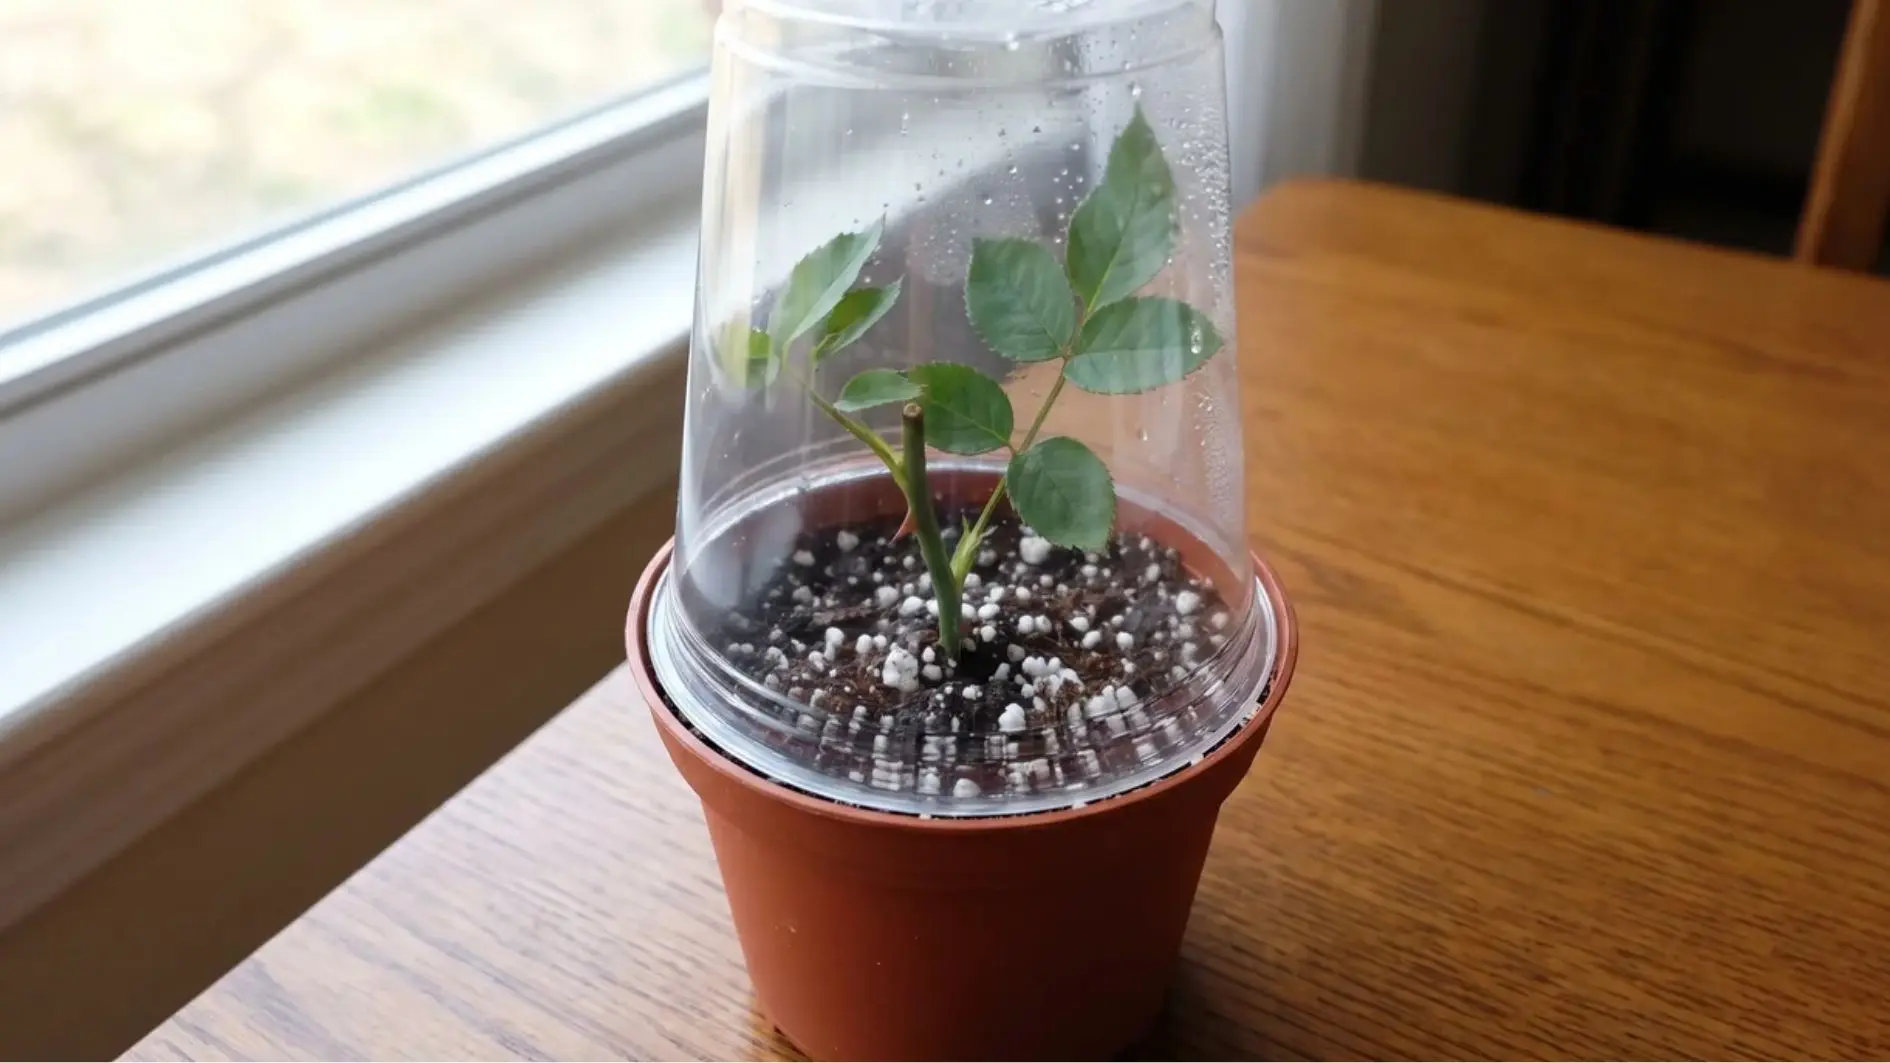
Preparing the cutting correctly means little if the growing environment is wrong. Poor potting setup and humidity cause many beginner attempts to fail slowly, with the stem turning soft and brown after weeks.
Step 1: Choose and Prepare the Potting Mix
Grab a bag of potting soil and you’re halfway there. The other half is perlite, and skipping it is a mistake worth understanding.
A 50/50 mix of potting soil and perlite stays consistently moist without becoming waterlogged. The perlite creates air pockets that keep oxygen moving around the cutting’s base, and roots need oxygen to develop.
Here’s what to use and what to avoid:
| Use | Avoid |
|---|---|
| Standard potting mix + horticultural perlite (equal parts): Balanced drainage and aeration without compaction | Garden soil straight from the ground: Compacts, drains poorly, and carries pathogens |
| 4-inch pot with at least one drainage hole: Prevents standing water regardless of mix quality | Fertilizer-enriched potting mixes: High nutrient levels stress a rootless cutting |
Fill your pot to about an inch below the rim and water it lightly before planting. The medium should feel damp when squeezed, not dripping, not dusty dry.
Step 2: Plant the Cutting
The actual planting step takes about 30 seconds, but two details here matter more than most guides let on.
Make a hole in the potting mix with a pencil or chopstick before inserting the cutting. Pushing it directly into the soil can remove rooting hormone and damage the soft tissue at the base.
Insert the cutting so the bottom two inches are buried. At least one bud node should sit below the soil surface. Roots initiate from nodes, so burying one gives the cutting an additional anchor point beyond just the cut tip.
Gently firm the soil around the base with your fingers. The cutting should stand upright without leaning. If it flops over, contact between the cut surface and the soil is inconsistent, which slows rooting.
Step 3: Set Up the Humidity Enclosure
A cutting without roots cannot pull water from the soil. Leaves keep losing moisture through transpiration, and without replacement, a cutting in a dry room can dry out and die within 48 hours before roots form.
A humidity enclosure creates a microclimate where air stays saturated, transpiration slows dramatically, and the cutting can maintain its moisture balance long enough for roots to develop. Any of these options work well:
- Clear plastic bag: drape over the pot and secure loosely at the base. Most accessible option for most people.
- Inverted clear plastic bottle: remove the cap for a small amount of airflow. Slightly better ventilation than a sealed bag.
- Purpose-built humidity dome: the most consistent option if you’re propagating roses regularly or in larger batches.
Check the enclosure every few days. Light condensation is ideal, heavy dripping means airflow is too limited, and a dry interior means moisture is escaping and the seal needs adjustment.
Step 4: Place It in the Right Spot
Place the pot somewhere that gets bright indirect light for most of the day. East-facing windowsills work particularly well.
Direct sunlight raises leaf temperature quickly and drains the cutting’s limited moisture reserves. Keep temperatures between 65 and 75°F. Below 60°F, rooting slows, while above 80°F, heat stress increases moisture loss.
Check soil moisture every two to three days by pressing a finger half an inch into the medium. If it’s drying out, add water around the base, not overhead. Overhead watering can dislodge the cutting before roots have anchored it.
How Do You Know When the Cutting Has Rooted?
Patience is the hardest part of propagating roses. Many gardeners either disturb the cutting to check progress or discard a healthy cutting because they see no visible growth. Knowing what to look for helps avoid both mistakes.
New Leaf Growth at the Top
New leaves are one of the best signs that your cutting has started building roots below the soil.
A cutting can keep its existing leaves alive for weeks using stored moisture inside the stem. But producing fresh growth takes a working root system that can pull in water and nutrients.
When you see a bud swelling or a new leaf slowly opening at the tip, it means the roots are already doing their job underground. The cutting has moved past simply surviving and has started growing.
The Gentle Tug Test
Grip the stem lightly just above the soil. Apply gentle upward pressure. The result tells you exactly where things stand.
- No resistance, stem pulls out easily: The cutting has likely not developed roots yet. Place it back into the soil gently and wait another week before testing again. Avoid checking too often because early root growth is fragile.
- Noticeable resistance, stem stays firm: The cutting has started forming roots. The resistance means the new roots have anchored into the soil and are holding the stem in place.
- Loose stem with a soft or mushy base: The cutting may be affected by basal rot. Remove it from the soil, clean and sterilize the pot, then restart with a healthy cutting.
The tug test gives you a quick answer, but avoid pulling repeatedly because newly forming roots are still delicate and can be damaged before they fully establish.
Slow Rooting vs. Failed Rooting
A slow-rooting cutting and a dead cutting can look almost identical by week five. The difference usually appears at the base of the stem.
- A healthy but slow cutting will have a firm, green base. It is still alive and forming roots, so give it another two weeks before deciding it has failed.
- A failed cutting will show a blackened, soft, or collapsing base. This points to basal rot, not slow progress. Remove it and start with a fresh cutting.
- A firm green stem at week six is not a failure. Taking longer than expected does not mean the cutting is dead.
Once you notice new growth or feel strong resistance during the tug test, the cutting is ready for the next stage.
Transplanting and Hardening Off
Getting roots is the finish line for the cutting, but it’s the starting line for the plant. Skipping the hardening off step is where healthy rooted cuttings die unnecessarily. Do not pull the dome off all at once.
Remove the humidity enclosure gradually over 5 to 7 days. Prop it open slightly on day one, a little more each day after that. The cutting has never had to regulate its own moisture, and sudden exposure to open air shocks it fast.
Transplant once roots are visible at the drainage holes or hold firm on a tug test. Move the cutting into a larger pot or directly into garden soil with the same bright indirect light conditions it has been growing in.
Increase direct sun exposure gradually over the first two weeks. The cutting is a full plant now, but it still needs time to adjust.
Conclusion
Knowing how to propagate roses from cuttings is one of the most rewarding skills you can pick up as a gardener, and it costs you nothing but a little time and attention to detail.
The entire process comes down to three things done well: picking the right stem at the right time, giving it a clean start with rooting hormone, and maintaining humidity long enough for roots to develop on their own terms.
Most failures happen not because the method is difficult, but because gardeners skip one small step or lose patience two weeks before the cutting was ready to show results.
Follow the steps in this guide, resist the urge to check too early, and you will have a rooted rose plant ready for the garden in four to eight weeks without spending a dollar at the nursery.
Frequently Asked Questions
Can You Root Rose Cuttings in Water Instead of Soil?
Water rooting works but produces brittle roots adapted to an aquatic environment; these often struggle to transition to soil. Soil or a perlite mix produces stronger roots from the start. If using water, transfer to soil as soon as roots reach roughly one inch to reduce transplant shock.
Do I Need Rooting Hormone, or Can I Skip It?
Rooting hormone is not strictly required, but it meaningfully raises success rates and reduces the window for rot to take hold before roots form. Natural alternatives like aloe vera gel or diluted willow water contain root-promoting compounds, but commercial powder or gel remains the most consistent option for first attempts.
How Many Rose Cuttings Should I Take at Once?
Take three to five cuttings per variety. Not every cutting will root even under good conditions, and batch propagation lets you maintain at least one successful plant without repeating the entire process. Multiple cuttings can share one container if spaced at least two inches apart.
Can You Propagate a Rose from A Florist’s Bouquet?
Yes, with lower success rates. Bouquet stems are often treated with preservatives that inhibit rooting, and they may have been cut days earlier. Trim an additional inch from the base at a fresh angle, allow the cut to sit in clean water for an hour before potting, and expect rooting to take longer than with garden-fresh cuttings.