
But what if the garage could actually work for the people using it? Not a dream space; just a smart one. One where everything has a place and finding things doesn’t take ten minutes.
It doesn’t take a full renovation or a big budget to get there. A few well-placed shelves can change everything.
This post covers DIY garage shelf ideas and step-by-step instructions to make the most of the space you already have. Simple builds, smart layouts, and real solutions for real garages.
Why DIY Garage Shelves are the Best Garage Storage Solution
Store-bought shelving units look great in a catalog. In real life, they rarely fit the way a garage needs them to.
That’s where DIY garage shelves make all the difference. They can be built to match the exact size, height, and layout of any garage space.
Got an odd corner? A low ceiling? Awkward wall space? A custom-built shelf handles all of it.
On top of that, building shelves costs a lot less than buying pre-made ones. Basic materials like plywood and 2x4s go a long way.
DIY shelves are also stronger than most people expect. Built right, they hold heavy tools, bins, and equipment without any trouble.
Tools and Materials Needed for DIY Garage Shelves
| Category | Item | Notes |
|---|---|---|
| Lumber | (12) 2×4 boards | Standard 8-foot boards |
| (1) 4×8 sheet 7/16″ OSB | Shelf surface | |
| Fasteners | 2½” #10 self-tapping screws | Frame assembly |
| 3″ wood screws | Attaching unit to studs | |
| Nails (optional) | For OSB top | |
| Tools | Circular saw | For cutting lumber & OSB |
| Miter saw (recommended) | Cleaner, safer cuts | |
| Carpenter’s square | Guide for straight cuts | |
| Clamps | Secure boards during cutting | |
| Drill/driver | For screws | |
| Level | Check floor slope | |
| Tape measure | Accurate measurements | |
| Straight 2×4 (guide board) | For straight rip cuts | |
| Magnet | To locate wall studs | |
| Scrap wood blocks | Spacers & cutting support | |
| Safety gear | Eye & ear protection |
Step-by-Step Instructions on How to Build DIY Garage Shelves
Building garage shelves at home is simpler than it sounds. Here’s a step-by-step breakdown to get it done right.
Step 1: Cut the 2×4 Boards for the Shelf Frames
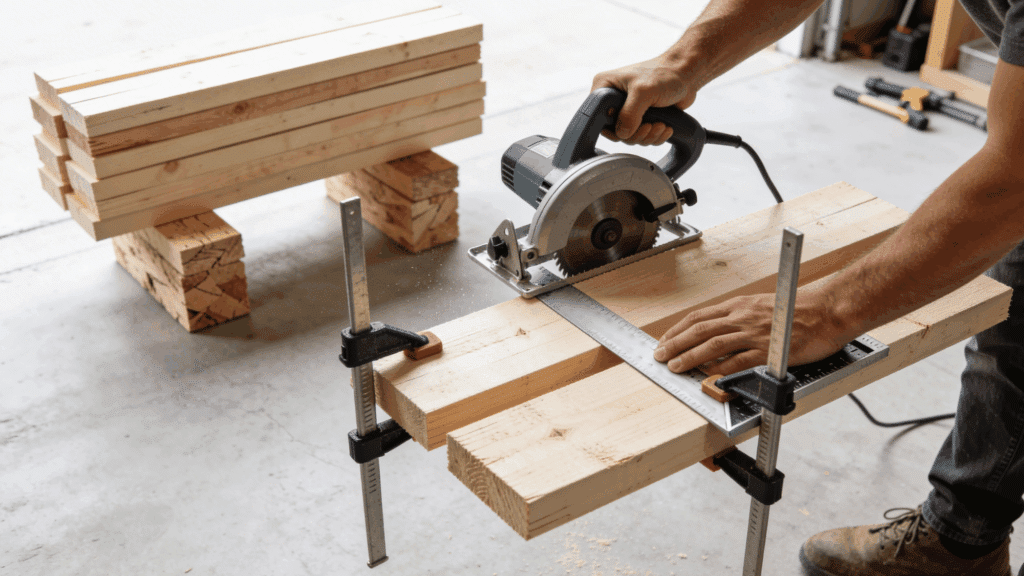
Start by cutting the 2×4 boards that will form the shelf frames. Each shelf works best at 6 feet long and 16 inches deep.
Stack the boards on scrap wood and clamp two together to cut both at once. A miter saw gives cleaner cuts than a circular saw.
Watch out for kickback; if the saw binds, release the trigger right away and reposition the support blocks.
Step 2: Cut and Prepare the OSB Shelf Surfaces
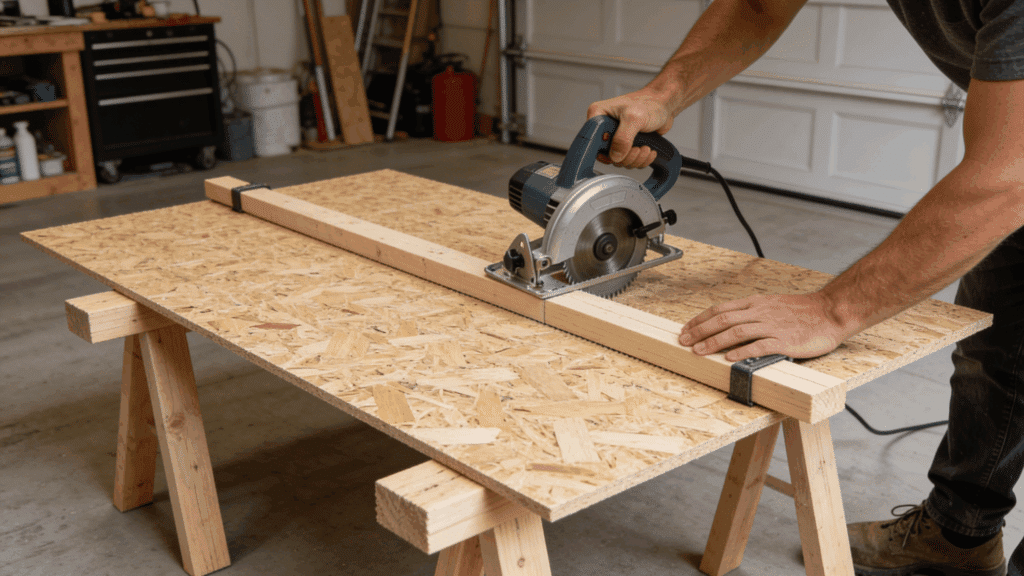
Place the OSB sheet on spare 2x4s before cutting. Rip it into 16-inch-wide strips to match the shelf depth.
Clamp a straight 2×4 as a cutting guide to keep lines accurate. Trim the strips down to the right length and cut smaller sections for the upper shelves using leftover pieces.
Cut the OSB panels slightly undersized to avoid overhang problems when attaching the legs later.
Step 3: Assemble the Shelf Frames
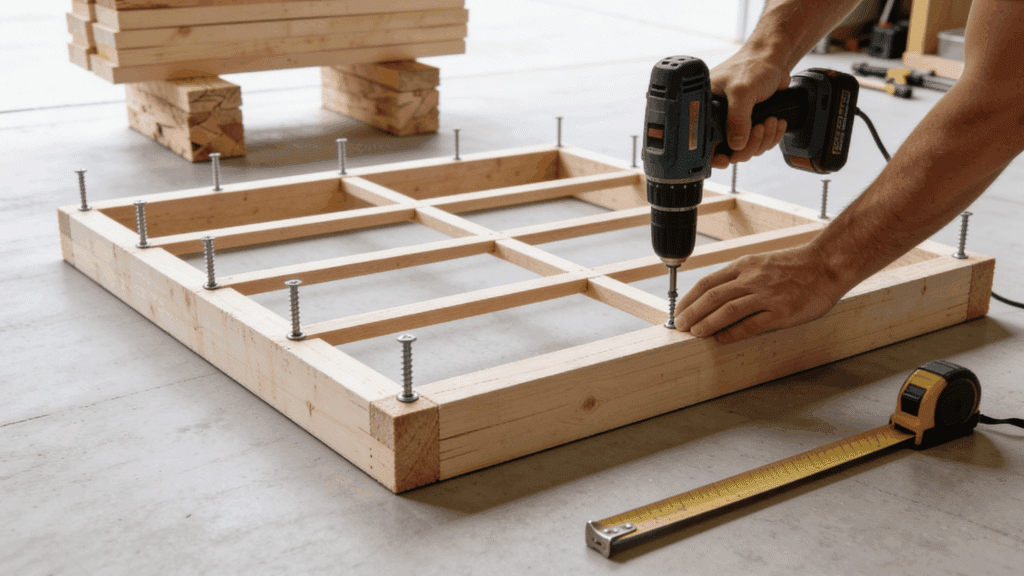
Find the flattest section of the garage floor for assembly. Lay out the long 2×4 boards and mark 23 inches from each end for the internal braces. Use four braces per shelf for a strong, sag-free build.
Fasten everything with 2½-inch self-tapping screws. Before locking joints in place, check the crown of each board and make sure all curves face the same direction.
Step 4: Attach the OSB Tops to Each Shelf
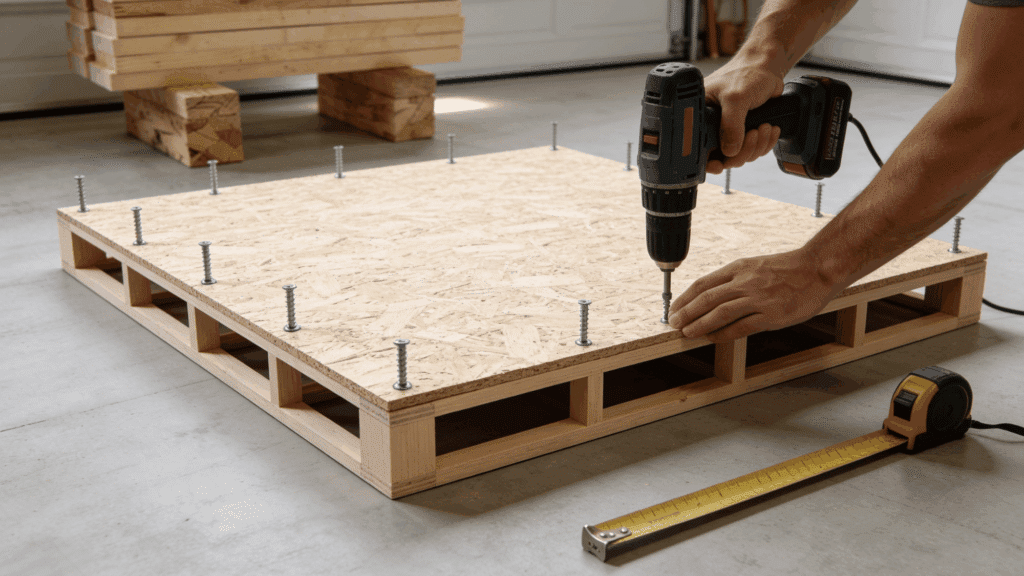
Place the OSB panels on top of the assembled frames, starting with the upper shelves.
Fasten them with nails or screws spaced evenly along the frame. If a panel sits too tight and causes overhang, trim the excess with a circular saw.
Make sure each panel is flush and flat before securing it fully. Once attached, the shelf becomes much more solid and stable.
Step 5: Cut and Attach the Legs
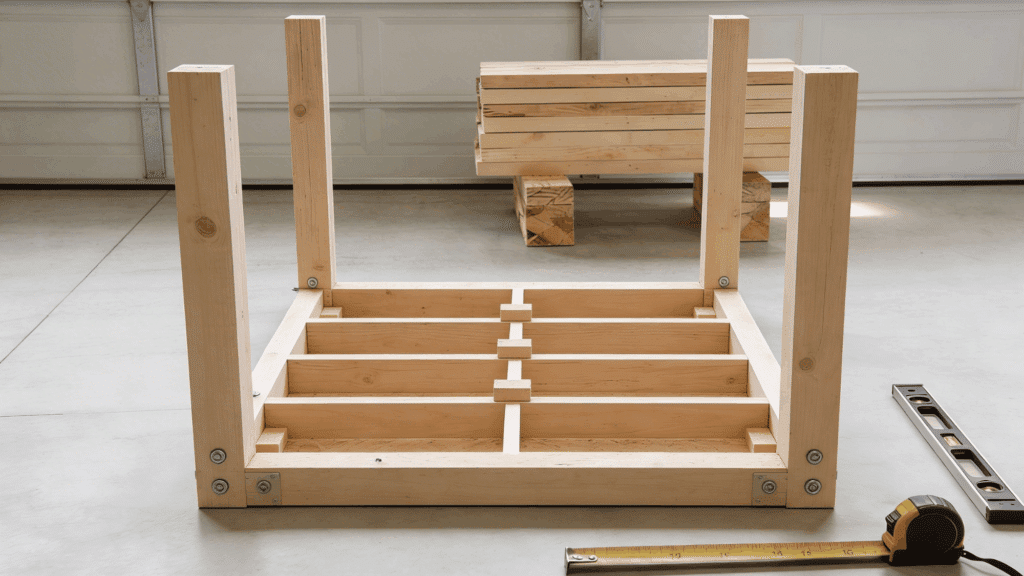
Cut the left-side legs to 75½ inches. Check the garage floor for slope before cutting the right-side legs.
Shim one leg with thin plywood and measure the height difference across the span. Adjust the opposite legs slightly longer if needed.
Assemble the unit upside down, starting with the top shelf flush against the legs. Use 15-inch spacer blocks between shelves to keep the spacing even throughout.
Step 6: Install the Unit and Secure It to the Wall
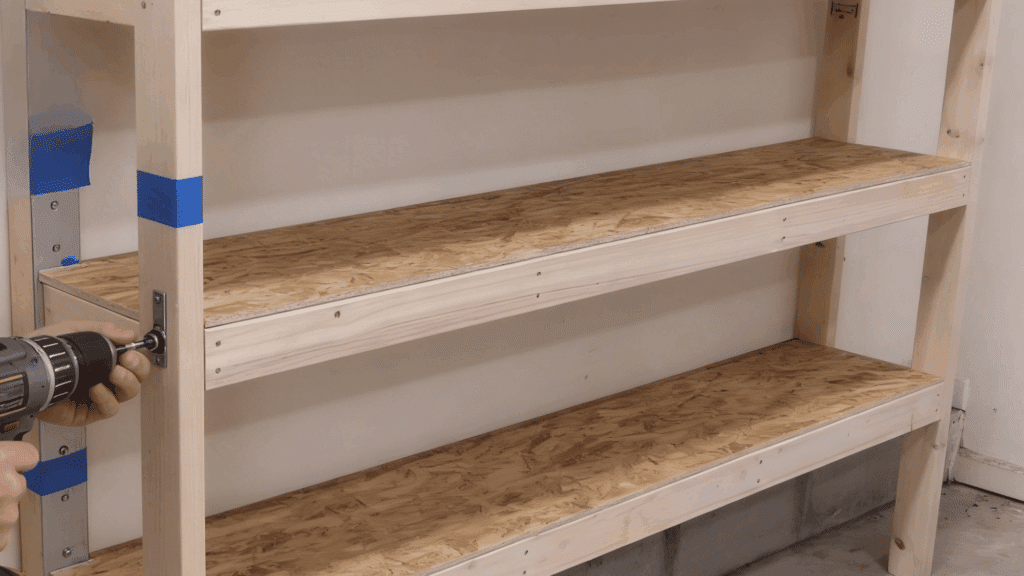
Move the finished shelving unit into position; a second person helps here.
If there’s a concrete curb along the wall, trim the back legs to sit flush on top of it. Use a magnet to find wall studs and mark them with tape.
Drive 3-inch screws through the unit directly into the studs. This keeps the shelf from tipping, especially under heavy loads.
Smart Garage Shelving Ideas to Maximize Storage
Garages often waste vertical and corner space. Smart shelving designs increase storage capacity while keeping tools and bins organized.
1. Overhead Garage Storage Shelves
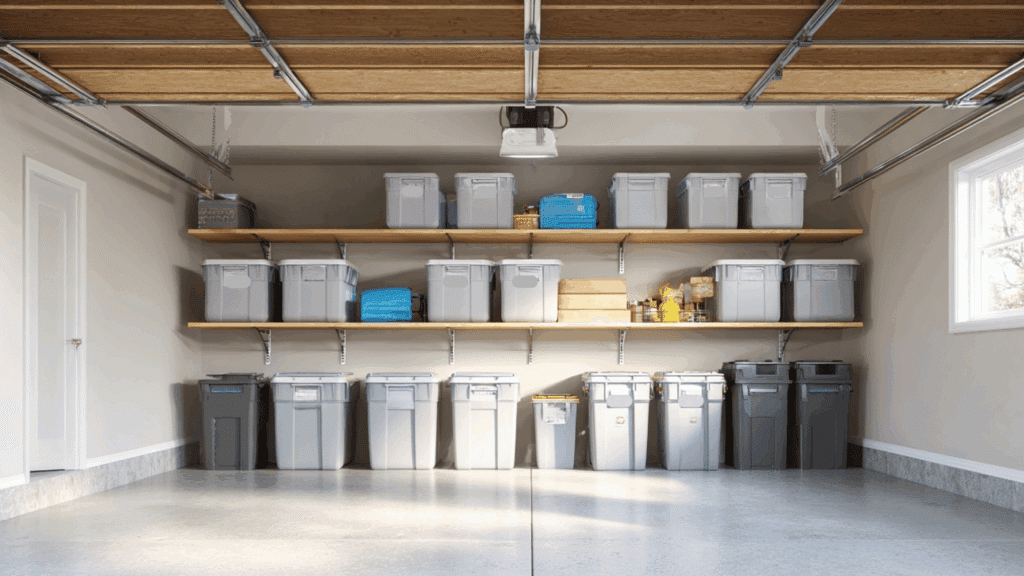
Overhead garage storage shelves utilize ceiling space that usually goes unused.
Installed above garage doors or along ceiling joists, they’re ideal for seasonal decorations, camping gear, or rarely accessed bins. Secure them directly into ceiling joists for stability and weight support.
Keeping heavy-duty plastic bins up high frees wall and floor space for everyday tools and equipment.
2. Corner Shelving Units
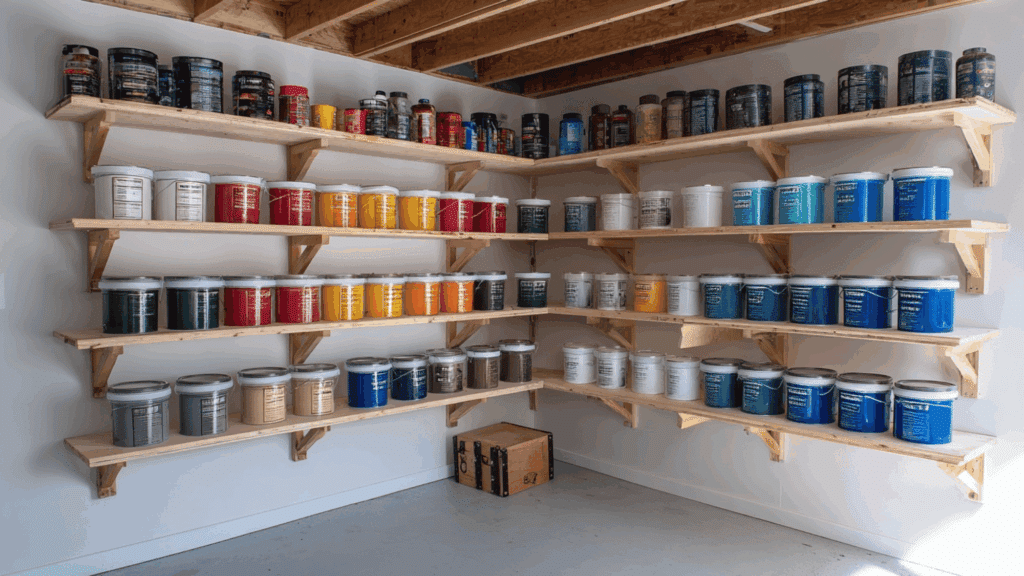
Corner shelving units transform awkward, unused corners into practical storage zones. L-shaped or triangular shelves fit neatly where two walls meet, maximizing square footage without blocking movement.
These shelves are perfect for paint cans, cleaning supplies, or smaller toolboxes.
Custom-building them allows you to match your existing DIY garage shelves for a seamless and efficient storage layout.
3. Adjustable Wall-Mounted Shelving
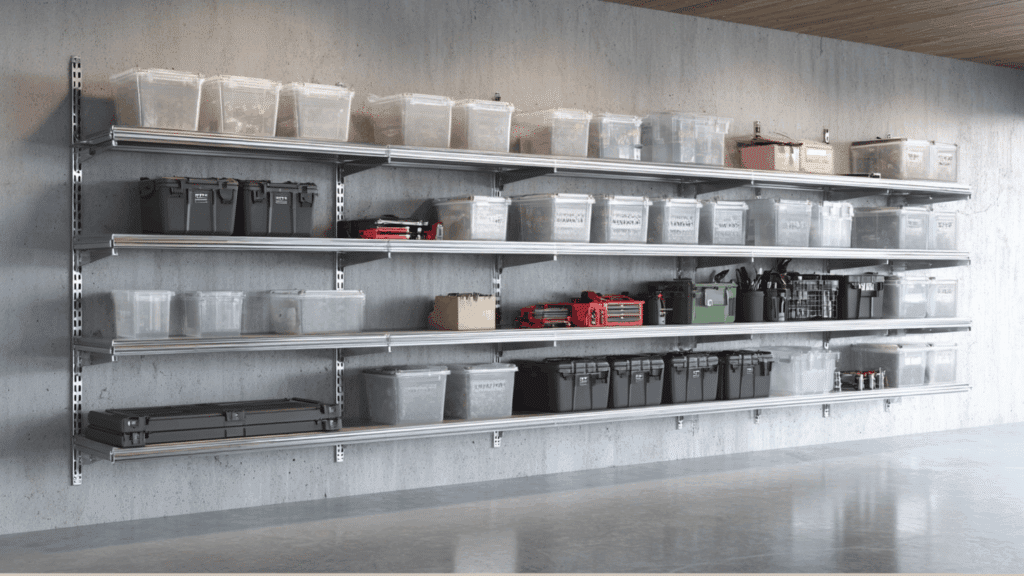
Adjustable wall-mounted shelving provides flexibility when your storage needs change.
Using vertical tracks and movable brackets, you can raise or lower shelf heights to fit bins, tools, or equipment of different sizes. This system works well for growing families or evolving hobbies.
It keeps your garage organized without rebuilding or permanently fixing shelf spacing.
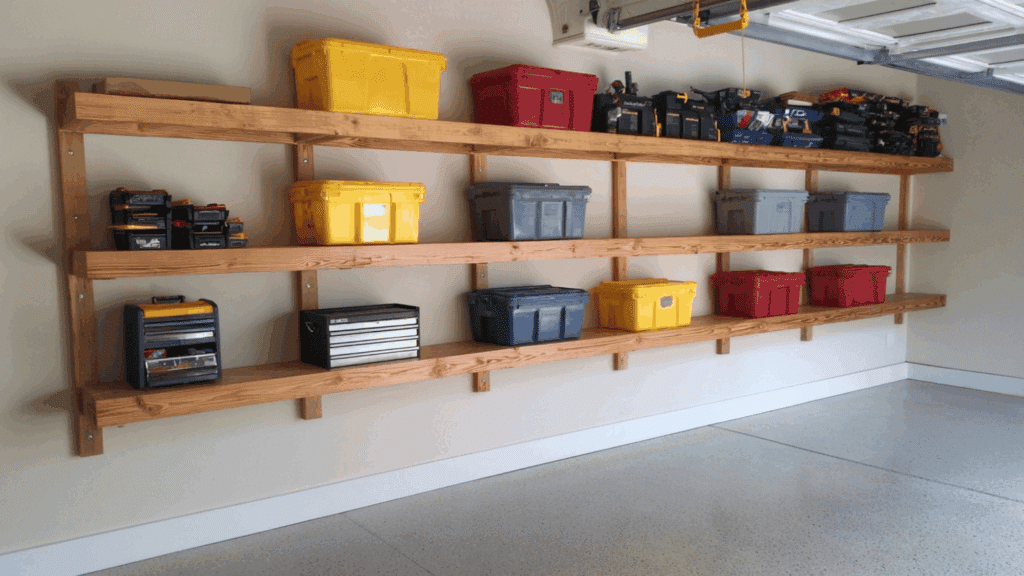
4. Heavy-Duty 2×4 Industrial Shelves
Heavy-duty 2×4 industrial shelves are built for strength and durability.
Constructed with solid framing and thick plywood or OSB tops, they can hold power tools, automotive parts, and large storage bins without sagging.
Adding extra bracing increases load capacity. These shelves are ideal for serious DIY garage storage where reliability and long-term performance matter most.
5. Floating Garage Shelves
Floating garage shelves mount directly to wall studs without visible floor supports.
This design creates a clean, open look while keeping the floor clear for parking or larger equipment. They work especially well in small garages where space is limited.
Proper anchoring into studs ensures strength and safety, even when storing moderately heavy items.
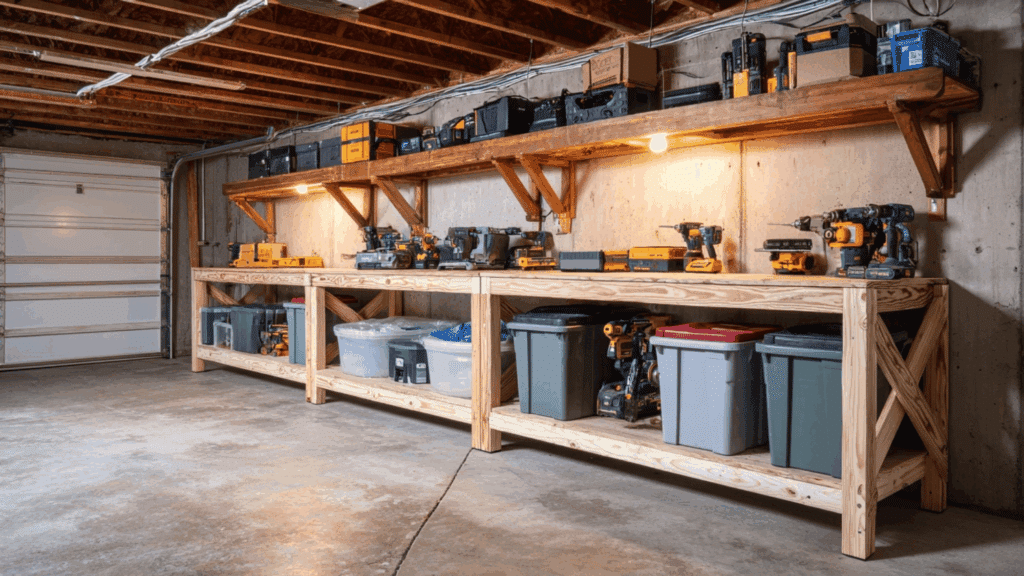
6. Workbench with Built-In Shelving
A workbench with built-in shelving combines workspace and storage into one efficient unit.
Shelves above hold frequently used tools, while lower shelves store bins and power equipment. This setup keeps everything within arm’s reach while working on projects.
It reduces clutter and improves workflow, making your garage both productive and well-organized.
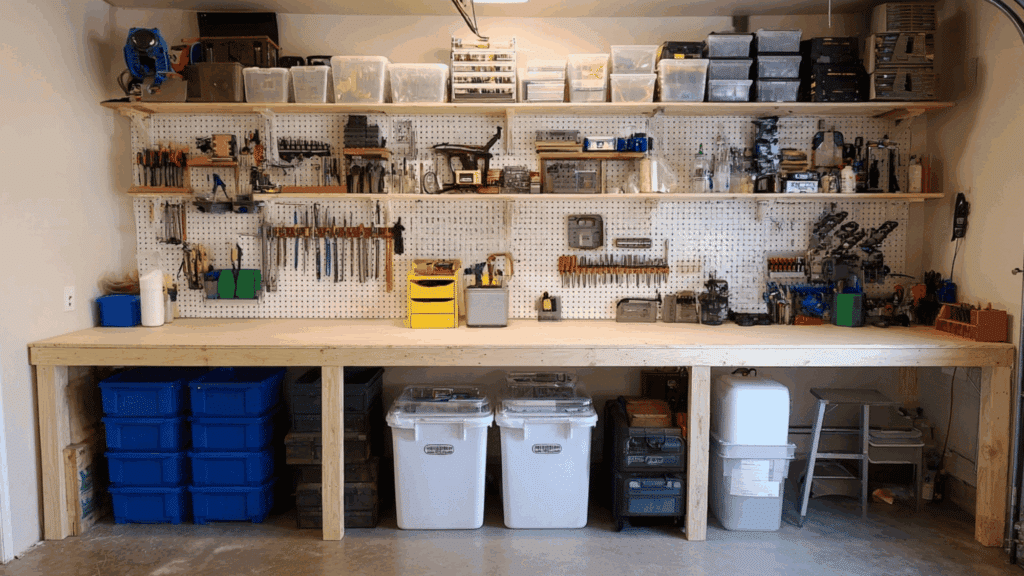
7. Pegboard + Shelf Combination
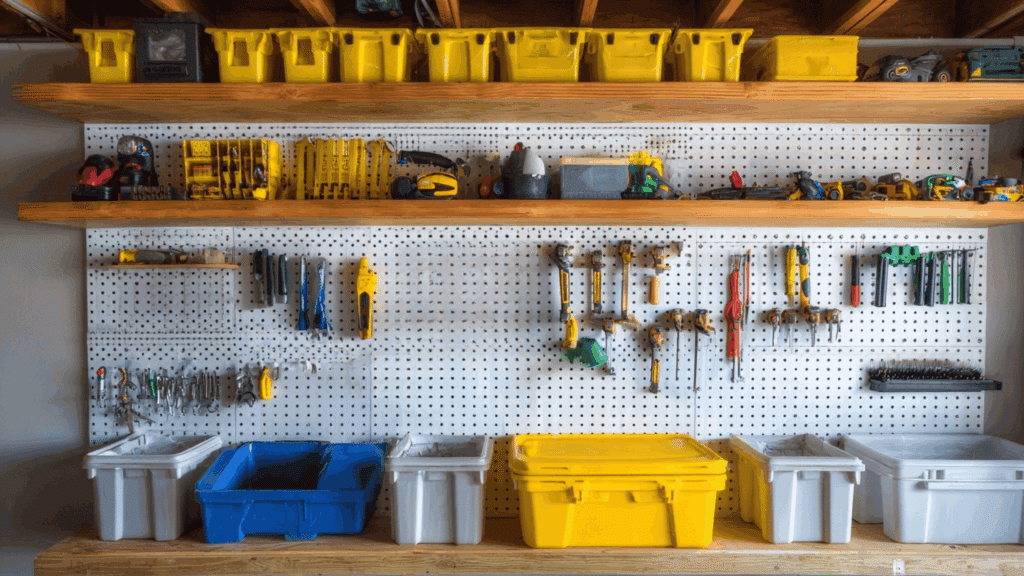
Combining a pegboard with shelving maximizes vertical wall space.
Pegboards allow you to hang hand tools visibly and access them quickly, while shelves beneath store bins or larger items.
This hybrid system keeps tools organized and off work surfaces. It’s a practical way to maintain order while enhancing your overall garage shelving ideas.
8. Narrow 12-Inch Deep Shelves
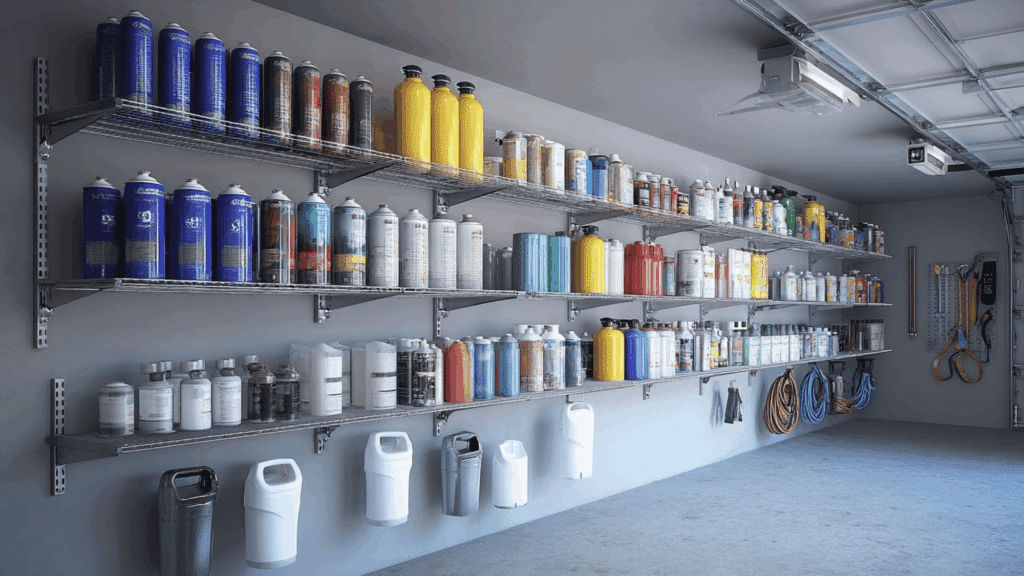
Narrow 12-inch deep shelves are ideal for tight garages or walkways. They provide enough space for spray cans, cleaners, small bins, and hardware without protruding too far into the room.
These shelves keep essentials accessible while preserving floor space. Installing them alongside walls helps maintain smooth movement throughout the garage.
9. Slanted Shelves for Easy Access

Slanted shelves angle slightly forward, improving visibility and accessibility.
This design makes it easier to see labels and quickly grab items without digging through bins. They are especially useful for paint cans, small containers, or frequently used supplies.
The slight tilt helps prevent items from being pushed to the back and forgotten.
10. Pipe and Wood Industrial Shelving
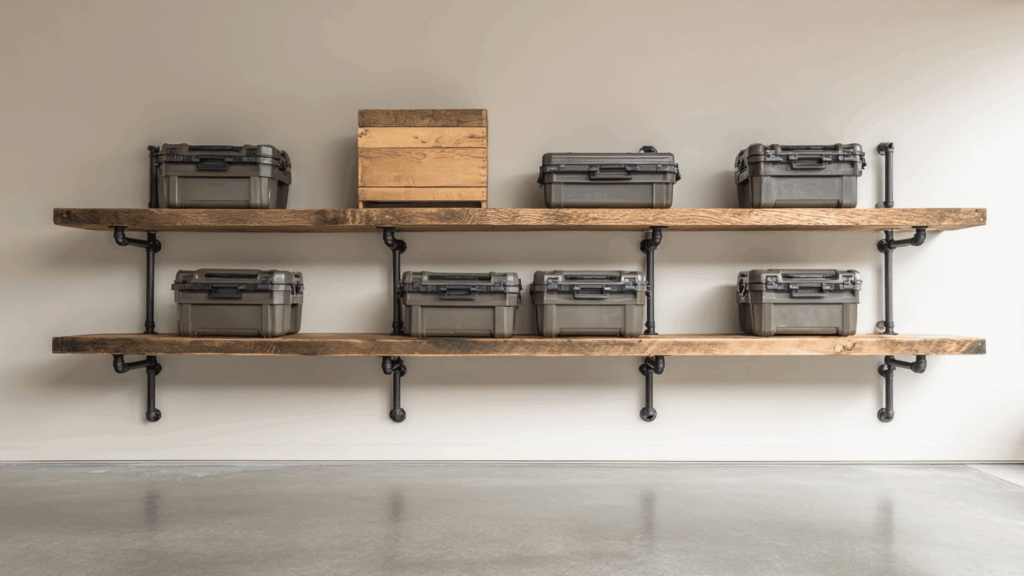
Pipe and wood industrial shelving combines black steel pipes with sturdy wooden planks for a rugged, durable look. These shelves are strong enough for heavy tools while adding a stylish industrial touch.
Mounted securely into studs, they offer reliable support. This option blends function and design for homeowners wanting practical yet visually appealing storage.
11. Floor-to-Ceiling Storage Wall
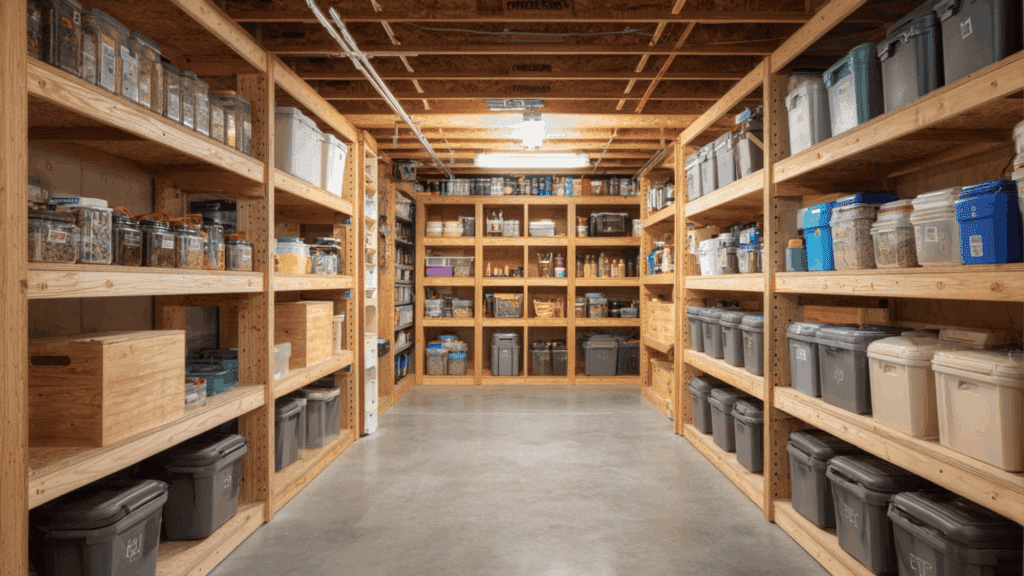
A floor-to-ceiling storage wall maximizes vertical space by utilizing the entire height of your garage.
Heavy items stay on lower shelves, while lighter bins go higher up. This setup creates a complete storage system along one wall.
It dramatically increases capacity without consuming extra floor space, making it ideal for organized DIY garage storage.
Common Mistakes to Avoid When Building Garage Shelves
Building garage shelves seems straightforward, but a few simple mistakes can affect safety, strength, and long-term storage performance.
- Skipping Wall Anchoring: A freestanding shelf might look stable, but without wall anchors, it can tip over under heavy loads.
- Ignoring the Floor Slope: Most garage floors aren’t perfectly level. Not accounting for the slope leads to uneven shelves and wobbly units.
- Using the Wrong Screws: Standard screws without pilot holes can split wood during assembly. Always use the right screw size for each joint.
- Cutting Boards Without a Guide: Freehand cuts rarely stay straight. Without a clamped guide or miter saw, shelves end up uneven and hard to assemble.
- Overloading Without Checking Weight Limits: Even strong shelves have limits. Stacking too much weight on a single shelf causes sagging and long-term structural damage.
To Conclude
A well-organized garage doesn’t happen by accident. It takes the right storage setup and DIY shelves are one of the smartest ways to get there.
The builds covered in this post work for all kinds of garages. Small, large, oddly shaped; there’s a shelf idea that fits. The key is starting simple, measuring carefully, and avoiding the common mistakes that trip most people up.
Pick one idea and start there. Even a single shelf unit can change how the whole garage feels and functions.
Got a garage shelf build that worked out great? Share it in the comments below!