
Moss on your roof may appear harmless, but it can cause serious damage to your shingles and shorten your roof’s lifespan over time.
Many homeowners are unsure about the best way to remove moss safely and effectively.
In this blog, I’ll share proven methods for moss removal, based on expert advice and shared experiences from online communities.
From using moss removal solutions to manual cleaning techniques, I’ll guide you through simple steps to restore your roof’s functionality and appearance.
By the end, you’ll know exactly how to tackle moss growth and prevent future issues, ensuring the longevity of your roof.
What Is Roof Moss?

Roof moss is a type of plant that thrives in moist, shaded environments. Unlike lichens or algae, moss grows in small clusters and forms dense patches on the surface of your roof.
It tends to accumulate in areas that don’t get much sunlight, such as the north side of your roof or shaded valleys between roof sections.
Moss retains moisture, which can cause it to grow quickly in damp conditions.
While it may look harmless, moss can gradually damage your roof by lifting shingles, trapping moisture underneath, and leading to rot and leaks.
Over time, moss can affect the integrity of your roof, allowing water to penetrate the layers beneath, which can cause costly repairs if left untreated.
Regularly removing moss and preventing future growth can significantly extend the life of your roof and keep it functioning properly.
How to Get Moss Off Your Roof: Step-by-Step Guide
Moss on your roof can cause a number of problems, from trapping moisture to damaging shingles. If you’re dealing with roof moss, following these steps will help you remove it safely and effectively.
Materials Required
Before getting started, gather the following materials:
- Nylon brush: A soft-bristled brush that won’t damage the shingles.
- Ladder: To reach higher spots on the roof.
- Roof-safe cleaning solution: This can be an eco-friendly oxygen bleach, sodium bicarbonate, or a store-bought moss cleaner.
- Leaf blower: For cleaning up debris and leaves on the roof and in gutters.
- Gloves: To protect your hands from any harsh chemicals or sharp materials.
- Safety harness (optional but recommended): For added security if you’re working at heights.
Step 1: Assess and Prepare Your Roof

Before starting any work, inspect the roof to assess the extent of the moss. Identify areas that need more attention, like the north-facing side or under trees.
Once you’ve determined the areas to focus on, clear away large debris like branches or leaves, which can provide food for the moss.
Always take safety precautions, like ensuring you have a secure ladder or harness for working at height.
Step 2: Gently Brush Off Moss
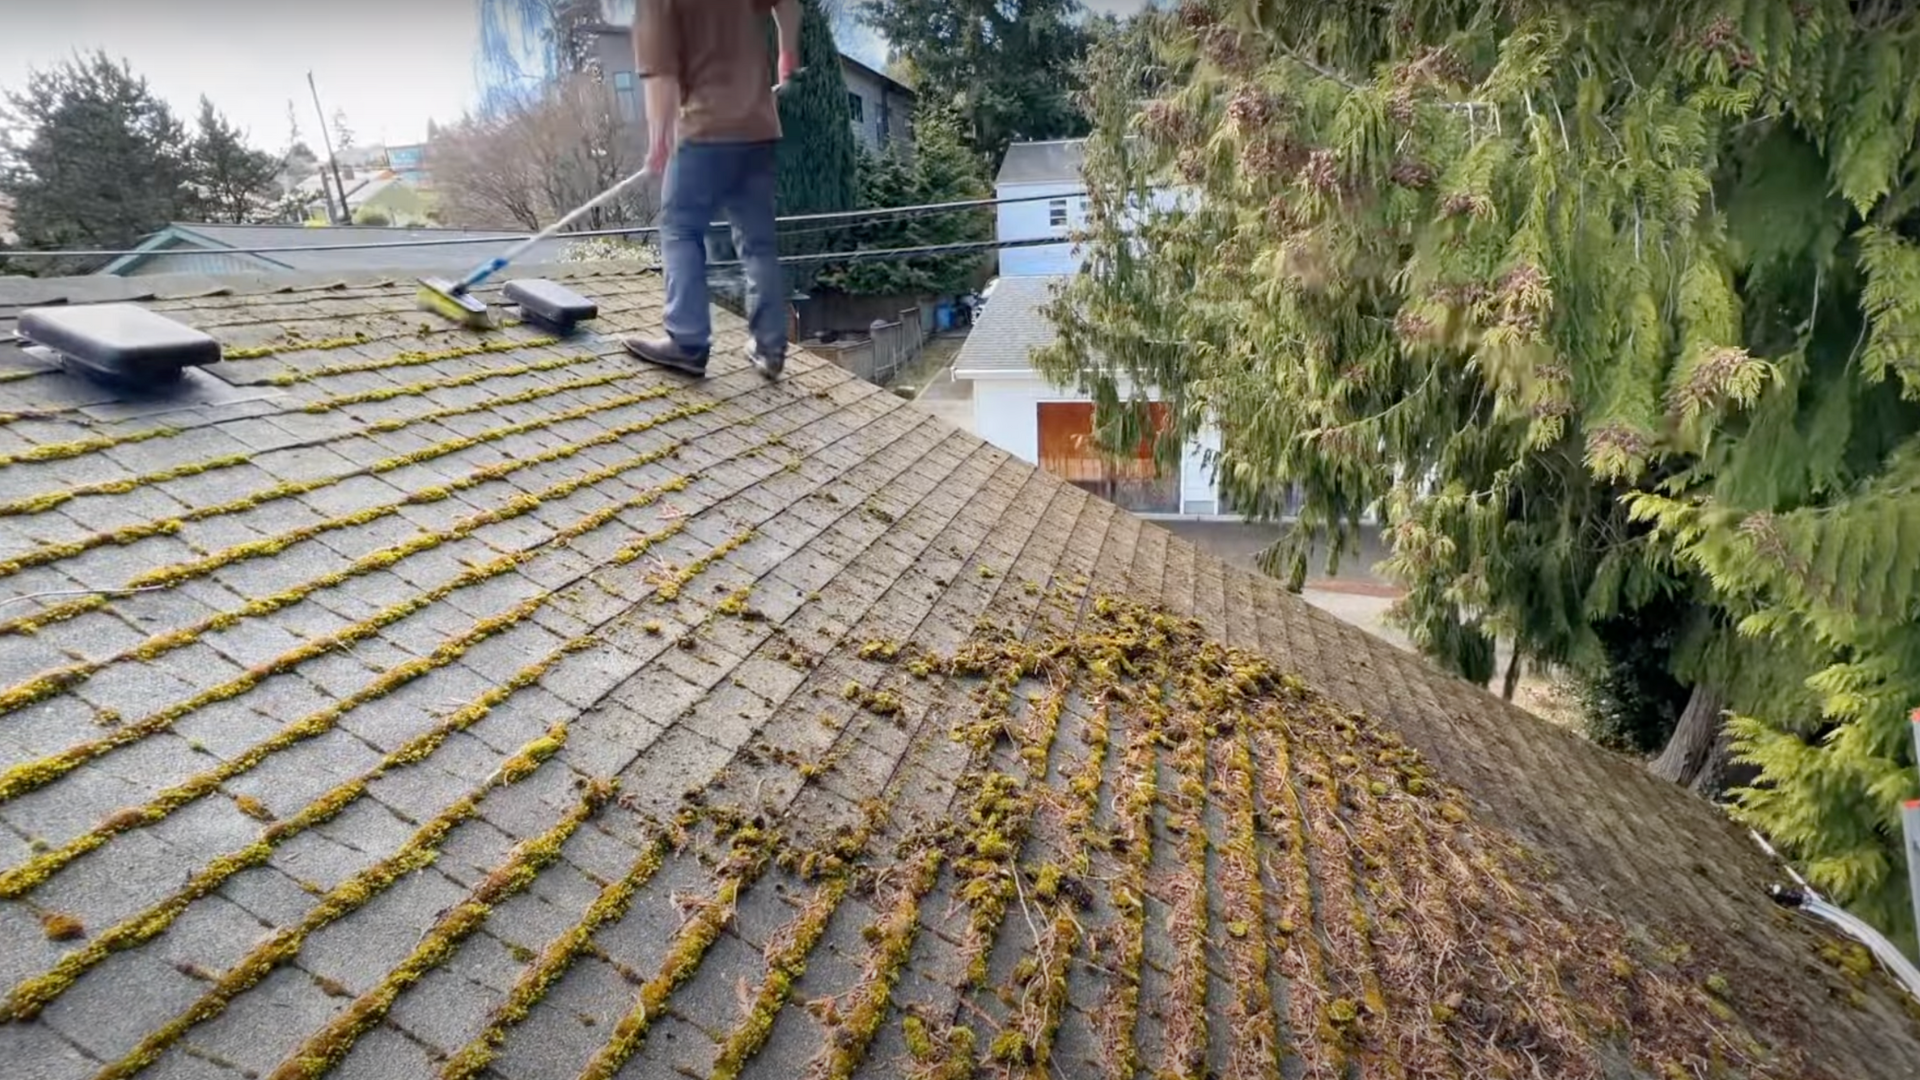
Using a nylon brush, gently scrub the surface of the roof. The goal is to remove the loose moss without damaging the shingles.
Avoid using too much force, as it can cause the granules on the shingles to break loose.
Brush the moss from top to bottom, working in small sections to make sure you don’t miss any areas. If the moss is too thick, use a stick or a longer tool to dislodge it.
Step 3: Apply the Moss Treatment
Once the majority of the moss is removed, it’s time to treat the roof. Apply an eco-friendly cleaning solution, such as oxygen bleach or sodium bicarbonate, to the mossy areas.
You can also use bleach if it’s a more stubborn problem. Make sure to apply it evenly across the affected areas.
The solution works by raising the pH level, making the roof environment less acidic, which kills the moss.
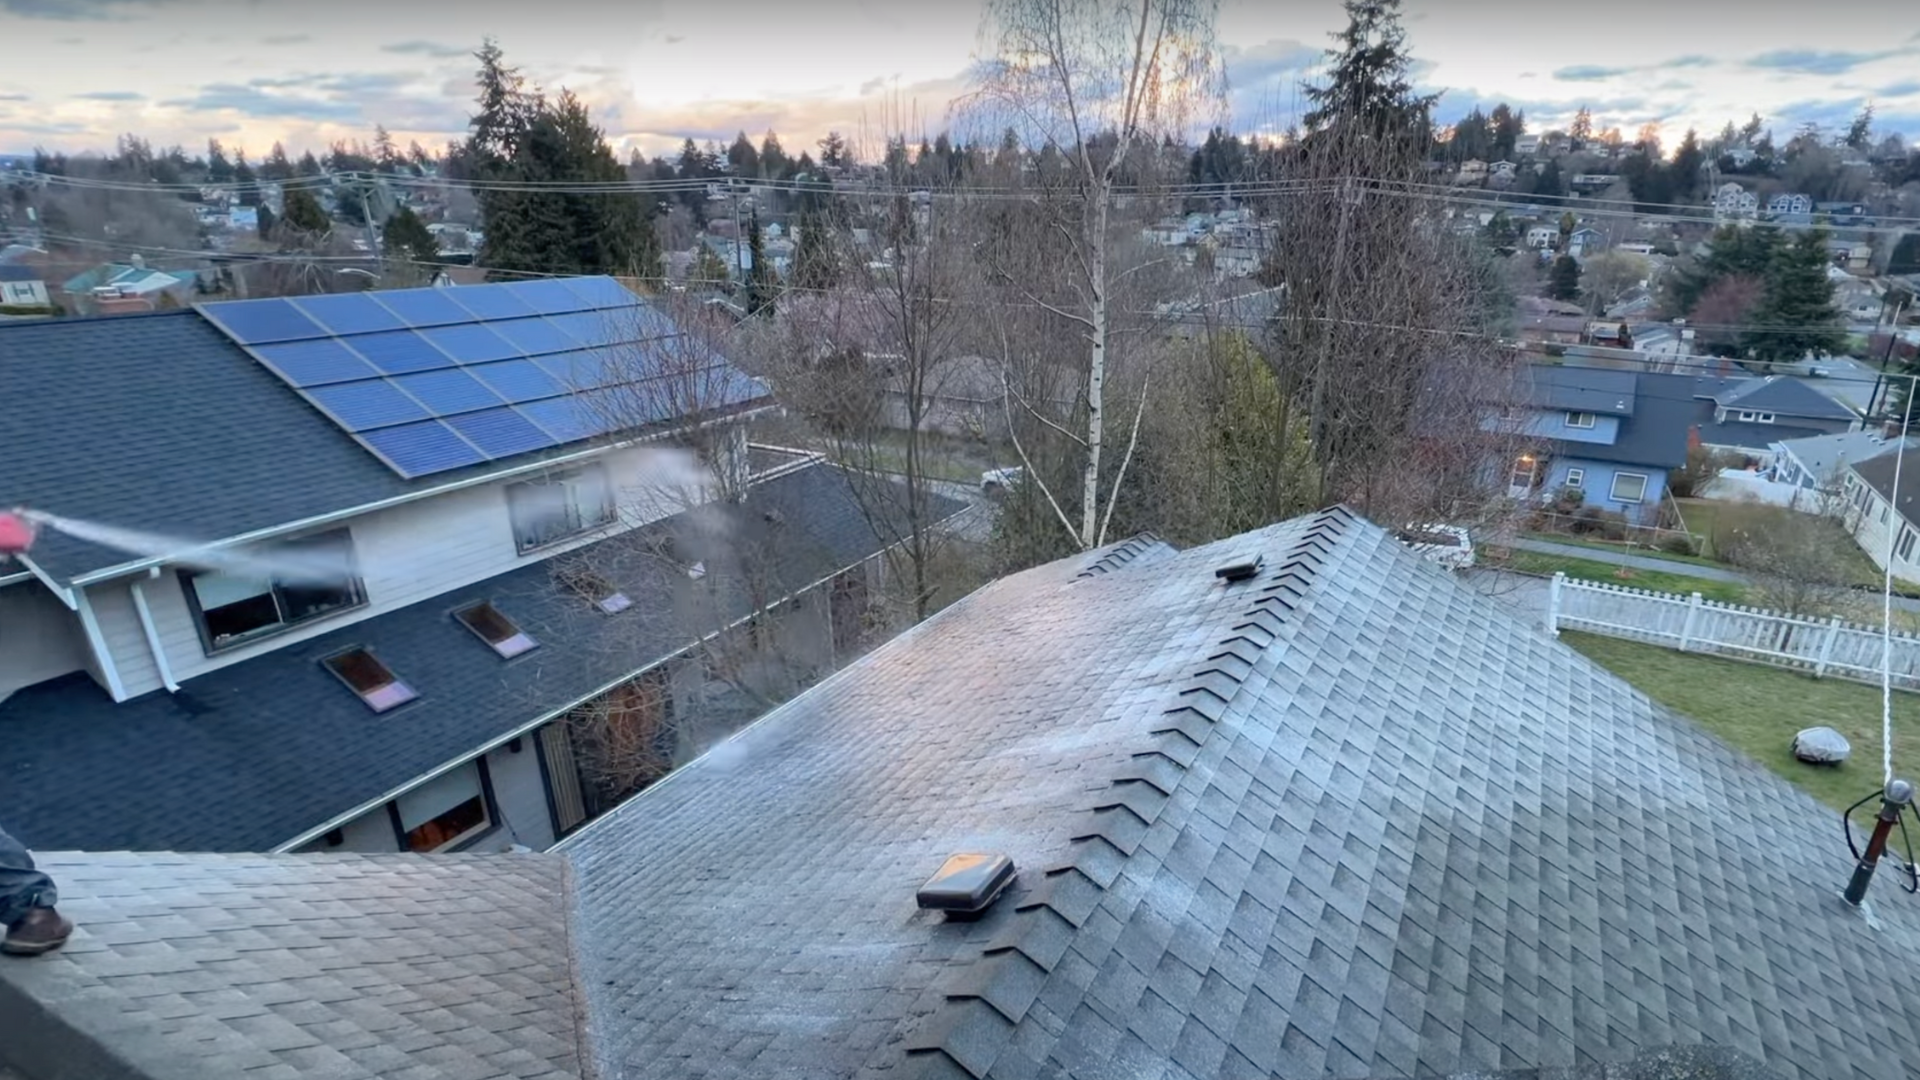
Step 4: Rinse and Clean the Roof

After the treatment has had time to work, rinse the roof with water. You can use a hose or a pressure washer with a low setting.
Be sure to avoid high-pressure washing, as it can damage shingles and remove granules.
Rinsing the roof will also wash away any remaining moss and cleaner. Be careful when cleaning gutters and downspouts, as moss may clog them.
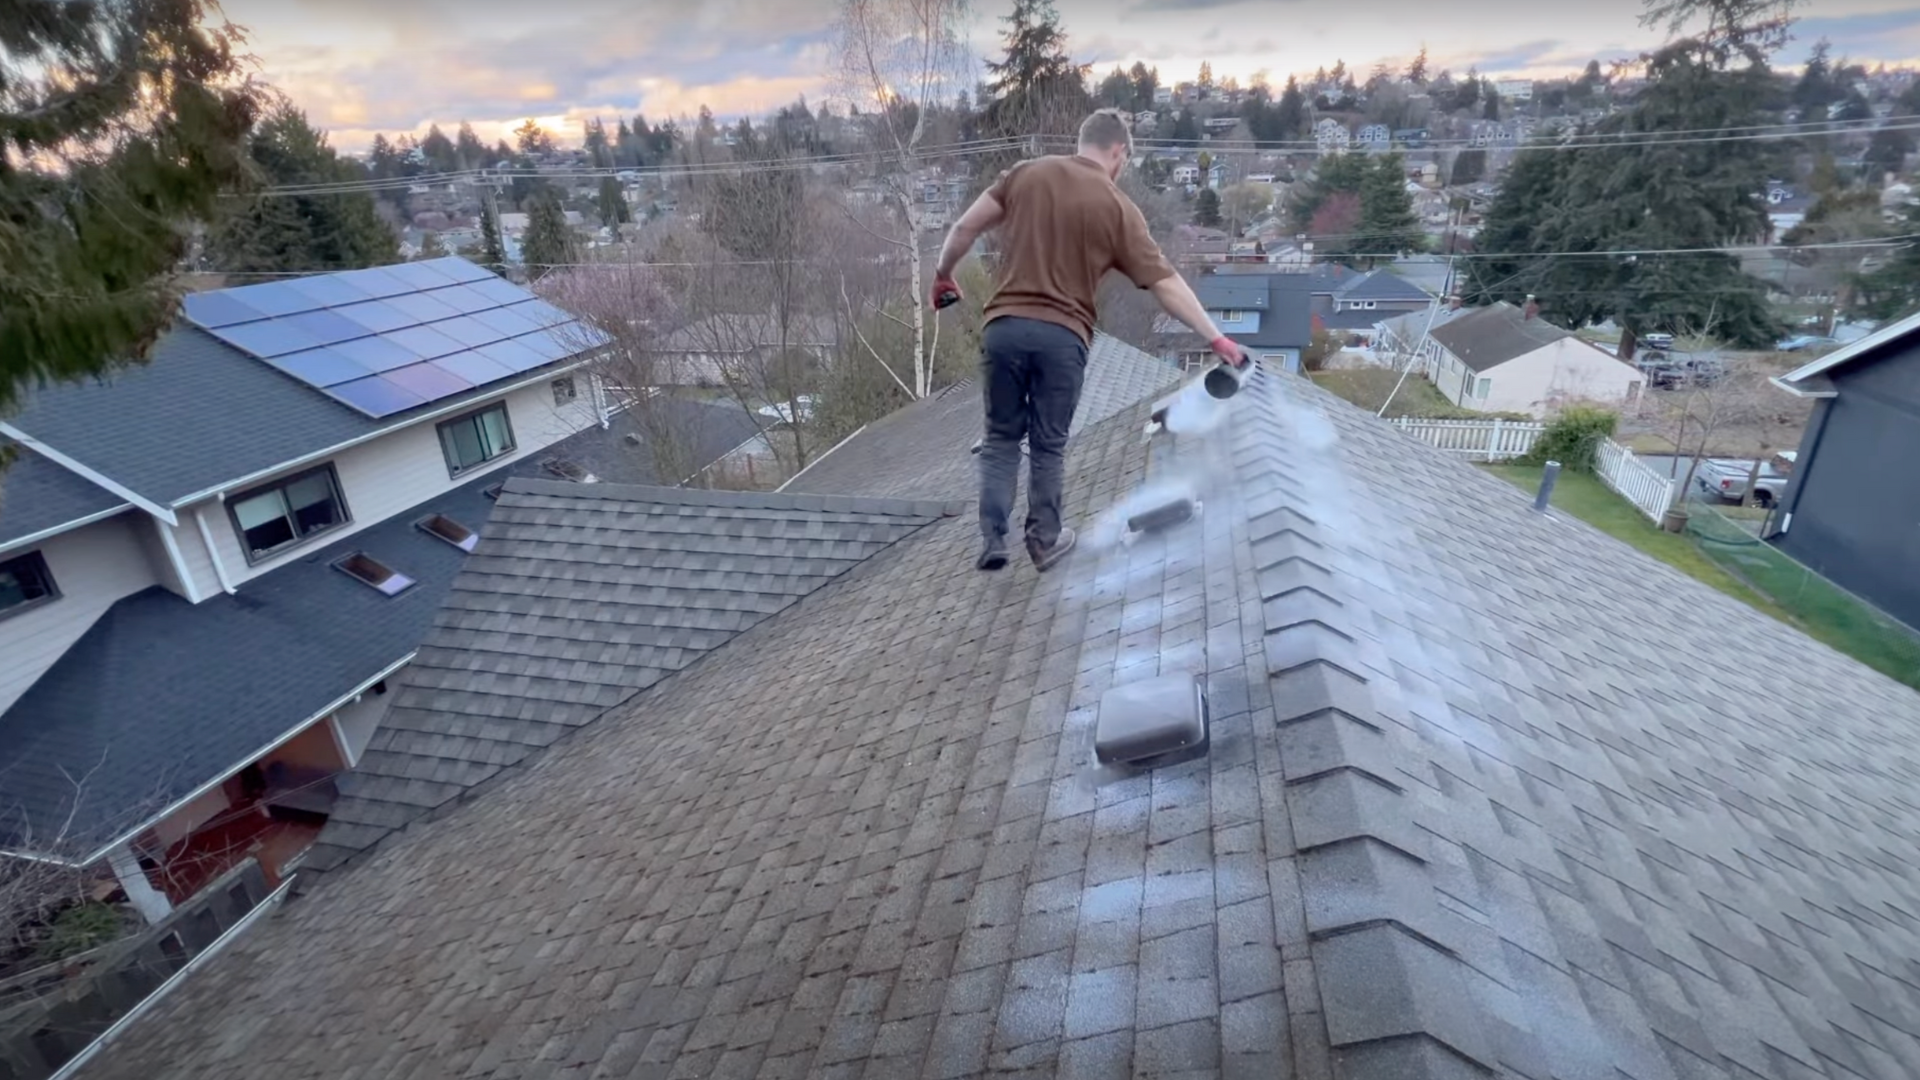
Step 5: Clean the Gutters
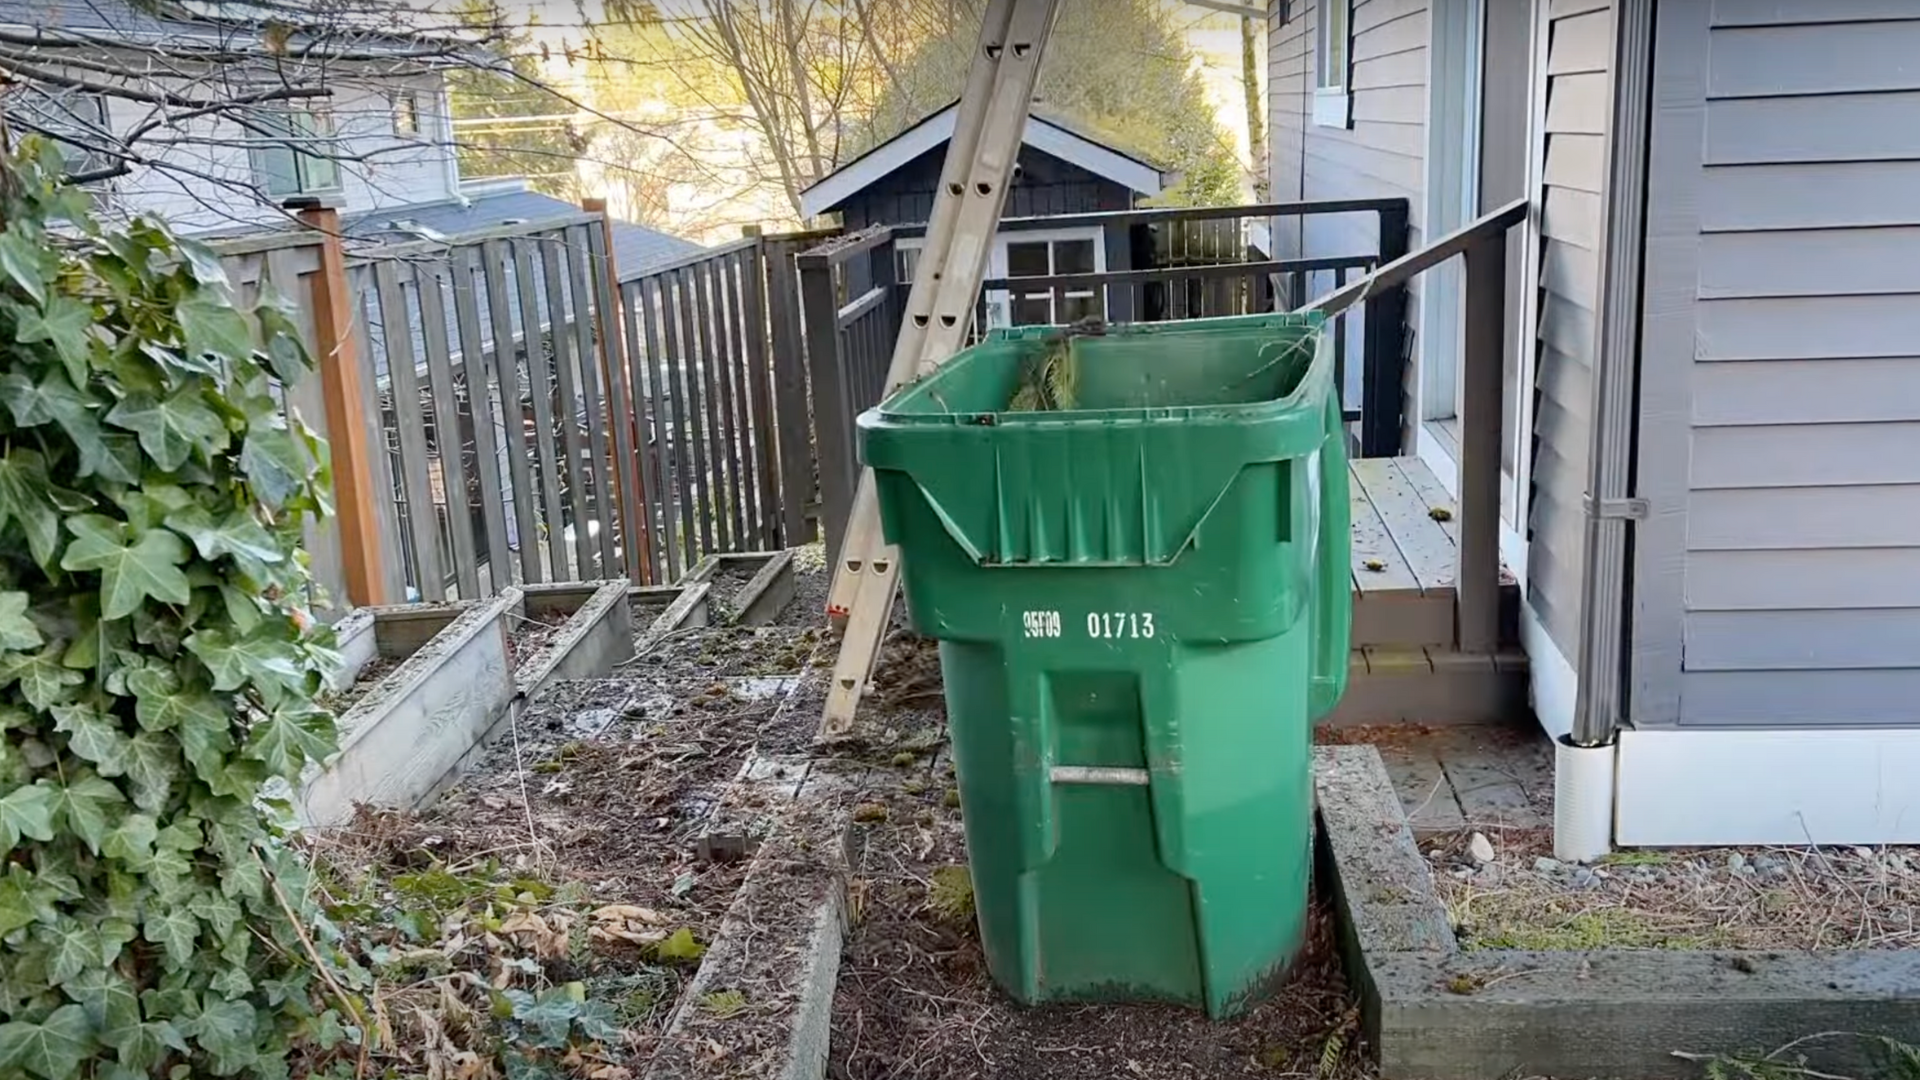
After treating the roof, clean the gutters. This will help remove any remaining moss and debris that may have fallen during the cleaning process.
Use a leaf blower or hand tools to clean out the gutters and ensure water flows freely through the downspouts.
Step 6: Perform Regular Inspections
Once the moss is removed, it’s important to regularly inspect your roof for any regrowth.
Depending on the climate and tree cover, you may need to clean your roof every year or two.
Performing regular inspections helps you catch moss early before it has a chance to cause damage.
For a visual guide, refer to this tutorial by on @Spencer Claeys YouTube.
What Causes Moss to Grow on Your Roof?
Moss thrives in specific conditions that provide the moisture, shade, and protection it needs to flourish. Understanding these factors can help you prevent and manage moss growth on your roof.
- Excess Moisture: Moss requires a consistent supply of moisture to grow. Roofs with poor drainage or areas that don’t get much sunlight are perfect environments for moss to develop.
- Shade: Moss grows well in shaded areas. If trees or other structures block sunlight, your roof may be more prone to moss.
- Damaged Shingles: Broken, cracked, or curling shingles allow moisture to accumulate, creating the ideal conditions for moss.
- Clogged Gutters: If your gutters are clogged with debris, water may back up onto your roof, making it damp and favorable for moss growth.
Importance of Removing Roof Moss
Removing moss from your roof is essential for maintaining its integrity. Moss traps moisture, causing shingles to deteriorate, curl, or break, leading to water penetration.
It can also clog gutters, disrupting drainage and causing leaks, water damage, and mold growth.
Over time, moss weakens the roof structure, potentially leading to costly repairs or replacements.
Regular moss removal helps prevent these issues, extends your roof’s lifespan, and protects your home. It’s a valuable investment in the health of your roof and property.
How to Prevent Roof Moss Growth
Taking preventive measures can help reduce the chances of moss growth on your roof.
- Trim Trees: Keep trees trimmed to prevent excessive shade on your roof.
- Maintain Gutters: Clean gutters regularly to ensure water flows freely and does not accumulate on your roof.
- Improve Roof Ventilation: Proper ventilation helps reduce moisture buildup, which moss needs to thrive.
- Use Zinc or Copper Strips: Installing these strips along the roof ridge can help prevent moss by releasing minerals that inhibit growth.
- Ensure Proper Drainage: Make sure your roof has proper drainage to avoid water pooling, which can encourage moss growth.
- Check for Damaged Shingles: Repair or replace broken or curling shingles to prevent water from accumulating and creating moss-friendly conditions.
When to Call a Professional?
If you’re dealing with a severe moss infestation or extensive roof damage, it’s best to call a professional.
While basic moss removal is doable, larger infestations may have compromised the roof’s structure and require expert attention.
Professionals can identify and repair damage, ensuring long-term results. Roof work can be dangerous without proper safety gear and experience, so hiring an expert is often the safer choice.
They can also provide preventative solutions and maintenance tips to keep moss from returning, ensuring your roof stays in top condition and your home is protected.
Advice and Shared Experiences for Removing Moss from Roofs
In online communities, homeowners share valuable advice on how to effectively remove moss from roofs, from eco-friendly cleaning methods to safety precautions.
- Use a Gentle Approach: A nylon brush is recommended over a wire brush to avoid damaging shingles and removing granules.
- Eco-Friendly Solutions: Oxygen bleach or baking soda effectively treats moss while being safer for your roof and the environment than harsh chemicals.
- Regular Inspections and Maintenance: Inspect your roof and clean gutters regularly, especially after storms, to catch moss early.
- Safety First: Use a sturdy ladder, wear non-slip shoes, and consider using a harness or ropes when working at height.
- Prevention is Key: Installing zinc or copper strips along the roof ridge helps prevent moss growth.
- Professional Help: If moss is widespread or your roof is complex, professionals ensure thorough treatment.
- Remove Moss in Dry Conditions: Moss is easier to handle and treat when it’s dry, leading to better long-term results.
Conclusion
Removing moss from your roof might seem challenging, but with the right approach, it’s completely manageable.
Using moss removal solutions, brushing off the moss, and keeping your gutters clean can help prevent long-term damage.
Always prioritize safety when working on your roof, and if the job feels too overwhelming, it’s best to call in a professional.
Taking these proactive steps will protect the integrity of your roof and ensure it lasts longer.
I recommend starting moss removal as soon as possible to maintain your home’s value.
Don’t wait for further damage; take action now to maintain your roof and avoid costly repairs.
Contact a professional today for a roof assessment and ensure your home remains safe and protected.
Frequently Asked Questions
Is it safe to use a pressure washer to remove moss?
It’s not recommended to use a high-pressure washer on your roof, as it can damage the shingles and cause leaks. Use a gentle method instead.
Can moss cause permanent damage to my roof?
Yes, moss can trap moisture against the roof, leading to premature aging, deterioration of shingles, and potential leaks. Regular cleaning and maintenance can prevent this.
How often should I clean moss off my roof?
It’s best to clean moss off your roof at least once a year, especially in areas prone to heavy rainfall or humidity. Regular cleaning can prevent moss buildup.