
I first learned about tile roof cleaning while helping at my aunt’s house. Her roof had stains and dirt, and we thought it would be a quick job.
But once we started, we realized it needed the right tools and a careful approach to avoid damage. In this guide, I’ll share what I learned and what works best for safe cleaning at home.
You’ll see why regular cleaning matters, what tools you should use, and how to handle the process the right way.
I’ll also point out common mistakes people make and how you can avoid them.
Additionally, I’ll share simple tips to keep your roof clean for longer. By the end, you’ll feel more prepared to clean your tile roof with confidence.
Why Regular Tile Roof Cleaning Matters for the Home?
Regular tile roof cleaning helps keep your home in good shape for years. When dirt, moss, and algae build up, they trap moisture. This can slowly weaken the tiles, leading to cracks or leaks.
Over time, small issues can turn into costly repairs if not handled early.
A clean roof also improves how your home looks from the outside. Stains and dark patches can make even a well-kept house seem older than it is.
Cleaning removes these marks and helps your roof look fresh again. It also supports better drainage.
When debris blocks water flow, it can cause water to pool and damage the structure. By keeping your roof clean, you help it work properly.
Regular care makes a big difference and can extend the life of your tile roof.
Tools and Materials Required for Tile Roof Cleaning
Keeping your tile roof clean starts with having the right tools on hand. Using proper materials makes the job safer and helps prevent damage.
- Soft-bristle brush
- Garden hose with spray nozzle
- Mild roof cleaning solution
- Safety harness
- Ladder with stable support
- Gloves
- Non-slip shoes
- Bucket for mixing solution
- Leaf blower (optional for dry debris)
Process to Clean Tile Roof Safely at Home
Cleaning a tile roof at home is simple when you follow the proper process and take the necessary safety precautions. A careful approach helps you avoid damage while getting better results.
Step 1: Gather Safety Gears
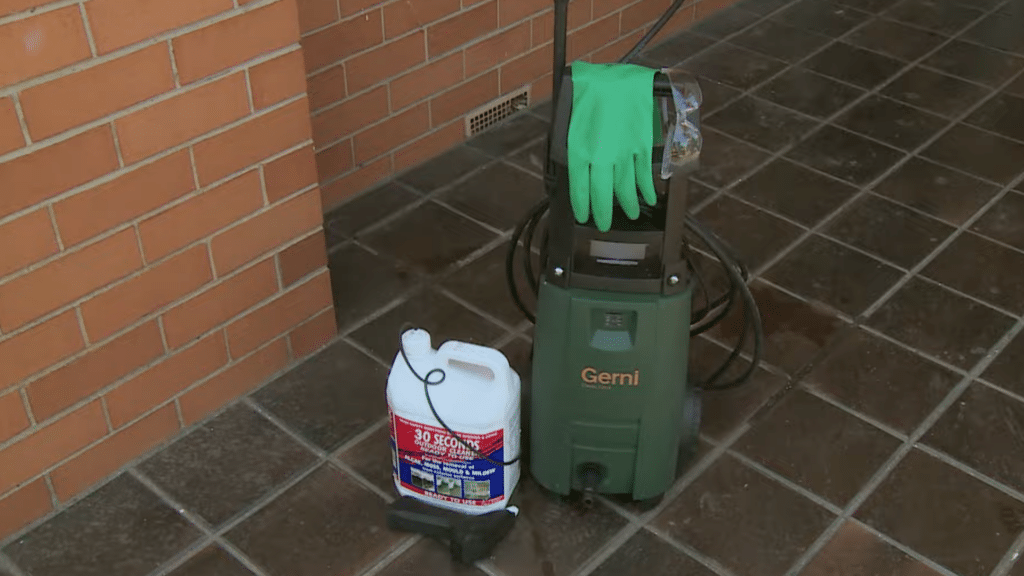
Before you begin, take a moment to prepare yourself for the job. Put on proper safety gear, like gloves and goggles, to protect yourself while working.
Also, make sure your setup is planned out. Check where you’ll get water and power, and ensure everything can reach the roof area without issue. Planning ahead helps you avoid delays once you start cleaning.
Starting with the right preparation makes the whole process smoother and safer.
It also lets you focus on cleaning without stopping in the middle, helping you achieve better, more even results across the roof.
Step 2: Check Roof Safety and Positioning
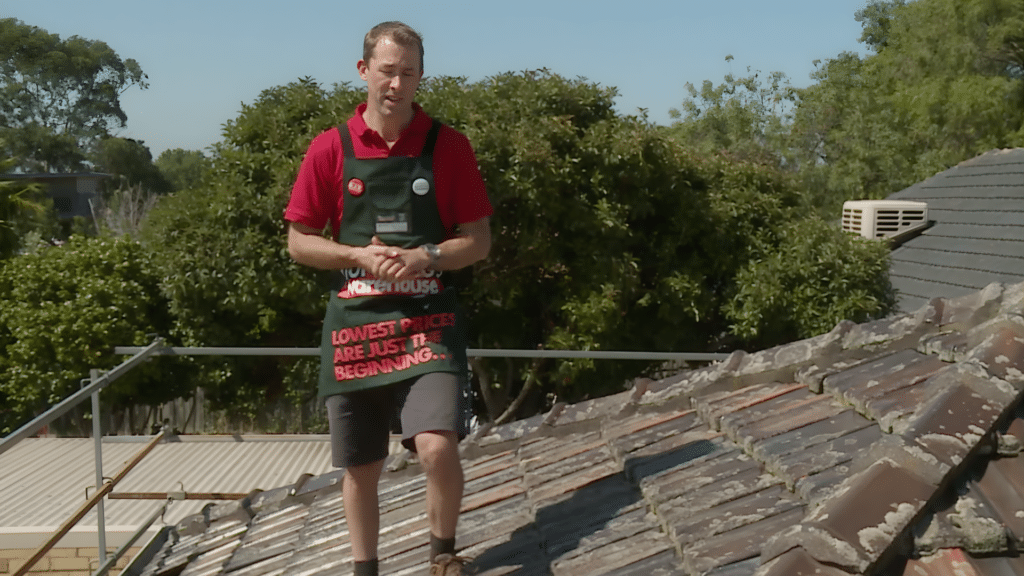
Safety should always come first when working on a roof. Walk only on areas where the tiles overlap, as these spots are stronger and less likely to crack.
Wear sturdy, non-slip shoes to prevent slipping, especially since the surface may get wet.
If possible, install guard rails or use proper fall protection.
It’s also a good idea to have someone with you who can assist by handing tools, so you don’t have to carry items while climbing.
Step 3: Apply Cleaning Solution
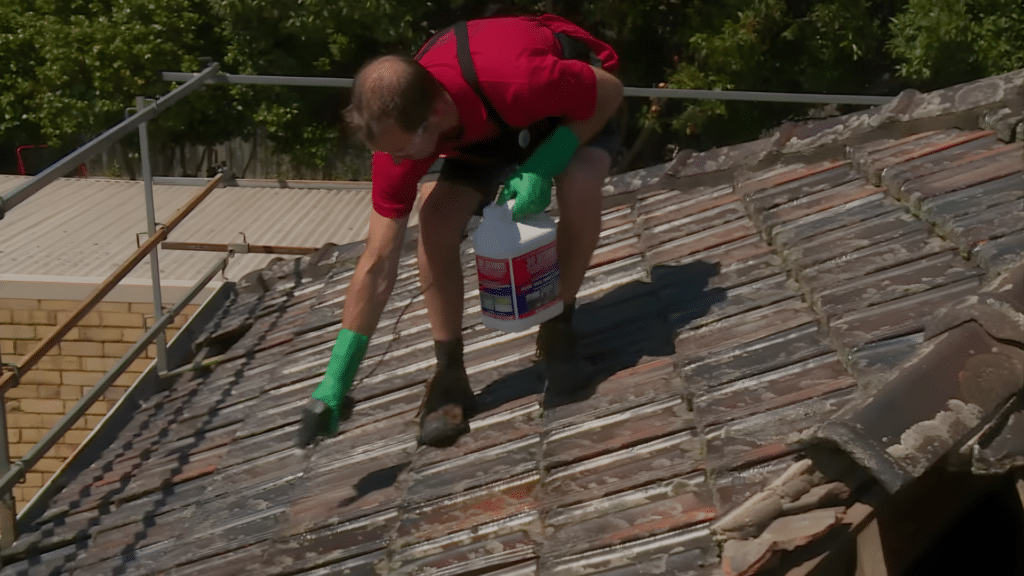
Put on your safety gear before handling any cleaning solution. Carefully spray the solution across the roof, focusing on areas with visible dirt, moss, or algae buildup.
Make sure to work backward while applying it so you always stand on dry tiles, which reduces the risk of slipping.
Follow the instructions on the product label to ensure proper use. Applying the solution evenly helps loosen grime and prepares the surface for effective cleaning in the next step.
Step 4: Let the Solution Sit
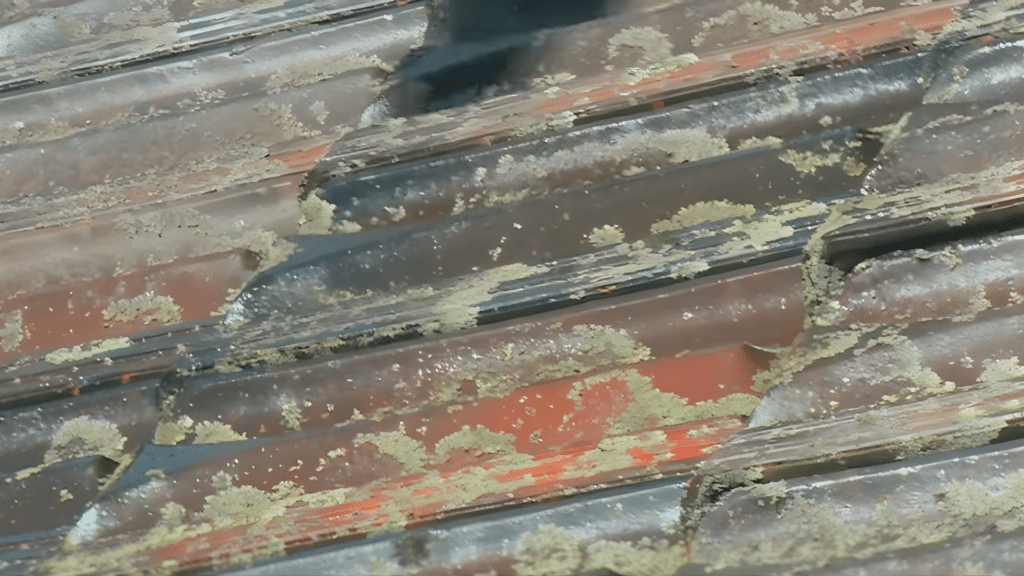
After applying the cleaning solution, give it enough time to do its job. In this case, let it sit for about 30 seconds or as directed by the product label.
This waiting period allows the solution to break down moss, algae, and dirt, making them easier to remove.
Avoid rushing this step, as it plays a key role in achieving better results. While waiting, stay in a safe position on the roof and prepare your pressure cleaner for the next stage.
Step 5: Pressure Clean the Roof
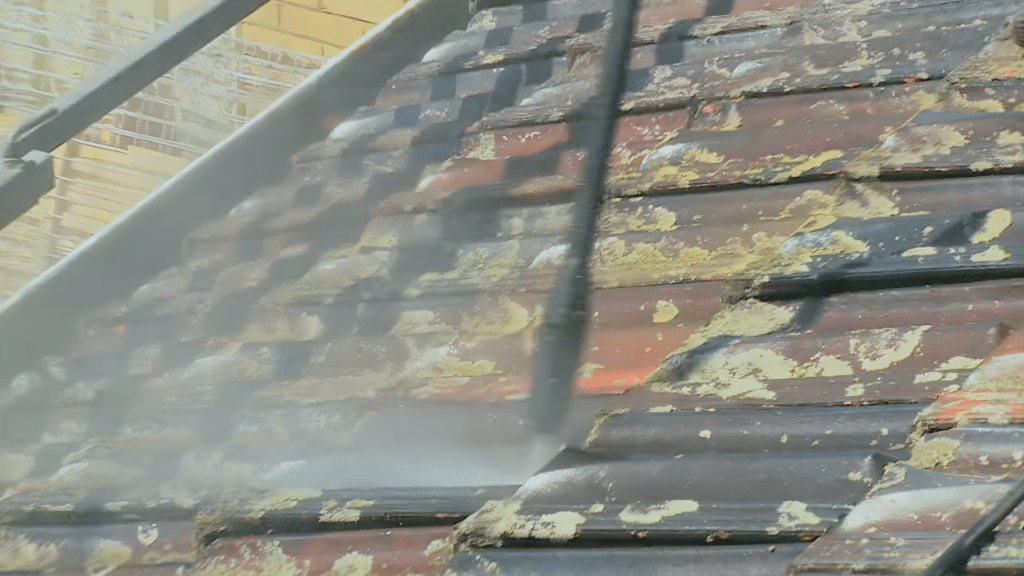
Now it’s time to rinse the roof using a pressure cleaner. Start spraying the tiles to remove the loosened dirt and buildup.
Always work backward to stay on dry sections and maintain better footing.
Wear your safety goggles, as water and debris can splash upward during cleaning. Use steady, controlled movements to avoid damaging the tiles.
This step helps restore the roof’s clean look and removes any remaining residue left after the cleaning solution.
Step 6: Finish and Inspect
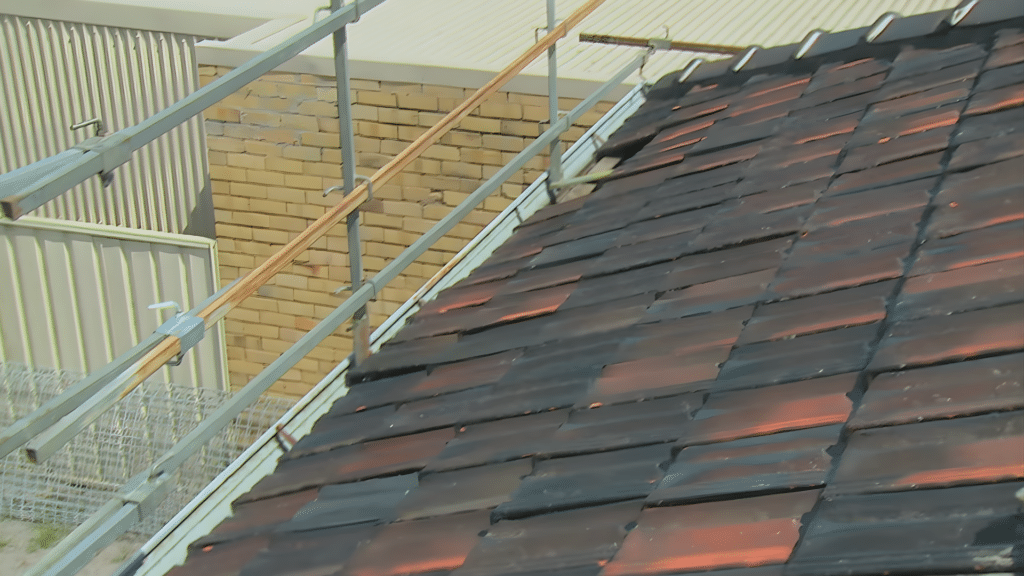
Once you’ve cleaned the entire area, take a moment to inspect your work. Look for any spots you may have missed and clean them again if needed.
Check that all dirt, moss, and stains have been removed properly.
A final inspection ensures your roof looks even and well-maintained.
If everything looks good, carefully climb down and store your tools. Regular checks like this can help you keep your roof in good condition for longer.
This tutorial is based on a helpful video from Bunnings Warehouse. You can check out the original video on their YouTube channel here or watch it below.
Can You Clean a Tile Roof without Causing Damage?
Yes, you can clean a tile roof without causing damage, but it depends on how careful you are. Tile roofs are strong, but they can crack if you walk in the wrong spots or use too much pressure.
That’s why using the right method matters. Start by walking only where tiles overlap, as these areas are more stable.
Use a gentle cleaning solution and avoid very high pressure when rinsing.
Working slowly and staying on dry tiles also helps reduce the risk of slipping or breaking tiles. It’s also important to use proper safety gear and have someone nearby to assist you.
Taking your time and following a safe process can help you clean your roof without causing harm.
With the right approach, you can get good results while keeping your roof in good condition.
Common Mistakes to Avoid when Cleaning Tile Roofs
Cleaning a tile roof can go wrong if you rush or use the wrong method. Small mistakes can lead to damage or safety risks.
- Using High-Pressure Washers: Strong water pressure can crack tiles or push water under them, leading to leaks.
- Walking Directly on Tiles: Stepping on tiles without care can break or loosen them, especially if they are old or brittle.
- Using Harsh Chemicals: Strong cleaners can damage the tile surface and fade its color over time.
- Ignoring Safety Measures: Skipping safety gear or support can lead to accidents while working at height.
- Cleaning Without Inspection: Not checking for damage first can make existing cracks or weak spots worse.
- Letting Debris Sit Too Long: Leaves and dirt hold moisture, which can cause mold and weaken the roof.
Conclusion
Cleaning your tile roof at home may seem like a big task at first, but once you understand the right process, it becomes much more manageable.
With the proper tools, a careful approach, and a focus on safety, you can get great results without causing damage.
Small efforts like regular checks and light cleaning can also help you avoid bigger problems later. The key is to take your time, stay safe, and follow simple steps that actually work.
You don’t need to rush or overcomplicate things to keep your roof in good shape.
If you’ve tried cleaning your tile roof before, I’d love to hear how it went. Did you face any challenges, or did you find a method that worked well for you?
Share your experience in the comments below and help others learn from it.