
I used to think my kitchen was clean until I started noticing grease, crumbs, and spots I had missed. It made me realize that a quick wipe is not enough if you want a truly clean space.
If you feel the same, you are not alone. Deep cleaning can feel hard, but it gets easier with the right steps.
In this guide, I will share how to deep-clean a kitchen that actually works.
You will learn how to clean every area, from counters and cabinets to hidden corners. I will also share easy tips that save time and help you avoid common mistakes.
By the end, you will know how to clean your kitchen fully and keep it that way without stress.
Why Deep Cleaning Your Kitchen Matters?
Deep cleaning your kitchen matters because daily wiping does not remove all dirt and grease. Small areas like corners, handles, and under appliances often get missed.
Hidden dirt can build up over time and may lead to bad smells or germs.
A proper deep clean helps remove this buildup and keeps your kitchen safe to use. It also helps your appliances and surfaces last longer by preventing damage from grease and grime.
A clean kitchen supports better hygiene and makes cooking more comfortable.
When everything is clean, it is easier to stay organized and spot new messes quickly.
Regular deep cleaning also saves time in the long run because you avoid heavy buildup. It keeps your space fresh, simple to manage, and ready for daily use without extra effort.
Deep Clean Kitchen Checklist
A clear checklist keeps the process smooth and ensures every area is covered. Each section below highlights key spots along with a quick explanation.
- Cabinets: Wipe down doors, handles, and shelves to remove accumulated grease, dust, and food crumbs.
- Appliances (fridge, oven, microwave): Clean both interiors and exteriors, focusing on spills, odors, and stuck-on food for better hygiene.
- Sink and drain: Scrub the basin, faucet, and drain area to remove stains, buildup, and unpleasant smells.
- Countertops and backsplash: Remove stains, grease marks, and splashes to keep surfaces clean and safe for food prep.
- Floors and corners: Sweep and mop all areas, including edges and tight corners where dirt often collects.
- Hidden spots most people skip: Check behind appliances, under sinks, and along edges to remove hidden dust and grime.
How to Deep Clean a Kitchen from Top to Bottom?
Before you begin, I like to gather all cleaning supplies in one place. This saves time and helps me stay focused while moving from one area to the next step easily.
Step 1: Start by Dusting High Areas

Start your deep clean by working from the top of your kitchen. I use a duster or extension tool to reach window edges, upper shelves, corners, and ceiling areas.
Move around the whole kitchen and remove cobwebs, dust, and loose dirt from small gaps and edges.
This step is important because anything left above will fall onto clean surfaces later.
Taking a few extra minutes here helps you avoid doing the same work again. It also makes the rest of your cleaning process faster and easier.
Step 2: Clean Cabinets and Wood Surfaces
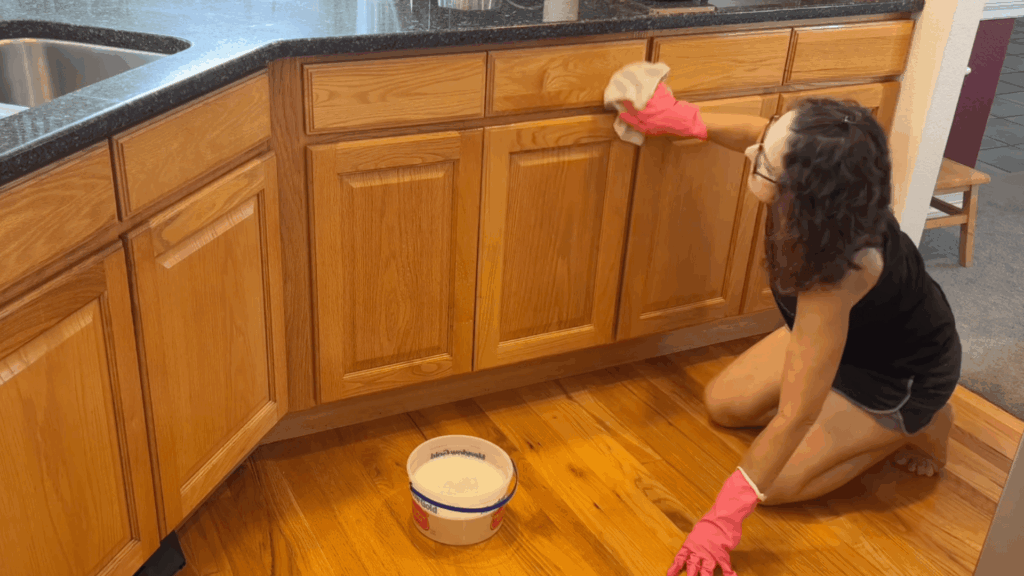
If your kitchen has wood surfaces, mix about a quarter cup of Murphy’s Oil Soap with one gallon of water. Use a clean washcloth to wipe cabinets, tables, chairs, and stools.
Start at the top of the cabinets and work downward, cleaning every edge and corner.
Pay close attention to areas where hands frequently touch, as grease and dirt tend to build up there.
Cooking releases grease particles that stick to surfaces, and this mixture helps break down and remove that sticky layer effectively.
Step 3: Wash Walls, Doors, and Baseboards

Prepare a bucket with warm water and a small amount of dish soap or Castile soap.
Using a clean cloth, wipe moldings around windows, pantry doors, and all wall surfaces.
Move from top to bottom, cleaning light switches, electrical outlets, and baseboards along the way. These areas often collect hidden grime, fingerprints, and grease over time.
Cleaning them thoroughly not only improves appearance but also helps maintain a more hygienic kitchen environment.
Step 4: Clean Windows for a Clear Shine

Use a two-cloth method for spotless windows.
Start with a microfiber cloth dampened with plain water and wipe down the entire window surface to remove dirt and buildup.
Once done, take a second dry microfiber cloth and wipe again to remove any remaining moisture. This simple method helps eliminate streaks, leaving your windows looking clear and polished.
It’s an easy, chemical-free way to improve the brightness and overall feel of your kitchen space.
Step 5: Wipe Down Appliances
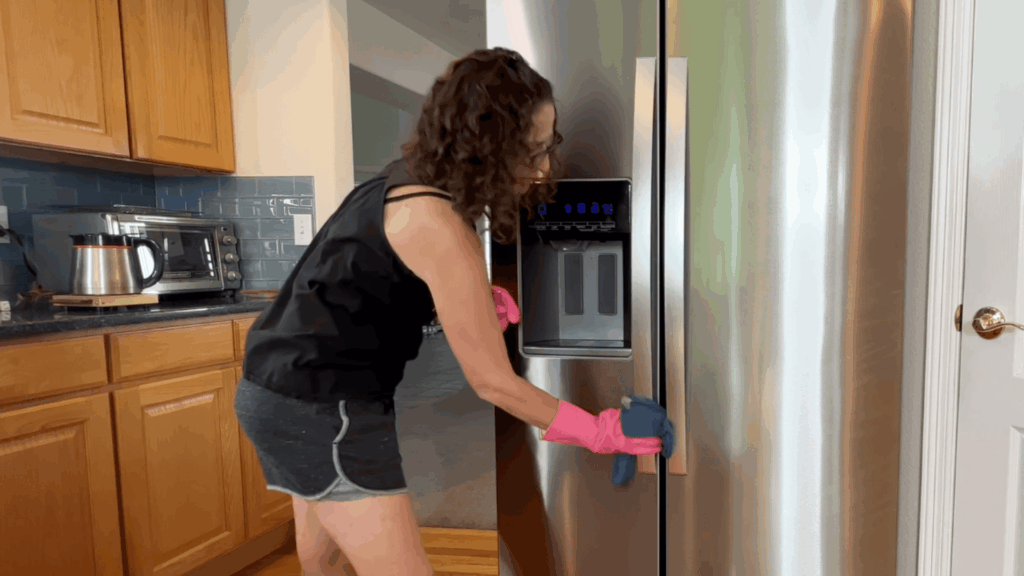
Fill a bucket with fresh, clean water and grab a new cloth.
Wipe down the refrigerator from top to bottom, including all sides, especially the handles, which should be thoroughly disinfected.
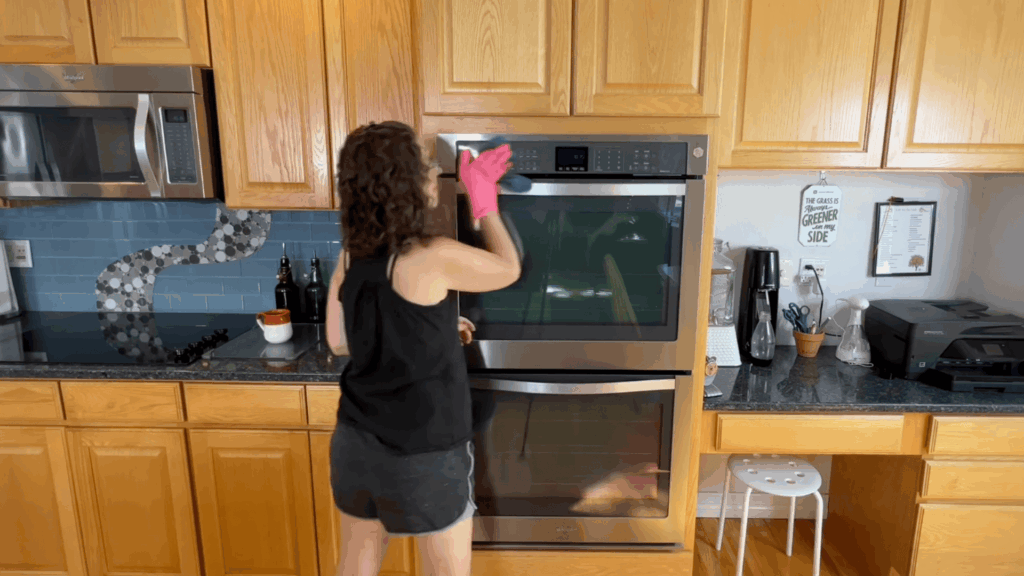
Don’t forget to clean the top of the fridge since it collects a lot of dust. Continue by cleaning the front and inside of the dishwasher, then move to the microwave and oven exterior.
Focus on keypads, handles, and frequently touched areas to remove germs and buildup.
Step 6: Deep Clean Microwave and Oven
To clean your microwave, place a bowl containing 1 tablespoon of lemon juice and 1 cup of vinegar inside.
Run it for about five minutes to create steam that loosens grease and grime. Afterward, wipe the interior easily.
For the oven, use the self-cleaning feature if available, but remove racks first. If not, heat a pan of water on the stove for about 30 minutes to soften the residue.
You can also use a mix of dish soap and baking soda to scrub stubborn spots.
Step 7: Clean Inside the Refrigerator
Start by removing everything from your refrigerator and freezer, working through each section. Throw away expired or unwanted items.
Fill your sink with soapy water and wash all shelves and drawers thoroughly, then rinse and dry them.
Wipe down the interior walls of both the fridge and freezer to remove spills and residue.
Once everything is clean, place items back in an organized way. This step not only cleans but also helps reduce clutter and improve storage.
Step 8: Clean Backsplash and Stovetop
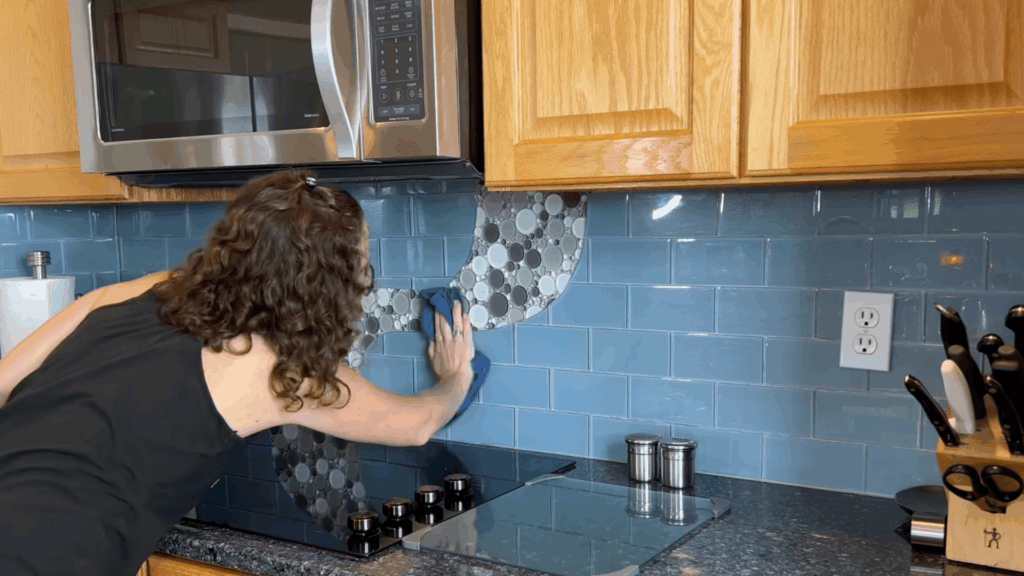
Using fresh, soapy water and a clean cloth, wipe down your backsplash, including the outlets and the wall areas behind the stove.
This removes grease buildup and leaves surfaces shiny.
Next, clean your stovetop by removing loose debris and wiping it down. If possible, take off the knobs and wash them separately.
For stubborn, cooked-on grease, apply a cooktop cleaner and use a gentle scrubber to break it down. Finish by wiping everything clean for a polished look.
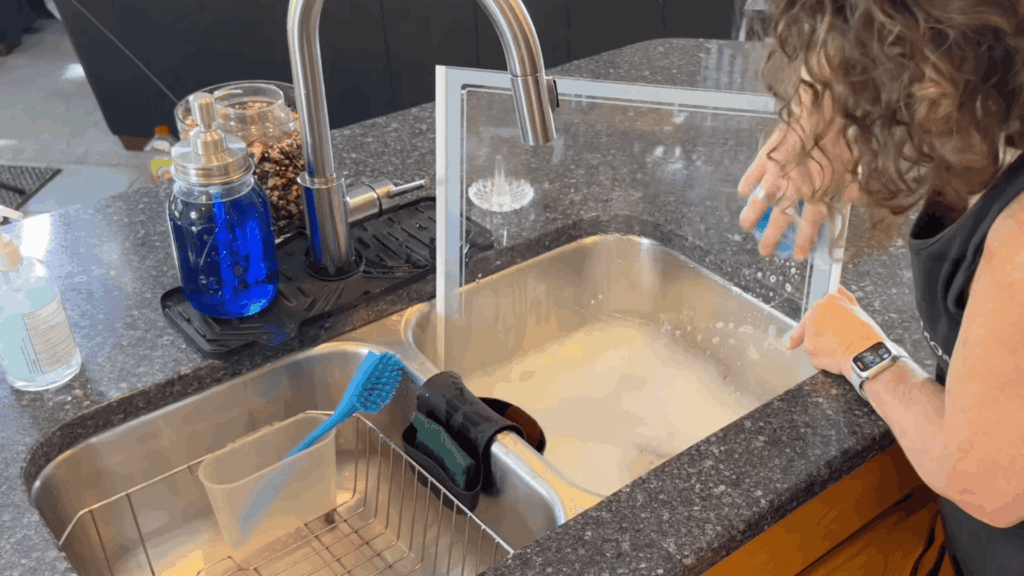
Step 9: Wipe Counters and Clean Sink

Start by using one cloth to remove crumbs and greasy spots from your countertops.
Then switch to a clean rag with fresh soapy water to wipe all surfaces thoroughly, leaving them streak-free.
Move on to the sink by sprinkling baking soda and scrubbing with a pad to remove buildup. For disinfecting, add dish soap or combine it with dish soap for better results.
Rinse everything well, and don’t forget to clean the faucet and handles, as they often carry germs.
Step 10: Finish with Floors

Clear the floor by moving items out of the way, then vacuum thoroughly to pick up any dirt or debris that may have fallen during cleaning.
Since you worked from top to bottom, the floor will have collected everything.
After vacuuming, mop or use a steam cleaner to sanitize the surface. Steam cleaning is especially effective because it disinfects without chemicals.
Once done, your kitchen will feel fresh, clean, and completely refreshed from top to bottom.
This tutorial is based on a helpful video by Chas’ Crazy Creations. You can check out the original video on their YouTube channel here or watch it below.
Natural vs Chemical Cleaners
Before choosing between these options, it helps to know how each one works. Both have their own strengths, so the right choice depends on your cleaning needs and comfort level.
| Feature | Natural Cleaners | Chemical Cleaners |
| Ingredients | Made from vinegar, baking soda, lemon, and plant-based items | Made with synthetic chemicals like bleach or ammonia |
| Cleaning Power | Good for everyday cleaning, but may need more effort | Strong and fast at removing grease, stains, and bacteria |
| Safety | Safer for kids, pets, and sensitive skin | Can irritate skin, eyes, and lungs |
| Eco Impact | Biodegradable and environmentally friendly | Can harm the environment and water systems |
| Cost | Often cheaper if homemade and multi-purpose | Can be more expensive due to specialized products |
| Best Use | Daily cleaning and light grease | Deep cleaning and disinfecting |
Best Cleaning Supplies for Deep Cleaning the Kitchen
Choosing the right cleaning supplies makes your kitchen deep clean faster, safer, and more effective. Some options focus on strength, while others are better for health and the environment.
- Baking Soda: Baking soda works well on sinks, stovetops, and tiles. It helps remove stains and grease without scratching surfaces.
- White Vinegar: Vinegar cuts through grease on counters and glass. It also helps remove spots and mild odors.
- Lemon: Lemon helps break down grime and leaves a fresh smell. It is useful for sinks and cutting boards.
- Dish Soap: Dish soap mixed with warm water cleans most surfaces. It works well on grease and daily mess.
- Old Toothbrush: An old toothbrush helps clean tight corners and edges. It works well around fixtures where dirt builds up.
- Microfiber Cloth: Microfiber cloths clean better than paper towels. They can be washed and reused many times.
Conclusion
A clean kitchen does not come from one big effort; it comes from following the right steps in the right order.
Starting from high areas and moving down ensures nothing gets missed, while focusing on surfaces, appliances, and floors builds a complete clean.
Consistency matters more than perfection. Even small, regular efforts can keep grease, dust, and germs under control, making the space healthier and more pleasant every day.
A well-maintained kitchen also makes cooking feel easier and more enjoyable.
If this guide helped, try applying these steps and notice the difference. What worked best during your cleaning routine?
Share your experience, tips, or challenges in the comments below; others may find your input just as helpful.
Frequently Asked Questions
What Tools Are Essential for Deep Cleaning a Kitchen?
Essential tools include microfiber cloths, scrub brushes, a vacuum, a mop, and a bucket. These help clean different surfaces effectively without needing specialized or expensive equipment.
How Can Strong Kitchen Odors Be Removed During Deep Cleaning?
Odors can be reduced by cleaning drains, wiping appliances, and using baking soda or lemon. Proper ventilation and emptying trash bins also help keep the kitchen smelling fresh.
Is It Necessary to Empty Cabinets Before Cleaning Them?
Emptying cabinets allows better access to shelves and corners. It also helps remove hidden crumbs, expired items, and dust, making the cleaning process more thorough and organized.
How Can Cleaning Results Last Longer After a Deep Clean?
Wiping surfaces daily, cleaning spills quickly, and maintaining a weekly routine help preserve results. Small habits prevent heavy buildup and reduce the need for frequent deep cleaning.