
I’ve had moments where my carpet looked clean at first glance, but stains and dull patches were still there. It can be frustrating when regular cleaning doesn’t fix the problem, and store products feel too strong or expensive.
That’s why I started trying DIY carpet cleaning with baking soda as a simple option at home.
If you’re dealing with spots after moving in or just everyday mess, this method can help without adding extra chemicals.
You only need a few basic items, and the steps are easy to follow. In this article, I’ll show you how to clean carpets step by step using baking soda and a simple solution.
You’ll also learn what tools to use, what mistakes to avoid, and how to get better results over time.
By the end, you’ll have a clear method you can use whenever your carpet needs a fresh clean.
Does Baking Soda Really Clean Carpets?
Yes, baking soda can clean carpets, but only for light dirt and odors. It absorbs smells and helps loosen surface stains, which makes vacuuming more effective.
You won’t get the same results as a deep cleaner, but for quick refresh jobs, it does help.
It does not fully remove deep stains like grease, ink, or old spills. That’s where stronger cleaners or machines are needed.
Most people use it to freshen carpets between deep cleans, not replace them. It’s also safe for regular use, which makes it a good option for homes with kids or pets.
The key is to use it properly and keep expectations realistic. Think of it as a simple upkeep step, not a full cleaning solution.
Why Choose DIY Carpet Cleaning with Baking Soda?
A simple home method can help keep carpets fresh without spending much. It also works well for quick cleanups when you don’t want harsh products.
- Cost Saving: Baking soda is cheap and easy to find. You can clean large areas without buying costly cleaners.
- Odor Removal: It absorbs odors from pets, food, and moisture. This helps your carpet smell fresh again.
- Safe for Home Use: It does not contain strong chemicals. This makes it safer for kids, pets, and daily use.
- Easy to Use: You just sprinkle, wait, and vacuum. No special tools or skills are needed.
- Stain Help: It can loosen light stains when used with water or vinegar. This makes spot cleaning easier.
- Non-Toxic Cleaning: It reduces the risk of skin or breathing issues. A good choice for people sensitive to strong cleaners.
- Multi-Purpose Use: You can also use it on rugs, sofas, and mattresses. One product works for many cleaning needs.
- Quick Freshening Option: It works well when you need a fast refresh before guests arrive. No long process required.
Tools and Ingredients You’ll Need
To start DIY carpet cleaning with baking soda, gather these items:
- Baking soda:
- Cleaning vinegar
- Vacuum Cleaner
- Spray Bottle
- Warm Water
- Soft Brush or Cloth
- Towel or Paper Towels
Choosing the Right Vinegar
Cleaning vinegar (6% acidity) is stronger than standard white vinegar (5% acidity) and works better for breaking down carpet residue.
If you only have standard white vinegar at home, it still works, just allow a slightly longer dwell time before scrubbing.
Avoid apple cider vinegar; the natural pigments in it can stain light-colored carpet fibers.
I keep a dedicated spray bottle labeled for carpet use, so I’m not diluting cleaning vinegar with cooking residue from a shared bottle.
How to Clean Carpets with Baking Soda?
This DIY carpet-cleaning method with baking soda is simple and works well on common stains at home. Follow these steps in order to get better results without leaving residue behind
Step 1: Vacuum the Carpet First
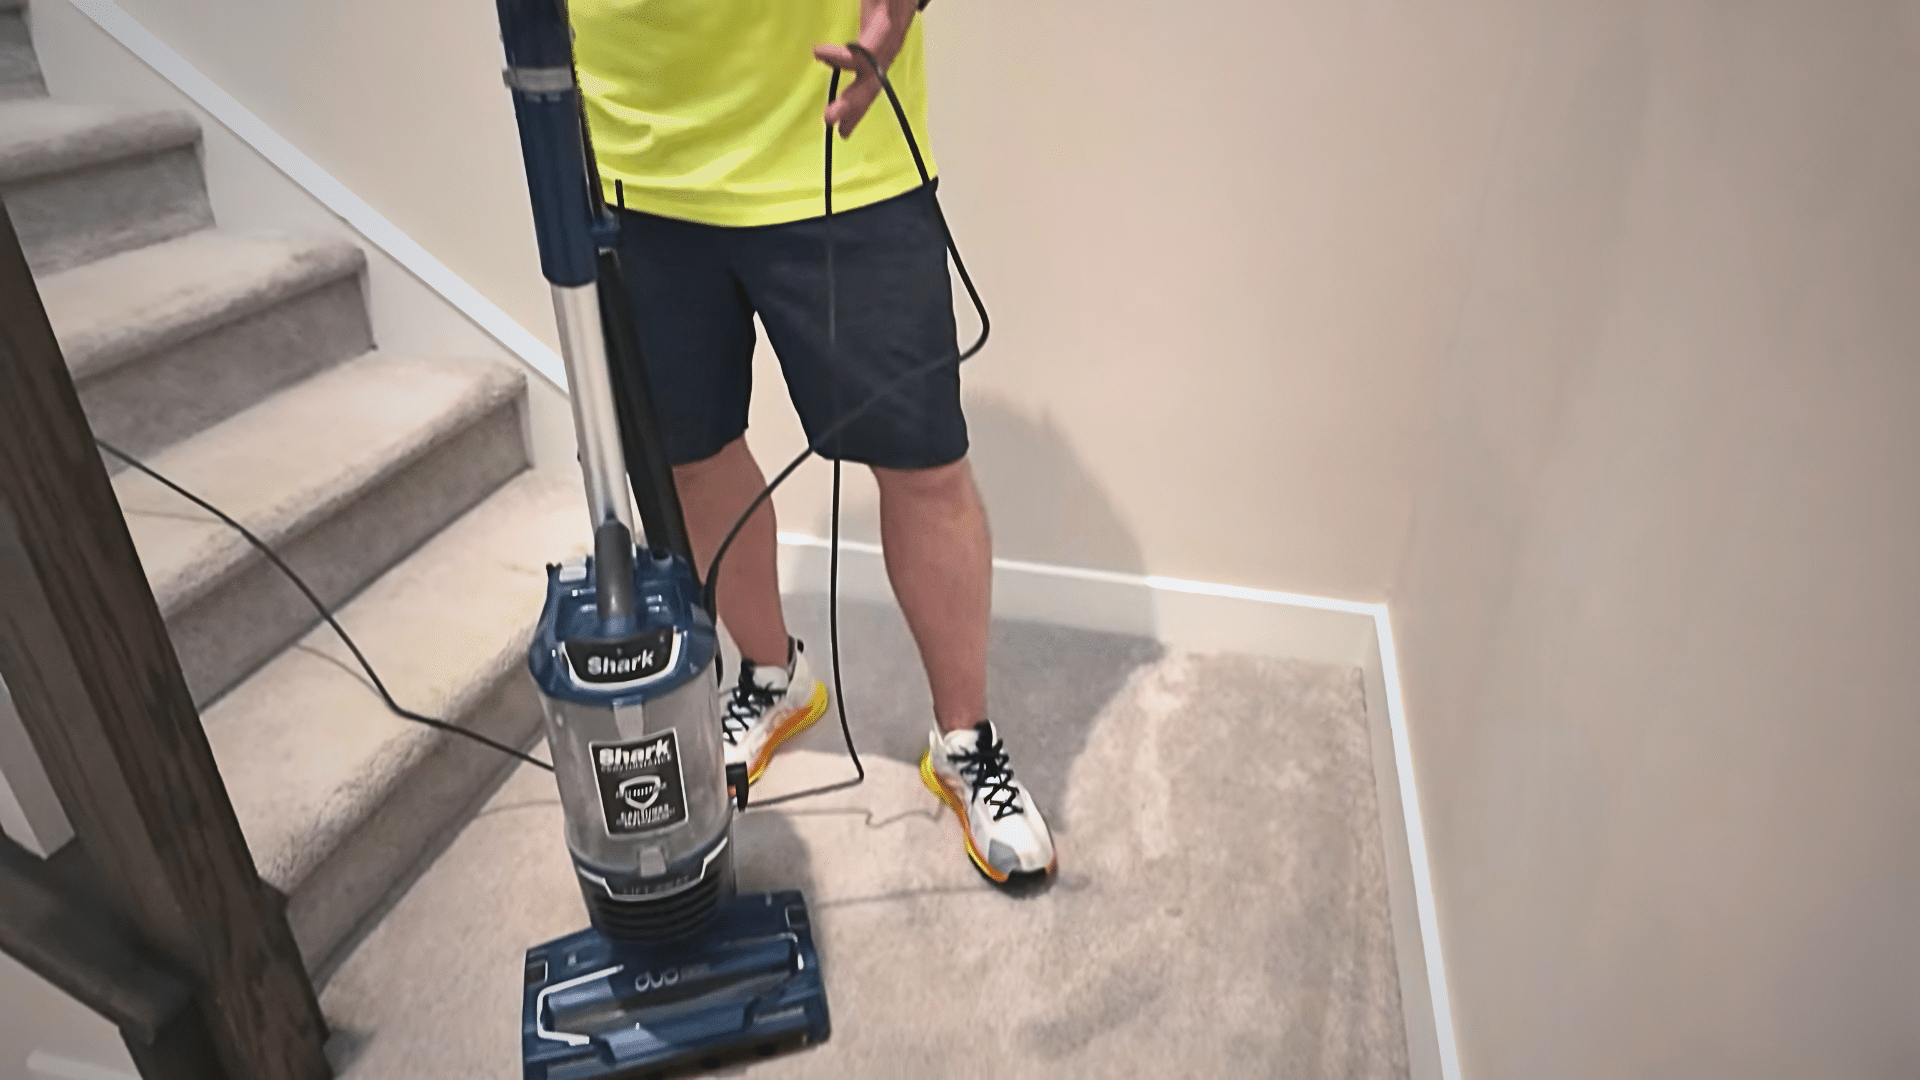
Before you begin DIY carpet cleaning with baking soda, vacuum the carpet well to remove loose dirt, dust, and debris from the surface.
This step clears the way so the cleaning mix can reach deeper into the fibers.
A clean surface helps the method work more effectively. Skipping vacuuming traps surface debris under the cleaning solution, turning it into a muddy paste that is harder to remove once dried.
Run the vacuum in two directions, along the pile and against it, to lift as much loose material as possible before you apply anything.
Step 2: Prepare the Vinegar Solution
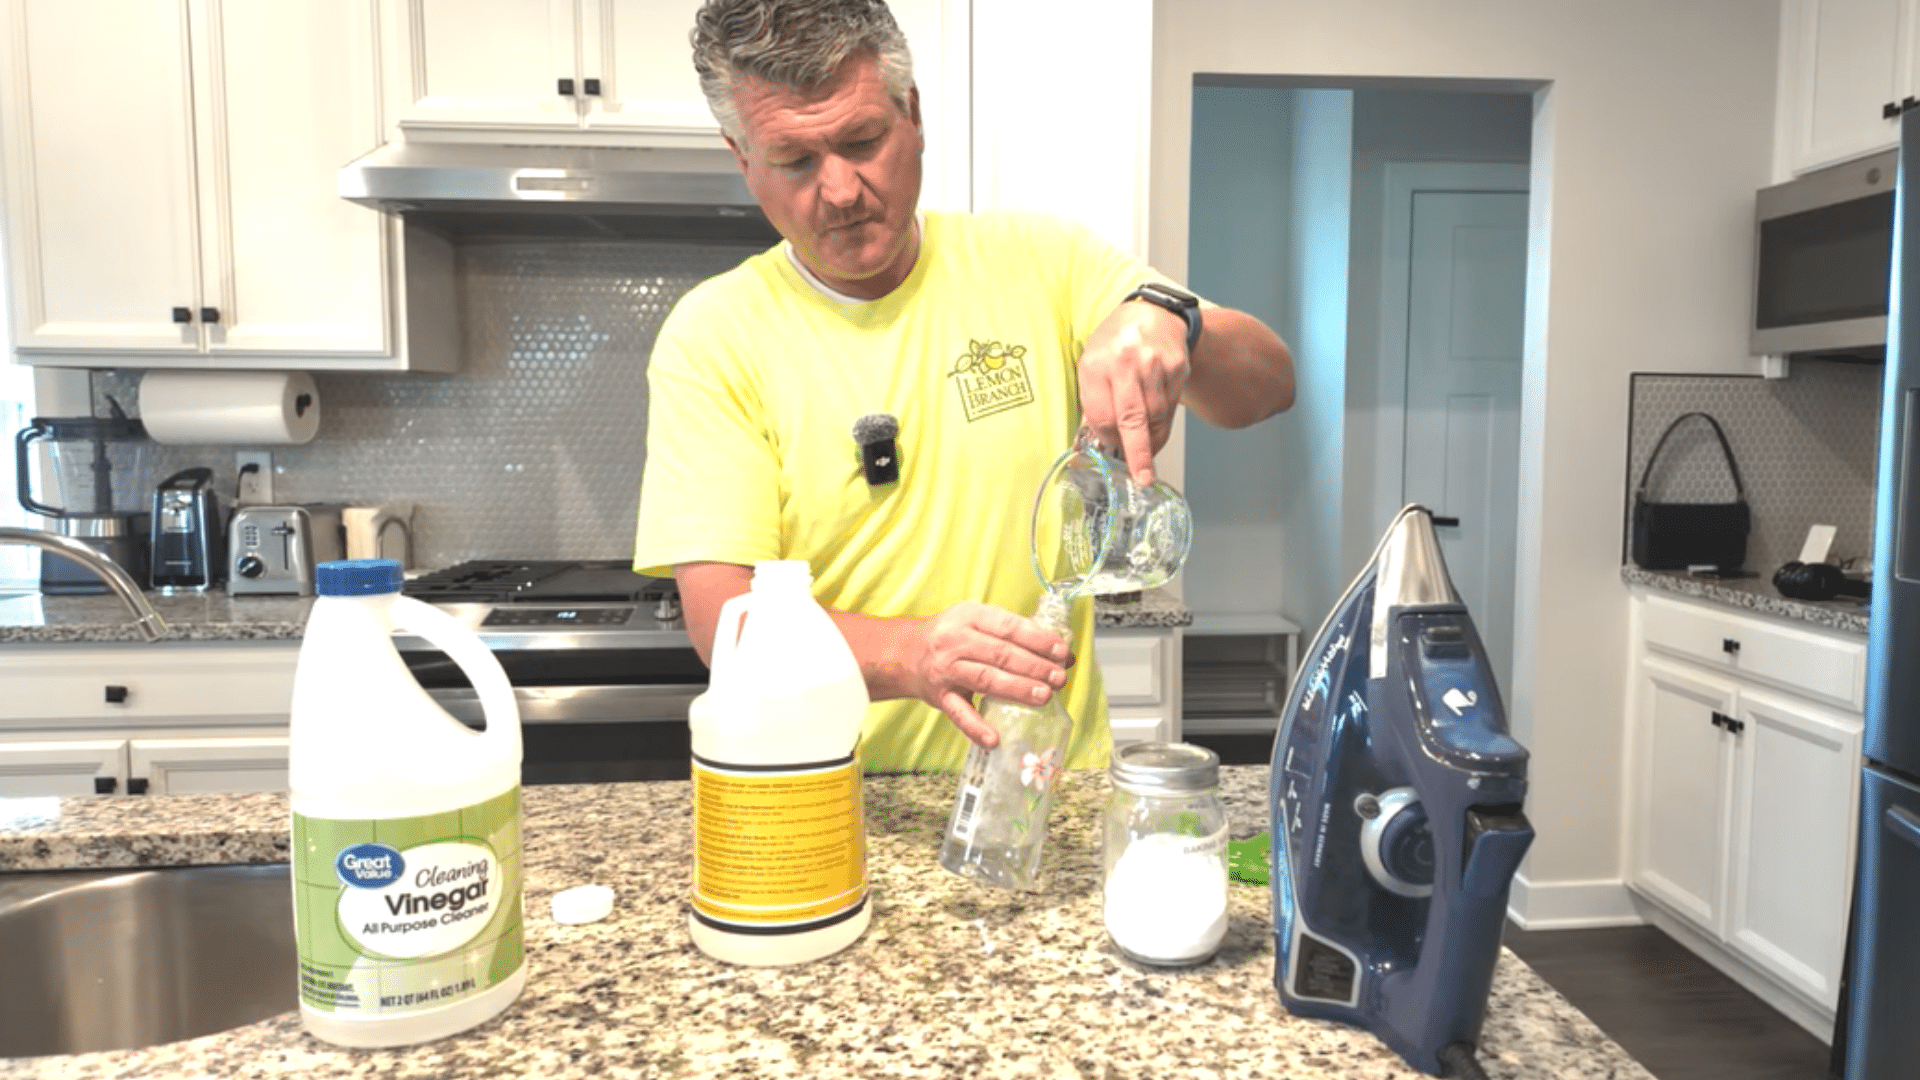
Mix one part vinegar with two parts hot water for this DIYcarpet cleaning method to create a simple cleaning solution.
For example, you can use four ounces of vinegar with eight ounces of hot water in a spray bottle. You may add a few drops of essential oil or lemon for a mild scent.
This mixture reacts with baking soda to help loosen dirt during rug cleaning, keeping the process simple and effective.
If you’re working on a wool or delicate carpet, use lukewarm rather than hot water to avoid causing the fibers to shrink or felt.
Step 3: Apply Baking Soda to Stains
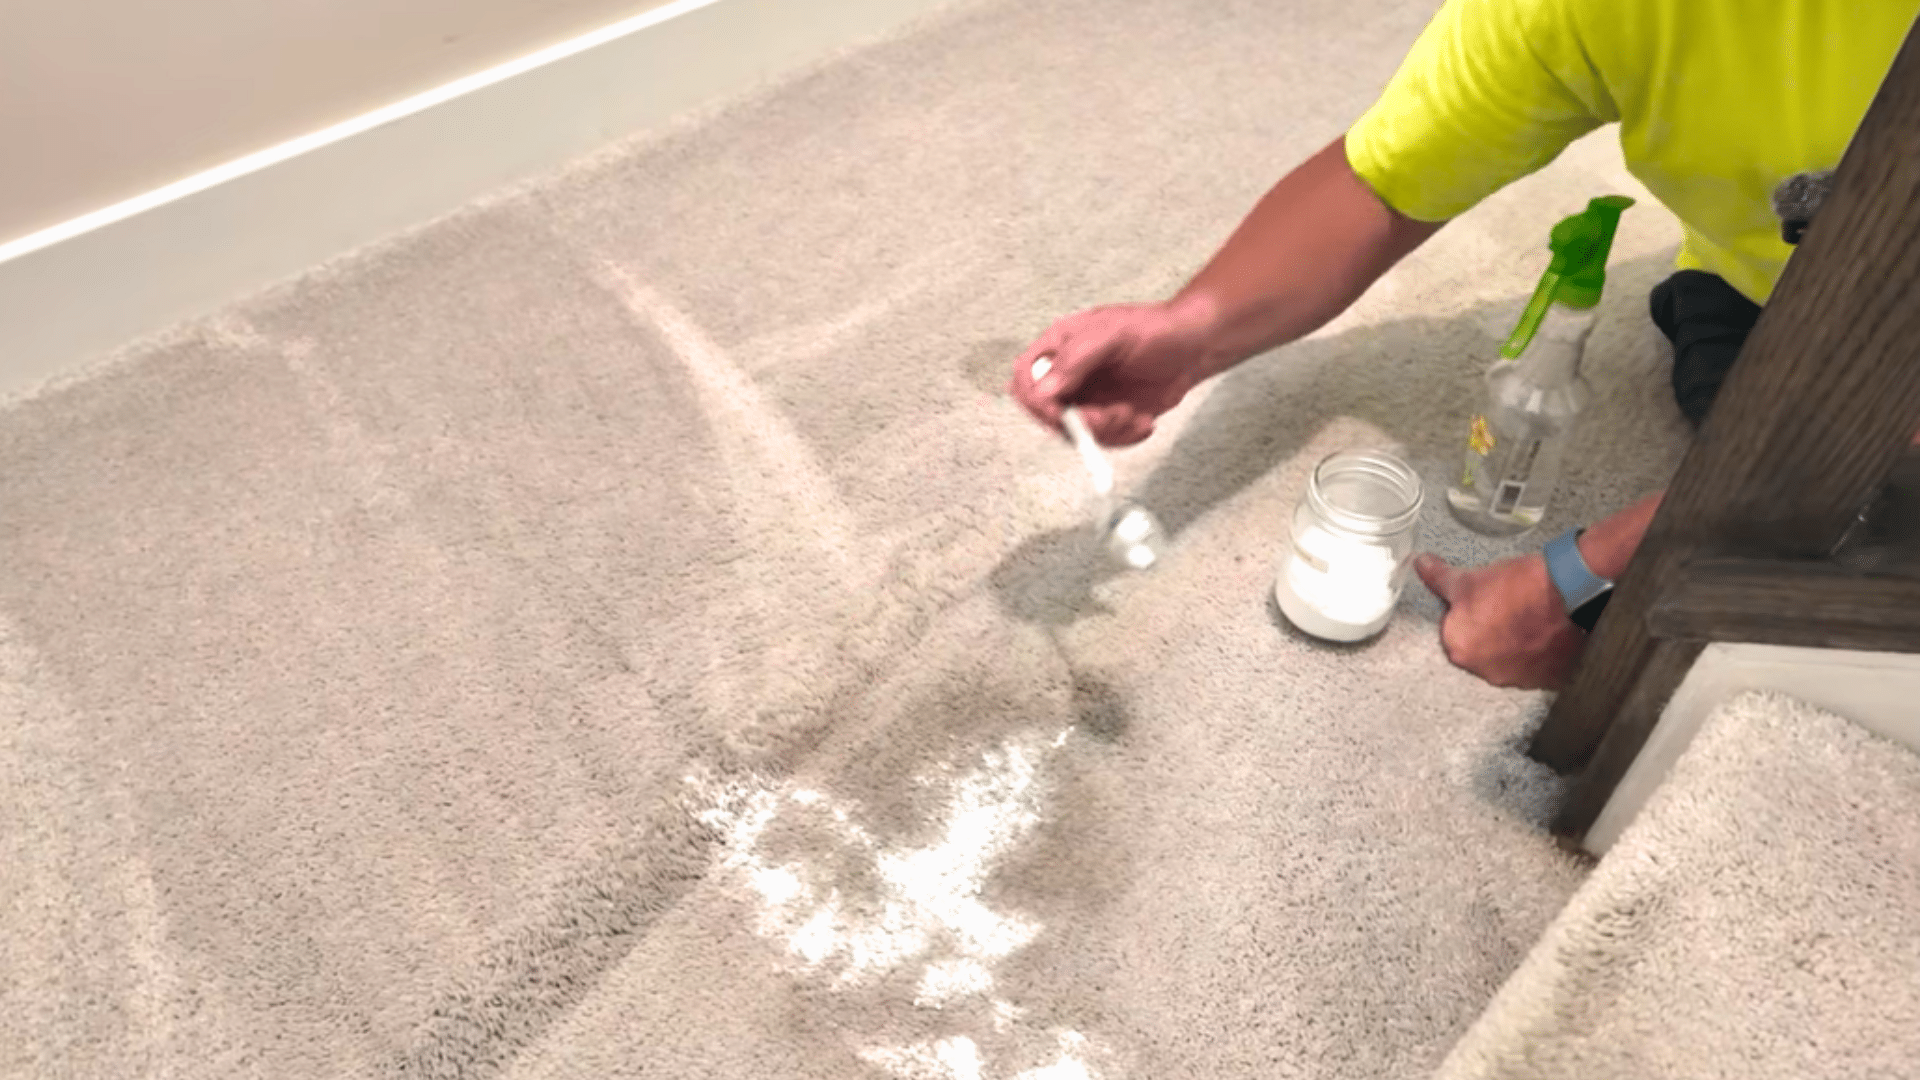
Sprinkle baking soda directly over the stained area in a thin, even layer for proper DIY carpet cleaning results.
Make sure the stain is fully covered, but avoid using too much product in one spot. Baking soda helps lift dirt from the fibers and also absorbs unwanted odors.
Let it sit for five minutes before adding the vinegar solution so it can begin working on odor and surface residue.
I’ve found that coating the baking soda layer slightly beyond the visible edge of the stain gives better coverage. Carpet stains often spread further into the pile than what you can see from above.
Step 4: Spray Vinegar Solution
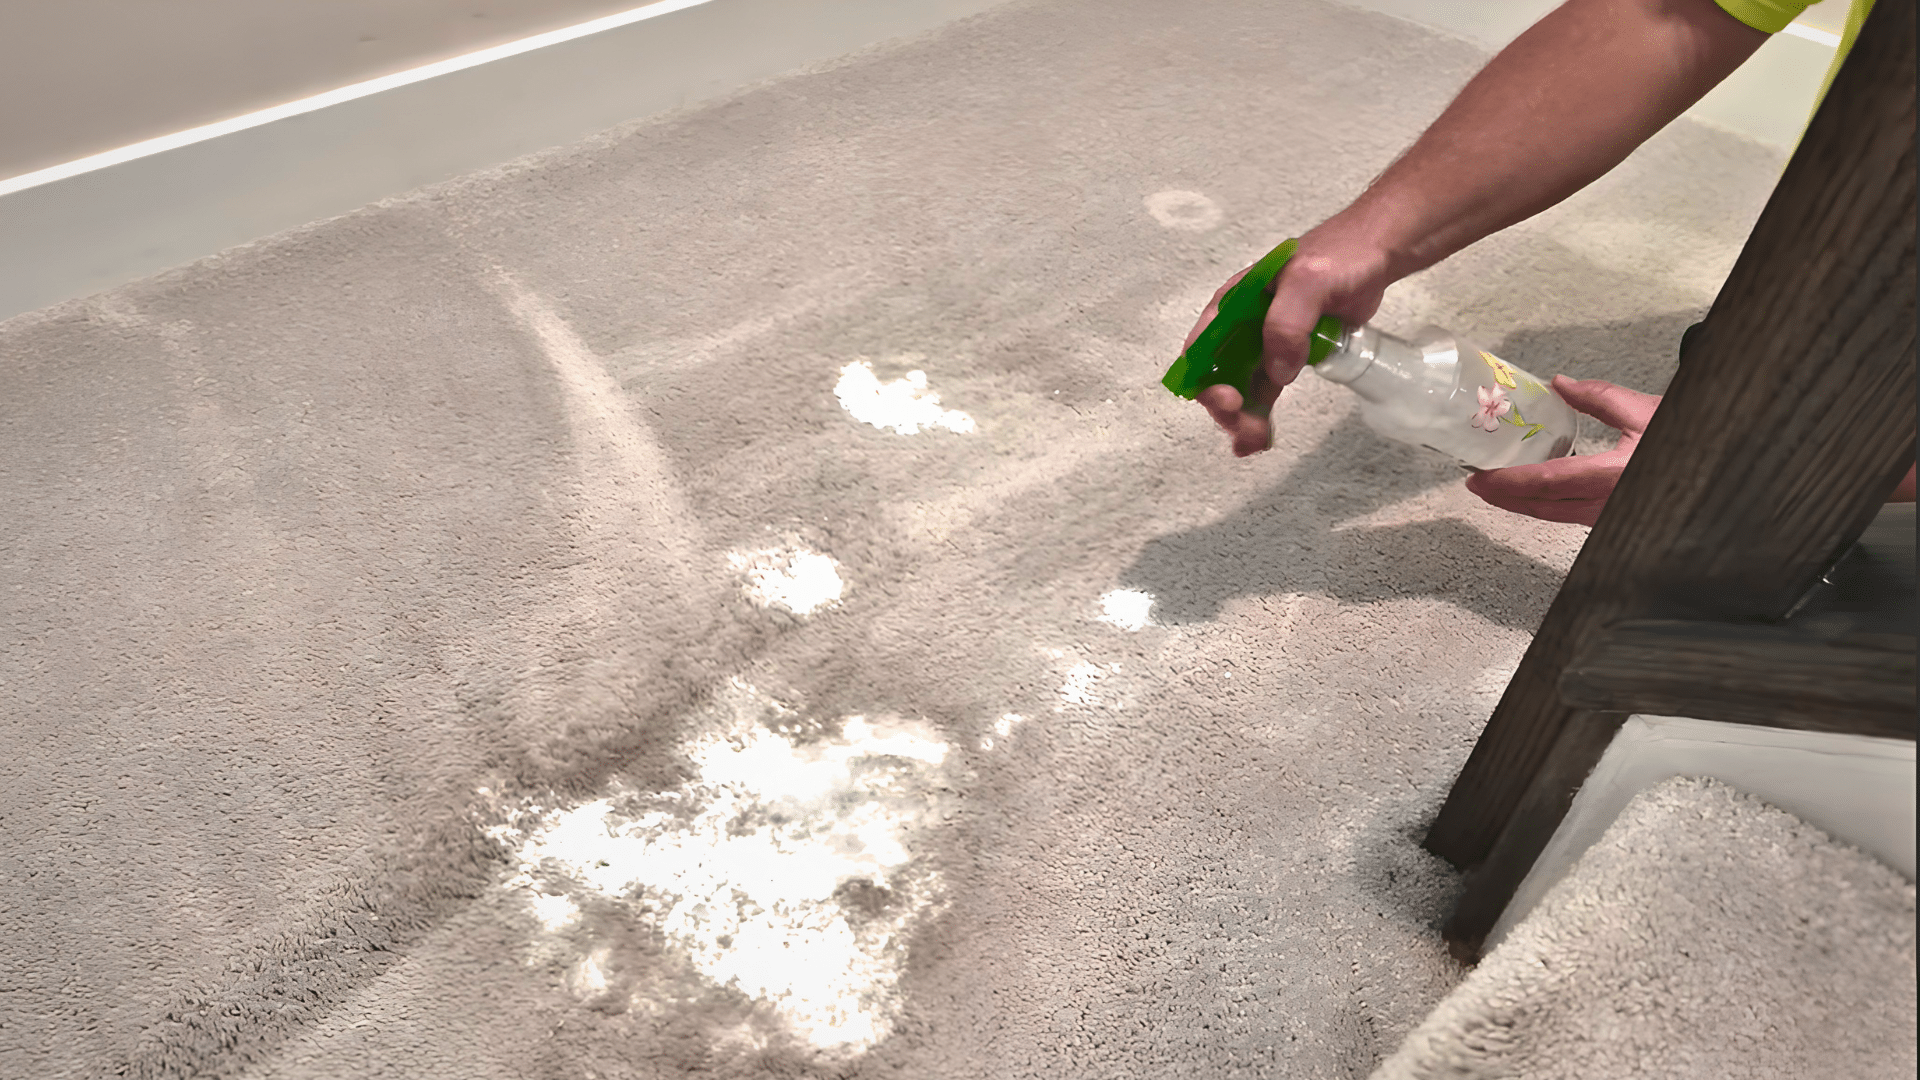
Spray the prepared vinegar solution over the baking soda until the area becomes damp and starts to foam slightly. This reaction is normal and helps break down dirt during DIYcarpet cleaning.
Allow the mixture to sit for about ten minutes, so it has enough time to work on the stain.
For older or more stubborn stains, extend this to 15 minutes before scrubbing.
The foaming action should be visible but not soaking. If you’ve created a puddle, blot up the excess before continuing, as over-wetting is one of the main causes of mold in carpet padding.
Step 5: Light Scrubbing
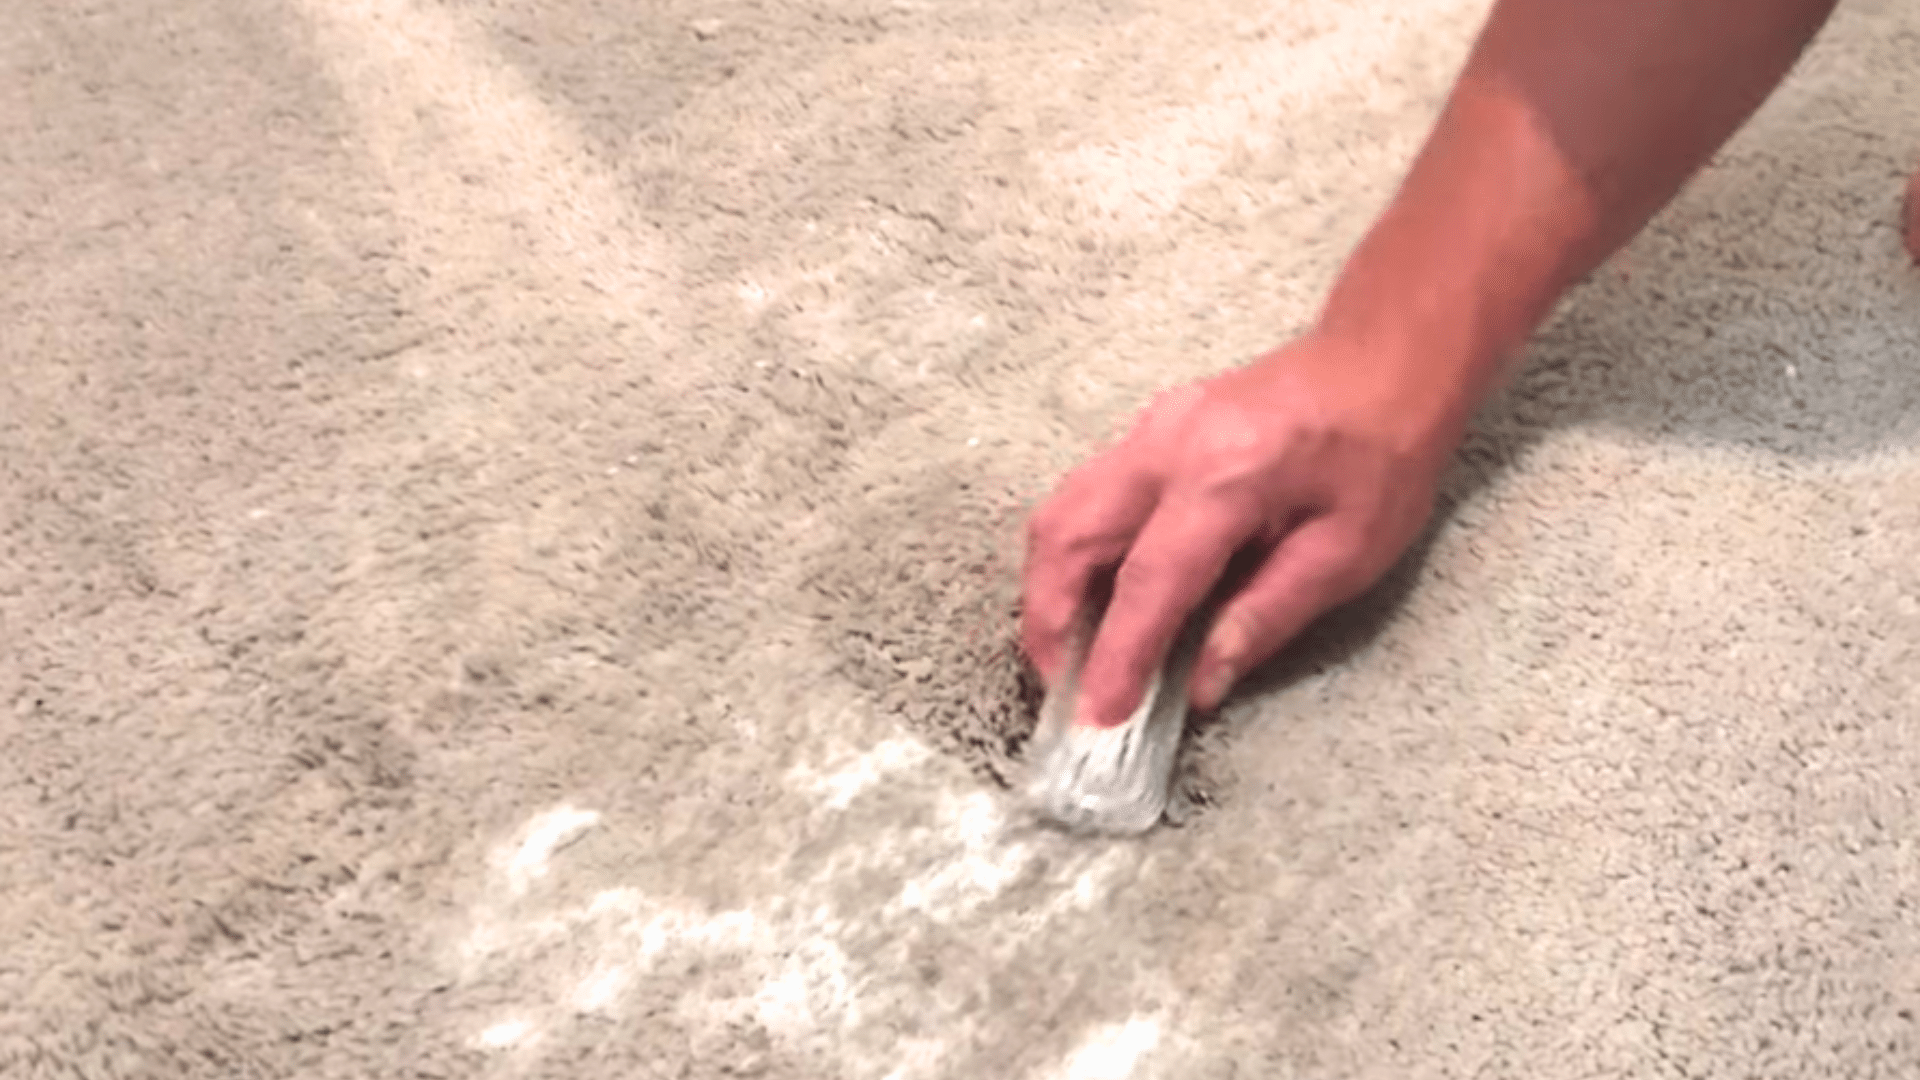
Use a soft brush to gently scrub the treated area in small circular motions during DIY carpet cleaning with baking soda.
This helps lift dirt from the fibers without damaging the carpet surface. Apply light pressure while scrubbing to avoid rough handling. Gentle motion is enough to move dirt upward and prepare it for removal.
Harsh scrubbing can fray carpet fibers, especially on cut-pile styles like saxony or frieze, and those frayed edges attract lint and debris over time.
A dedicated carpet brush with stiff natural bristles gives better control than a regular scrubbing brush or cloth.
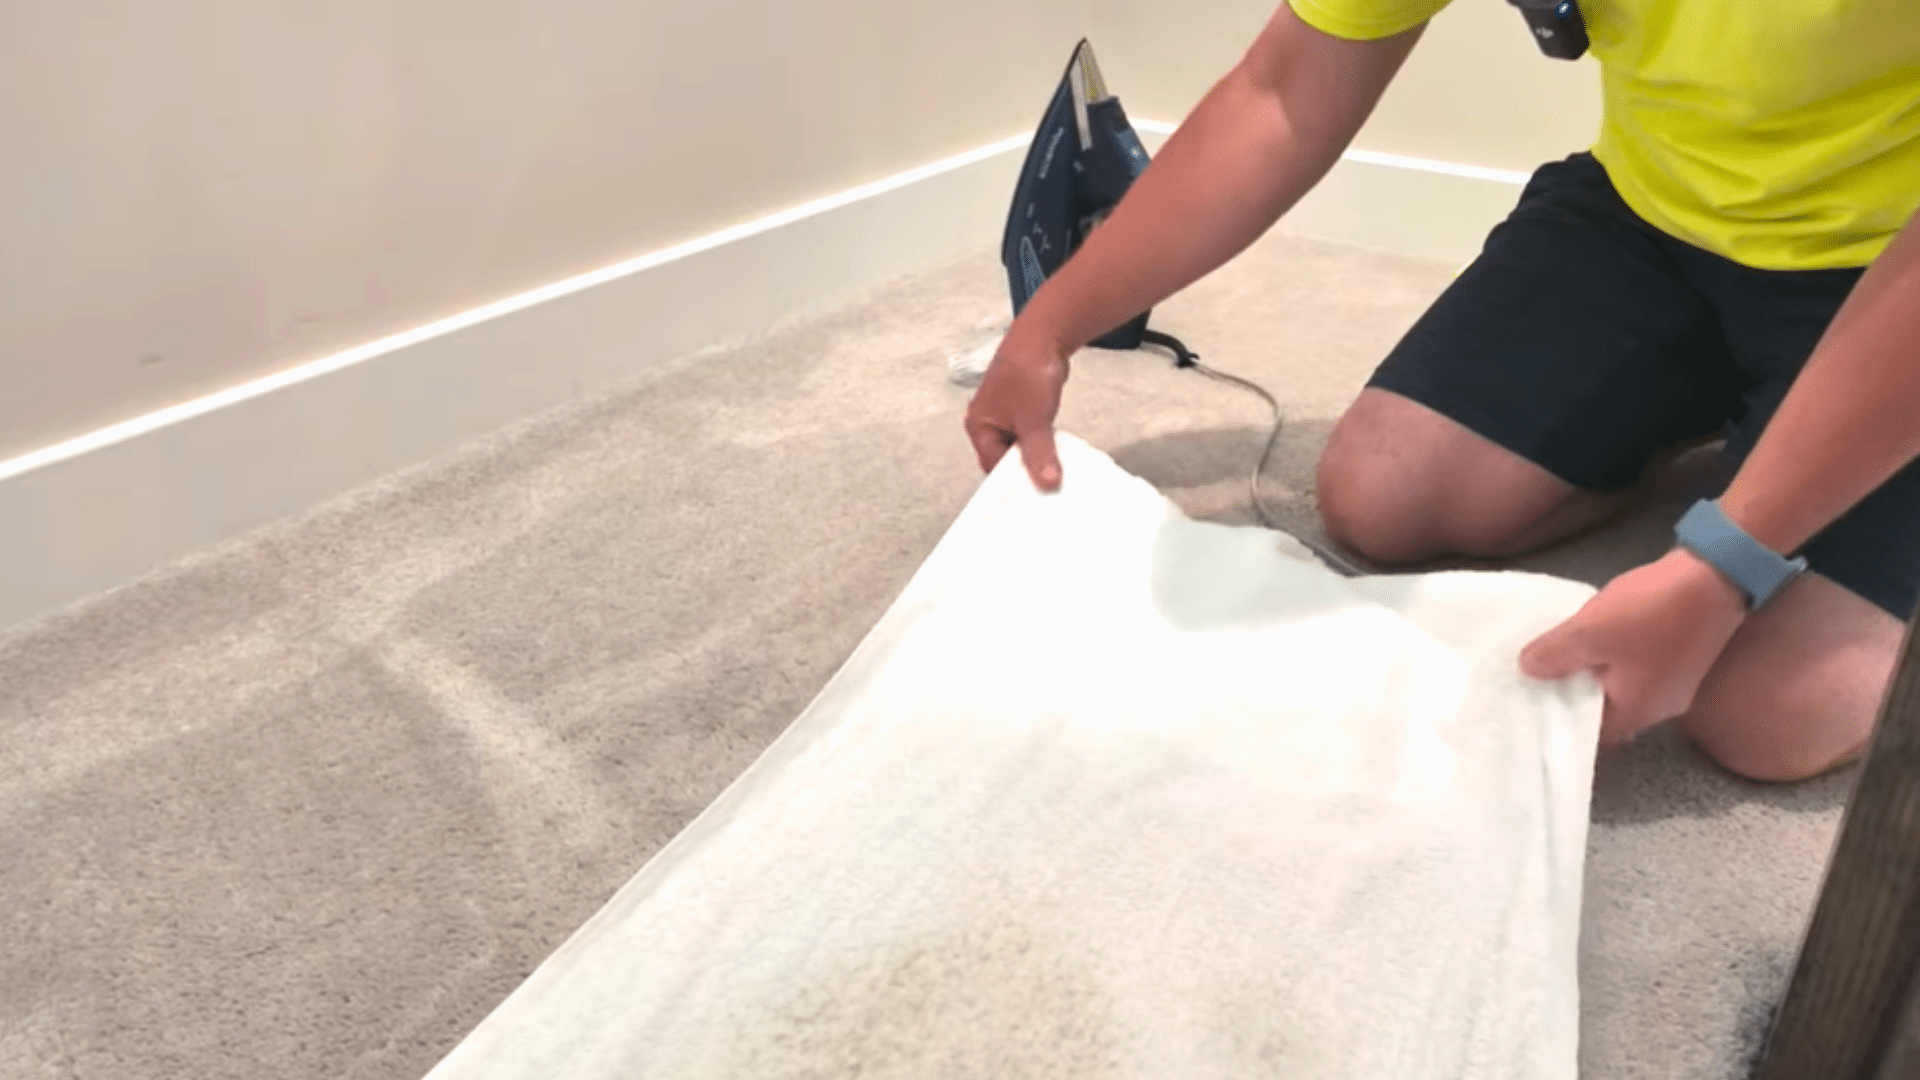
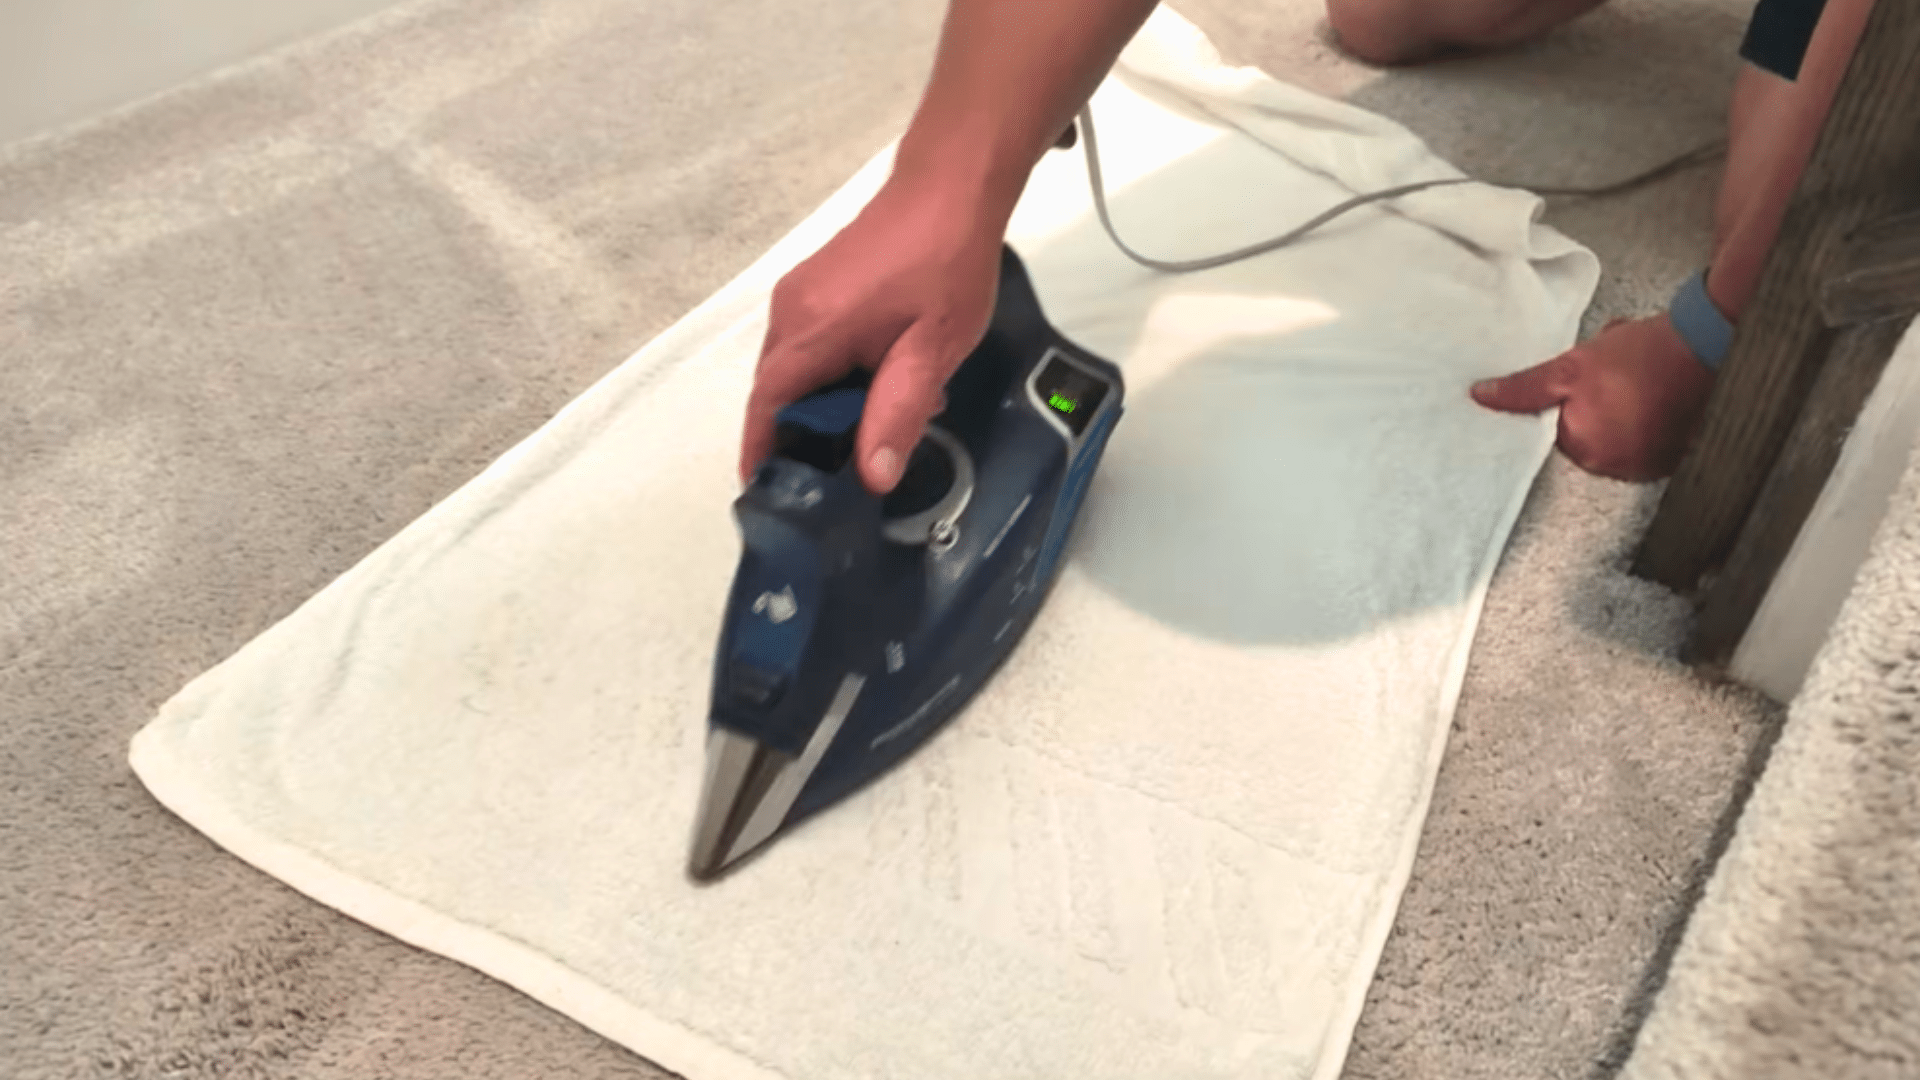
Step 6: Use a Steam Iron or Steamer
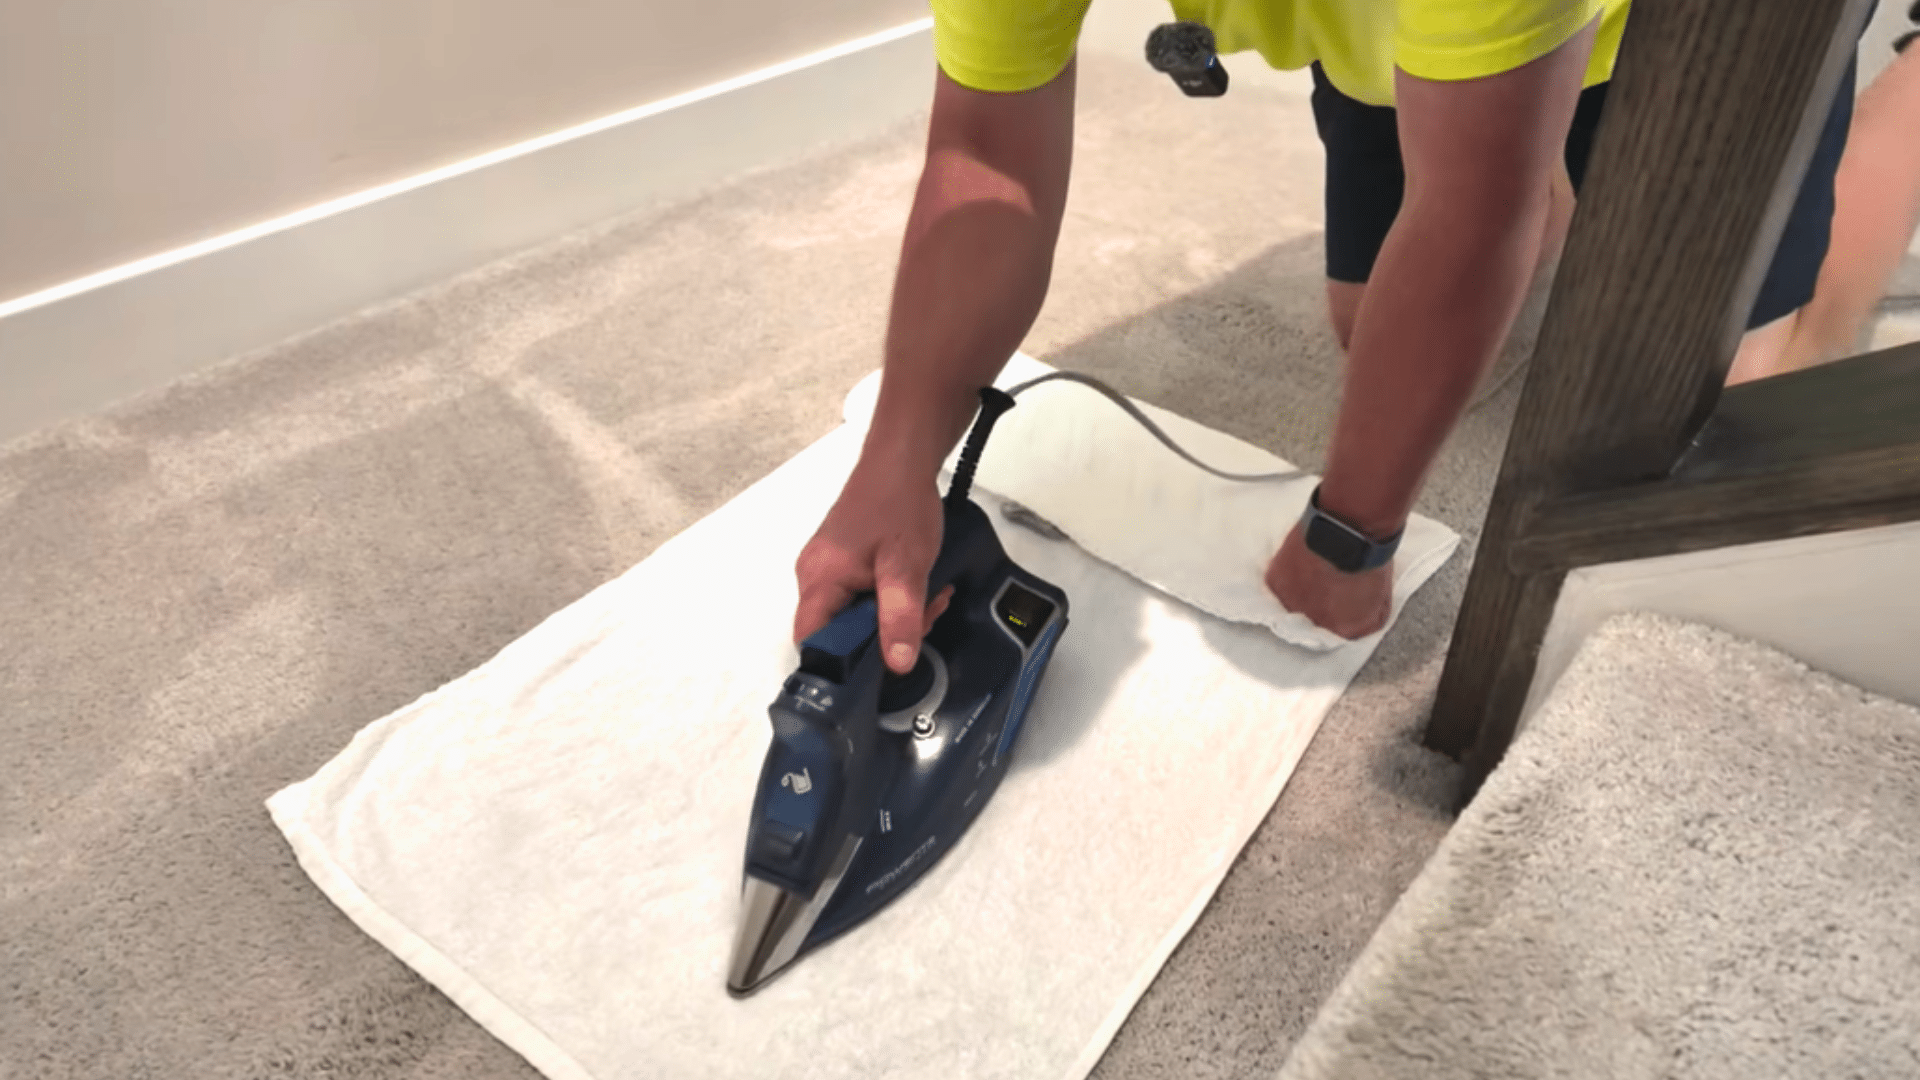
Lay a damp cloth over the stain, then apply steam using an iron or steamer. Move the iron slowly and don’t let it sit in one spot. This prevents damage.
Steam can help lift deep stains that basic cleaning may miss. Keep the heat moving to protect the carpet backing.
If you’re using a regular iron, turn on steam mode only. Avoid dry heat. Skip this step for wool or delicate carpets. Heat can damage the fibers.
Steam works well, but it can also cause harm if used carelessly. Too much heat or moisture may weaken the carpet or its backing.
| Risk Area | What to Know | Safe Practice |
|---|---|---|
| Carpet fibers | Heat can weaken or shrink fibers | Do not use steam on wool or delicate carpets |
| Carpet backing | Glue can loosen under heat | Avoid steam on glued or laminate-backed carpets |
| Color fading | High heat may affect dyes | Test on a hidden spot first |
| Moisture damage | Too much steam can soak the carpet | Use light steam, not heavy moisture |
| Surface burns | Iron left in one place can mark carpet | Keep the iron moving at all times |
Safety Note: Always test first before using steam on any carpet area.
Step 7: Blot and Lift Dirt
Press a clean white towel onto the treated area after steaming to absorb moisture and lift dirt from the carpet.
You may notice the stain transferring onto the towel during DIY carpet cleaning, which shows the process is working. Flip the towel to a clean side and repeat as needed.
Always blot from the outer edge of the stain toward the center to avoid spreading it outward.
Using a microfiber cloth in the final pass absorbs residual moisture more effectively than standard cotton towels and leaves the surface cleaner going into the drying phase.
Step 8 Repeat for Tough Stains
Some stains may need more than one round of DIY carpet cleaning with baking soda to show clear improvement. In such cases, repeat the same steps by applying baking soda and spraying the solution again.
Continue with light scrubbing and steam to treat deeper areas. Repeating the process carefully helps improve results over time and works well for older stains that may not lift on the first attempt.
Let the carpet dry fully between rounds, or you may push the stain deeper instead of lifting it.
Most older stains I’ve worked on show meaningful improvement by the second round and are largely resolved by the third.
Step 9: Dry the Carpet Properly
After cleaning, allow the carpet to dry completely to prevent moisture from being trapped in the fibers.
A fan or open window speeds up drying significantly. In my experience, pointing a box fan directly at the cleaned area cuts drying time from several hours to under two.
Avoid walking on or placing furniture back over the damp section until it’s fully dry, foot traffic on a wet carpet compresses the pile and can cause uneven texture once dry. Keep pets away from the area during this time as well.
Step: 10 Final Vacuum and Check Results

Once the carpet is fully dry, vacuum the area again to remove any leftover baking soda or loosened dirt. This final step completes the rug cleaning process and helps restore the carpet’s normal texture.
Check the cleaned area under natural light, which reveals residue that indoor lighting can miss.
If any baking soda residue remains after vacuuming, a quick pass with a slightly damp cloth followed by another vacuum cycle removes it completely.
Note the result, it helps you know when this method works or when to call a professional.
This tutorial is based on a helpful video by Lemon Branch DIY. You can check out the original video on their YouTube channel here or watch it below.
When This Works vs Doesn’t
This method helps in simple, everyday cleaning situations. It’s best used for surface-level issues, not serious damage.
| Situation | Works Well | Doesn’t Work Well |
|---|---|---|
| Odor removal | Yes, absorbs smells from pets and food | Not effective for mold or strong chemical odors |
| Light stains | Helps lift fresh spills like juice or dirt | Struggles with old, set-in stains |
| Regular maintenance | Good for quick refresh between deep cleans | Not a replacement for full carpet cleaning |
| Pet mess | Reduces smell and light marks | Won’t fully remove heavy urine stains |
| Grease or oil stains | Limited effect | Does not break down oil-based stains |
| Deep dirt in fibers | Slight improvement | Cannot reach deep layers of dirt |
| Delicate carpets | Safe with light use | Risky if overused or scrubbed too hard |
Common Mistakes and How to Avoid Them
To get the best results from DIY carpet cleaning with baking soda, avoid common mistakes. Simple adjustments can improve cleaning and protect your carpet.
- Using too much soap or cleaner: Avoid adding extra products during DIY carpet cleaning. Stick to baking soda and vinegar to prevent residue.
- Leaving the iron in one spot: Keep the iron moving while steaming. This prevents heat damage during rug cleaning.
- Skipping the vacuum step: Always vacuum before starting. This helps the cleaning process work better.
- Over-wetting the carpet: Use controlled spraying instead of soaking. Too much water can slow drying.
Is Baking Soda Safe for Different Carpet Types
Before starting DIY carpet cleaning with baking soda, it’s important to know how different carpet materials react to it. While baking soda is generally safe, some fibers need extra care to avoid damage.
| Carpet Type | Safe to Use Baking Soda | What to Keep in Mind |
| Wool | Yes with caution | Use small amounts and avoid excess moisture or heat |
| Nylon | Yes | Strong fibers handle baking soda and cleaning well |
| Polyester | Yes | Safe and effective for stain and odor removal |
| Olefin (Polypropylene) | Yes | Works well, but avoid heavy scrubbing |
| Silk or Delicate Fibers | No | Baking soda may damage delicate fibers |
| Blended Carpets | Depends | Test on a small area before full rug cleaning |
How to Do a Patch Test?
Start by picking a hidden spot, like under a sofa or in a corner. This keeps any risk out of sight. Sprinkle a small amount of baking soda on that area.
Lightly spray your vinegar and water mix over it. Don’t soak it. Let it sit for about 10 minutes so the reaction can work.
After that, blot the area with a clean cloth to remove moisture. Let it dry fully before checking. Look closely for any color change, rough texture, or fiber damage. Run your hand over it to feel the surface.
If everything looks and feels normal, you can safely use this method on the rest of the carpet. It’s a quick step, but it helps avoid bigger problems later.
How to Maintain Carpet Between Deep Cleans?
Small habits can keep your carpet looking fresh for longer. These steps help reduce buildup and make cleaning easier later.
- Vacuum regularly: Clean high-traffic areas 2–3 times a week. This stops dirt from settling deep into fibers.
- Treat spills quickly: Blot spills as soon as they happen. Fast action prevents stains from setting.
- Use baking soda for odor control: Sprinkle lightly, wait 10–15 minutes, then vacuum. This keeps the carpet smelling fresh.
- Limit shoes indoors: Dirt from shoes wears down carpet fibers over time. Use a shoe-free rule if possible.
- Rotate furniture: Move items slightly every few months. This prevents uneven wear and dents.
- Use rugs in busy areas: Place rugs in entryways and hallways. They catch dirt before it reaches the carpet.
- Keep pets groomed: Regular brushing reduces hair and dirt buildup on carpets.
Conclusion
I’ve tried many carpet cleaning methods, and this one is simple and works. It’s easy, low-cost, and doesn’t need special tools or strong chemicals.
With the right steps and realistic expectations about what this method can achieve, baking soda and vinegar handle the majority of everyday carpet stains and odors without leaving residue behind.
For renovation projects I’ve worked on, it’s been a reliable first-pass option before deciding whether professional equipment is actually needed.
It also works well for regular rug cleaning, especially after moving in or dealing with daily mess. The process is simple, repeatable, and fits into your routine with little effort.
Give it a try and see how it works for your space. Start today and enjoy cleaner carpets with a method you can trust.
Frequently Asked Questions
How Long Is Too Long to Leave Baking Soda on Carpet?
In mostrug cleaning cases, 10 to 15 minutes is enough. Leaving it too long may make it harder to remove, especially on thick carpets.
What Is the Best Homemade Carpet Cleaning Solution?
A mix of vinegar and hot water works best for DIY carpet cleaning with baking soda. It reacts well with baking soda to break down stains and odors.
Can DIY Carpet Cleaning Remove Old Stains?
Yes, DIY carpet cleaning can improve old stains with repeated treatment. Deep stains may need multiple rounds for better results.
Will This Method Damage Carpet Fibers?
No, DIY carpet cleaning with baking soda is safe when done gently. Avoid harsh scrubbing or too much heat to protect the fibers.
How Often Should You Clean Carpets at Home?
For regular rug cleaning, once every few months works well. High-traffic areas may need more frequent cleaning to stay fresh.