
Painting a wall can feel a little confusing the first time. I remember wondering where to start, what tools to buy, and how to keep the paint from looking messy.
The good news is that it’s easier than it seems once you know the basics.
In this guide to painting a wall for beginners, let’s walk through the simple steps to make the job go more smoothly. You’ll learn how to prepare the wall, choose the right tools, and apply paint the right way.
I’ll also share tips that help you avoid streaks, roller marks, and uneven spots.
If you’re planning your first painting project, this article will help you feel more confident before you open the paint can. By the end, you’ll know how to paint a wall neatly and get results that look clean and even.
How to Prepare a Wall Before Painting
Before you start painting, take a few minutes to prepare the wall. This step makes a big difference in how the paint looks later. I always tell beginners that good prep work saves time and fixes problems before they start.
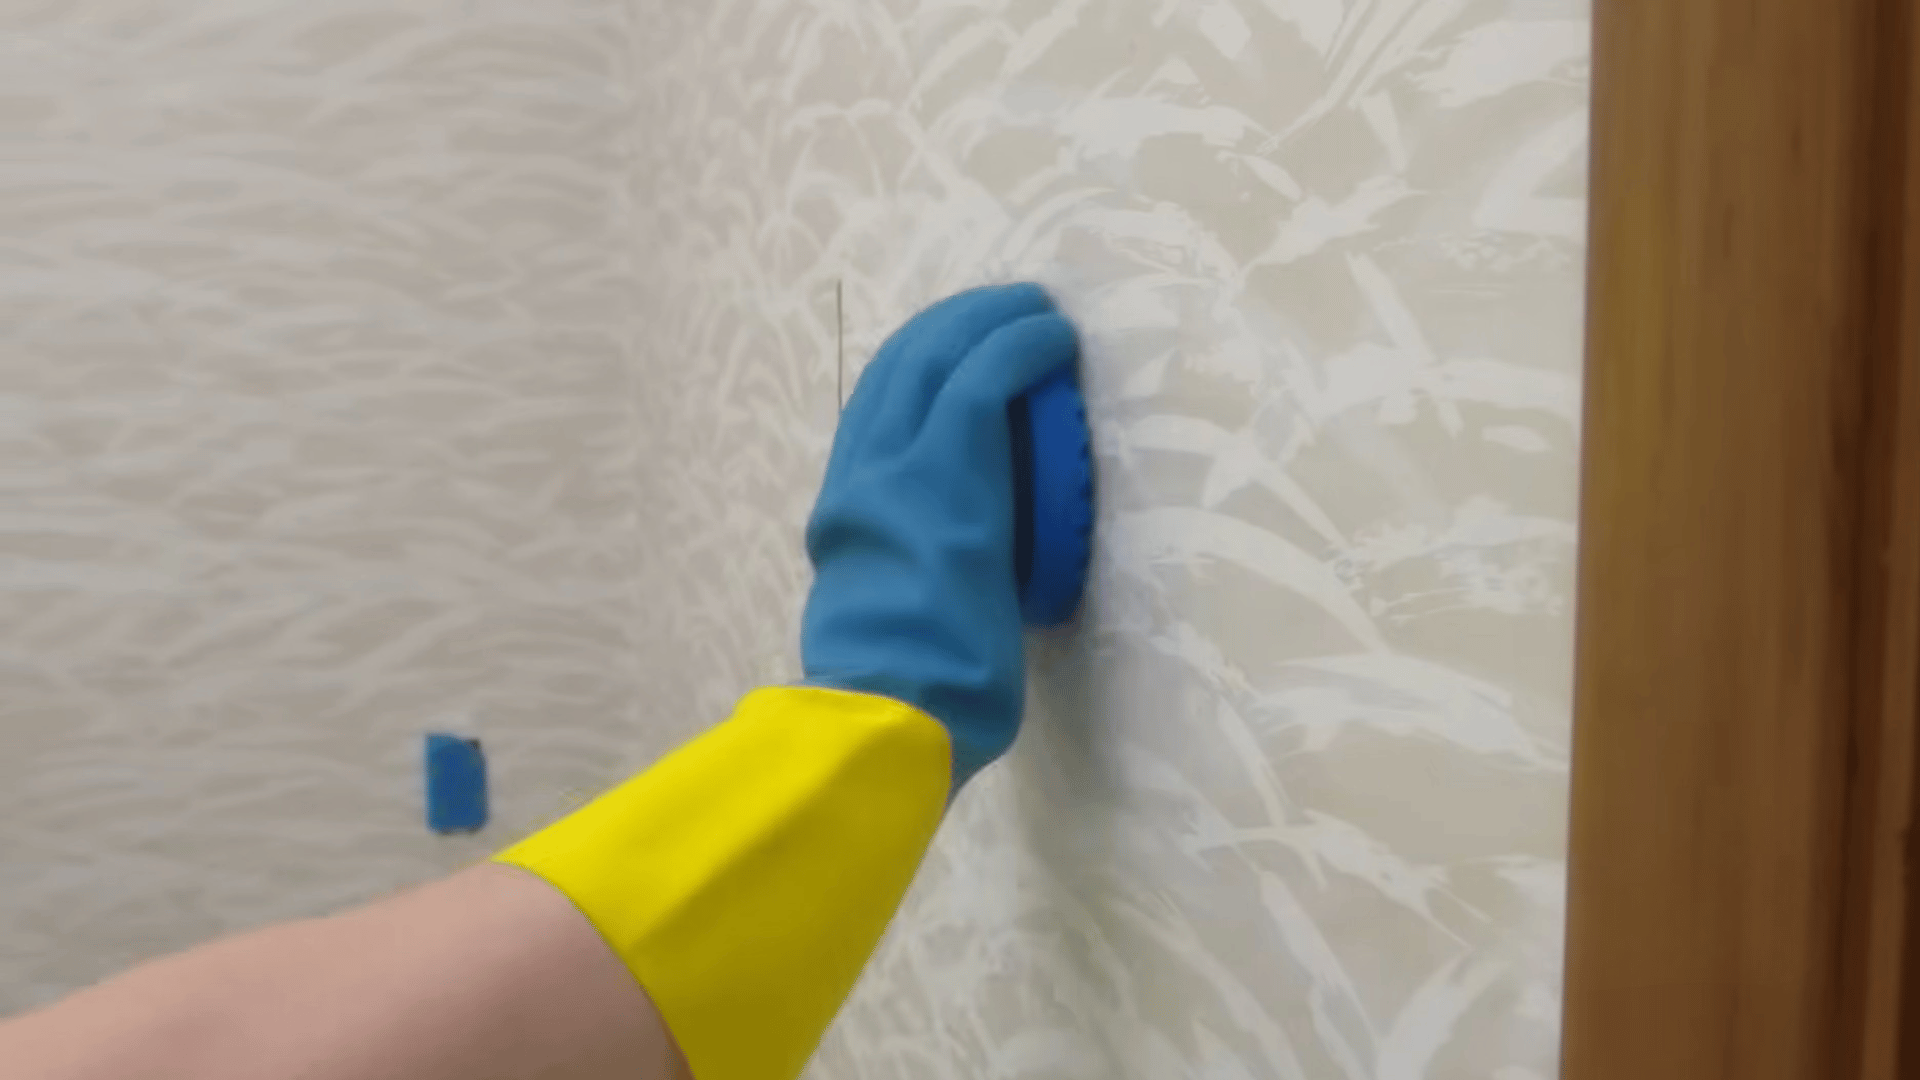
First, look closely at the wall. Check for dust, grease, nail holes, or peeling paint. If you paint over these, the finish may look rough. Start by removing nails, hooks, and loose paint. A small scraper or putty knife works well for this.
Next, wipe the wall with a damp cloth or mild cleaner. This removes dust and grease, helping the paint stick better. Let the wall dry fully before moving on.
If you see holes or small cracks, fill them with wall filler. After it dries, lightly sand the area to make it feel smooth. A smooth wall helps paint spread evenly and look clean.
Taking these simple steps helps the paint go on smoothly and last longer. Good preparation is the base of a neat paint job.
Clean and Repair the Wall Surface
Before painting, I always take a few minutes to clean and fix the wall. Even small dirt spots or damage can affect how the paint looks later. Start by removing dust, grease, or stains.
Use a soft cloth or sponge with mild soap and water to wipe the wall, especially around switches and other areas people often touch. Let the wall dry completely.
Next, check for nail holes or small cracks. Fill these spots with wall filler or spackling paste using a putty knife. Press the filler in and smooth it so it sits level with the wall.
After it dries, lightly sand the repaired area. Fine sandpaper helps create a smooth, even surface so the paint blends better.
Once sanding is done, dust may still sit on the wall. Wipe the wall one more time with a clean, damp cloth. This simple step helps the paint stick well and go on evenly.
Protect Floors and Furniture Before Painting
 Before opening the paint can, I always make sure the room is protected. Paint can drip or splash while you work, and it is much easier to prevent a mess than to clean it later.
Start by moving small furniture out of the room if possible. For larger items that cannot be moved, cover them with plastic sheets or old cloths. This keeps paint dust and splashes from landing on them.
Next, protect the floor. Use drop cloths or plastic sheets to cover the entire work area. Spread them flat so they stay in place while you move around with the roller.
It also helps to tape edges carefully. Apply painter’s tape along trims, outlets, and baseboards so paint does not spread onto areas you want to keep clean.
Taking a few minutes to protect the room helps you paint with less stress and keeps cleanup simple afterward.
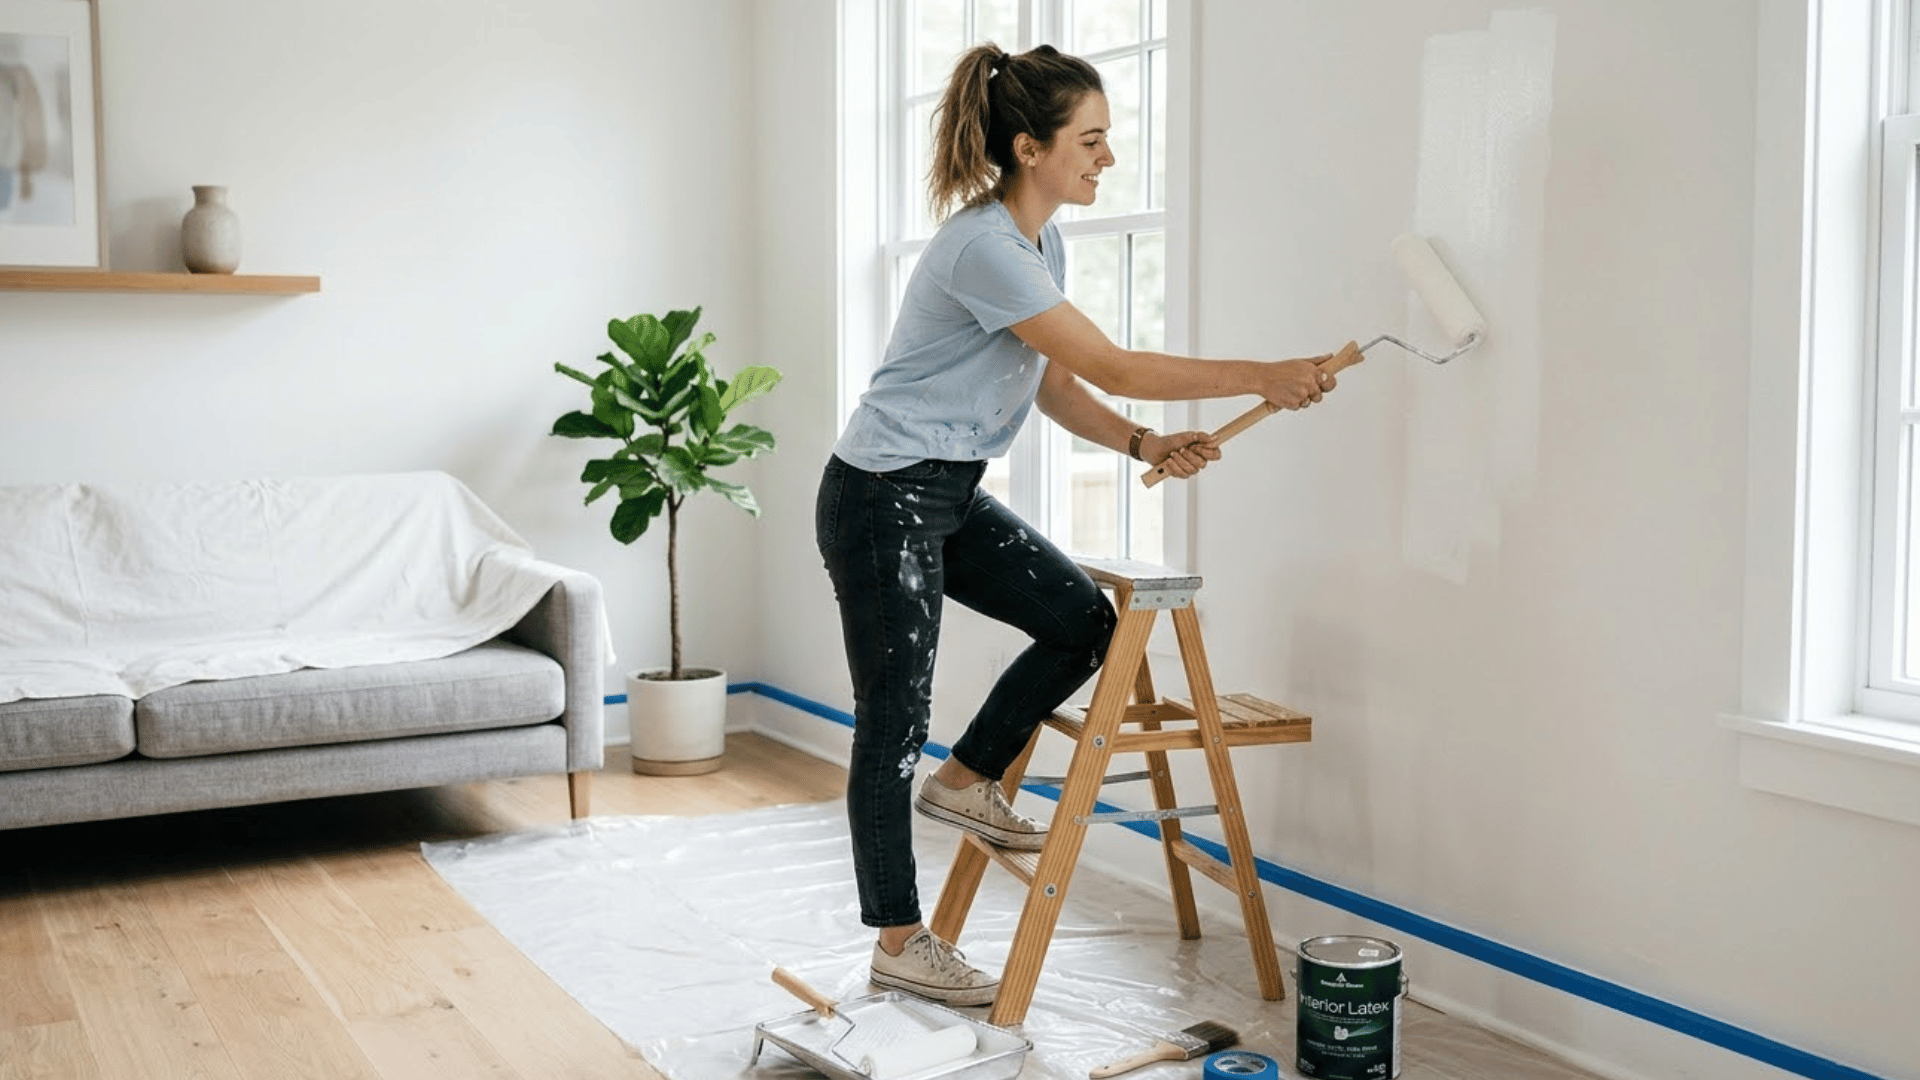
How to Paint a Wall For Beginners
Painting a wall is one of the easiest ways to refresh a room without spending a lot of money. If you’re doing it for the first time, the process may feel a bit confusing. I’ve been there too.
Once you understand the basic steps, the job becomes much easier, and the results look much better. By following these steps slowly and carefully, you can paint a wall that looks smooth, clean, and professionally done.
Tools and Materials You Need to Paint a Wall
Having the right tools nearby makes the job easier and less stressful. When everything is ready before you start, painting goes much more smoothly.
- Paint roller
- An angled brush
- A paint tray
- A stir stick
- Paint Can opener
- Drop cloths
- Painter’s tape
- Sandpaper
Step 1: Prepare the Wall Before Painting
Preparation is the most important part of painting. The key to a good paint job.
Before you start painting, check the wall surface carefully. Look for dust, grease, nail holes, or peeling paint. Cleaning and fixing these small issues helps the paint stick better and look smooth when it dries.
Start by wiping the wall with a damp cloth or mild cleaner. This removes dust and oils that could affect the paint. If you see holes or small cracks, fill them with wall filler and smooth the area with a putty knife.
Once the filler dries, lightly sand the area to make it even with the wall. A smooth surface helps paint spread evenly.
Taking the time to properly prepare the wall will make the entire painting process easier and yield better results.
Step 2: Calculate How Much Paint You Need
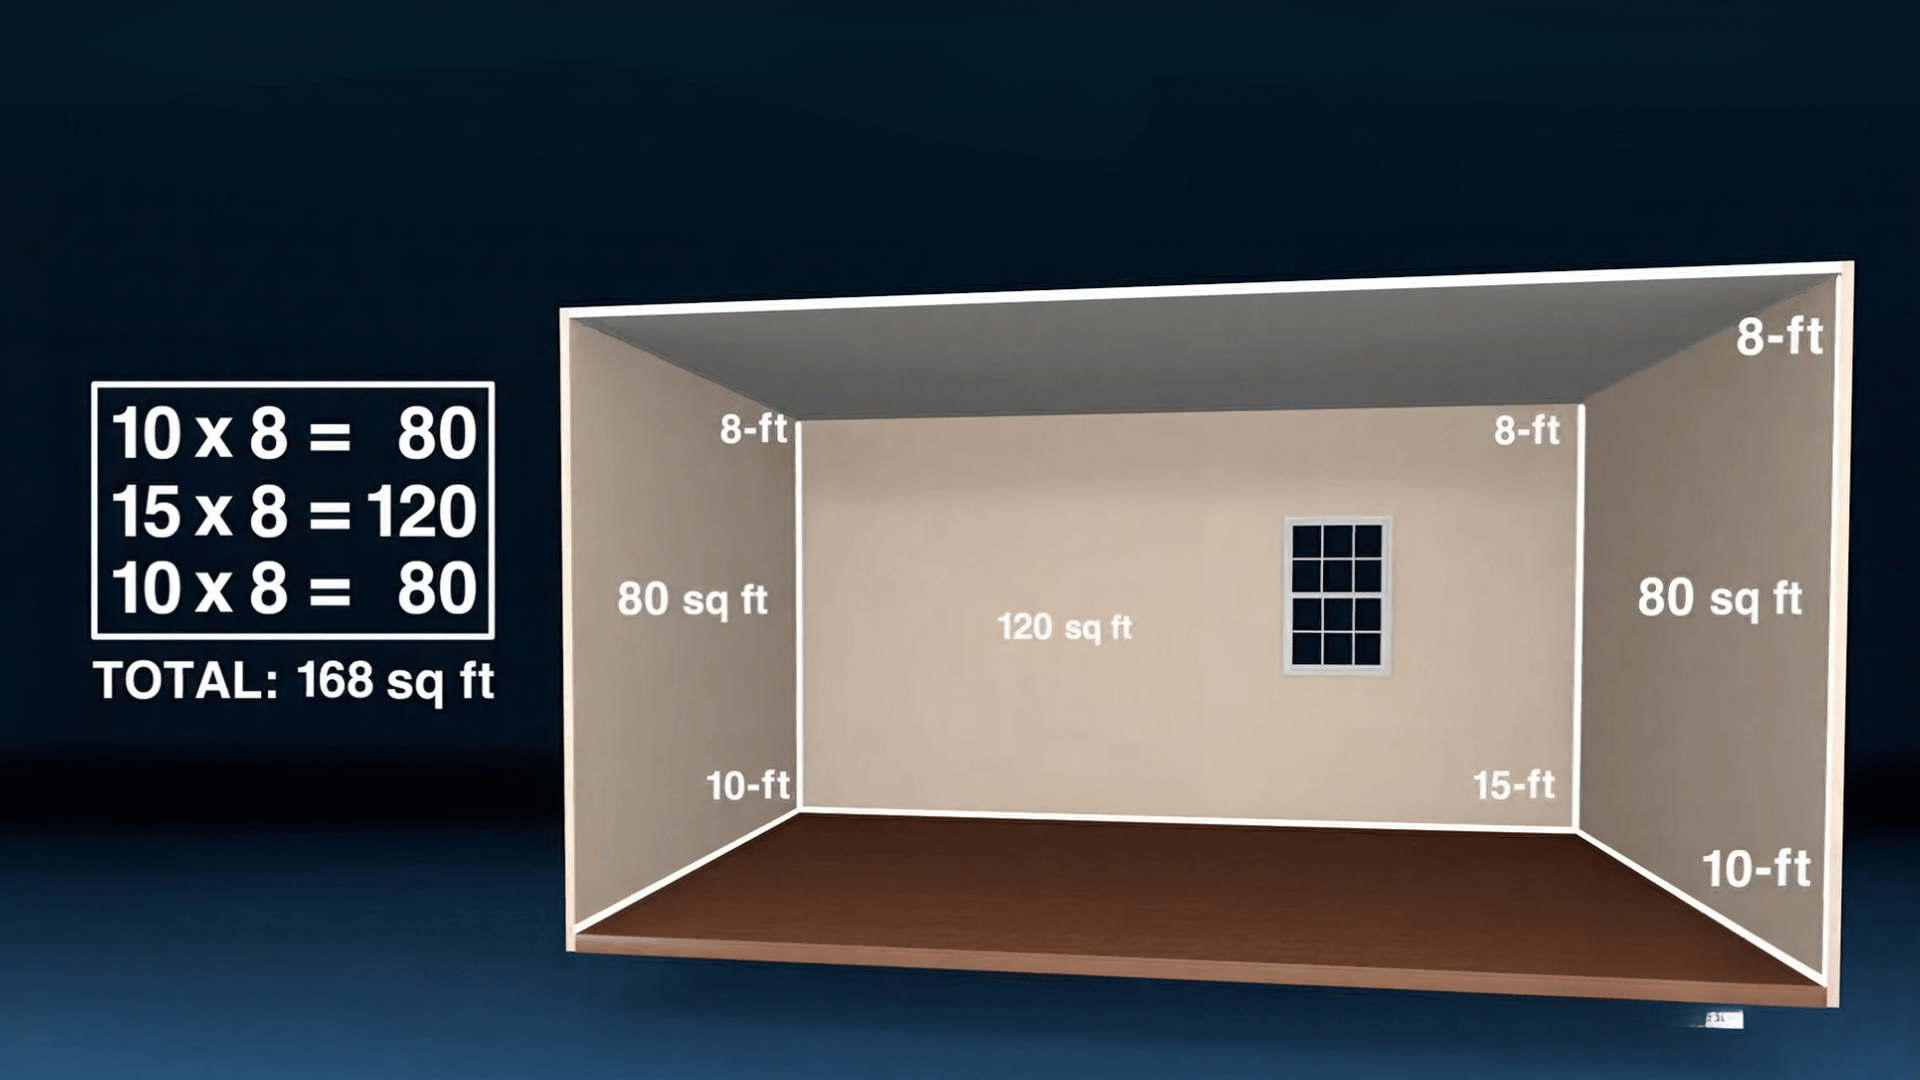
Running out of paint halfway through a wall can be frustrating. The video explains a simple rule to help beginners estimate how much paint to buy.
In most cases, one gallon of paint covers about 400 square feet.
To estimate how much paint you need, measure the length and height of the wall. Multiply these numbers to get the total square footage.
For example:
Length × Height = Square Footage
If you are painting multiple walls, repeat this step for each wall and add the totals together. If you plan to paint trim as well, measure the trim length in feet and multiply it by 0.5 to estimate the paint area.
This quick calculation helps you buy enough paint before starting the project.
Step 3: Follow the Correct Painting Order
Painting in the right order keeps the job neat and easier to manage.
The order should be:
- Paint the ceiling first
- Paint the walls next
- Finish with trim and baseboards
This method prevents paint drips from landing on finished surfaces.
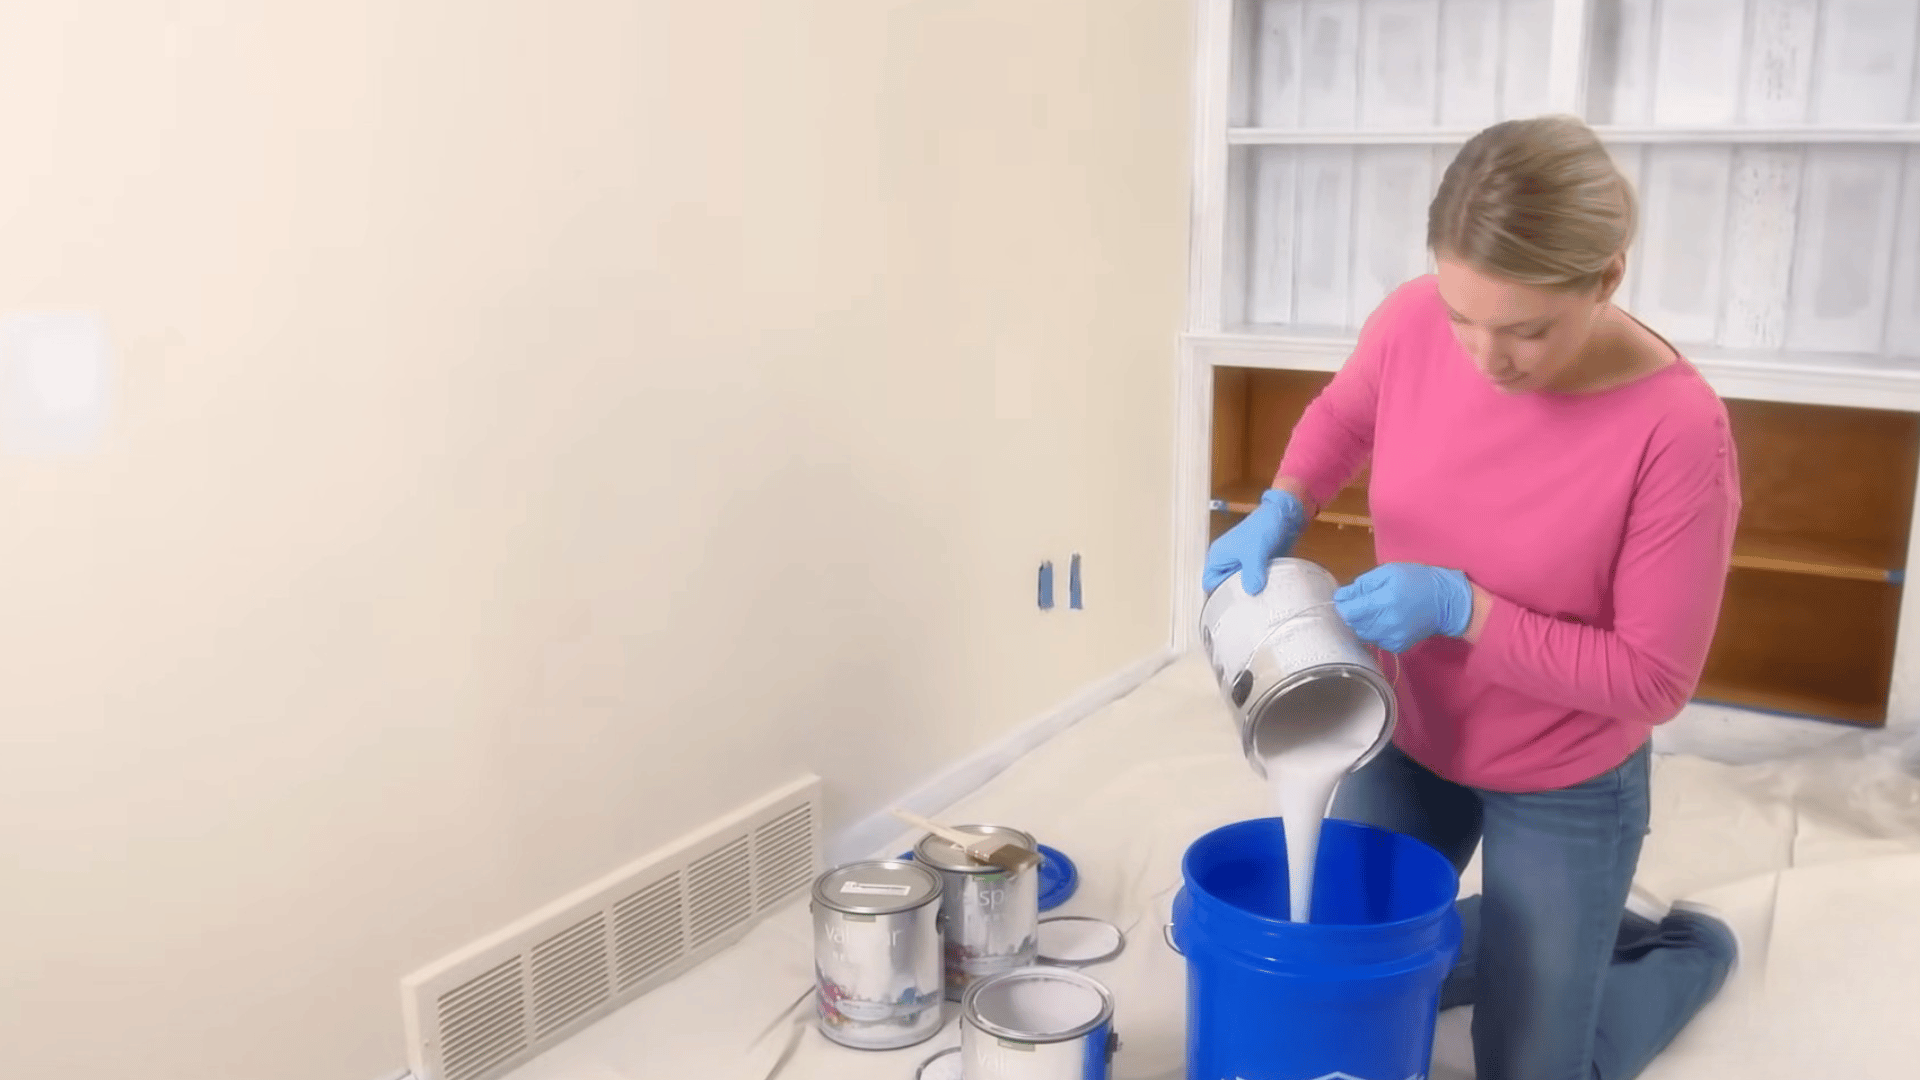
If you’re using more than one gallon of paint, the video also suggests mixing them together in a large bucket. This method is called boxing the paint.
Mixing the paint ensures the color remains consistent throughout the room.
Step 4: Cut in the Edges With a Brush

Before using a roller, you need to paint the edges of the wall. This step is called cutting in.
Start by dipping the brush about one-third of the way into the paint. Instead of scraping the brush against the can, lightly tap it on the sides to remove extra paint.
Hold the brush like a pencil and paint along the edges of the wall. Use smooth strokes and gently spread the paint outward to avoid drips.
This step creates clean lines along corners, ceilings, and edges where the roller cannot reach.
Step 5: Load the Roller Correctly
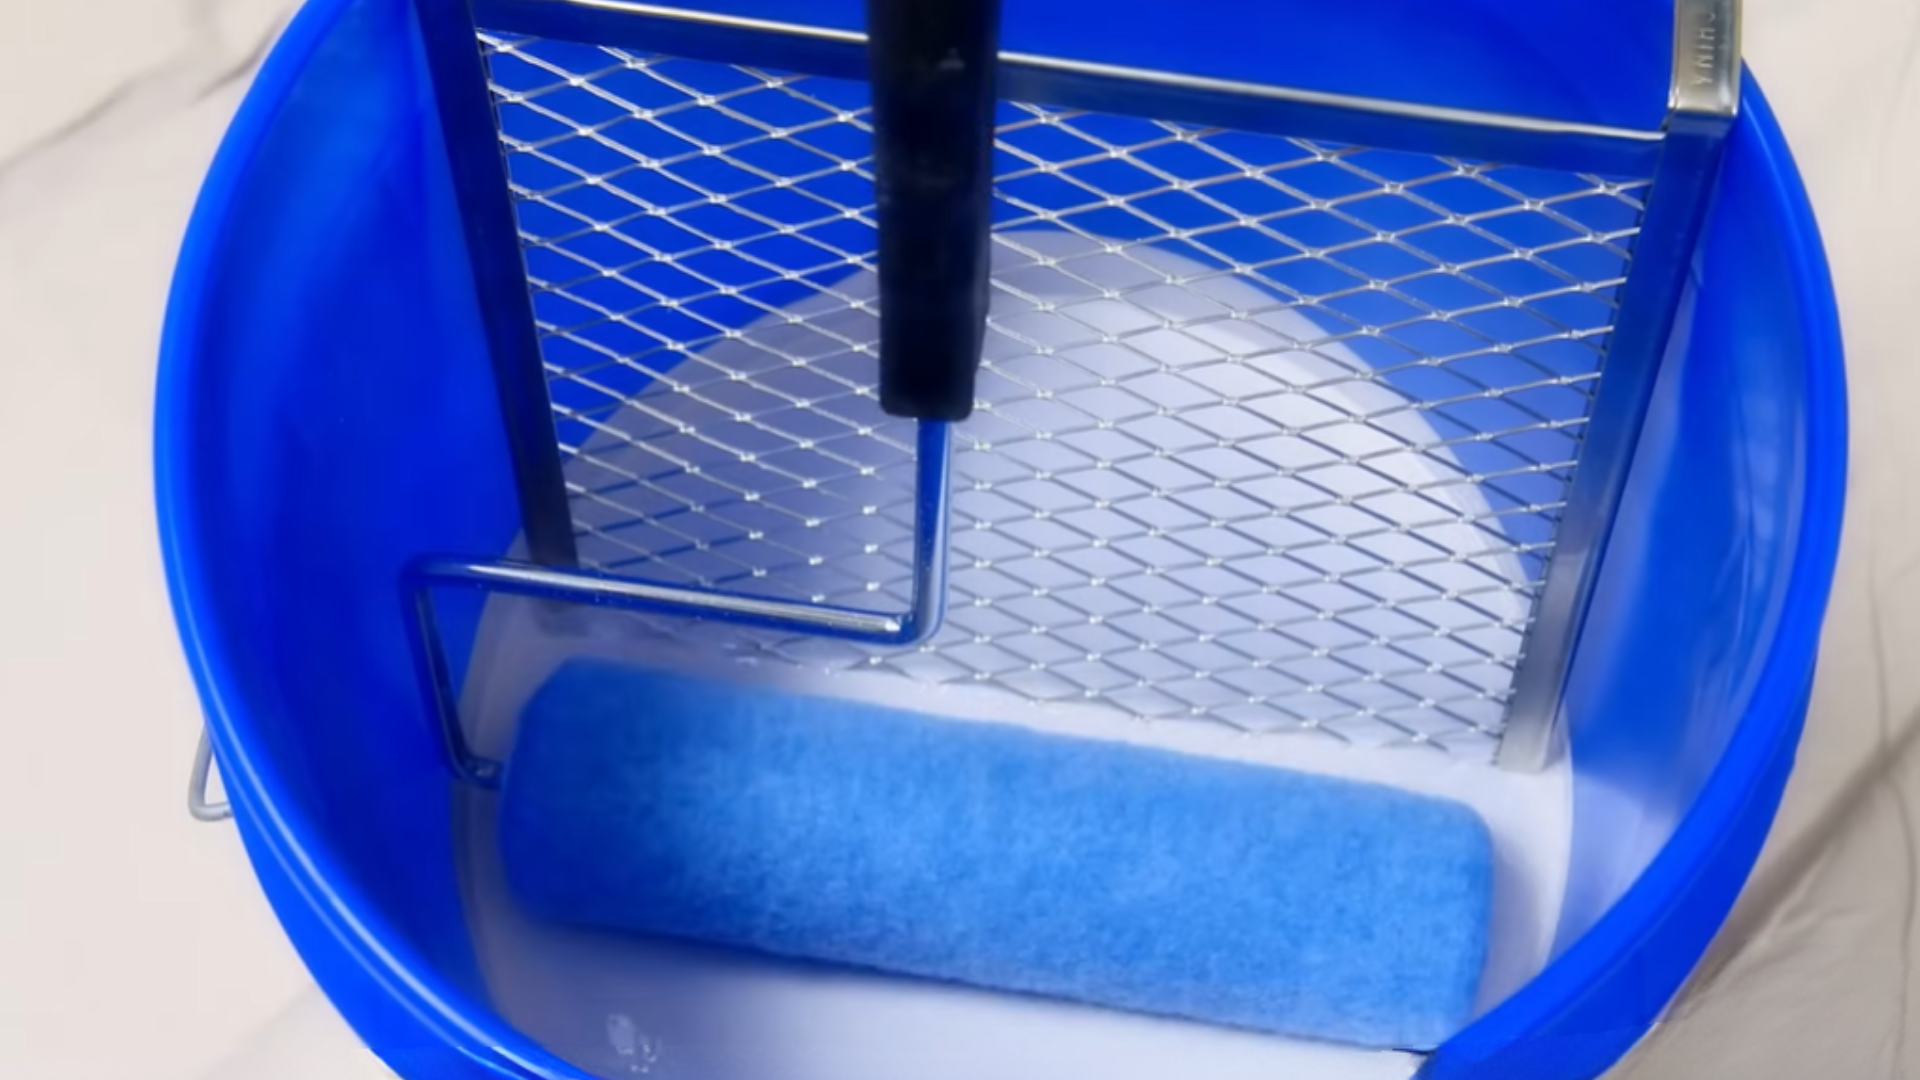
Using a roller helps you cover large wall areas quickly. However, loading the roller the right way makes a big difference.
First, slightly dampen the roller cover with a wet rag. This helps the roller absorb paint more evenly. Next, dip the roller lightly into the paint tray or bucket. Roll it back and forth to spread the paint evenly.
Avoid submerging the roller fully in paint. Too much paint will cause drips and splatter. A properly loaded roller spreads paint smoothly across the wall.
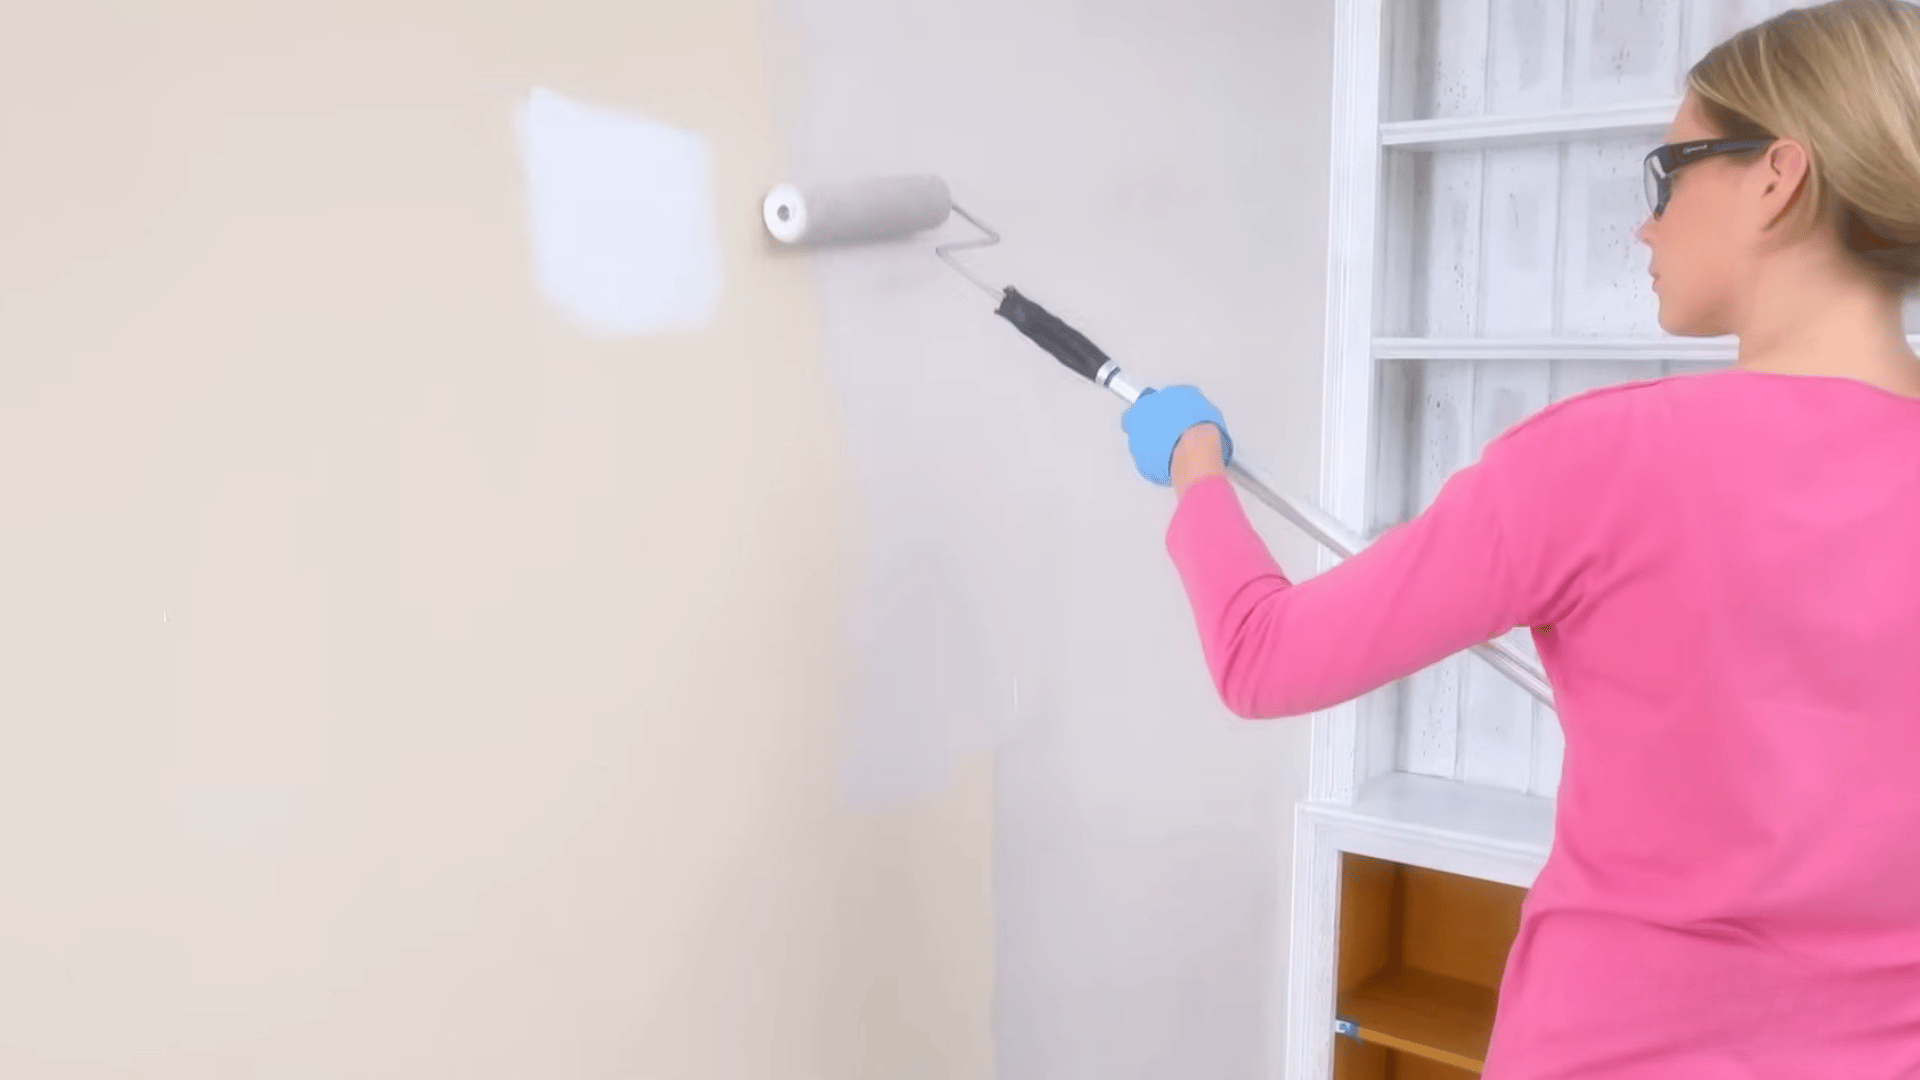
Step 6: Apply Paint Using the Zig-Zag Method

Now it’s time to start painting the wall.
Start near the edge of the wall and roll the paint using azig-zag or “W” pattern. This pattern spreads paint across the surface before you smooth it out.
After the zig-zag strokes, roll over the area again in different directions. This helps fill gaps and creates even coverage. Move slowly while rolling. Fast rolling can cause paint splatter.
Work in sections about four feet wide, finishing one section before moving to the next.
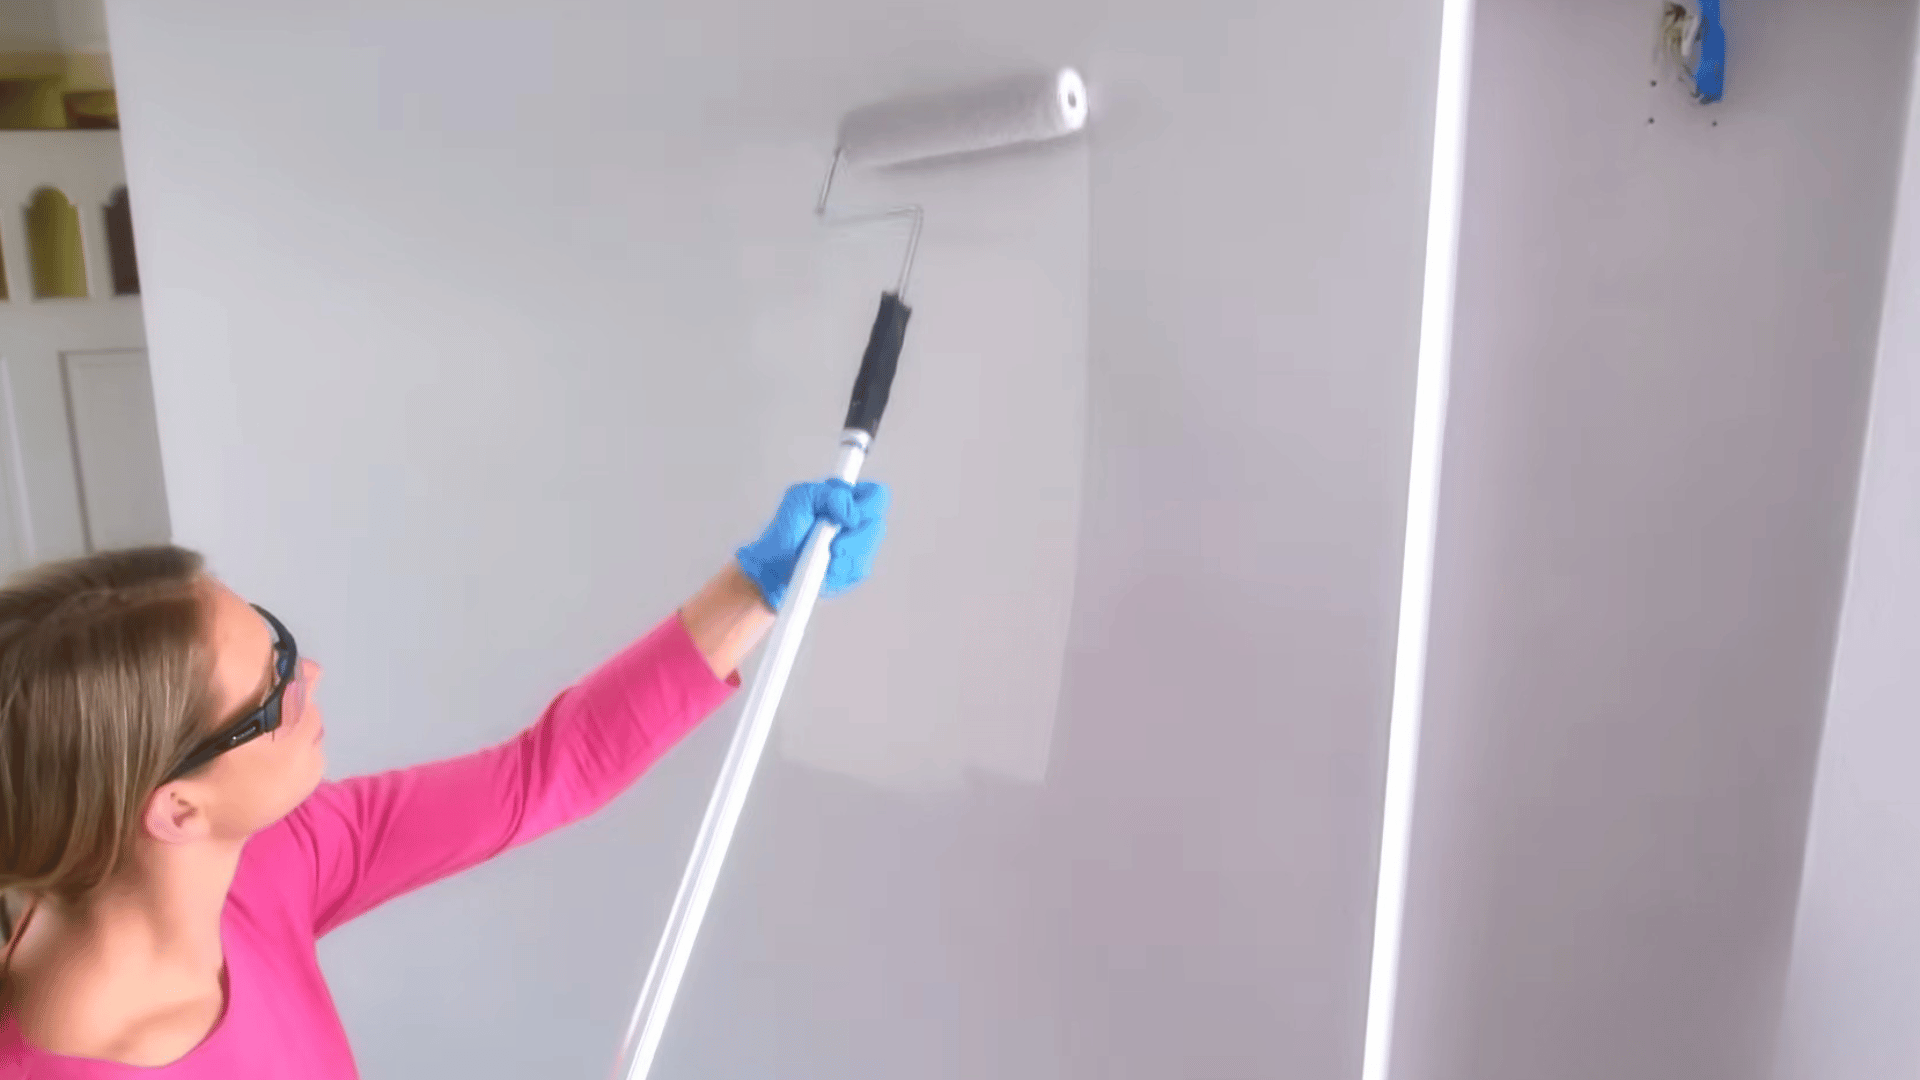
Step 7: Smooth the Paint with “Laying Off”
After the paint is spread across the wall, you can smooth the surface.
This step involves lightly rolling over the painted area without adding more paint. The roller evens out thick spots and removes visible roller lines.
Use gentle pressure and roll downward slowly. This small step helps create a clean and smooth finish on the wall.
Step 8: Apply Two Coats for Best Coverage
One coat of paint often isn’t enough to fully cover the wall. Start with one complete coat on the wall. Allow it to dry according to the paint instructions.
Once dry, apply the second coat using the same roller technique. The second coat helps improve color depth and ensures the wall looks even.
Paint one wall at a time to keep the finish consistent.
Step 9: Tape The trim Before Painting it
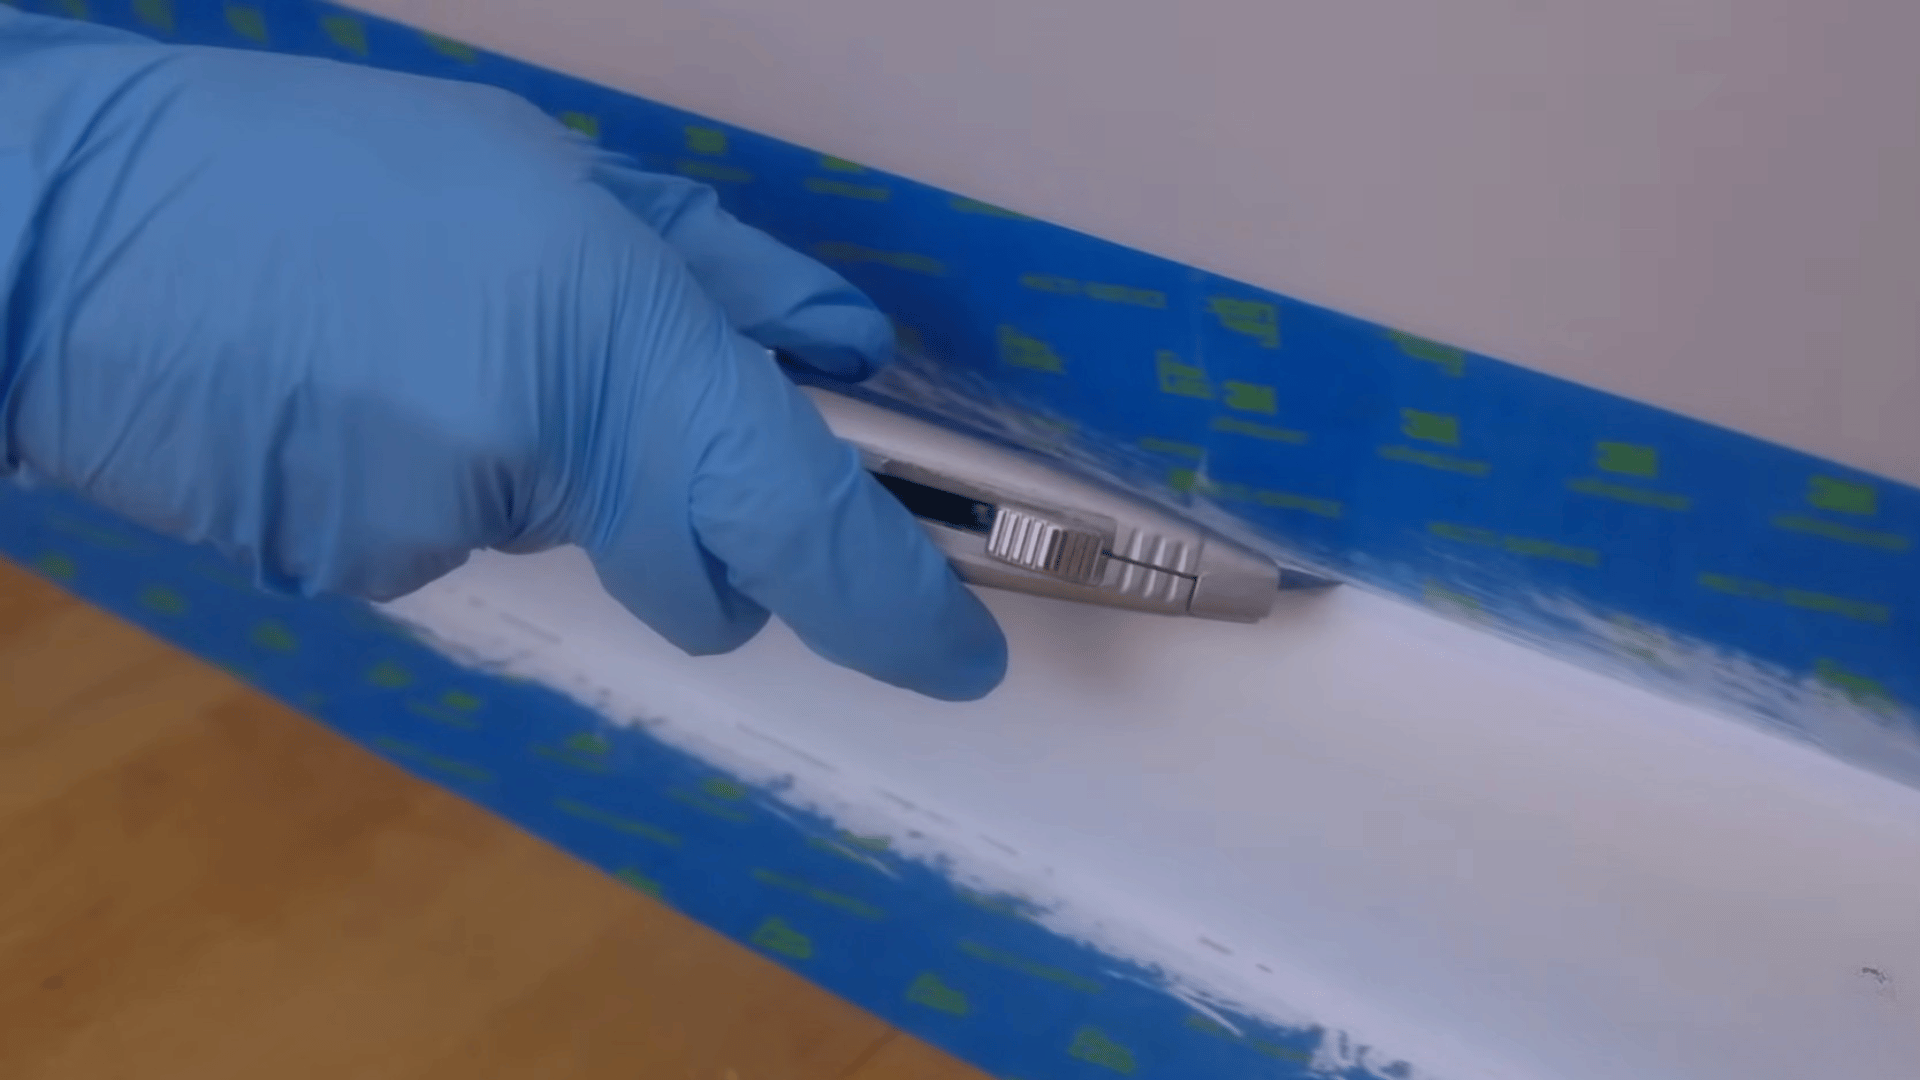
Once the walls are completely dry, you can move on to the trim and baseboards.
Place painter’s tape carefully along the edge where the trim meets the wall. Press the tape down firmly with a plastic putty knife to create a tight seal.
This step helps create straight lines and prevents paint from bleeding onto the wall. After painting the trim, remove the tape once the paint has dried.
If the tape sticks slightly, a utility knife can help cut along the edge before removing it.
Step 10: Clean Up Your Painting Tools
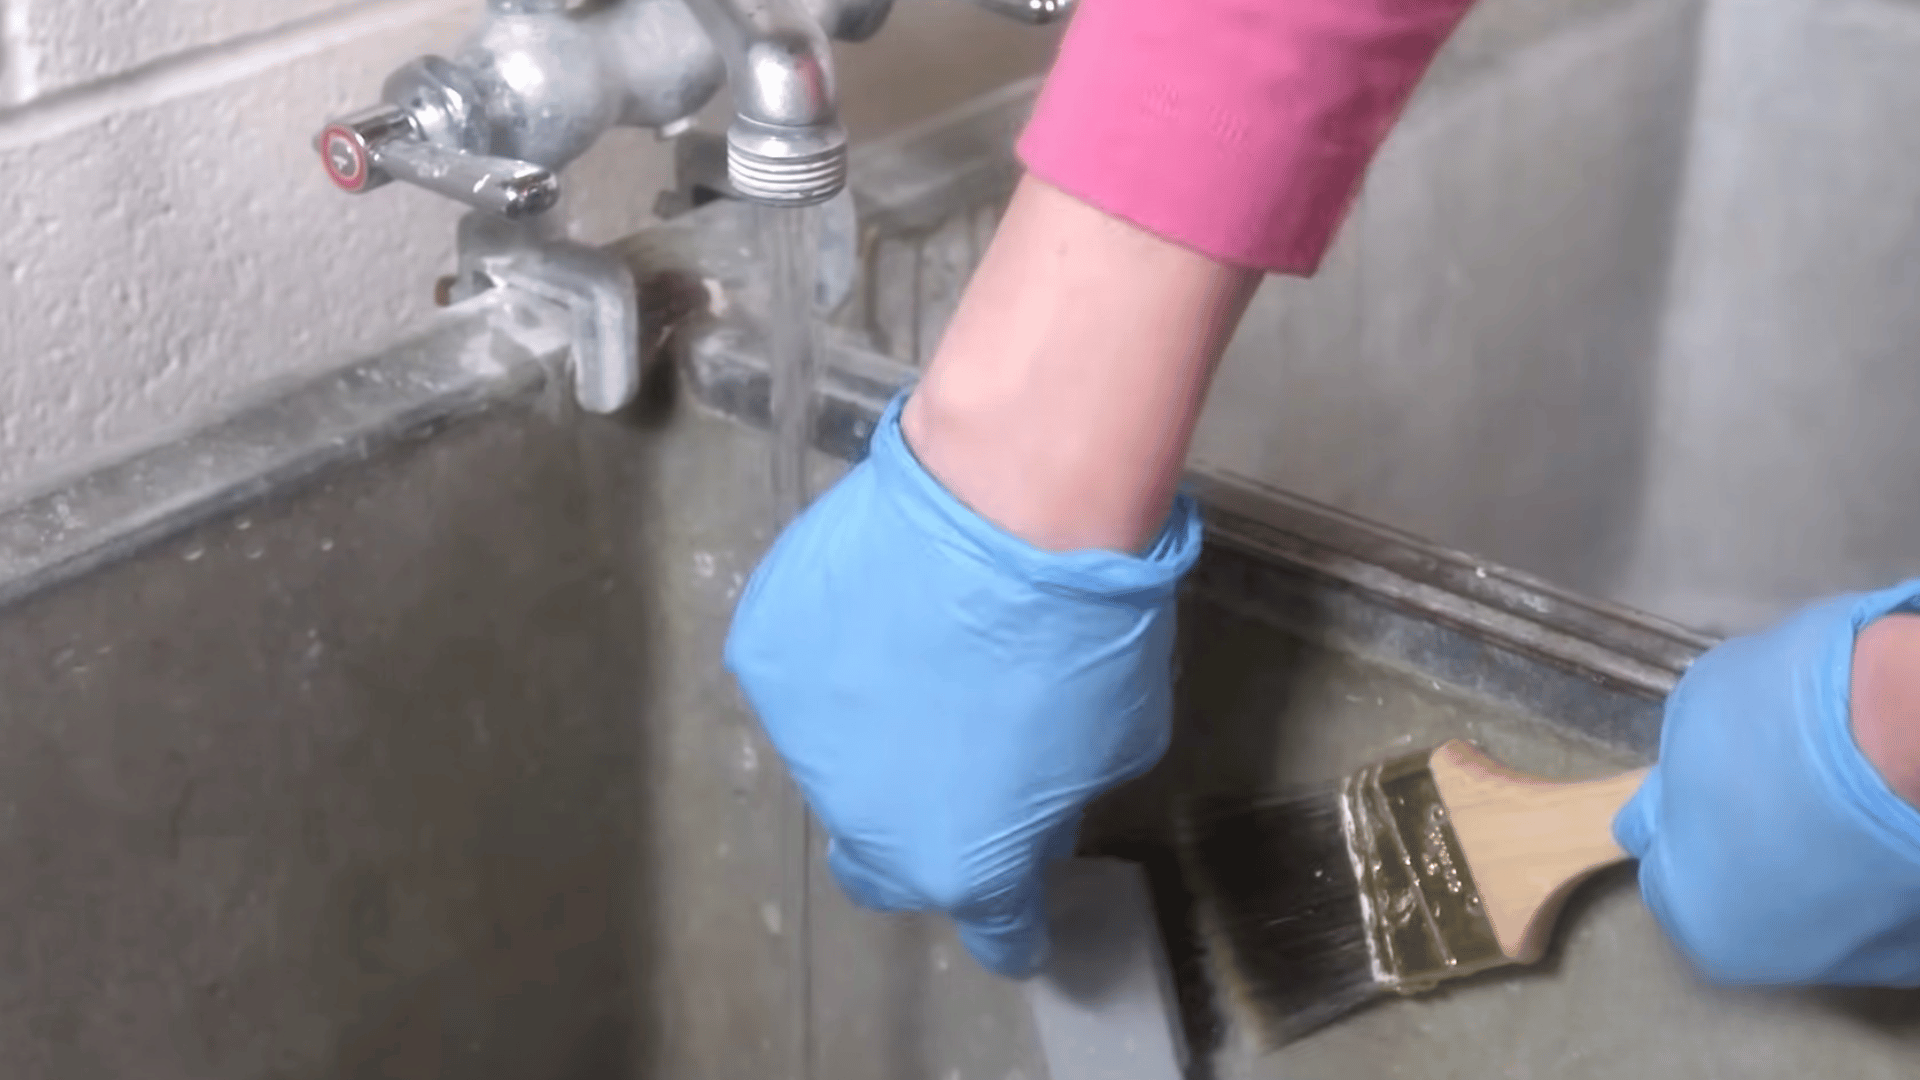
Cleaning your tools properly helps them last longer for future projects.
For latex paint, rinse brushes under running water. Use a brush cleaner or your fingers to remove paint from the bristles.
You can also apply a small amount of hand cleaner to help remove leftover paint. Rinse again, reshape the brush, and let it dry.
For rollers, use a 5-in-1 tool to remove excess paint from the roller cover. Store rollers upright so they keep their shape. Proper cleanup keeps your tools ready for the next project.
Check out this video for more detailed steps to paint a wall:
Using a Roller And Brush Properly
Using the right tool in the right way makes painting easier and cleaner. A few simple habits can help you achieve smooth, even results without marks.
| Feature | Brush | Roller |
|---|---|---|
| Best Use | Edges, corners, trims, and small areas | Large, flat wall surfaces |
| Control | High control for detailed work | Less control, but faster coverage |
| Speed | Slower | Faster |
| Finish | Smooth in tight spaces | Even finish across big areas |
| Paint Coverage | Uses less paint at a time | Covers more area quickly |
Common Wall Painting Mistakes Beginners Make
Small mistakes can affect how your wall looks in the end. I’ve seen that most beginner issues come from rushing or skipping simple steps. The good part is that these are easy to fix once you know what to watch for.
- Skipping Surface Preparation: Failing to clean or repair the wall before painting can result in rough, uneven paint. Always clean, repair, and sand the wall so the paint sticks properly.
- Using The Wrong Paint or Tools: Choosing low-quality tools or the wrong paint type can make the job harder. Use the right roller, brush, and paint finish for your wall to get better coverage.
- Applying Paint Too Thick or Too Thin: Too much paint can drip, while too little can leave patchy spots. Apply a balanced amount of paint with steady strokes for a smooth finish.
- Not Allowing Enough Drying Time: Painting over wet layers can ruin the finish. Let each coat dry fully before applying the next to avoid streaks and peeling.
Wrapping Up
Painting a wall for the first time can feel a bit confusing, but once you follow the right steps, it becomes much easier. You don’t need special skills to achieve a clean, even finish.
What really matters is taking your time, preparing the wall well, and using the right tools from the start. Small habits, like steady strokes and letting each coat dry fully, can make a big difference in the final look.
As you keep practicing, you’ll start to feel more confident with each project you take on. Even if your first wall isn’t perfect, you’ll quickly learn what works best for you and improve over time.
Now it’s your turn to try it yourself. If you’ve already painted a wall, share your experience in the comments below.
What worked well, and what would you do differently next time? Your tips can help other beginners get better results