

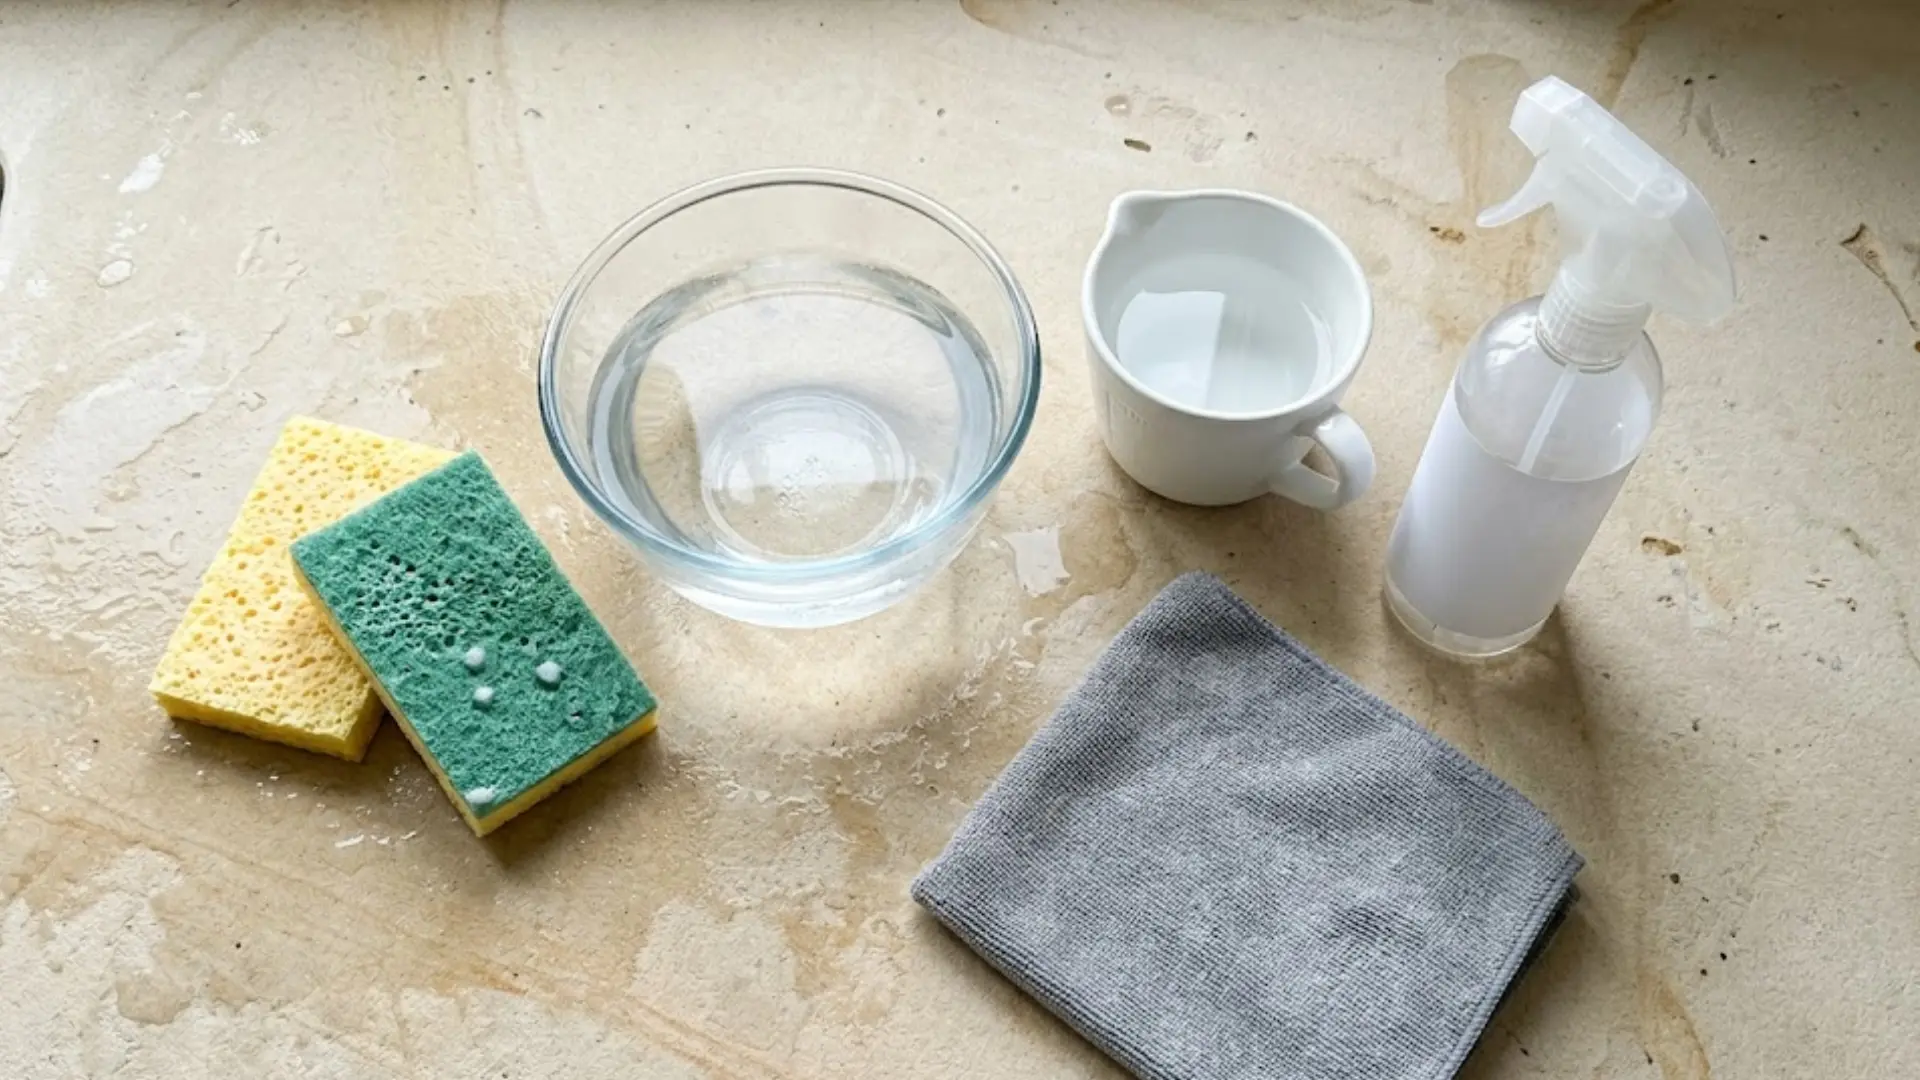
Sponges get used every single day and cleaned almost never. Mine sat in the sink for a full week before I even thought about it.
That got me digging into how to sanitize sponges without buying anything new, and the answers were already in my kitchen. A dishwasher, a microwave, or a pot of boiling water will each do the job.
The right pick depends on what your sponge is made of, so the material matters more than the method. The steps below walk through a few options and tell you which sponges they suit.
Read on and pick the one that fits yours.
What Makes a Kitchen Sponge Unhygienic?
A sponge is full of tiny holes. Those holes are great for scrubbing, but they also trap things. Bits of food, grease, and water get pushed deep inside every time you wipe.
That dark, damp space is exactly where bacteria like to grow. They multiply fast, often doubling in just a few hours. Rinsing the sponge only cleans the outside layer you can see.
Hot water and soap do not reach much deeper. The mess sitting in the middle stays put.
So your sponge can look clean, smell fine, and still be dirty. Each time you squeeze it, some of those germs move onto your counter, your dishes, and your hands.
How to Sanitize Sponges Safely: Methods to Try
Sponges vary by material, so I always check the care label before picking a method. Try these methods to sanitize your sponge safely:
1. Sanitize the Sponge in the Dishwasher
If your sponge is plain cellulose, the dishwasher can do the whole job for you. Hot water loosens the gunk, and the drying cycle finishes off whatever survives.
Check the package first, though, because not every sponge is dishwasher safe. Natural sea sponges and specialty scrub pads can melt or shrink into a useless lump.
Steps to Do It:
- Place the sponge on the top rack, away from the heating element.
- Run a full wash cycle with the heated drying setting turned on.
- Let the sponge cool and dry completely before you use it again.
2. Microwave a Damp Sponge
A soaking wet sponge turns into a tiny steam machine inside the microwave. That steam reaches the germs living deep in the holes, not just the surface ones.
Because of that, the sponge has to be dripping wet before it goes in. A dry one can scorch, and any metal scrub layer will spark.
Steps to Do It:
- Soak the sponge until water drips freely from it.
- Microwave on high for about one minute.
- Let it sit for a few minutes and cool down.
- Squeeze it carefully, because the trapped water stays very hot.
3. Soak the Sponge in a Diluted Bleach Solution
Bleach works fast, but it is strong enough that the label has to lead. I mix only the amount listed for sanitizing, since guessing can fade or weaken the sponge.
Fumes build up quickly, so I keep gloves on and a window open. Never combine bleach with vinegar, ammonia, or any other cleaning product.
Steps to Do It:
- Put on gloves and open a window or run the fan.
- Mix the solution exactly as the bleach label directs.
- Soak the sponge for the full contact time listed.
- Rinse if the label says to, then let it dry.
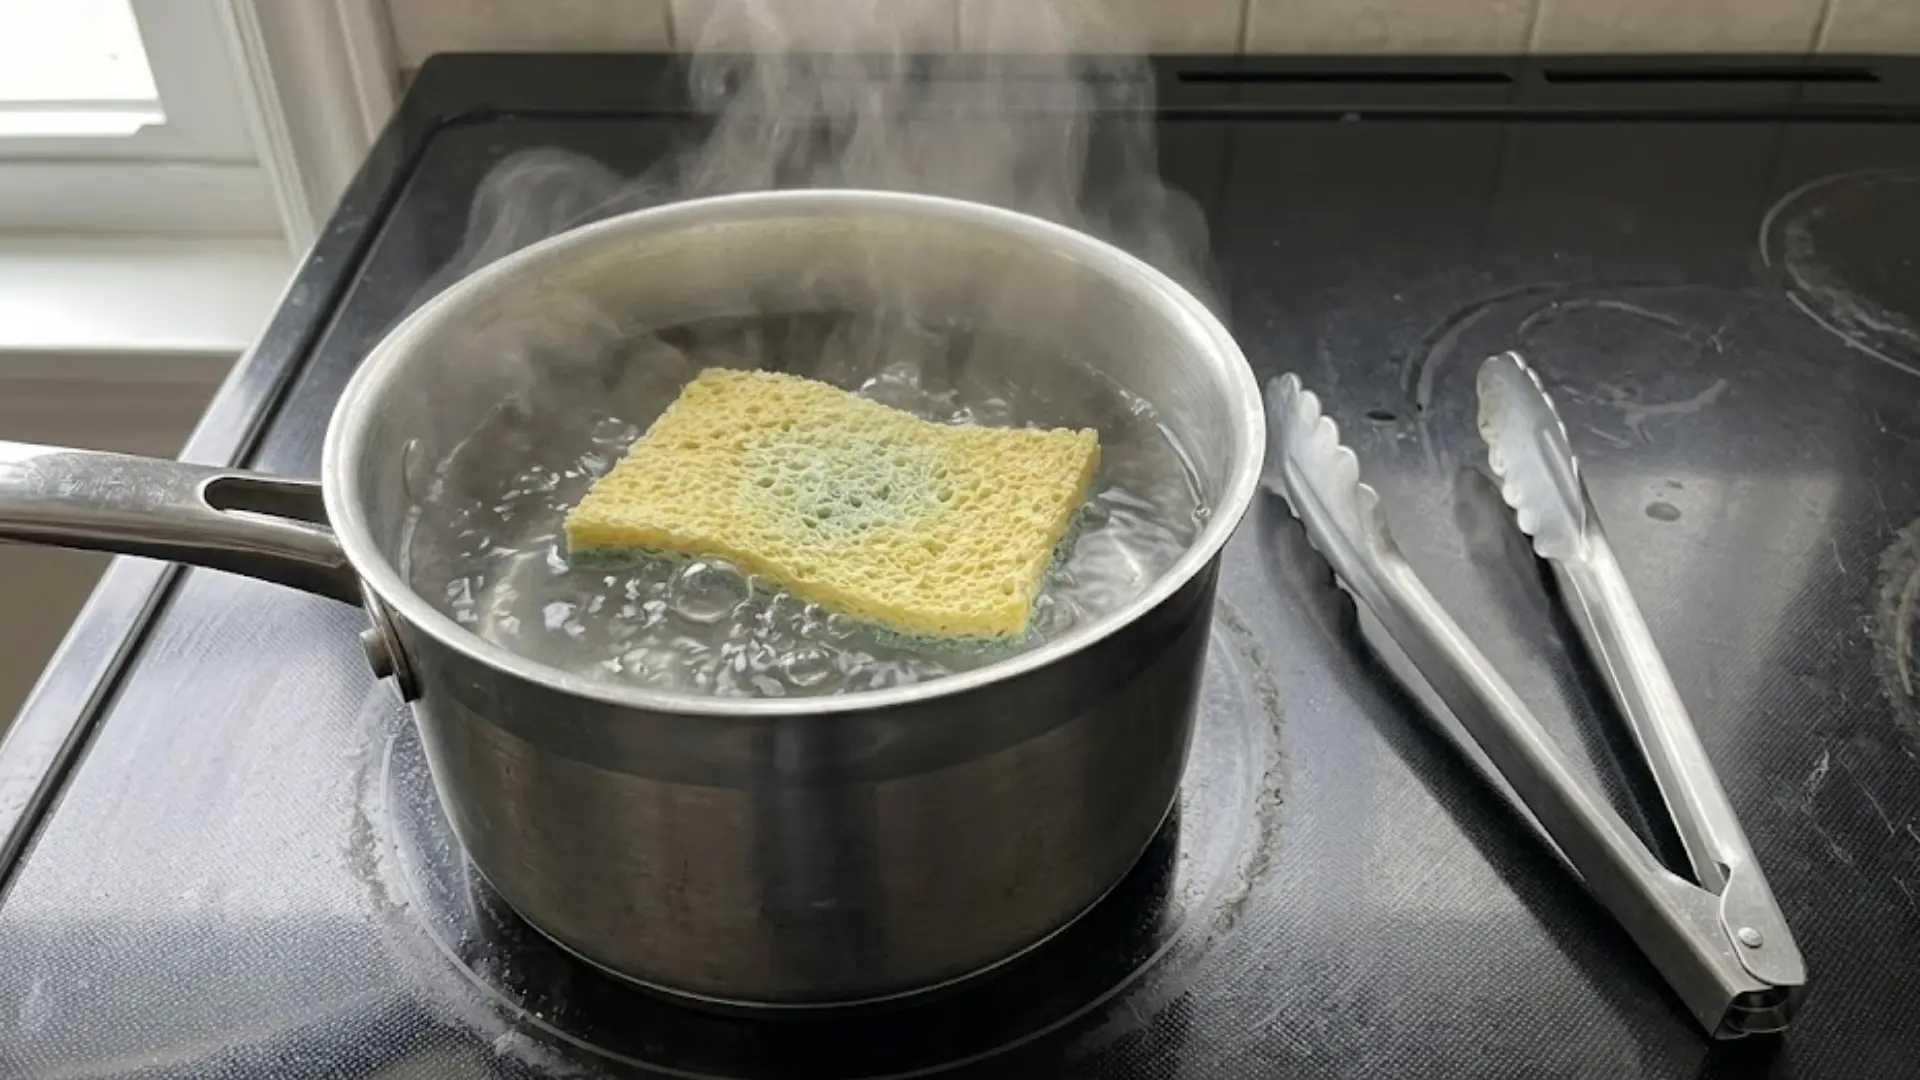
4. Boil the Sponge in Water
Boiling water soaks all the way through, so the heat reaches every hidden pocket. That steady high temperature cuts down the microbes a quick rinse always leaves behind.
It works best for plain cellulose and cotton sponges. Repeat it too often, though, and the material breaks down into a floppy mess.
Steps to Do It:
- Bring a pot of water to a rolling boil.
- Drop in the sponge and hold it under with tongs.
- Boil for about five minutes, keeping it fully covered the whole time.
- Let it cool completely before you touch or squeeze it.
5. Use a Food-Safe Sanitizing Solution
A food-contact-safe sanitizer is made for surfaces that touch your food, like wooden cutting boards. That makes it gentler than bleach while still working on germs.
The label spells out how much to mix and how long to wait. Going stronger will not clean better, and it can leave residue behind.
Steps to Do It:
- Pick a sanitizer labeled safe for kitchen or food-contact surfaces.
- Mix it at the exact strength the label lists.
- Soak the sponge for the full contact time.
- Rinse if required, then let it air dry completely.
6. Soak the Sponge in Hydrogen Peroxide
Hydrogen peroxide is the same brown-bottle product sitting in most medicine cabinets. It bubbles down into the tiny holes, treating the sponge from the inside out.
That only works if the whole sponge soaks, not just the outside. Keep it far away from bleach and every other household cleaner.
Steps to Do It:
- Pour enough peroxide into a bowl to cover the sponge.
- Press the sponge down until it is fully soaked.
- Let it sit for the time listed on the bottle.
- Rinse with clean water, then dry it fully.
7. Clean the Sponge With Hot Water and Dish Soap
This one cleans the sponge rather than sanitizing it, and the difference matters. Soap and hot water lift away grease and food bits, which is what germs feed on.
Even so, plenty of bacteria survive deep inside. I treat this as daily upkeep between the stronger methods above.
Steps to Do It:
- Squirt dish soap onto the sponge and work up a lather.
- Rinse under hot running water until the water runs clear.
- Squeeze out as much moisture as you possibly can.
- Stand it upright so air reaches every side.
8. Use Steam to Treat the Sponge
Moist heat reaches places a rinse under the faucet never does. A steamer basket or handheld steam cleaner both work, as long as the sponge can handle the heat.
Plain cellulose handles it fine, but foam pads and metal scrubbers do not. Steam burns happen fast, so keep your hands well back.
Steps to Do It:
- Set the sponge in a steamer basket over boiling water.
- Cover the pot and steam for about five minutes.
- Turn off the heat and let everything cool down.
- Let the sponge dry fully before the next use.
9. Sanitize the Sponge With a Commercial Sponge Cleaner
Some products are made just for sponges and the other kitchen tools you reuse. They help if you would rather not measure and mix anything yourself.
Strength and soak time vary by brand, so the directions decide the process. If the sponge still smells or looks shredded, replace it.
Steps to Do It:
- Choose a cleaner labeled for sponges or kitchen cleaning tools.
- Read the directions and use only the amount listed.
- Let the sponge sit for the full contact time.
- Rinse if instructed, then dry it completely before reuse.
How Often Should You Sanitize a Kitchen Sponge?
No single schedule fits every kitchen. It depends on how hard your sponge works. Most people do fine sanitizing every 2-3 days.
If you cook nightly and wipe up raw meat drips, sanitize daily instead. A sponge used for a few mugs can last up to a week. Rinse and dry it fully after every use, no matter the schedule.
A soggy, food-filled sponge sitting overnight gives bacteria a big head start. Still, sanitizing cannot stretch a sponge forever. Replace it every 2 weeks, or sooner once it smells sour or starts tearing.
When Should You Throw Away a Kitchen Sponge?
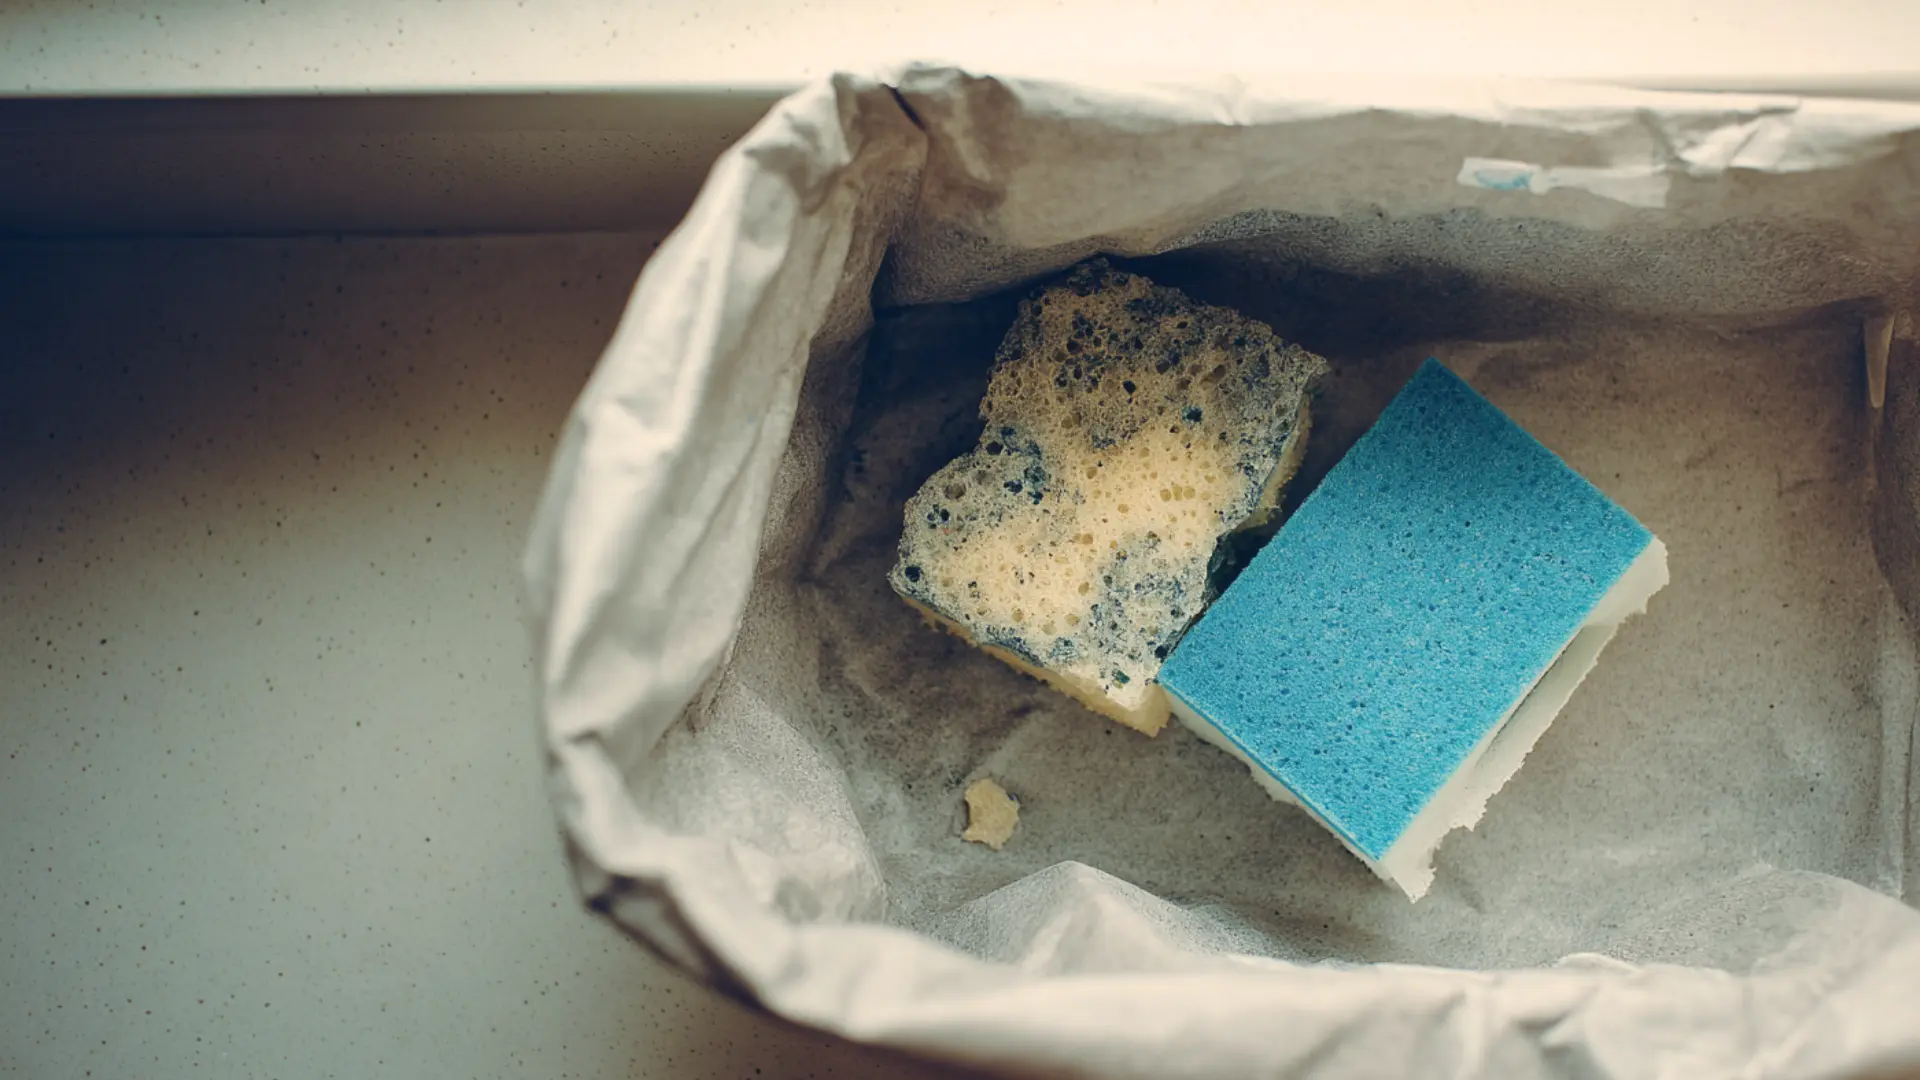
Sponges are cheap, and hanging onto a worn one is never worth it. Toss the sponge out when you notice any of these signs:
- A smell that keeps coming back: You sanitize it, and the sour funk returns within a day.
- Falling apart or splitting layers: Torn edges and peeling scrub pads create more hiding spots for bacteria.
- Stains and grease that will not rinse out: If the sponge stays slick or dark after a good wash, it is done.
- Used on a messy job: Raw meat juice, pet accidents, or a fridge spill means the sponge goes straight in the trash.
- Older than you can remember: If you cannot recall when you started using it, replace it now.
Keep in mind that a clean look and a neutral smell prove very little. Germs can thrive inside a sponge that seems perfectly fine, so I replace mine on schedule rather than on instinct.
How to Keep a Kitchen Sponge Cleaner Between Uses?
Sanitizing matters, but what you do every day matters just as much. I keep my sponge in decent shape with a few small habits. Build these easy steps into your kitchen routine:
- Rinse out food right away: Crumbs, sauce, and grease left inside the sponge become dinner for bacteria.
- Squeeze out every bit of water: A soaked sponge stays wet for hours, and that damp middle is where germs multiply.
- Let it dry between uses: Store it upright in a rack with airflow, never in a puddle at the bottom of the sink.
- Keep it away from raw meat juices: Use paper towels or a dedicated cloth for those spills instead.
- Match the tool to the job: Separate sponges or brushes for dishes, counters, and the sink keep messes from spreading.
These steps take seconds once they become a habit, and your hands will start doing them automatically. Give it a week, and you will notice your sponge staying fresher between washes.
Frequently Asked Questions (FAQs)
Is a Dish Brush Better than a Sponge?
Brushes tend to stay cleaner because the bristles dry fast and hold less water. They do not trap food the way a porous sponge does. The trade-off is that brushes cannot wipe flat surfaces as well.
Can You Put a Sponge in The Freezer to Kill Germs?
Freezing slows bacteria down, but it does not kill much. The germs wake up again as soon as the sponge thaws. Stick with heat or a proper sanitizer instead.
Do Antibacterial Sponges Stay Clean on Their Own?
Those sponges are treated to resist odor-causing bacteria, not to sanitize themselves. They still need rinsing, drying, and regular replacement. Treat the label as a small bonus, not a free pass.
Should You Sanitize or Replace a Sponge After Cleaning Raw Meat?
Replace it. Raw meat juices soak deep inside and spread to counters, dishes, and hands. Use paper towels for those spills instead, then toss them straight in the trash.
Final Words
Knowing how to sanitize sponges comes down to picking one method and sticking with it. You do not need all the options listed above.
The dishwasher works if you run it most nights, and the microwave takes a minute when you don’t. I rotate between the two depending on how the week is going.
What matters more is the routine around it, so rinse the sponge out and let it dry properly each time. That alone keeps it in better shape between cleanings.
Replace it when the material starts to go, since no method fixes a worn sponge. Try one tonight and tell me in the comments how it went.