

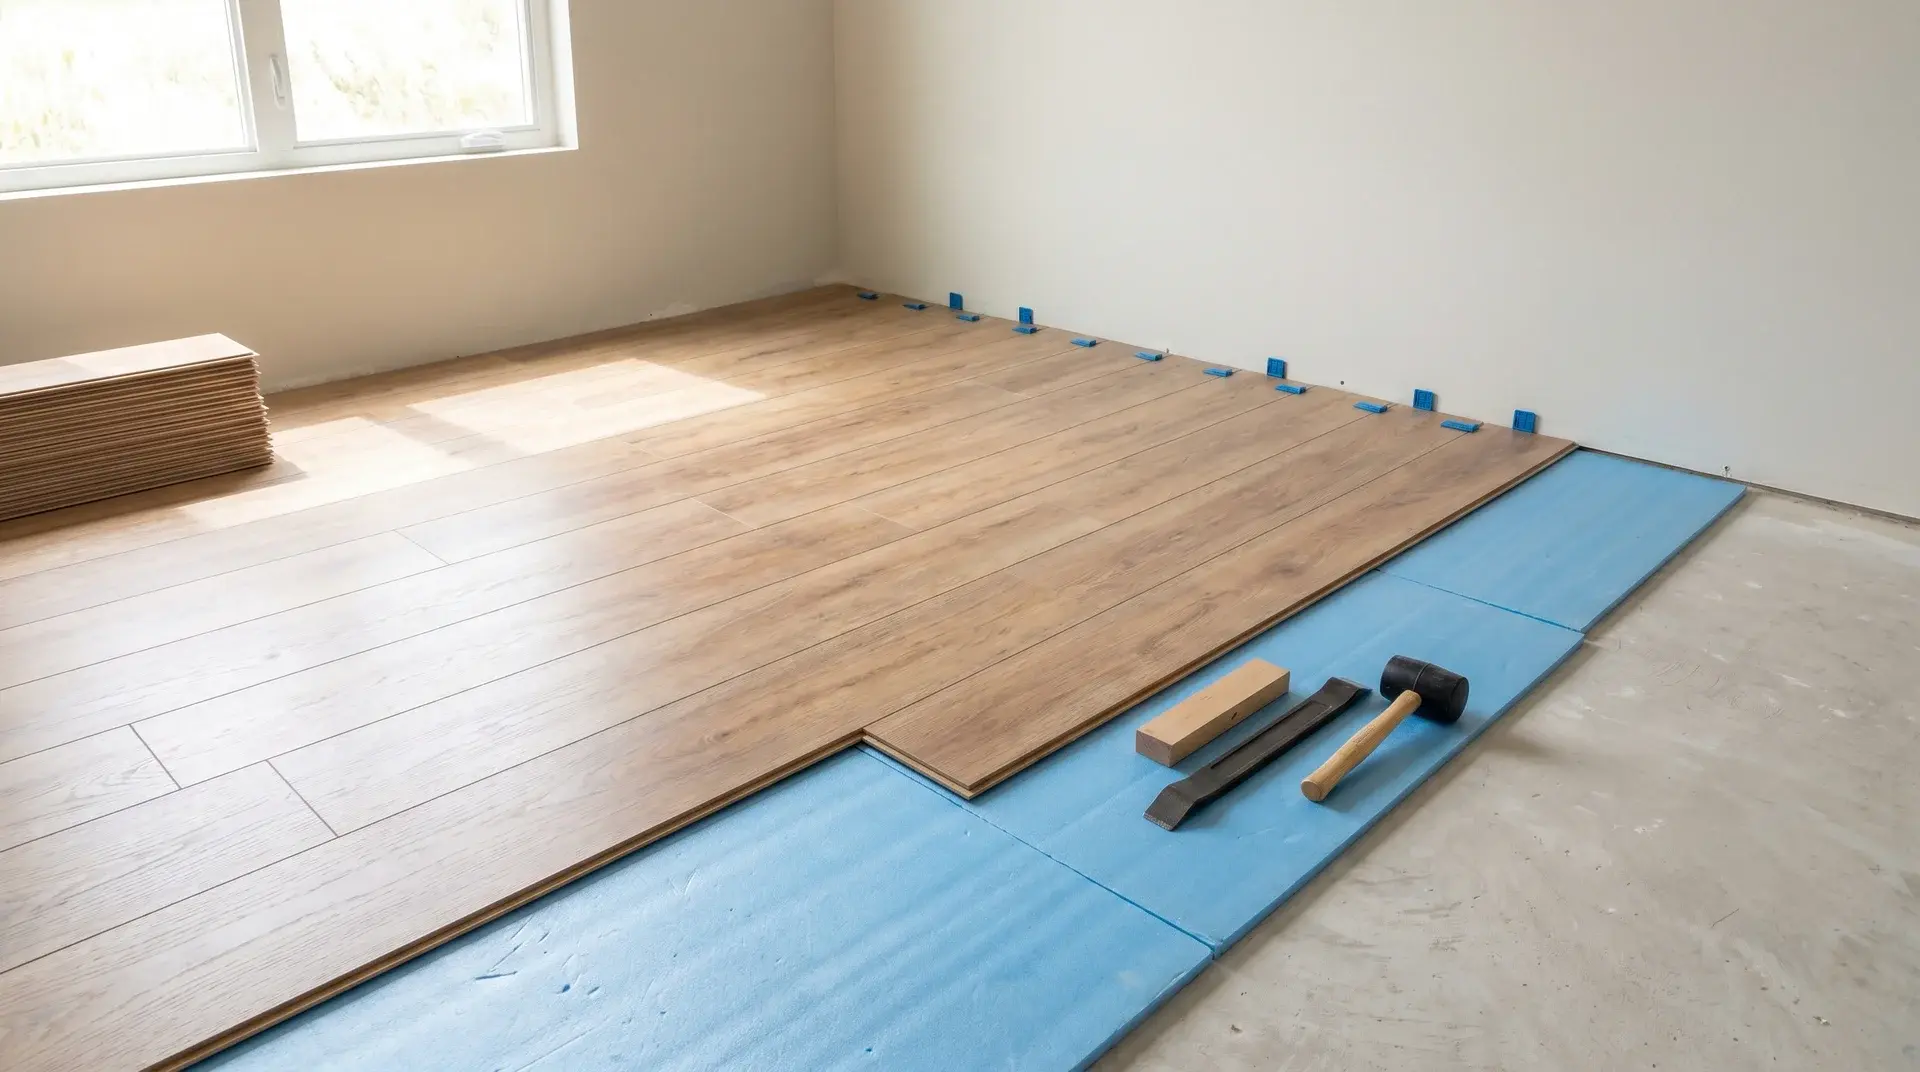
Laminate flooring has become a top choice for people because it offers a clean, modern look at an affordable price. Designed to mimic real wood, it is easier to maintain and more forgiving to install than hardwood or tile.
Most homeowners can complete an average room in a weekend using basic tools and a click-lock plank system that requires no glue or adhesive.
This guide explains how to install laminate flooring step by step, from subfloor preparation through final plank installation, including what to do differently depending on your subfloor type.
Quick Answer: Start by preparing a clean, level surface. Lay the underlayment for support, then install the laminate planks using the click-lock system. Continue row by row, keeping even spacing along the edges for expansion.
What to Know Before Installing Laminate Flooring
Understanding the basics before installation helps you plan better, avoid common mistakes, and achieve a clean, long-lasting flooring result.
| Factor | Details | Key Insight |
|---|---|---|
| Difficulty Level | Beginner to Intermediate | Easy click-lock system makes it suitable for DIY installation with basic tools and patience |
| Estimated Time | 1–2 days for a standard room (10×12 ft) | Time depends on room size, layout complexity, and preparation quality |
| Best Room Types | Living room, bedroom, hallway, dining area | Works best in dry, low-moisture indoor spaces for long-term performance |
| Not Recommended For | Bathrooms, laundry areas (unless water-resistant rated) | Moisture exposure can reduce durability if the flooring is not properly rated |
| Preparation Importance | Clean, dry, and level subfloor required | Proper preparation directly impacts stability, finish quality, and lifespan |
| Key Insights Before You Begin | Plan installation before starting, and review room conditions carefully | Most issues like gaps, uneven surfaces, or movement happen due to skipped preparation or poor layout planning; taking time at this stage improves the final finish and long-term durability |
How to Install Laminate Flooring: Step by Step Guide
Follow these steps in order. Each one builds on the last, and skipping ahead is usually where problems start.
Tools and Materials Required
- Measuring tape: for room measurements
- Spacers: maintain expansion gaps along walls
- Utility knife: trim underlayment cleanly
- Underlayment: adds cushioning and moisture protection
- Laminate planks: main flooring material
- Tapping block: seats plank joints without damaging edges
- Pull bar: tightens planks in tight corners and along walls
- Safety gear: gloves and knee pads for protection
- Optional tools: saw or laminate cutter for precise end cuts
The tapping block and pull bar are the two tools most beginners skip, and then regret. They protect the locking edges and are worth having before you start the first row.
Step 1: Prepare the Subfloor and Room
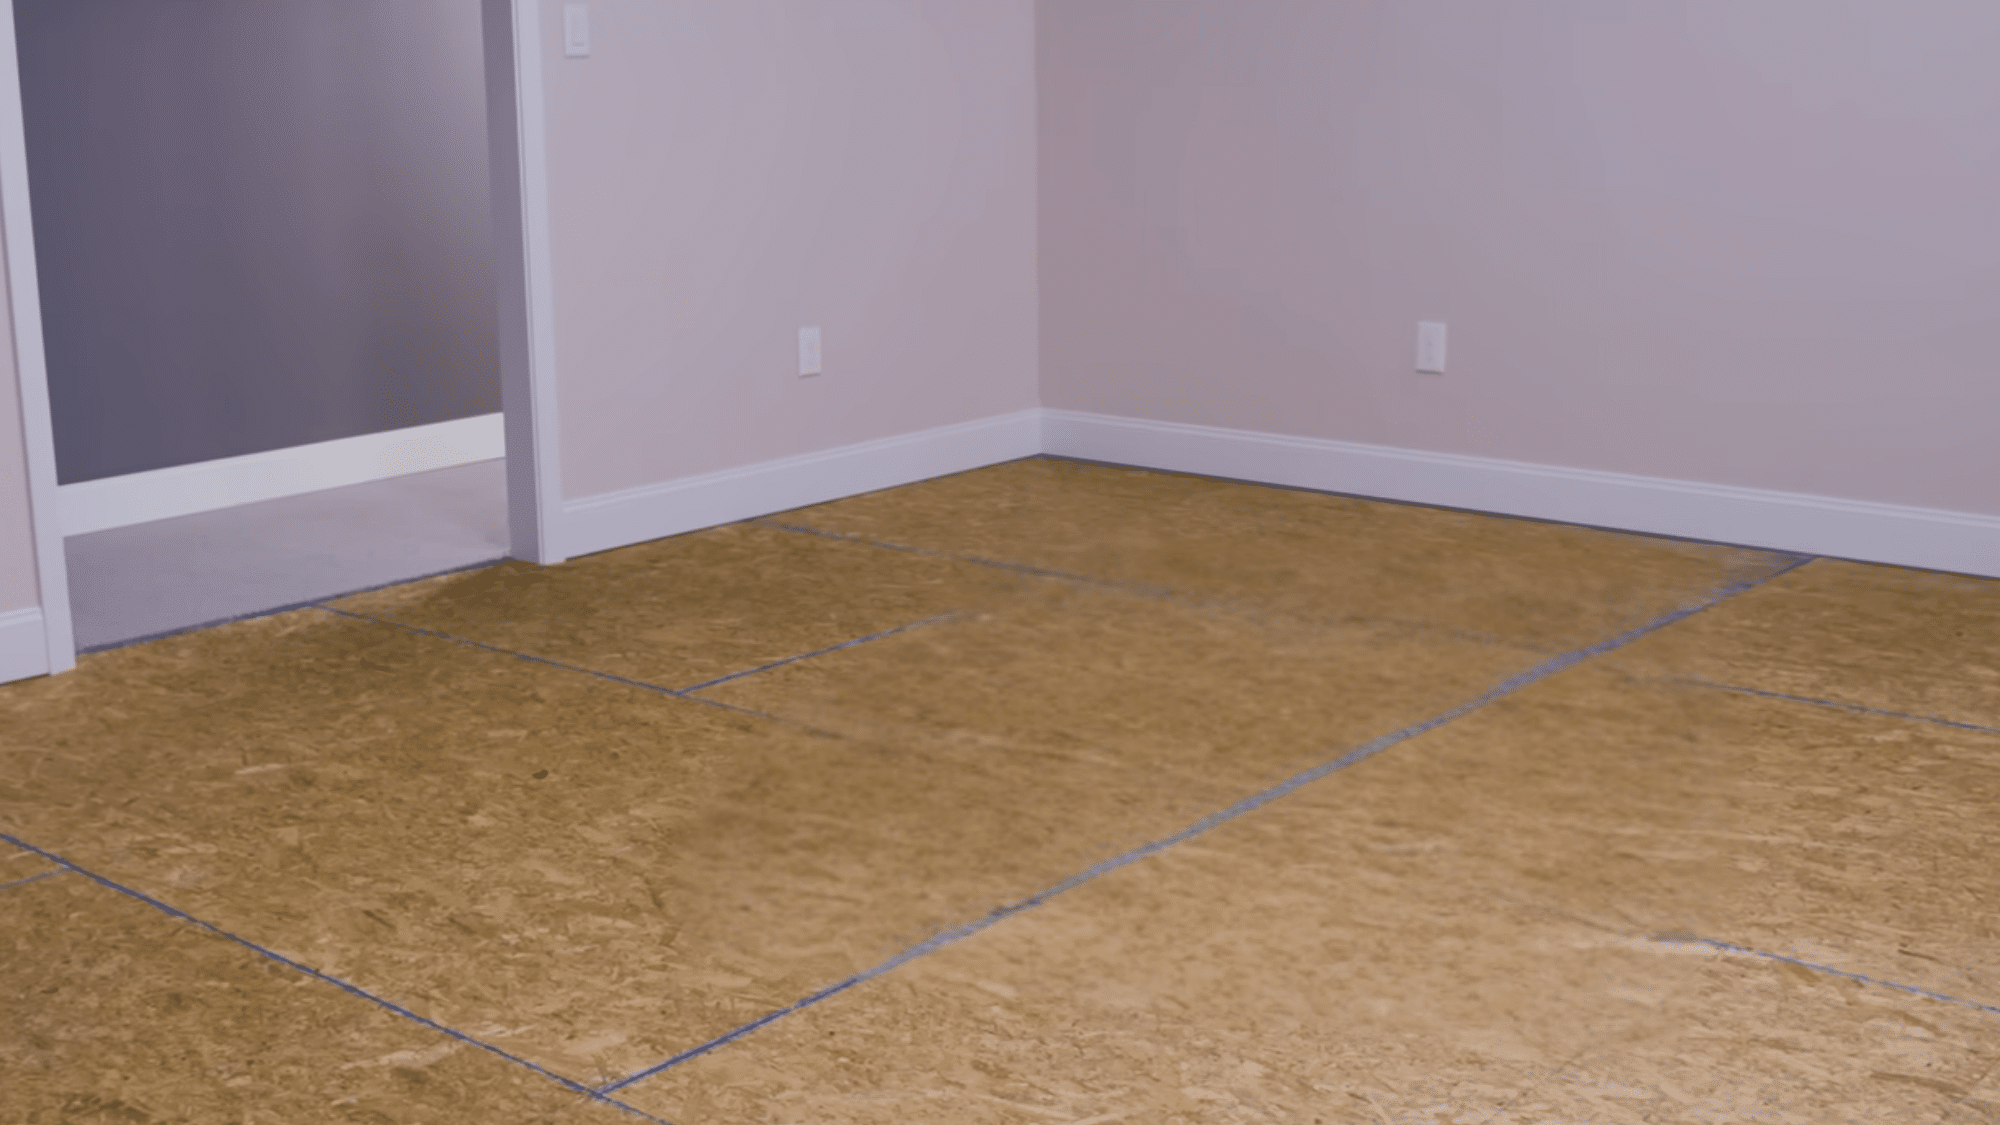
Start by ensuring the subfloor is clean, dry, and level. Remove dust, debris, or uneven materials so the flooring can sit properly. Check for cracks or loose areas and repair them before you lay anything.
The subfloor should be level within 3/16 of an inch over a 10-foot span; use a long straightedge to check. Low spots can be filled with a floor-leveling compound; high spots on wood subfloors can be sanded down.
If needed, trim door frames so the laminate can slide underneath for a clean finish. An oscillating saw gives you the most accurate cut here.
Clear the room completely before starting. You need full access to every wall from the first row onward.
Step 2: Measure Room and Plan Layout
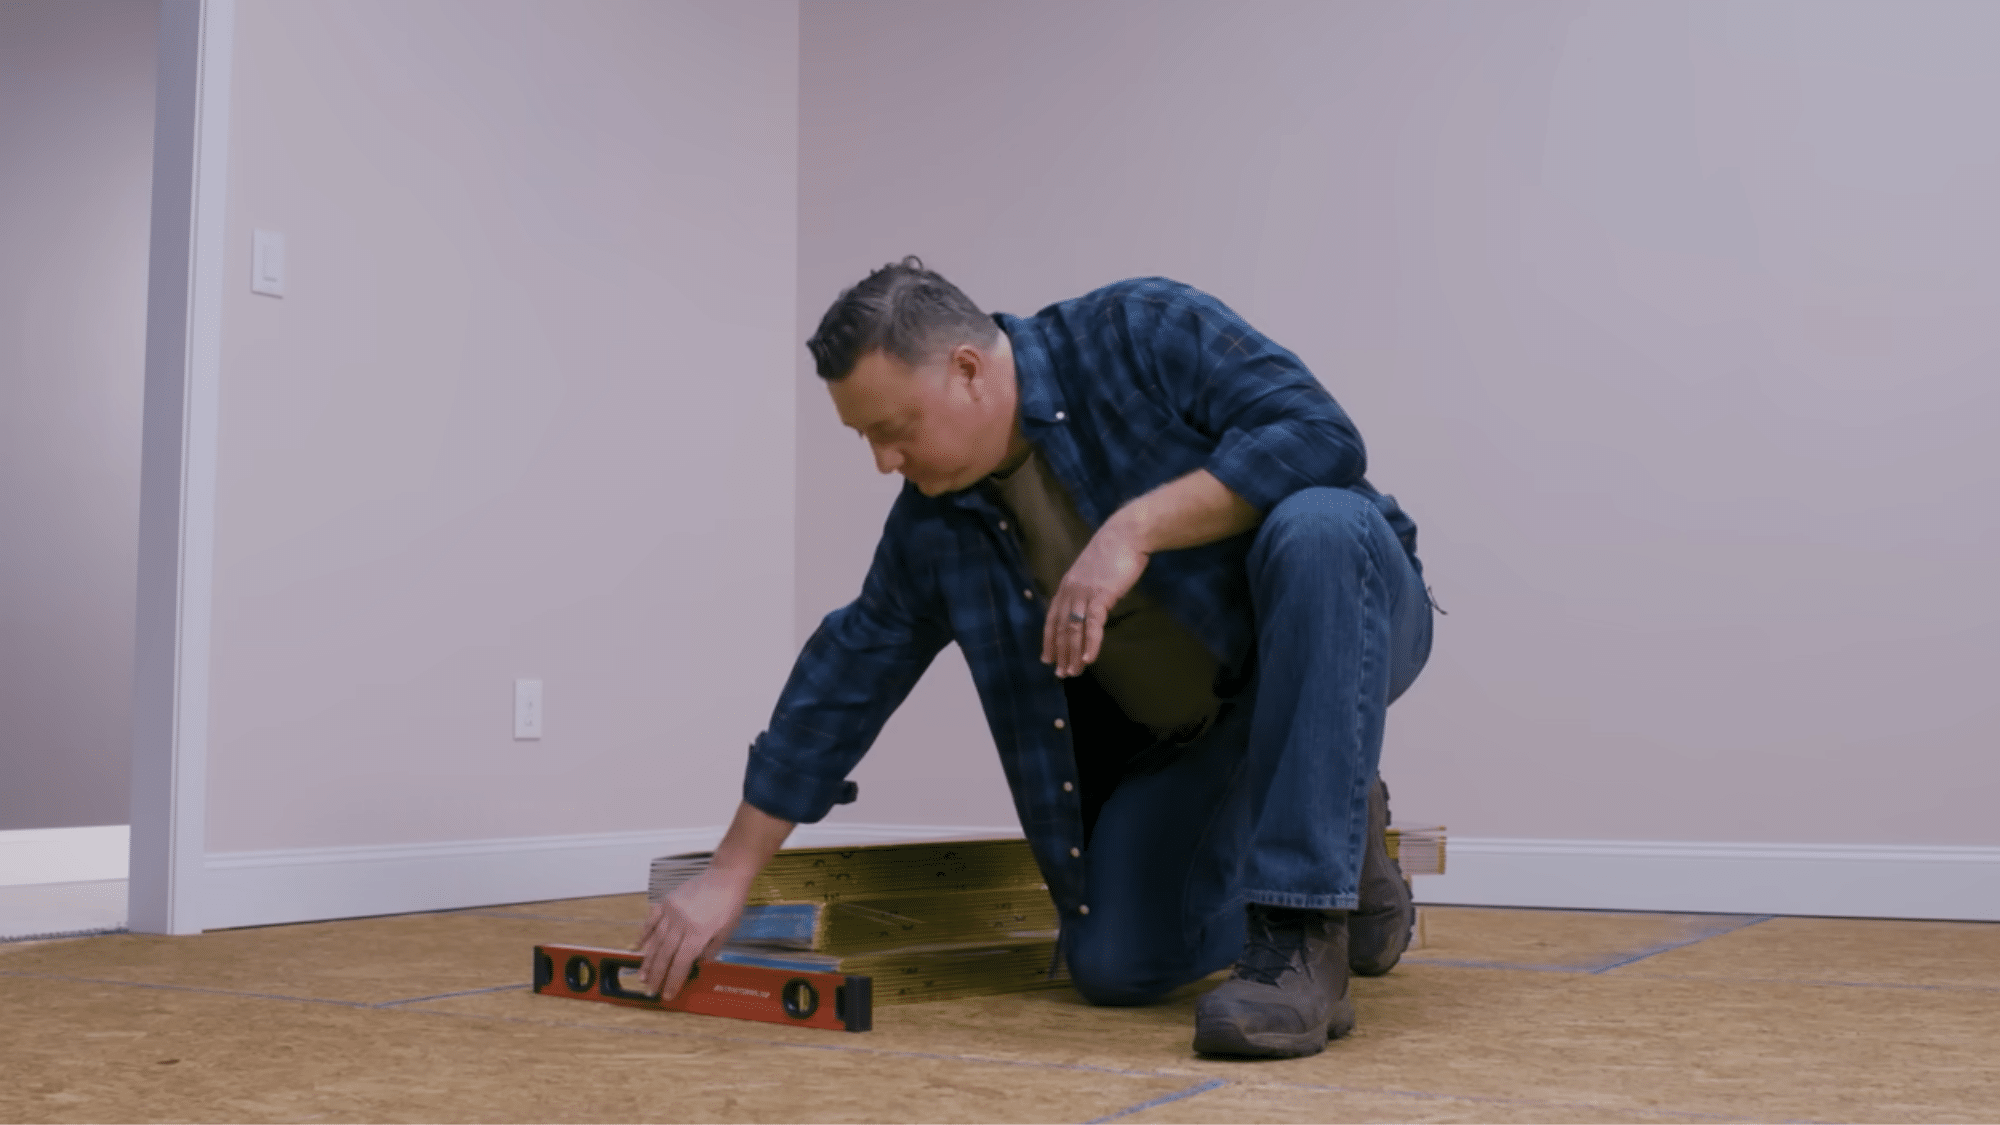
Measure the room carefully to calculate total square footage. Add 10% extra to cover cuts and waste — rooms with many obstacles or a diagonal layout may need closer to 15%.
Plan the direction of the flooring along the longest or straightest wall. This creates the most natural look and reduces the number of cuts you need to make.
Check wall straightness before you commit to a direction. Exterior walls tend to run straighter than interior ones, which makes them a more reliable starting point.
Step 3: Acclimate the Laminate Planks
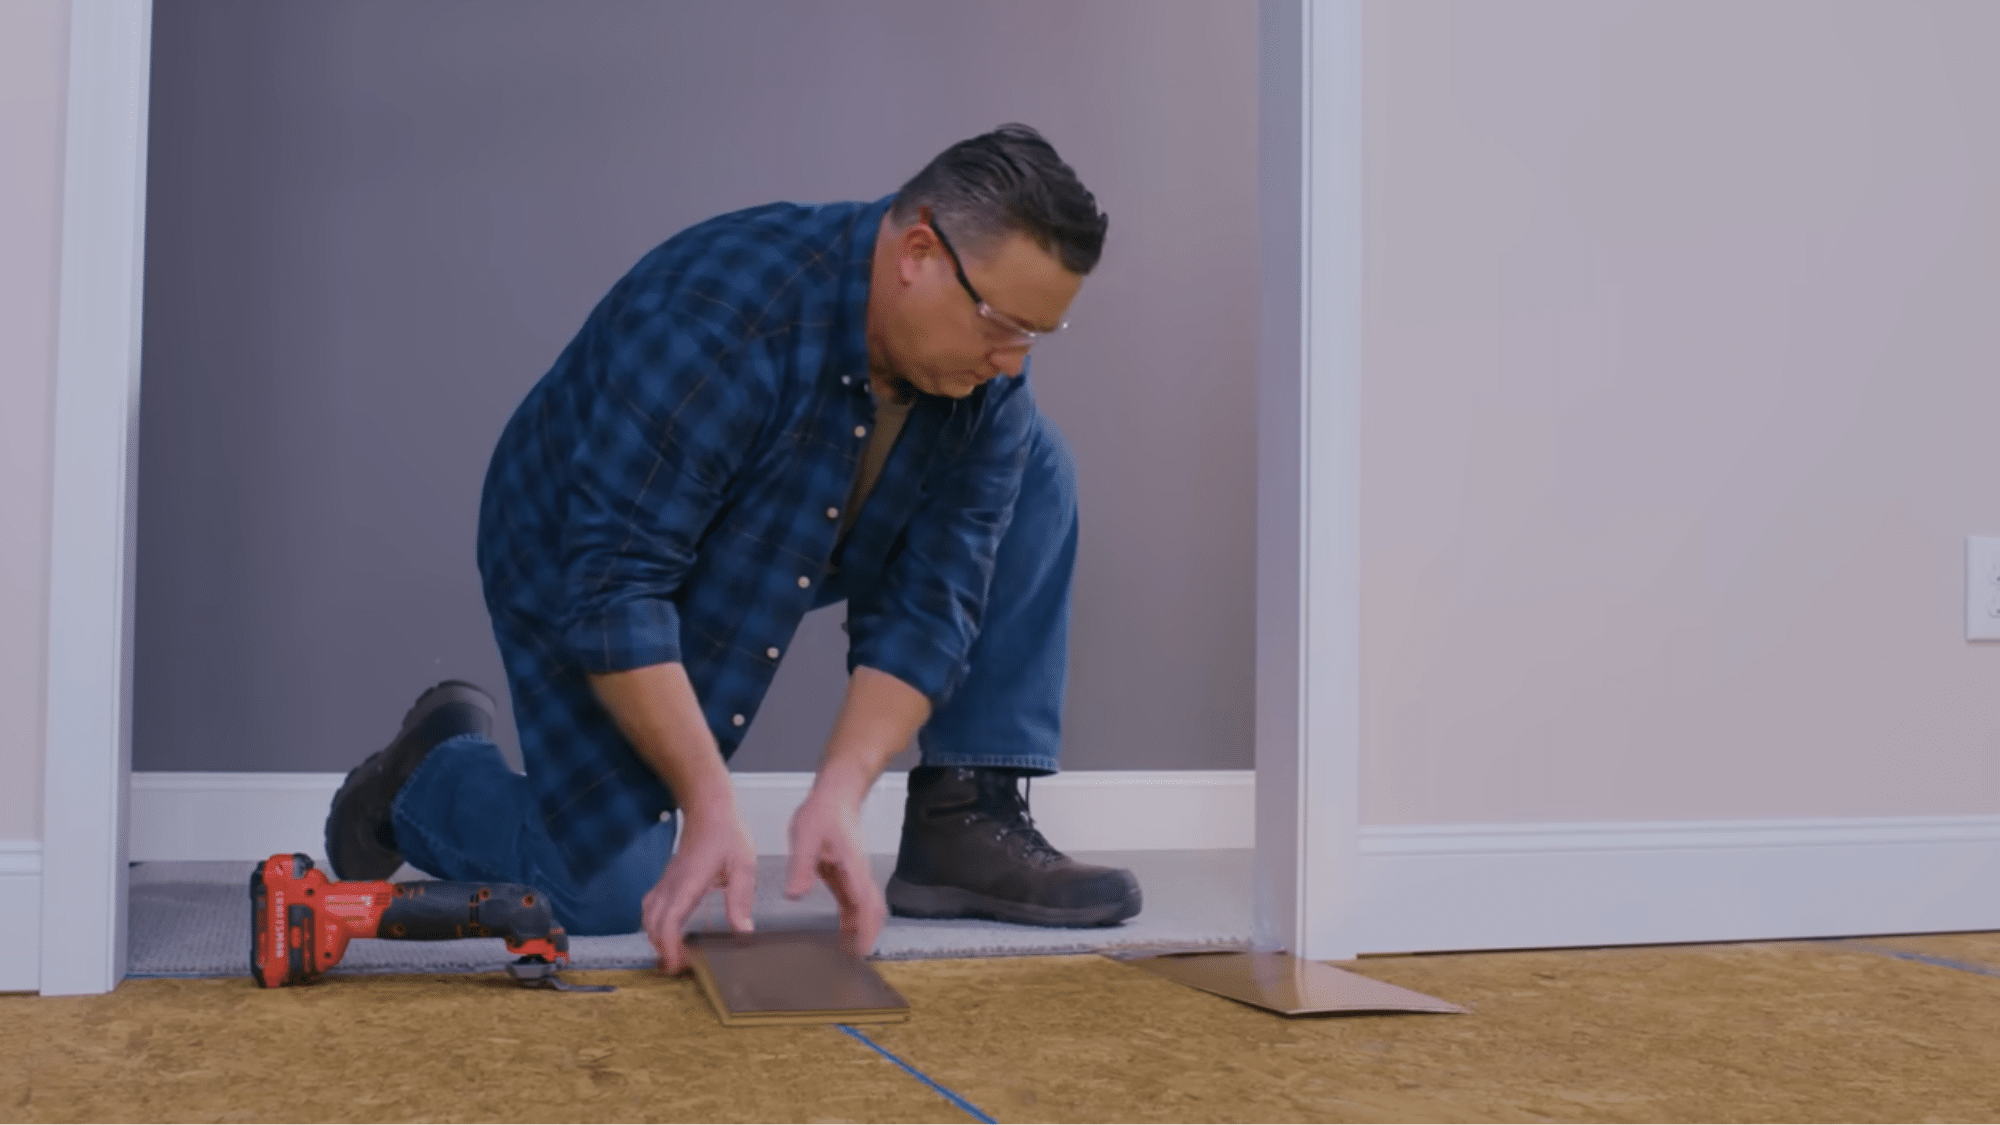
Place the laminate planks in the room and leave them for at least 48 hours. Keep them flat and in their original packaging during this time.
This lets the planks adjust to the room’s temperature and humidity before they are locked in place. A plank that expands or contracts after installation has nowhere to go; that is what causes gaps and buckling.
This step matters most in rooms that run warm or humid. Do not skip it even if you are on a tight schedule.
Step 4: Install Underlayment and Spacers
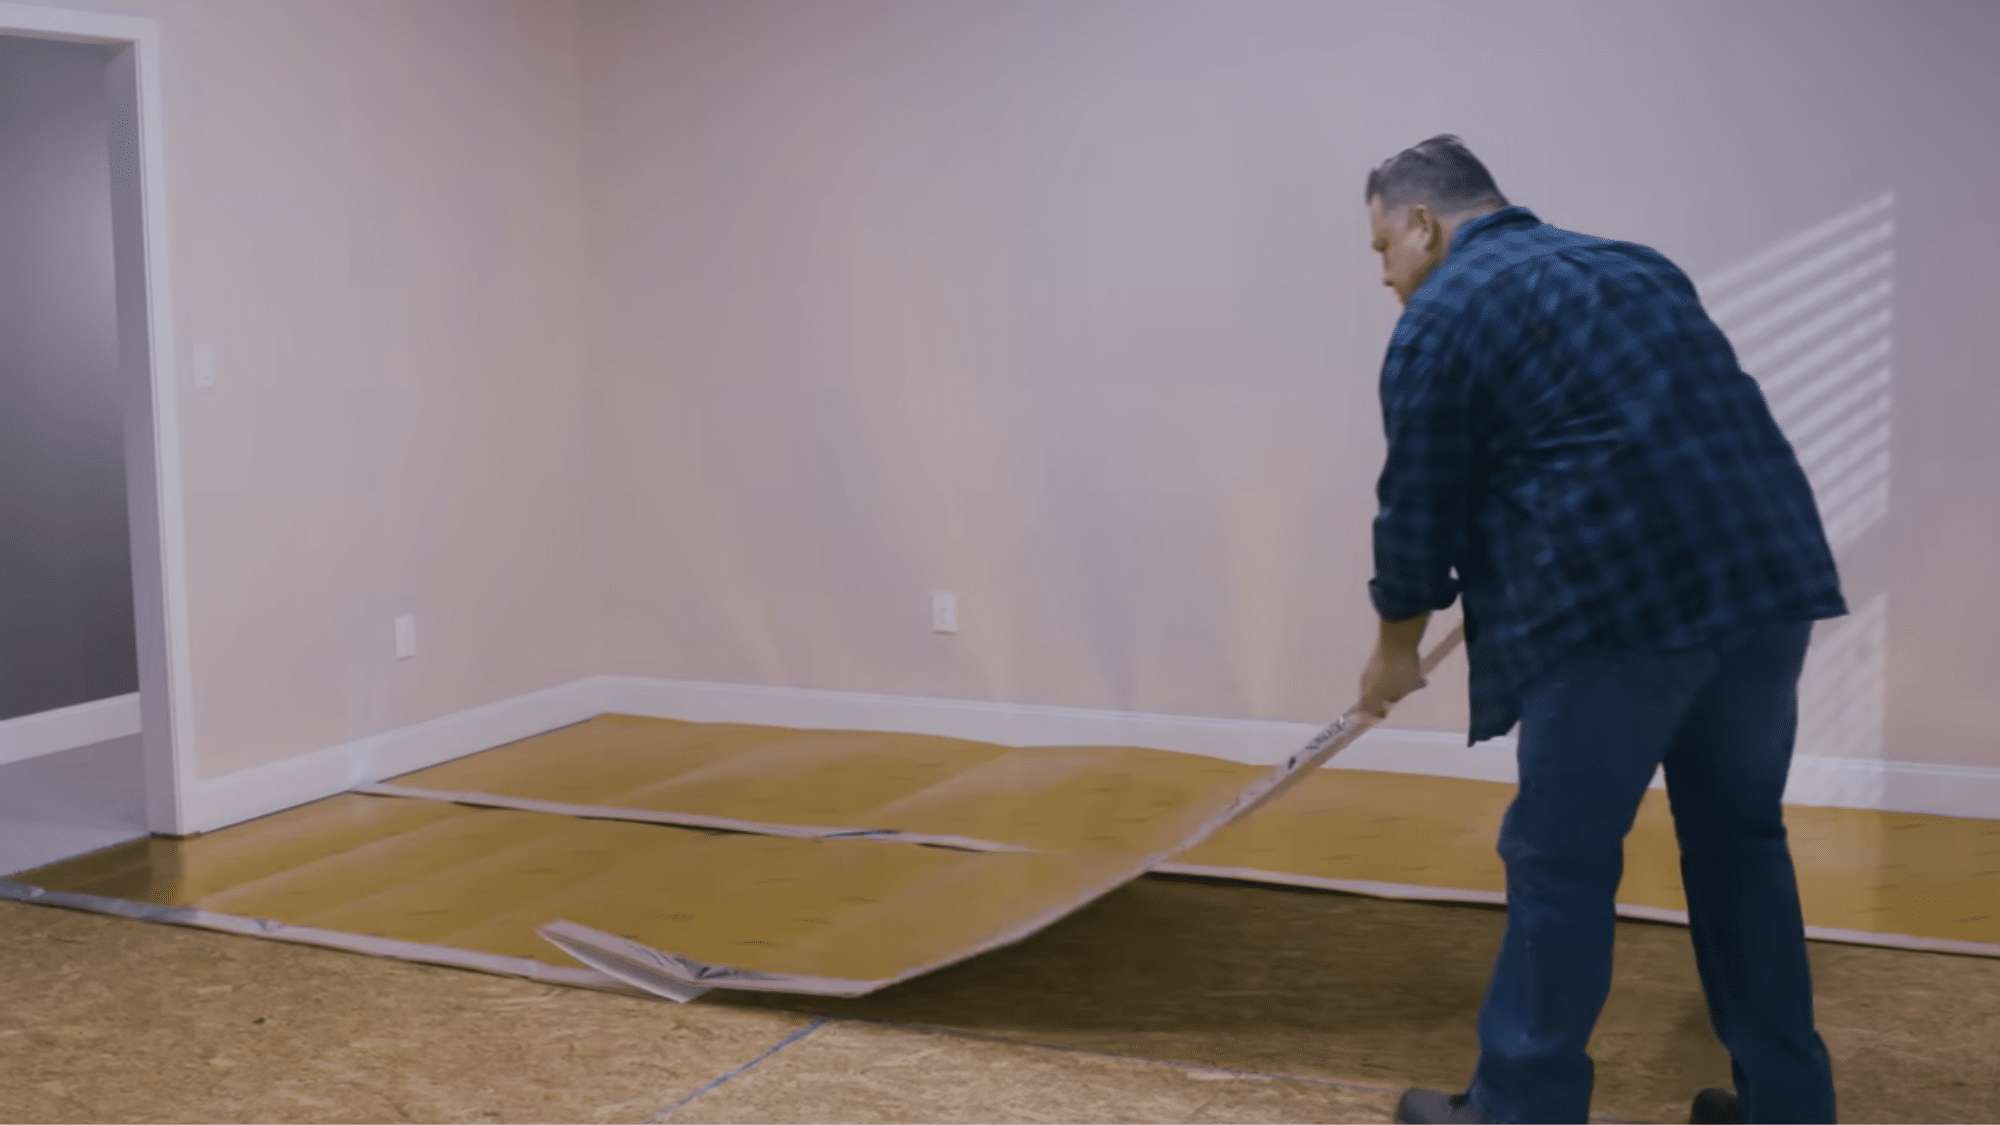
If you are installing over a concrete subfloor, lay a 6-mil plastic moisture barrier first. Overlap seams by at least 6 inches and tape them closed. This stops moisture from seeping up through the concrete and damaging the planks over time. Wood subfloors do not need this step.
Roll out underlayment over the full floor area. Butt strips edge to edge, do not overlap them, and tape the seams. Underlayment provides cushioning, reduces sound, and smooths out minor surface imperfections.
Place spacers along every wall to maintain a 3/8-inch expansion gap. Tape them in position if they shift while you work. These gaps give the floor room to move with temperature changes; removing them early is one of the most common causes of a buckled edge.
Step 5: Install the First Rows Using the Click-Lock System
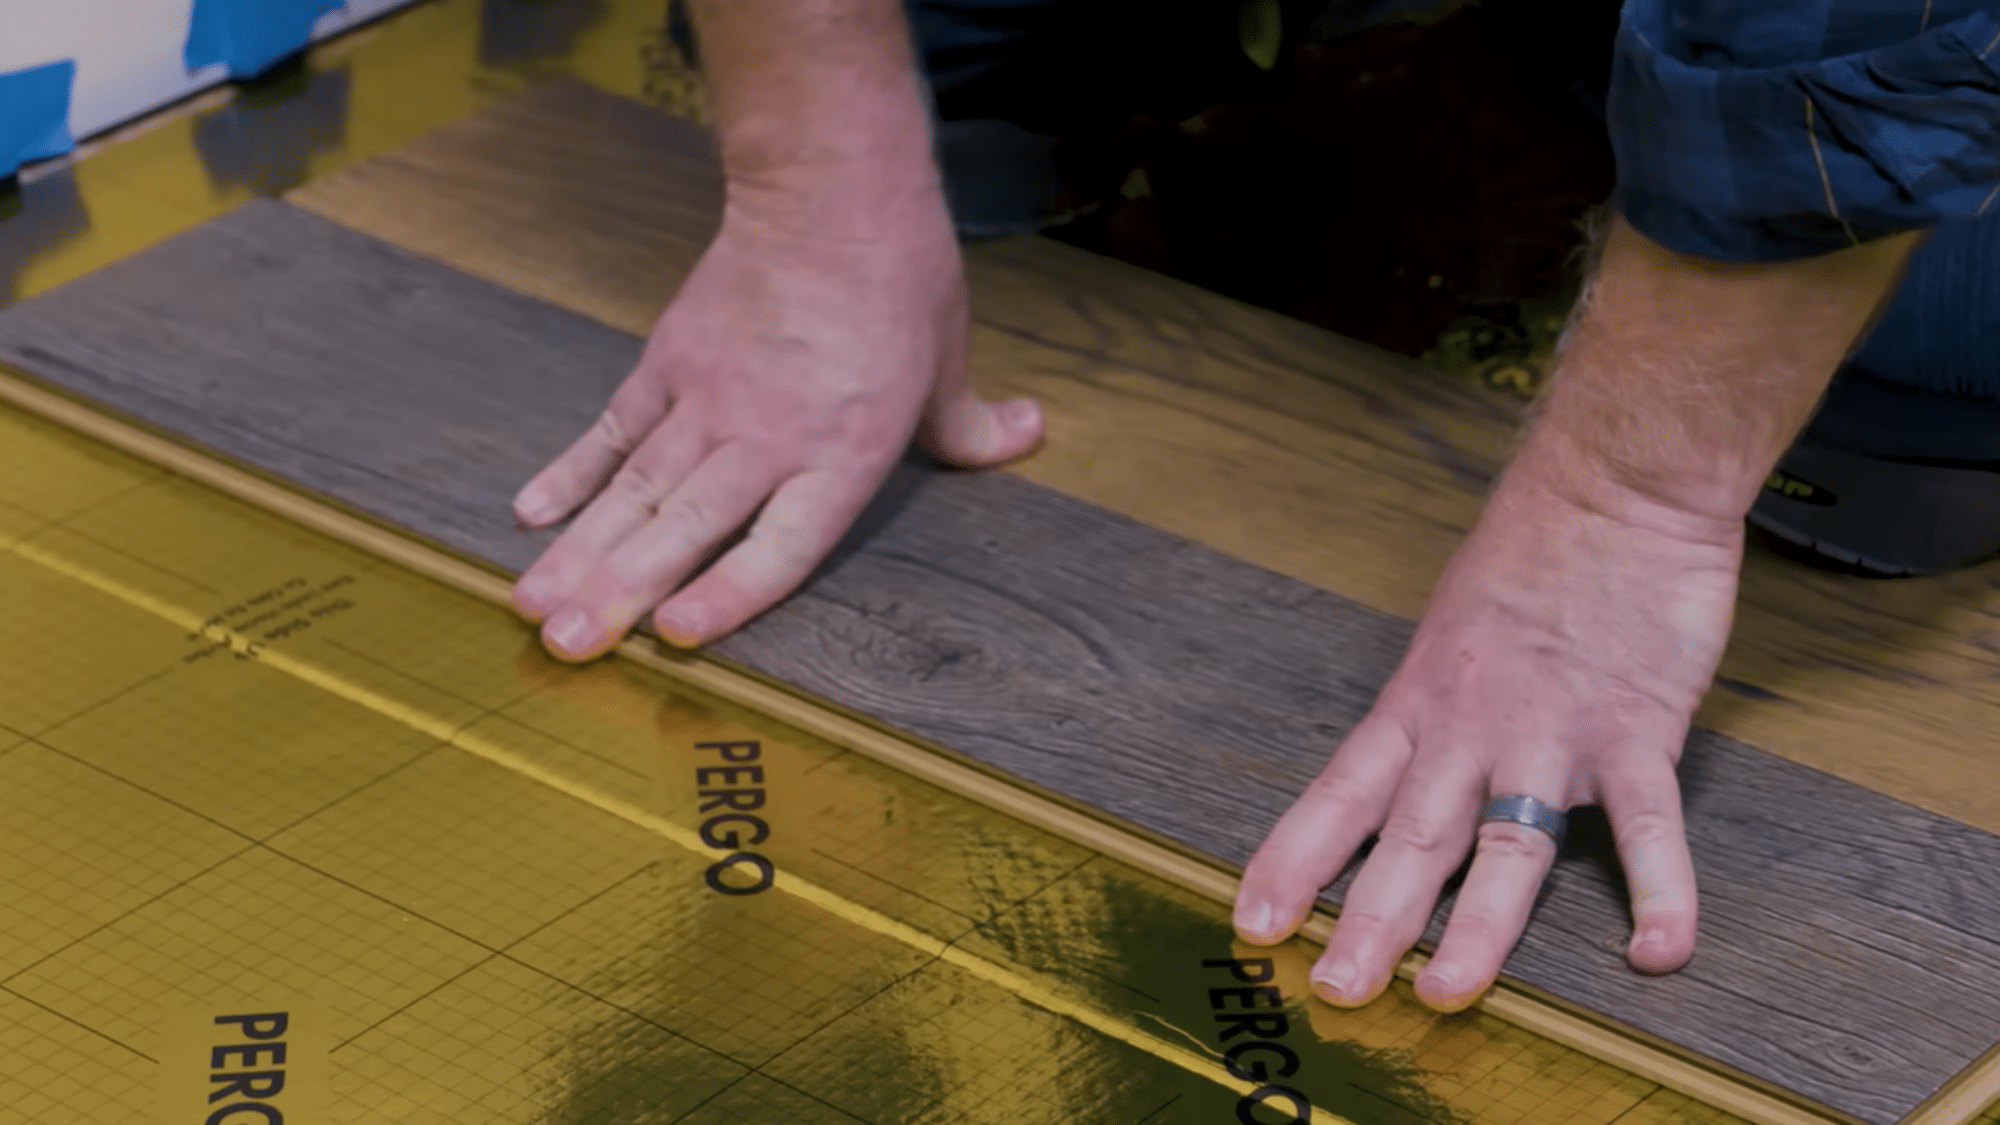
Start from the straightest wall with the tongue side facing the wall. The first row sets the alignment for everything that follows, so take your time getting it straight.
To connect planks, hold the new plank at a roughly 20–30 degree angle and insert the tongue into the groove of the previous plank along its long edge.
Press down and forward until you hear and feel a click; that means the joint is locked. Use a tapping block along the short end to close any gaps between planks in the same row.
Pull planks from at least two or three open boxes as you go. This distributes color and grain variation naturally across the floor instead of creating visible bands of matching planks.
Step 6: Continue Installation and Cut for Fit
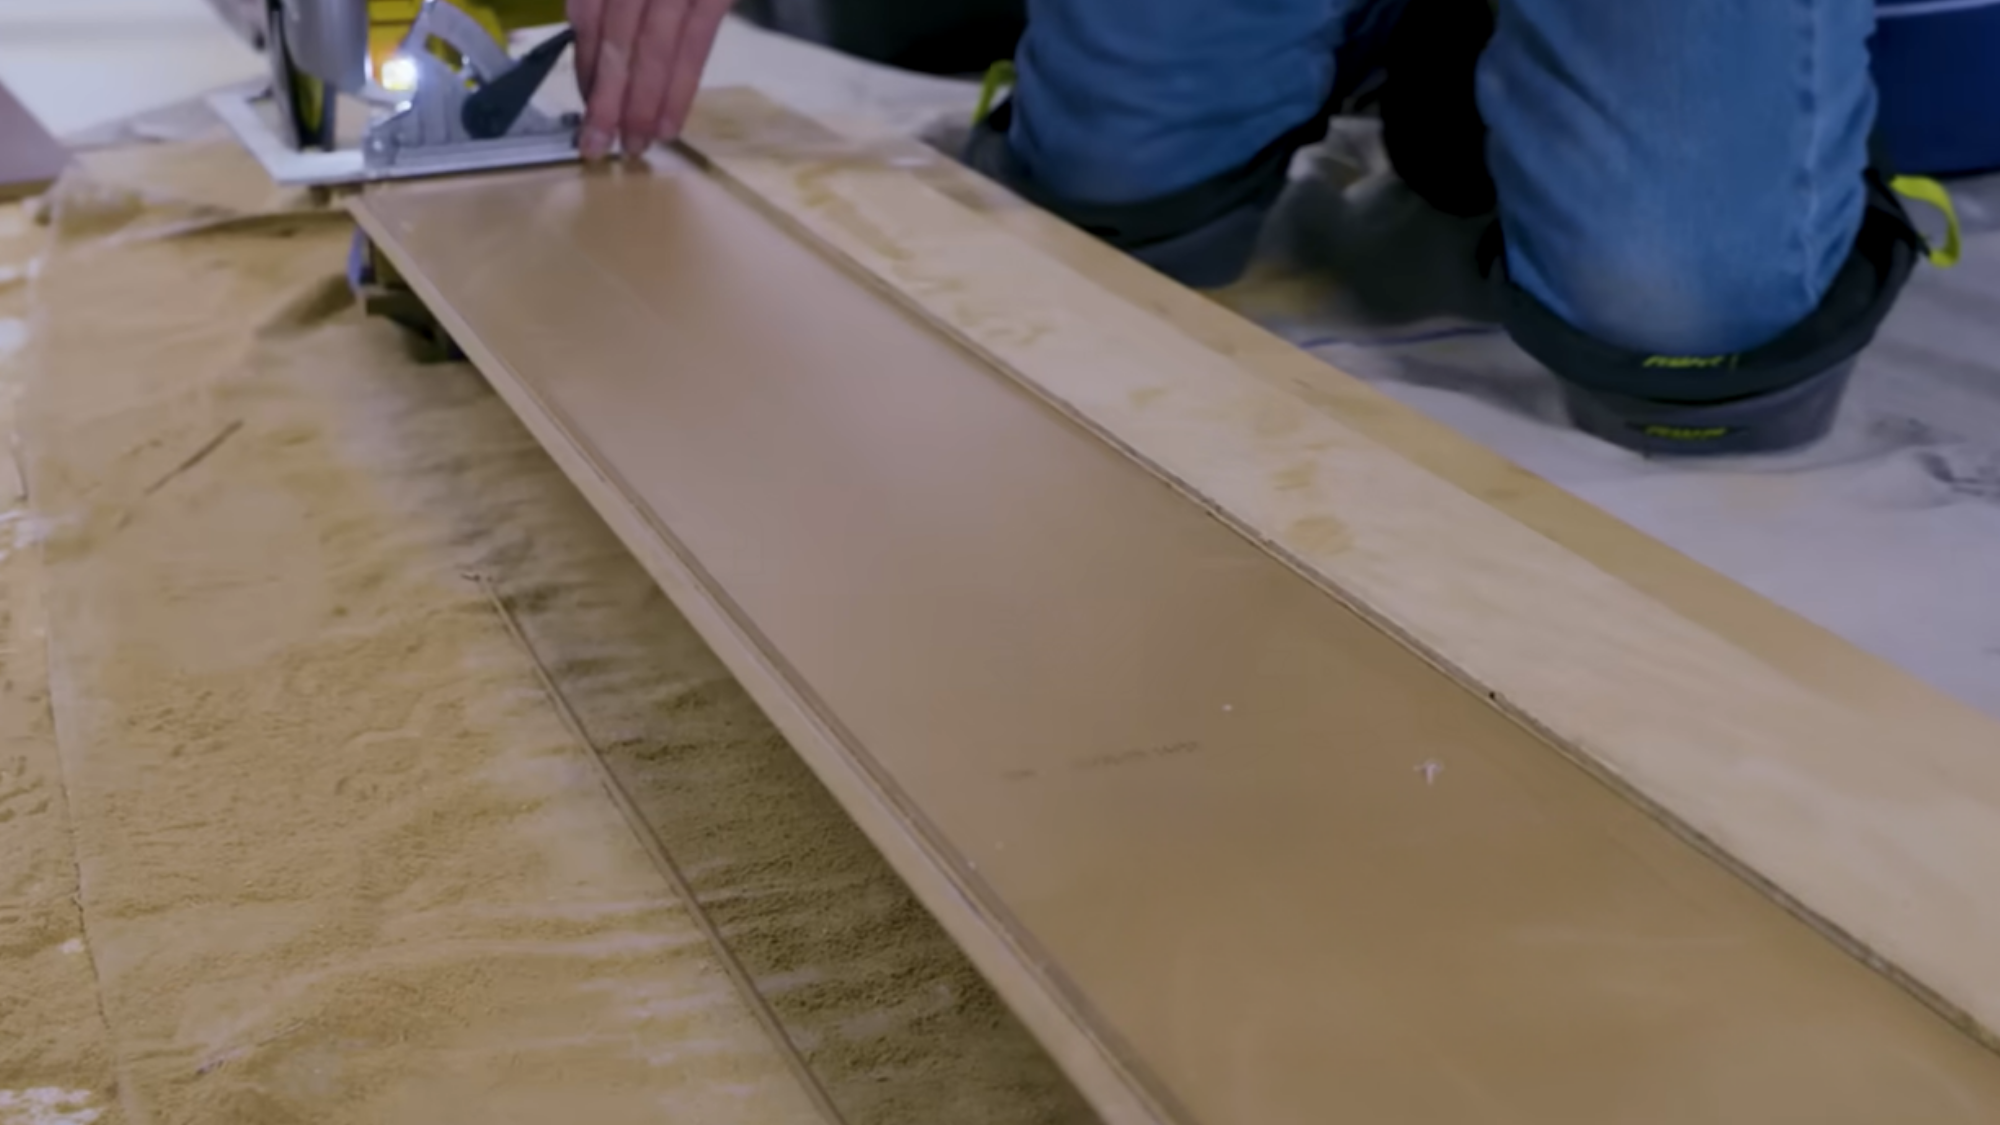
With the first rows locked in, work across the room row by row. Check periodically that your rows have not drifted out of square, a small angle error compounds quickly across a large floor.
Keep end joints staggered with at least a 6-inch offset between adjacent rows. Joints that line up create weak seams and an unnatural pattern. Save cut-off pieces from the ends of rows — they are often the right length to start the next row.
Use a tapping block and pull bar to seat every joint tightly. A visible seam means the joint has not fully clicked. Do not force a plank that resists, recheck the angle first. Forcing it risks splitting the tongue, which cannot be repaired once the floor is laid.
Step 7: Finish Edges, Obstacles, and Final Row
Measure and cut planks carefully around doors, corners, and pipes. Maintain expansion gaps around all fixed objects — not just the walls. Pipes and columns move too, and a tight fit around them will show.
For the final row, measure the gap at several points along the wall. Walls are rarely perfectly parallel, so the gap may vary from one end of the room to the other. Cut each plank individually rather than assuming the width is consistent.
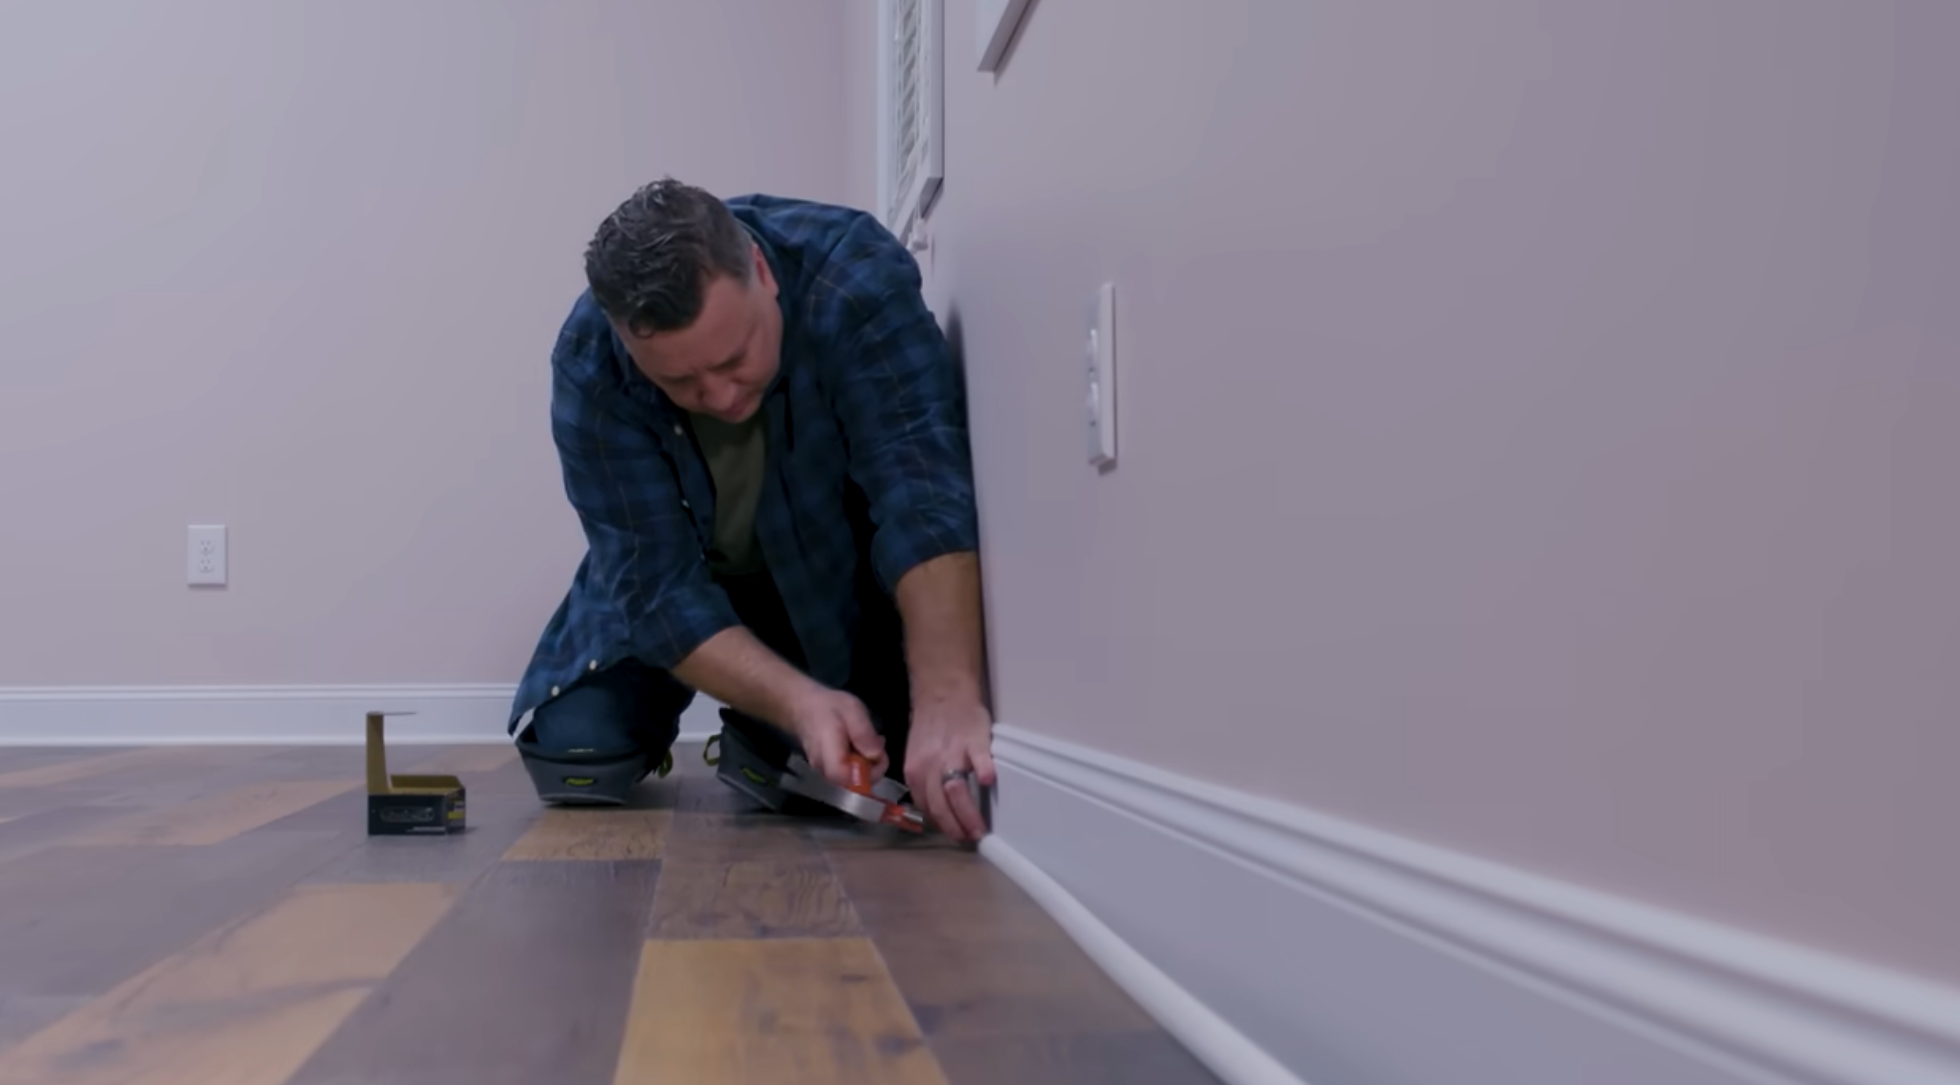
Use a pull bar to seat the final row tightly, then remove all spacers. Finish with trims or molding along the edges. This covers the expansion gap and gives the floor a clean, complete appearance.
This tutorial is based on a helpful Lowe’s Home Improvement video. You can check out the original video on their YouTube channel here or watch it below.
Common Laminate Flooring Installation Mistakes
A few errors come up consistently on DIY installs. Most are easy to avoid once you know what to watch for, but they are harder to fix after the floor is laid.
- Skipping subfloor preparation: This is the most common cause of shifting, creaking, and uneven surfaces after installation. Clean, level, and dry the subfloor before laying a single plank.
- Forgetting expansion gaps: This gives the flooring nowhere to go when it expands with heat or humidity. Boards that run tight against a wall will eventually buckle upward. Spacers along every wall fix this.
- Misaligned or unbroken joints: These make the floor look manufactured and reduce stability. Stagger end joints by at least 6 inches across every row, treat it as non-negotiable.
- Using the wrong tools: A standard hammer instead of a tapping block, or bare hands instead of a pull bar damages the locking edges and leaves gaps that will not close. Use the right tool for each step.
If you catch yourself making any of these mid-install, stop and correct it. They only get harder to fix the more rows you lay on top.
Laminate Flooring Cost and Maintenance Guidance
Understanding the cost and proper care of laminate flooring helps you plan your budget and keep your floor in good condition for years.
| Category | Details | Key Points / Estimates (USA) |
|---|---|---|
| Average material cost | Cost of laminate planks, underlayment, and basic supplies | $2 – $6 per sq. ft. |
| Optional tool rental costs | Rental of tools like a saw, a cutter, or an installation kit if not owned | $20 – $60 per day |
| DIY vs professional installation | DIY saves labor cost, but a professional includes full installation service | DIY: lower cost; Pro: $3 – $8 per sq. ft. |
| Cleaning methods and products | Use a soft broom, vacuum, or damp microfiber mop | Avoid excess water and harsh cleaners |
| Preventing scratches and moisture damage | Protect the floor from heavy furniture marks and spills | Use pads and clean spills immediately |
| Long-term care tips | Maintain regular cleaning and stable indoor humidity | Avoid steam cleaning and excessive water use |
Pro Tips for Installing Laminate Flooring
These are the details that separate a floor that looks professionally done from one that just looks finished. Small habits, big difference in the result.
- Mix cartons as you go. Pull planks from at least two or three open boxes at once. This spreads color and grain variation naturally, so the floor does not look banded or repetitive.
- Leave expansion gaps everywhere, not just along walls. Keep spacers in place until the entire floor is done. Removing them early to check fit is one of the most common causes of a too-tight edge.
- Stagger joints by at least 6 to 8 inches between rows. Joints that line up create weak seams and an unnatural look. Treat it like a brick pattern; consistent offset, every row.
- Stop if a plank resists clicking. Forcing it can split the tongue. Recheck the angle, recheck the groove, then try again. A good joint clicks without much force.
- Measure the final row at both ends. Walls are rarely perfectly parallel. Cut each plank individually — do not assume the gap width is the same from one side of the room to the other.
Get these right and most of the common finish problems take care of themselves.
Conclusion
Installing laminate flooring is one of the more satisfying DIY projects you can take on. The process is logical, the tools are accessible, and a weekend is genuinely enough time for most rooms.
The work that happens before the first plank goes down: leveling the subfloor, laying the moisture barrier, acclimating the planks is what determines how the finished floor holds up over time.
Get the preparation right, keep your expansion gaps consistent, and use a tapping block and pull bar on every row. Those three habits will carry you through the whole install.
Frequently Asked Questions
Can Laminate Flooring Be Installed without Professional Help?
Yes. Laminate flooring is DIY-friendly and installs with basic tools using a click-lock system. Most beginners can complete a standard room in one to two days.
Is Underlayment Required for Laminate Flooring?
Yes. Underlayment is required for cushioning, sound reduction, and moisture protection. If you are installing over concrete, a 6-mil plastic moisture barrier goes down before the underlayment.
In Which Direction Should Laminate Flooring Be Installed?
Generally along the longest wall or in the direction of natural light. This creates the most balanced appearance and reduces the number of cuts you need to make.
What Happens without Expansion Gaps in Laminate Flooring?
Without expansion gaps, the flooring has nowhere to go when it expands with heat or humidity. This causes buckling or surface lifting, usually starting at the walls.