

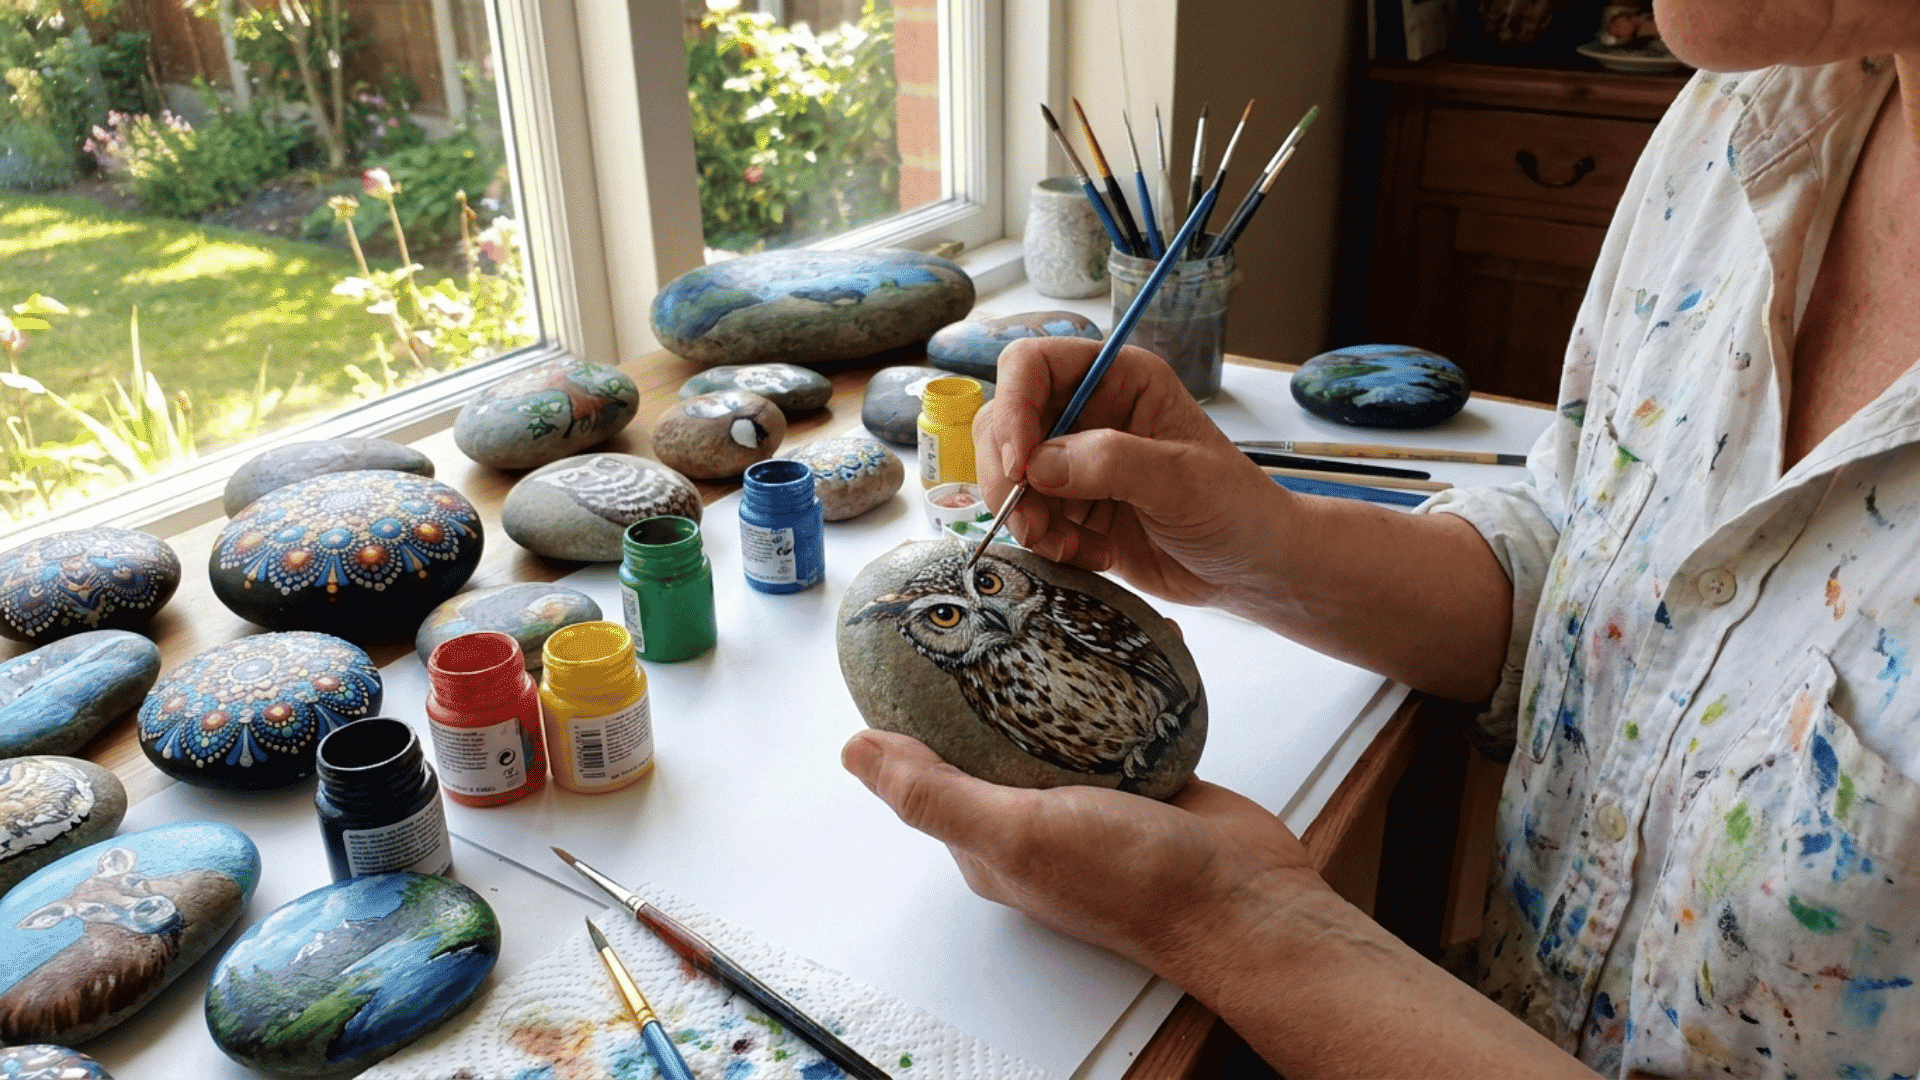
Rock painting is a simple and fun way to get creative without spending much. This beginner-friendly guide will help you start painting rocks with confidence.
You don’t need special skills or expensive tools. A few basic supplies and some easy steps are all it takes to turn plain stones into colorful designs.
My sister loves rock painting because it’s relaxing, easy to learn, and a great way to spend weekend time together.
This guide covers everything from choosing the right rocks to painting and sealing them. You’ll also find helpful tips, tools, and creative ideas to try at home.
What Is Rock Painting and Why Is It So Popular?
Rock painting is the simple act of turning a plain stone into a small piece of art. You can draw patterns, write words, or paint any design using tools you probably already have.
People enjoy it because it’s genuinely calming and easy to start. No formal art skills, no expensive materials, no pressure.
Even a short session feels rewarding once you see a design come together. That’s part of what makes it easy to keep coming back to.
Anyone can do it. Kids, adults, and complete beginners all enjoy it at their own pace. There are no rules, so you paint in your own style.
Part of why rock painting spread so quickly is the kindness rocks movement. Paint a rock with an uplifting message, then leave it in a public spot for a stranger to find.
It turned a solo hobby into something shared. That mix of creativity and small generosity is a big reason the hobby caught on fast.
Essential Tools You Need for Rock Painting
| Tool/Material | Purpose & Tips |
|---|---|
| Rocks | Smooth, flat rocks work best. Find them in yards, riverbanks, or landscaping shops. Avoid protected areas. You can find online options available for uniform sizes. |
| Acrylic Paints & Markers | Acrylic paint dries quickly and sticks well. Paint markers like POSCA pens are ideal for details and lettering. |
| Brushes & Tools | Use a mix of sizes: large brushes for coverage, small for details. Toothpicks or sponges can create textures or patterns. |
| Sealers & Finishes | Protects designs from fading/chipping and gives a smooth, finished look. |
| Optional Supplies | Pencils for sketching, stencils, and dotting tools for patterns. Not required but helpful. |
Step-by-Step Guide on How to Paint Rocks
Learn how to turn plain rocks into colorful designs with simple, easy-to-follow steps anyone can try.
Step 1: Choose the Right Rocks
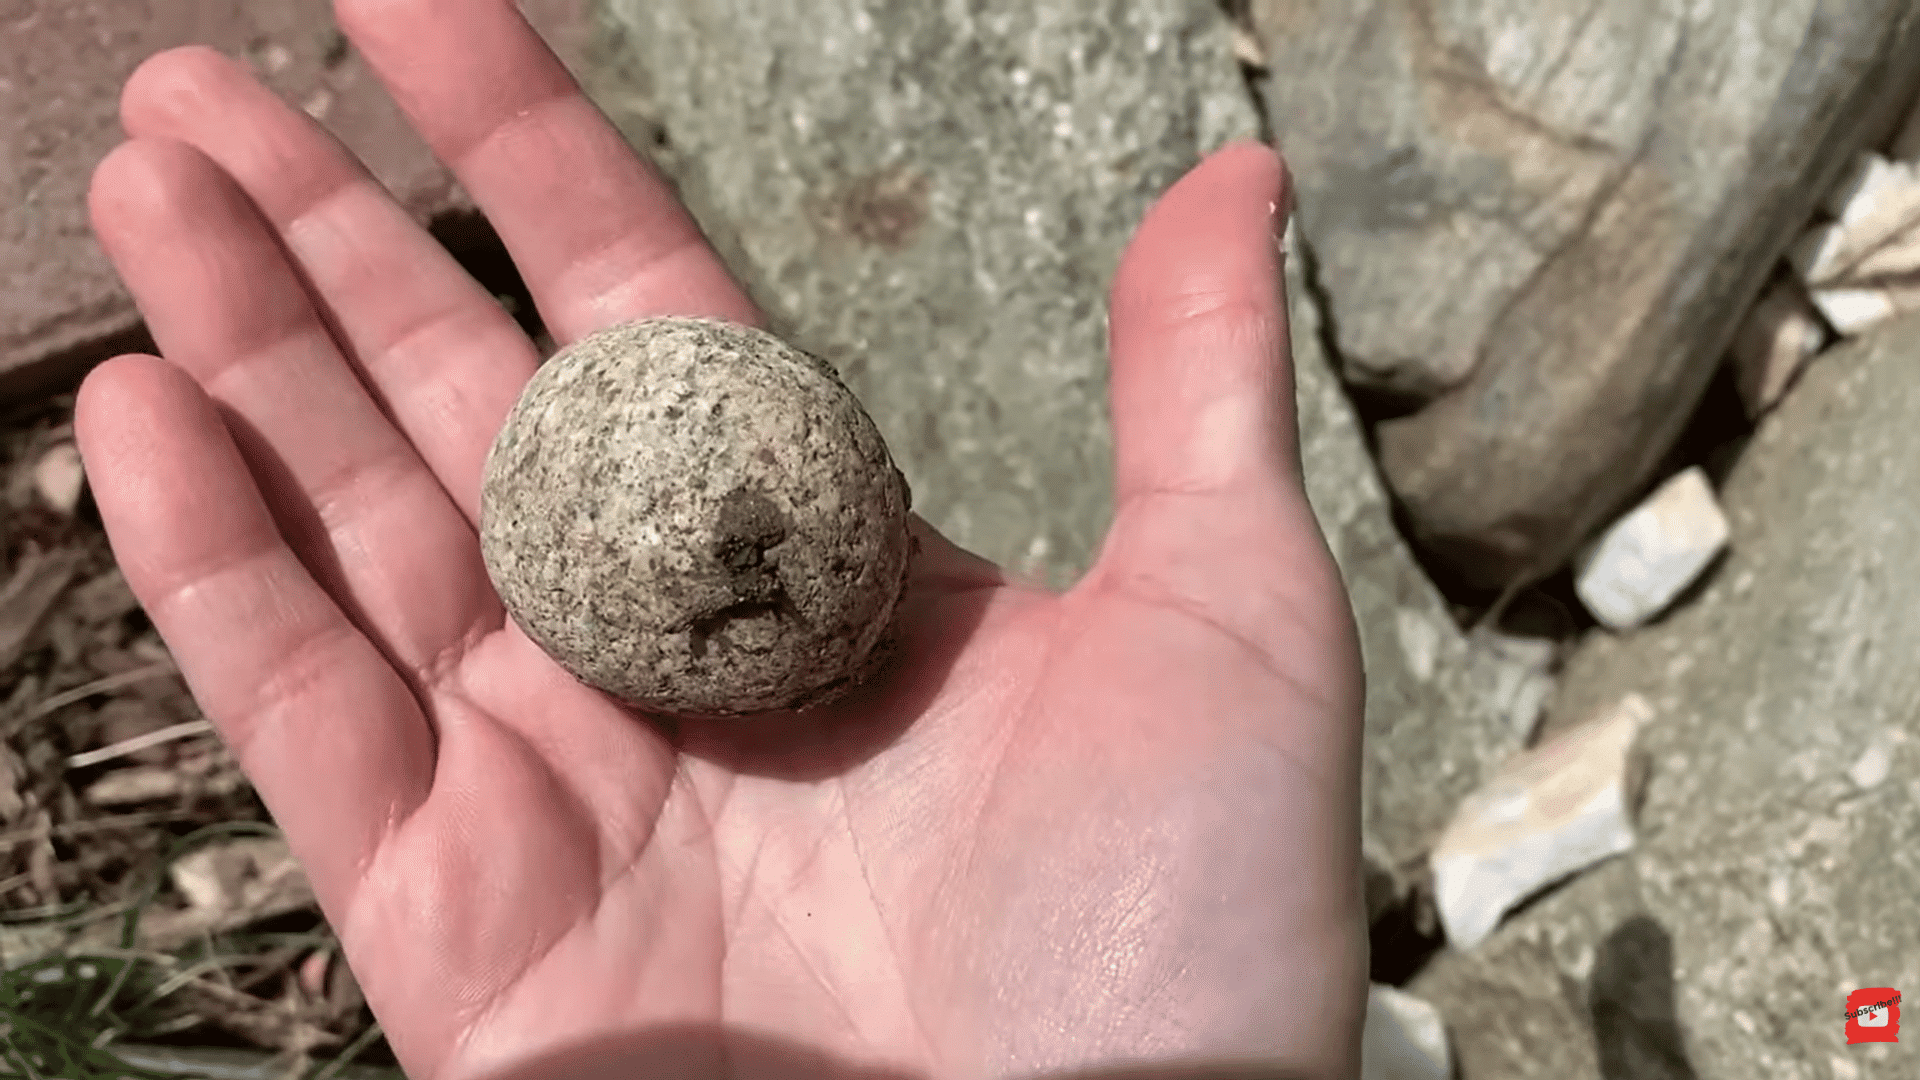
Start by picking rocks that are smooth and flat. These are easier to paint and help designs look clean and even.
Rough or uneven rocks make painting harder and affect the final look. Taking a few extra minutes to find the right stone makes a real difference.
I’ve found that smooth rocks are much easier to work with, especially when adding small details or patterns. The surface does a lot of the work for you.
Tips for Choosing Smooth and Clean Rocks: Look for rocks without cracks or rough spots. Flat shapes make painting easier and neater.
Step 2: Clean and Dry the Rocks
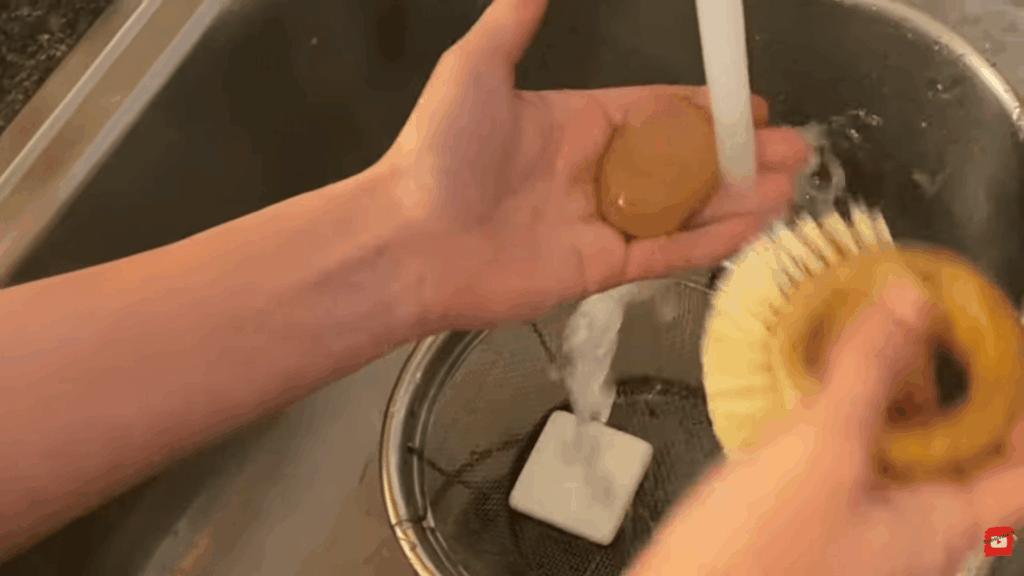
Cleaning removes dirt, dust, and oils that can stop paint from sticking well. Even if a rock looks clean, it likely has a thin layer of residue on the surface.
Washing first creates a better surface, so your paint goes on smoothly and lasts longer. Skipping this step is one of the main reasons paint peels or chips early.
Making sure the rocks are fully dry before painting is just as important. Moisture under the paint can cause it to bubble or not stick properly.
Tips for Proper Cleaning and Drying: Wash with warm water and let them dry completely. Make sure there is no moisture left before you start painting.
Step 3: Apply a Base Coat
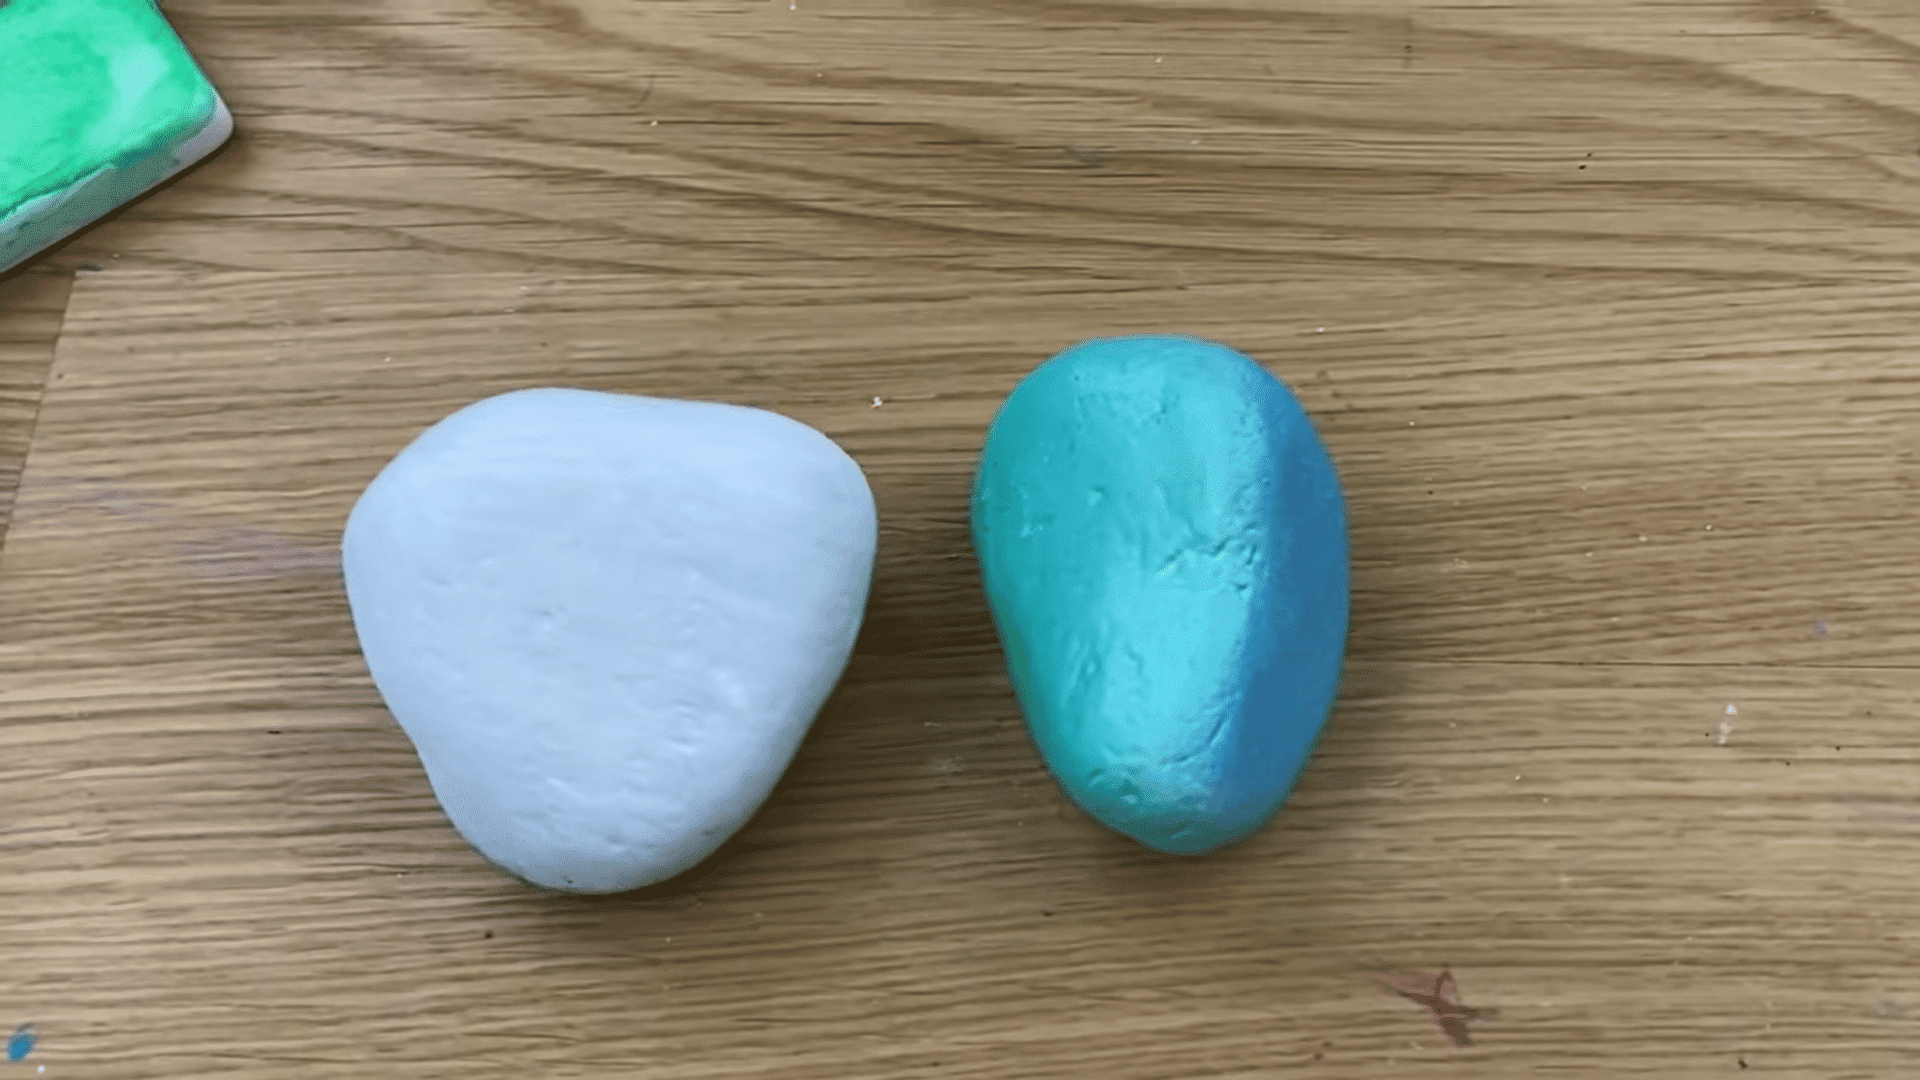
A base coat is necessary because rocks are porous. Without it, the rock absorbs paint unevenly, which makes colors look patchy or faded once dry.
Sealing the surface first gives the paint something consistent to bond to. It also blocks the rock’s natural color from bleeding through your design.
A white base coat makes every color you apply on top appear brighter and more accurate. It’s the step that separates a clean, vibrant design from a dull one.
Apply in thin layers and let each one dry fully before adding the next. Two light coats work better than one thick one.
Tips for Even Base Layers: Apply thin layers instead of thick ones. Let each layer dry before adding more paint.
Step 4: Sketch Your Design
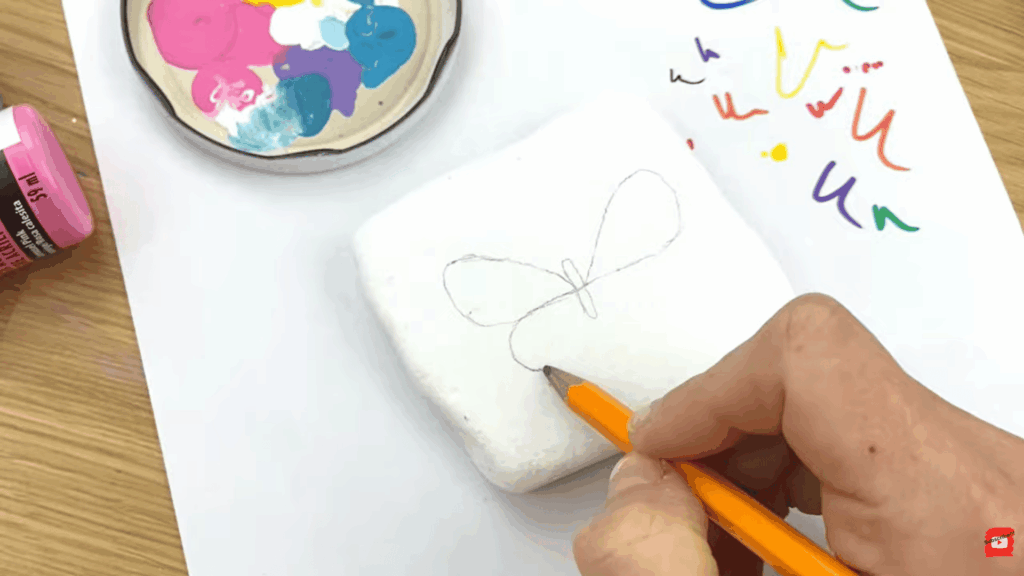
Sketching helps plan the design before painting. It gives you a clear idea of where each part will go and reduces mistakes.
Planning the layout first saves time. You’ll know exactly where to place each color and detail before the brush touches the stone.
I usually sketch lightly so I can make quick changes before adding paint. Even a rough outline keeps the design balanced and easier to follow.
Tips for Simple and Clear Outlines: Use a pencil so mistakes can be fixed easily. Keep the design simple if you are new.
Step 5: Paint Your Rock Design
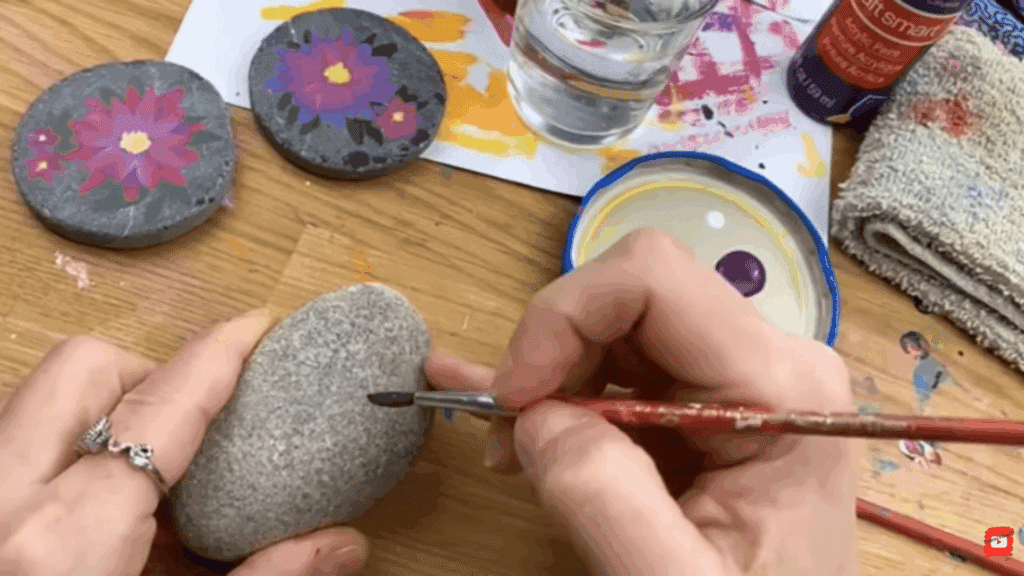
Filling in shapes and colors carefully is where the design starts to come together. Work slowly. Steady hands at this stage make a noticeable difference.
Applying paint in thin layers helps colors look smoother and prevents streaks or uneven spots. Let one color dry before adding another to avoid smudging or mixing.
Taking your time also makes it easier to stay within the lines. Careful painting helps the finished rock look bright, tidy, and well-made.
Tips for Smooth and Neat Painting: Use the right brush size for each area. Work slowly to stay within the lines.
Step 6: Add Details and Patterns
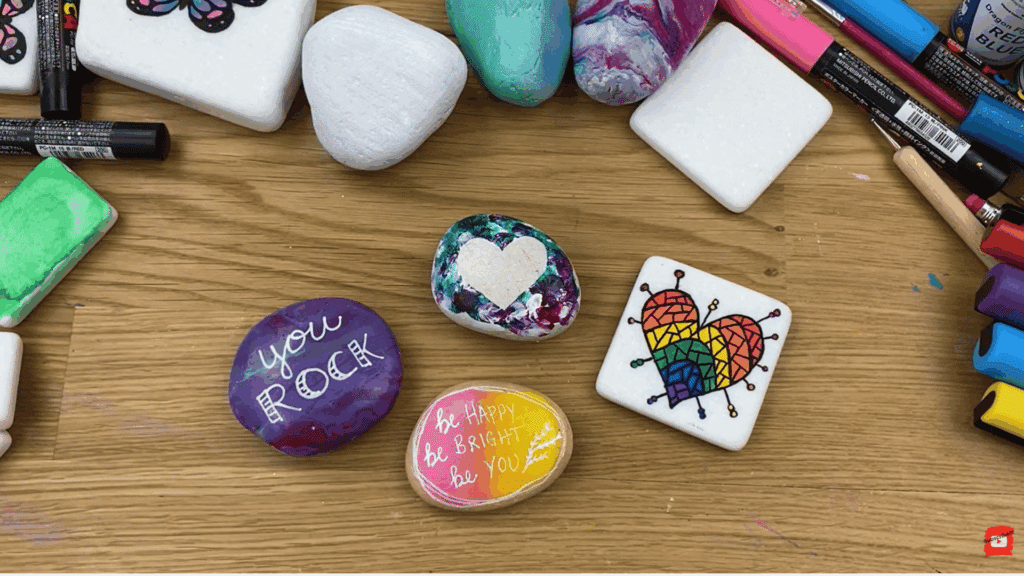
Details help make the design stand out and look more complete. Small touches like lines, dots, or highlights can make a big difference in the finished result.
Small details are what give a painted rock its personality. They can turn a simple design into something more creative and eye-catching.
I enjoy this part the most because it’s where the design really starts to feel unique. Patterns, shading, and highlights add depth and make the artwork look more polished.
Tips for Fine Details and Creativity: Use small brushes or markers for detail work. Take time to add clean lines and patterns.
Step 7: Let the Paint Dry Fully
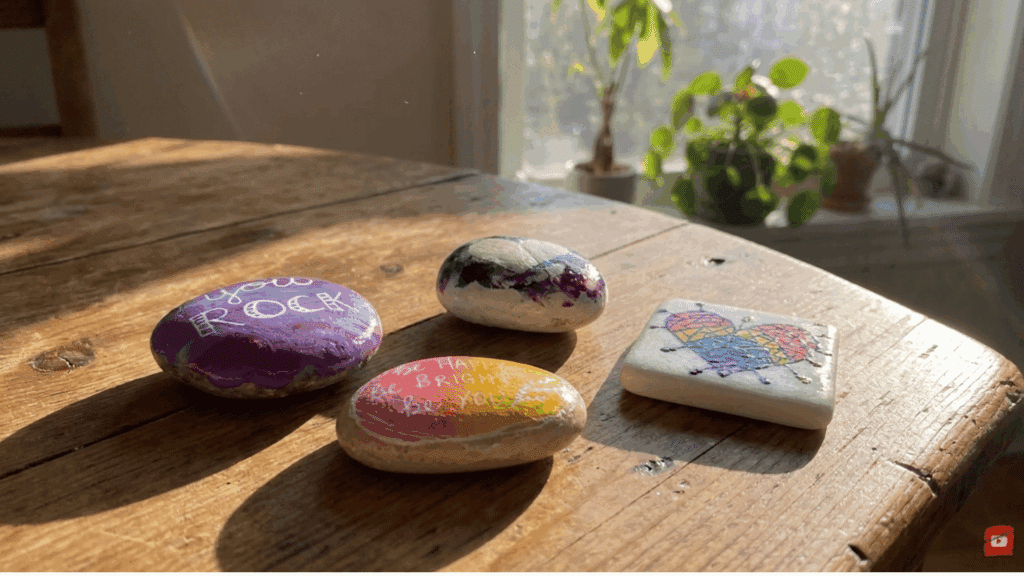
Drying is important to avoid ruining the design. Wet paint smudges easily and can mix with other colors if you’re not careful.
Letting the paint dry properly keeps colors bright. It also prevents fingerprints or smears from showing up on the surface.
It can be tempting to move on to the next step quickly. Patience here makes a real difference in how clean the finished design looks.
A fully dry surface is also safer to add details to or to apply a protective finish over.
Tips for Avoiding Smudges: Do not touch the surface too early. Allow each layer to dry fully before moving on.
Step 8: Seal the Painted Rocks
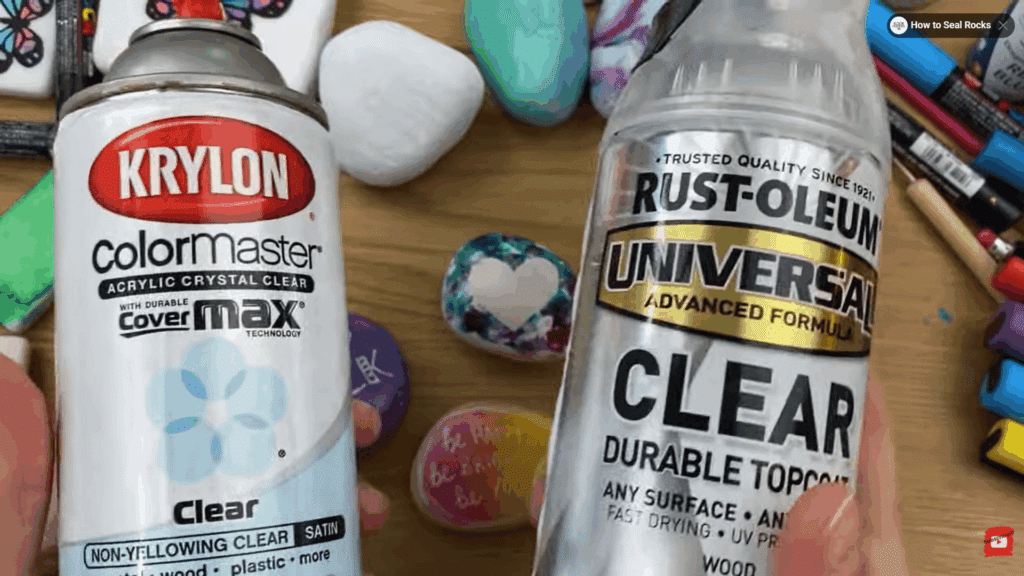
Sealing protects the paint and keeps the design looking fresh over time. It adds a smooth finish and helps prevent damage from water or handling.
Sealing matters most when rocks will be placed outdoors or handled regularly. A good sealer stops colors from fading and protects the surface from scratches and moisture.
It also gives the rock a more finished and polished look. A sealed rock holds up far longer than one left unprotected.
Tips for Long-Lasting Finish: Use a clear sealer for protection. Apply evenly and let it dry completely.
Watch this quick video tutorial by Rock Painting 101 to see the rock painting process in action and pick up a few easy design ideas for beginners:
Easy Rock Painting Ideas for Beginners
Getting started with simple designs makes the process feel easy and fun. These ideas are a great way to build skills without getting overwhelmed.
1. Dots and Patterns
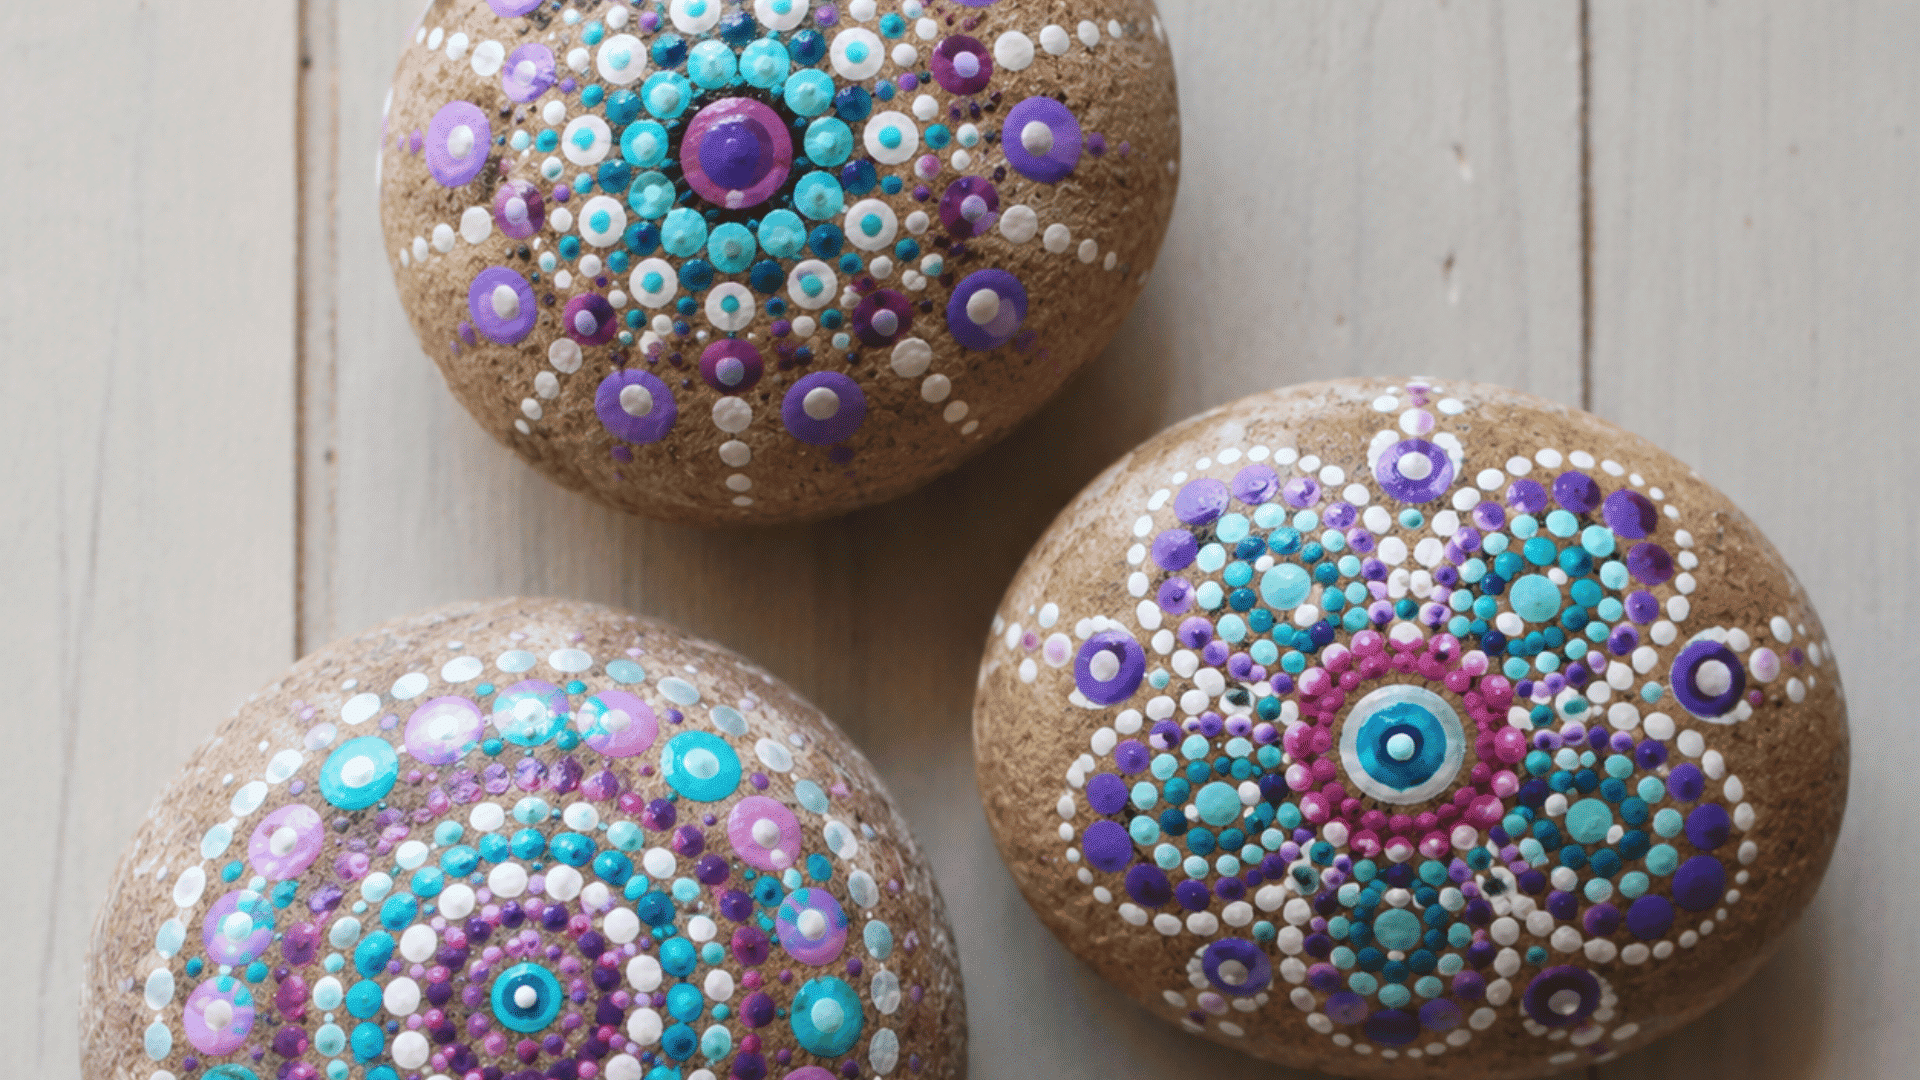
Use a brush or toothpick to create dots in lines or circles. Mix colors to make the design look more playful and varied.
Dots don’t require perfect lines or drawing skills, which makes them great for beginners. It’s my sister’s favorite thing to paint. It turns out well every time.
You can also try stripes, swirls, or zigzags to add more variety without making things complicated.
2. Simple Shapes

Hearts, stars, and smiley faces are quick to paint. They help you practice control and keep designs clean and recognizable.
Simple shapes work well for beginners because they don’t take much time to finish. Adding outlines or small details can make them stand out even more.
3. Flowers and Leaves
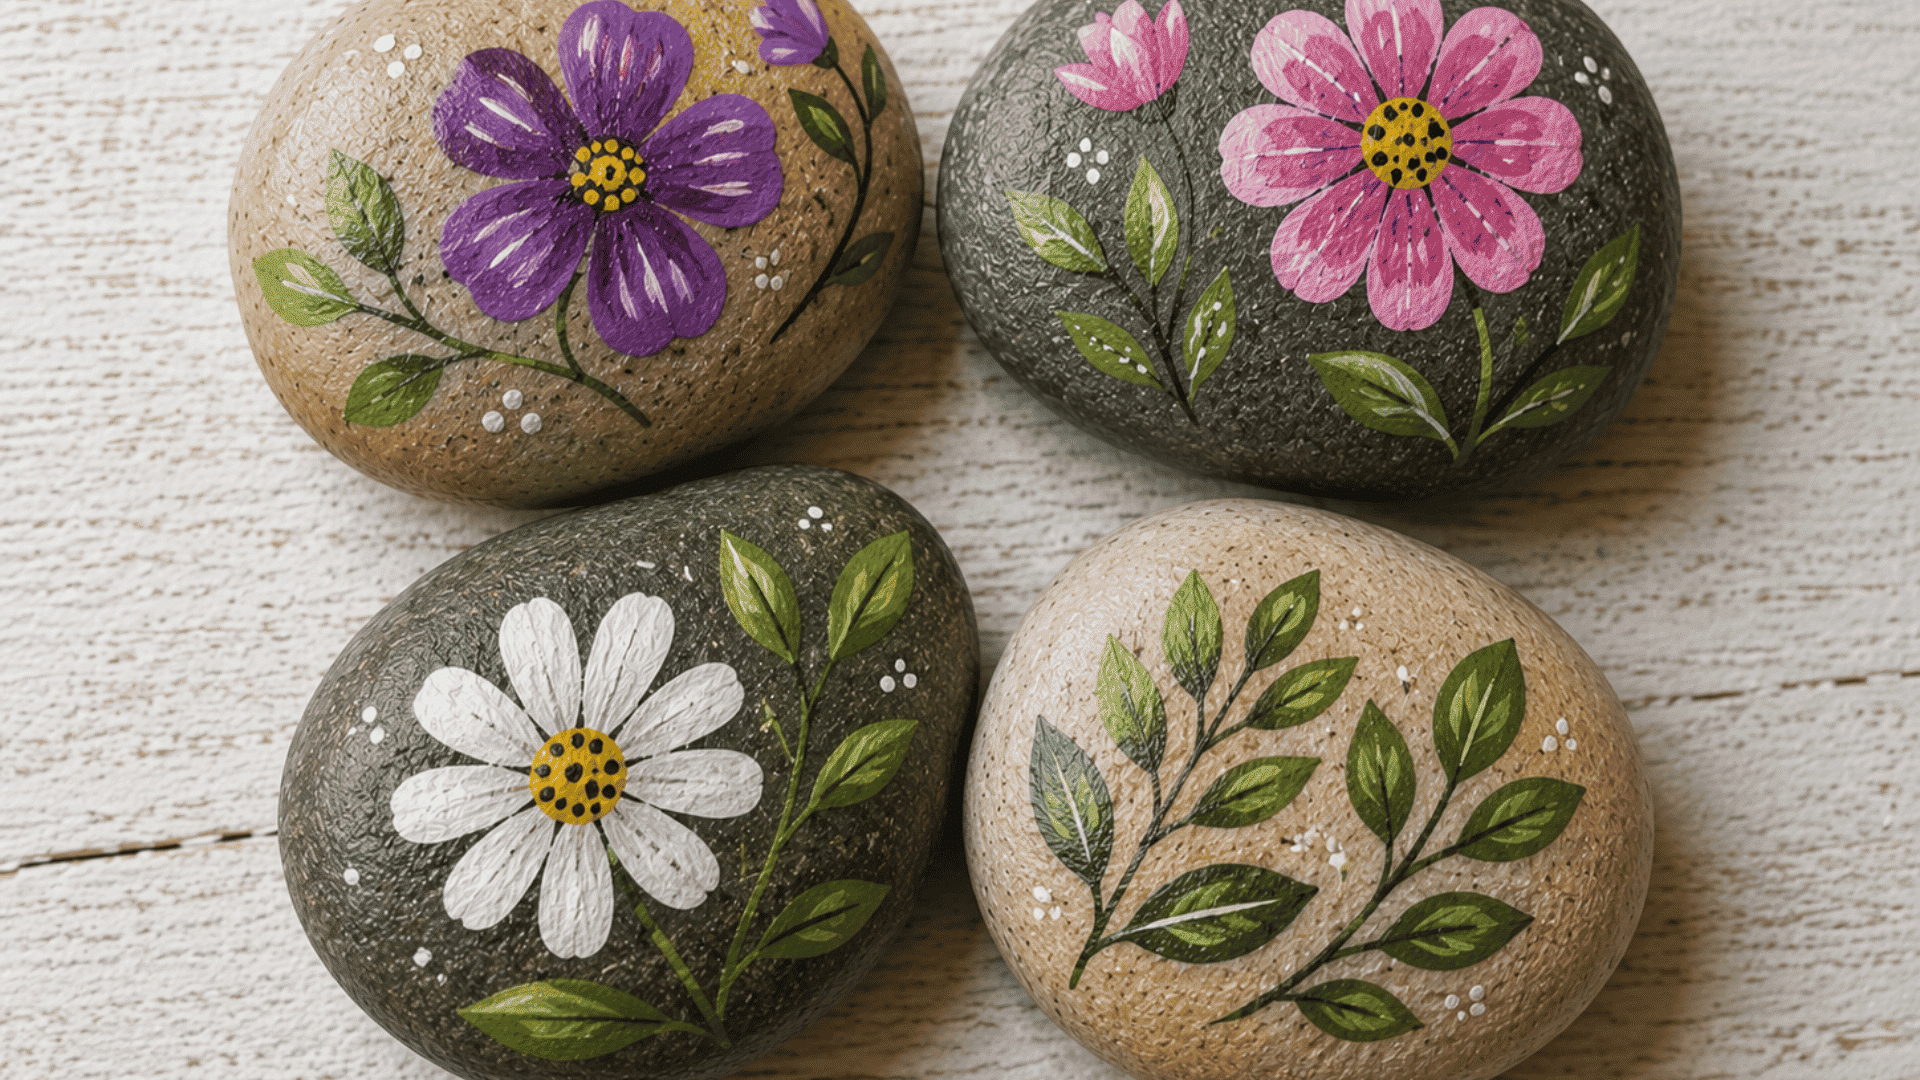
Start with basic petals or leaf shapes. A few small details added on top can make the design look a lot more complete.
Flowers are great for practicing brush control because you build the design one petal at a time. Leaves and stems fill empty space and keep the rock looking balanced.
Even a simple floral design looks bright and attractive with just two or three colors.
4. Cartoon Faces

Simple eyes and expressions can turn a rock into a fun character. You can try different moods like happy, surprised, or silly.
Cartoon faces are easy to customize without needing advanced painting skills. Changing the eyebrows, mouth, or eyes is enough to create a completely different expression.
Kids tend to love this one. There’s a lot of room for creativity, and no two faces ever end up looking exactly the same.
5. Words and Quotes
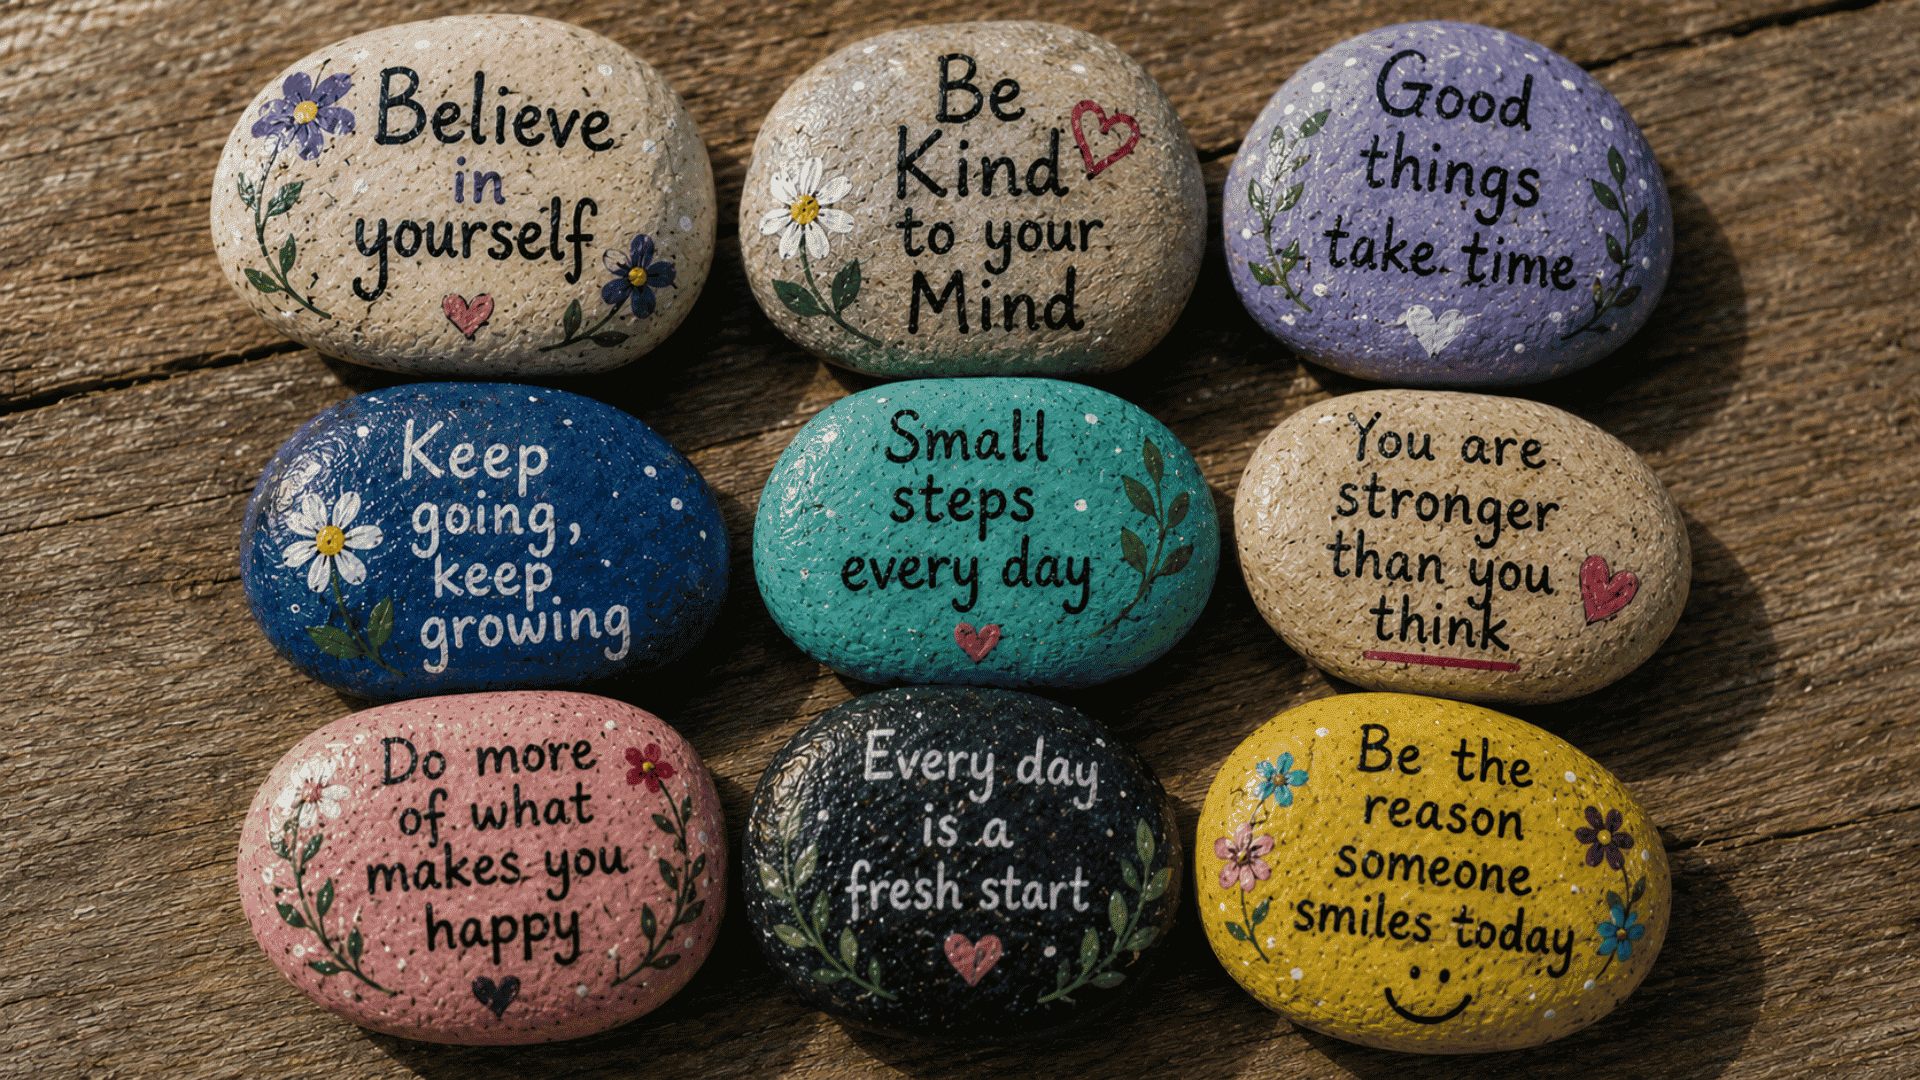
Short words, names, or positive quotes make rocks feel personal. Clear, bold lettering helps the message stand out and makes the design easy to read.
This works especially well as a gift idea. A hand-painted rock with someone’s name or a favorite quote feels more thoughtful than something store-bought. Add small designs or borders around the text to give the rock a more finished look.
Common Mistakes to Avoid When Painting Rocks
- Skipping Cleaning: Dirt or dust stops paint from sticking well. Always wash your rock and let it dry fully before you start.
- Using Too Much Paint: Thick paint layers look uneven and take longer to dry. Build color slowly with thin coats instead.
- Rushing Dry Time: Painting over wet layers causes smudges and messy colors. Let each layer dry fully before moving on.
- Not Sealing the Rock: Skipping the sealer leads to chipping and fading. A clear coat helps protect the design for much longer.
- Overcomplicating Designs: Very detailed designs are harder to manage as a beginner. Simple patterns are easier to control and still look great.
Most of these come down to patience. Rushing through cleaning, drying, and sealing is what causes most of the problems you’ll run into.
Conclusion
Rock painting is one of those hobbies that feels simple but stays enjoyable the more you do it. You don’t need expensive supplies or perfect skills to make something meaningful.
With a few rocks, some paint, and a little patience, you can make something personal and worth sharing.
There’s always something new to try. Different colors, patterns, quotes, or themes are all worth exploring as your confidence grows.
A simple dot pattern or a basic shape is a good place to start. From there, the ideas tend to keep coming.
Frequently Asked Questions
What kind of paint do you use on rocks?
Acrylic paint works best for rocks because it dries quickly, sticks well, and comes in many colors. Paint markers are also useful for adding small details and lettering.
Can I paint rocks without primer?
Yes, you can paint rocks without primer, especially if the surface is smooth. However, a base coat or primer helps colors look brighter and improves paint coverage.
Can I use Sharpies to paint rocks?
Yes, Sharpies can be used on rocks for outlines, lettering, and small details. Sealing the rock afterward helps prevent the marker from fading or smudging.
How long does rock paint take to dry?
Most acrylic paint dries within 15 to 30 minutes, depending on the thickness. Thicker layers and sealers may need extra drying time before handling the rocks.
What brushes should be used for rock painting?
Small detail brushes work best for lines and patterns, while medium brushes cover larger areas. Fine tip brushes are helpful for lettering and detailed designs on rocks.