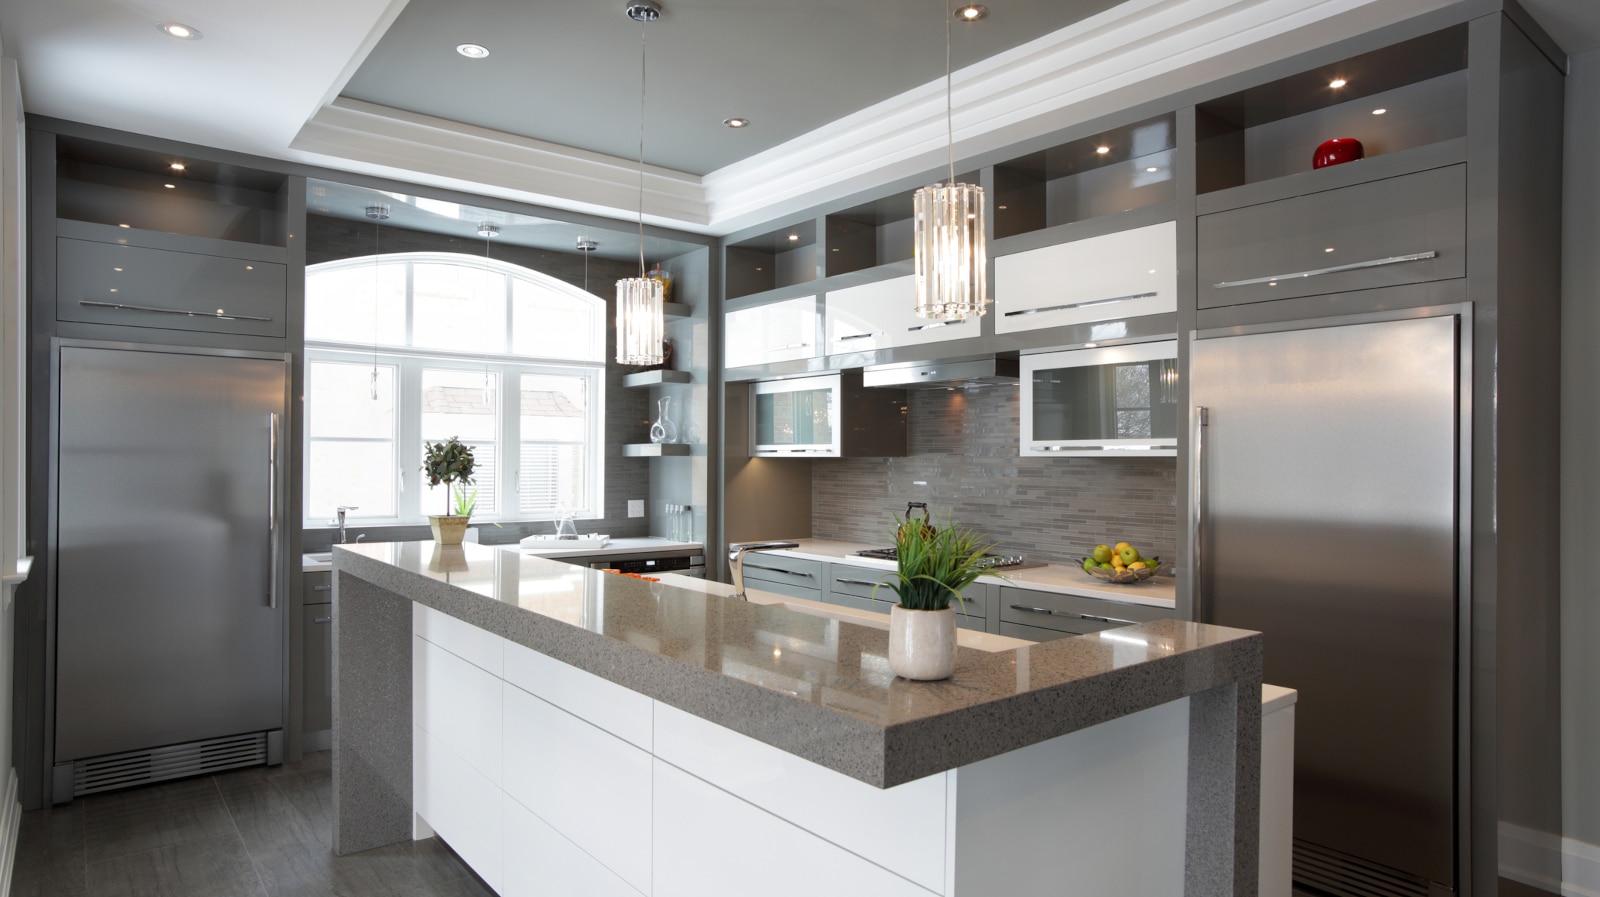
They say the kitchen is the heart of the home, so it’s no surprise that people will want theirs to be as functional and aesthetically pleasing as possible.
According to umco.com.au, approximately 150,000 kitchens in Australia are refurbished every year at an average cost of $24,014 if Compare The Market is to be believed.
However, while the thought of fitting out your dream kitchen can be incredibly exciting, the reality may be somewhat different.
Kitchen makeovers can be a complicated process that you should thoroughly plan – which can be daunting for those attempting a DIY renovation.
But if you find yourself in this boat, don’t worry, we’ve got you covered!
Here is your ultimate checklist for stress-free kitchen remodeling.
1. Establish what you want to achieve
The first thing you’ll need to get a handle on is what you want your new kitchen to be like.
For instance, do you want more bench or storage space? Or are you looking to update all your appliances?
Maybe you want to completely overhaul its style? Or perhaps you are trying to create a better workflow overall?
Whatever it is you are trying to achieve, compiling a list of your goals will help you focus your attention on what needs to be done in the renovation process. Doing this will also guide your decision-making overall throughout the course of the project.
2. Organise a rubbish removal company

Renovation zones are messy, and if the debris and rubbish that gets created in it is not disposed of responsibly, it can significantly increase the risk of accident and injury, and also attract vermin.
Companies like 1300 Rubbish can dispose of any waste created during the renovation process and get rid of it for you in the most appropriate way, including disposing of hazardous materials and recycling materials properly.
3. Design Your Ideal Layout
When it comes to conceptualising your new kitchen, it is a good idea to enlist the services of an experienced kitchen designer. They will be able to assess your current kitchen layout with their professional eye and identify areas for improvement.
If you would prefer to design it yourself, you should consider implementing the classic work triangle (the optimal distance between the sink, stove, and refrigerator) into the equation to improve how efficient it will be.
Just make sure your new design takes into account your cooking habits and provides you with enough space to freely move around and easily use the appliances.
4. Choose a Style and Colour Scheme
During the design process, you’ll need to decide on a style and colour scheme that complements the rest of your home. For instance, modern, traditional, farmhouse, or eclectic.
You will also have to select a colour palette for your cabinetry and make sure it is a harmonious and visually appealing space overall that flows naturally with other rooms in your home.
5. Select the Right Materials and Finishes

Countertops, cabinetry, flooring, and backsplashes are all notable parts of a kitchen. So, it is important to select materials and finishes that not only look good but also can withstand the rigours of daily use.
Some of the main things you’ll need to consider are how easy they are to maintain, how durable they are, and how much they will cost.
For example, quartz countertops are known for their durability and low maintenance, while hardwood floors offer a quality look and feel.
6. Finalise Design
Before finalising the design of your kitchen, you’ll need to make decisions on things like fixtures, hardware, lighting, and other finishing touches. It is worth taking the time to properly consider them because these elements can significantly contribute to the overall look and functionality of your kitchen.
Some of the things you should think about are what kind of storage solutions you will incorporate into the design, whether you will upgrade your appliances with something more energy efficient, and aspects such as under-cabinet lighting for task areas and hardware that complements your cabinetry.
7. Hire Qualified Professionals
Once your design has been completed, you must decide between doing the renovation yourself or engaging the services of professional kitchen installers or tradies, such as contractors and electricians, to perform the work for you.
All states have a website you can peruse to source a contractor. You can view Queensland’s here.
Get quotes from at least three different companies and make a point of verifying their licenses and insurances, thoroughly reviewing their portfolios, and checking their references.
When you have assembled them, it is essential to clearly communicate what you want them to do.
Make sure they advise you of any permits that you might need to get (most companies will do this for you) to ensure you are compliant with state regulations and that they are aware of the safety standards they need to follow.
8. Set a Realistic Budget

Kitchen renovations can be expensive. So, before you embark on the process, you’ll need to determine a realistic budget that can give you what you want without breaking the bank.
When doing this, you should consider all potential expenses, including everything from materials and labour to permits and a contingency fund for unexpected costs.
That’s why you must consider how to finance the remodeling beforehand. There are many different options here – maybe you have savings, could ask your family to pitch in, or could simply research the best home improvement loans for your project. Whatever options you choose, make sure you can afford it and plan your remodels accordingly.
The more realistic you are about what you can afford, the more likely you will be to prevent overspending and reduce the risk of the project stalling because you have run out of cash.
9. Prepare for the Renovation Process
When the work starts, your kitchen will be out of action. Therefore, it is important to plan for this disruption by setting up a temporary kitchen in another room in your house.
You can easily do this by gathering together an electric frying pan, air-fryer, microwave, and even a mini-fridge. Don’t forget to stock up on essentials like fridge water filters to ensure you have access to clean, fresh water during the project.
Having this set up and ready to go is important, as you will still be able to more easily prepare meals when the project is underway.

