
If your bathtub looks worn, stained, or dated, painting it can be a smart fix. Many people choose this because it costs less, saves time, and avoids a full remodel.
In this guide, I will walk you through every step, from prep to drying time.
You will learn the tools to use, the right paint, and common mistakes to avoid. Painting a bathtub takes patience, careful prep, and a full day of work.
The results will look clean and refreshed, giving your bathtub a noticeably updated appearance.
My guide is beginner-friendly and written in simple steps you can follow at home. If you are ready to put in the effort, I will help you decide if it is right for you.
Can You Paint a Bathtub at Home?
Yes, you can paint a bathtub at home if the tub is in good condition and you follow the right steps. This project works best when there are no cracks, leaks, or soft spots.
You will need the right tub and tile paint, time for prep, and good ventilation.
Most of the work goes into cleaning, sanding, and drying, not painting. The process can take a full day, plus drying time before use.
Results can look clean and refreshed, but they will not feel like a new tub.
Proper prep plays the biggest role in how long the paint lasts.
If you rush or skip steps, peeling is more likely. With patience and care, this can be a manageable DIY project for beginners working at home.
Things to Know Before You Paint a Bathtub
Painting a bathtub makes sense when the tub is solid but looks worn, stained, or outdated. If the surface has no deep cracks or leaks, paint can be a good short-term fix.
Most fiberglass, acrylic, and porcelain tubs can be painted, but cast iron with heavy rust or tubs with peeling liners are not good candidates.
Painted bathtubs usually last 3 to 5 years with proper prep and gentle care, so it helps to keep expectations realistic.
This is not a forever solution, but it can buy you time before a remodel. Safety matters more than many people expect.
Bathtub paint gives off strong fumes, so good ventilation is required.
Open windows, use fans, and wear a mask. With the right setup and mindset, painting a bathtub can be manageable for beginners who are willing to work carefully.
Tools and Materials You Will Need
Having the right supplies ready before you begin helps the process go smoothly and prevents delays. This list includes everything used in the video to complete the job properly.
- Bathtub refinishing kit (Bathworks Tub and Tile Kit)
- Comet or Ajax cleaner
- Scotch-Brite pad
- Drill scrubber attachment
- Scraper for residue and old caulk
- Etching cleaner (included in kit)
- Sandpaper (included in kit)
- Gloves, mask, and eye protection
- Tack cloth
- Hair dryer
- Foam brush and roller (included)
- Painter’s tape
How to Paint a Bathtub for a Fresh Look?
Stick to the proper sequence, starting with prep and ending with drying time. Careful attention to each step helps prevent issues and supports a longer-lasting finish.
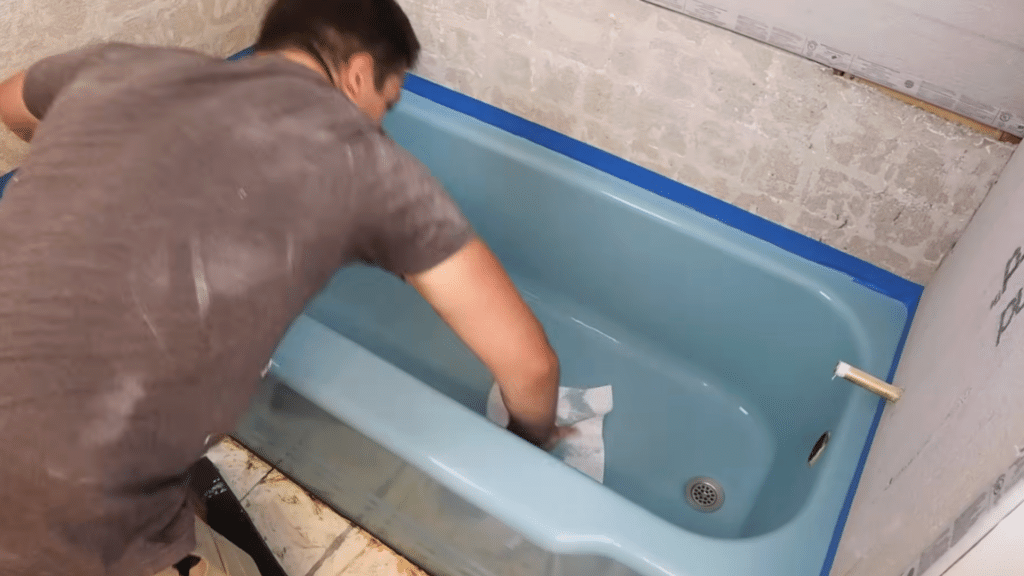
Step 1: Deep Clean the Tub
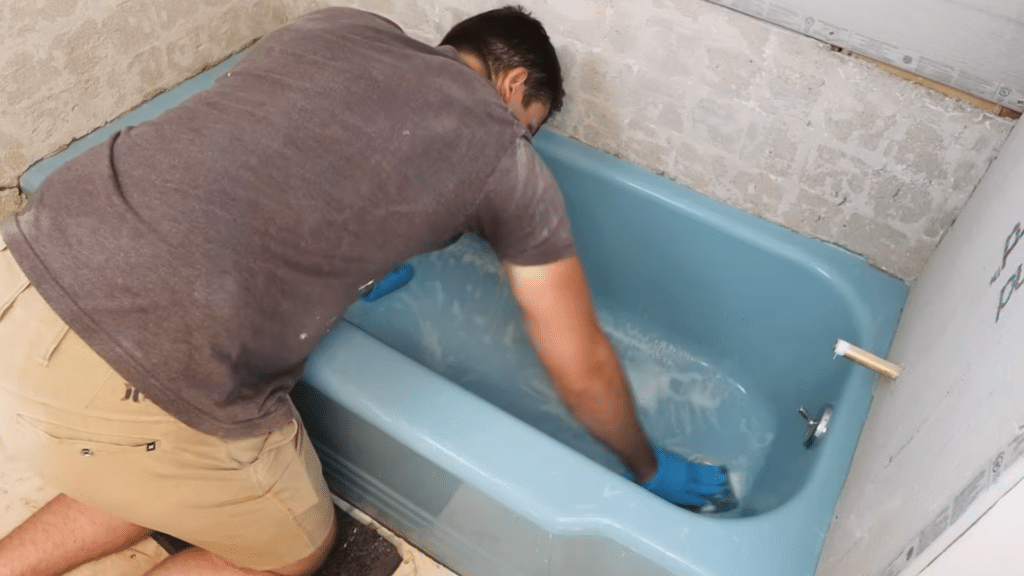
Start by wetting the tub and scrubbing it with Comet and a Scotch-Brite pad. Focus on removing all soap scum, dirt, and leftover residue.
These layers block paint from sticking, especially around the drain and lower walls.
Go over the entire tub more than once. Pay extra attention to corners, curves, and edges where buildup hides. The tub should feel clean to the touch, not slick or greasy.
The cleaner the surface is at this stage, the better the paint will bond and last.
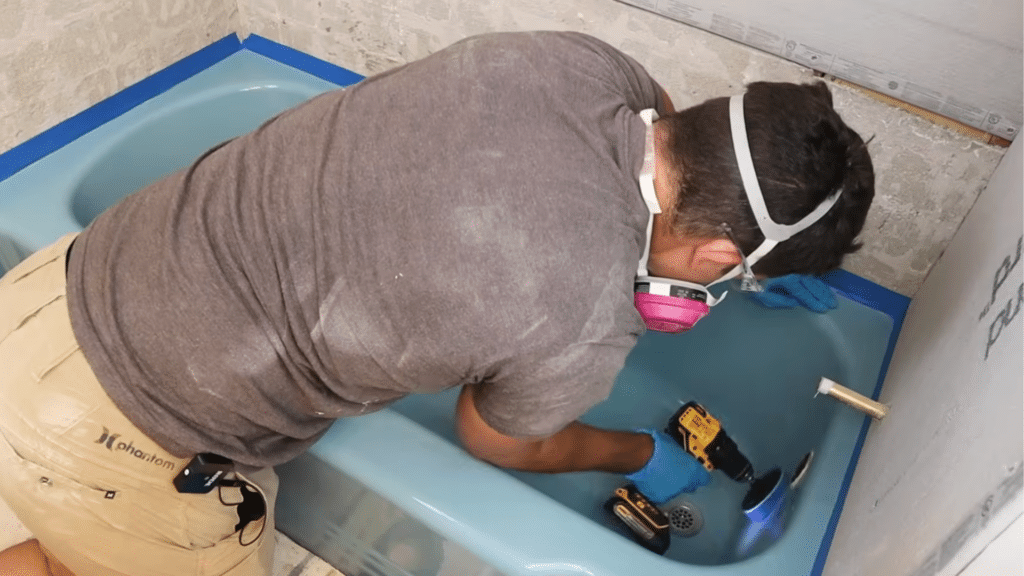
Step 2: Use Power Tools and Scrape Residue

A drill scrubber makes deep cleaning much easier and more effective than scrubbing by hand. It helps remove stuck-on grime faster and applies even pressure across the surface.
Use a scraper to remove hard residue and old caulk that the scrubber cannot reach.
These areas often cause paint failure later if left behind. Take your time here and make sure nothing is peeling, flaking, or loose.
Step 3: Prep the Area and Reduce Debris
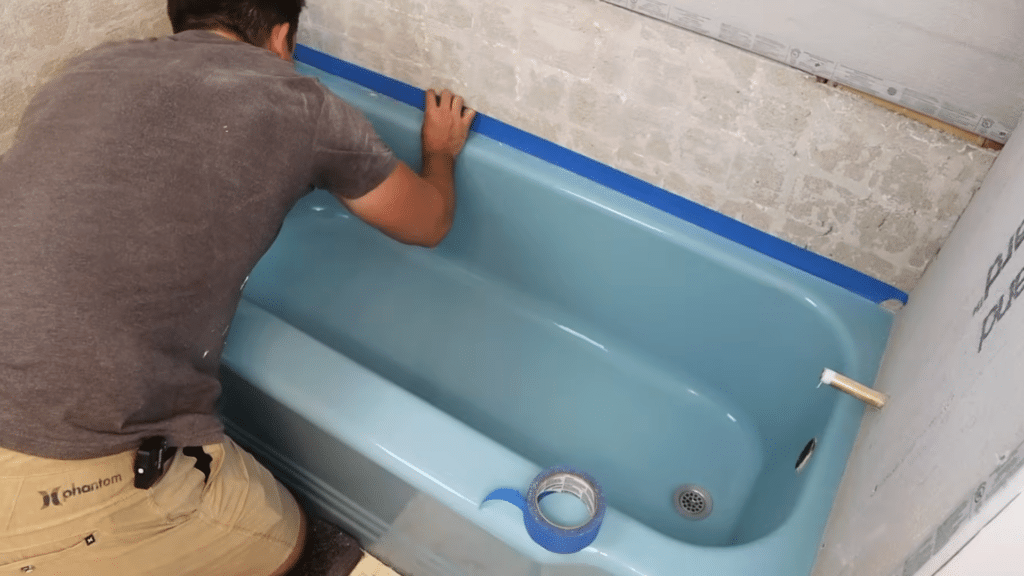
If you plan to add new tile or work on the walls, finish that job first. Dust from cement board and wall materials can fall into the tub and undo all your cleaning work.
This debris can also ruin wet paint and create bumps in the finish.
To reduce this risk, tape along the tub edges and nearby surfaces. Taping helps block falling dust and keeps paint lines clean.
It also makes cleanup easier as you move through the next steps and helps protect the tub while you work.
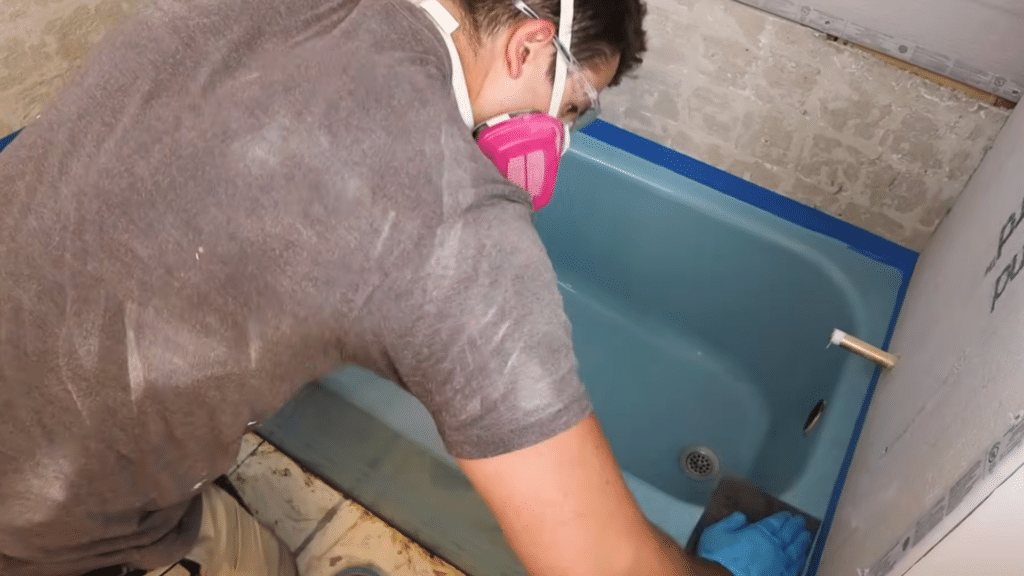
Step 4: Etch the Surface
Mix the provided etching cleaner with warm water and scrub the entire tub surface.
This process helps roughen the tub slightly so the paint can stick better. The cleaner is strong, so wear gloves and eye protection before you begin.
Scrub evenly and take your time to cover every area, including corners and curves.
Do not rush this step. When finished, rinse the tub thoroughly with clean water to remove all cleaner residue before moving on to the next step.
Step 5: Sand While the Tub Is Damp
While the tub is still damp, sand the entire surface using the sandpaper included in the kit.
This helps create a slightly rough texture so the paint can bond properly. Move evenly across the tub and do not skip corners, curves, or edges.
Uneven sanding can lead to peeling later. Take your time and apply steady pressure without over-sanding.
Once you finish, rinse the tub again to remove all sanding dust and leftover residue. A clean surface at this stage helps improve how smooth and long-lasting the paint will be.
Step 6: Dry the Tub Completely
Dry the tub fully using clean towels, then allow time for air drying. Any moisture left behind can cause the paint to fail, especially around the drain, seams, and corners.
Water trapped in these areas often leads to peeling or bubbles later.
To be safe, use a hair dryer to remove hidden moisture from edges and tight spots. Move slowly and focus on areas that stay damp the longest.
Taking extra time to dry the tub completely helps the paint bond better and improves how long the finish lasts.
Step 7: Apply the Primer
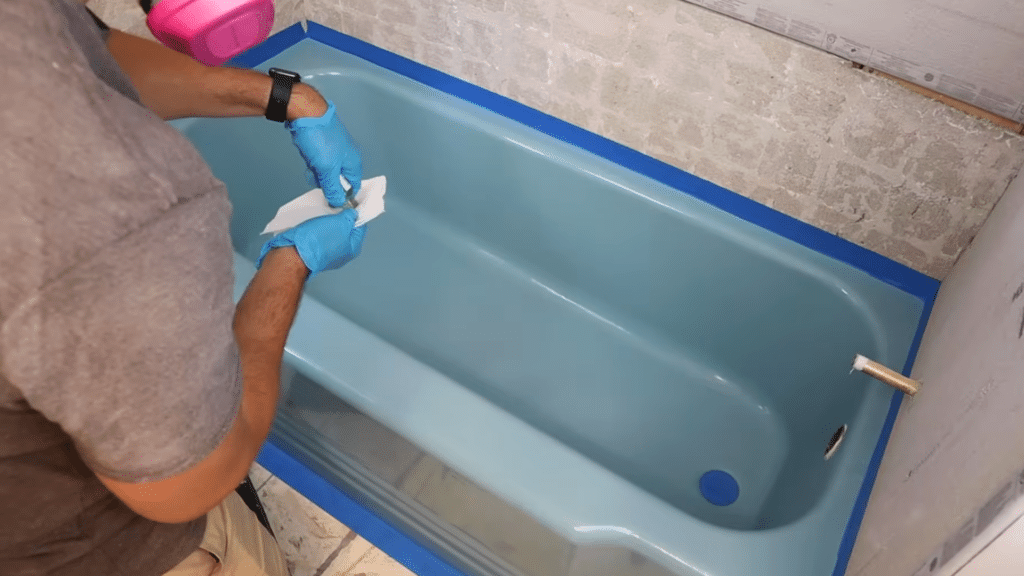
Apply the provided primer using a clean paper towel and wipe it evenly over the entire tub surface.
Make sure all areas are lightly covered, including corners and edges. Do not leave puddles or thick spots.
Once applied, let the primer sit for about five minutes before you begin painting. This short wait time allows the primer to activate and helps the paint stick better.
Proper priming improves durability and reduces the chance of peeling or early wear after the tub is back in use.
Step 8: Mix the Paint

Mix the paint color with the hardener according to the kit instructions, then let it sit for five minutes before using it.
This waiting time helps the mixture activate properly. Once mixed, you have about three hours to apply the paint before it starts to harden and can no longer be used.
Mix the non-slip additive separately and pour it into the center of the tub.
Only prepare the amount you plan to use right away to avoid waste.
Step 9: Apply Non-Slip Texture

Spread the non-slip mixture across the tub floor using the provided roller.
Work slowly and apply it evenly, focusing only on the bottom surface. Avoid pushing the texture up the sides or into other areas of the tub.
Once applied, let the mixture set for about 20 minutes instead of the recommended 10.
Allowing extra time helps the texture stay in place and prevents it from spreading when you begin painting the rest of the tub.
Step 10: Paint the Tub
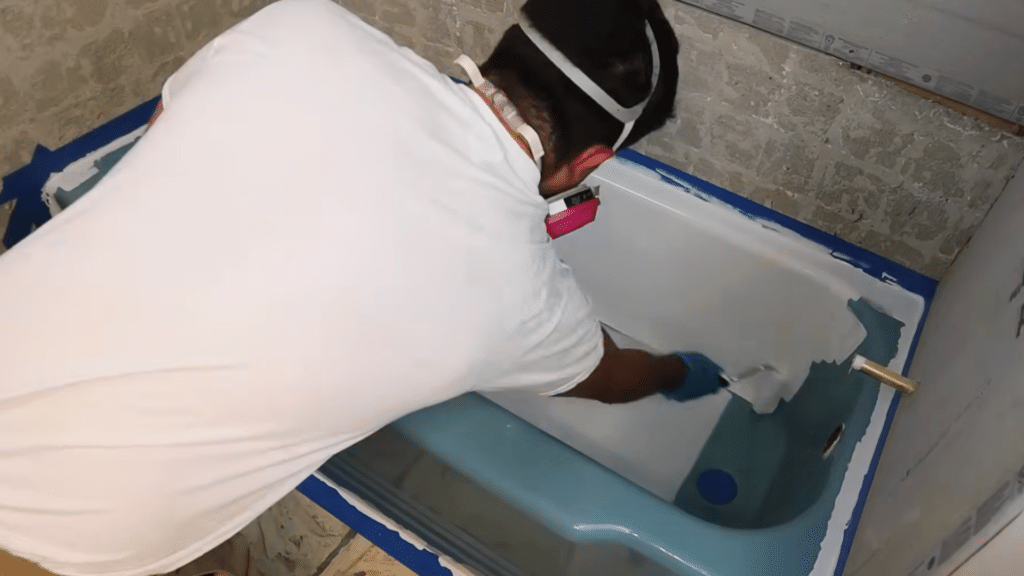
Start by painting the edges of the tub using the foam brush. This helps you reach tight corners and creates a clean outline before using the roller.
Next, paint the walls, curves, and floor with the roller, working in smooth, even strokes. Leave the top edge closest to you for last so you can rest your hand there while reaching deeper areas.
Load the roller well and avoid dry rolling. Apply more paint to high-wear areas and use less along the top edge to prevent drips.
A second coat can be applied right away using the same pattern. Be careful not to lean on any wet surfaces.
Step 11: Remove Tape Carefully

Wait at least 45 minutes after painting before removing the tape. Pull it off slowly at a 45-degree angle to avoid lifting fresh paint or damaging the finish.
For extra protection, waiting up to 24 hours is a safer option.
Lightly scoring along the paint line with a sharp blade can help prevent peeling and keep edges clean. Move carefully and do not rush this step.
Taking a little extra time here helps protect the final finish and keeps the painted tub looking neat and well-defined.
This tutorial is based on a helpful video by Bear Mountain Builds. You can check out the original video on their YouTube channel here or watch it below.
When to Replace Your Bathtub?
Some issues go beyond surface fixes and can lead to bigger problems over time. Paying attention to early signs can save money and stress later.
- Deep cracks, chips, or soft spots in the tub
- Rust that keeps returning through the surface
- A tub that has been painted several times already
- Water damage under or around the tub
- Poor drainage or ongoing leaks
- Loose or shifting tub that no longer feels secure
- Desire for a long-term solution with less upkeep
Conclusion
Painting a bathtub is a hands-on project, but it can be worth the effort when done right. You start by cleaning and sanding the surface, fixing small flaws, and using the right paint made for tubs.
Each step matters, and skipping prep is the fastest way to poor results.
Taking your time helps the paint stick better and last longer. With proper prep and patience, your tub can look clean and refreshed. My guide is meant to help you feel ready, not rushed.
If you are willing to put in the work, you can handle this project with confidence.
If you decide to paint your bathtub, I’d love to hear how it went. Share your experience, tips, or questions in the comments below.