DIY projects are an excellent way to stay persistent and refine your creativity. They are fun activities and a good stress buster. In addition to this, DIY projects are believed to enhance a person’s mental level when he is exposed to a new challenge. Because of the positive effects of DIY projects, many people like to recreate their existing spaces, projects, homes, etc., using DIY projects.
There is no limit to the extent to which people have used their skills to create masterpieces. From painting their furniture to installing furnishings, people have done everything by themselves. To everyone’s surprise, the results have also been amazing.
One such project is installing window casings on your own. It is a very simple task that can be done easily and in a few steps.
What is a Window Casing?
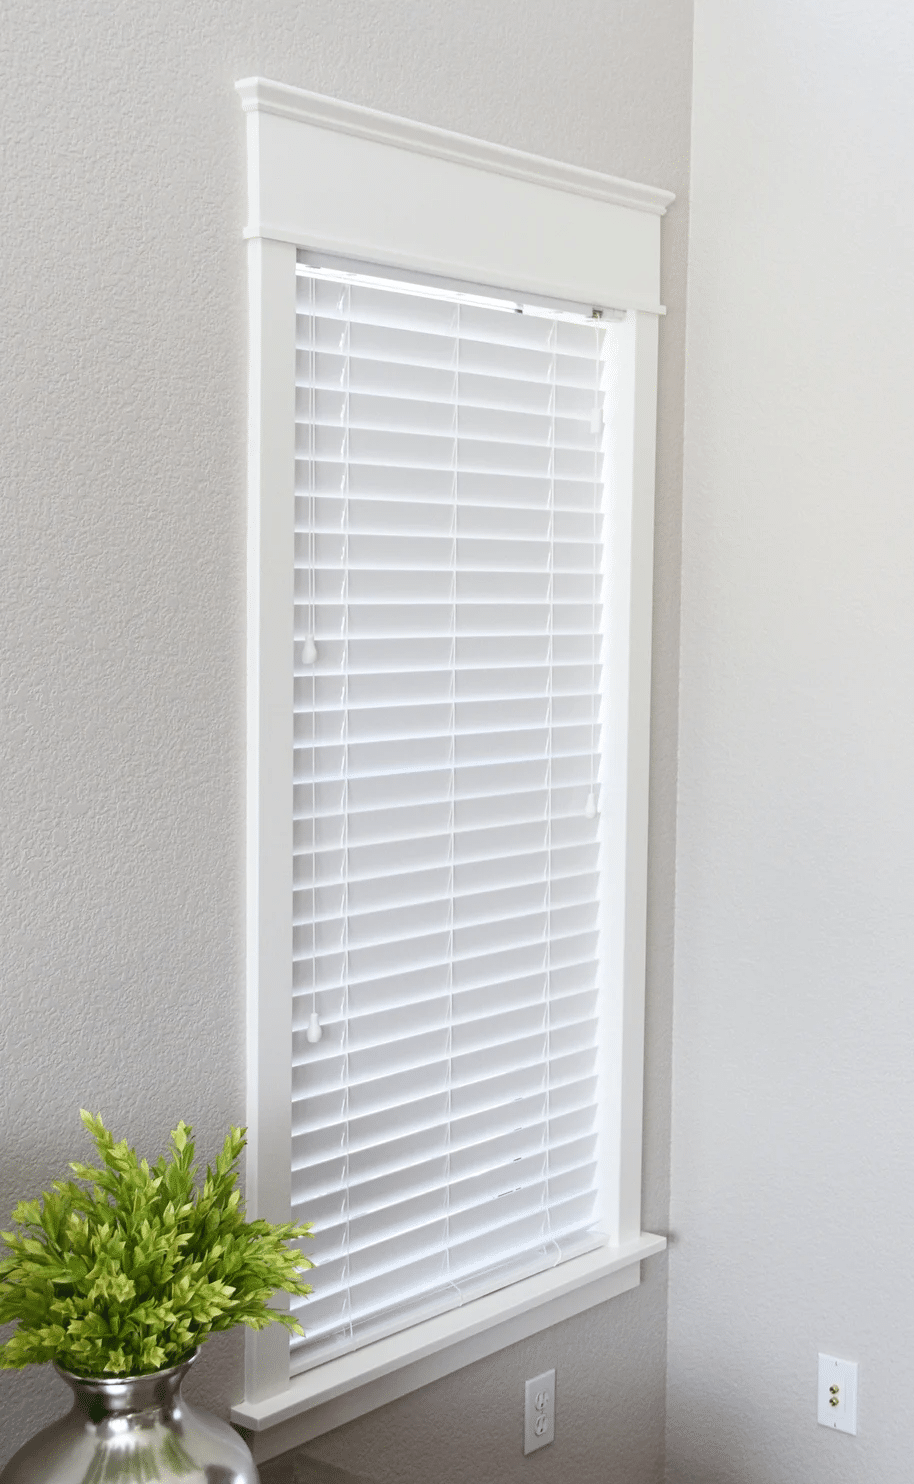
A window casing is a decorative trim that conceals the space between the wooden frame and the wall, provides strength to the window, and enhances its beauty. Thus, you can say that window casing serves two purposes. They are usually painted with the same color as the window to maintain uniformity. A window casing is sometimes also known as window trim.
These casings also protect the windows from getting damaged due to moisture and even act as an insulation medium. The casings can be divided into various categories depending on the material used, the style of the casing, and the installation process of the window casing. The commonly used materials for window casing are wood, MDF, PVC, composite, etc. The window casings are available in simple as well as complex patterns that are generally selected by people depending on the aesthetic look they want to achieve.
Installing window casing is not a very difficult process that you cannot do. All you need to do is gather the correct equipment and follow the accurate procedure.
Material Required to Install Window Casings
Before moving on to the detailed guide on installing window casings, you should first know all the materials and tools that are required so that you can gather them before you begin your DIY project and avoid any last-minute inconvenience.
Following are the tools that you will require when working on the window casing installation process.
How to Install a Window Casing?
Once you have gathered all the material, you can now begin the process of installing window casing. Below is a brief guide to how to install window casing all by yourself.
Step 1: Remove the Old Trim
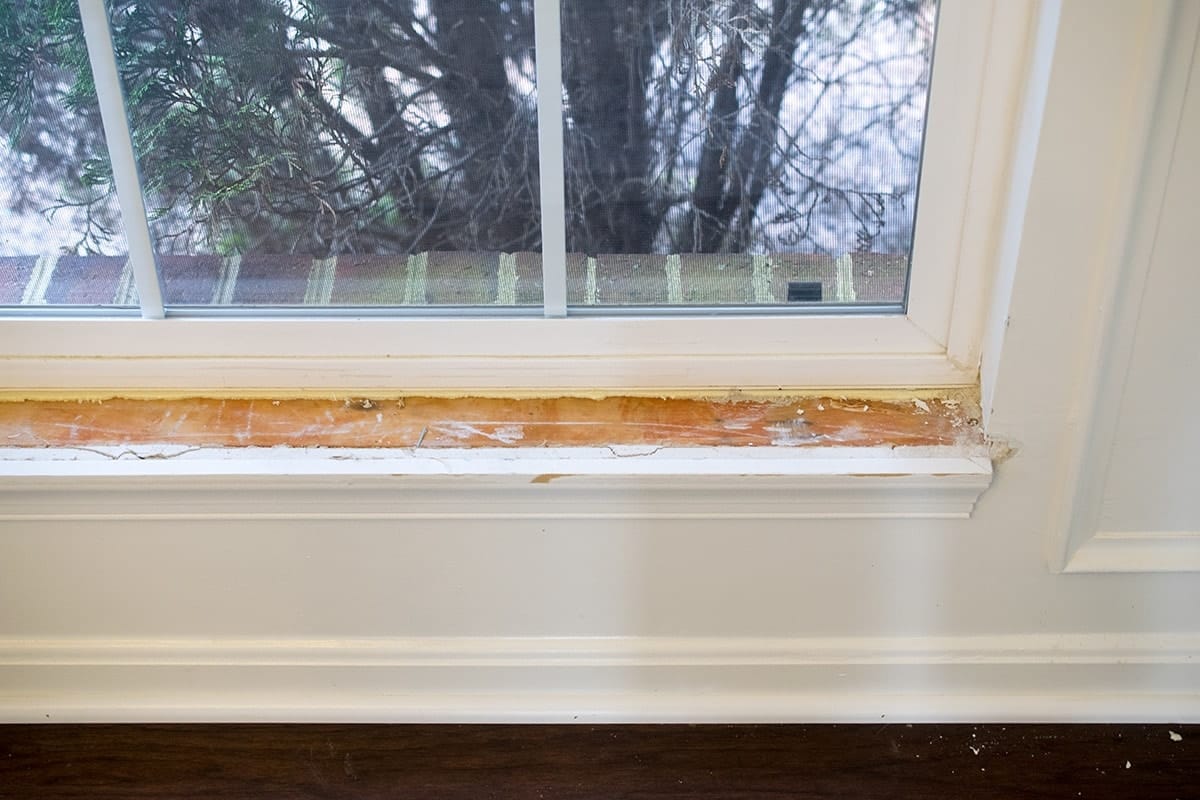
This step is only required for people who have a window casing installed. You can remove the old casing using a utility knife and pry bar. For this, you need to insert your utility knife between the window and the casing; and then, with the help of a pry bar, gently remove the casing from the wall.
You can even use a hammer to ease the process of removing the old window casing. Don’t be too harsh while removing the old casing; this might spoil the look of the window and the wall.
Step 2: Measure the Length that You Need to Cover

You need first to measure the length of the window around which you want to install the casing. Measure both the length and width of the window. Make sure you measure accurately using a measuring tape. If not measured accurately, you might spoil your DIY project. This will make it look untidy.
Measuring the length will give you the exact value of trim you need for your DIY project. To be on the safe side, always purchase some extra trim so that in case some of the trim is wasted, you do not run short of the material.
Step 3: Cut the Window Casing
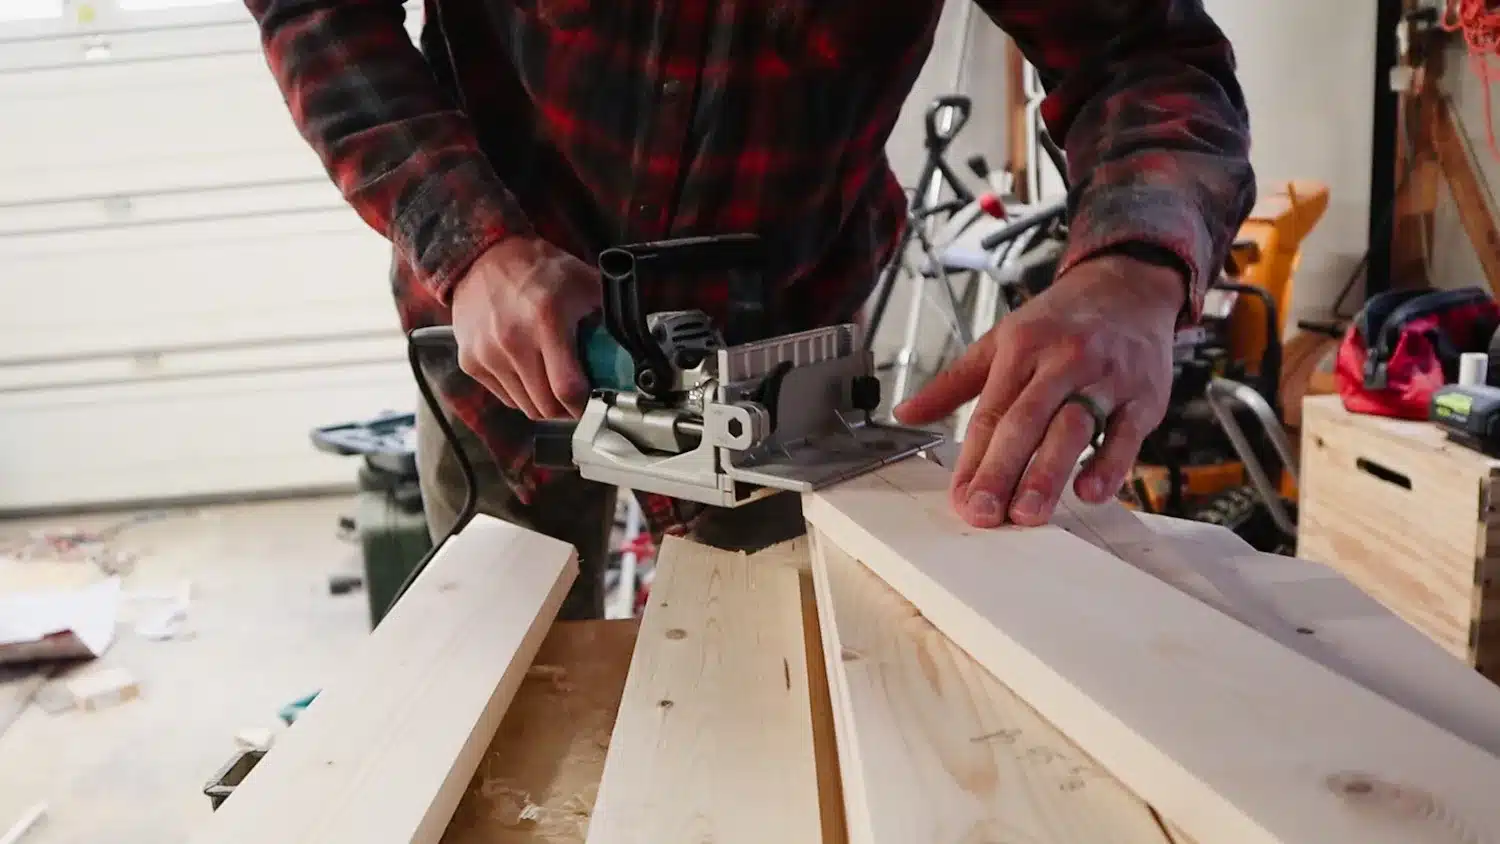
Now, cut the window casing according to the dimensions you have measured. When measuring, you need to make sure that you cut the edge of the trim at an angle of 45 degrees. For this, you can take the help of a miter saw. Using a miter saw will give a neat and clean trim. The edges would be perfectly trimmed with the help of a miter saw.
Now place it along the window and align the casing properly with the help of reveal lines. Carefully cover all the area that is to be covered with the casing.
Step 4: Cut the Other End Too
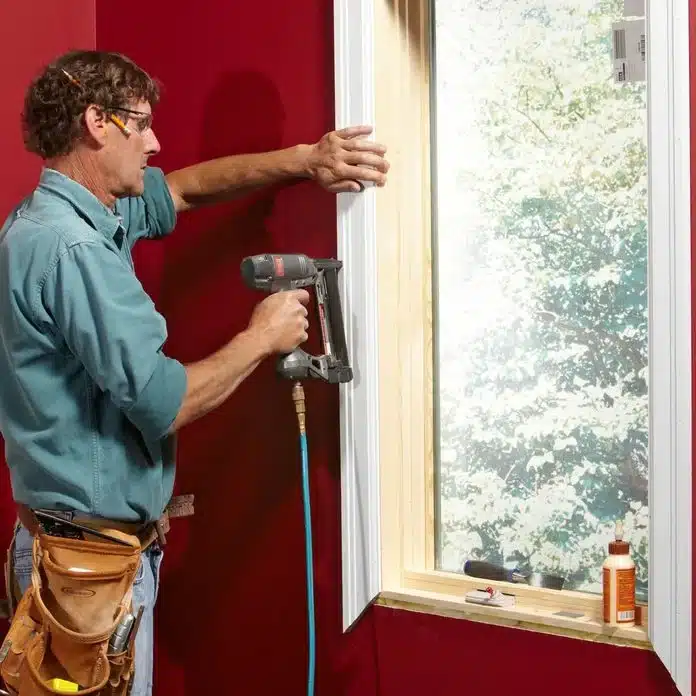
When you have carefully aligned the trim along the window, mark the other edge on the trim with the help of the pencil where you need to make another 45-degree angle cut. During this procedure, you should be careful that the trim does not get disturbed from its initial location. Else, you won’t be able to get the exact point, and; this will even lead to the wastage of material. If you wish, you can take the help of another person who can assist you in the following process.
Step 5: Repeat This Step 1-3 for All the Trims

You need to follow the same step for all four trims. Do not skip even a single step, and make sure that you measure the length with the help of measuring tape only. The cutting should be done precisely.
Step 6: Dry Fit the Casing

Dry fitting of the window basically refers to the step in which you first check that the casing is cut accurately by placing it adjacent to the walls. It is an important step that should not be skipped. As the name suggests, in this step, you do not permanently fix the casing; rather, you just take a rough idea about how the casing will look when permanently fixed to the window.
Step 7: Fix the Casing into the Wall

Once you have properly cut both edges, you can now fix the window casing into the wall with the help of nails and wood glue. Before you permanently fix the nail into the window casing, secure the corner joints first. Securing the corner joint means sealing the edge of the trim of the two adjacent trims with the help of wood glue. After fixing the edges, fix the trims with nails. If you are looking for a hassle-free experience, you can use a nail gun. A nail gun can be easily used and is generally recommended for newbies.
Place the nails 6 inches apart. For a strong bond between the window and the casing, neither place the nails too close nor too away from each other.
Step 8: Paint the Window Casing
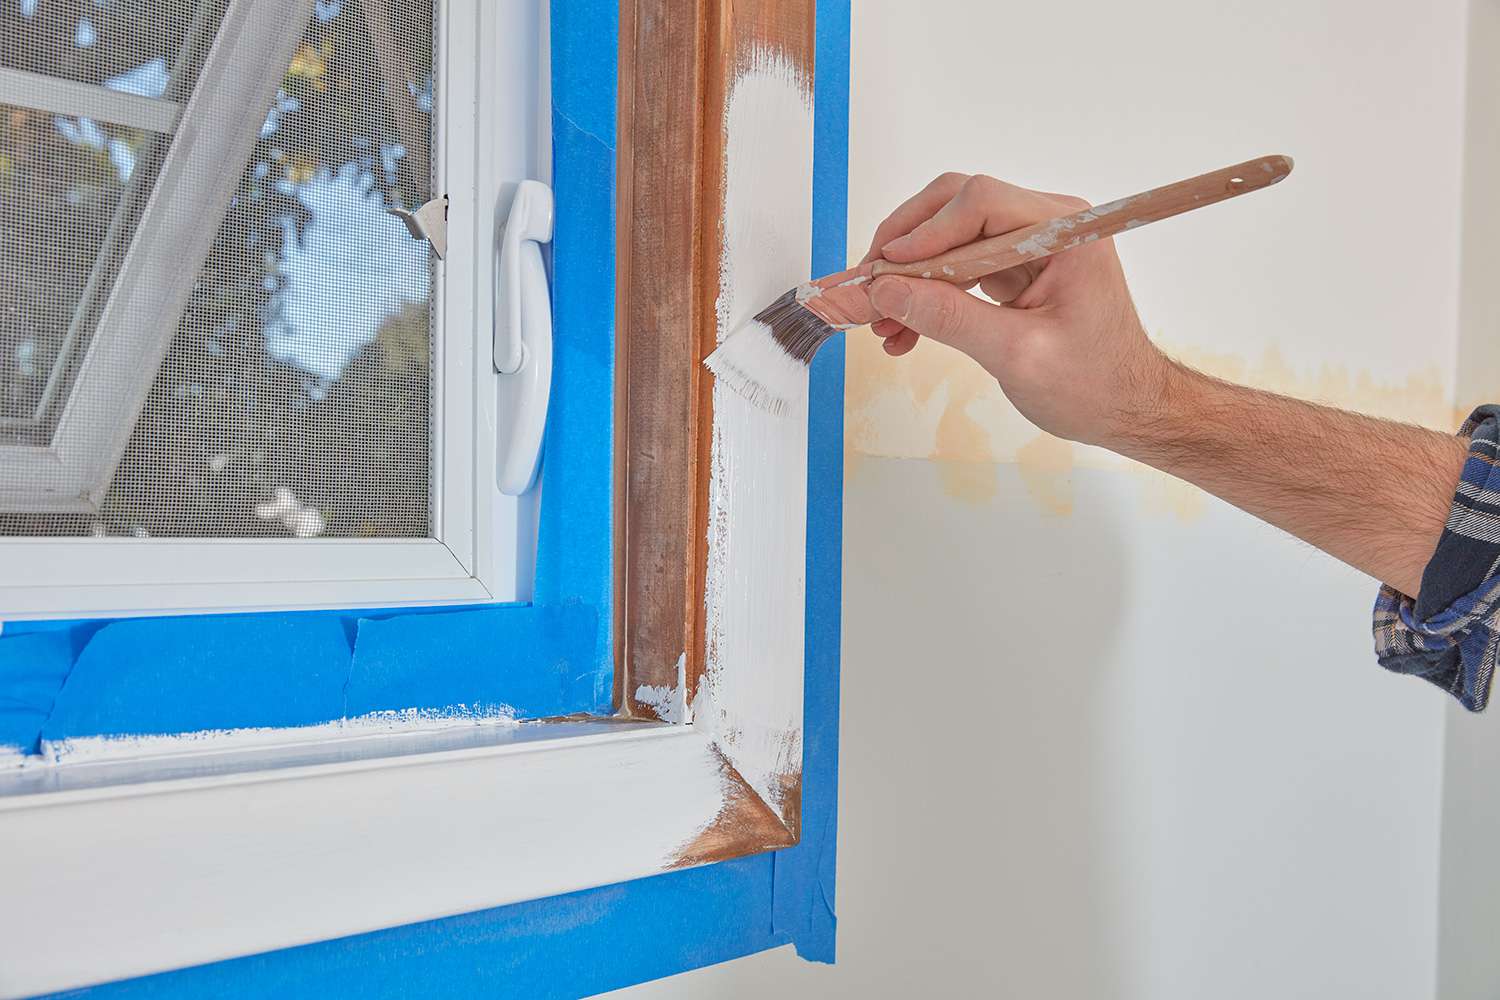
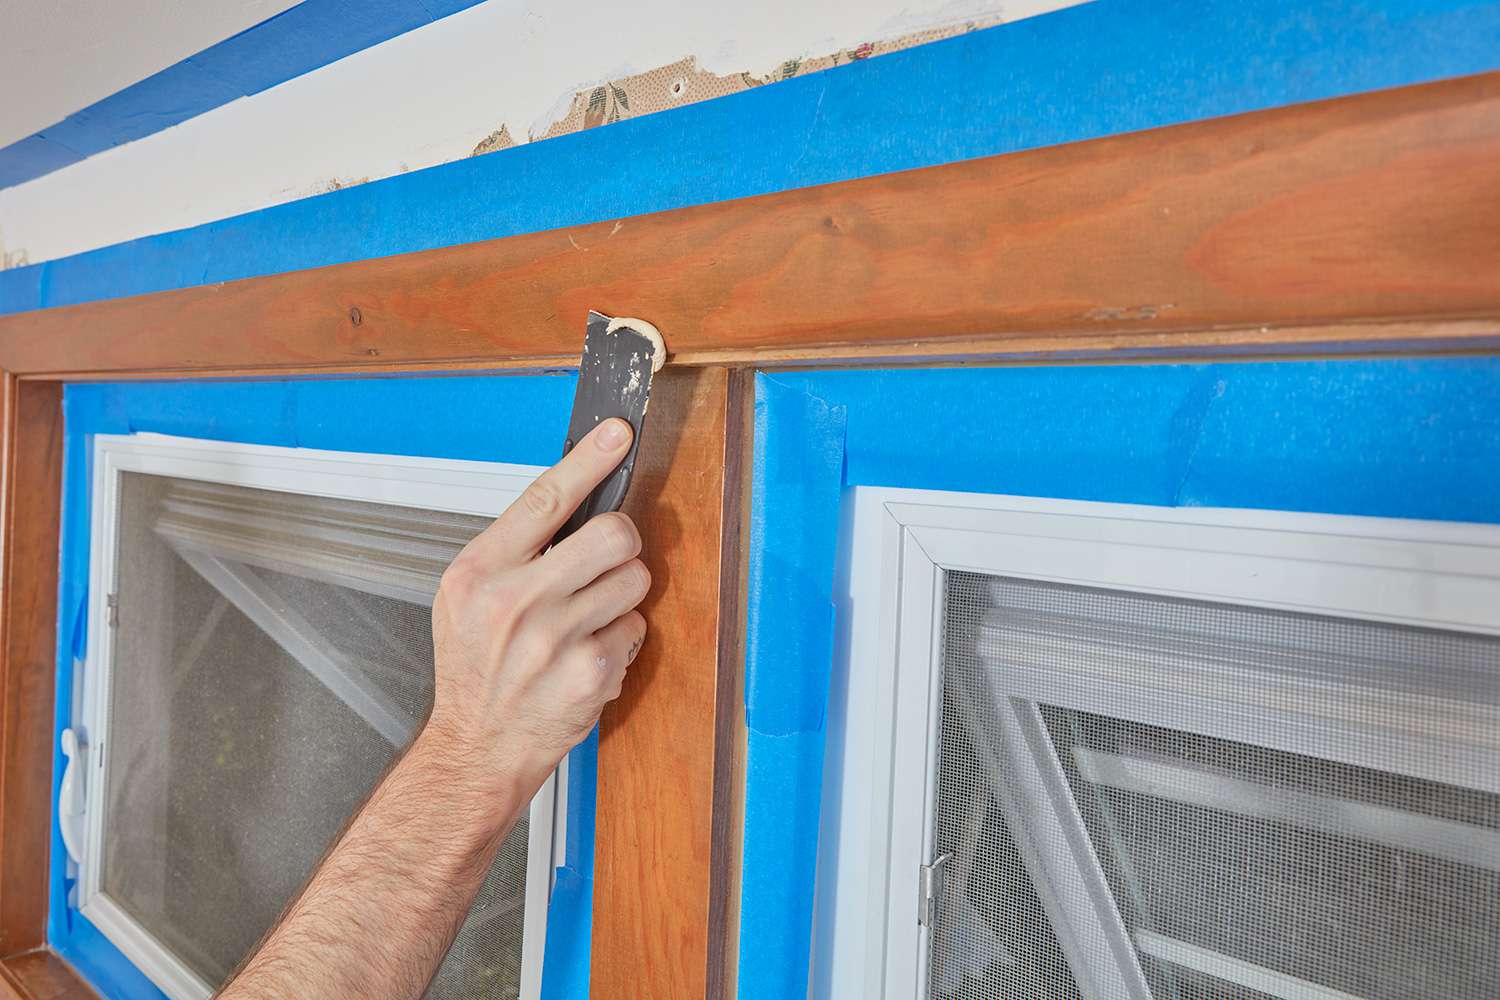
After fixing the window casing successfully in the world, you can now paint it with any color you want. There are a lot of paints available in the market; grab the one that matches your bias and then start painting. But make sure that you cover the remaining area with a piece of cloth or paper; so that the rest of the area is not spoiled with paint marks. If you wish, you can sand the casing with sandpaper; to achieve a smoother surface and then paint. Before painting, make sure that you have filled any nail holes that are visible with the help of wood putty to achieve a seamless look.
The Case of Windows with a Stool
The stool or the sill refers to the part that extends from the bottom of the window and; is used to give a contemporary or ancient look to the windows. It can be used to display embellishing items and enhance the beauty of the window. However, the process of installing the casing with the windows sill is not similar to the one that is installed without a stool. The first step is different.
The first step includes measuring the width of the jamb. Ensure the width of the windows sill is greater than that of the window, else the look of the sill will be spoiled. Now, cut the length of the sill up to the desired length you want the sill to extend to the wall.
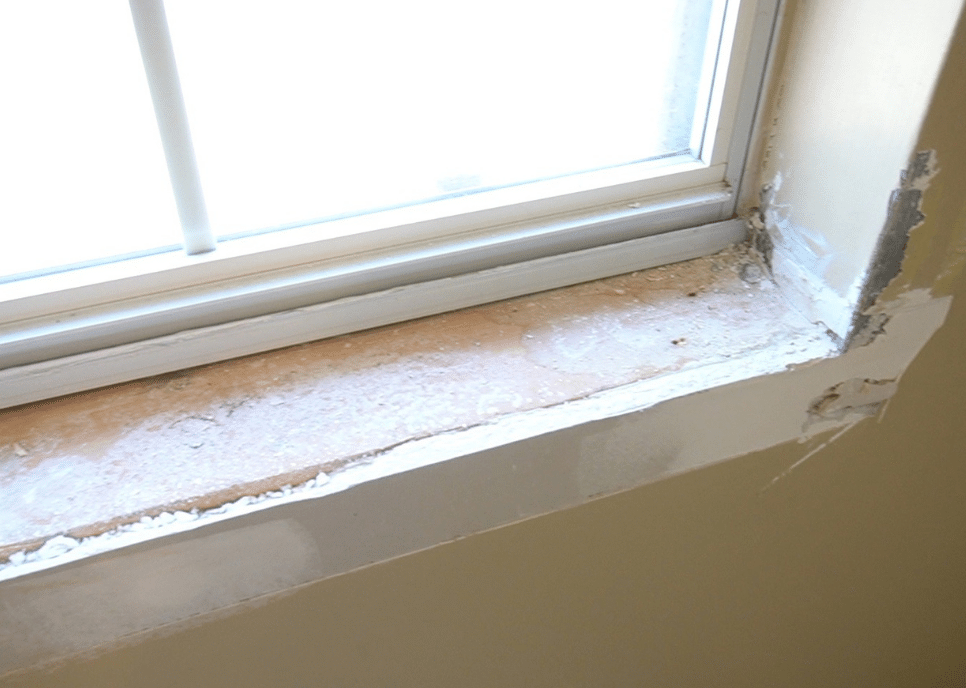
After that, carefully measure the distance between the windows sill and the extended portion and cut the depth of the sill from both sides. This area that has to be cut is known as the notch. A notch is that portion that comprises the width of the windows and the length of the extended portion of the windows up to which you want to place the window sill.
After you have removed the notch from the window sill, it is now ready to be fixed into the window with the help of glue and nails. In the case of a window sill, you can add an apron beneath the window sill to complement the look of the window casing.
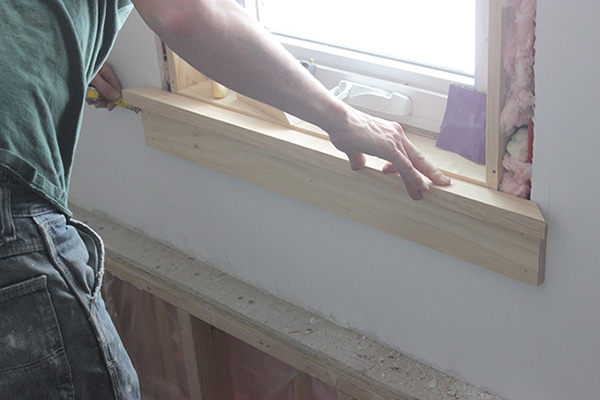
Make any final adjustments required. This step is equally important in both cases. It will ensure that the aesthetic appearance of the window casing is not at all ruined.
You can also apply caulk around the edges of the casing to seal any gaps between the two adjacent edges of the trim. If, during the installation process, you notice that there is any gap between the two casings, or if the case is not installed properly, you can easily conceal those gaps with the help of a caulk.
While cutting the sill, make certain that the sill is properly aligned with the wall. Else, you might make the wrong cuttings. The rest of the steps are similar to the above steps, followed with careful precision; you can easily install the casing in your windows.
If you wish, you can install exterior and interior casings in your window to highlight it and enhance its look. After following all these steps, congratulations, you have successfully installed a window casing on your own.
Precautions
While working on the installation procedure of the window casing, do not be too fast. Take time, follow all the steps and precautions to avoid any accidents while working, and; also ensure that the work is done correctly so you don’t have to repeat the same process.
Below are a few precautions that you should necessarily follow while installing window casings in your house:
- While working on any DIY project, it is very important to wear protective equipment like goggles and gloves; to prevent any injuries or mishaps. If you wish, you can take the help of someone while working. Remember safety first.
- When dealing with DIY projects that involve the use of sharp tools, do not be careless. Work with full focus, and work at a place where there is ample light.
- If you are thinking of cutting both trims to save time, then; you are absolutely wrong. You should not do this, as this can become a big mistake in the long run. Do not try to skip the steps. Instead, work patiently to obtain positive results.
- While securing the corner joint, remove the wood glue before it dries. It won’t be easy to remove the glue after it dries, and the look of the window will be spoiled.
- When you are installing the still along with the casing, always begin with installing the window sill first. If you follow the opposite route, the whole process will be messed up, making you redo the entire process.
- To avoid any complications in the further process, make sure that all the measurements are correct. Before cutting the wooden casing, always recheck the measurements twice and then only make any cuts.
Conclusion
Installing window casing is not something you cannot do. Rather it’s a fun process; that can be done to enhance your creativity and make good use of your time. If you are wondering if it might be a very difficult task, then you are wrong. If you follow all the steps carefully and use the right tools, no one can stop you from creating a wonderful casing for your house.
Make sure that you do not skip any step involved in the process. If you are unsure about what to do or are afraid of doing the project alone, then don’t hesitate to take someone’s help. Working with an experienced person will boost your confidence and reduce the chances of making any errors.
However, once you have completed the process, you will realize it was so easy and; how much you enjoyed it. So, do not waste time. Assemble the material, and start working. You would love to repeat the process all over again.

