
I used to ignore my shower curtain until it started looking dull and a bit slimy. That’s when I knew it needed more than a quick rinse.
Figuring out how to clean a shower curtain the right way can feel confusing, especially when you want good results without damaging the material or spending too much time.
In this guide, I’ll walk you through simple methods that are widely used and work well in everyday homes.
You’ll learn what supplies you need, how to clean both fabric and plastic curtains, and how to handle mold, stains, and odors the right way.
I’ll also share a few practical tips that make the process easier and more effective.
By the end, you’ll have a clear and simple routine to keep your shower curtain clean, fresh, and easy to maintain.
Why Shower Curtains Get Dirty So Quickly?
Shower curtains get dirty much faster than most people think. Every time you take a shower, soap, shampoo, conditioner, and body oils splash onto the curtain.
This creates a thin, sticky layer known as soap scum.
Since bathrooms are often warm and humid, this layer becomes the perfect spot for mold and mildew to grow.
Over time, you may start to see dark spots, notice a musty smell, or feel a slimy texture on the surface. Even if your curtain looks fine at first glance, bacteria can still build up quietly.
This is why cleaning your shower curtain regularly is not just about appearance, but also about keeping your bathroom clean, safe, and fresh.
What You’ll Need for Cleaning a Shower Curtain
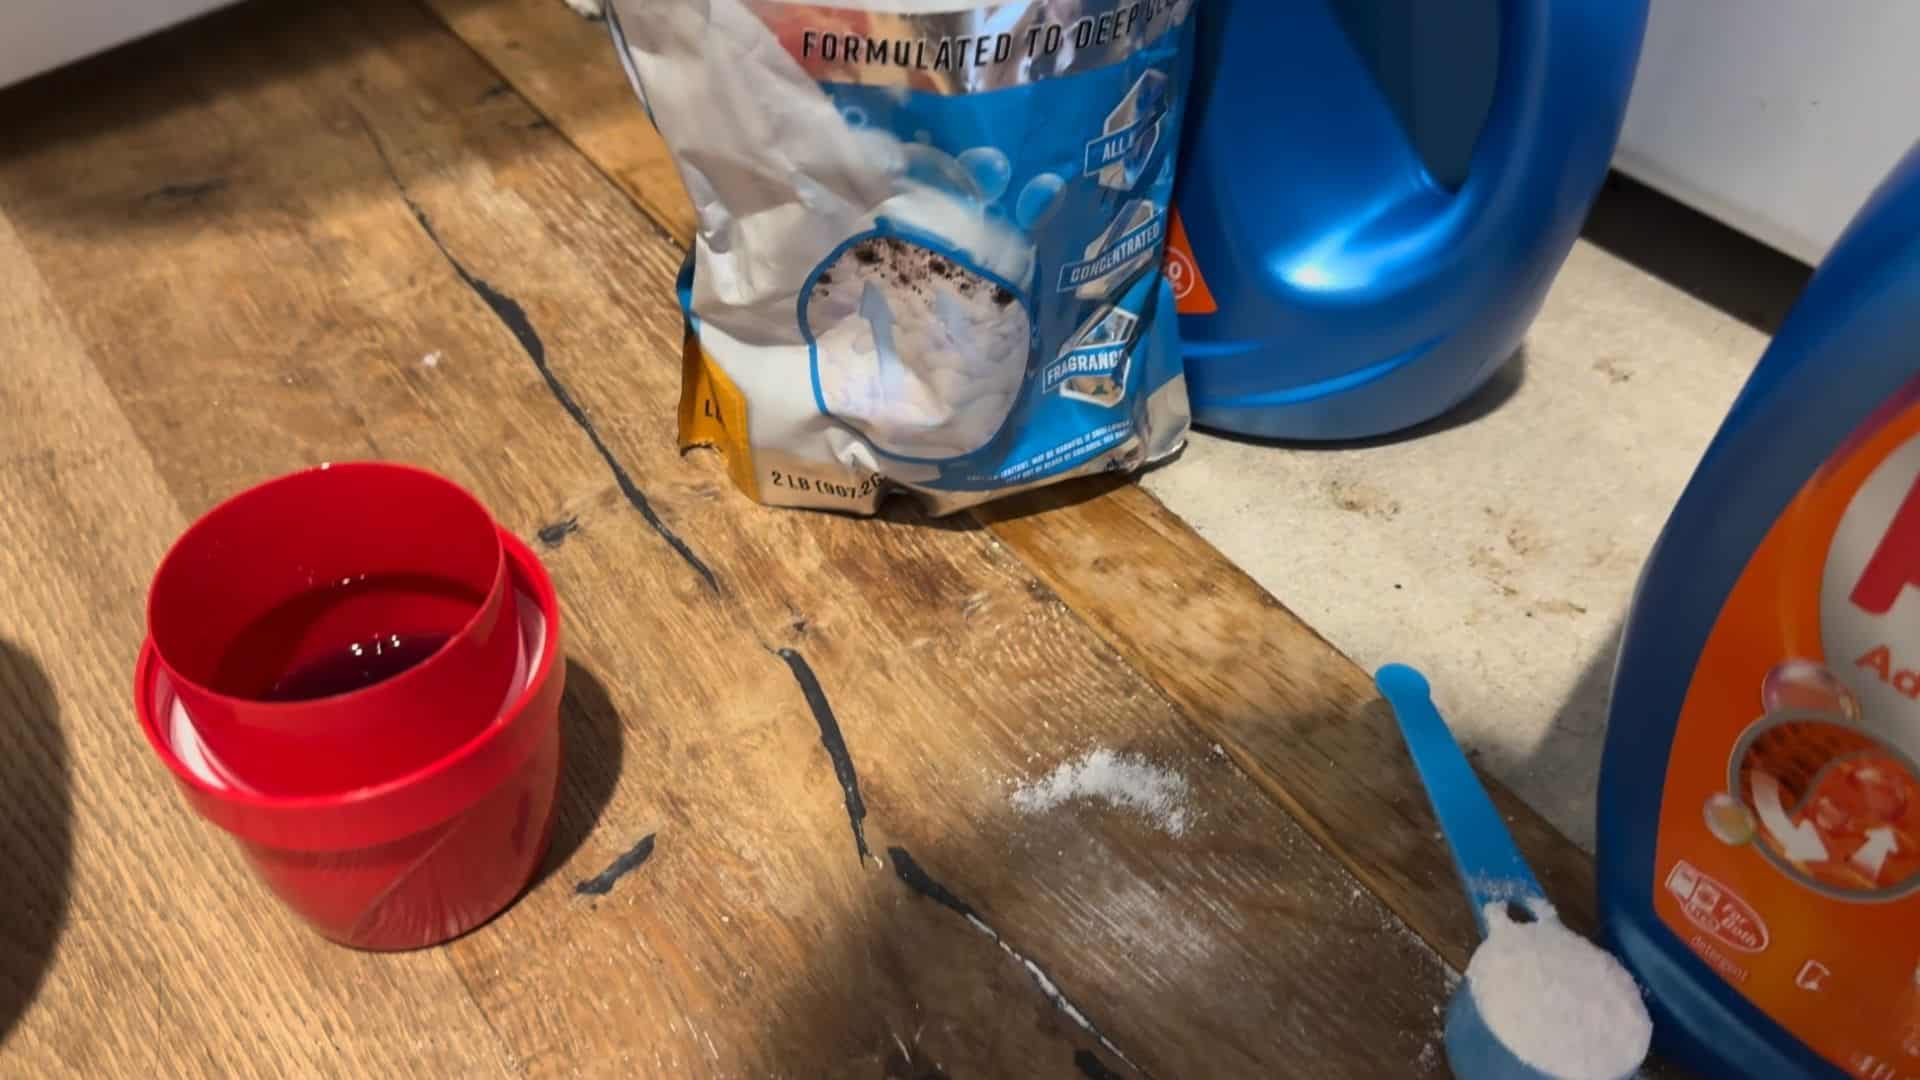
Before you start, make sure you have the right items ready. These are based on the exact steps used in the cleaning process, so you won’t need anything extra.
- White vinegar (for the first wash to remove soap buildup)
- Laundry detergent (for the second deep cleaning cycle)
- Whitener or oxygen cleaner (to brighten and remove stains)
- Enzyme cleaner or laundry booster (for deeper cleaning of fabric)
- A few towels (to help scrub dirt during the wash)
- Washing machine (for both cleaning cycles)
- Hangers or drying space (for air drying after washing)
How to Clean a Shower Curtain?
Cleaning your shower curtain is easier than it sounds. By following a simple two-step method, you can remove soap scum, dirt, and buildup without damaging the material or using harsh cleaning methods.
Step 1: Remove the Curtain and Liner

Start by taking down both the outer shower curtain and the inner liner carefully.
Before removing them, unhook all rings or hooks and set them aside, since they should not be washed with the curtain.
Leaving hooks attached can damage both the curtain and your washing machine. Once removed, gently shake the curtain to loosen any dust or loose debris.
This small step helps prepare the surface for a more effective wash.
Handling the curtain properly at this stage also prevents tearing, especially if the material has already become slightly stiff from buildup over time.
Step 2: Place Curtains in the Washing Machine
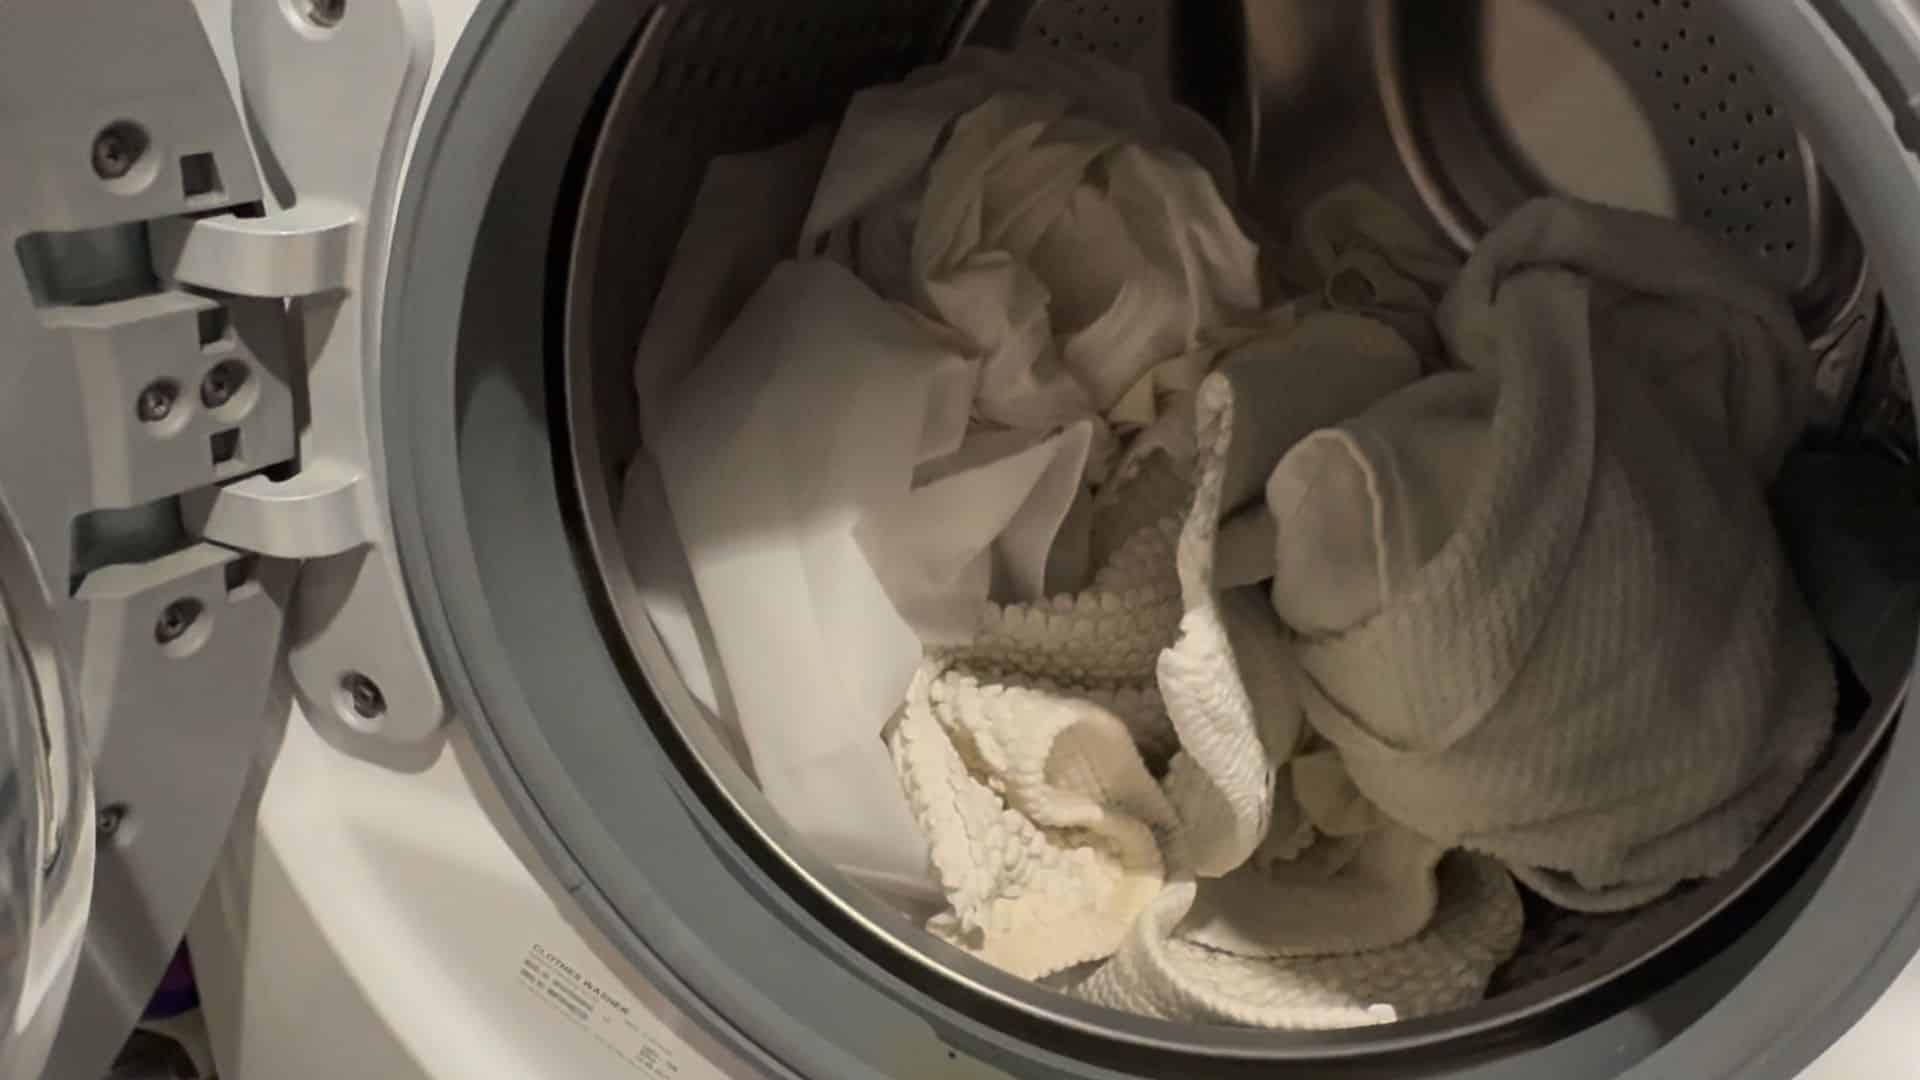
Place both the curtain and liner into the washing machine, spreading them out evenly so they do not bunch up.
For better cleaning results, add a couple of towels along with them.
The towels help create friction during the wash cycle, which makes it easier to remove dirt and grime stuck on the curtain surface.
Make sure not to overload the machine, as this can reduce cleaning effectiveness.
Keeping enough space allows water and cleaning agents to move freely, helping the curtain get cleaned more evenly and thoroughly.
Step 3: Run a Vinegar Wash Cycle
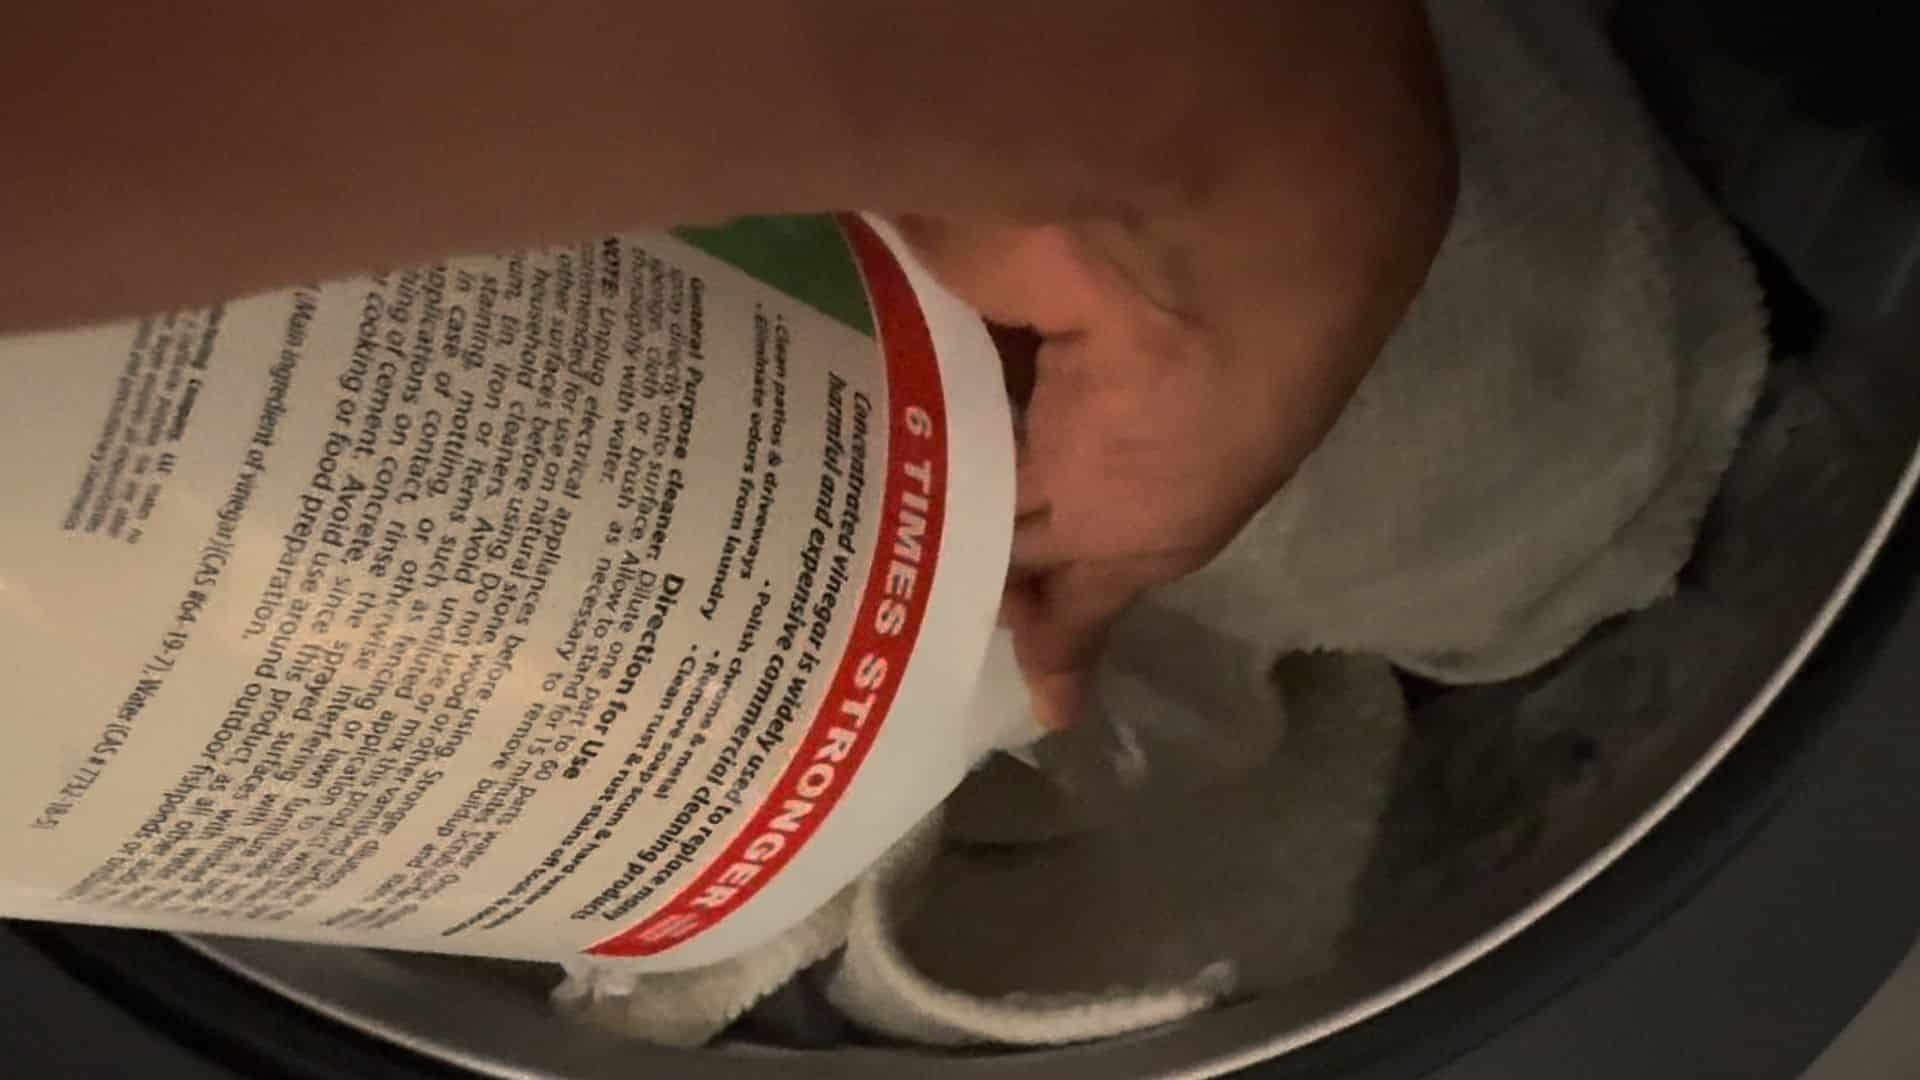
Add vinegar to the detergent compartment and run a quick wash cycle using warm or hot water.
This step focuses on breaking down soap scum, body oils, and any leftover residue that has built up over time.
Vinegar works well as a natural cleaner and helps loosen stubborn buildup without being too harsh on the fabric or plastic.
Use a light soil setting since the goal here is to dissolve residue rather than deep clean.
This first cycle prepares the curtain for a more effective second wash by clearing away surface buildup.
Step 4: Select Quick Wash Settings
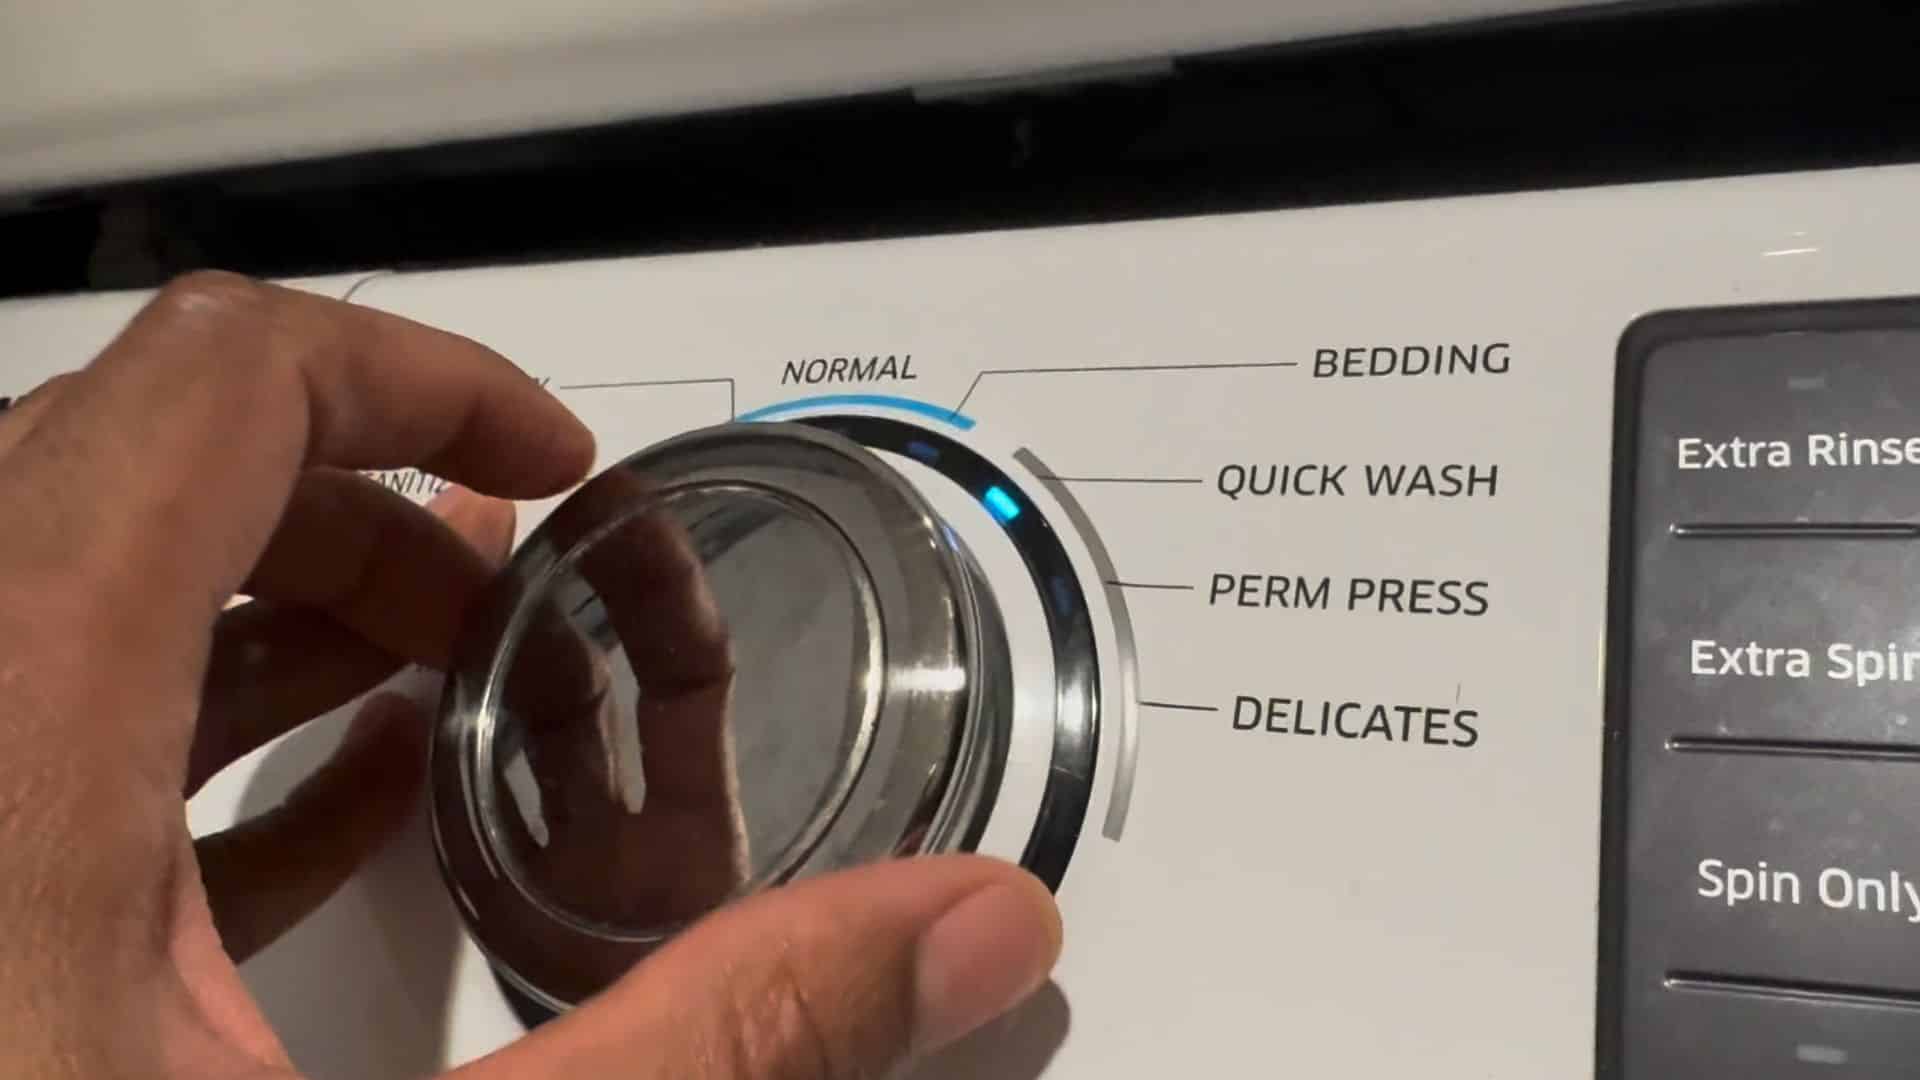
Before starting the first cleaning cycle, set your washing machine to a quick wash mode. Choose warm or hot water along with a light soil setting.
This helps focus on removing surface buildup like soap scum without being too harsh on the material.
A quick wash is enough for this stage because the goal is to loosen and dissolve residue, not fully deep clean yet.
Setting the right cycle ensures your curtain gets properly pre-treated and ready for a more thorough second wash later.
Step 5: Check the Curtain After the First Wash
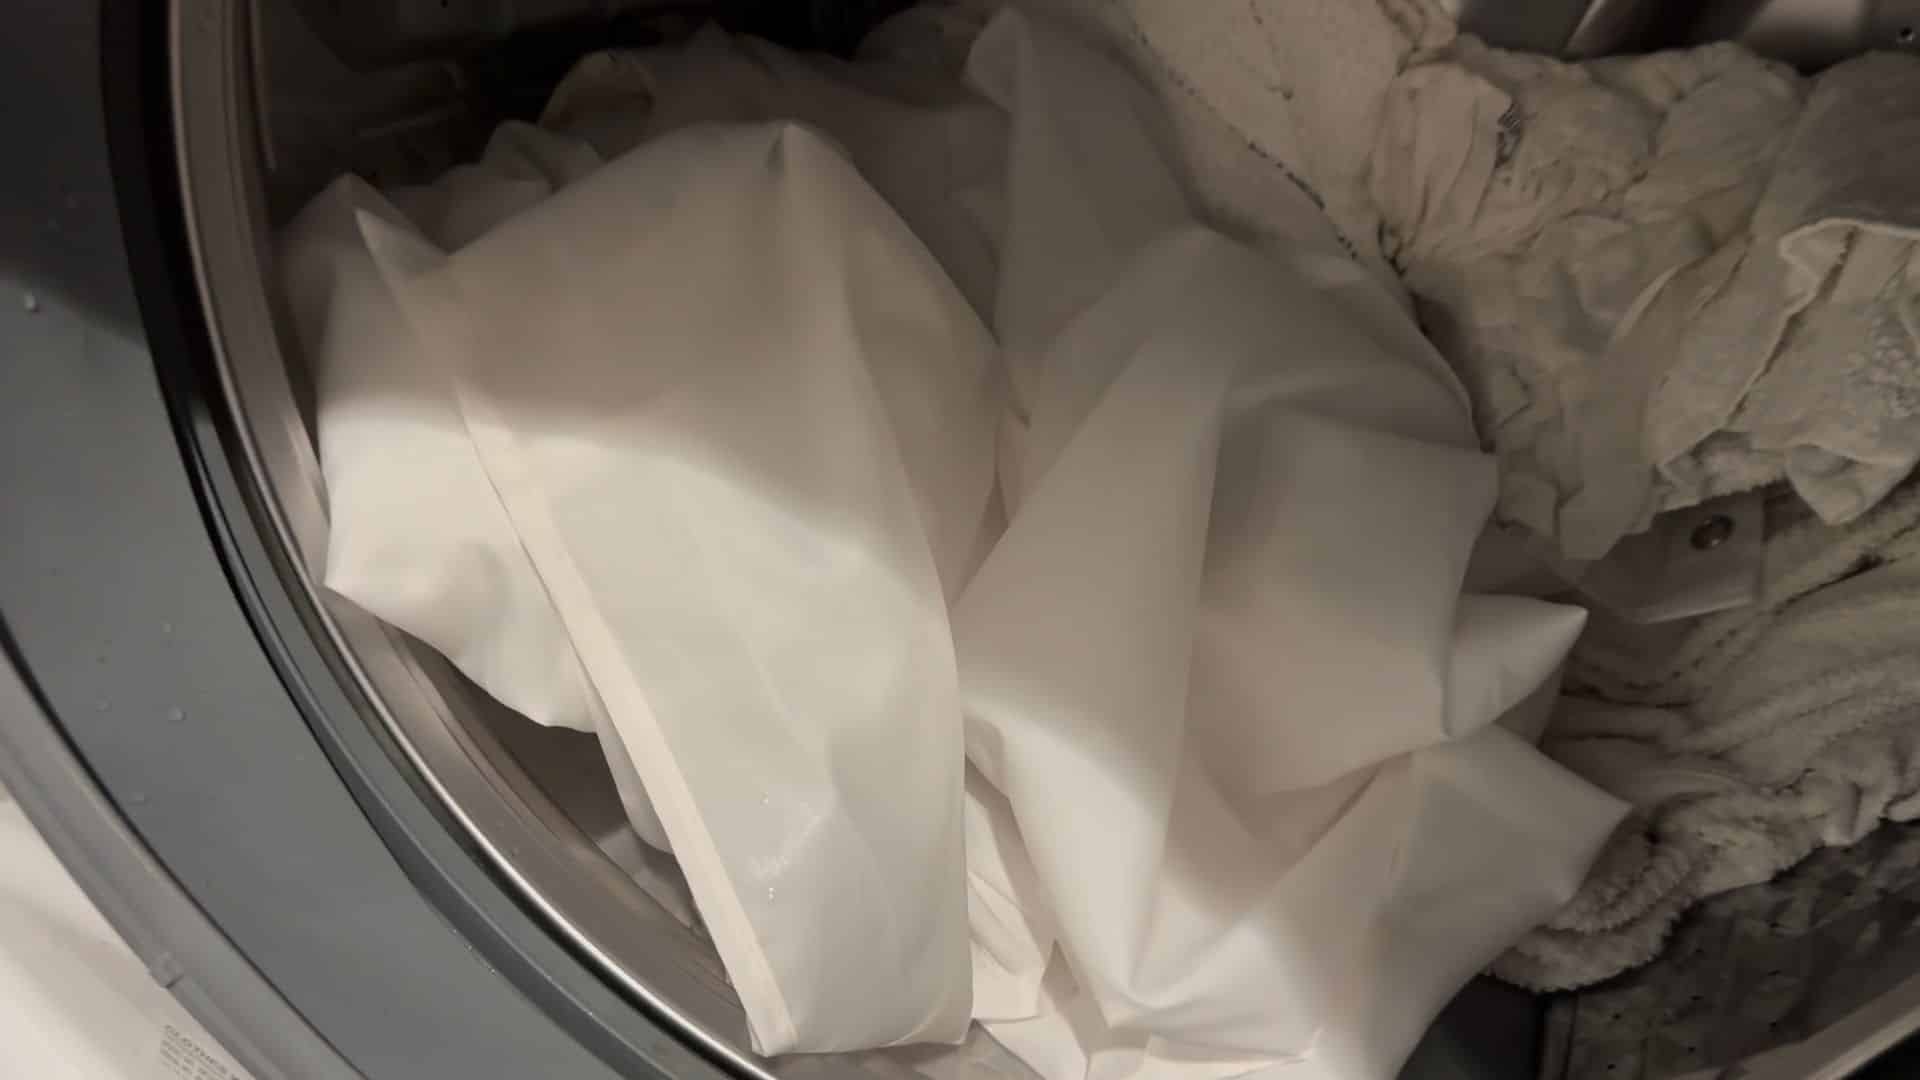
Once the first wash cycle is complete, take a moment to check the condition of the curtain.
You may notice that the slimy feel or soap residue has reduced, but the curtain may not look completely clean yet.
That is normal, as this step mainly targets buildup rather than deep stains. If the curtain still looks slightly dull or stained, it simply means it is ready for the next cleaning stage.
Checking at this point helps you confirm that the first cycle did its job before moving forward with a deeper wash.
Step 6: Run a Second Deep Clean Cycle
For the second wash, add regular detergent along with a whitening or deep-cleaning booster.
This step focuses on removing remaining dirt, stains, and any hidden grime within the fabric.
Run a normal wash cycle with warm water and select an extra rinse option if available. Warm water helps cleaning agents work better without damaging the curtain material.
This deeper cleaning cycle ensures the curtain looks fresh, smells clean, and feels smooth.
It is especially helpful for fabric curtains that need a more thorough wash compared to plastic liners.
Step 7: Air Dry the Curtain Properly
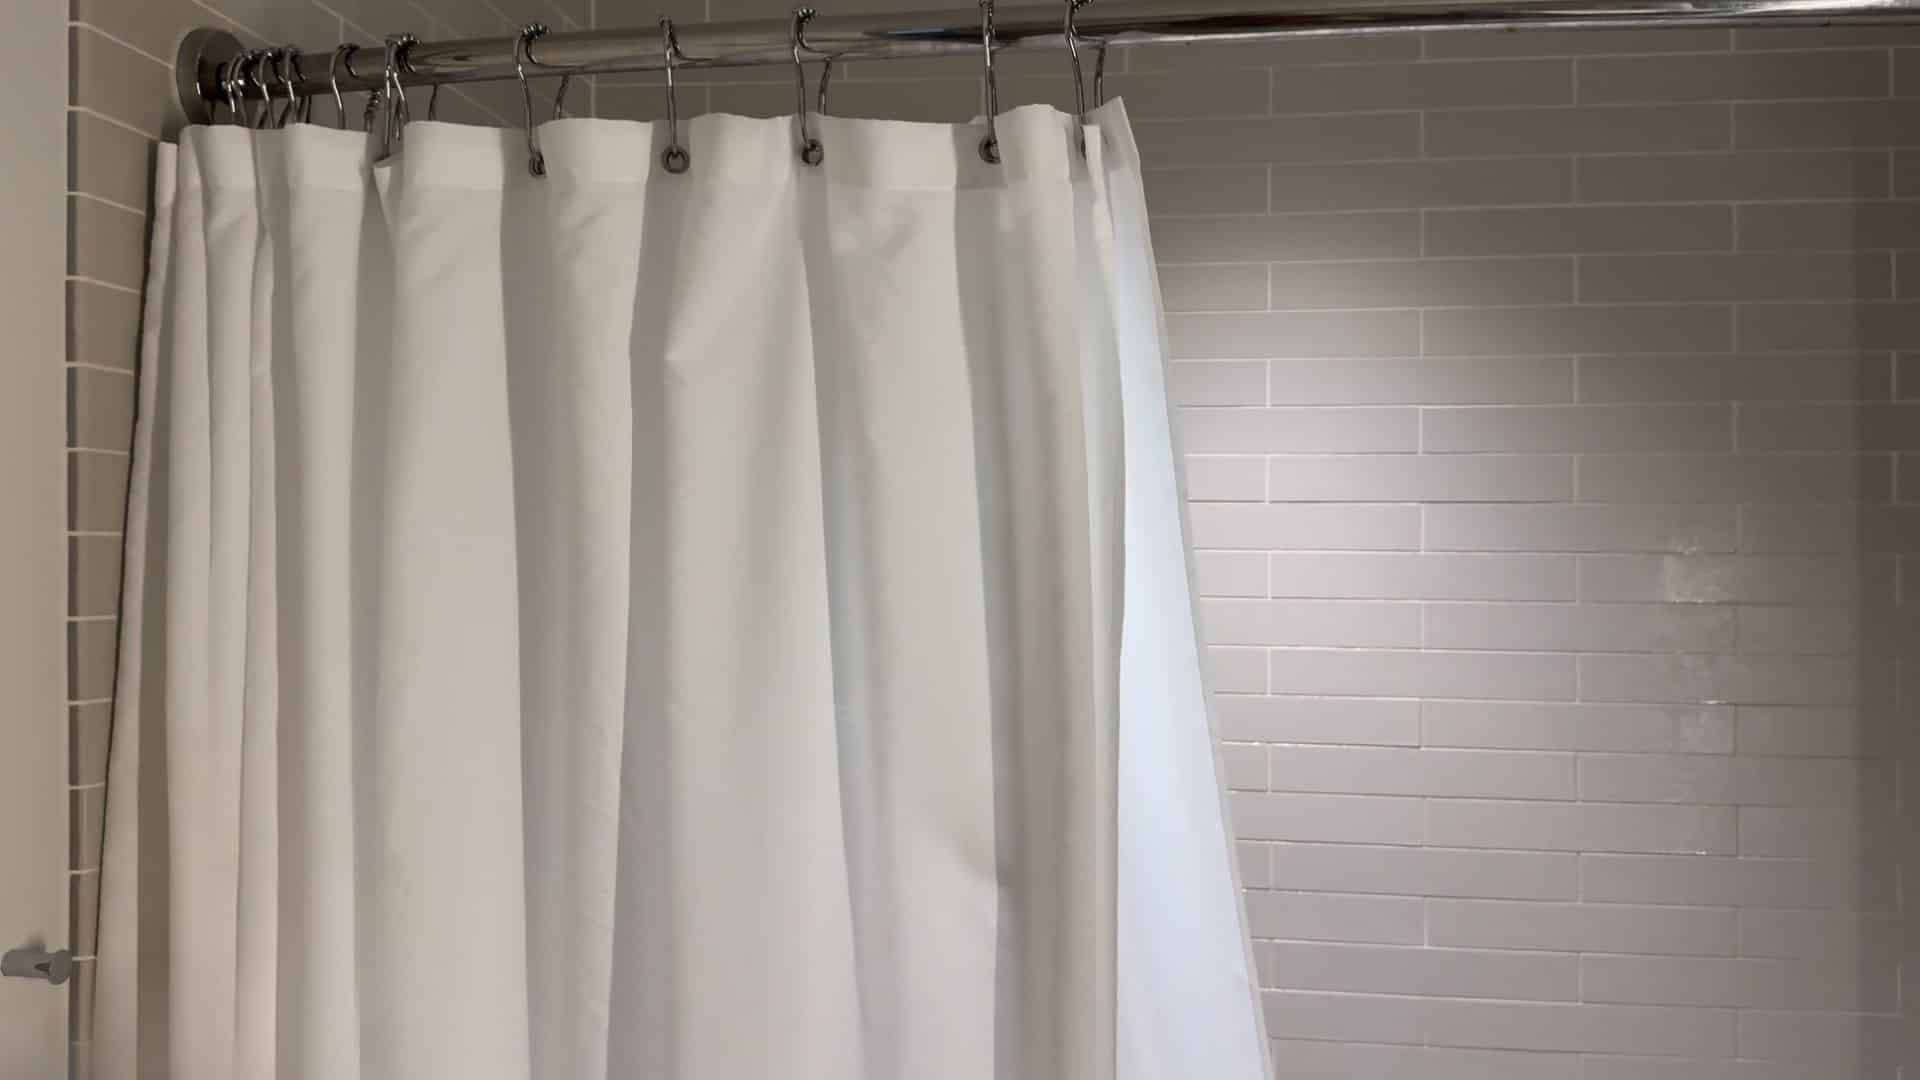
After washing, hang the curtain back in the bathroom or on a drying rack to air dry completely.
Avoid using a dryer, especially for plastic or vinyl curtains, as heat can damage or warp the material. Make sure the curtain is spread out evenly so it dries faster and does not trap moisture in folds.
Proper drying is important because leftover moisture can lead to mold and mildew growth again.
Letting the curtain dry fully in a well-ventilated space keeps it fresh and helps maintain cleanliness for a longer time.
This tutorial is based on a helpful video by DIY Pinto. You can check out the original video on their YouTube channel here or watch it below.
How to Remove Mold and Tough Stains?
Mold and tough stains are common on shower curtains due to constant moisture. The good news is you can remove them easily with simple methods that target mildew and deep-set grime.
- Use a vinegar soak: Mix equal parts vinegar and warm water, then soak the affected area for 20–30 minutes to break down mold and loosen stubborn buildup before cleaning.
- Apply baking soda paste: Make a thick paste using baking soda and water, apply it to stains, and gently scrub to lift mildew and remove discoloration without damaging the material.
- Scrub with a soft brush: Use a soft brush or sponge to scrub mold spots carefully, focusing on corners and folds where mildew tends to grow the most.
- Wash with detergent: After treating stains, run a wash cycle with detergent to remove any remaining residue, ensuring the curtain is fully cleaned and smells fresh.
- Dry completely after cleaning: Always air dry the curtain fully in an open space, as leftover moisture can cause mold to return quickly and undo your cleaning efforts.
How Often Should You Clean Your Shower Curtain?
Keeping a regular cleaning schedule helps prevent mold, odors, and buildup. Here’s a simple guide to follow for weekly and monthly care:
| Cleaning Task | How Often | What to Do |
|---|---|---|
| Light rinse & drying | Weekly | Rinse the curtain with water and spread it out to dry fully after showers. |
| Spot cleaning stains | Weekly | Wipe small stains or mildew spots using vinegar or a mild cleaner. |
| Full wash (machine) | Monthly | Wash the curtain using detergent and vinegar to remove buildup and odors. |
| Deep stain treatment | Monthly (if needed) | Treat mold or tough stains using baking soda or a cleaning booster. |
| Air dry properly | Every wash | Always hang the curtain open to dry and prevent moisture buildup. |
Cleaning Tips from Users on Reddit
Many people struggle with keeping shower curtains clean, even after trying common methods. A popular Reddit post shows that real users often face the same issues and share what truly works.
- Washing with towels helps a lot: Many users say adding a few old towels to the wash improves cleaning because it creates friction and removes more dirt than washing alone.
- Vinegar soak works better than sprays: Several people found soaking curtains in vinegar and water more effective than using random cleaners like glass sprays.
- Fabric curtains are easier to maintain: Users often recommend switching to fabric curtains since they can be washed regularly and last longer than plastic liners.
- Some stains don’t fully come out: A common point is that once mildew sets deeply, the curtain may look clean but still have stains that won’t go away.
- Replacing is sometimes the best option: Many users admit that if the curtain still looks dirty after multiple washes, it may be time to replace it and start fresh.
Conclusion
Cleaning a shower curtain may feel like a small task, but it really makes a big difference in how your bathroom looks and smells.
I’ve found that once you follow the right steps and use simple items like vinegar and detergent, it becomes much easier to manage.
The key is not to wait too long, because buildup gets harder to remove over time. From my experience, regular cleaning and proper drying can save you a lot of effort later.
If your curtain still looks worn out after cleaning, it’s okay to replace it and start fresh with a better routine.
A clean curtain keeps your space feeling fresh and more hygienic. If this guide helped you, try these steps today and see the difference for yourself!