

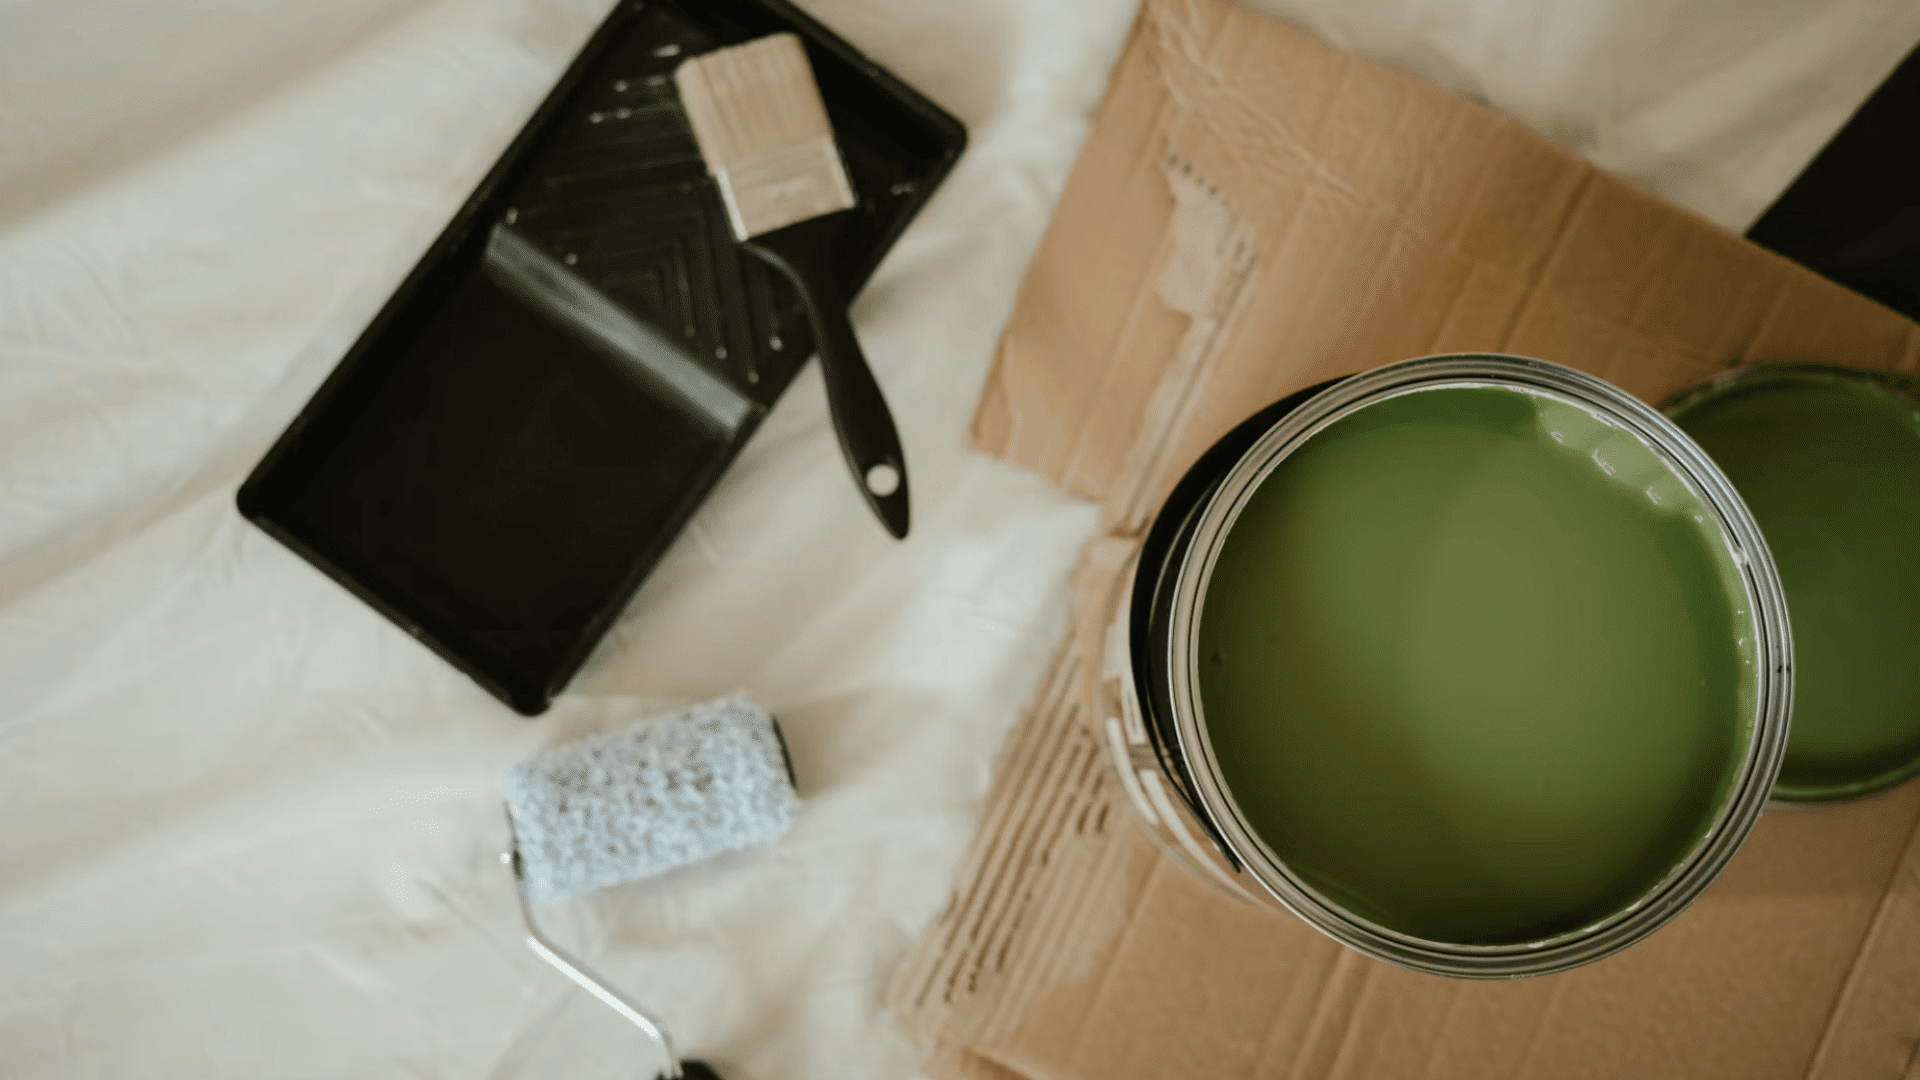
Opening a paint can sounds like a simple task, but a stubborn lid can quickly make it frustrating. Dried paint around the rim, a tight factory seal, rust, or years of storage can all make the lid difficult to remove.
Using the wrong tool or forcing the lid open may bend the rim, damage the seal, or even cause spills.
Knowing the proper technique helps you open the can safely while keeping it in good condition for future use.
In this article, you’ll learn how to open a standard paint can step by step, handle stuck and old paint cans, open small cans with ease, and close the lid correctly to preserve any leftover paint.
Quick Answer: How to Open a Paint Can?
Place the paint can on a flat surface, and pry the lid gently around the rim with a paint can opener or flat-head screwdriver.
Set the paint can on a stable, level surface before you begin. Insert a paint can opener or flat-head screwdriver into the small gap beneath the lid and gently lift it.
Move the tool around the entire rim a few inches at a time rather than forcing a single section open.
Continue prying evenly until the seal loosens and the lid pops off without bending or damaging the can.
How to Identify Different Paint Can Types?
Paint cans come in different sizes and materials, and each opens a little differently. Identifying the type first helps you use the right tool and avoid damaging the lid.
- Standard Metal Paint Cans: The most common type, with a sealed metal lid that is easily opened with a paint can opener or a flat-head screwdriver.
- Small Sample Paint Cans: Smaller lids need less force but require careful prying around the edge to avoid bending the metal lid.
- Large Gallon and Five-Gallon Paint Cans: Heavier lids create tighter seals, so pry evenly around the entire rim instead of lifting from one side.
- Plastic Paint Cans: These feature snap-on plastic lids that usually require lifting the tabs or using a plastic-safe lid opener.
Tools You Can Use to Open a Paint Can
The right tool makes opening a paint can easier and safer. Choose the tool based on the can type, lid condition, and how tightly it is sealed.
| Tool | Best For | Safe to Use | Notes |
|---|---|---|---|
| Paint Can Opener | Everyday use | Yes | Best option for most standard paint cans. |
| Flat-head Screwdriver | Standard cans | Yes | Pry gently around the rim to avoid bending the lid. |
| Putty Knife | Painted-shut lids | Yes | Helps cut through dried paint around the lid. |
| Utility Knife | Old paint buildup | Yes | Use carefully to score dried paint before prying. |
| Rubber Mallet | Stubborn lids | Yes | Tap gently around the rim to loosen the seal. |
| Pliers | Bent lid edges | Sometimes | Use lightly to adjust the damaged or bent edges of the lid. |
Safety Tips Before Opening a Paint Can
Taking a few safety precautions before opening a paint can helps prevent injuries, spills, and damage to the lid.
- Wear Work Gloves: Protect your hands from sharp metal edges and improve your grip while handling the paint can and tools.
- Place the Can on a Stable Surface: Set the can on a flat, sturdy surface to prevent it from tipping or sliding while opening.
- Keep Fingers Away from the Lid Edge: Hold the can from the sides to avoid pinched fingers if the tool slips unexpectedly.
- Remove Dried Paint Before Prying: Scrape away hardened paint around the rim so the lid loosens more easily without extra force.
- Avoid Excessive Force: Pry the lid gradually around the rim instead of forcing one section open to prevent bending or spills.
- Protect Nearby Surfaces: Place a drop cloth or old newspaper underneath the can to catch any paint drips or accidental spills.
How to Open a Standard Paint Can?
Opening a standard paint can is simple when you use the correct technique. Follow these steps to protect the lid and rim.
Step 1: Place the Paint Can on a Flat Surface
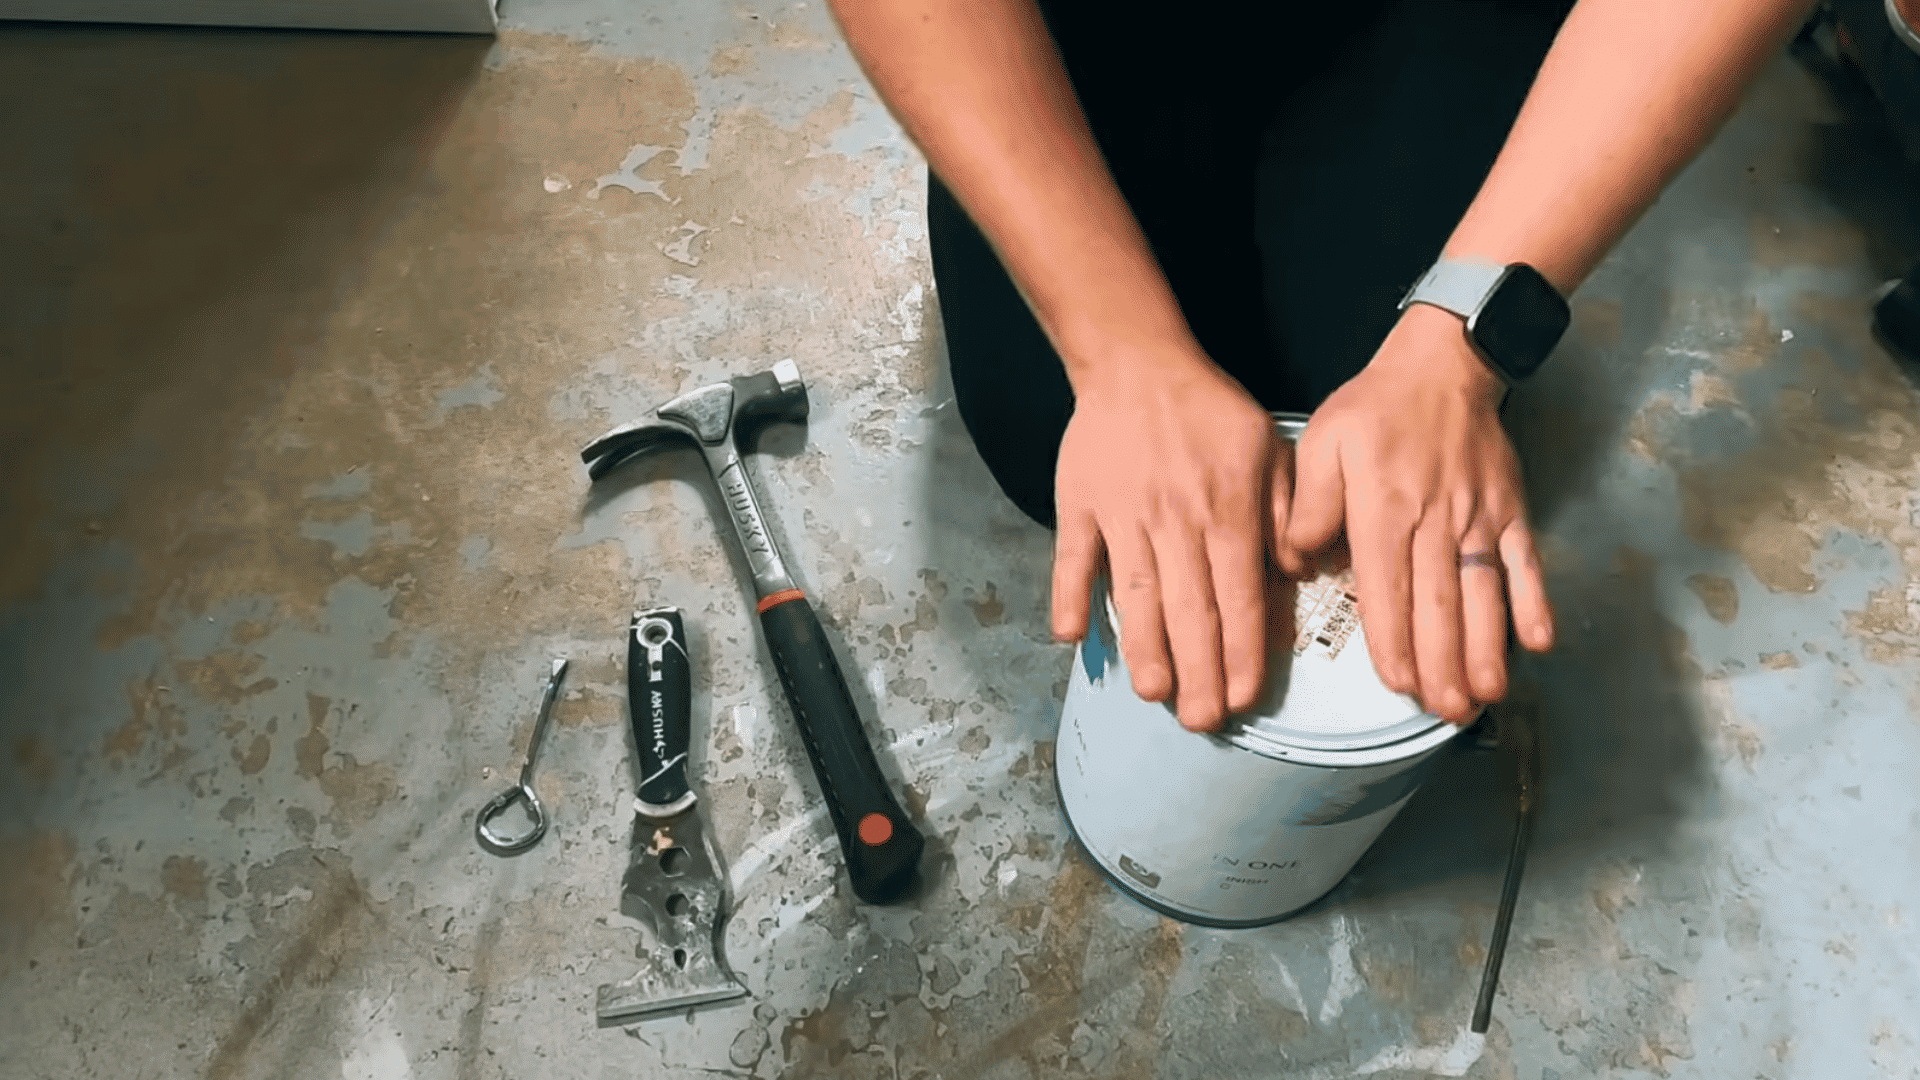
Before opening the paint can, place it on a clean, flat, and sturdy surface where it won’t shift while you work.
A stable work area gives you better control over the tool and lowers the risk of tipping the can or spilling paint. If you’re working indoors, protect the surface with a drop cloth or old newspaper.
Take a moment to wipe away dust or dirt from the outside of the can so you have a secure grip before you begin opening the lid.
Step 2: Choose the Right Tool
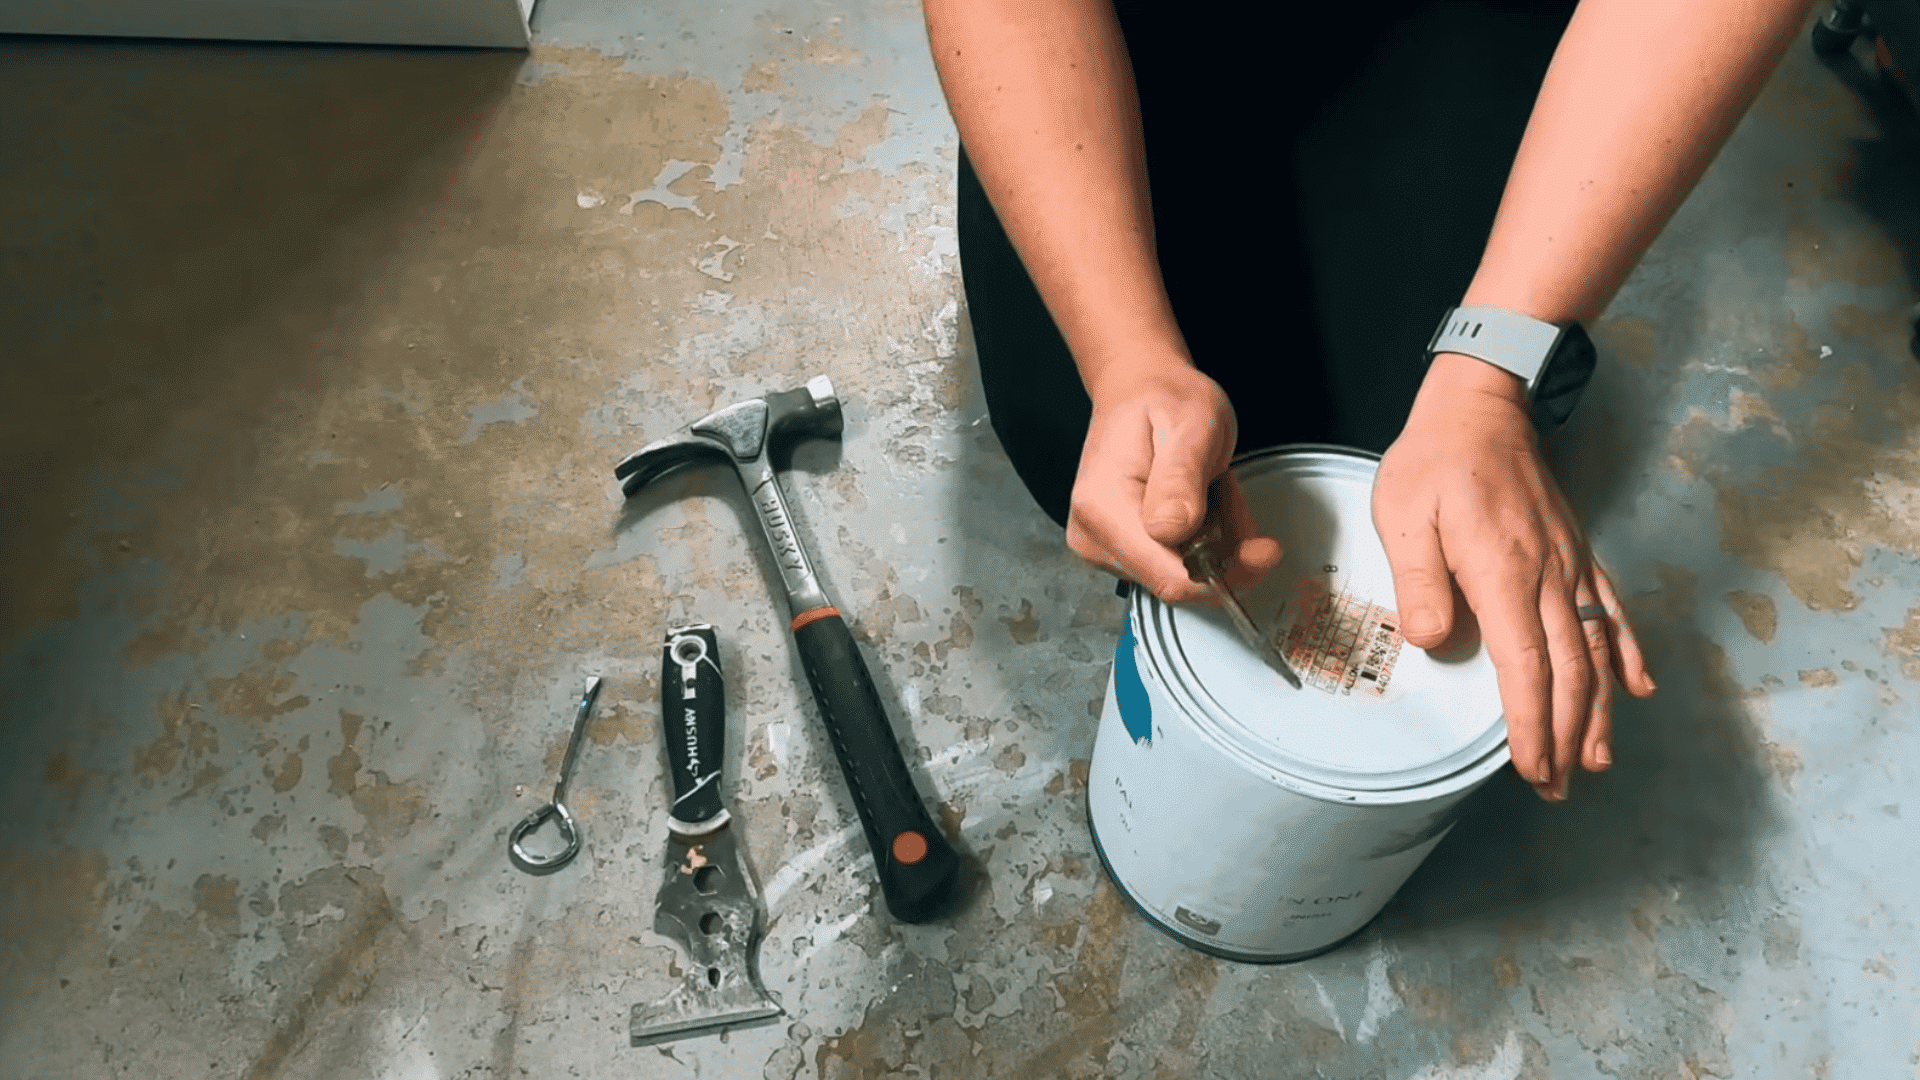
The easiest tool for opening a paint can is a flat-head screwdriver, which most people already have at home. A paint can opener or painter’s multi-tool also works well because it is designed for this task.
Inserting the proper tool under the lid provides good leverage while reducing the chance of bending the metal rim.
Avoid using knives or other sharp objects, as they can slip unexpectedly and damage both the lid and the can, making it harder to reseal later.
Step 3: Find the Lip Under the Lid
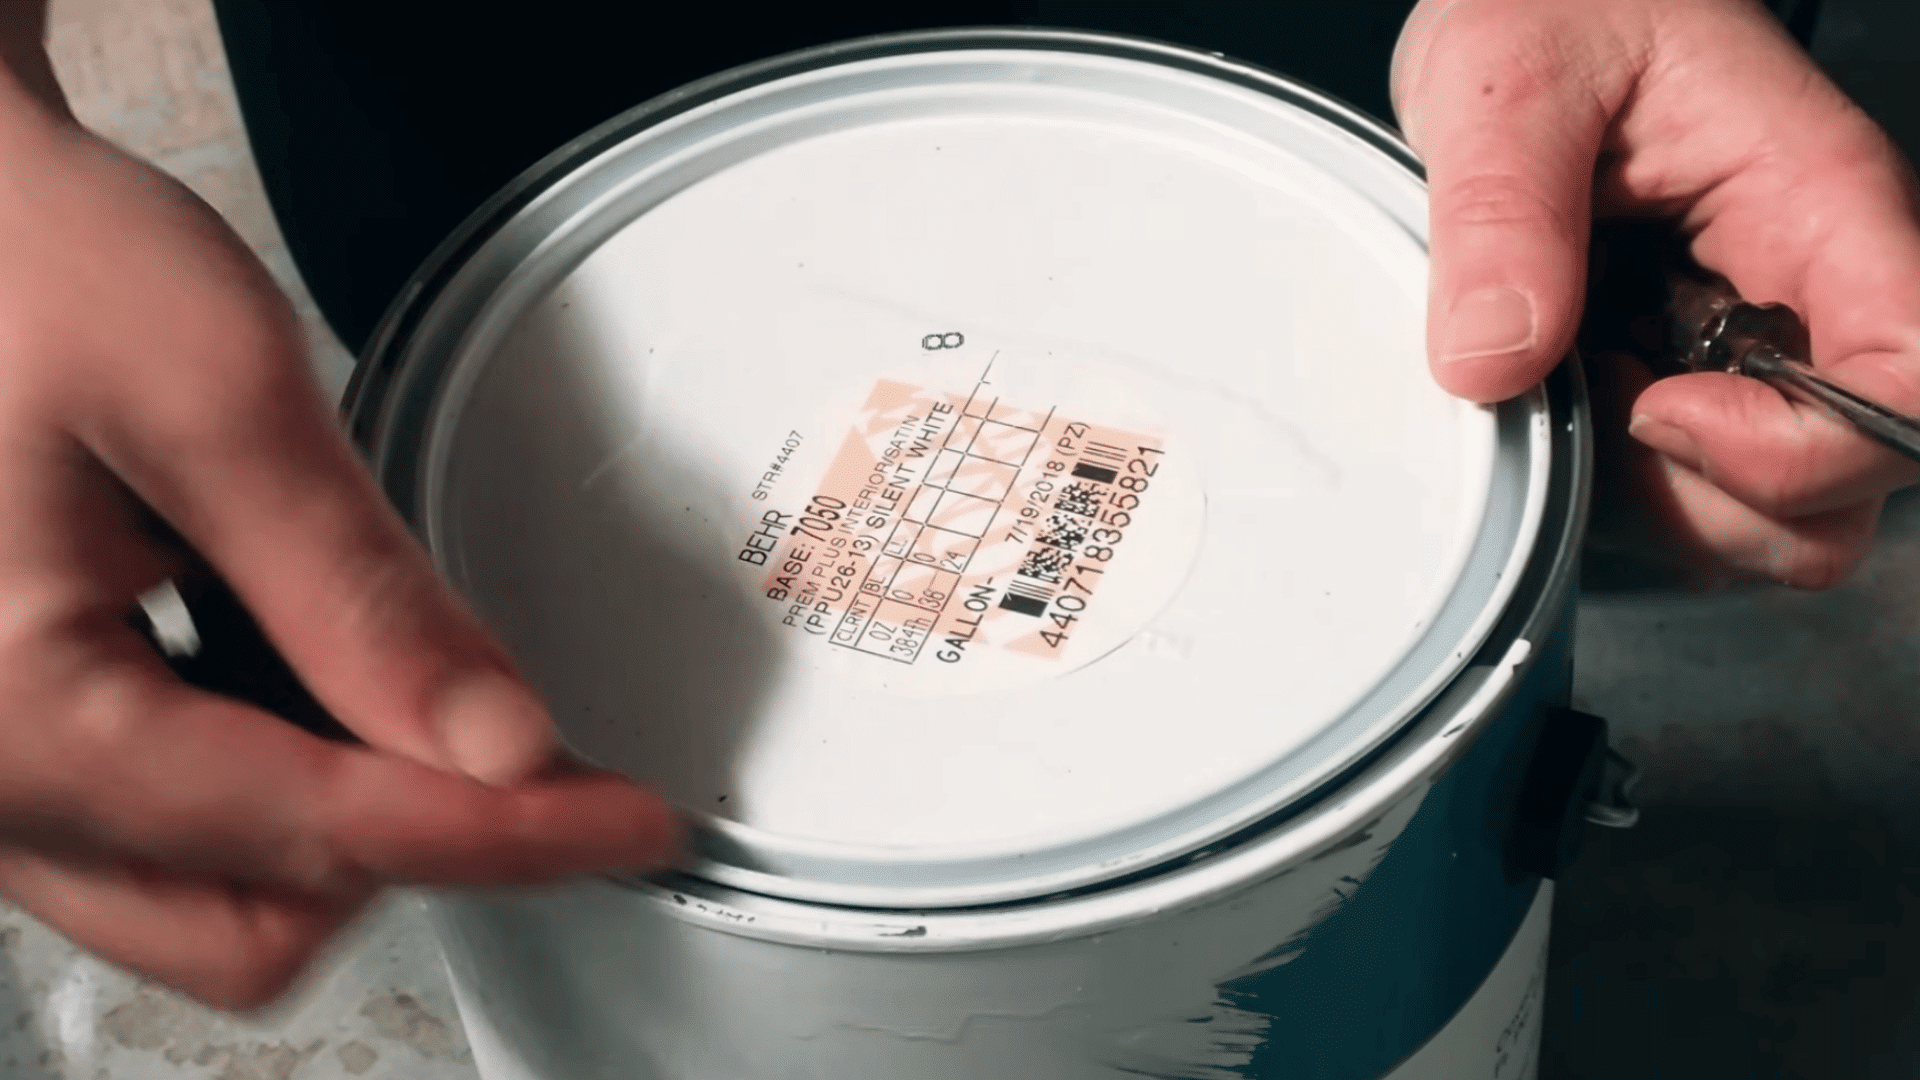
Take a close look at the edge of the paint can to locate the small lip where the lid rests against the rim. This narrow gap is where your screwdriver or paint can opener should be inserted.
Position the tip carefully beneath the edge of the lid instead of forcing it into the side of the can.
Starting in the correct location allows the tool to grip the lid properly, making the opening process easier while protecting the sealing edge from unnecessary damage.
Step 4: Pry the Lid Up Gently
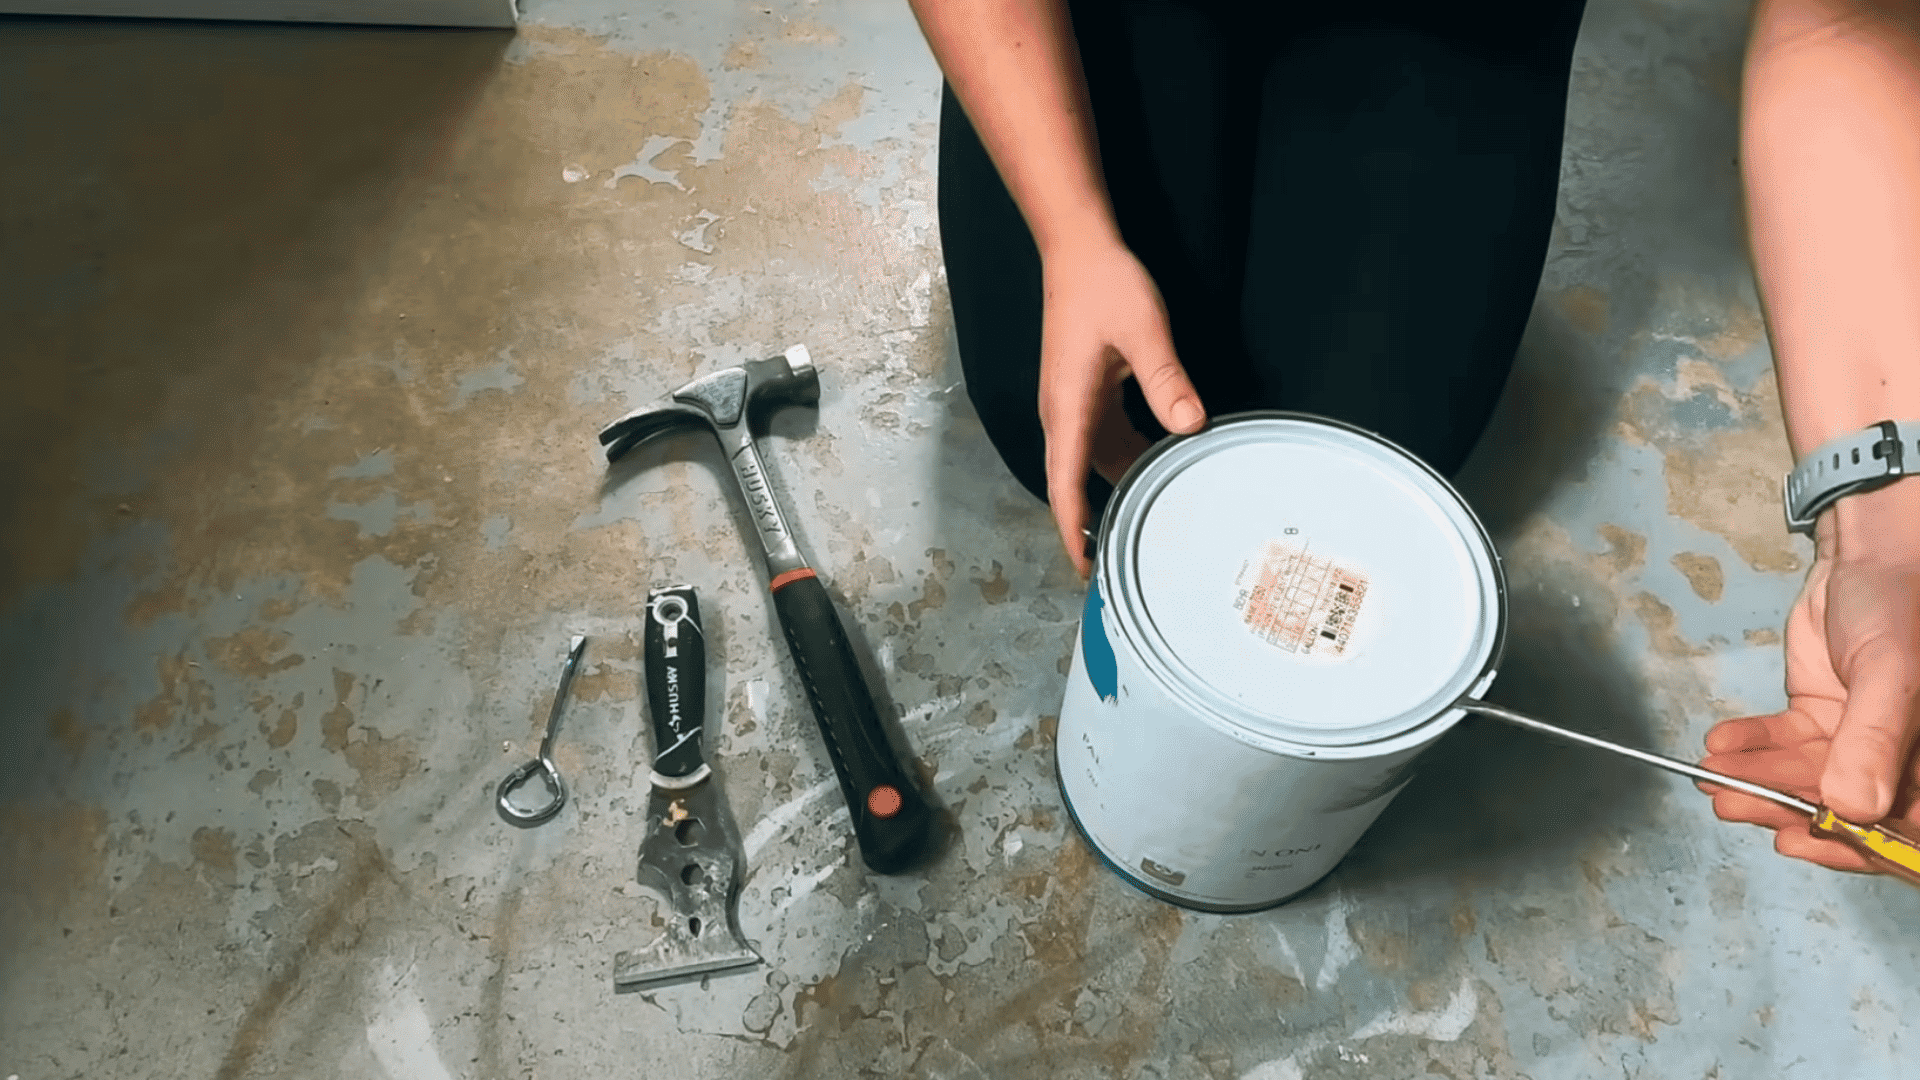
Once your tool is positioned under the lid, gently push the handle downward so the tip lifts the lid slightly. The rim of the can acts as the pivot point, giving you enough leverage to loosen the seal.
There’s no need to force the lid open in a single attempt. Raising it just a little at one spot helps release the pressure without bending the lid.
Slow, controlled movements make the process safer and help preserve the can for future use.
Step 5: Work Your Way Around the Rim
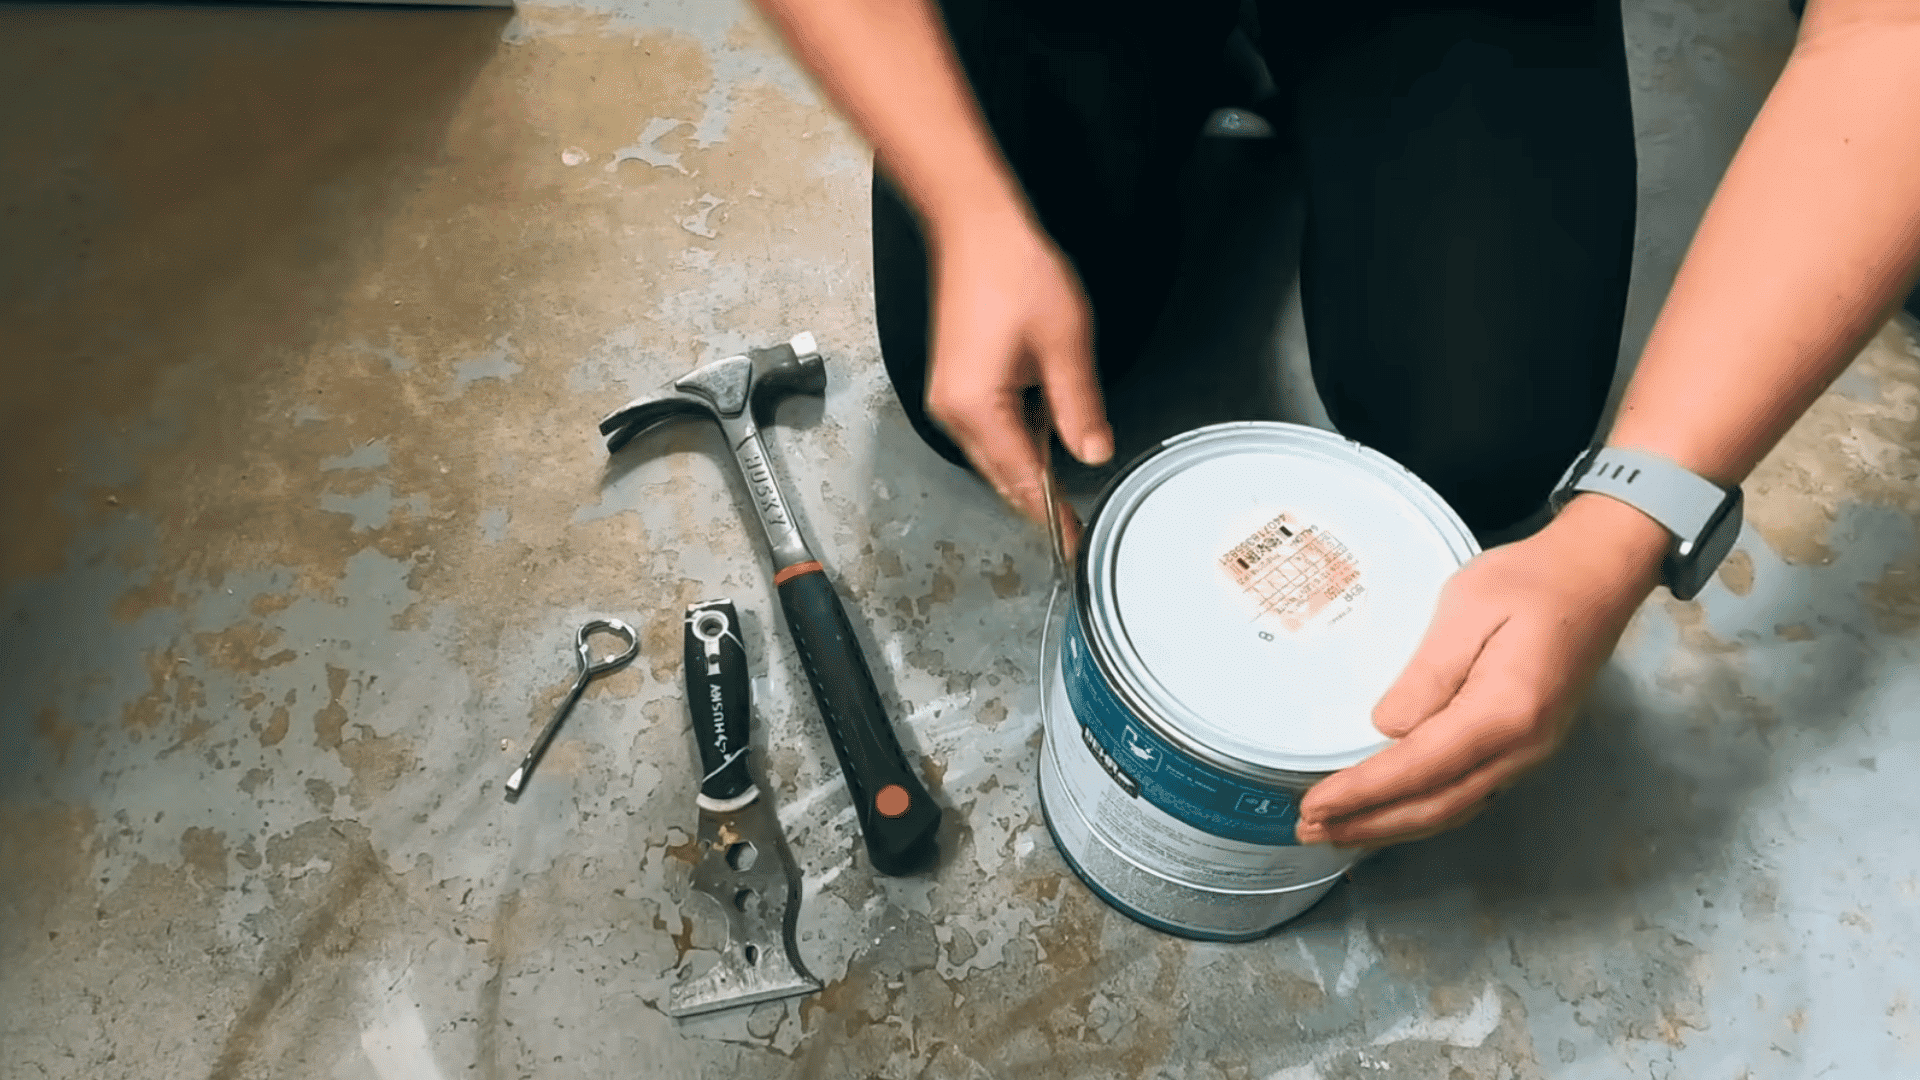
After lifting one section of the lid, move your tool a few inches along the rim and repeat the same gentle prying motion.
Continue working your way around the entire paint can instead of focusing on one spot.
Lifting the lid evenly prevents the metal from warping and reduces stress on the rim.
This method is especially helpful for gallon-sized paint cans because it gradually loosens the seal, allowing the lid to release smoothly without requiring excessive force.
Step 6: Keep Prying if the Lid Feels Tight
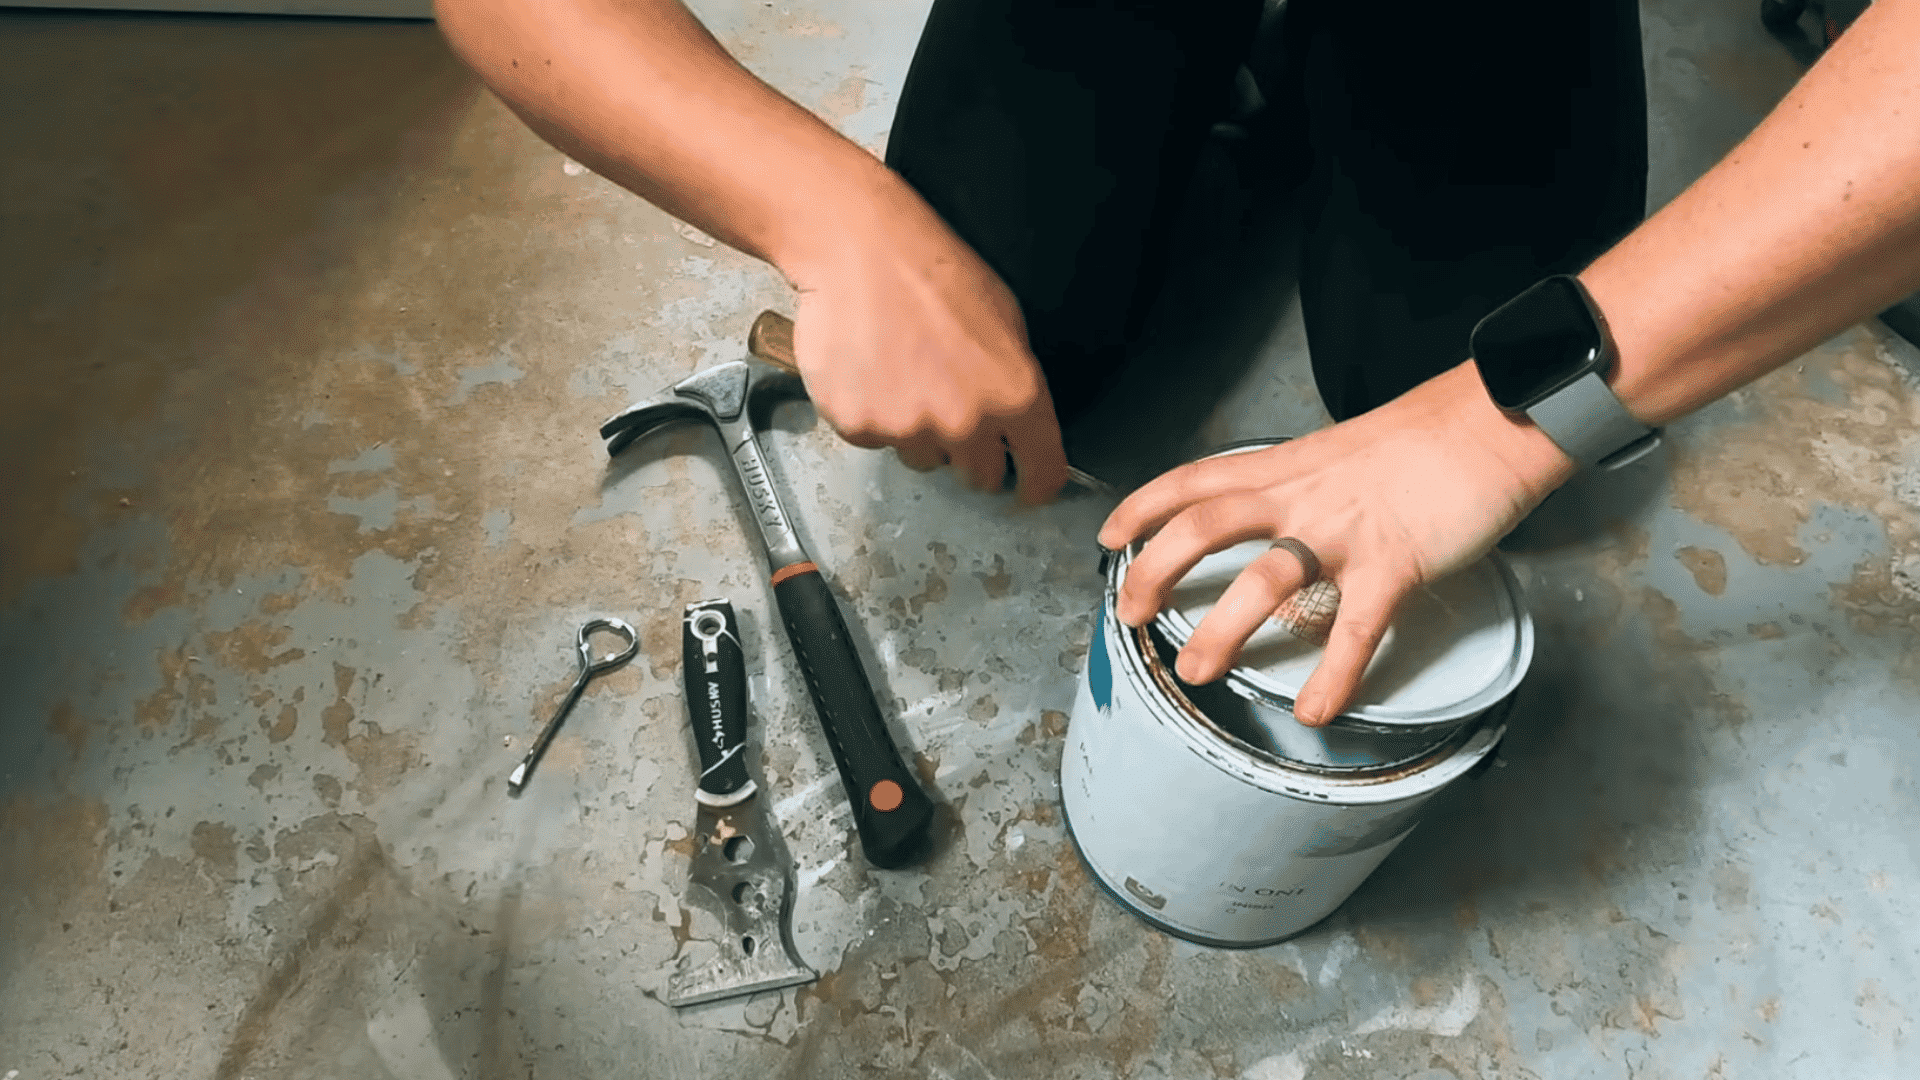
If the lid doesn’t come loose after one pass around the rim, don’t try to pull it off by force. Used paint cans often have dried paint that creates a stronger seal between the lid and the can.
Simply continue moving around the edge, gently prying at several points until the seal gradually breaks.
Patience is important during this step because forcing the lid upward can bend it, making it difficult to close the paint can tightly after you’re finished.
Step 7: Lift the Lid Off Carefully
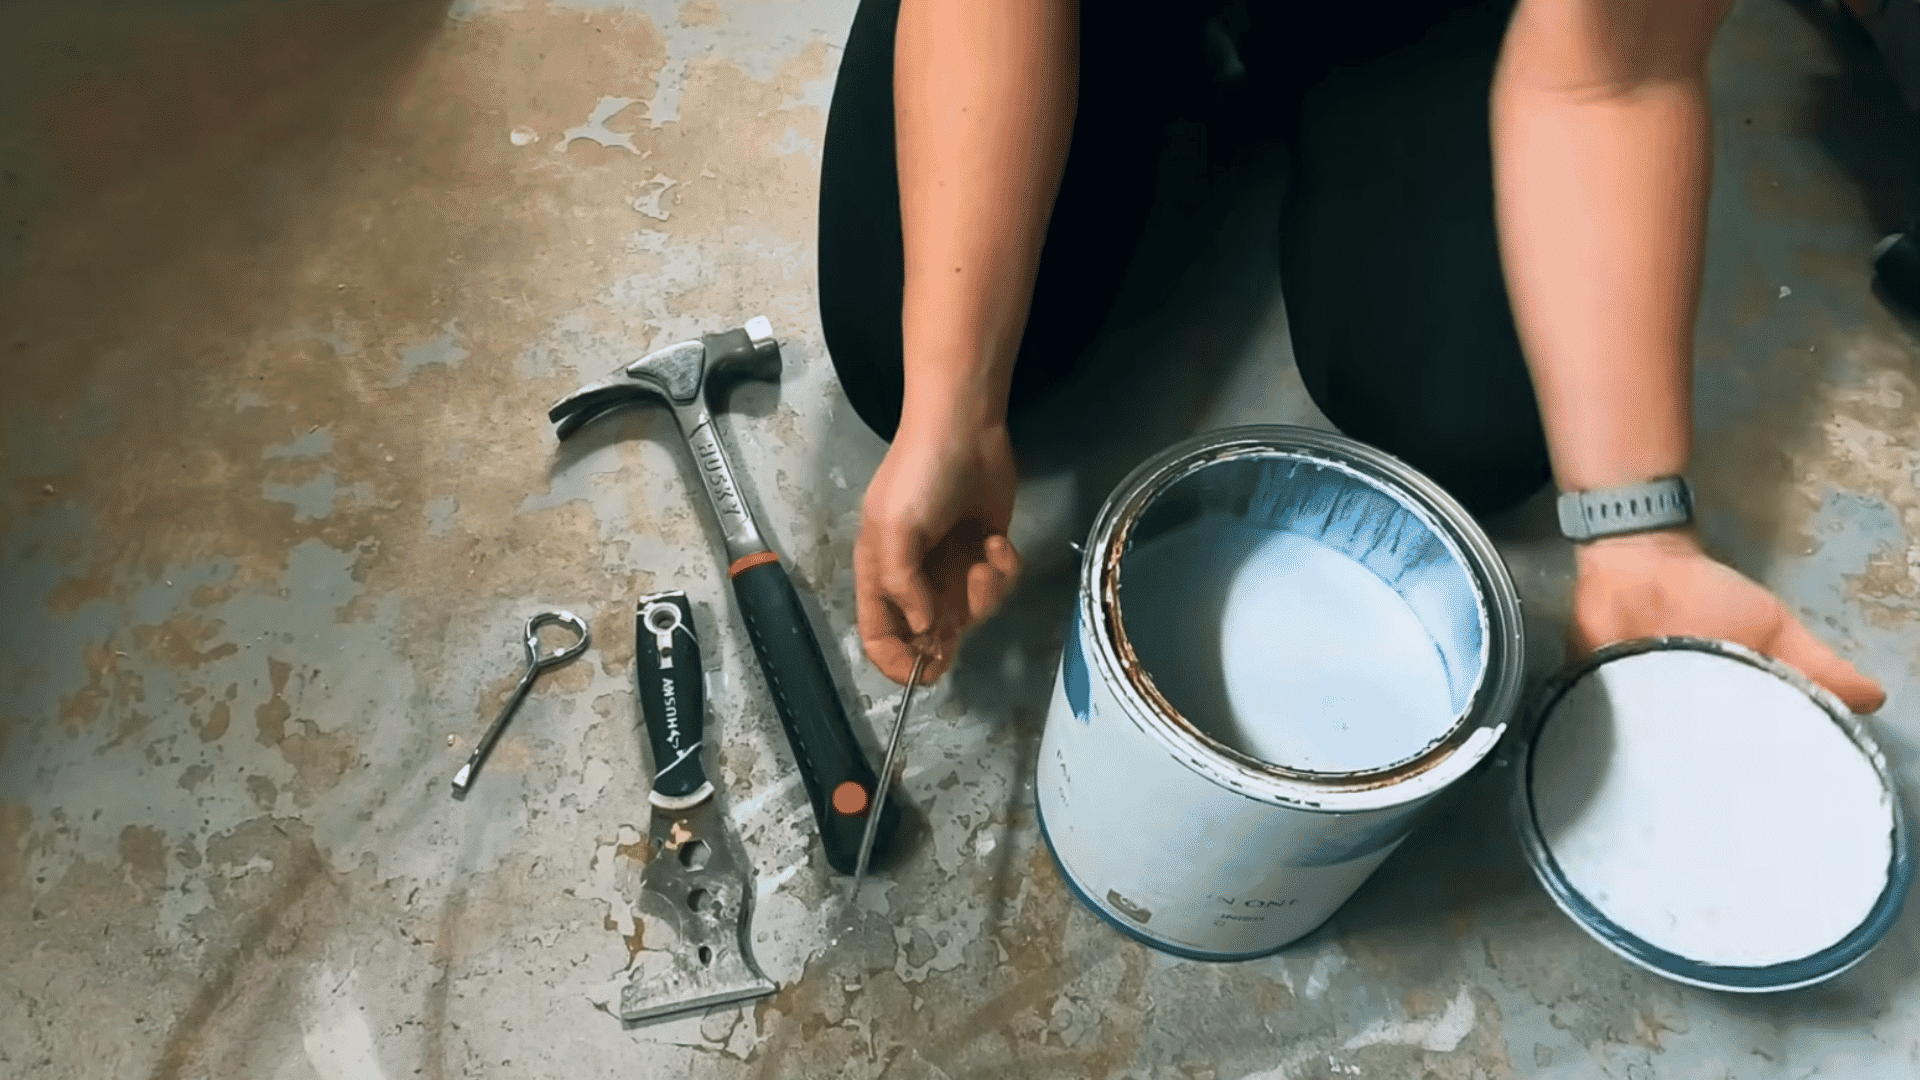
Once the lid feels loose all the way around, lift it straight up with your hands. If you notice one section still holding firmly, return to that area and pry it slightly more before trying again.
Avoid twisting or pulling the lid at an angle, as this can deform the metal edge.
Removing the lid carefully helps maintain its shape, making it much easier to reseal the can when you’re done painting and keeping leftover paint fresh for future projects.
This tutorial is based on a helpful video by Two Feet First. You can check out the original video on their YouTube channel here or watch it below.
How to Close a Paint Can Properly?
Properly sealing a paint can keeps paint usable longer, prevents leaks, and makes reopening the lid much easier later.
- Clean the Rim: Remove wet or dried paint from the rim with a clean cloth or putty knife for a better seal.
- Place the Lid Evenly: Set the lid flat on the can and line it up properly to avoid dents or loose edges.
- Tap Around the Edge: Gently tap around the lid with a rubber mallet or cloth-covered hammer to seal it evenly.
- Check for a Tight Seal: Inspect the rim to make sure the lid is fully seated with no raised edges or gaps.
- Store the Can Correctly: Keep the sealed can upright in a cool, dry place away from sunlight, heat, and moisture.
Solutions for Different Hard-to-Open Paint Cans
Different paint cans can get stuck for different reasons. Matching the problem with the right solution makes opening the can easier and helps prevent damage.
| Problem | Why It Happens | Best Solution |
|---|---|---|
| Lid painted shut | Dried paint has sealed the lid to the rim | Cut around the rim with a utility knife before prying |
| Old paint can | Rust or dried paint has made the lid harder to loosen | Tap the rim gently and pry the lid up little by little |
| Small paint can | The smaller size gives you less grip and leverage | Use a small screwdriver or a paint can opener |
| Five-gallon bucket | The tight plastic lid is designed to seal firmly | Use a bucket lid opener for better control |
| Bent lid | The lid was opened improperly before | Pry from the opposite side carefully to release pressure |
| Rusted can | Moisture has damaged the rim or lid | Remove loose rust first and work slowly around the lid |
How to Dispose Paint Cans Safely?
Safe paint can disposal depends on the paint type, whether the can is empty, and local disposal regulations. Proper disposal helps protect the environment and ensures compliance with waste management rules.
- Identify the Paint Type: Check the label to determine whether the paint is latex or oil-based, since each requires a different disposal method.
- Dispose of Empty Latex Paint Cans: Empty, completely dry latex paint cans are often accepted with household recycling or regular trash, depending on local regulations.
- Dry Out Leftover Latex Paint: Mix leftover latex paint with paint hardener, cat litter, or shredded paper until fully dry before disposing of it.
- Take Oil-Based Paint to a Hazardous Waste Facility: Oil-based paints, stains, and solvents require special handling and should be dropped off at an approved collection center.
- Do Not Pour Paint Down Drains: Paint can contaminate waterways, damage plumbing systems, and create environmental problems, even if it appears diluted with water.
- Follow Local Disposal Rules: Disposal requirements vary by location, so check your local waste authority’s guidelines before discarding paint cans or leftover paint.
How to Store Paint Cans After Opening?
Paint cans should be stored upright in a cool, dry place with the lid sealed tightly to keep the paint usable. Cleaning the rim before closing and protecting the can from heat, cold, and moisture extend its shelf life.
After using the paint, wipe any wet paint from the rim so the lid forms a proper airtight seal.
Close the lid evenly with a rubber mallet or gentle taps instead of hitting one side, which can damage the rim.
Store the can away from direct sunlight, freezing temperatures, and high heat, as extreme conditions can affect paint quality.
Keep the container upright to reduce the chance of leaks and prevent paint from drying around the lid.
Writing the paint color, room, and opening date on the can also makes future touch ups faster and helps identify older paint
Common Mistakes when Opening a Paint Can
Opening a paint can seems simple, but small mistakes can damage the lid, rim, or paint inside. Avoid these common errors to open the can safely and keep it easy to reseal.
- Prying from Only One Spot: This can bend the lid and make it harder to close tightly later.
- Using Excessive Force: Forcing the lid open may cause spills, dents, or damage to the can rim.
- Using the Wrong Tools: Sharp or oversized tools can slip easily and damage the lid edge.
- Forgetting to Clean Dried Paint: Dried paint around the rim can make the lid stick even more.
- Damaging the Sealing Rim: A bent rim may stop the lid from creating an airtight seal.
- Hitting the Lid with a Metal Hammer: Hard blows can dent the lid, splash paint, or weaken the seal.
Conclusion
Opening a paint can is much easier when you use the right tools, work around the lid gradually, and avoid forcing it open.
A careful approach protects the lid and paint when opening standard, stuck, or older cans.
Just as important, closing the can properly after use keeps the paint fresh, prevents spills, and makes the lid easier to remove the next time you need it.
A few simple habits, like cleaning the rim and storing the can correctly, can save time and frustration later.
Keep these tips handy whenever you need to open, close, or store a paint can safely and efficiently.
Frequently Asked Questions
Can You Open a Paint Can without a Can Opener?
Yes. A flat-head screwdriver, putty knife, or similar flat tool can carefully lift the lid when used gently around the entire rim.
What Can Be Used Instead of a Paint Can Opener?
A flat-head screwdriver is the most common alternative. A putty knife can help remove dried paint, while pliers may assist with bent lid edges.
Which Can Openers Are Best for Arthritis?
Ergonomic paint can openers with cushioned, non-slip handles provide better grip and reduce hand strain compared with standard metal openers.