
One succulent leaf can turn into a whole new plant. You don’t need special skills or a greenhouse to make it happen.
Buying new succulents every time you want to grow your collection gets expensive. I know that feeling well. Having written about plants and gardening for years, I’ve watched beginners struggle with propagation because no one explained it clearly.
The first time I tried leaf propagation myself, I nearly gave up after two failed attempts before finally figuring out what actually works.
This guide breaks down everything you need to know about succulent propagation, step by step.
You’ll also learn the right tools to use, common mistakes to skip, and how long the whole process takes. By the end, you’ll have everything you need to grow new plants from the ones you already own.
What is Succulent Propagation?
Propagation simply means growing a new plant from a part of an existing one.
With succulents, you can use a single leaf or a small stem to grow a brand new plant. No seeds needed. There are two main methods: leaf propagation and stem cuttings. Both are simple and work well at home.
Succulents are easy to propagate because they store water in their leaves and stems. That stored energy helps new roots grow without much help from you.
If you are a beginner or just love plants, this is a great place to start. You don’t need fancy tools or experience. Just a healthy plant, a little patience, and the right steps.
Most people see results within a few weeks, making it one of the most satisfying things you can do with plants.
Key features:
- You can grow multiple new plants from a single parent plant.
- Propagation costs nothing if you already own a succulent.
- Both methods work indoors and outdoors.
- Spring and summer are the best seasons to get started.
Leaf Propagation vs Stem Cuttings
Both methods work, but they differ in speed, effort, and results. Here’s a side-by-side look to help you choose.
| Feature | Leaf Propagation | Stem Cuttings |
|---|---|---|
| What you use | A single leaf | A stem with leaves |
| Difficulty level | Very easy | Easy |
| Drying time | 1–3 days | 2–5 days |
| Time to root | 2–3 weeks | 1–2 weeks |
| Time to new plant | 4–8 weeks | 3–5 weeks |
| Success rate | Moderate | High |
| Best for | Beginners | Faster growth |
| Number of plants | One per leaf | One per cutting |
| Tools needed | None | Clean scissors or a knife |
| Works indoors | Yes | Yes |
Stem cuttings root faster and have a higher success rate. Leaf propagation takes longer, but it is a great way to start if you are new to growing succulents.
How to Propagate Succulents: Leaf Propagation Method
Propagating succulents from leaves costs nothing and turns one plant into dozens. If you have a healthy succulent and a little patience, this step-by-step guide walks you through every step.
Step 1: Check for Patents
Before you do anything, flip the plant tag over and read it. Some succulents are patented, so propagating them is illegal.
If you see a patent number or the letters “PPAF” (Plant Patent Applied For) after the plant name, you cannot legally propagate that plant.
This applies even in some cases of personal use. If the tag is missing, look up the plant name online. Only move forward once you know propagation is allowed.
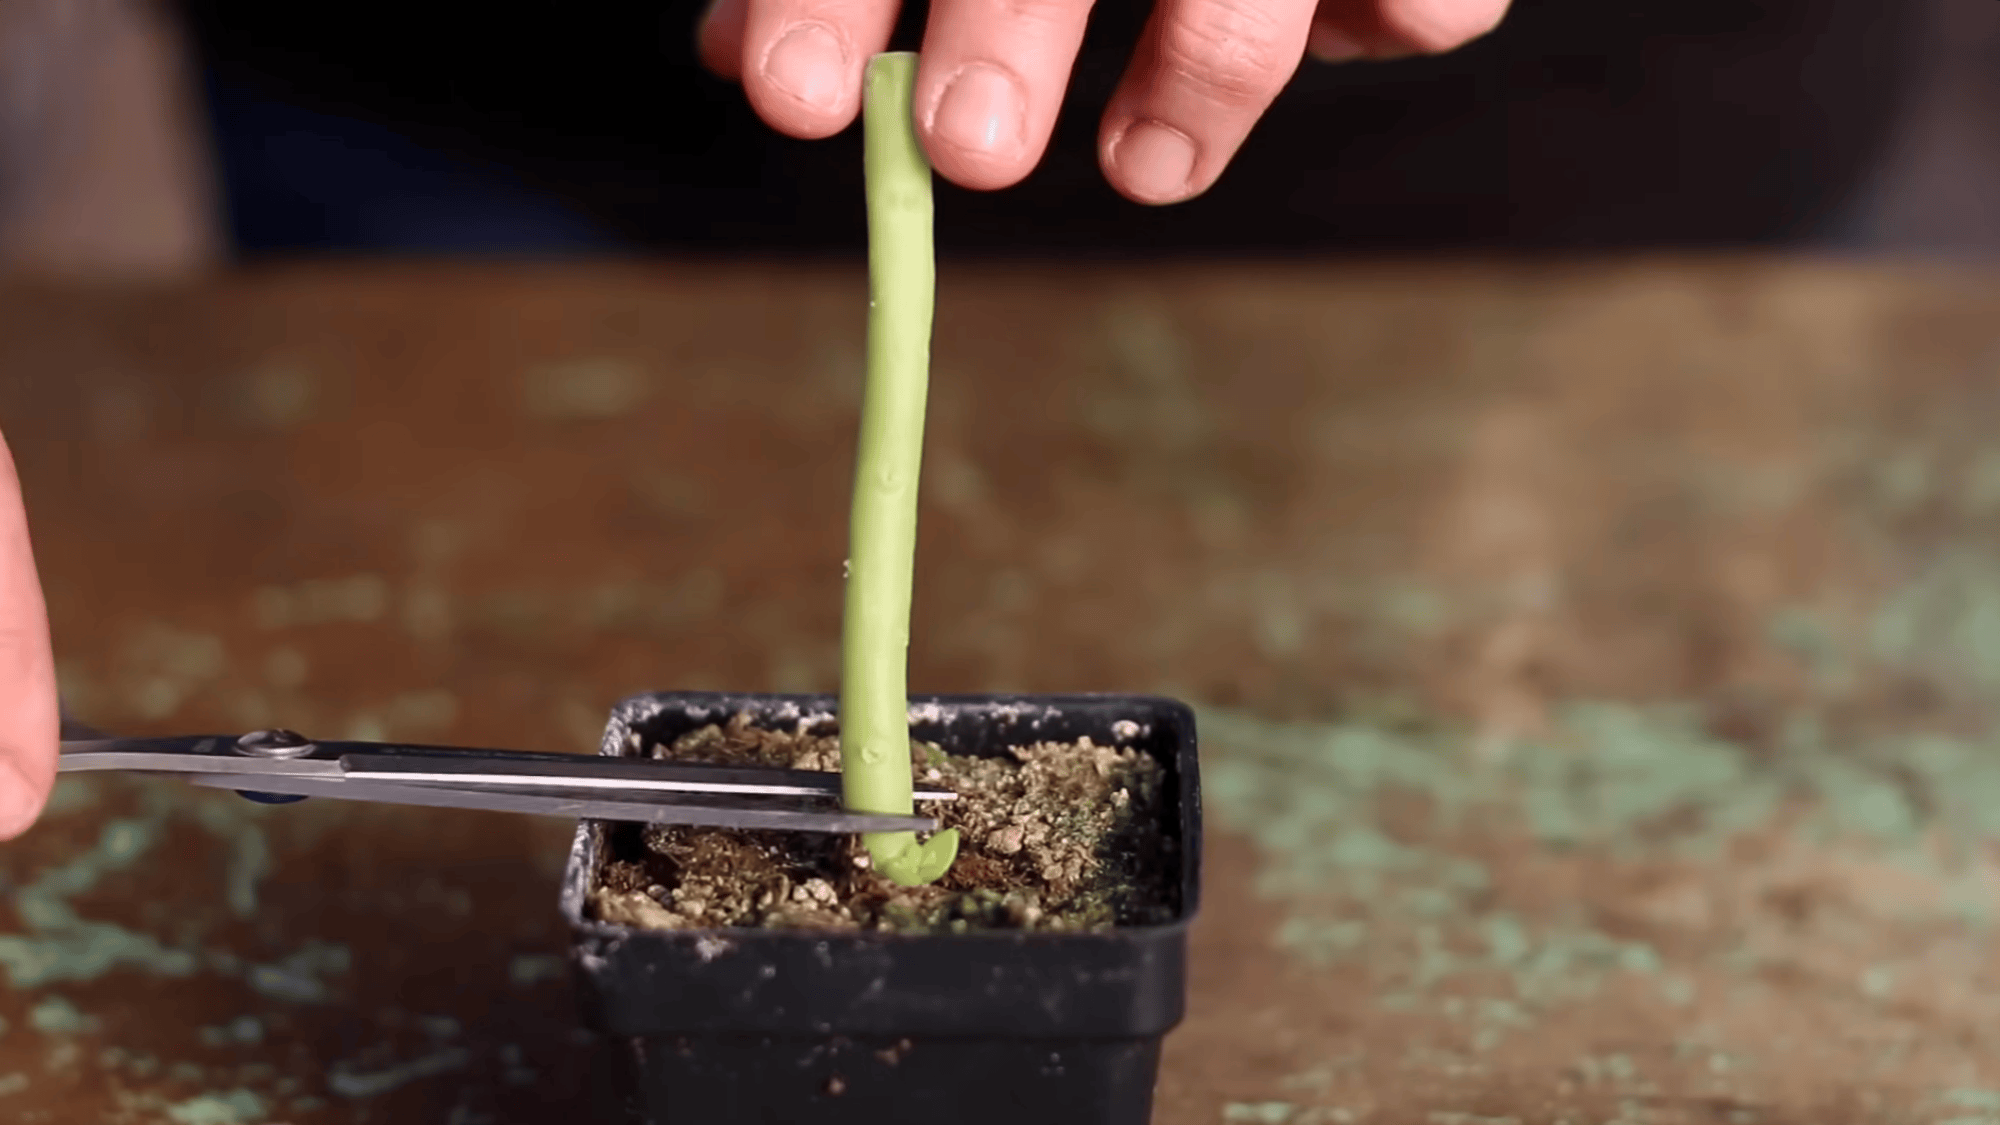
Step 2: Cut the Top
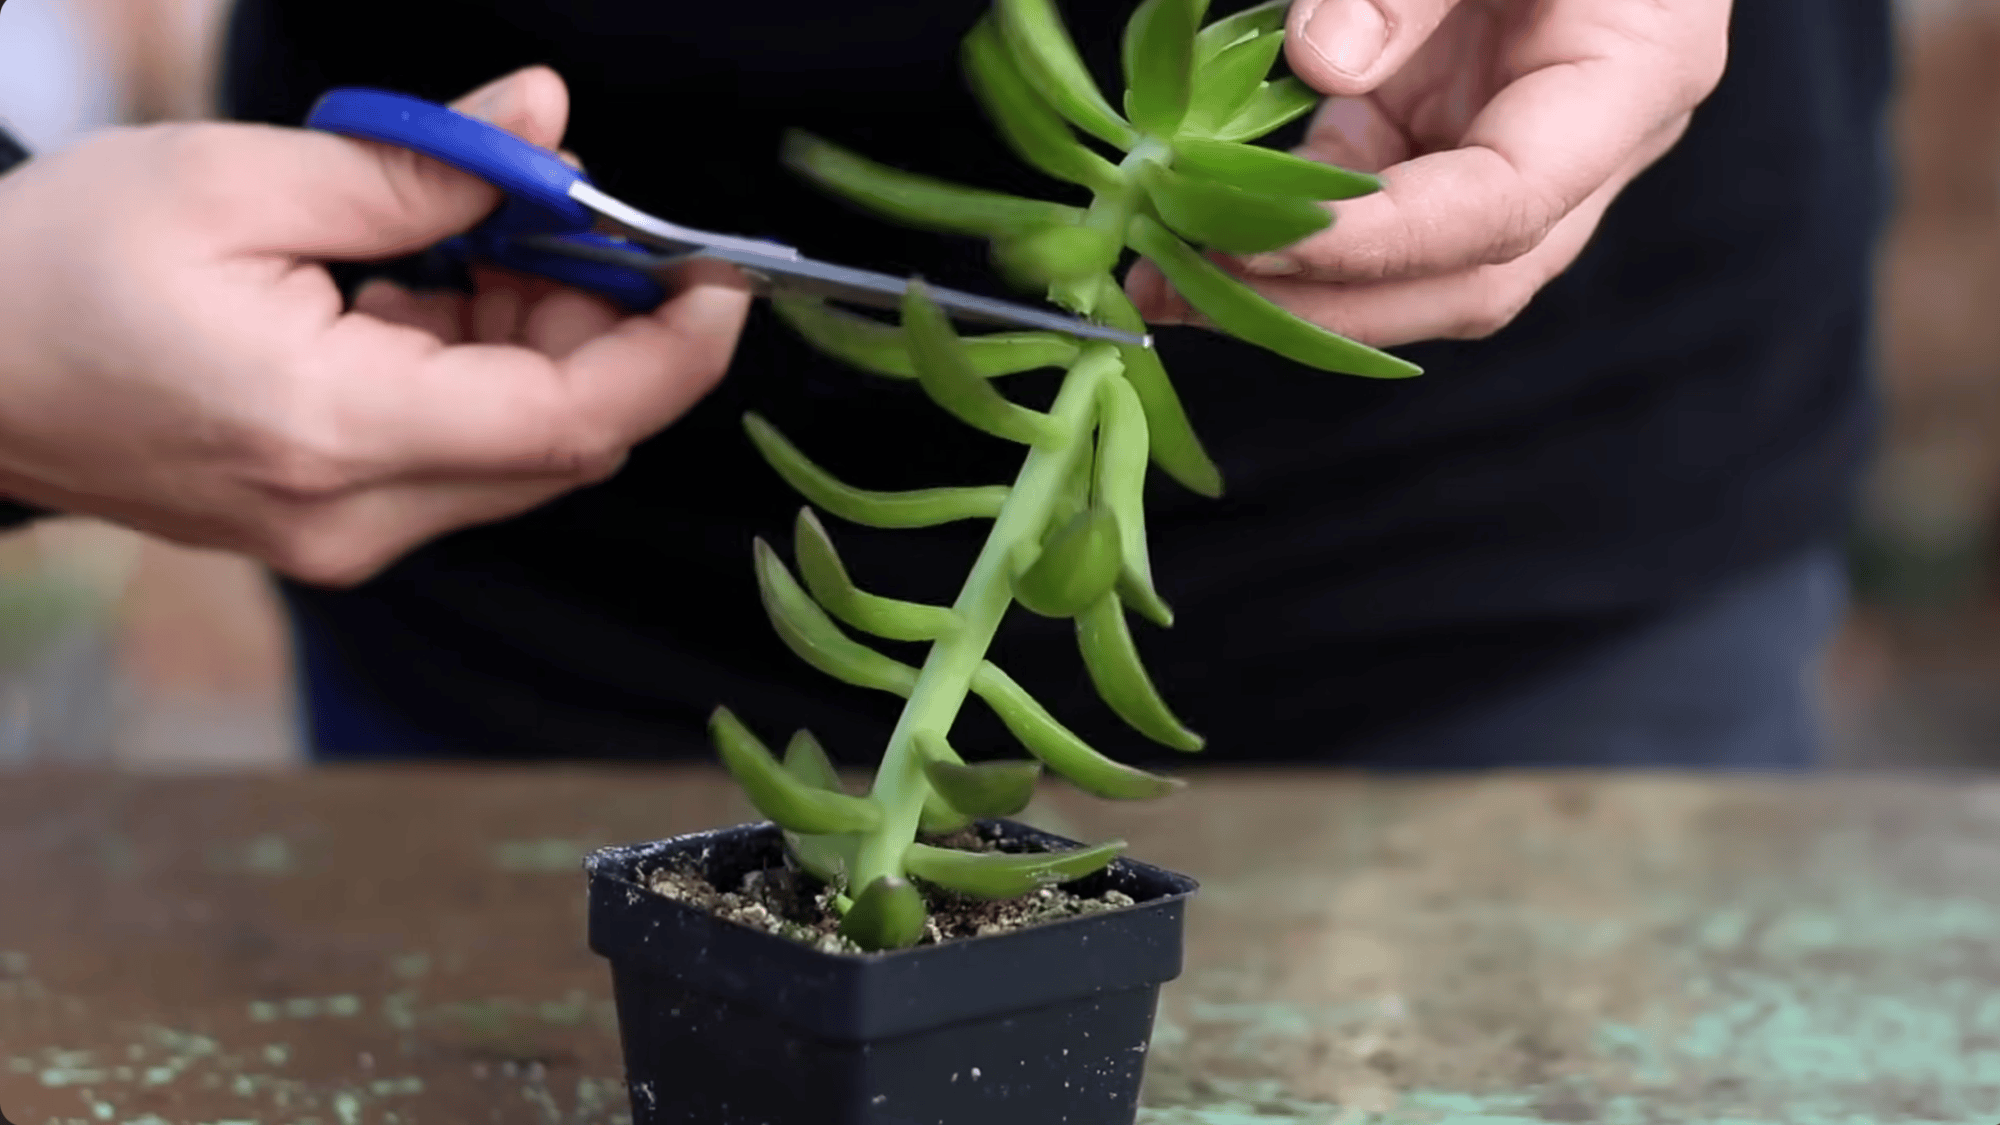
Use clean scissors or a sharp knife to cut the top off the succulent. Leave about an inch of stem attached to the top piece.
This stem is what will eventually grow roots. Set the cut top aside in a dry spot, out of direct sun. Do not plant it right away.
The cut end needs time to dry out first. Cutting too close to the leaves can make it harder for roots to form later.
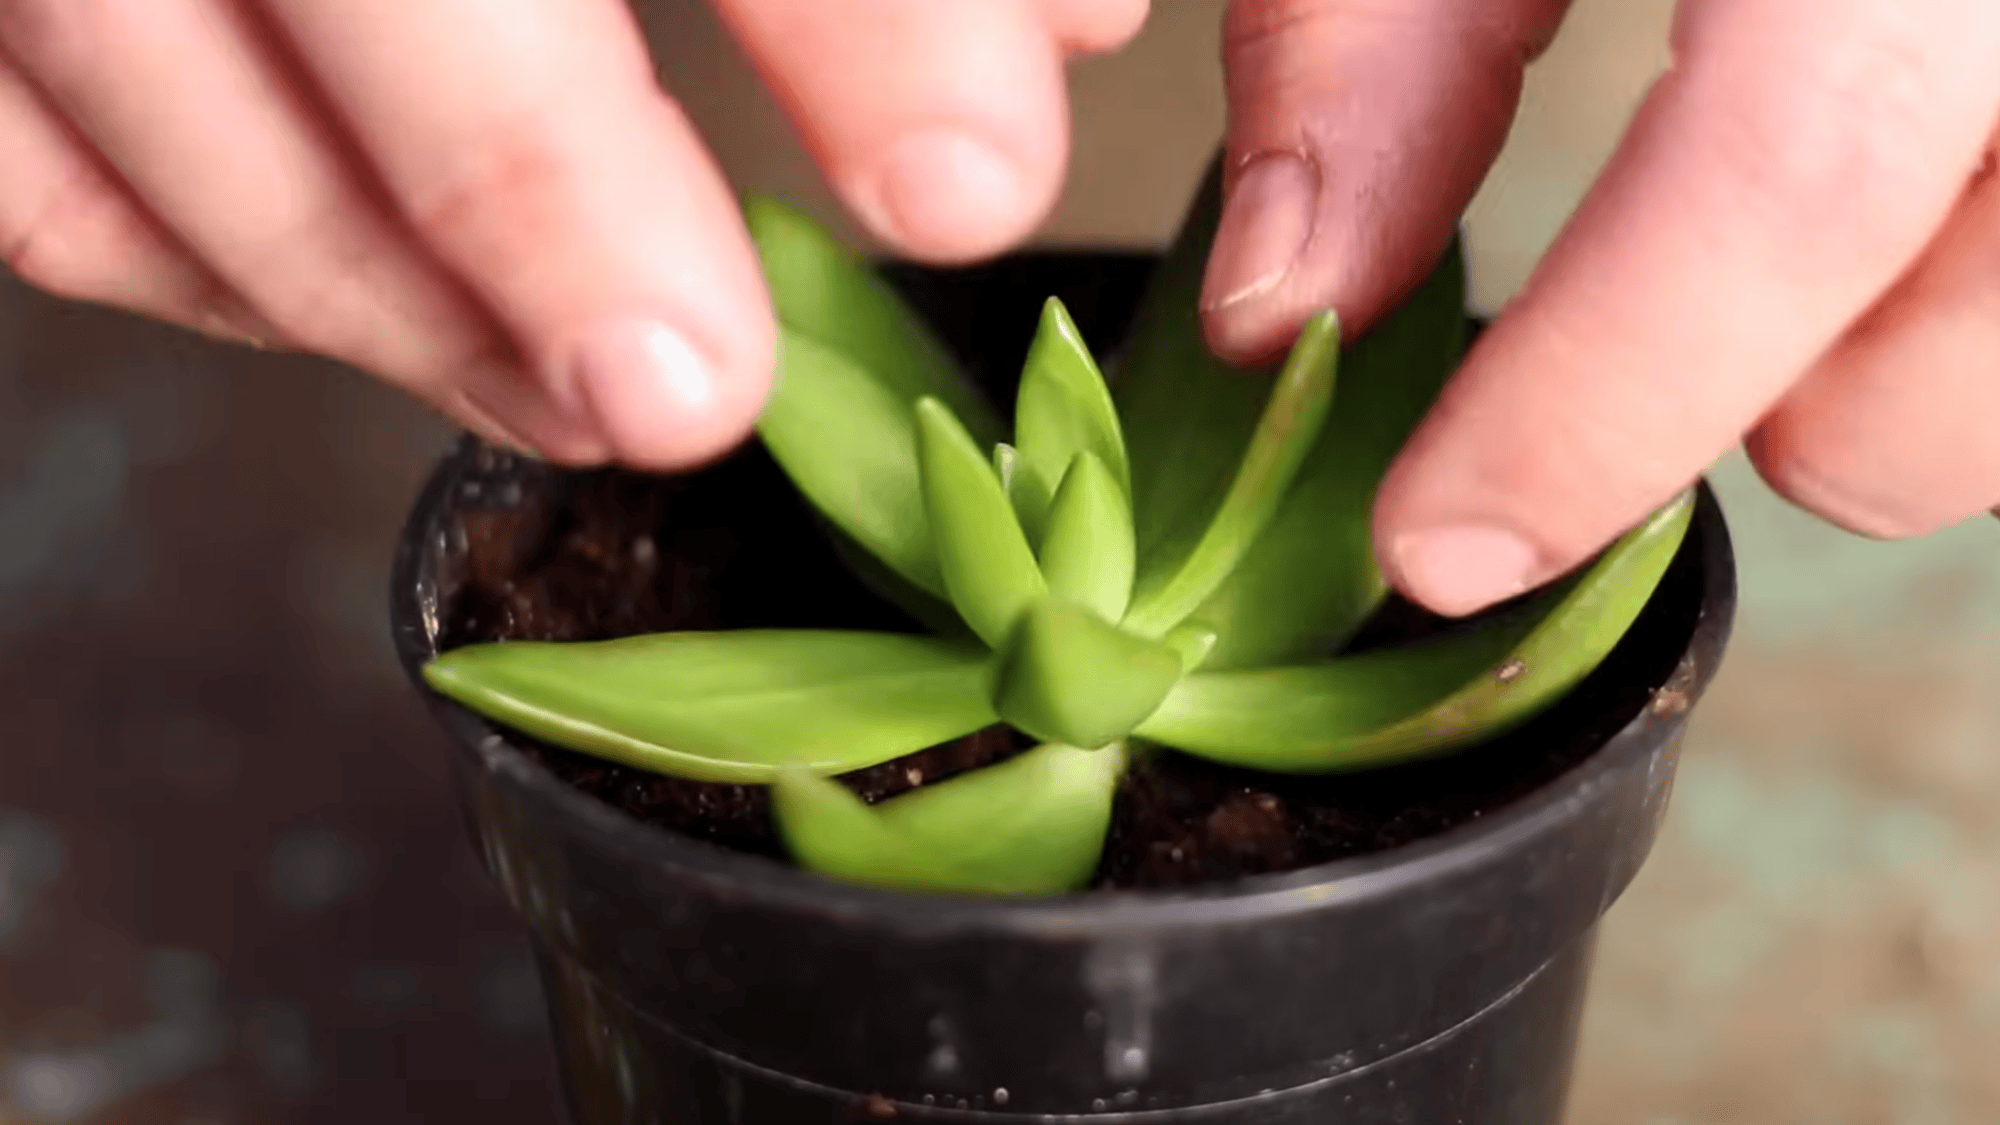
Step 3: Remove Healthy Leaves
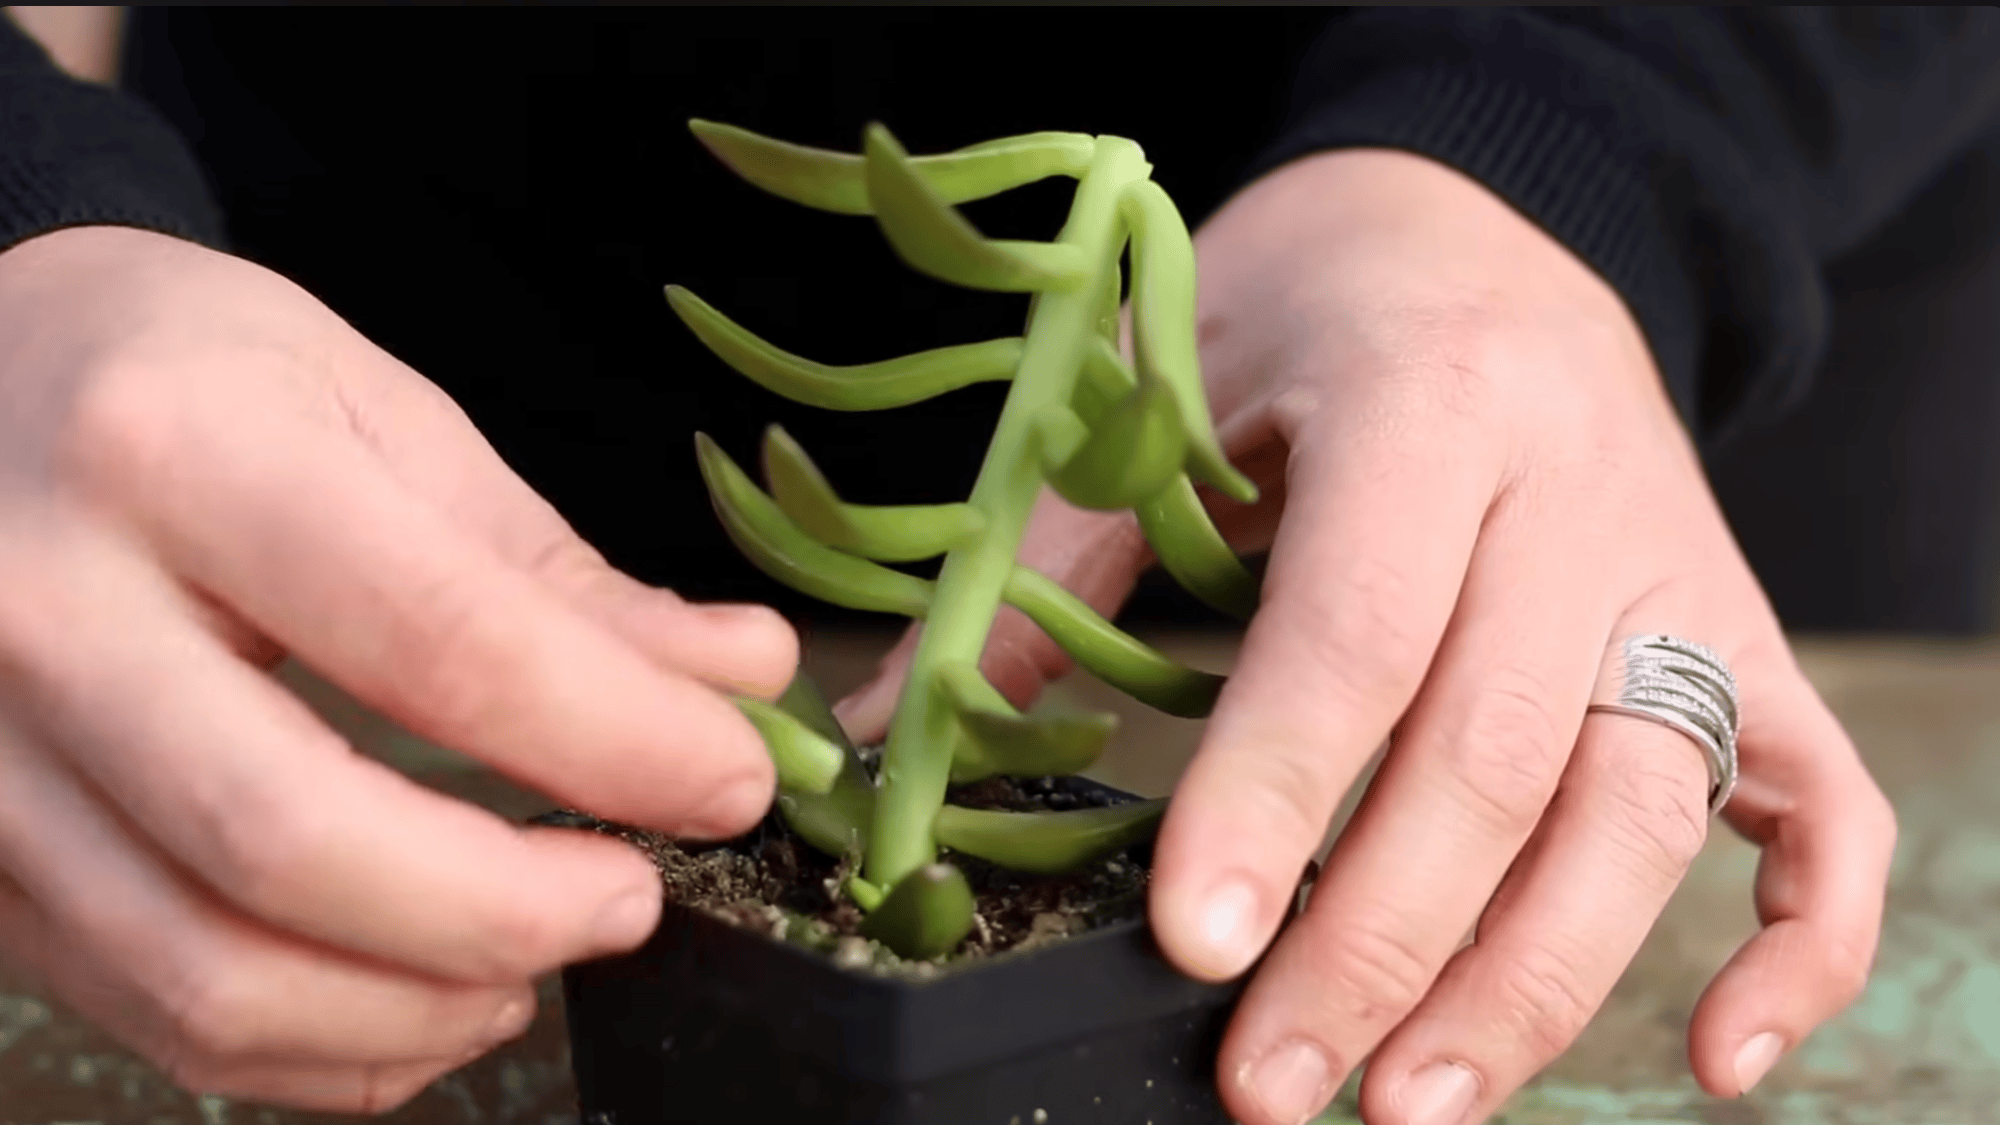
Hold each leaf close to the stem and gently wiggle it from side to side until it comes off clean. The base of the leaf must stay intact.
If it tears or breaks, that leaf will not grow. Pull leaves from the lower part of the stem only. Avoid any that look shriveled, damaged, or discolored.
You do not need a large number of leaves. Ten to fifteen good ones are plenty to work with.
Step 4: Let Leaves Callous
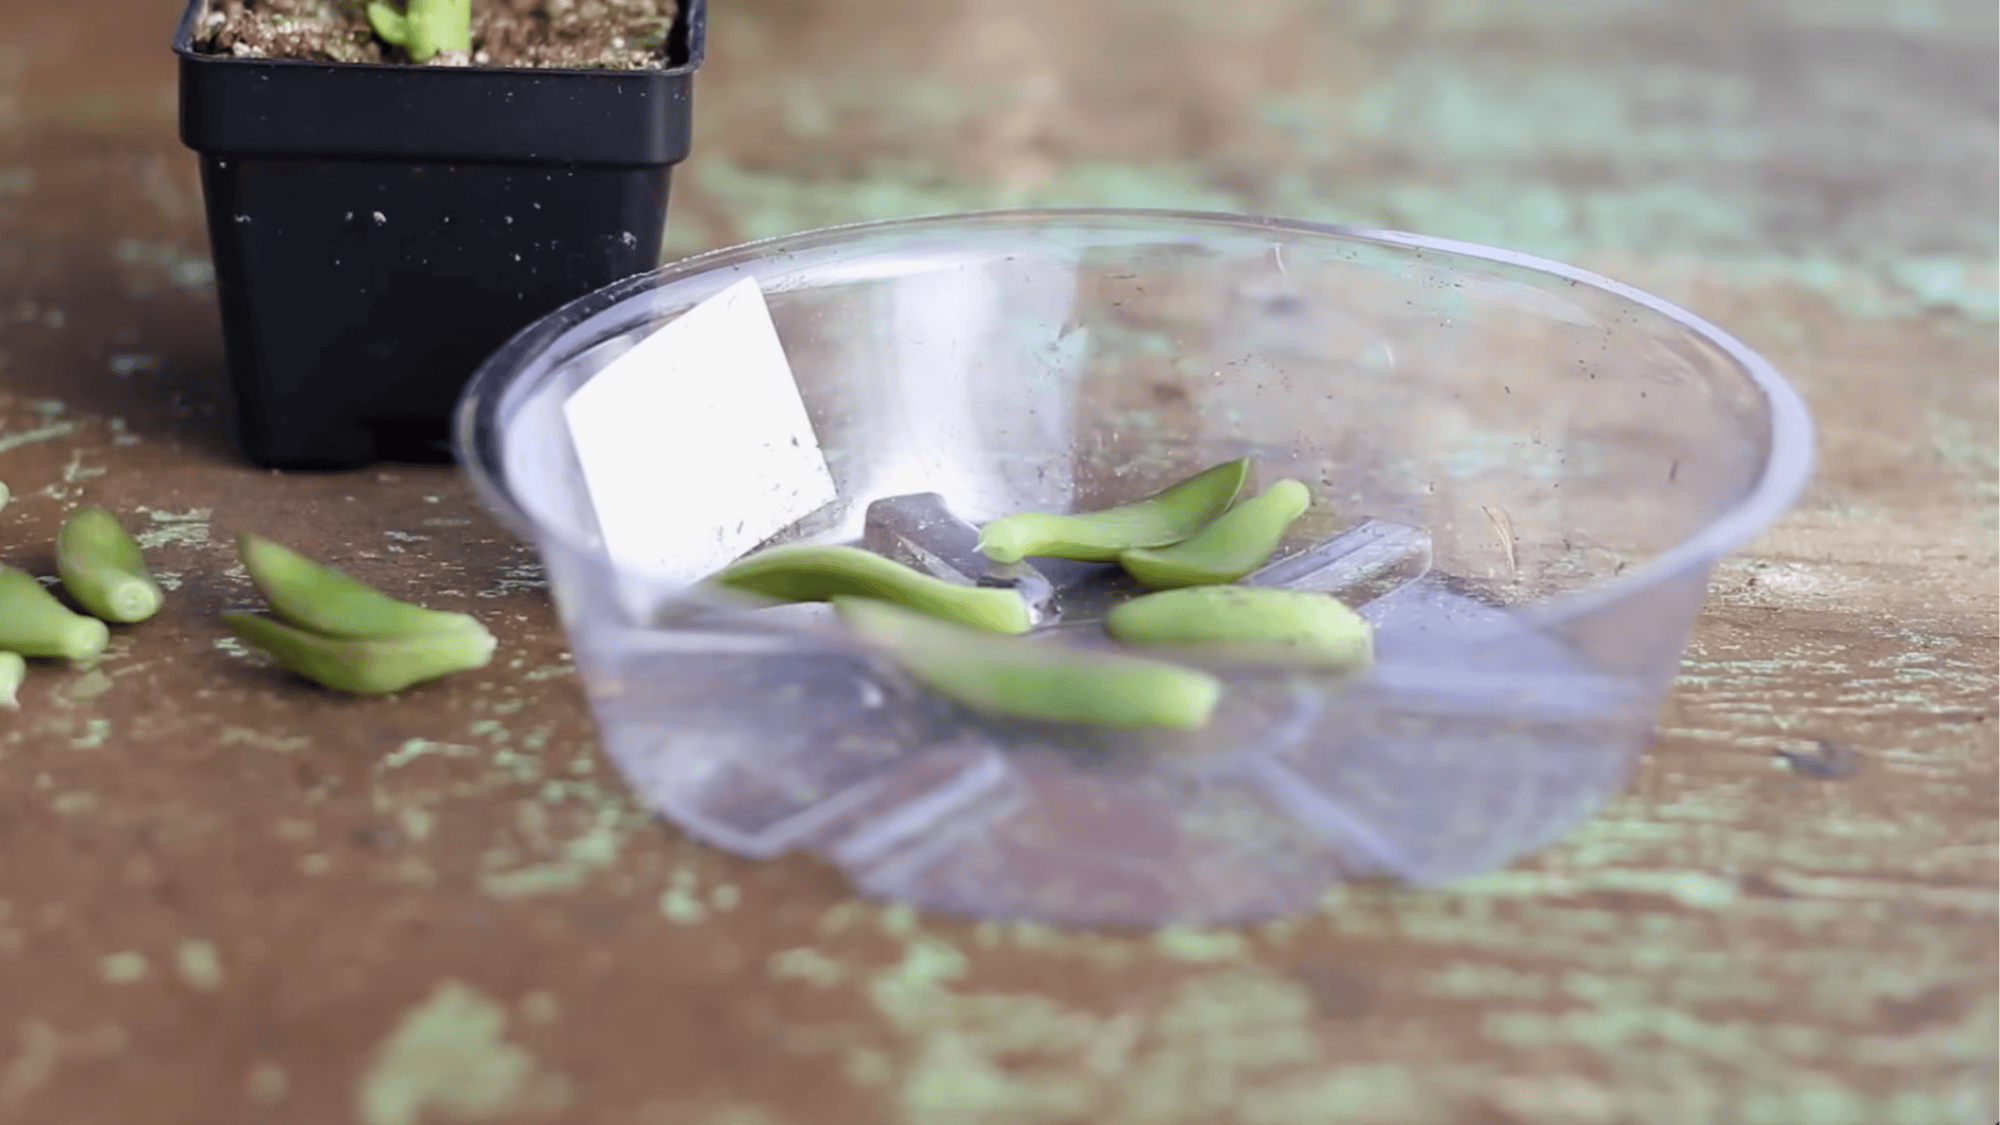
Once you have your leaves, place them on a dry surface in a spot with bright, indirect light. Do not put them in the soil yet.
The cut ends need to dry out and form a thin skin, called a callous, before they can absorb water or nutrients from the soil. This usually takes about two days.
Skipping this step can cause the ends to rot instead of the root. A tray, paper towel, or shallow dish works fine for this.
Step 5: Place on Soil
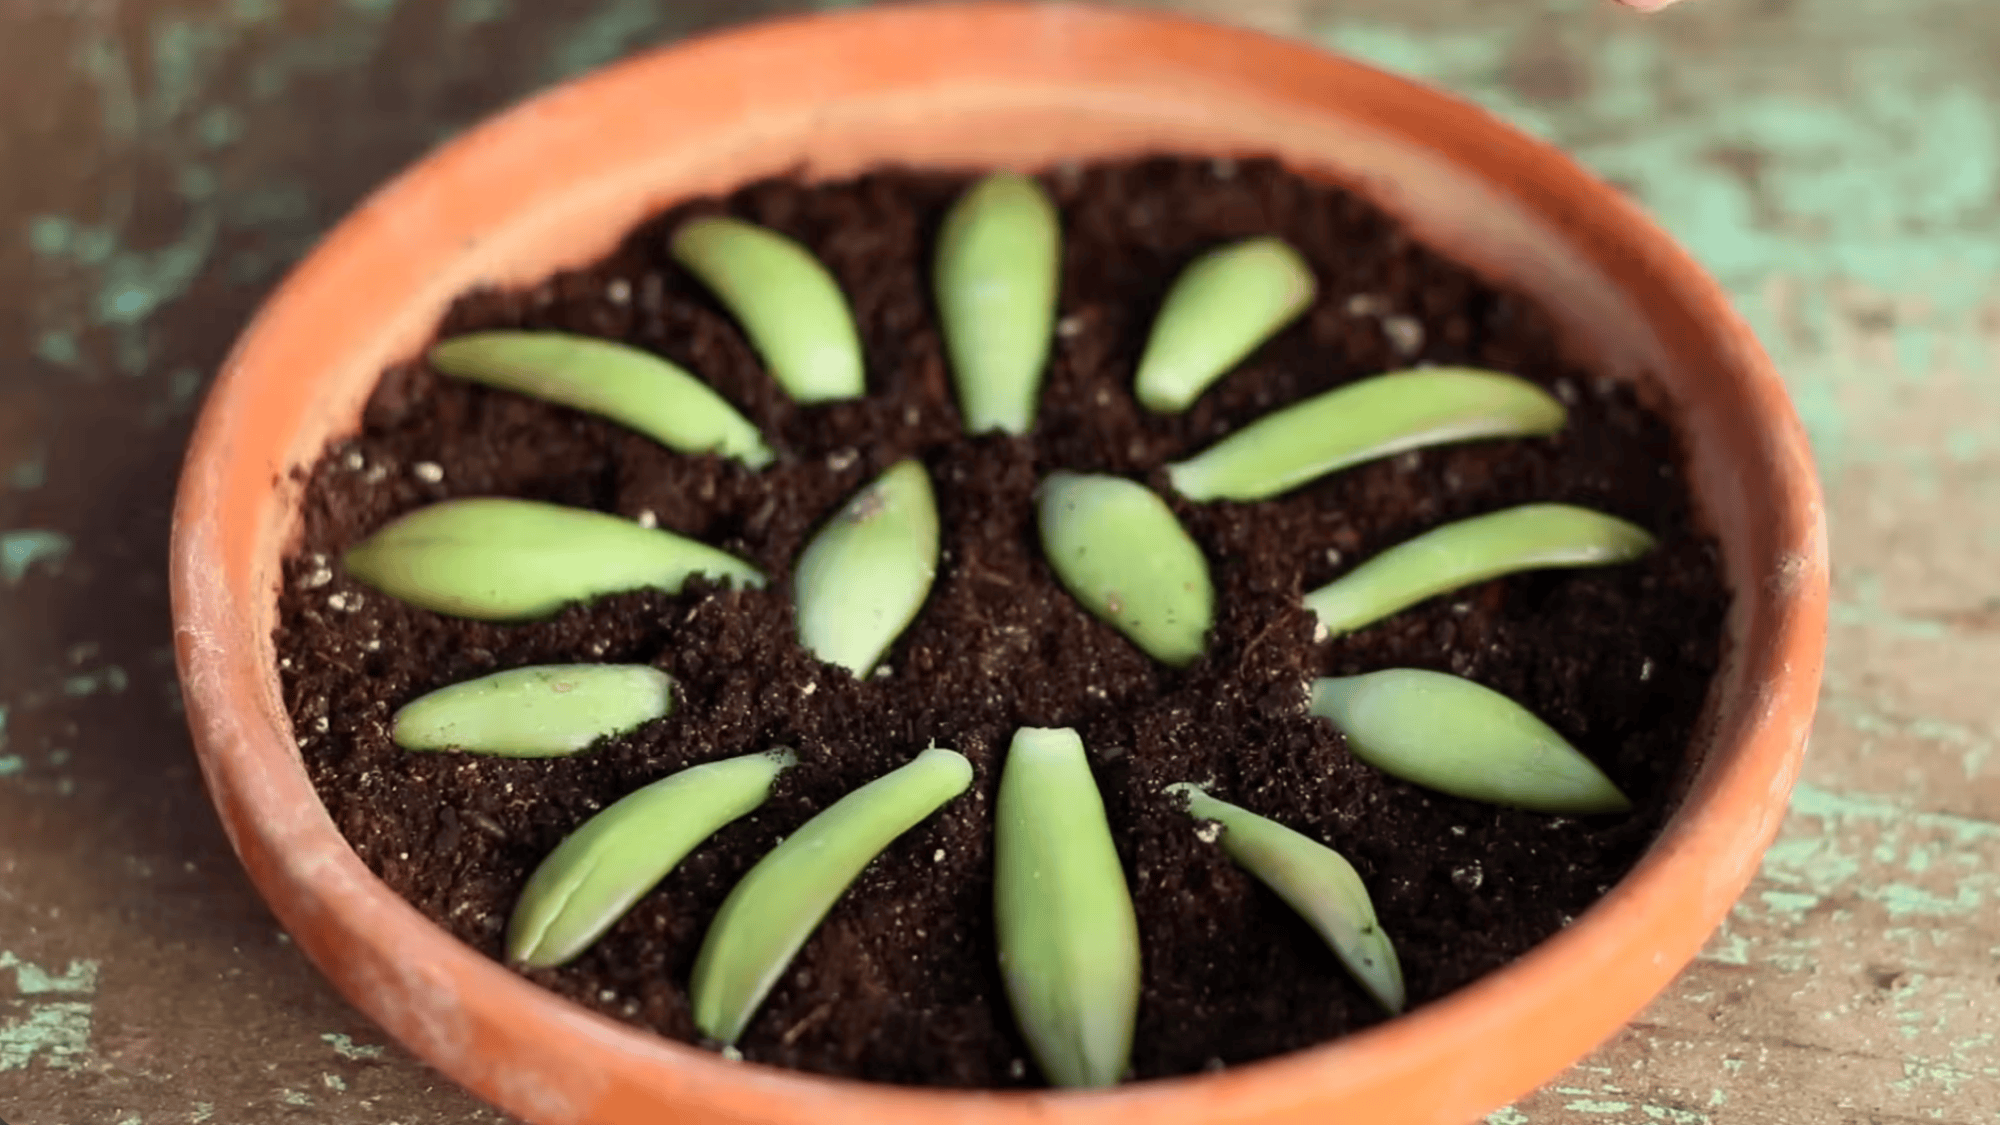
Once the ends have calloused over, lay the leaves flat on top of dry cactus or succulent soil. Do not push them into the soil. Just let them rest on the surface.
The roots will find their way down on their own. Keep the tray in a spot with bright, indirect light.
Avoid direct sun at this stage, as it can dry out the tiny roots before they get a chance to establish. No burying needed.
Step 6: Water Lightly
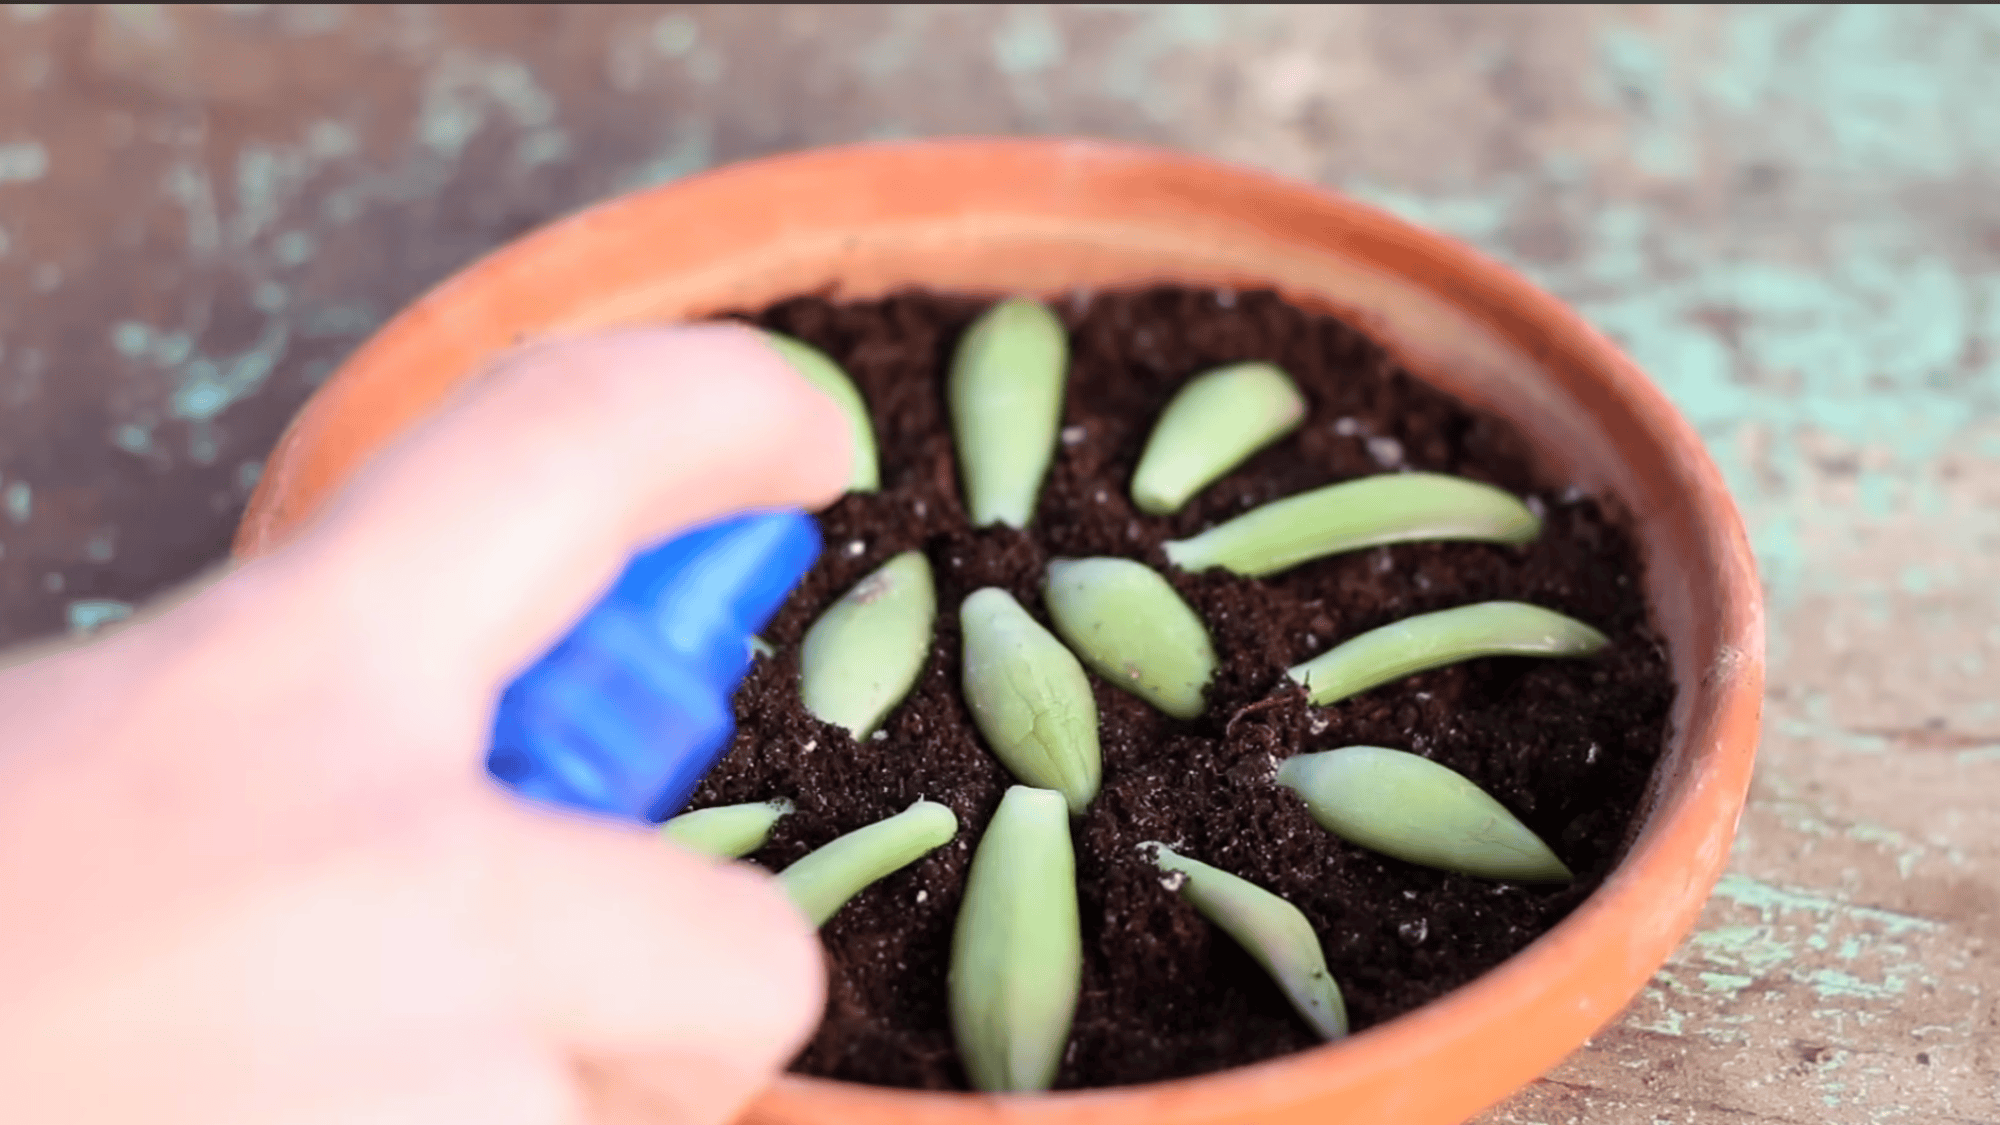
Use a spray bottle to mist the soil lightly every couple of days. The goal is to keep the soil just barely damp, not wet.
Overwatering is one of the most common mistakes at this stage and will cause the leaves to rot before they can sprout. Do not soak the soil.
A few sprays every two to three days is enough. If the soil feels moist when you touch it, wait another day before misting again.
Step 7: Wait for Growth
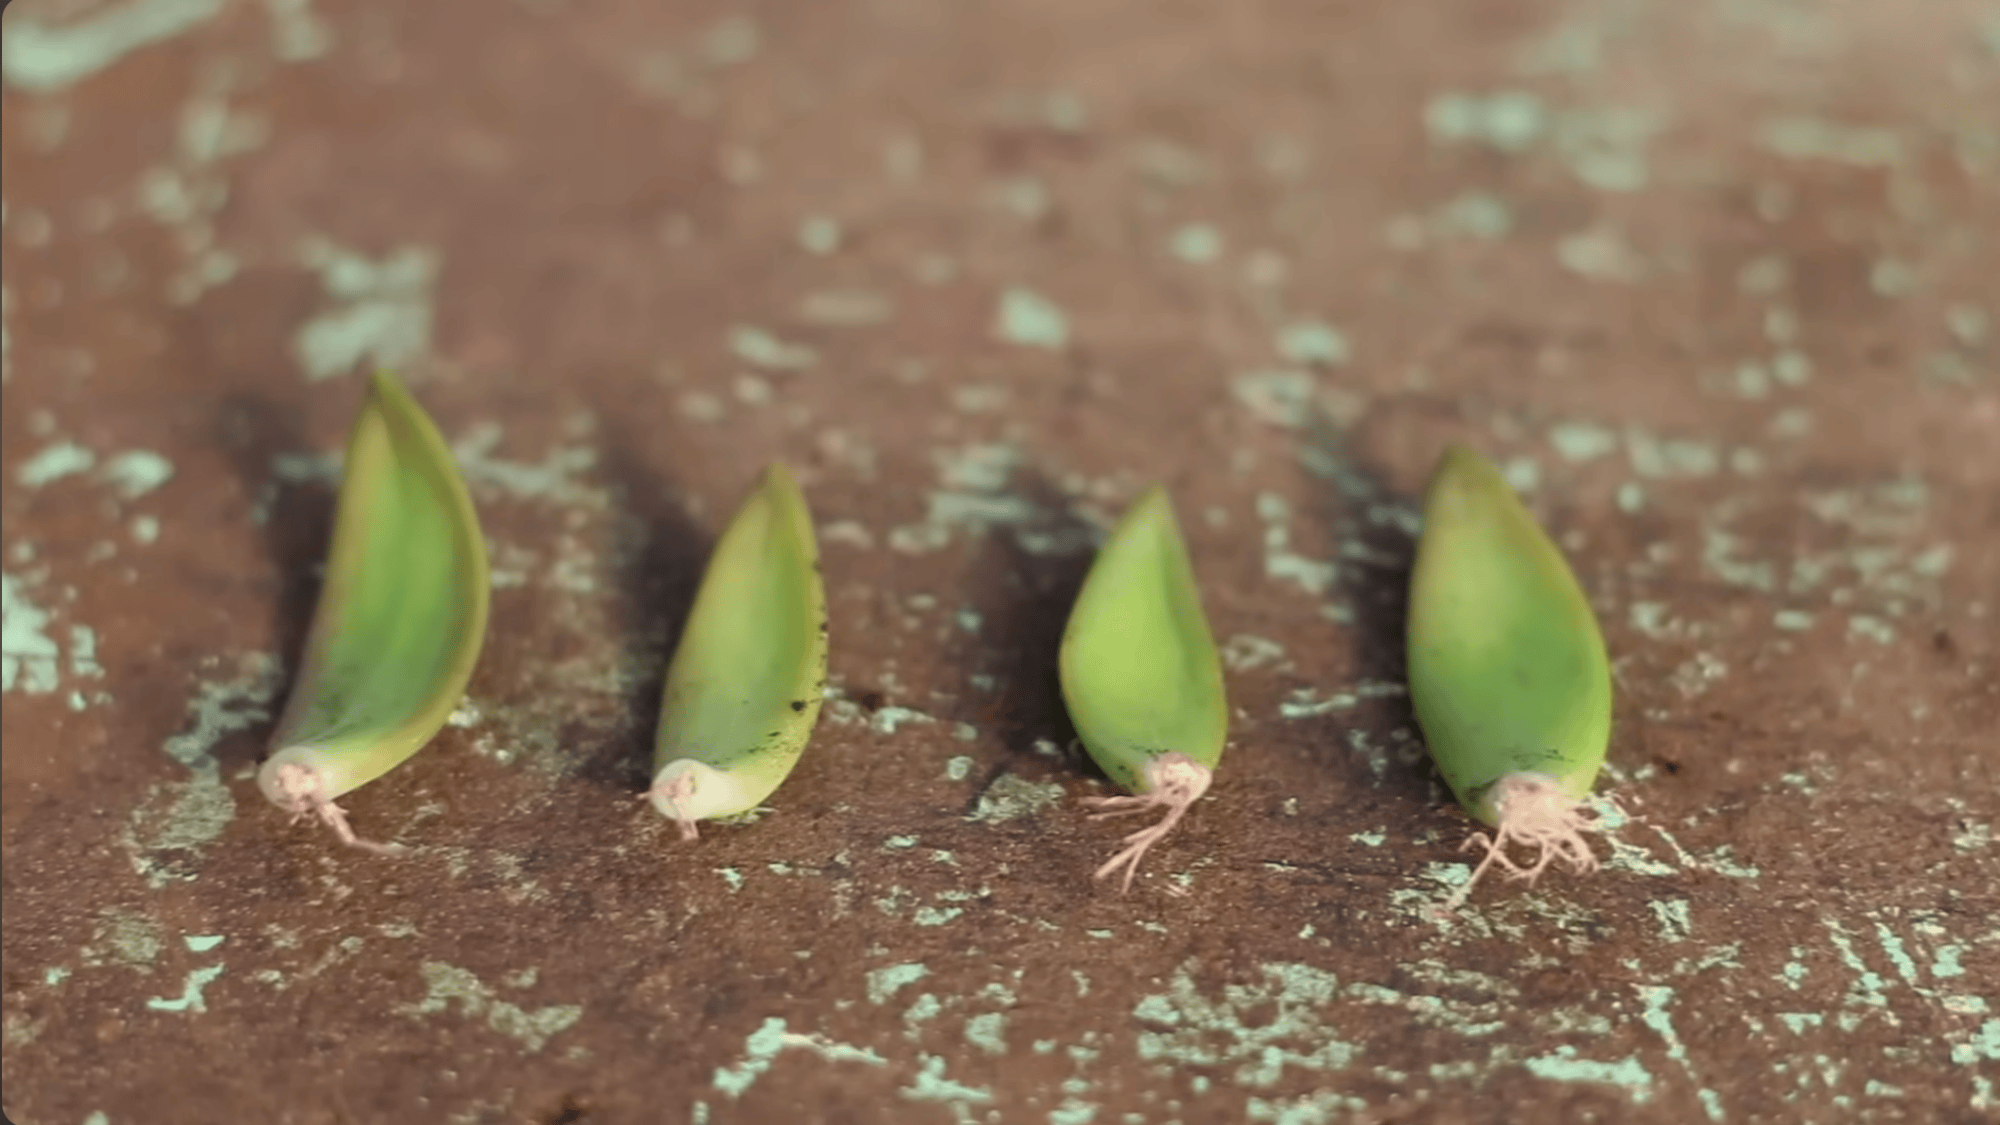
This is the hardest part because it takes time. Tiny pink or white roots will slowly appear from the base of each leaf over the coming weeks.
Small baby plants, called offsets, will follow shortly after. Do not pull the leaves off once roots appear. The mother leaf feeds the baby plant until it shrivels up on its own.
Some leaves take a few weeks, others take a couple of months. Be patient and keep misting every few days.
Step 8: Replant Babies
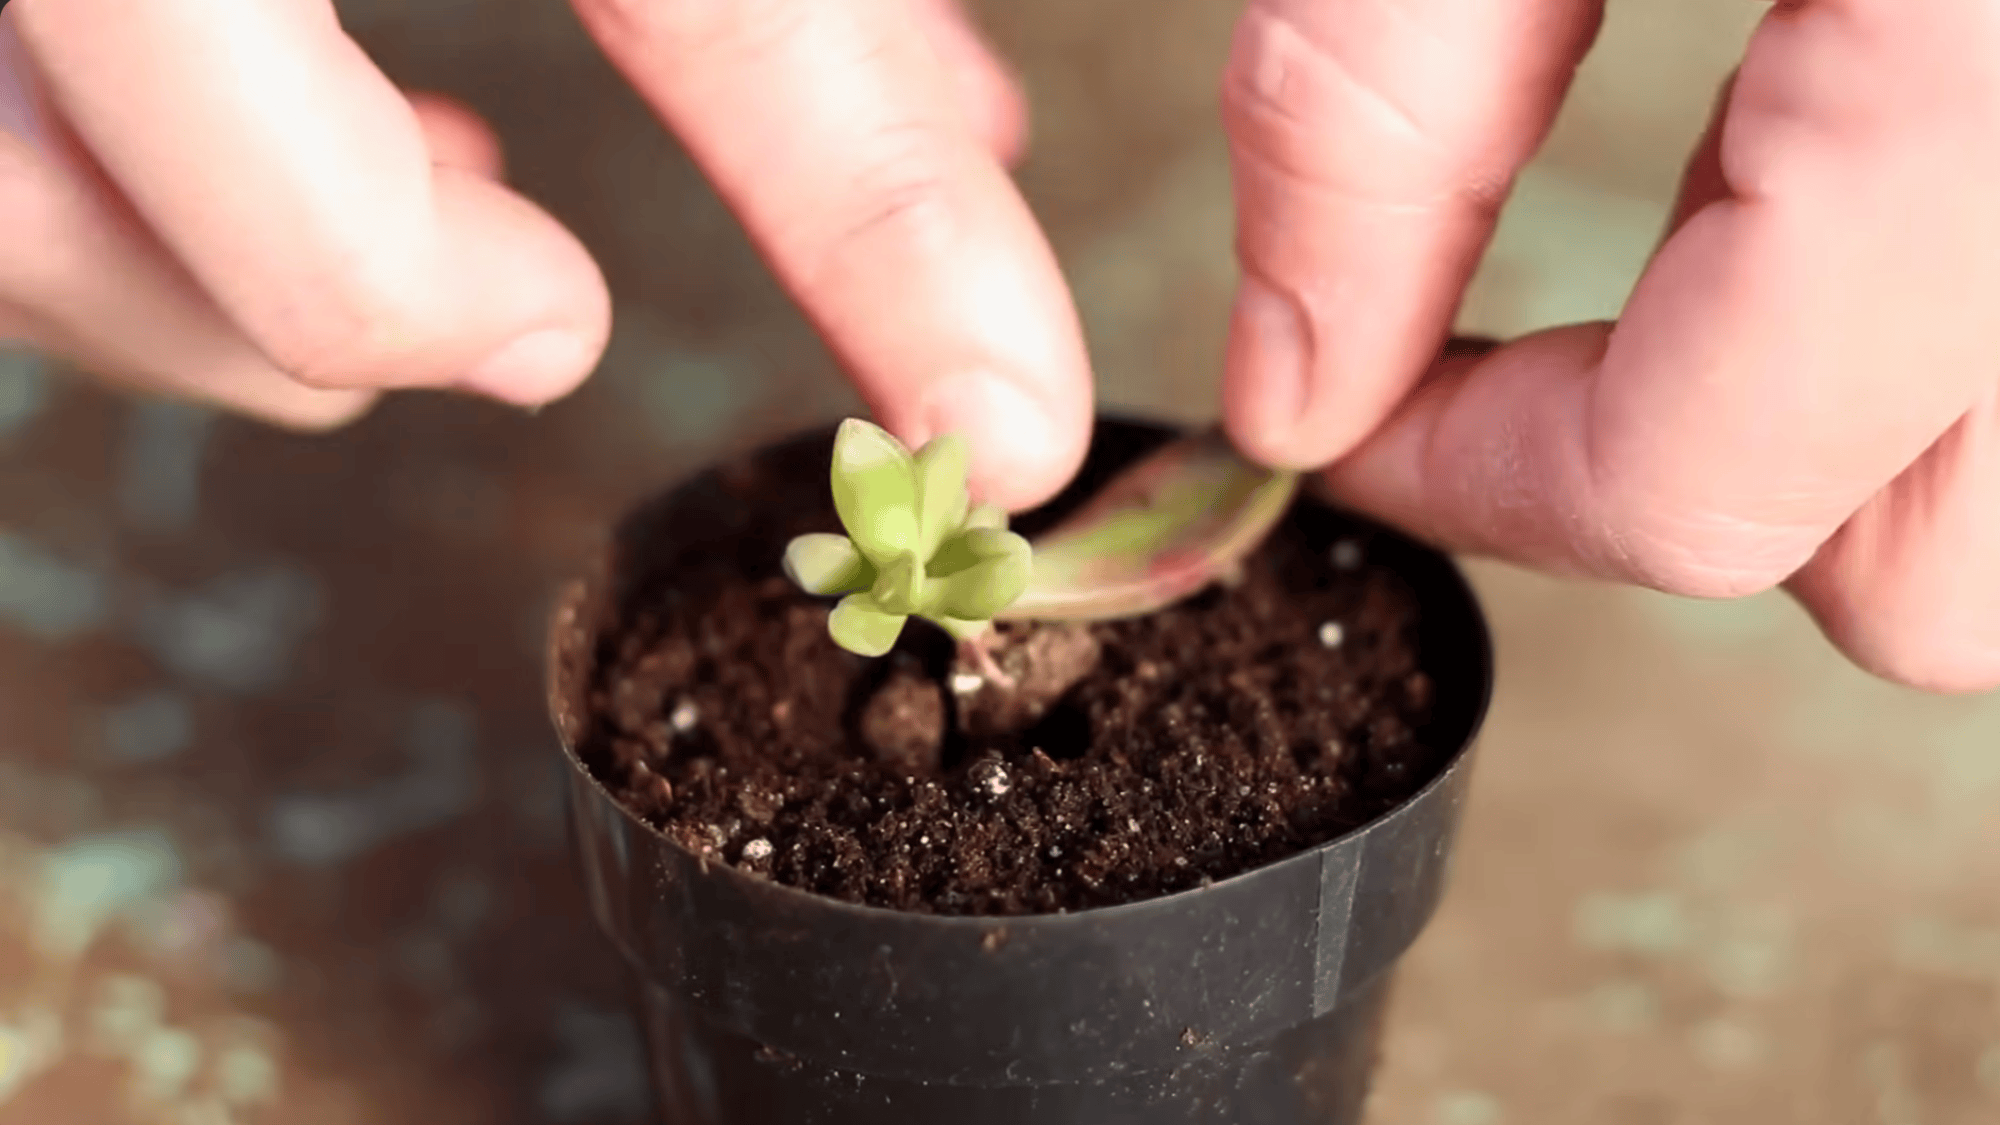
Once the baby plants are large enough to handle and the mother leaf has completely shriveled, gently move each baby into its own small pot.
Use cactus or succulent soil. Press the tiny roots lightly into the soil and leave them in bright, indirect light. Water lightly every few days.
At this point, the baby plant is on its own and will grow just like a full-sized succulent. Give it time to settle before moving it to a sunnier spot.
Step 9: Replant the Top
Remember the top piece you cut earlier? After letting it dry for 5 to 7 days, the cut end should be fully calloused.
Fill a small pot with cactus soil and press the stem about half an inch into it. Do not water it right away. Wait three to four days, then begin light watering.
Place it in bright, indirect light. The top cutting roots faster than individual leaves and will start looking like a full plant within a few weeks.
Step 10: Regrow the Base
Do not throw away the base stem left in the original pot. Cut it down to just above the soil line using clean scissors. Keep the soil lightly moist and place it back in bright, indirect light.
Within a few weeks, small new baby plants will sprout directly from the base.
You can leave them grouped together or separate them into individual pots once they are large enough. One original plant can easily turn into several healthy new ones this way.
This tutorial is based on a helpful video by Garden Answer. You can check out the original video on their YouTube channel here or watch it below.
How to Propagate Succulents: Stem Cuttings Method
Stem cuttings remain the most reliable method for beginners and experienced growers alike. This step-by-step guide breaks down each step so you get it right the first time.
Step 1: Select Healthy Leaves
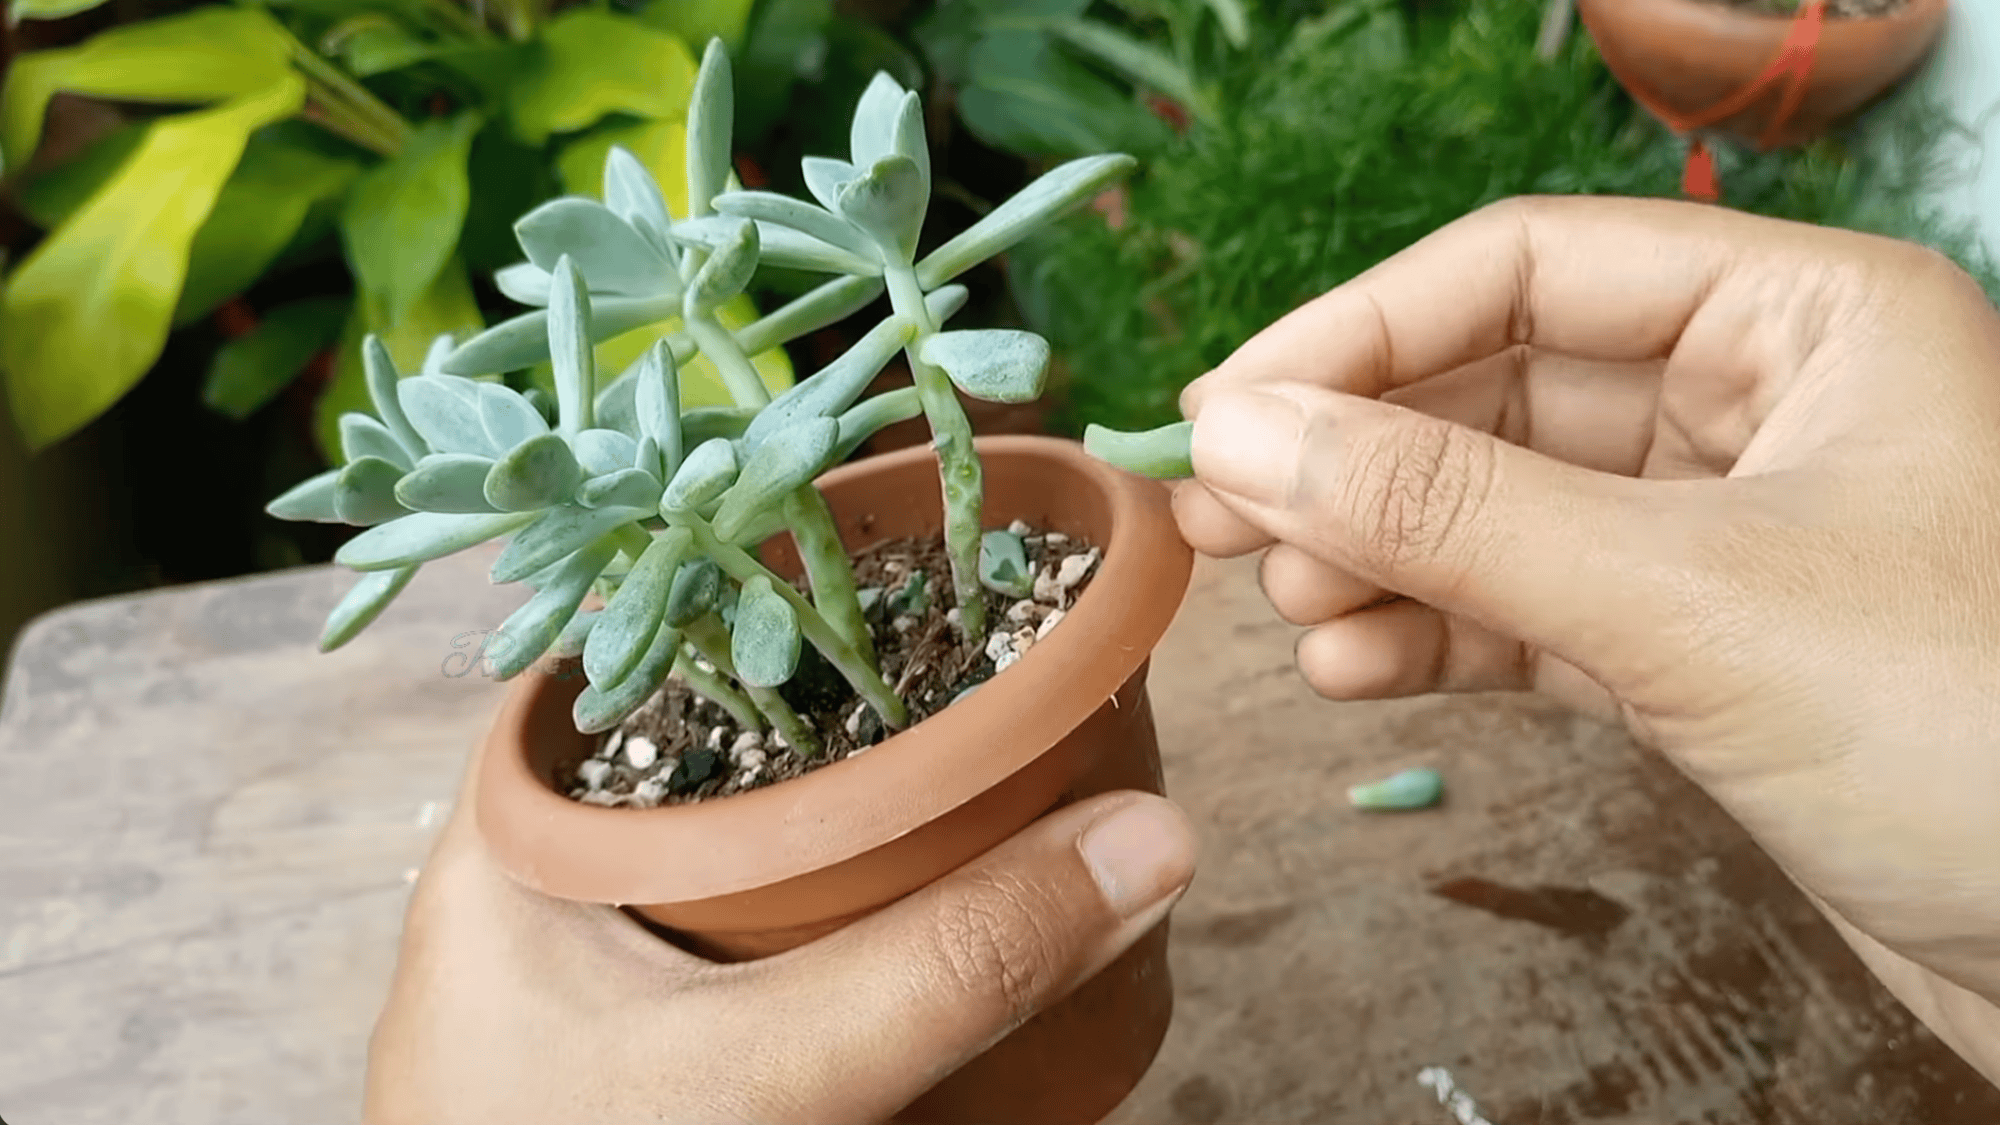
Start by choosing leaves from the middle or lower section of the plant. These tend to be mature and full, which gives them the best chance of growing roots.
Hold the leaf close to the stem and twist it gently from side to side until it pops off clean. The base of the leaf must come off whole.
If it snaps and leaves part of itself on the stem, set it aside. A broken base will not produce roots or baby plants.
Step 2: Let Leaves Callous
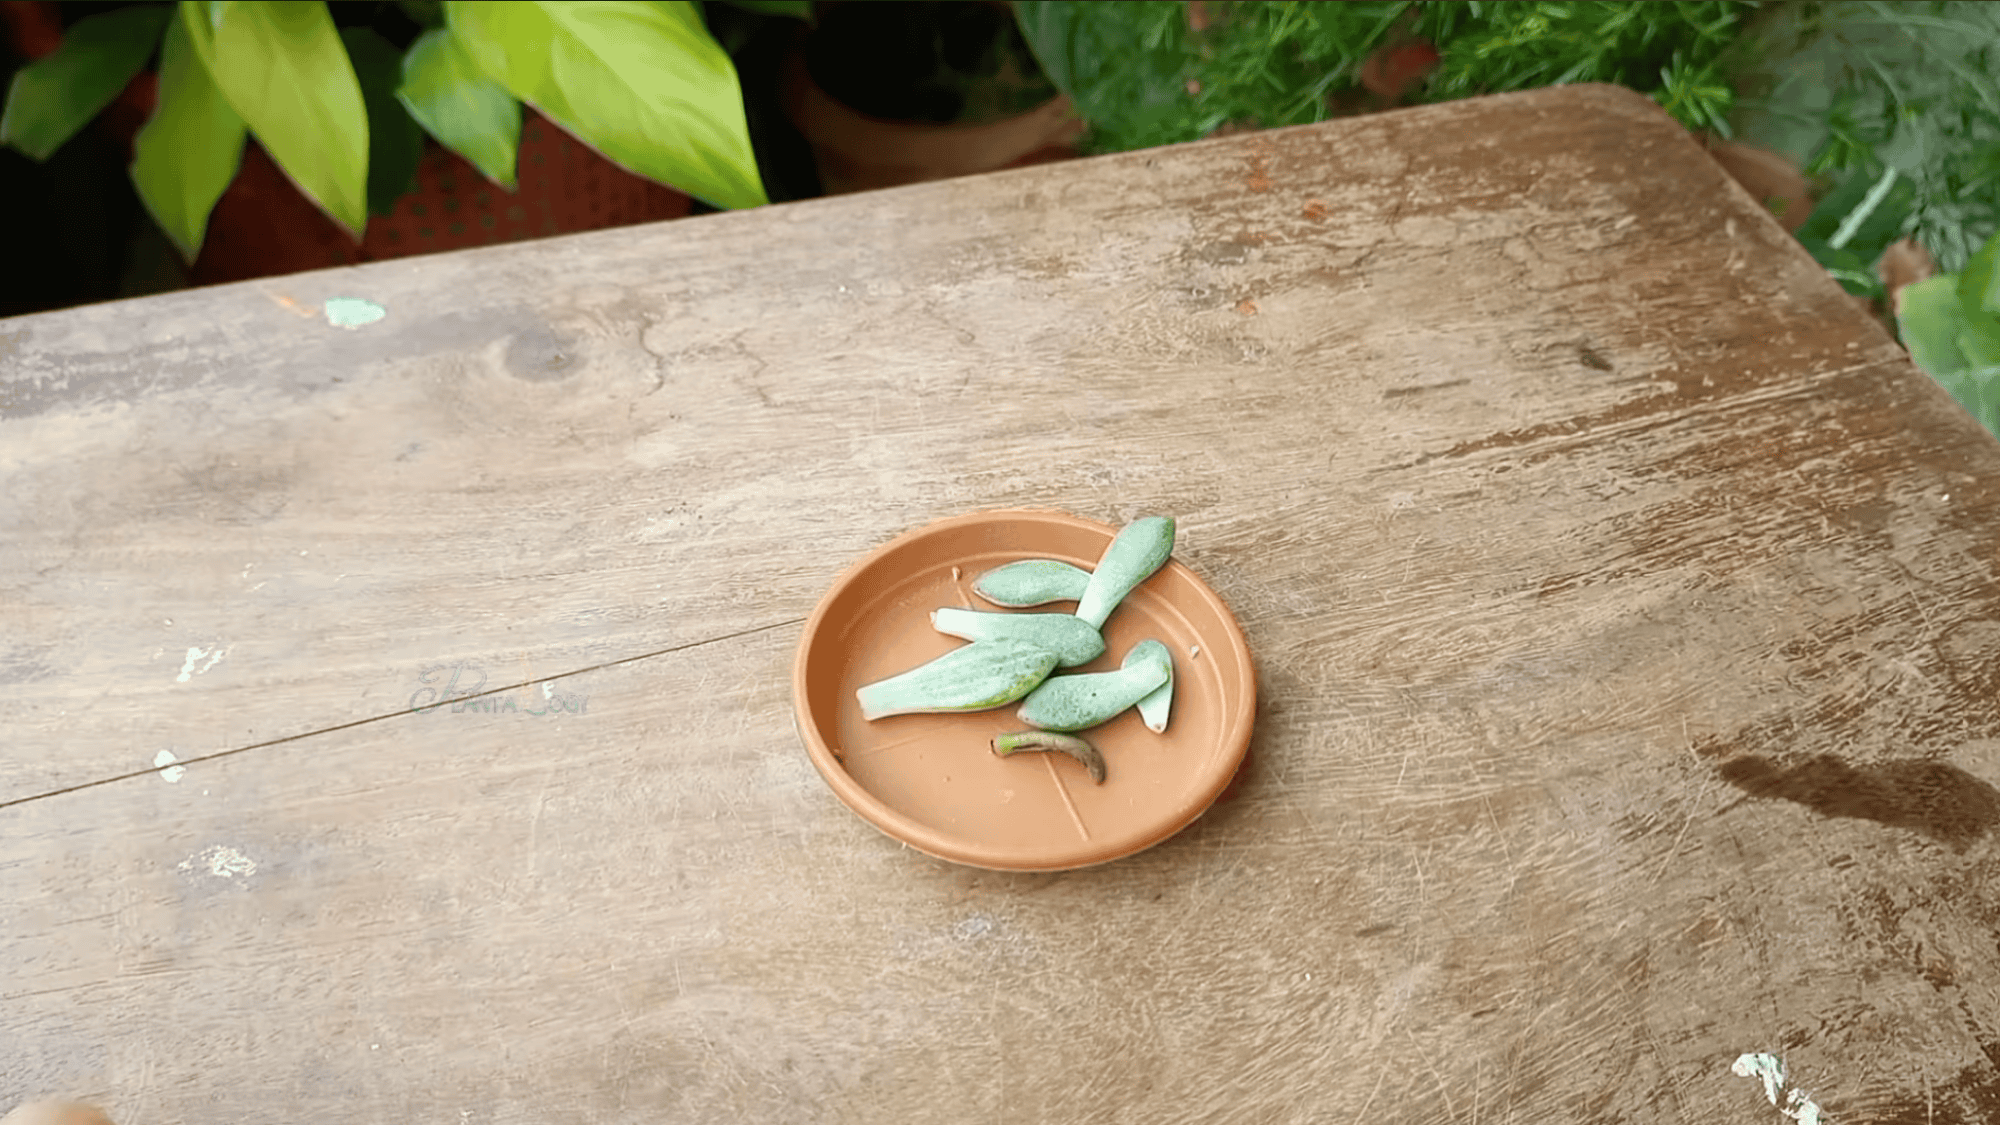
Once your leaves are off the plant, do not rush to put them in soil. Lay them out on a dry surface in a bright spot away from direct sun.
The cut end needs one to two days to dry out and form a protective layer. This layer stops moisture from entering the wound and causing rot.
Skipping this step is one of the main reasons leaf propagation fails. Be patient here. Two days is a small wait for a much better result.
Step 3: Prepare Soil Mix
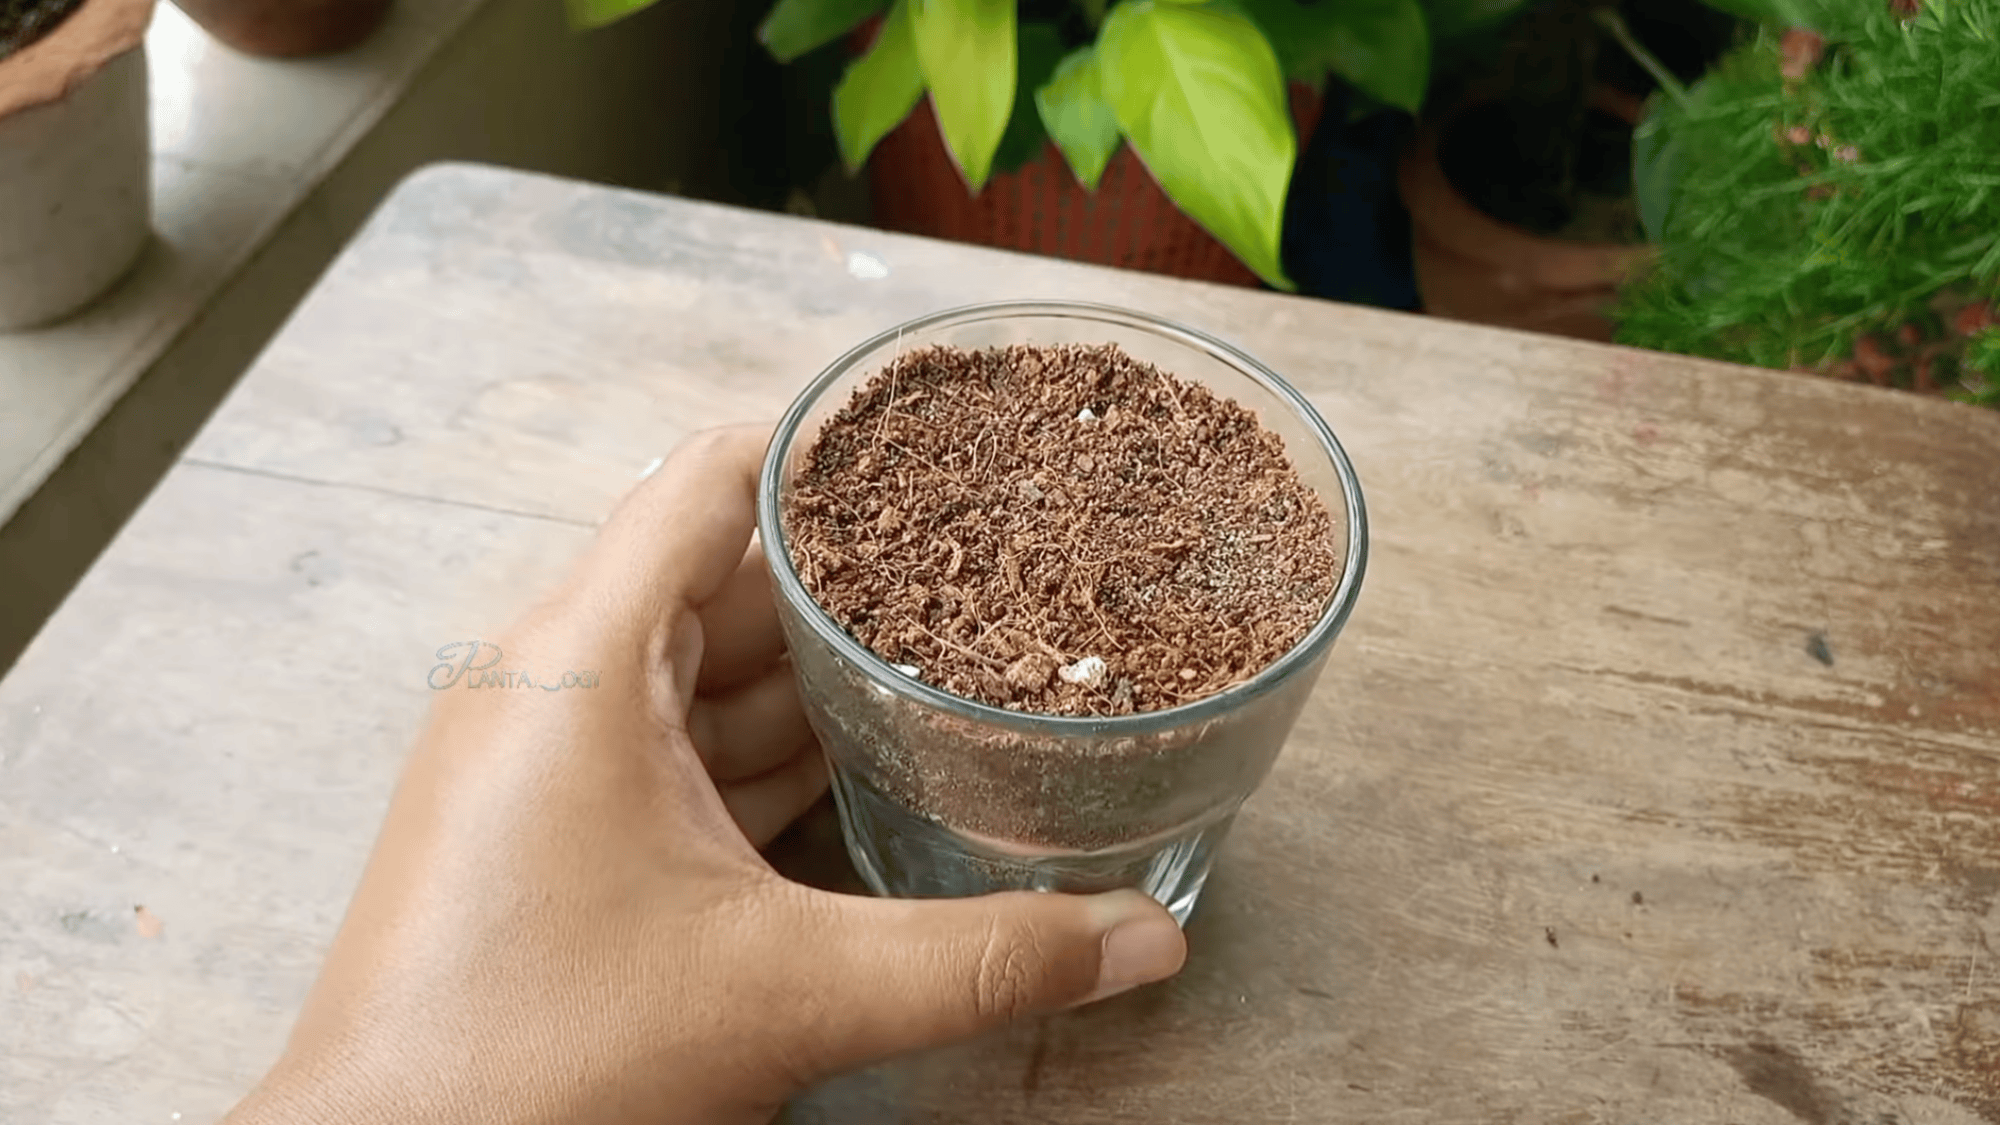
Succulents need soil that drains fast. A mix of sand and coco peat works well because it holds just enough moisture without staying wet for too long.
Fill a shallow container or tray with this mix and level it out. Do not use regular potting soil on its own. It holds too much water, which can cause the leaves to rot before roots can form.
A shallow container also makes it easier to lay multiple leaves flat without them overlapping.
Step 4: Place Leaves on Soil

Once the ends have calloused over, lay each leaf flat on top of the soil mix. The base of the leaf should be in contact with or very close to the soil surface.
Do not press them in or bury them. Roots will emerge naturally and work their way into the soil. Space the leaves out so they are not crowded.
Giving each one a little room makes it easier to check on progress and move individual babies later without disturbing the others.
Step 5: Water Lightly

Use a spray bottle to mist the soil surface every couple of days. The soil should feel slightly damp when you touch it, not wet.
Too much water at this stage will rot the leaves before roots have a chance to form. Too little will dry out the tiny roots as soon as they appear. Find the middle ground.
If the soil still feels moist from the last misting, skip that day and check again tomorrow. Light and consistent moisture is all the leaves need right now.
Step 6: Provide Light & Wait

Place the tray in a spot that gets bright, indirect light throughout the day. A windowsill that does not get harsh afternoon sun works well.
Direct sun can dry out the soil too fast and stress the developing roots. Within a few weeks, you should start seeing small pink or white roots pushing out from the base of each leaf.
Tiny baby plants, called pups, will follow. Do not move or disturb the leaves during this time. Just mist, observe, and let the process run its course.
Step 7: Transplant Babies
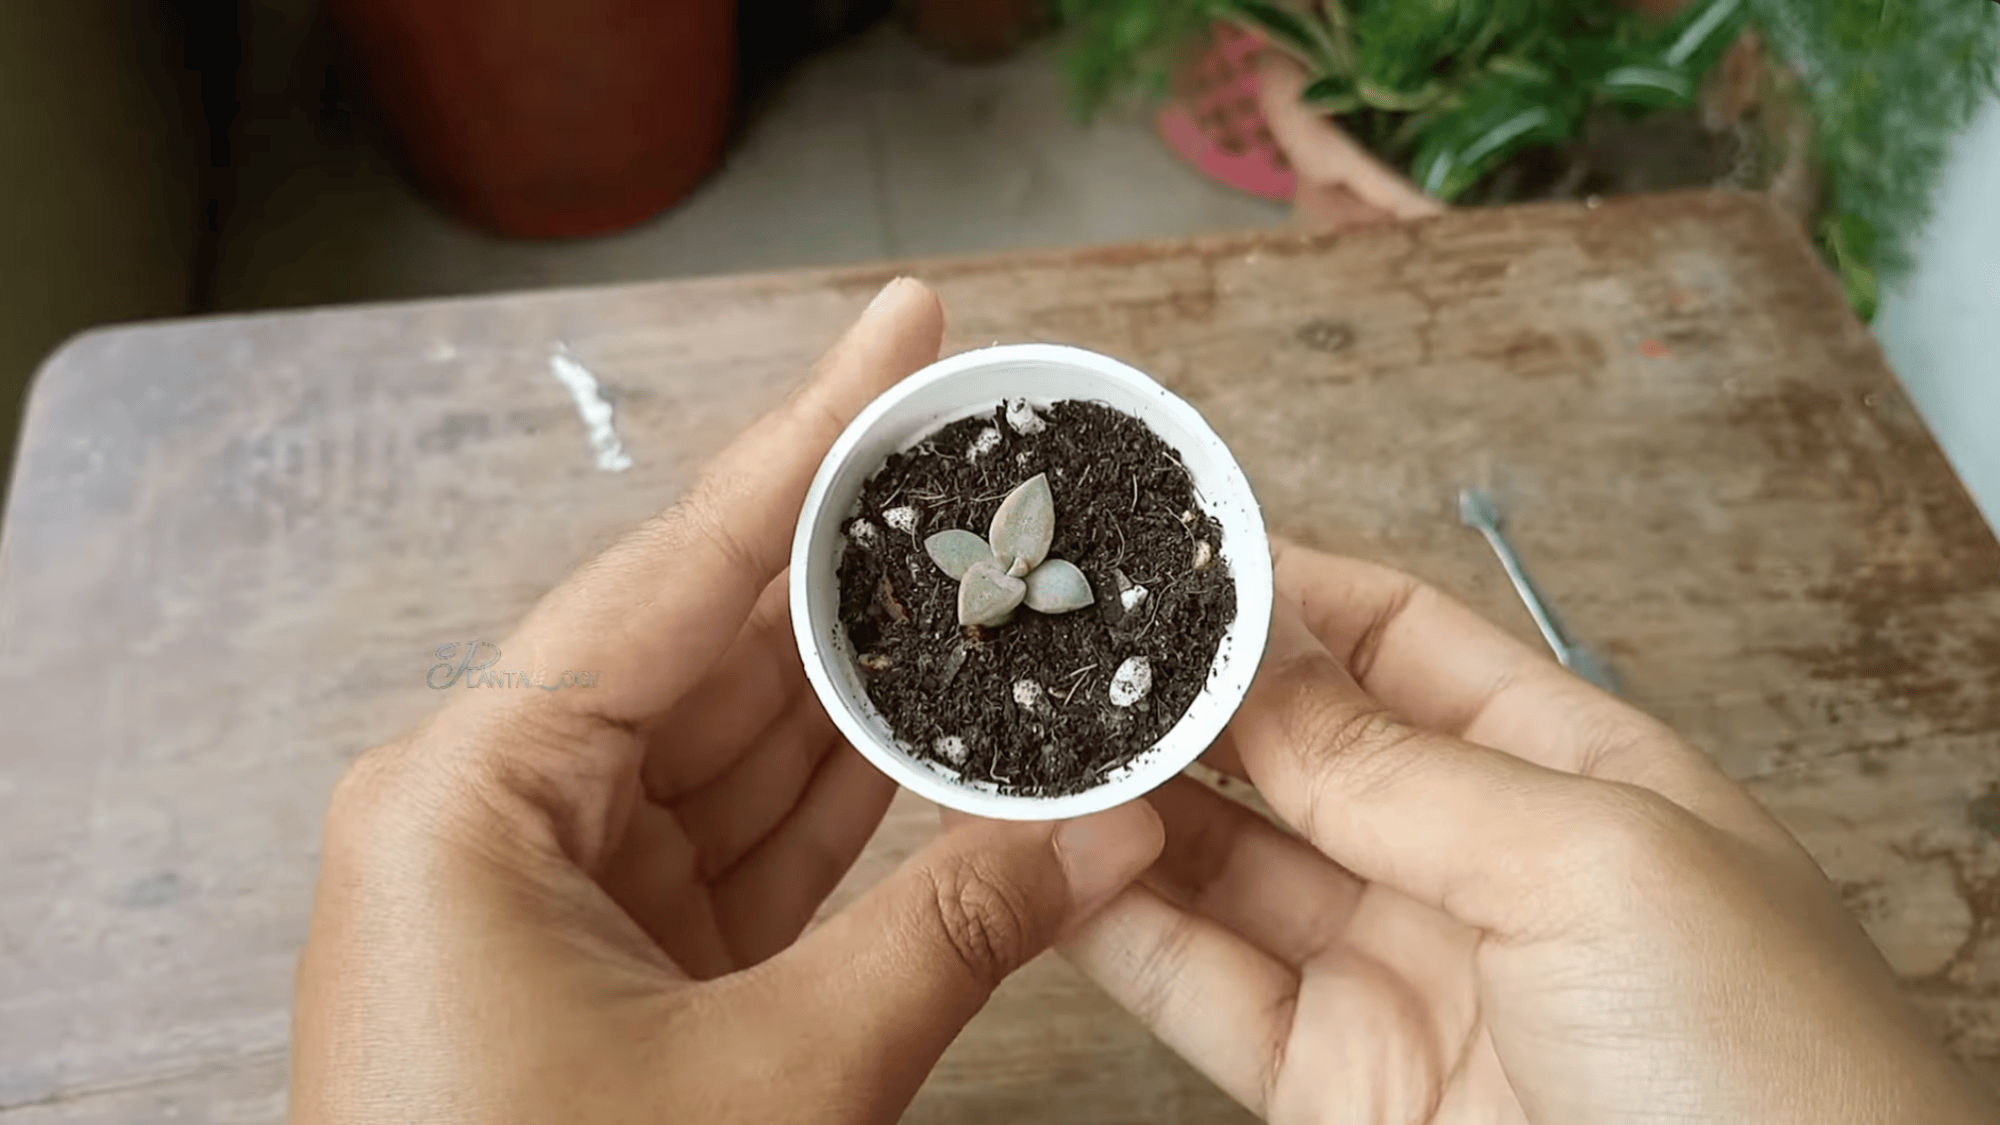
Once the pups are large enough to handle and the original leaf has fully shriveled and dried up, it is time to move them.
Gently lift each baby plant and place it into its own small pot filled with the same sand and coco peat mix. Press the roots lightly into the soil.
Water lightly and place in bright, indirect light. The original leaf has done its job by this point. Remove it if it has not already fallen away on its own.
This tutorial is based on a helpful video by Garden Answer. You can check out the original video on their YouTube channel here or watch it below.
Which Method Should You Choose?
It depends on how quickly you want results and how much experience you have.
If you are just starting out, go with leaf propagation. It is simple, low-risk, and you can try multiple leaves at once. The downside is that it takes longer to see a full plant.
If you want faster results, stem cuttings are the better option. They root more quickly and have a higher success rate. Most gardeners prefer this method once they feel comfortable with the basics.
A good rule of thumb: start with leaves to learn the process, then move to stem cuttings when you are ready for faster growth. Both methods are worth trying at least once. You might be surprised by how well your plants do.
Either way, you really cannot go wrong.
Best Succulents for Propagation
Not all succulents propagate equally well. Some root faster, some are more forgiving, and some are just better suited for beginners. Here are the best ones to start with.
| Succulent | Method | Growth Speed | Difficulty | Best For |
|---|---|---|---|---|
| Echeveria | Leaves & cuttings | Moderate | Very easy | Beginners |
| Sedum | Leaves & cuttings | Fast | Very easy | Beginners |
| Haworthia | Cuttings | Moderate | Easy | Beginners |
| Aloe Vera | Cuttings | Moderate | Easy | Fast results |
| Graptopetalum | Leaves & cuttings | Fast | Very easy | Beginners |
| Crassula (Jade Plant) | Cuttings | Fast | Easy | Fast results |
| Kalanchoe | Leaves & cuttings | Fast | Very easy | Beginners |
| Aeonium | Cuttings | Moderate | Easy | Fast results |
Echeveria and Sedum are the top picks for beginners. They root easily, grow steadily, and are widely available at most garden stores.
Best Time to Propagate Succulents
Timing matters more than most people think. Getting it right gives your cuttings and leaves the best chance of rooting successfully.
- Growing Season vs Dormant Season: Spring and summer are the best times to propagate succulents. This is when plants are actively growing, and roots develop much faster. Avoid propagating in winter, when most succulents go dormant, and growth slows significantly.
- Indoor vs Outdoor Timing: If you are growing indoors, you have more flexibility since temperature and light are easier to control. Outdoor propagation works best from March through September when conditions are naturally warm and bright.
- Climate Considerations: In warmer climates, you can propagate almost year-round with great results. In cooler regions, stick to late spring and early summer to give your new plants enough time to establish before temperatures drop.
How Long Does Succulent Propagation Take?
Patience is key with succulent propagation. Results don’t happen overnight, but they are worth the wait. The time it takes depends on the method you use and the quality of your growing conditions.
Leaf propagation is slower. Stem cuttings are faster. Both will work if you give them the right light, warmth, and a light watering routine.
Here is a simple breakdown to give you a clear idea of what to expect.
| Stage | Leaf Propagation | Stem Cuttings |
|---|---|---|
| Roots appear | 2–3 weeks | 1–2 weeks |
| New growth visible | 4–8 weeks | 3–5 weeks |
| Full plant established | 3–4 months | 6–8 weeks |
| Signs of healthy growth | Pink or white roots, firm leaf | New leaves, firm cutting |
| When to water | After the roots appear | After 1 week of planting |
Common Mistakes to Avoid
Even simple tasks can go wrong without the right information. Avoiding these four mistakes will save you a lot of time and frustration.
- Overwatering: Too much water is the number one reason succulent propagation fails. Water only after roots have started to form.
- Using Damaged Leaves: A clean, healthy leaf gives you the best chance of success. Broken, bruised, or partially torn leaves rarely root well.
- Lack of Sunlight: Succulents need bright, indirect light to grow. Keeping them in a dark or shaded spot significantly slows root development.
- Planting Too Early: Let your leaf or cutting dry out and callus before placing it in soil. Planting too soon invites rot and kills the cutting before it even starts.
How to Speed Up Succulent Growth?
Growing succulents faster comes down to a few basic habits. None of them is complicated.
Light is the biggest factor. Place your plants near a bright window and make sure they get at least 6 hours of indirect sunlight each day. Low light slows everything down.
Watering matters just as much. Only water when the soil is completely dry. Succulents do not need much water, and giving them too much does more harm than good.
Temperature plays a role, too. Keep your plants in a warm spot, somewhere between 60°F and 80°F. Avoid cold windowsills and air vents.
Finally, always start with a healthy parent plant. Strong cuttings and leaves root faster and grow into better plants.
Bottom Line
Succulent propagation is one of the most rewarding things you can do as a plant owner.
Even if you go with leaf propagation or stem cuttings, the process comes down to a few basics: healthy leaves, the right soil, good light, and patience with watering.
Leaf propagation works well if you are just starting out and want to try multiple plants at once. Stem cuttings give you faster results and a higher success rate.
Either way, one healthy plant can turn into many with very little cost or effort. Spring and summer give you the best conditions, but with the right setup indoors, you can get started almost any time of year.
The results are worth the wait.
Tried propagating succulents at home? Drop a comment below and share how it went.
Frequently Asked Questions
Why Are My Leaves Not Growing?
The leaf may not have been removed cleanly. Always twist the leaf off gently, making sure the base is fully intact.
Can I Propagate from Broken Leaves?
A partially torn or damaged leaf rarely roots successfully. Always use a clean, healthy leaf for the best results.
When to Repot New Plants?
Repot when the new plant has at least 3 to 4 small leaves, and the roots look firm and established.