

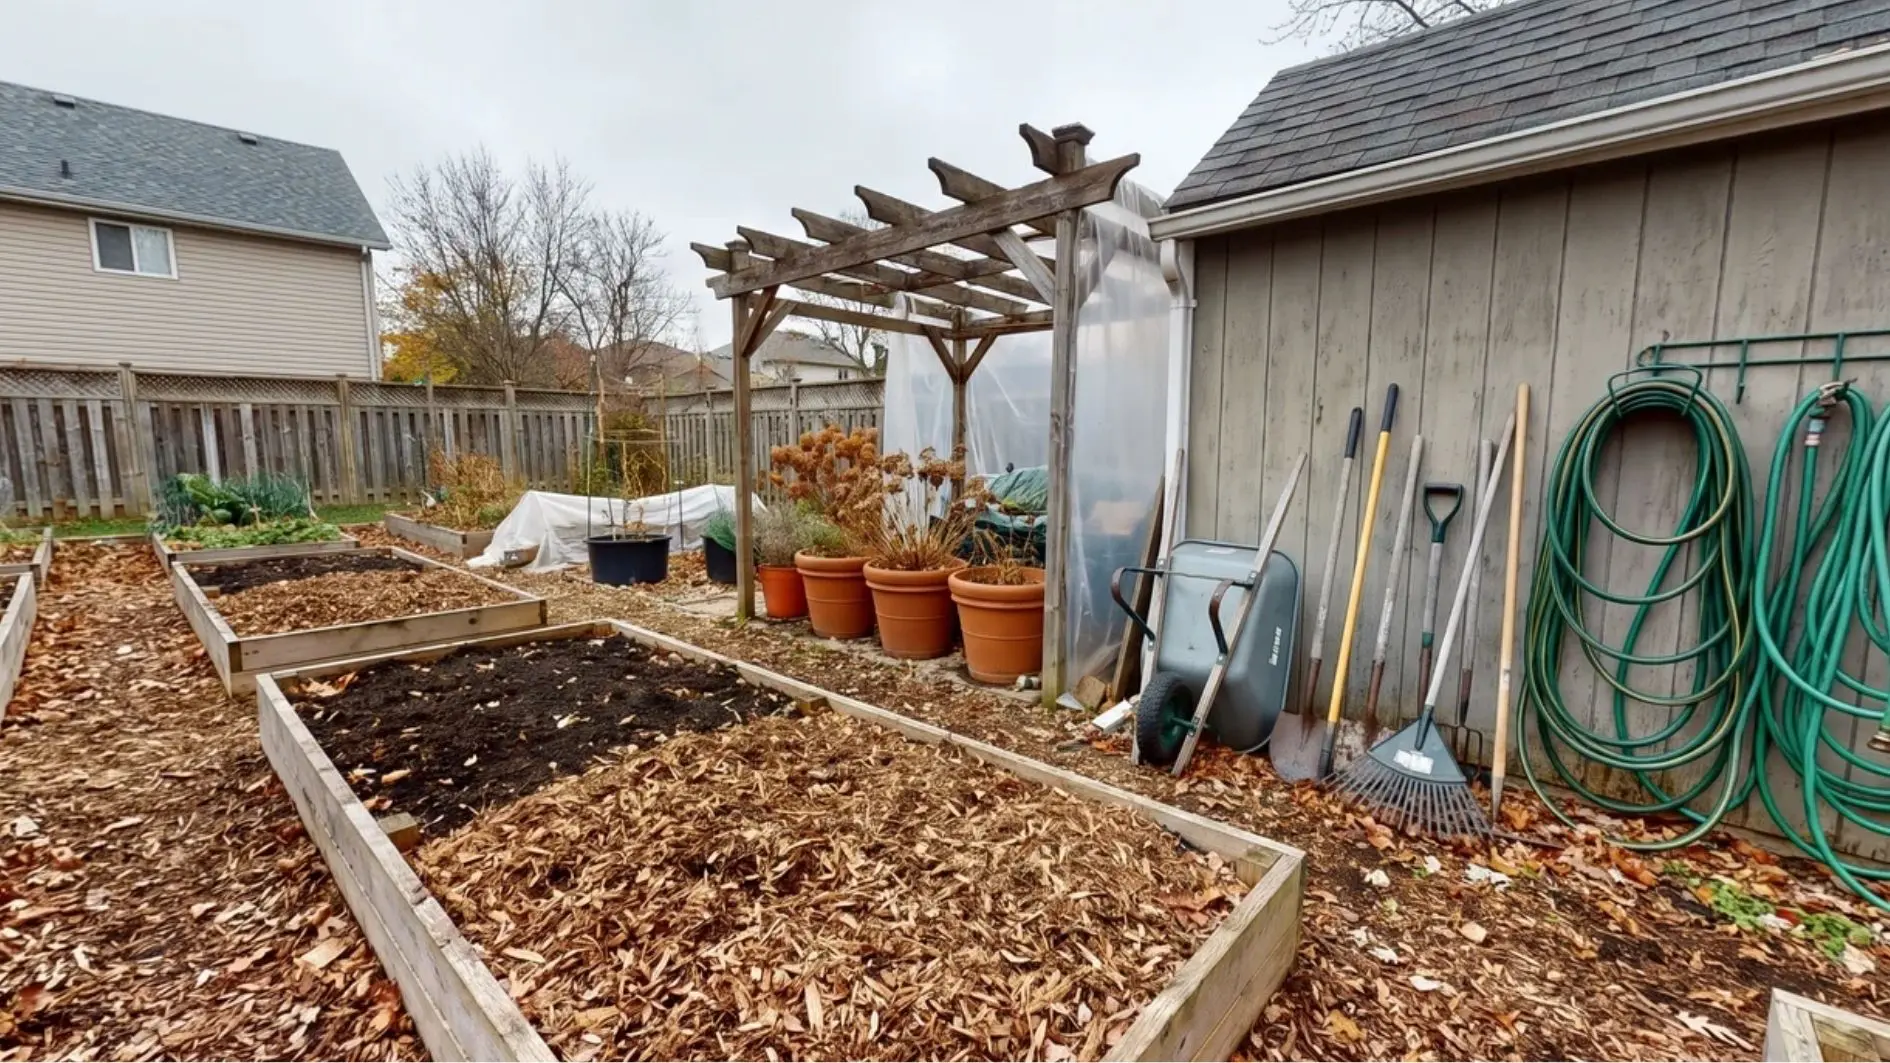
Many gardeners wait until the first freeze arrives before thinking about winter prep, only to find damaged plants, cracked hoses, and extra work waiting in spring. I’ve seen this happen often because winter damage usually shows up after the window for easy fixes has already passed.
If you want your garden to come back healthier next season, timing matters more than doing a long list of chores. Some tasks need to happen before the ground freezes, while others are best saved for later.
Here are 11 practical steps to winterize your garden, protect your plants, prepare your soil, and avoid the cold-weather mistakes that create bigger problems when spring arrives.
When Should You Winterize Your Garden?
A lot of gardeners treat winterizing as one task with one deadline. In reality, it splits into two distinct phases, and mixing them up is exactly how you end up with heaved perennials and a cracked drip line you forgot about until March.
The window opens after your final harvest and your last flush of annuals. It closes when the ground freezes solid. Once the soil is locked, you can no longer amend it, plant cover crops, or safely dig up tender bulbs.
The Temperature Trigger that Tells You It’s Time
The trigger that actually matters is a hard freeze: sustained temperatures at or below 28°F for at least four consecutive hours. A light frost at 32°F nips tender leaves and signals cold is coming. A hard freeze is the real deadline.
Here is how the two phases break down:
Phase 1 tasks (before the ground freezes):
- Remove spent annuals, dead vegetable plants, and weeds
- Add compost to beds while soil is still open
- Lift frost-tender bulbs like dahlias and gladioli
- Plant cover crops or cover bare soil
- Drain irrigation lines and store hoses
Phase 2 tasks (after the ground freezes):
- Apply insulating mulch around perennial root zones
- Final check on container plants moved to shelter
The hard freeze is the dividing line. Do Phase 1 tasks before it, Phase 2 tasks after it.
Why Timing Your Mulch Application Matters
The most common mistake is mulching too early. Applying straw before the ground freezes traps heat and delays freezing, increasing freeze-thaw cycles that can heave shallow roots.
The mulch goes on to lock the frozen state in place, not to prevent freezing from happening.
Once the two phases are clear, the to-do list is straightforward. Here are every step, in the order you should actually do them.
How to Winterize Your Garden: The Easy Way
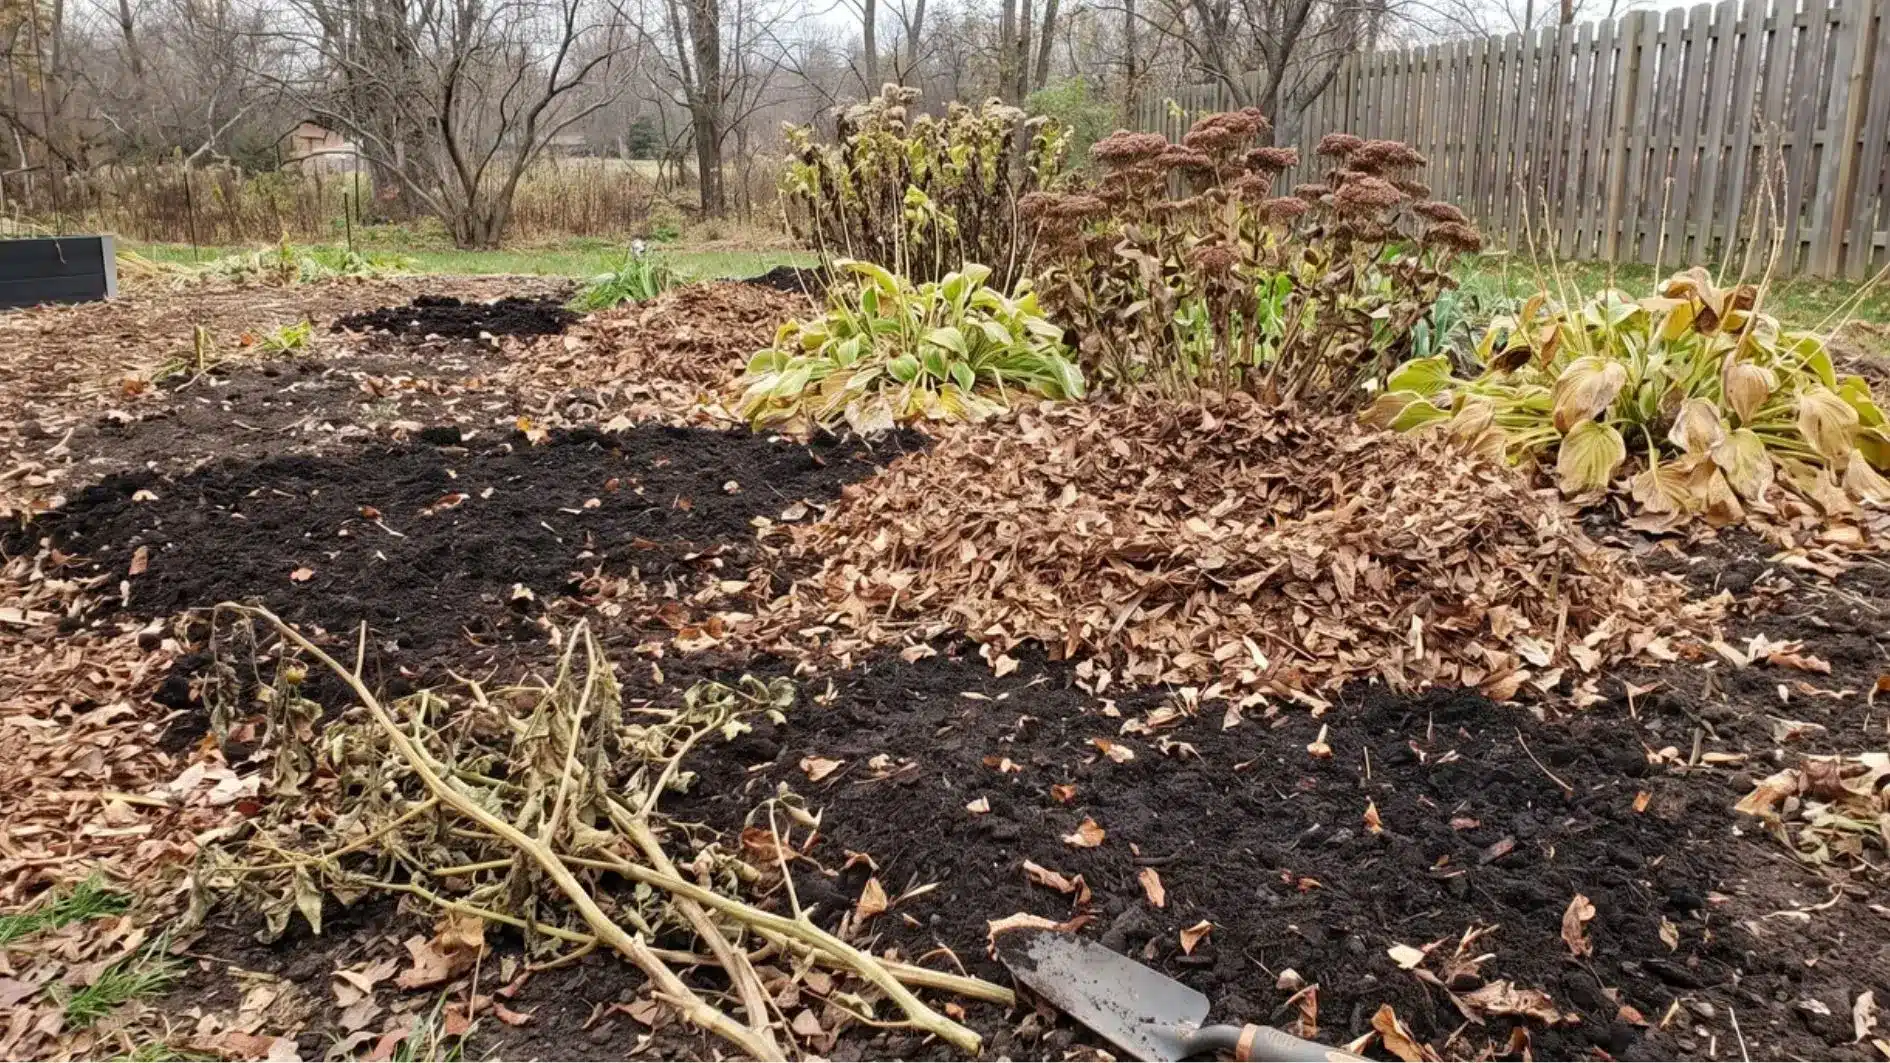
Most advice throws tasks at you in no particular order, and that is a real problem. Some steps only work on unfrozen soil, and others only make sense after the ground has locked up.
Tip 1: Remove Spent Annuals and Vegetable Plants After Final Harvest
Pull spent annuals and dead vegetable plants after your final harvest. Remove them root and all to reduce places where pests and fungal diseases can overwinter.
Healthy plant material can be chopped and left on the soil as light mulch or added to compost. Diseased plants with powdery mildew, early blight, or black spot should be bagged and trashed, never composted.
| Plant condition | What to do |
|---|---|
| Healthy, no disease signs | Chop and drop, or compost |
| Diseased (spots, mold, rot, wilt) | Bag and trash, never compost |
| Hollow-stemmed perennials | Leave standing, covered in Tip 3 |
Tip 2: Pull Weeds Before They Set Seed
Weeds left standing through winter drop seeds into the soil before the ground freezes. Those seeds sit dormant all season and germinate the moment soil temperatures tick back up in spring. One overlooked patch of chickweed can scatter hundreds of seeds per plant.
Prioritize anything that has flowered or is close to setting seed. Pull now while the soil still has give, because frozen soil snaps roots off below the surface instead of letting them come out whole.
Tip 3: Decide Which Perennials to Cut Back and Which to Leave
The blanket advice to cut all perennials to the ground ignores what those plants are actively doing once the growing season ends.
Perennials with hollow or pithy stems such as coneflowers, black-eyed Susans, and ornamental grasses provide overwintering sites for native solitary bees.
Many of North America’s 4,000+ native bee species nest in hollow stems rather than underground. Coneflower and rudbeckia seedheads also feed goldfinches and chickadees when food is scarce.
Here is the decision framework:
| Perennial type | Fall action | Reason |
|---|---|---|
| Hollow or pithy stems | Leave standing | Native bee habitat and bird food |
| Disease-prone (phlox, bee balm) | Cut to ground level | Stops pathogen overwintering |
| Newly planted or marginally hardy | Leave stems, mulch later | Stems insulate the crown |
Come late February, cut standing stems to about 12 inches and leave the debris on the ground for two more weeks so late-emerging insects can get out.
Tip 4: Add Compost to Beds While Soil Is Still Open
Spread a 1 to 2-inch layer of aged compost or well-rotted manure across garden beds before the ground freezes. Winter moisture and microbial activity help move nutrients into the soil for spring growth.
Do not apply compost on frozen ground. It stays on the surface and can wash away before reaching the soil. Avoid fresh material too, as it can tie up nitrogen during decomposition.
Tip 5: Plant a Cover Crop or Protect Bare Soil
One overlooked part of how to winterize garden is protecting bare soil over winter. Cover crops like winter rye or clover hold the soil matrix in place and add organic matter when turned under in spring.
If the planting window has closed because soil temperatures have dropped below 40°F, cover beds with flattened cardboard weighted by a thin layer of compost.
Cardboard suppresses weeds, stops erosion, and breaks down completely by spring without any removal required.
Tip 6: Lift and Store Frost-Tender Bulbs Before the First Frost
Dahlias, gladioli, cannas, and caladiums cannot survive hard freezes in colder zones. Lift them before the first frost, not after, to prevent damage.
Let bulbs and tubers cure for one to two weeks in a dry, ventilated area before storage. Store them at 40 to 50°F in a dark, dry place and remove any soft pieces monthly.
Tip 7: Mulch Perennial Root Zones After the Ground Freezes
Most gardeners mulch too early, and the timing error costs them plants they thought were protected. The purpose of winter mulch is to keep the ground consistently frozen, not to prevent it from freezing.
Mulch applied before the ground has frozen traps residual soil heat, delays freezing, and extends the freeze-thaw cycling that heaves shallow roots right out of the soil.
Wait until the top inch of soil has frozen solid, then apply 3 to 4 inches of straw or shredded leaves around newly planted perennials, roses, and marginally hardy species.
Tip 8: Prune Trees and Shrubs Correctly or Not at All
Late fall pruning can trigger new growth that does not have time to harden before cold weather. That soft growth is more likely to suffer frost damage.
Remove dead or dangerous branches anytime. Save spring-flowering shrubs like forsythia, lilac, and azalea for pruning after they bloom.
Tip 9: Drain Hoses, Irrigation Lines, and Outdoor Faucets
Water left in hoses, drip lines, or faucet connectors expands when it freezes and cracks the material from the inside out. Disconnect hoses, drain them fully, and store them coiled in a garage or shed.
In-ground drip systems need compressed air at around 50 PSI run from the farthest emitter back toward the valve to clear residual water from lateral lines.
Outdoor faucets with a stop-and-waste valve need to be shut off at the valve itself, not just at the handle.
Tip 10: Clean, Sharpen, and Store Hand Tools
Tools stored with soil on the metal will rust, and rust pits the metal underneath rather than just sitting on the surface. Scrub all metal surfaces, let them dry fully, then wipe with a light coat of vegetable or linseed oil.
Sharpen hoe blades, spades, and loppers now rather than in spring. Ten minutes with a file in November saves real frustration in April when planting urgency is high and patience is low.
Tip 11: Move or Insulate Container Plants
Container plants face colder conditions because their roots lack the insulation of surrounding soil. A plant hardy in the ground may struggle when grown in a pot.
Move containers into an unheated garage or shed when possible. For larger pots, place them against a south-facing wall and wrap them with burlap or horticultural fleece.
Winter Garden Checklist Before the First Freeze
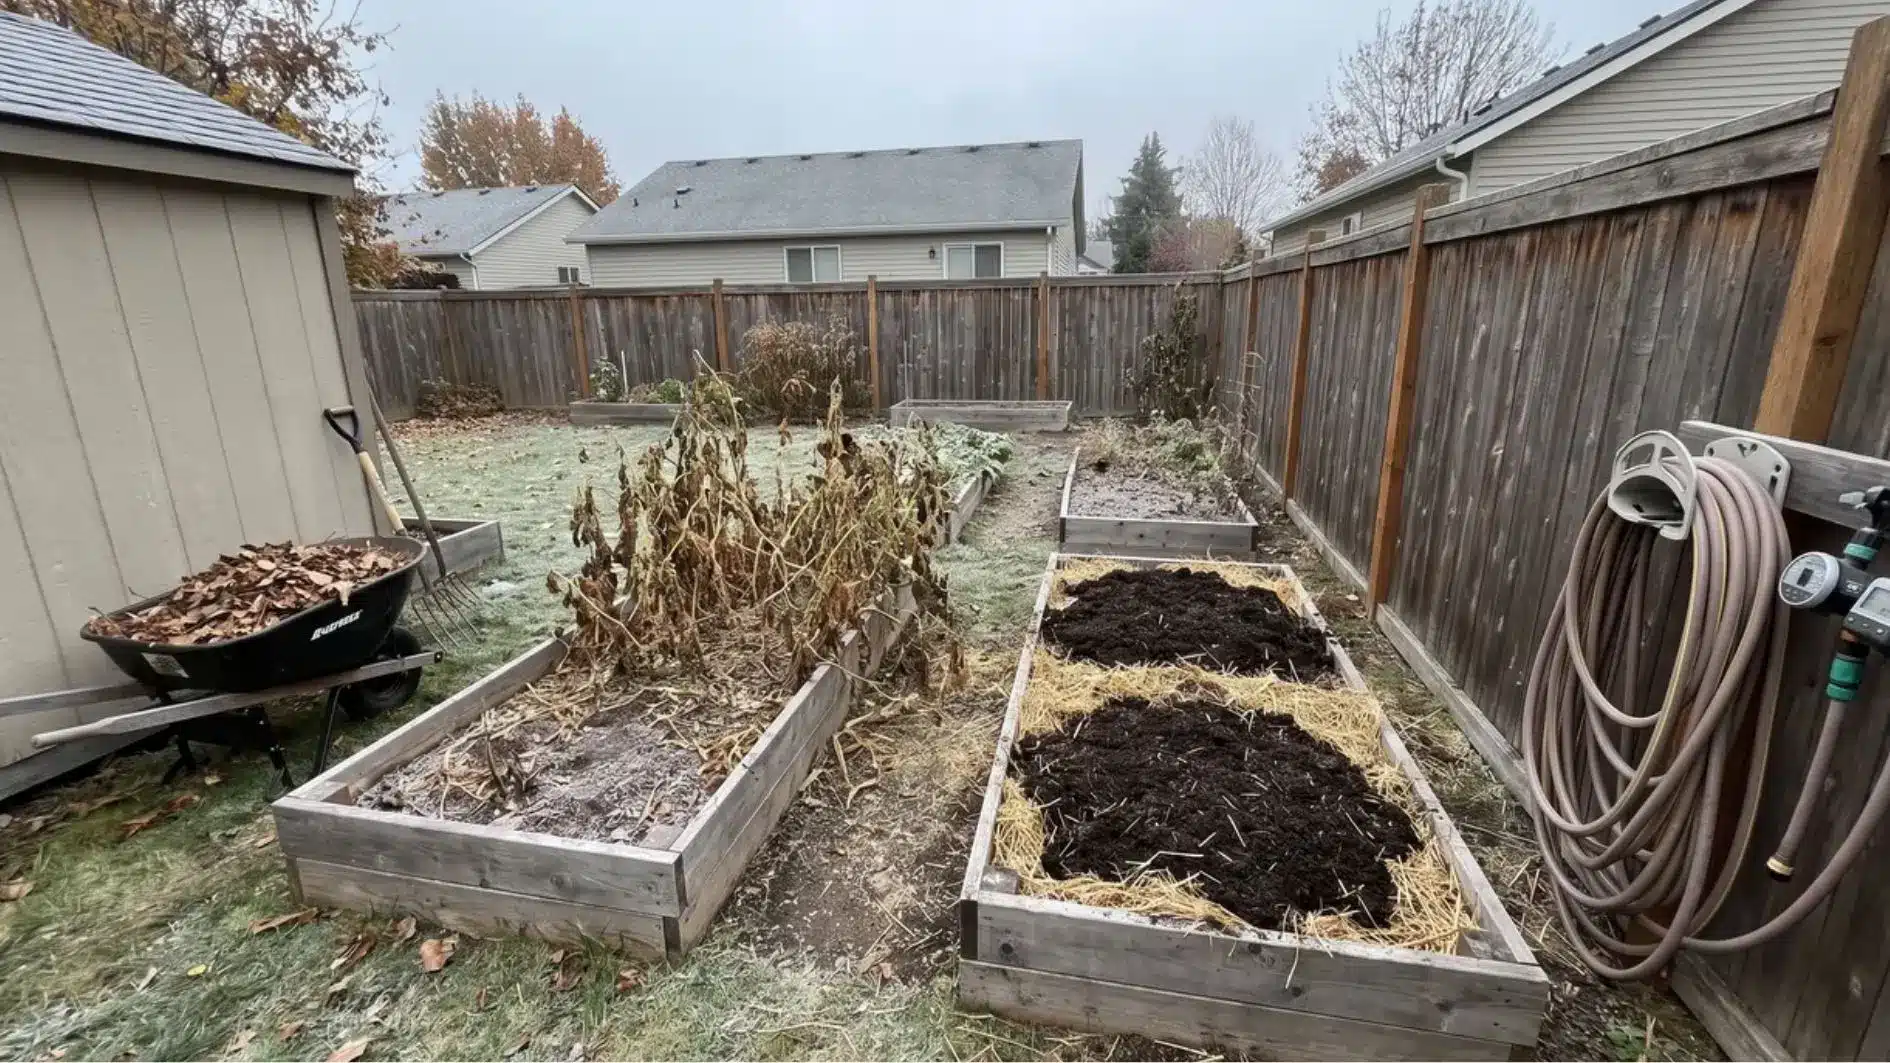
Preparing your garden for colder months helps protect plants, maintain soil health, and make spring gardening easier. Follow these winterization steps to keep your garden in good condition.
- Clear out dead plants, weeds, and diseased material to reduce future pest and disease problems while keeping garden beds clean.
- Add compost and mulch to protect soil nutrients, improve insulation, and prevent erosion caused by winter weather conditions.
- Cover exposed garden beds or plant cover crops like clover and winter rye to maintain soil structure throughout the colder months.
- Store gardening tools, drain irrigation systems, and protect outdoor equipment to prevent winter damage and extend their lifespan.
Taking these steps before winter arrives gives your garden a stronger foundation, so it can recover faster and grow healthier when spring returns.
Wrapping Up
Winterizing a garden is not about doing more work. It is about doing the right things in the right order before the season closes the window on you.
The two hours you spend on these steps in fall directly determine how much recovery work waits for you in spring. Skipped steps compound quickly and visibly.
A cleaned bed, amended soil, and properly timed mulch do not just survive winter. They come out of it in genuinely better shape than when they went in.
Your spring self will thank your fall self. That is the whole deal with winterizing, and now you have everything you need to do it right.
Frequently Asked Questions
What Should I Put on My Garden Beds Over Winter?
A 1–2 inch layer of compost applied before the ground freezes replenishes nutrients. Once the soil has frozen, add 3–4 inches of straw or shredded leaves as mulch to stabilize soil temperature and prevent freeze-thaw heaving. Avoid applying mulch before freezing; it delays freezing and extends root vulnerability.
Can I Just Leave Dead Plants in My Vegetable Garden Over Winter?
Healthy dead plant material can be chopped and left as surface mulch. Any plant that showed signs of disease during the season, like spots, mold, rot, or wilt, should be removed entirely and disposed of, not composted. Diseased debris allows pathogens and some pests to overwinter in the soil.
When Is It Too Late to Winterize My Garden?
Most winterizing tasks must happen before a hard freeze (sustained temperatures at or below 28°F / -2°C). Once the ground freezes solid, you can no longer amend soil, plant cover crops, or lift tender bulbs safely. The one task that should happen after freeze is applying insulating mulch around perennial root zones.
Do I Need to Do Anything to My Garden in Winter, or Can I Leave It until Spring?
The work done in fall directly determines how much recovery your garden needs in spring. Skipping winterization means more pest pressure, nutrient-depleted soil, heaved perennials, and cracked irrigation lines. The 2–3 hours spent on fall prep typically saves 6–8 hours of spring remediation and produces measurably healthier early growth.