


Streaky glass can make a freshly cleaned window look worse than it did before. I know how annoying it feels to spend time washing each pane, only to find cloudy marks once it dries.
Learning how to clean windows properly is less about costly products and more about using the right method. You need a simple solution, clean tools, and a plan that stops dirt from spreading.
I have put together the practical steps that make the job easier.
Here, you learn how to prepare the frame, wash the glass, handle a squeegee, dry the edges, and prevent common streaks. These small changes can help you get clear results that last longer.
Why Window-Cleaning Technique Matters
Window glass can look cloudy even after the dirt is gone. Soap residue, fast drying, and dirty water often create the marks left behind. Cleaning the frames after washing the glass can also move dust back onto a finished pane.
A better method starts with dry dusting, followed by washing, squeegeeing, and edge drying. This order follows the same top-to-bottom approach used in a practical whole-home cleaning checklist.
Each stage removes a different type of mess. The squeegee clears the main surface, while a clean microfiber cloth handles the narrow areas the blade cannot reach.
Timing matters too. Glass that is hot from direct sunlight may dry before the cleaning solution can be removed, leaving visible lines and spots
What You Need Before You Start
A good window-cleaning setup begins before the glass gets wet. Gather your supplies, choose the right solution, and plan to work when the glass will not dry too quickly.
| Tools | Materials |
|---|---|
| Squeegee | Clean water |
| Window mop or soft sponge | Mild dish soap |
| Microfiber cloths | White vinegar |
| Bucket | Spray bottle |
| Dry detailing towel | Protective towel for the sill |
Picking Your Cleaning Solution
Choose your solution based on what is sitting on the glass. Mild dish soap works best for regular dirt, fingerprints, grease, pollen, and bug marks because it breaks down oily buildup.
Vinegar is more useful when the glass has light mineral deposits or cloudy hard-water marks. A diluted vinegar method helps loosen that chalky film, but it may not remove heavy grease as well as soap. Avoid mixing large amounts of both, since too much product can leave residue.
Timing and Tools You’ll Need
Pick a cloudy, mild day or work when the window is shaded. Direct sunlight heats the glass and dries water before you can remove it properly.
Window washing also fits naturally into a seasonal cleaning routine when tracks, screens, and other overlooked areas need attention.
Keep several clean cloths nearby so you always have one dry towel for edges and final checks. Place a towel below the window to catch drips and protect the sill or floor.
How to Clean Windows: Step-by-Step Guide
Window cleaning depends more on the order of the steps than on using expensive products. Working carefully helps prevent dirty water, missed edges, and marks from being left behind.
The following process covers how to clean the frame, wash the glass, use a squeegee, and finish the edges for a clear result.
Step 1: Wipe the Window Frames

Start by wiping the window frame, corners, and sill with a dry microfiber cloth. I always remove dust, pollen, and cobwebs first because they turn muddy once water reaches them.
Work from the top down so debris doesn’t fall onto areas you’ve already cleaned. Pay close attention to grooves and edges, where buildup often hides.
This quick pass keeps dirt from spreading across the glass during the washing stage.
Step 2: Scrub the Glass

Dip a window mop or soft sponge into your prepared solution, then squeeze out enough liquid to prevent dripping. I like to scrub the entire pane with gentle, overlapping strokes, giving extra attention to fingerprints, bug marks, and greasy spots.
Keep the glass evenly wet while you work. Avoid pressing too hard, especially near seals or older frames, because steady movement usually loosens grime without risking damage to the window.
Step 3: Remove Water With a Squeegee
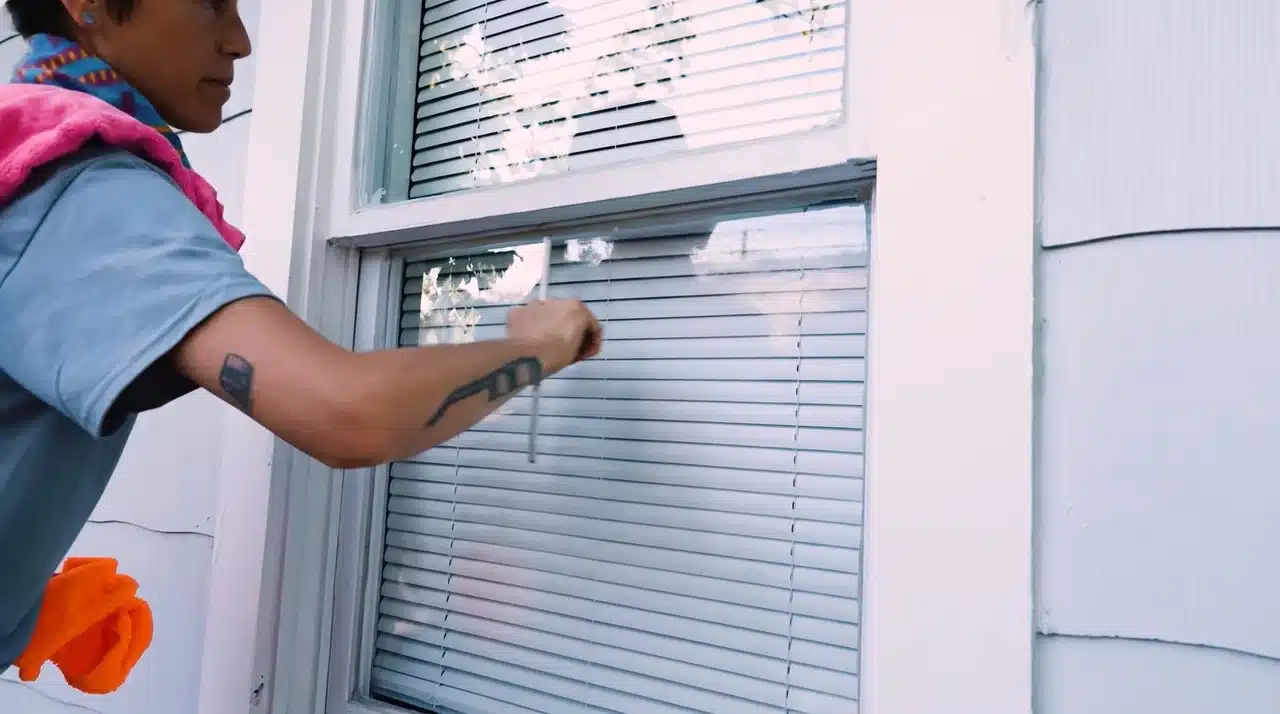
Place the squeegee at the upper corner of the wet glass and pull it steadily across the pane. I wipe the rubber blade with a dry towel after every pass so dirty water does not return to the surface.
Slightly overlap each stroke to avoid leaving narrow wet lines behind. Maintain light, even pressure throughout the movement. Continue downward until you have removed nearly all visible water from the glass.
Step 4: Dry the Bottom Frame
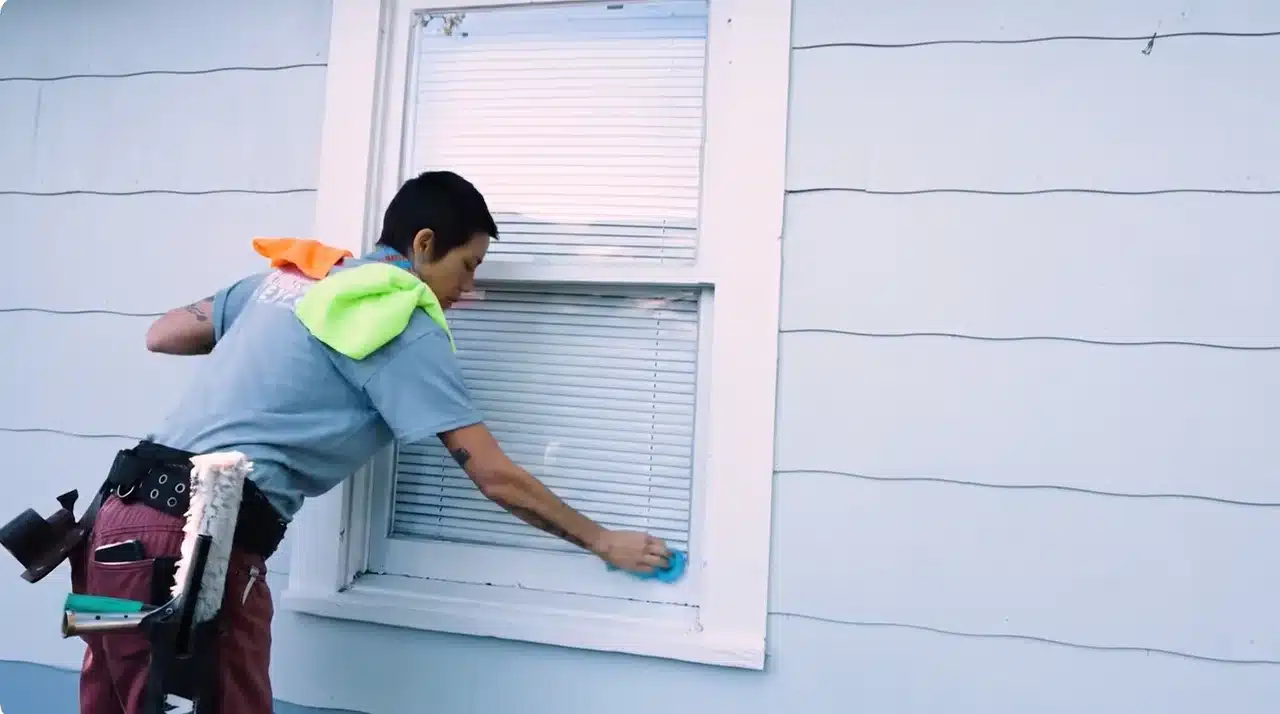
Use a clean cloth to wipe the bottom frame and sill, where dirty water usually collects. I check the corners because moisture can sit there unnoticed and leave marks after drying.
Fold the towel as each section becomes damp so you always work with a cleaner surface. Do not rub the center of the glass again unless necessary. Focus on removing pooled water, loosened dirt, and residue around the frame.
Step 5: Wipe the Edges and Check the Glass
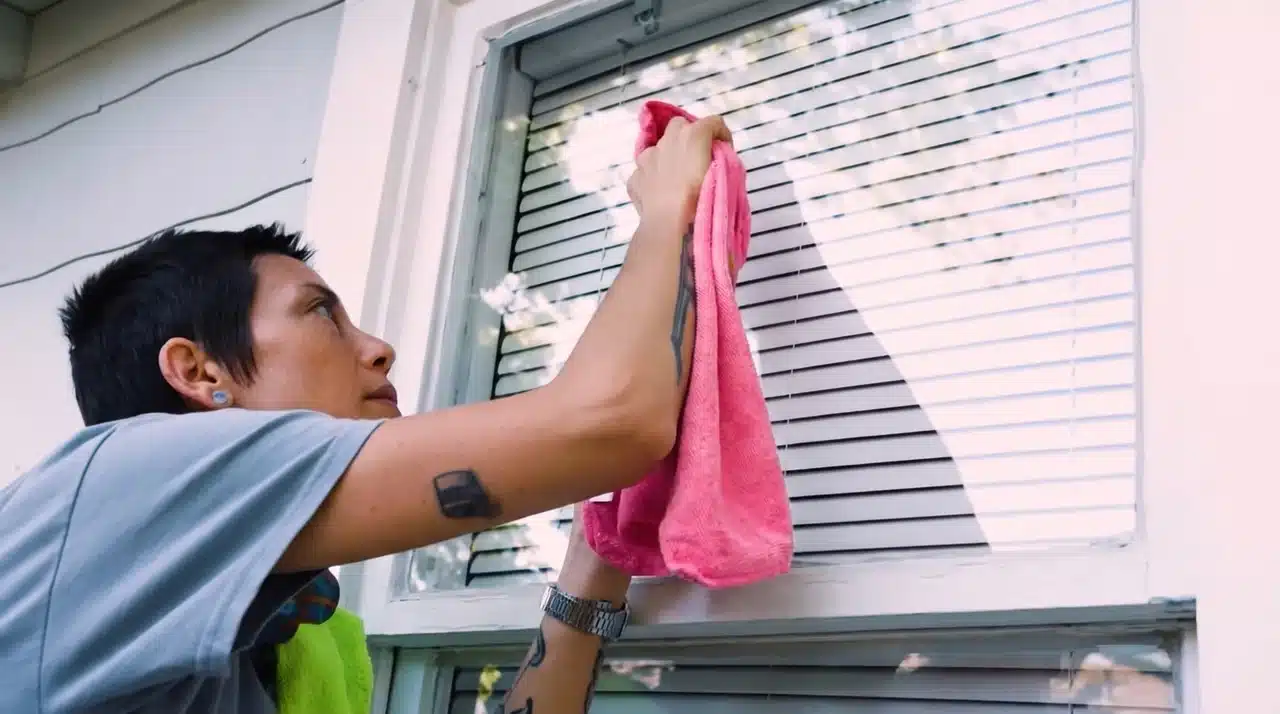
Finish by drying the outer edges of the glass with your cleanest microfiber towel. I look at the window from the side and from another light angle because faint streaks often hide when viewed straight ahead.
Touch up only the spots that need attention rather than wiping the whole pane again. Check the tracks, sill, and corners once more, then let any remaining moisture around the frame dry completely afterward.
Once you finish each step, take a final look at the glass, frames, and corners to make sure no water spots or streaks remain.
Regular window cleaning with the right technique helps prevent buildup and keeps your windows looking clear and well-maintained.
For a complete walkthrough of the process, check out the video tutorial below:
How to Tell When the Window Is Clean
Wait until the pane is fully dry before judging the result. Wet glass can hide streaks that appear several minutes later. Step back and view it from both inside and outside when possible, then change your viewing angle to catch fine lines in the light.
The frame and tracks also need a quick check. Run a clean finger or cloth along the track. A gritty surface means loose dirt remains and may move back onto the sill or glass. Look for trapped water in the bottom corners and around seals as well.
I use three signs before moving to the next window: the pane looks clear from more than one angle, the edges feel dry, and the tracks no longer feel gritty. These checks take seconds and reduce the chance of repeating the whole job later.
Common Mistakes That Cause Streaks
Even with the right tools, a few small habits can leave your windows looking cloudy or marked. Avoiding these mistakes helps your cleaning work show better results.
-
Using too much soap can leave a thin residue on the glass instead of creating a cleaner surface. A heavier solution does not always mean better results.
-
Excess soap makes it harder to remove water completely and can leave behind streaks, cloudy patches, or a sticky layer that attracts more dust.
-
Cleaning windows in direct sunlight can cause the water and soap mixture to dry too quickly. This leaves marks before you have time to wipe the glass properly.
-
Hot glass from sunlight can make streaks appear even after careful cleaning. Working during cooler parts of the day gives you more control.
Avoiding these simple mistakes helps your windows stay clearer and saves you from repeating the cleaning process. A little patience and the right technique make a noticeable difference.
Conclusion
Clear windows come from using simple tools in the right order. You need to dust the frame first, choose a solution that suits the buildup, and keep the glass wet while washing.
A clean squeegee removes most of the water, while a dry microfiber cloth handles the edges and corners.
I also recommend checking each pane from different angles after it dries, since faint streaks can hide in direct light.
Once you understand how to clean windows, the job becomes quicker and less frustrating. These steps help prevent residue, missed dirt, and repeated cleaning.
Try the method on one shaded window today, then share your results or read related cleaning tips.
Frequently Asked Questions
What is the best thing to clean windows with?
A mix of warm water and a small amount of dish soap works best for most windows. It cuts through dirt without leaving residue behind. If your glass has hard water spots or heavy grime, a vinegar and water solution handles that better than soap alone.
Is Windex or vinegar better for windows?
Vinegar mixed with water usually wins for streak-free results, especially on hard water spots. Windex works fine for light, everyday dirt. If your windows haven’t been cleaned in a while or sit near sprinklers, vinegar cuts through buildup that Windex struggles with.
How do you make your windows crystal clear?
Clean on a cloudy day so the solution doesn’t dry too fast. Use a squeegee instead of just wiping, and dry the blade after every pass. Check your work from an angle in the light before calling it done. That last step catches streaks you’d otherwise miss.
What not to use to clean windows?
Skip newspaper; it leaves ink residue on modern glass finishes. Avoid abrasive scrubbers or steel wool, since they can scratch the surface. Too much soap is another one to avoid, since it leaves a film that dries into streaks instead of rinsing clean.