

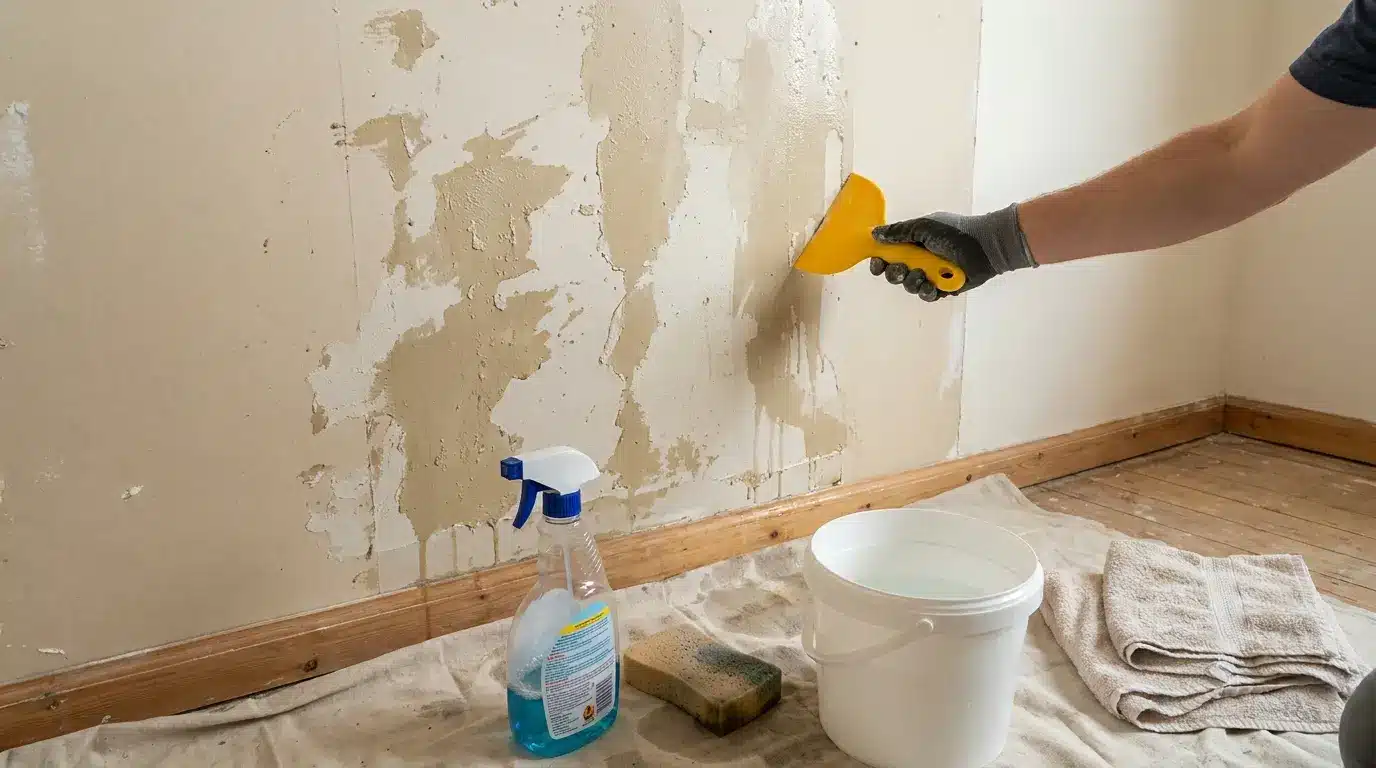
Removing old wallpaper can seem like the hardest part until you notice the sticky adhesive left behind on the wall. That leftover glue often needs more care than simple scraping.
The process becomes easier when you use the right tools, give the solution enough time to work, and avoid rushing through each step.
Knowing how to remove wallpaper glue helps you protect the wall surface and prevent unnecessary repairs.
I’ll share the steps to loosen stubborn residue, remove leftover adhesive, avoid common mistakes, and prepare your walls for paint or new wallpaper.
What to Check Before Removing Old Wallpaper Glue
Before you start scraping away leftover adhesive, always check the wall condition first. Old wallpaper glue does not behave the same on every surface, and knowing what you are working with makes the job easier.
Run your hand across the wall to find sticky areas, raised patches, or spots where the drywall paper feels loose. These small checks tell me where to apply more solution and where to use extra care with the scraper. Different wallpaper removal methods can also leave varying amounts of paste, torn surface paper, or rough patches behind.
I also look at how thick the residue is. Some walls only have a thin film left behind, while older wallpaper jobs can leave a heavier paste layer that needs more soaking time.
Once you know the wall condition and have everything ready, you can remove the glue without creating extra damage or unnecessary repairs. Then I move into the cleaning process section by section.
Full Process for Removing Wallpaper Glue
Once you know what condition your wall is in, the next step is to prepare your tools and remove the adhesive carefully. Always start with smaller sections because it gives you more control and prevents the glue from drying before you can scrape it.
Tools and Materials You Need
Before removing wallpaper glue residue, collect all the supplies you need. Having everything ready helps you work continuously without stopping to search for tools while the glue is softening.
- Warm water
- White vinegar
- Dish soap
- Sponge or cleaning cloth
- Plastic scraper or putty knife
- Bucket
- Spray bottle
- Towels
- Drop cloth or plastic sheeting
Step 1: Protect Your Work Area
Cover the floor and any nearby furniture with a drop cloth or plastic sheeting before you start. The cleaning solution can drip down the wall, and softened glue may fall as you scrape.
Tape down the edges of the covering if needed so it does not move while you work. Keep a few towels nearby to wipe up spills and protect areas around the wall.
Step 2: Prepare the Cleaning Solution
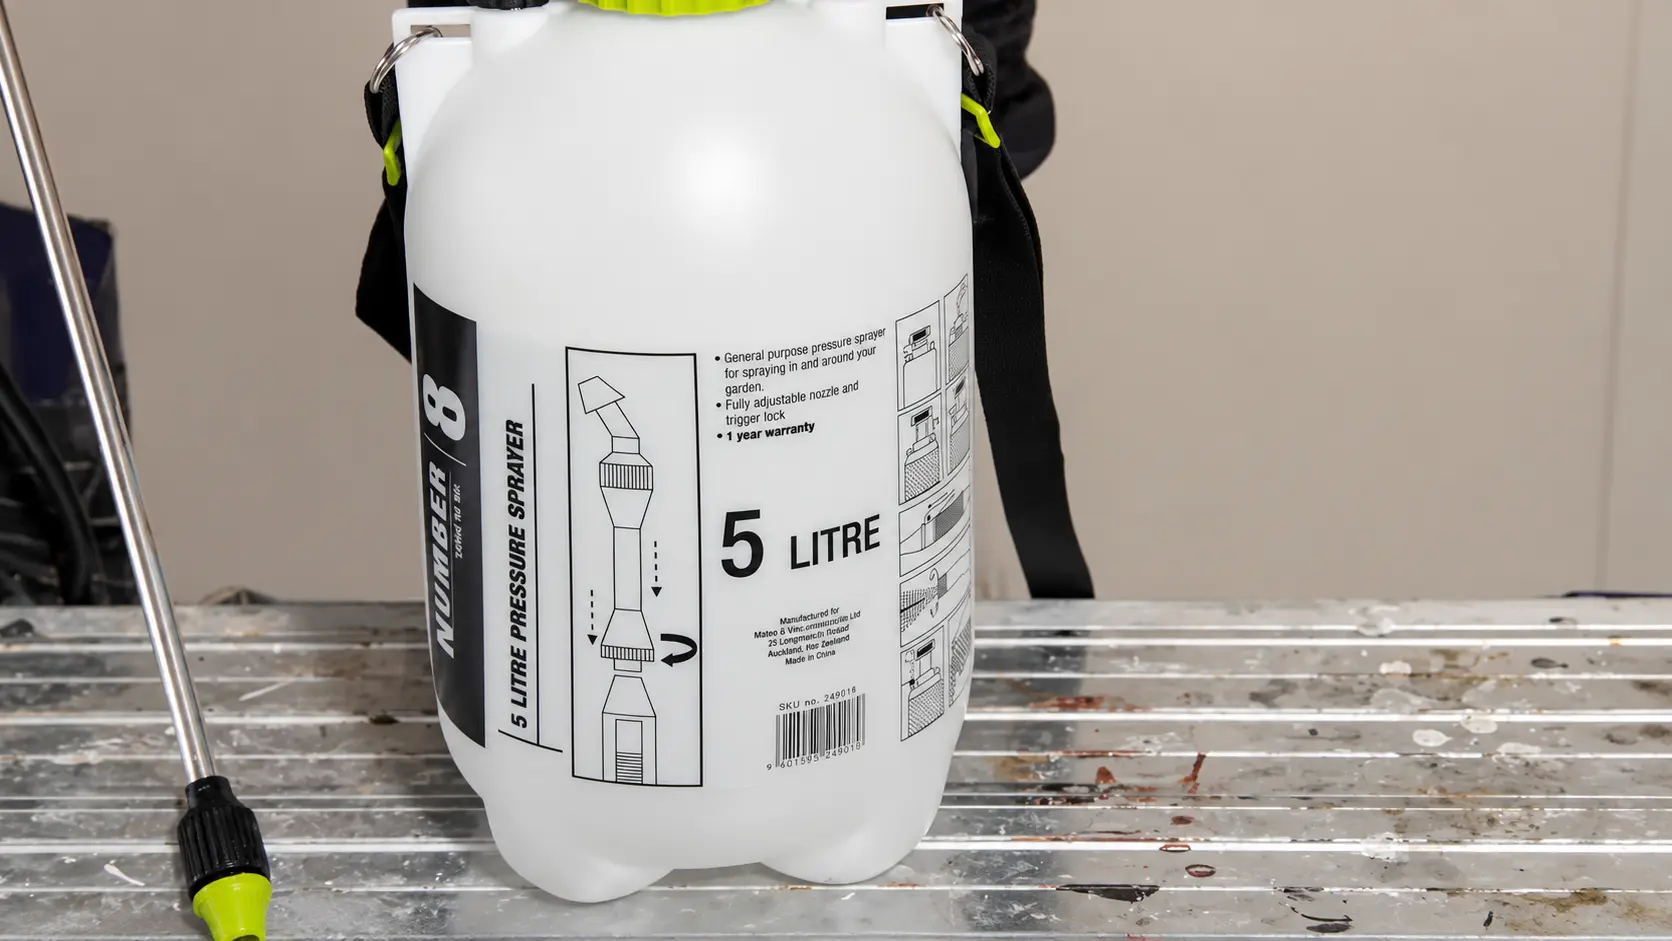
Fill a bucket with equal parts warm water and white vinegar. Add a few drops of dish soap and stir the mixture gently to combine the ingredients.
Transfer the solution into a spray bottle for easier use. A spray bottle lets you apply a consistent layer over the glue without soaking one area more than another.
Step 3: Apply the Solution to the Glue Residue
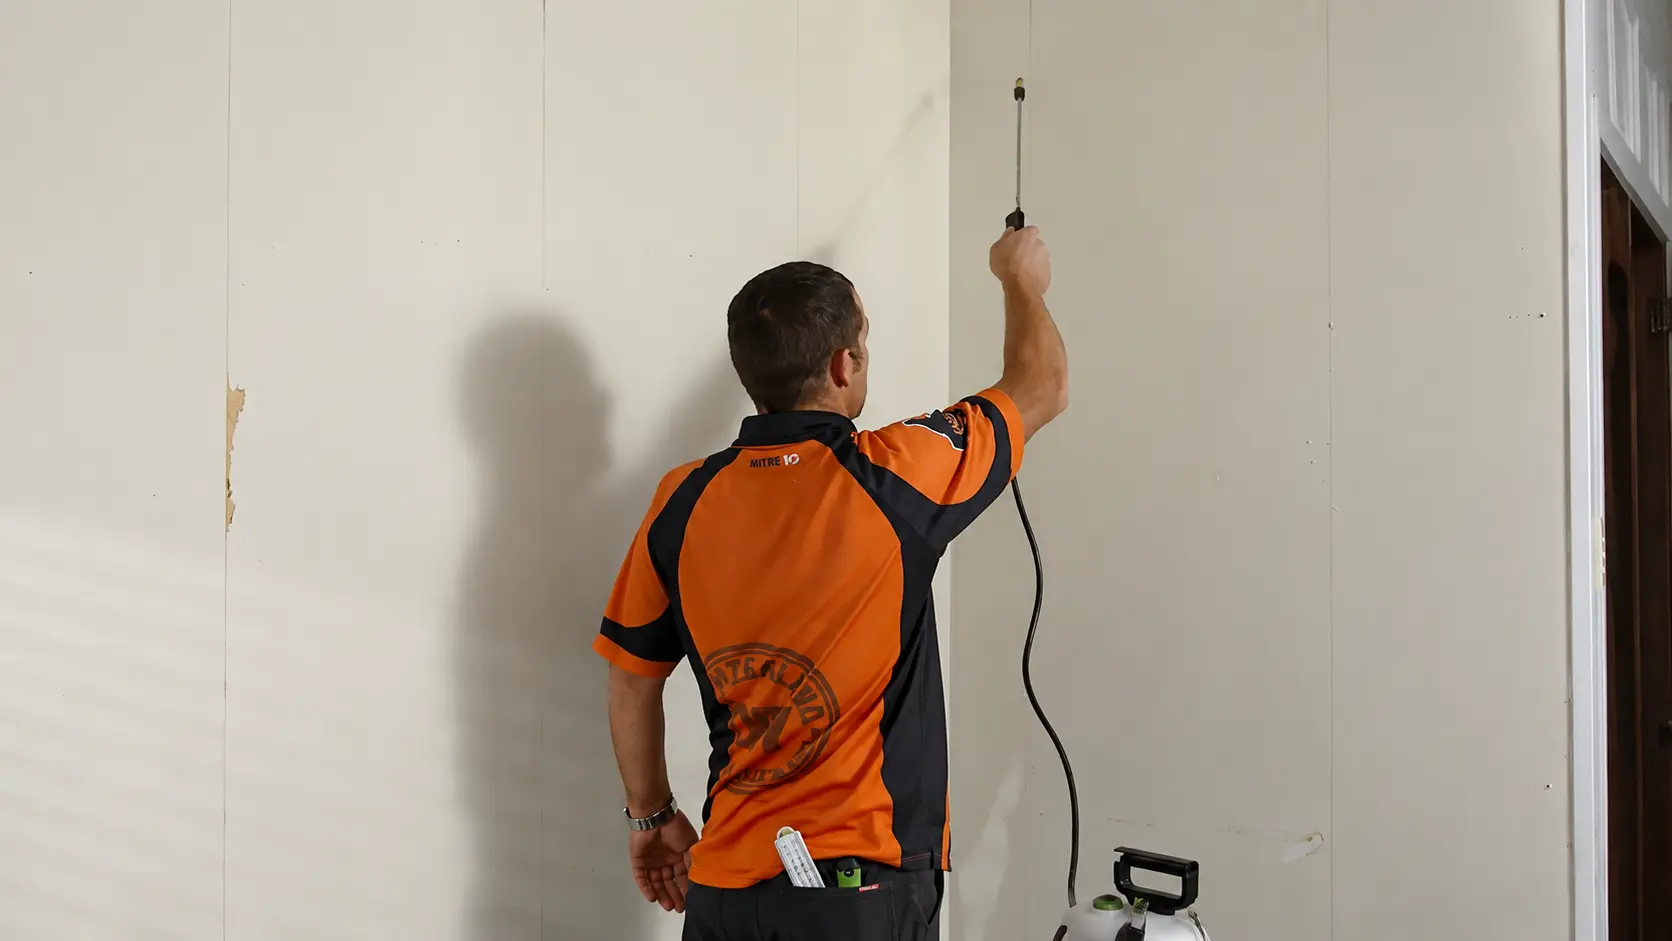
Spray the solution directly onto the wallpaper glue residue until the surface is fully covered. Focus on one small section at a time so the mixture does not dry before you can scrape it.
Let the solution sit for 10 to 15 minutes. The moisture helps soften the adhesive, making it easier to remove without damaging the wall underneath.
Step 4: Scrape Off the Softened Glue
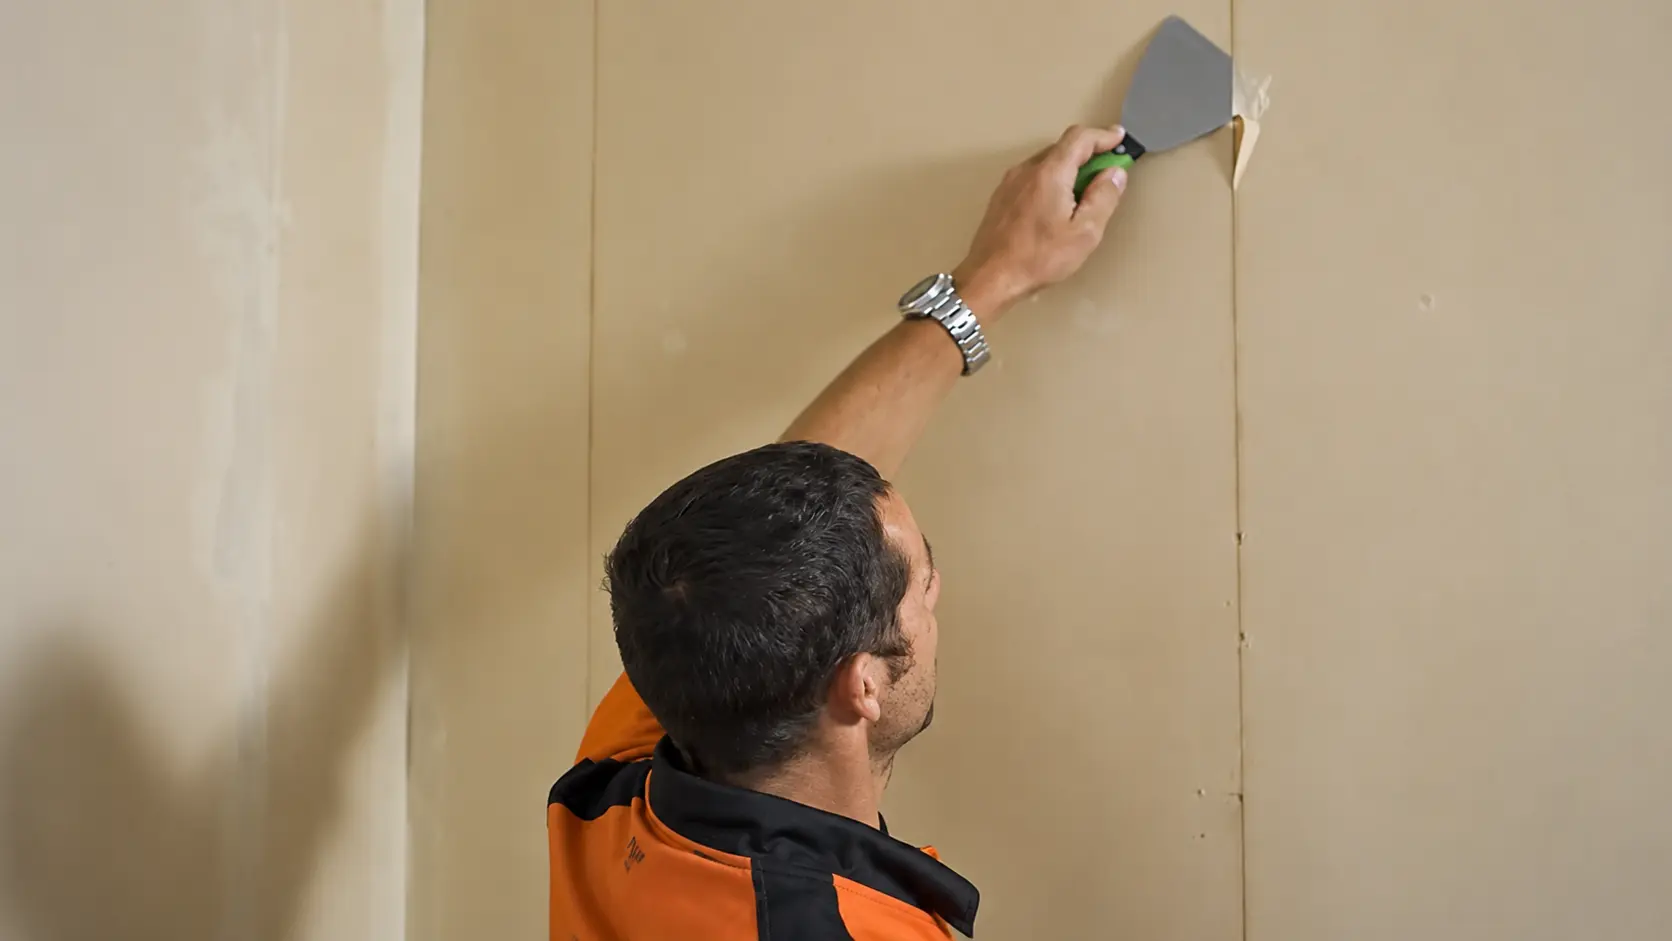
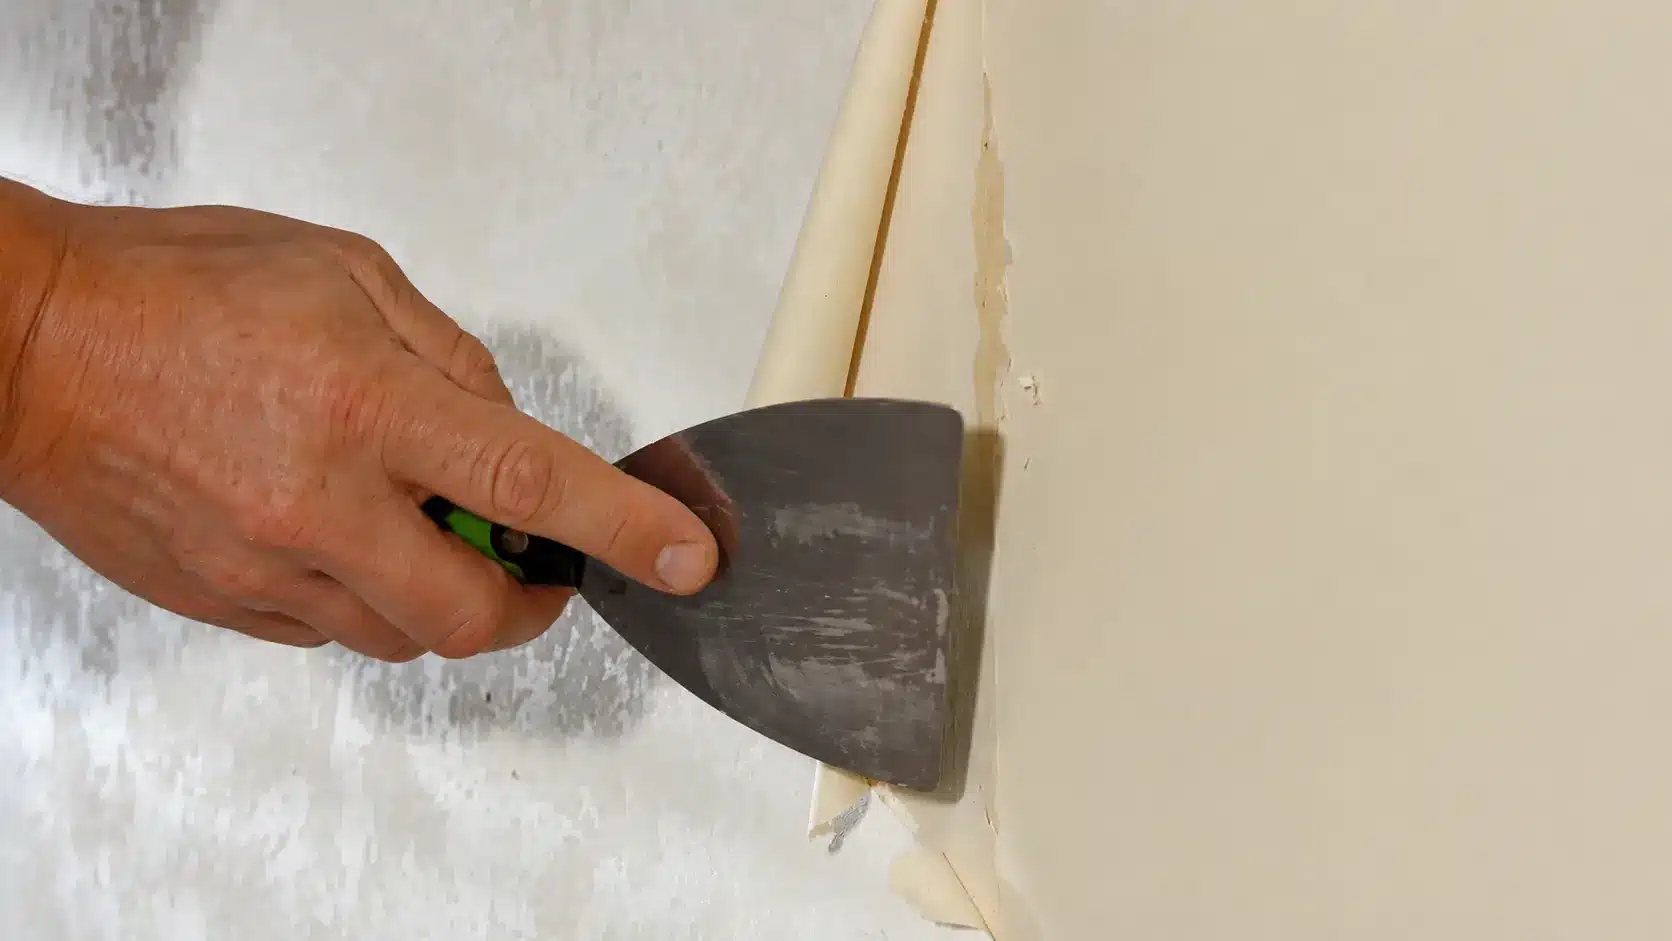
Test a small area first by gently scraping with a plastic scraper or putty knife. Hold the tool at a low angle and apply light pressure to lift the softened glue.
Continue working across the wall in small sections. Avoid using too much force, as rough scraping can scratch the drywall or remove the surface paper.
Step 5: Wipe Away Remaining Residue
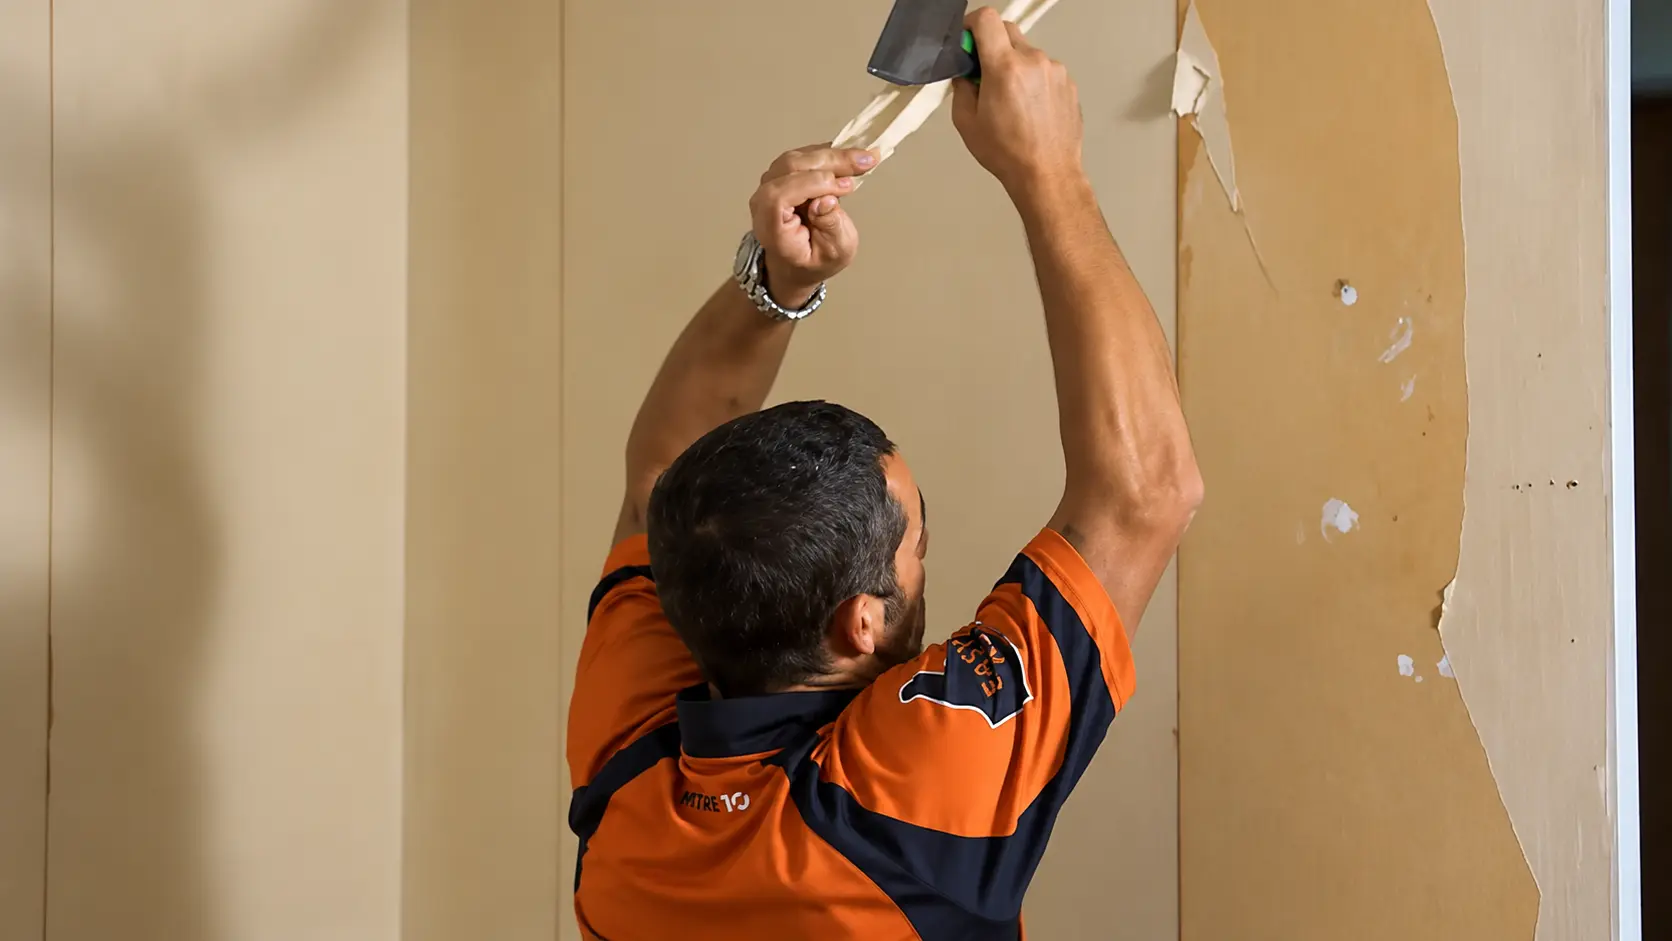
After scraping, dip a sponge or cloth into the cleaning solution and wipe the wall to remove leftover adhesive. Proper wall surface cleaning also clears away diluted paste, soap, and loose debris that could interfere with paint or new wallpaper.
Rinse the sponge or cloth regularly so you do not spread loosened glue back onto the wall. Continue wiping until the surface feels clean and smooth.
Step 6: Dry and Prepare the Wall
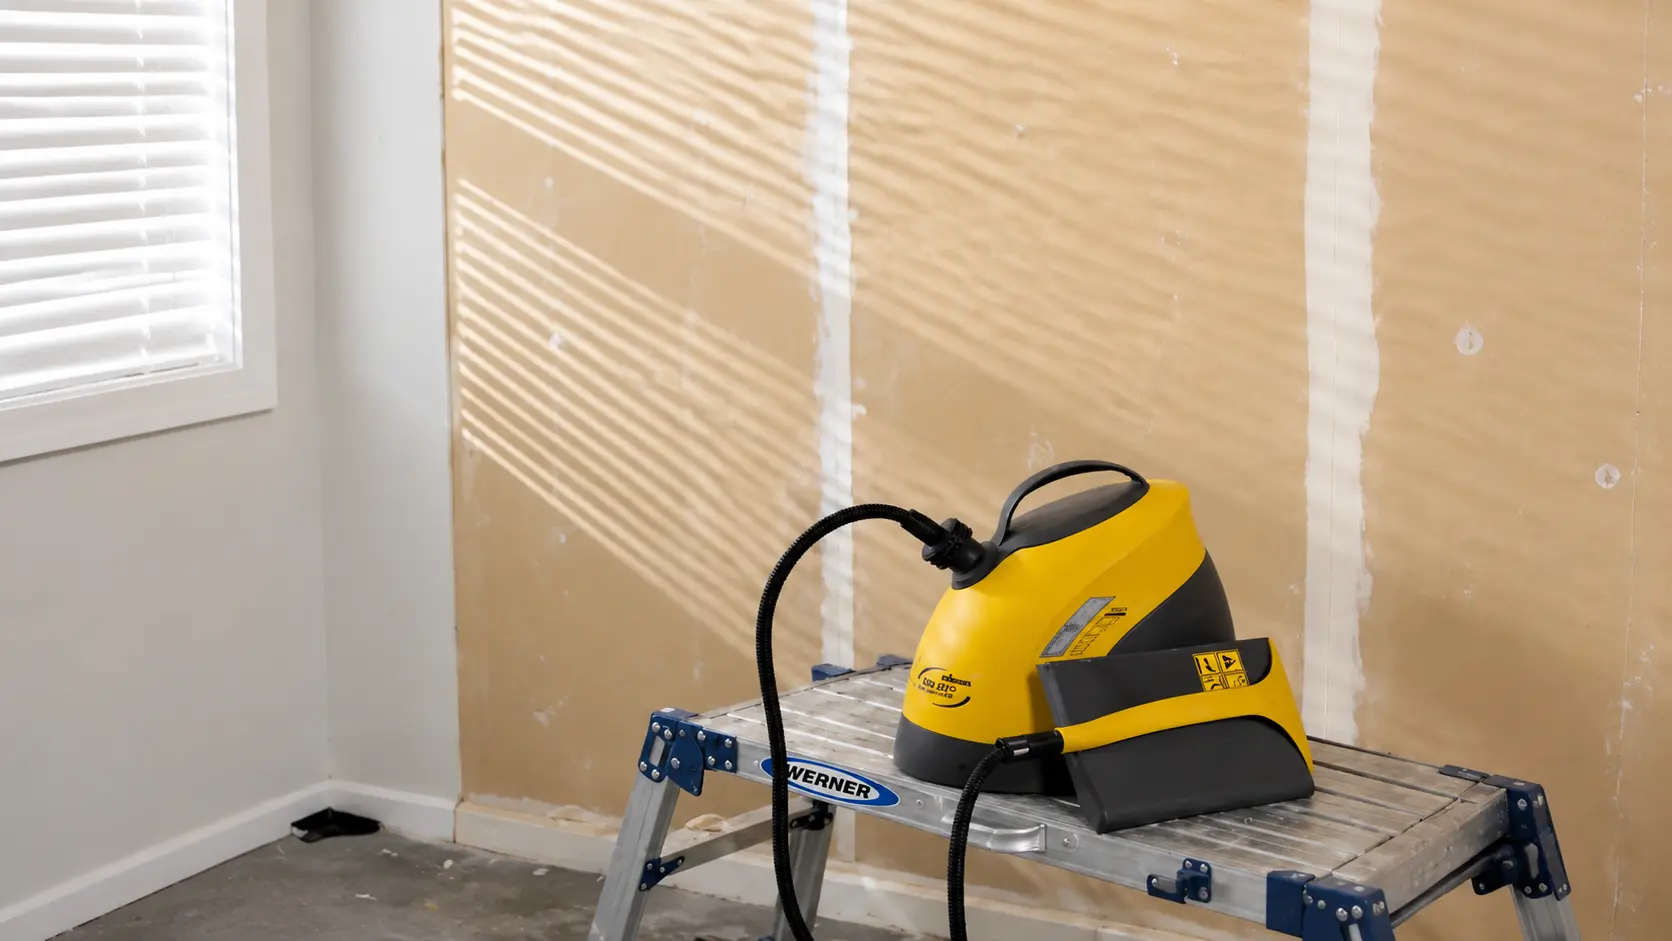
Let the wall dry completely before painting or applying new wallpaper. Drying time can vary depending on room temperature, ventilation, and how much moisture was used during cleaning.
Once dry, run your hand over the surface to check for remaining glue spots. If you find sticky areas, repeat the soaking and scraping process. When the surface feels clean, basic wall painting preparation may include repairing small flaws, lightly sanding rough areas, and removing dust before applying primer or paint.
For a complete walkthrough of the process, check out the video tutorial below:
How Do You Know the Wall Is Ready for Paint or New Wallpaper?
The wall isn’t ready until it passes a dry touch-test. No tacky spots anywhere.
Wait until the wall is completely dry first. Wet drywall always feels a little slick, so testing too early gives you a false read. Then run your bare hand slowly over the whole surface.
Any spot that feels tacky or slippery still has residue on it. That section needs another wash, even if it looks clean. Once everything passes the hand test, do one final rinse with clean water only.
Let the wall air-dry completely before you paint or hang new paper.
This step isn’t optional. Leftover residue is the number one reason new paint peels or new wallpaper won’t stick.
Common Mistakes to Avoid
Most wallpaper glue problems happen when the removal process is rushed. Knowing these common mistakes helps you protect the wall and avoid extra repairs.
| Mistake | What Happens | Better Approach |
|---|---|---|
| Scraping too hard | Damages drywall paper | Use gentle pressure while scraping |
| Wrong scraper angle | Leaves marks on the wall | Keep the putty knife almost flat |
| Skipping soak time | Makes glue harder to remove | Let the solution soften the adhesive |
| Working on large areas | Glue can dry before scraping | Clean smaller sections at a time |
| Ignoring small gouges | Affects the final finish | Repair with a thin layer of joint compound |
By taking your time and using the right technique, you can remove stubborn glue while keeping the wall smooth and ready for the next step.
How to Maintain Walls After Removing Wallpaper Glue
After removing wallpaper glue, I always take a few extra steps to keep the wall ready for future projects.
- Let the wall dry completely. Trapped moisture can affect how well paint or new wallpaper sticks.
- Check for leftover glue spots. Run your hand over the wall and remove any sticky areas before they collect dust.
- Clean before finishing. Wipe away dust and residue for a smoother final result.
- Watch for damage. Fix bubbling paint, loose edges, or stains before they become larger problems.
- Avoid covering old adhesive. Removing glue properly now makes future wallpaper changes easier.
A few extra minutes of care can help keep your walls smooth and ready for the next update.
Conclusion
Removing old wallpaper glue is one of those jobs that looks simple until you are standing in front of a sticky wall. I have dealt with stubborn adhesive before, and slowing down always saved me from extra repairs.
Knowinghow to remove wallpaper glue helps you avoid damaged drywall and wasted effort. You can get the surface ready with basic tools if you give the glue time to soften and work carefully.
Always do one final check before moving on to paint or new wallpaper. A little extra care here can make the next step much smoother.
Frequently Asked Questions
What is the easiest way to remove wallpaper glue?
Wet a small section with warm water mixed with a little dish soap or fabric softener, and let it sit for 5–10 minutes to loosen the adhesive. Then scrape gently with a flexible plastic putty knife held at a low angle. Wipe the area clean with a damp rag before moving on to the next section.
Does Dawn remove wallpaper glue?
Yes. A few drops of Dawn or another dish soap mixed into warm water works as a mild, low-cost way to loosen wallpaper glue. It won’t act quite as fast as vinegar or a commercial stripper on old, thick paste, but it’s gentle enough for most drywall and painted surfaces.
Does white vinegar remove wallpaper glue?
Yes, white vinegar is one of the most effective at-home options. Mix one part vinegar with two parts warm water, apply it to a small section, and let it sit for several minutes. This breaks down the adhesive’s bond with the wall, making the glue much easier to scrape off cleanly.
What dissolves wallpaper glue?
Wallpaper paste breaks down with mild acids or surfactants in warm water; white vinegar, a few drops of dish soap, or diluted fabric softener all work this way. For old or stubborn glue, a commercial wallpaper stripper delivers a stronger version of the same effect.