
Plastering a wall may seem tricky at first, but once you understand the process, it becomes much easier to handle.
If you want to learn how to plaster a wall, this guide will walk you through everything in a simple and clear way. I’ll cover the tools you need, how to prepare the surface, and the exact steps to apply plaster properly.
The methods shared here are widely used and trusted for getting a smooth and even finish.
You’ll also find helpful tips to avoid common mistakes and improve your results.
If you’re working on a small repair or a basic home project, this guide is designed to help you follow each step with confidence and get a clean, professional-looking wall without confusion.
What Is Plastering and Why Does It Matter?
Plastering is the process of putting a smooth layer of material on a wall or ceiling. It helps create a clean and even surface before painting or decorating.
It matters because it hides cracks, holes, and rough spots that make walls look messy.
A well-plastered wall also makes paint stick better and last longer. It also adds strength to the surface, so the wall can handle daily wear.
Without plastering, walls may look uneven and may get damaged faster.
The process may seem simple, but doing it right takes care and the right tools. Good plastering improves both the look and life of your walls.
It is an important step in any home project, whether you are fixing old walls or working on a new space.
Tools and Materials You’ll Need
Before you start plastering, make sure you have the right tools and materials ready. Using proper equipment makes the process smoother and helps you get better results.
- Plaster mix: Used to create both the base and finishing coats.
- Clean water: Needed for mixing plaster and cleaning tools.
- Mixing bucket: For preparing the plaster mix.
- Mixing tool : Helps create a smooth, lump-free consistency.
- Trowel: Main tool for applying, spreading, and smoothing plaster.
- Hawk: Holds plaster while you work for easy access.
- Brush or spray bottle: Used for lightly wetting the surface during smoothing.
- Bonding agent (PVA): Helps plaster stick properly to the wall.
How to Plaster a Wall Like a Pro?
Plastering may look hard at first, but with the right steps, you can get a smooth and clean finish. Take your time and follow each step carefully for the best results.
Step 1: Prepare the Wall Surface
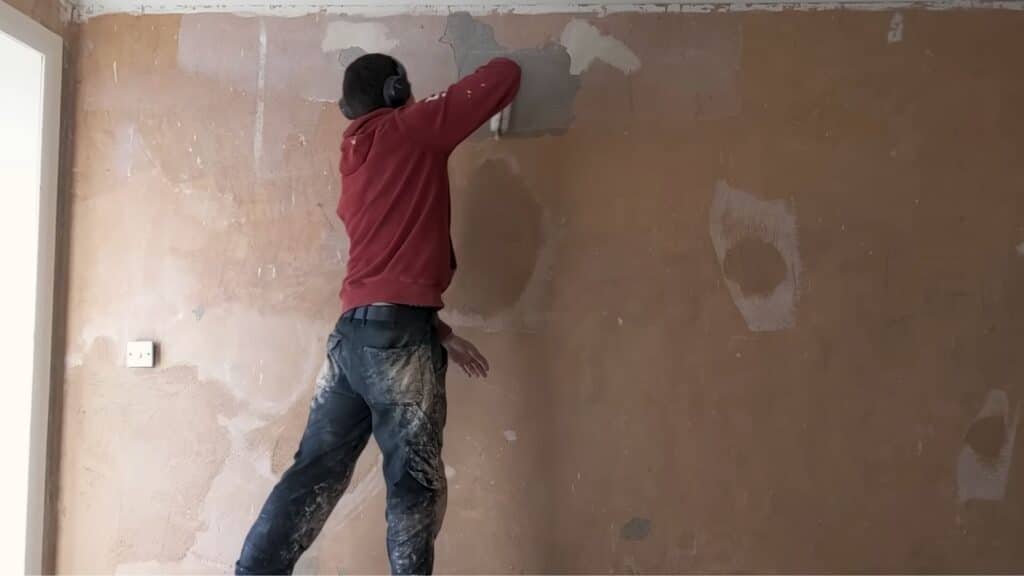
Start by cleaning the wall thoroughly to remove dust, grease, loose paint, or debris that could affect how the plaster sticks.
Use a brush or a damp cloth if needed to get a clean surface.
Next, apply a bonding agent evenly across the entire wall to improve adhesion. Allow it to dry until it becomes slightly sticky to the touch, not completely dry.
This is the perfect stage to begin plastering. If the surface is too dry, the plaster may not bond properly, and if it’s too wet, it can slide.
Proper preparation creates a strong base and helps prevent cracks or peeling later.
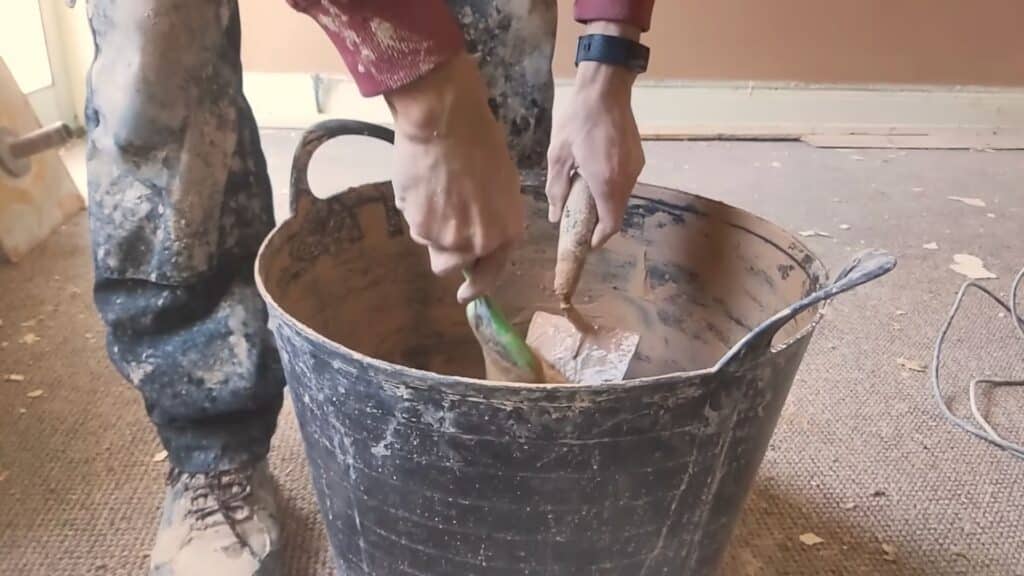
Step 2: Mix the Plaster to the Right Consistency
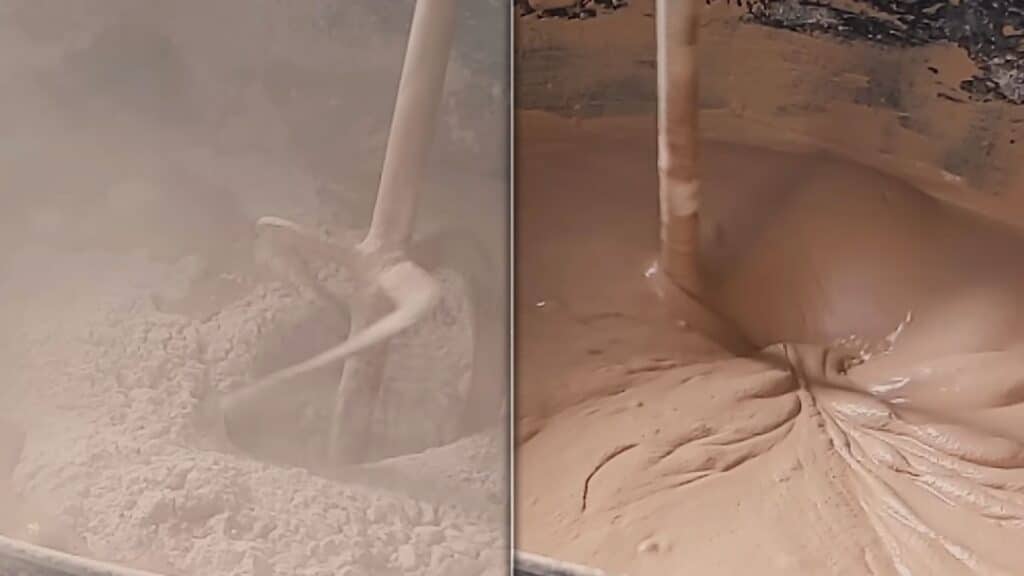
Add plaster powder slowly into clean water while mixing continuously to avoid lumps forming. Keep stirring until the mixture becomes smooth, creamy, and similar to thick yogurt in texture.
Always add plaster to water, not the other way around, as adding water later can weaken the mix and affect the finish.
A properly mixed plaster should stick to your trowel without dripping off easily.
Before you start applying, lightly wet your tools to prevent the plaster from sticking.
A smooth, well-prepared mix makes the application easier and helps you achieve a more even and controlled finish on the wall.
Step 3: Apply the First Coat (Base Layer)
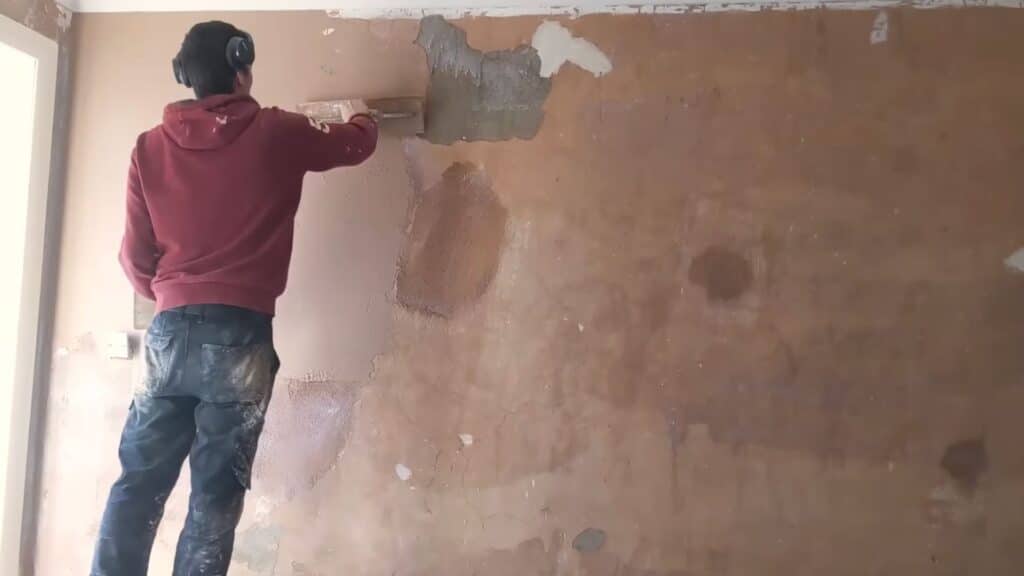
Begin at the top corner of the wall and work across in a horizontal motion, then gradually move downward in sections.
Apply the plaster using firm, even pressure, spreading it to about 2 mm thick.
Focus on covering the entire surface rather than making it perfectly smooth at this stage. Keep your strokes steady and consistent to avoid uneven areas or buildup.
This first coat acts as the base layer, so check that there are no large gaps, ridges, or overly thick spots.
Once applied, let it firm up slightly until it feels set but still damp before moving on.
Step 4: Apply the Second Coat (Smoothing Layer)
When the first coat feels firm but still slightly damp to the touch, you can begin applying the second coat.
This layer should be thinner, around 1 mm, and slightly more fluid than your first mix to help with smooth application.
Use slower, more controlled strokes to refine the surface and improve evenness.
Pay close attention to edges, corners, and any low spots, making sure they are properly filled.
This step is important because it shapes the final look, so take your time to keep the surface as flat, clean, and even as possible.
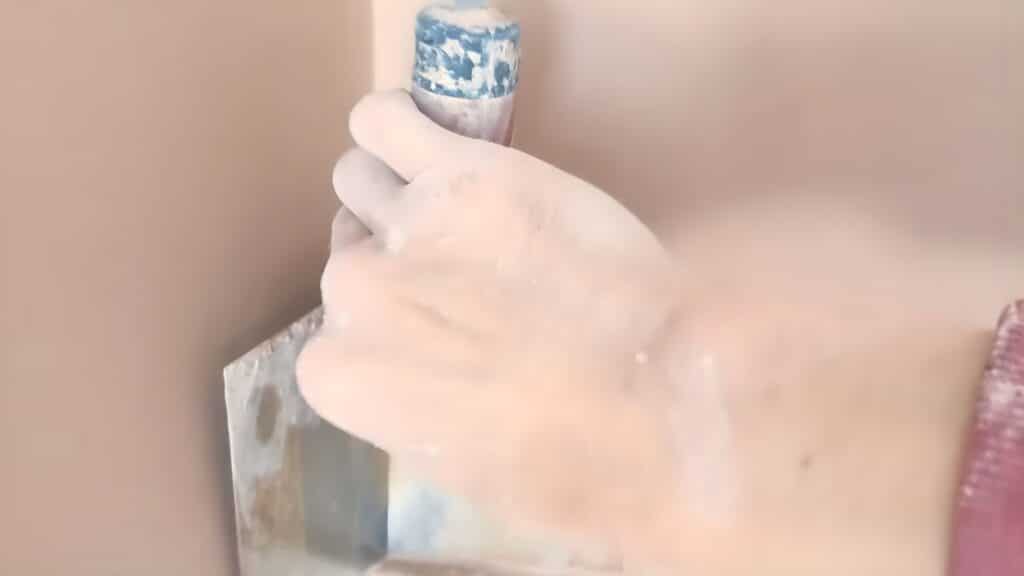
Step 5: Level the Surface with Controlled Troweling
As the plaster begins to set and feels slightly firm, start leveling the surface using your trowel.
Keep the angle consistent and apply firm, steady pressure while moving across the wall in smooth strokes.
Avoid changing the angle too often, as this can create lines, marks, or uneven patches. Work methodically across the surface to keep everything even.
If the plaster starts to feel too dry, lightly splash water to keep it workable.
This stage is important for removing ridges and flattening the surface before moving on to the final smoothing step.
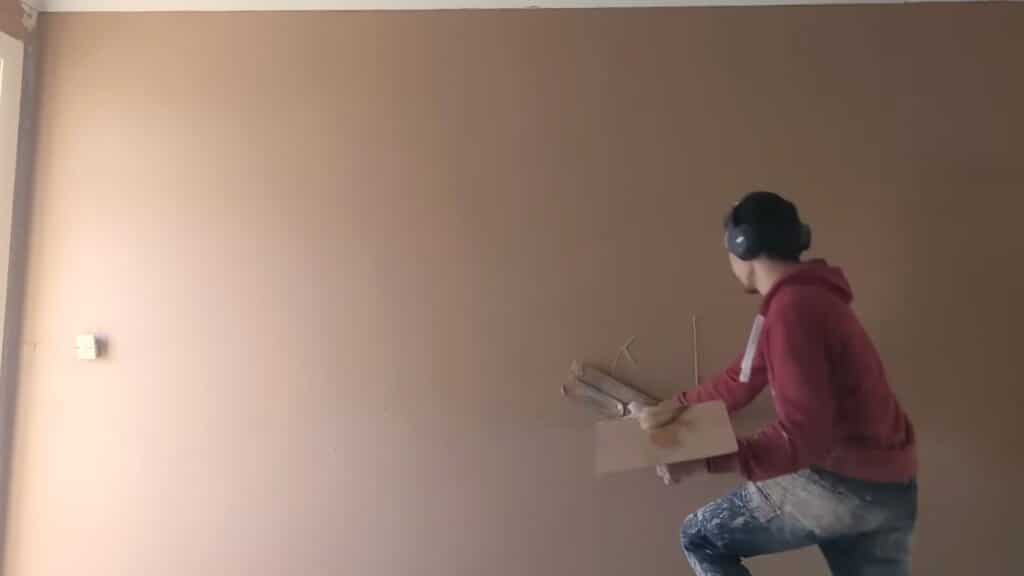
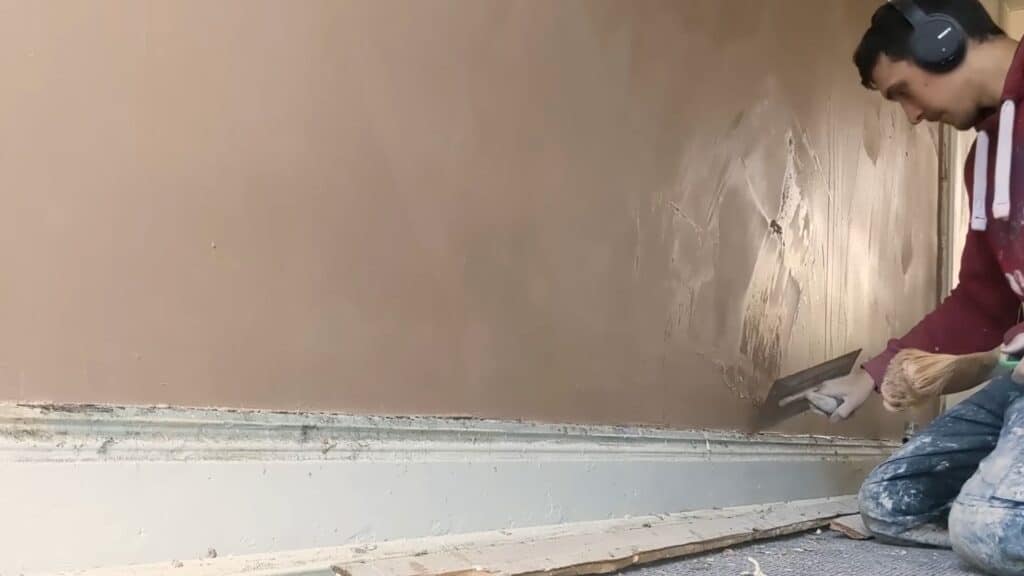
Step 6: Smooth and Refine the Finish
Once the plaster firms up slightly, smooth the wall with lighter strokes. Increase the trowel angle slightly to refine the surface and remove any remaining lines, marks, or uneven areas.
Work steadily across the wall to keep the finish consistent.
If you notice small holes, gaps, or imperfections, fill them right away with a small amount of plaster and smooth them out immediately.
Clean your trowel often to avoid dragging dried plaster, as this can damage the surface.
This step improves the finish and prepares the wall for polishing.
Step 7: Final Polish for a Clean Finish
For the final step, lightly dampen the surface using a small amount of water to keep it workable.
Then polish the wall using firm pressure and controlled, smooth movements with your trowel.
Use a slightly higher angle to refine the surface and remove any last marks or imperfections. Work evenly across the wall to achieve a clean and consistent finish.
This process helps create a subtle shine and a smooth texture.
Take your time, as this step affects the final result. Let the wall dry fully before painting or adding any decoration.
This tutorial is based on a helpful video by Ryan Seeley Plastering. You can check out the original video on their YouTube channel here or watch it below.
Tips to Get a Smooth Finish While Plastering Walls
Getting a smooth finish depends on proper timing, steady control, and light skimming. These simple tips will help you create a clean, even surface without marks.
- Light-skimming technique: Apply a thin layer of plaster to fill small imperfections and level the surface. Use light pressure and spread evenly to avoid buildup and improve the final wall finish.
- Trowel control: Keep your trowel at a steady angle and move it in smooth, controlled strokes. Avoid sudden pressure changes, as they can create lines, ridges, or uneven marks.
- Timing: Start skimming when the plaster feels firm but still slightly damp. This stage makes it easier to smooth the surface without dragging or damaging the plaster.
- Use light water misting: Lightly mist water onto the surface to keep it workable. This helps the trowel glide smoothly and prevents the plaster from sticking or pulling away.
- Clean tools often: Wipe your trowel regularly with water to remove dried plaster. Clean tools help maintain a smooth surface and prevent scratches or unwanted marks during finishing.
Common Plastering Mistakes to Avoid
Avoiding common mistakes can make a big difference in your final results. Knowing what to watch for helps you achieve a smoother finish and prevents issues like cracks, marks, or uneven surfaces.
| Mistake | What Happens | How to Avoid It |
|---|---|---|
| Poor surface preparation | Plaster may not stick properly and can crack or peel | Clean the wall well and apply a bonding agent before starting |
| Wrong plaster consistency | The mix may be too thick or too runny, making application difficult | Aim for a smooth, yogurt-like consistency while mixing |
| Applying uneven coats | Leads to bumps, ridges, and an uneven finish | Use steady pressure and keep layers even (about 2 mm then 1 mm) |
| Starting the next step too early or too late | Plaster may drag or not smooth properly | Work when the plaster is firm but still slightly damp |
| Changing the trowel angle too much | Creates lines and marks on the surface | Keep a consistent trowel angle while working |
| Overworking the plaster | Can damage the surface and create more imperfections | Smooth gently and avoid repeated troweling |
| Not cleaning tools regularly | Dried plaster can scratch the wall surface | Wipe tools often during the process |
Conclusion
Plastering a wall can seem like a detailed task at first, but once you understand the process step by step, it becomes much easier to manage.
I’ve shared everything in a clear way so you can follow along and apply it without feeling overwhelmed.
The most important things to focus on are proper preparation, correct timing between coats, and steady control while using your trowel.
These small details make a big difference in how smooth your final finish looks.
You don’t need to aim for perfection on your first try. Take your time with each step, and focus on improving as you go.
With a bit of practice, your results will get better and more consistent.
If you’re ready, start with a small wall or section and apply what you’ve learned here step by step.
Frequently Asked Questions
How Long to Wait Before Painting Plastered Walls?
Plaster should be allowed to dry completely before painting, which can take a few days depending on temperature, ventilation, and humidity levels in the room.
Can a Small Section Be Plastered Instead of a Full Wall?
Yes, small areas can be plastered. However, blending the new plaster with the existing surface requires careful smoothing to achieve a consistent finish.
What Type of Plaster Is Best for Beginners?
Multi-finish plaster is commonly recommended because it is easier to work with and helps create a smooth and even surface.
Why Does Plaster Crack After Drying?
Cracking can occur due to poor surface preparation, applying thick layers, or allowing the plaster to dry too quickly.
Can Uneven Plaster Be Fixed without Redoing the Wall?
Minor uneven areas can be corrected by applying a thin skim coat instead of replastering the entire wall.