

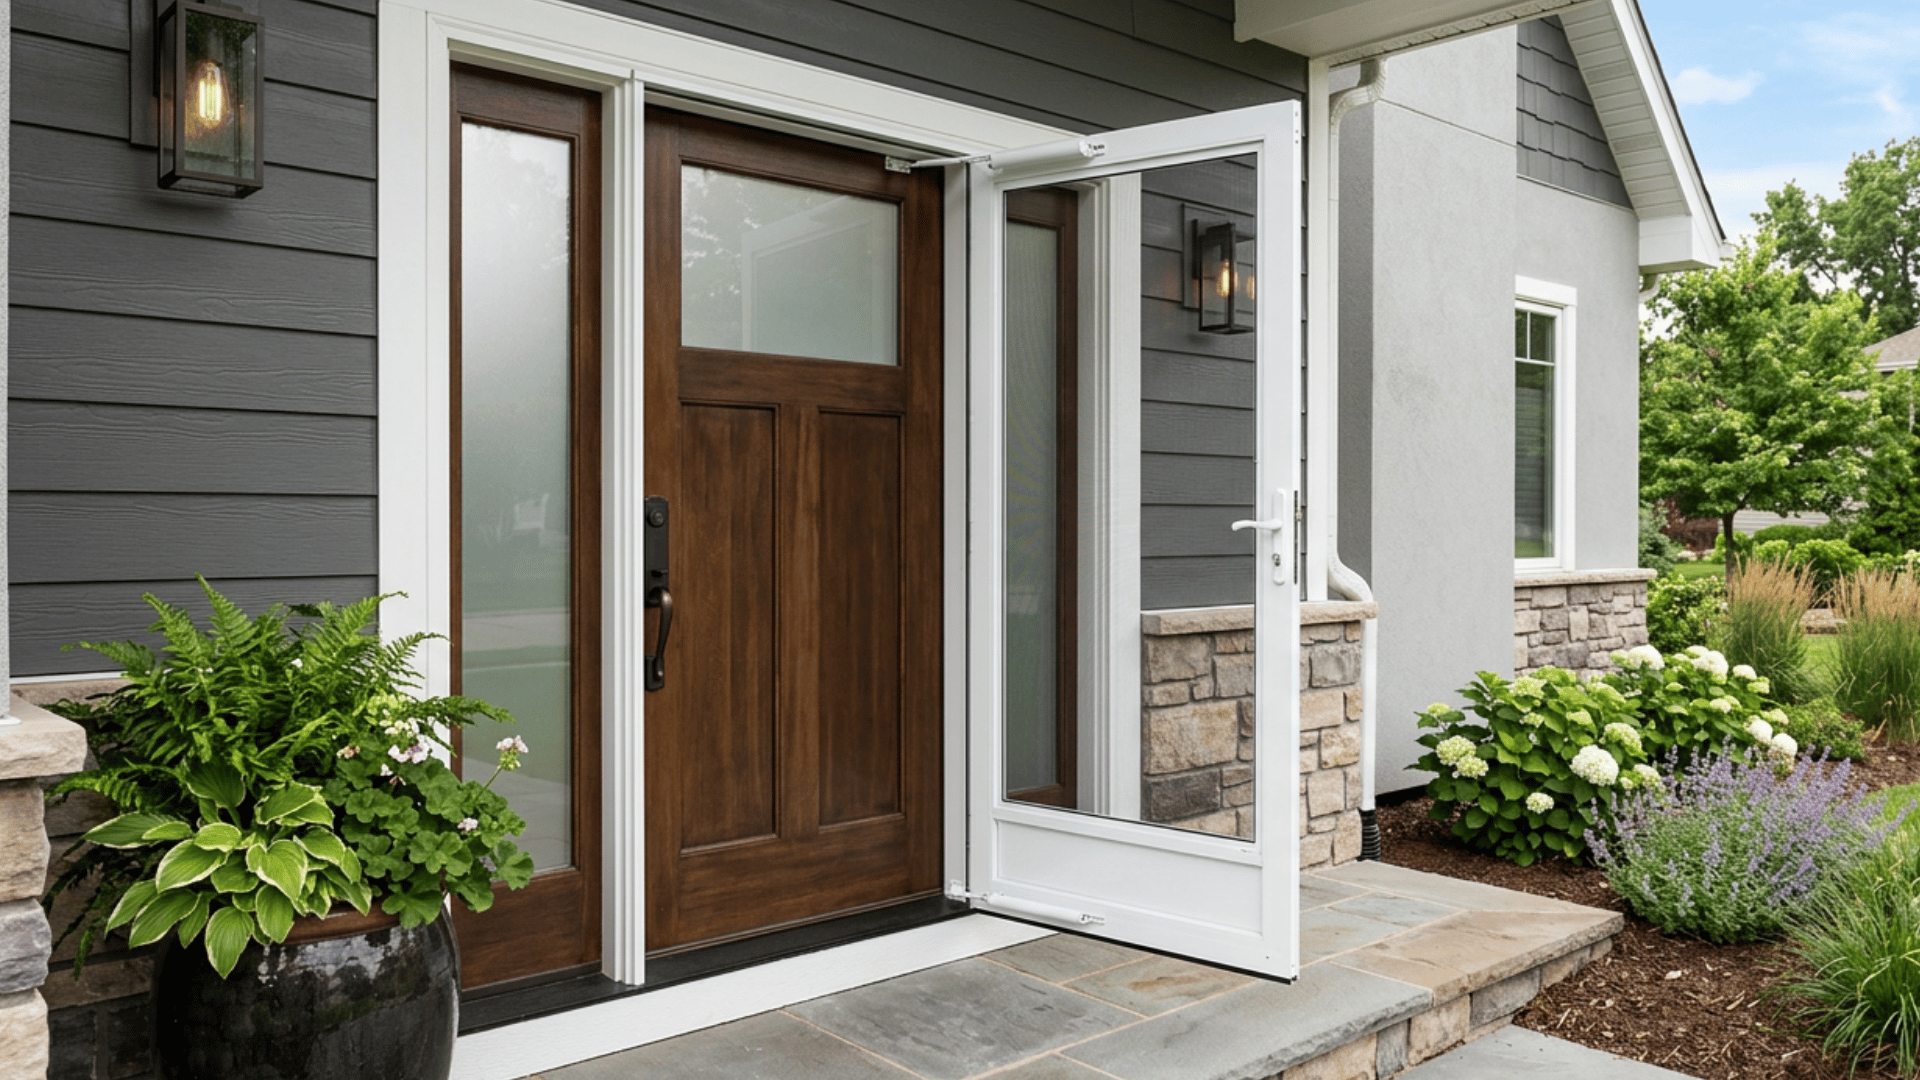
A well-fitted screen door lets fresh air into the home while keeping insects, leaves, and outdoor debris outside. Learninghow to install a screen door correctly helps it open smoothly, close securely, and last longer without frequent repairs.
The process can vary depending on whether the door is hinged, sliding, magnetic, retractable, or designed for French doors.
I recommend identifying the door type and measuring the opening carefully before buying any materials.
With the right tools and clear steps, many screen door installations can be completed as a manageable DIY project.
This guide explains the tools you’ll need, how to prepare the doorway, and the installation steps for different screen door styles, along with practical tips to ensure a secure, long-lasting fit.
Prepare the Door Opening Before Installation
Taking a few minutes to prepare the doorway makes installation easier and helps the new screen door fit, operate, and last as intended.
- Remove the Existing Screen Door: Support the door, then remove the closer and latch first. Next, unscrew the hinges or loosen the rollers, and keep reusable hardware in a safe place.
- Remove Old Hardware and Fasteners: Fill unused screw holes, remove nails, scrape off old adhesive, and take out damaged brackets to create a smooth mounting surface.
- Clean the Frame and Tracks: Wipe away dirt and debris because buildup can weaken adhesive strips and prevent sliding door rollers from moving smoothly.
- Inspect the Trim and Threshold: Check for rot, cracks, loose trim, corrosion, warped tracks, or uneven surfaces, and repair any damage before installing the new door.
- Confirm the Opening Is Level and Plumb: Use a level to ensure the frame is straight, since an uneven opening can cause the door to rub, swing open, or fail to latch properly.
Choose the Right Type of Screen Door
Different screen doors are designed for different entryways and installation methods. Selecting the right type ensures a better fit, smoother operation, and an easier installation process.
| Screen Door Type | Best Used For | Installation Method | General Difficulty |
|---|---|---|---|
| Hinged screen door | Front and back entry doors | Hinges attached to exterior trim | Moderate |
| Sliding screen door | Sliding patio doors | Rollers are placed inside the upper and lower tracks | Easy to Moderate |
| Magnetic screen door | Rentals and temporary setups | Adhesive strips with optional tacks | Easy |
| Retractable screen door | Modern entryways and patios | Screen housing with guide tracks | Moderate |
| French door screen | Double-door openings | Double hinged or retractable system | Moderate to Difficult |
| Storm door with screen | Weather protection and ventilation | Full frame with hinge rail and door closer | Difficult |
Tools and Materials Needed for Screen Door Installation
Before you begin, gather the essential tools and components needed for the installation. While most storm door kits include the hardware, you’ll still need a few common tools to complete the job accurately.
- Power drill with drill bits: Drives screws and drills holes for the handle, latch, and hydraulic closer.
- Tape measure: Measures the door opening to ensure you purchase the correct door size.
- Center punch: Marks drilling locations and keeps the drill bit from wandering.
- Storm door kit: Includes the door, hinge rail, latch-side rail, top rail, bottom sweep, hardware, spacers, and drilling template.
- Hydraulic door closer: Automatically closes the door and prevents it from slamming.
- Handle, latch, and strike plate: Complete the door’s opening, closing, and locking system.
How to Install a Screen Door?
Installing a screen or storm door requires accurate measurements, careful alignment, and secure hardware placement. Each stage helps the door stay level, seal correctly, and open and close without rubbing or sticking.
Step 1: Measure the Door Opening
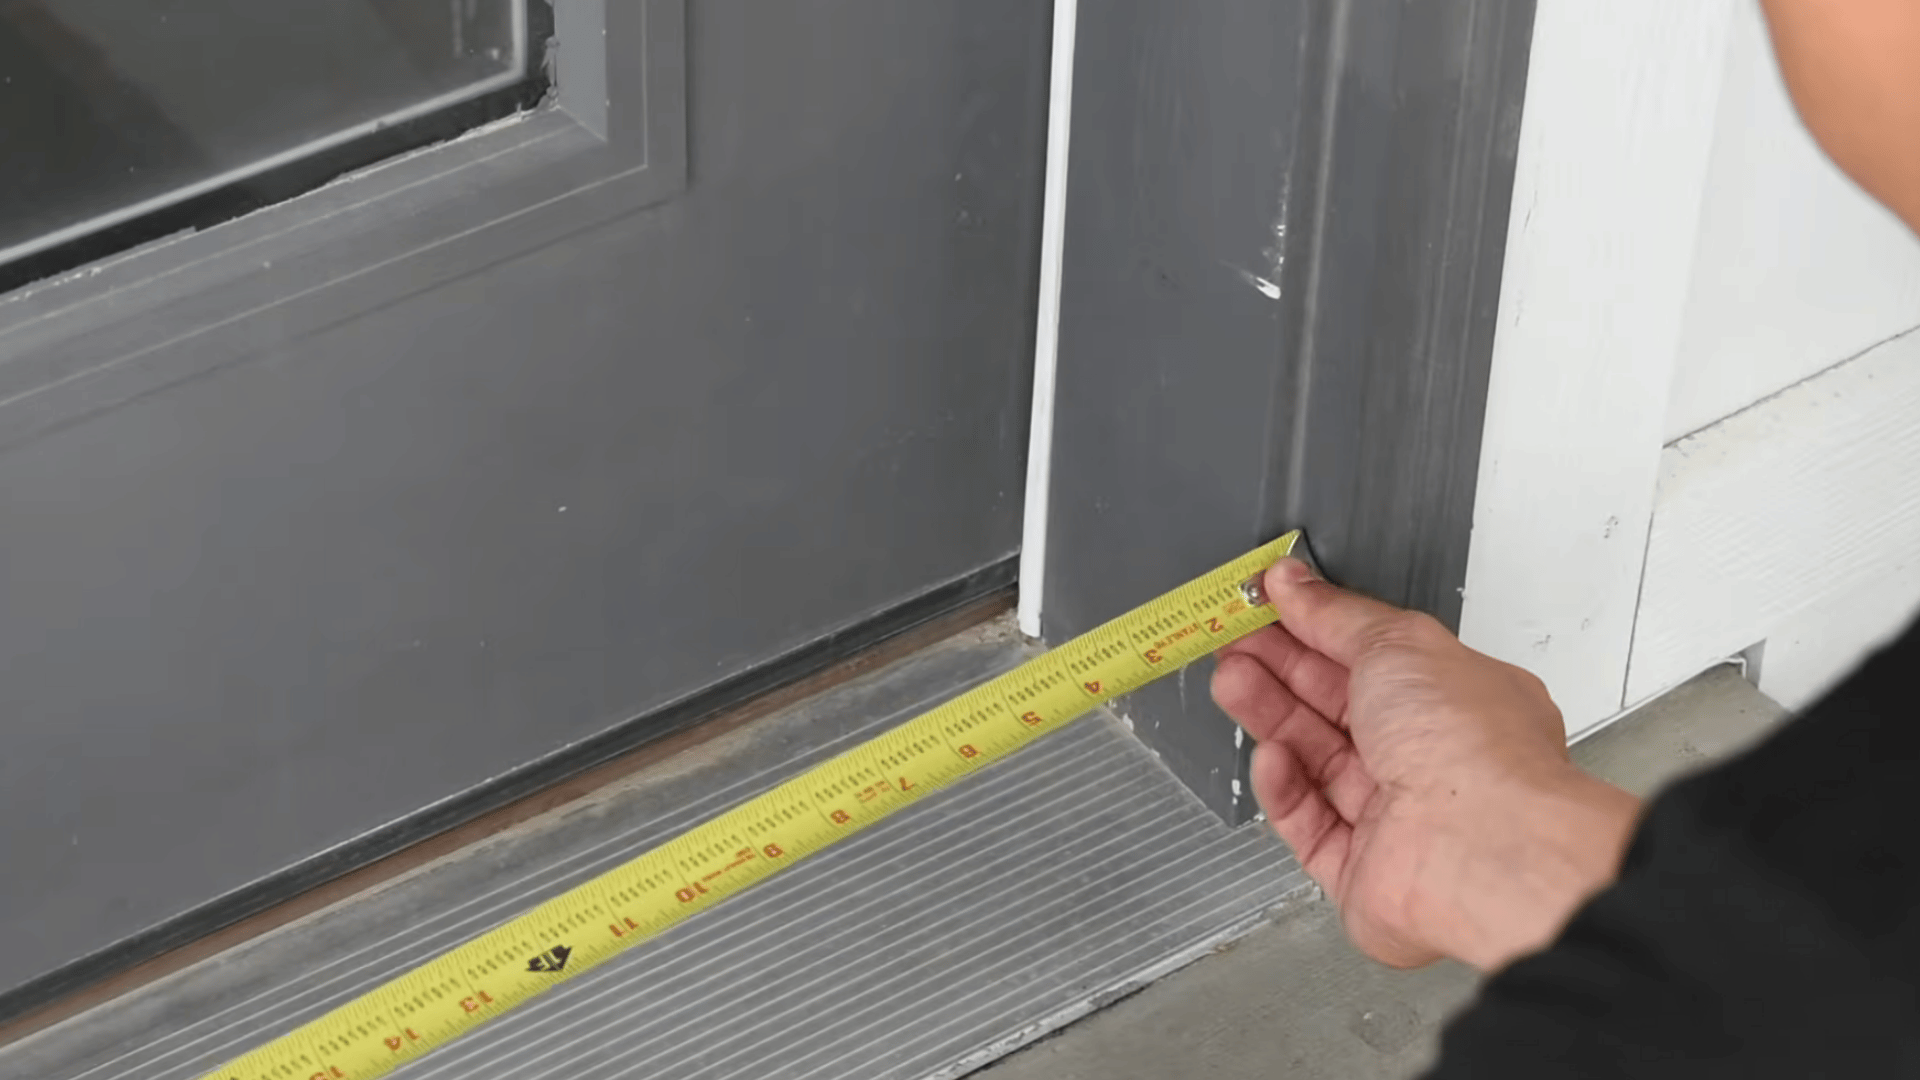
Measure the width of the exterior door frame at the top, middle, and bottom, then measure the height on both sides.
Record the smallest width and height because these dimensions determine the correct door size. Taking several measurements also shows whether the opening is uneven or out of square.
Check that the exterior trim provides enough flat space for the hinge rail, top rail, and latch-side rail before purchasing the door.
Step 2: Choose the Door Swing and Attach the Hinge
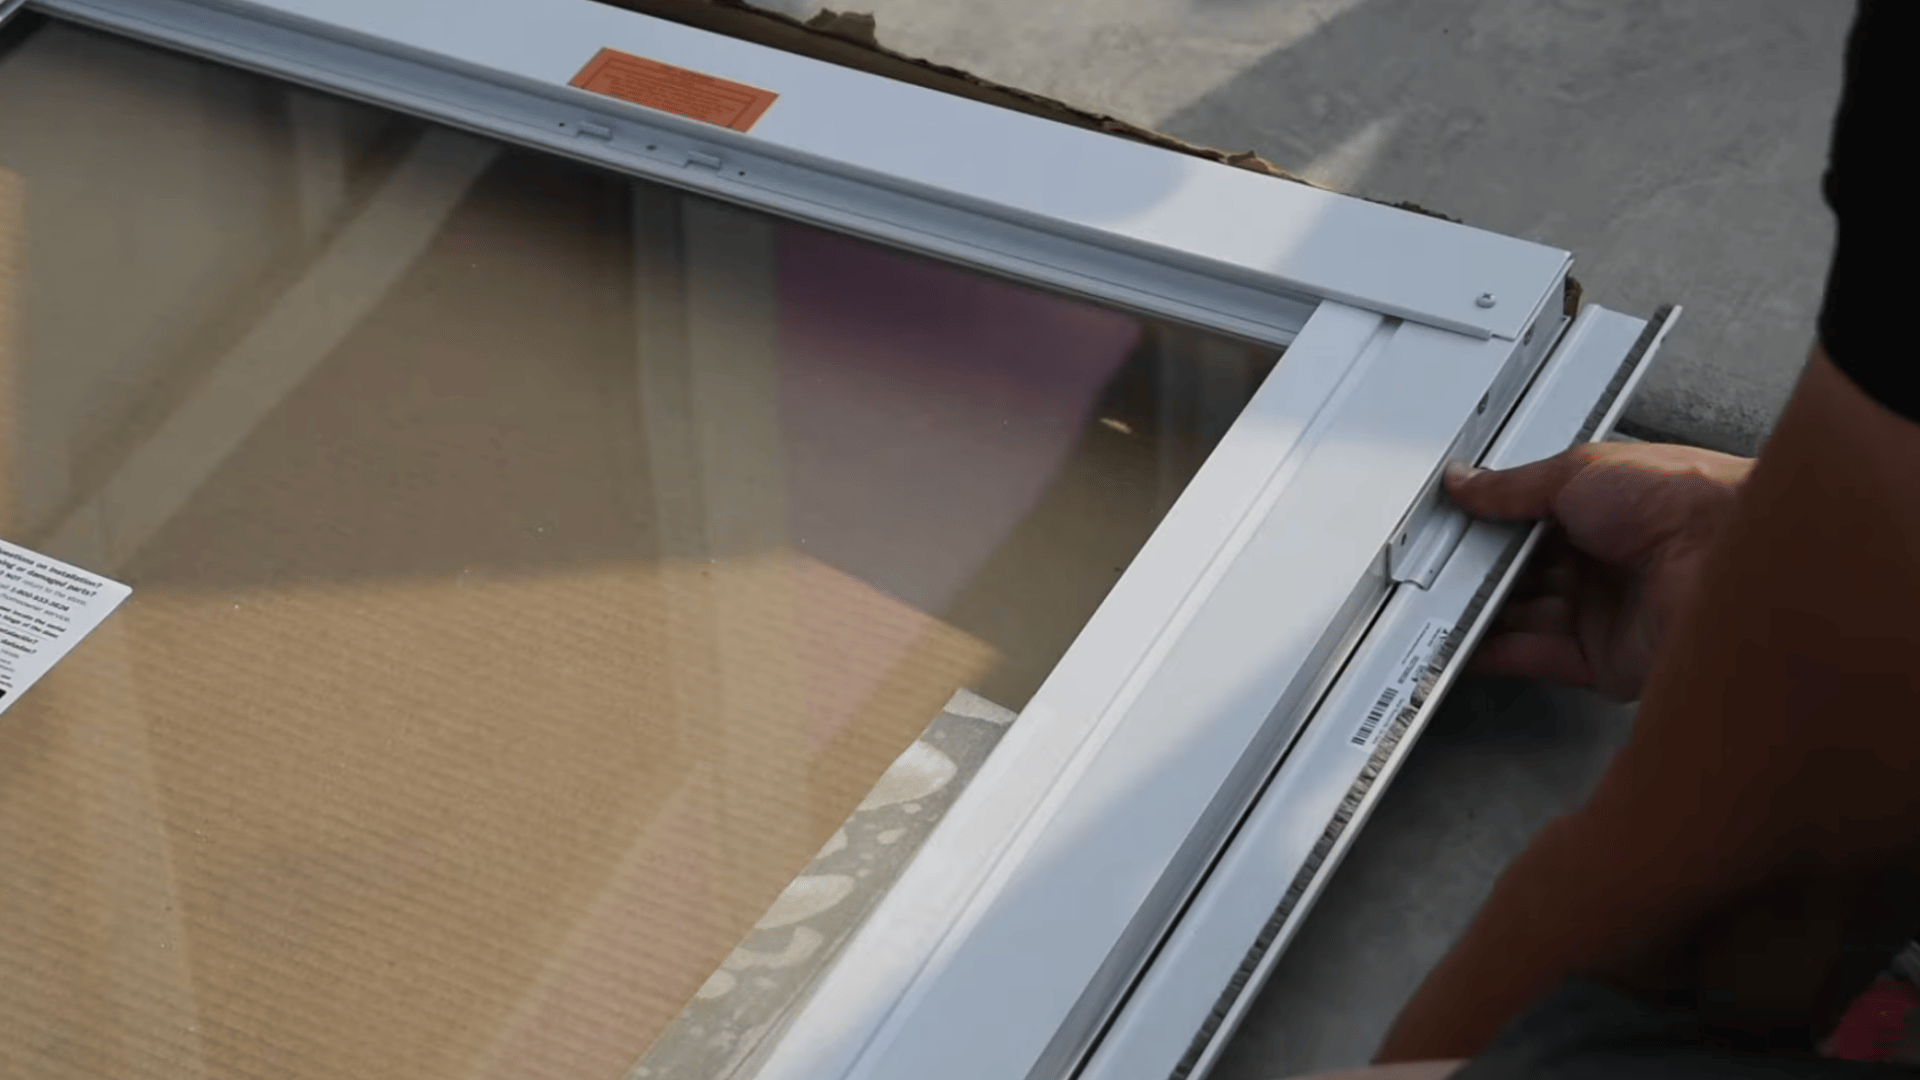
Place the screen door flat on a clean work surface and decide which side will be the handle side.
Install the hinge rail on the opposite edge so the door opens in the intended direction. Check all labels to confirm the top and interior sides before fastening anything.
Position the hinge rail carefully, leaving about one-eighth of an inch above the top of the door, and secure it with the supplied screws in the predrilled holes.
Step 3: Install the Bottom Sweep and Spacers
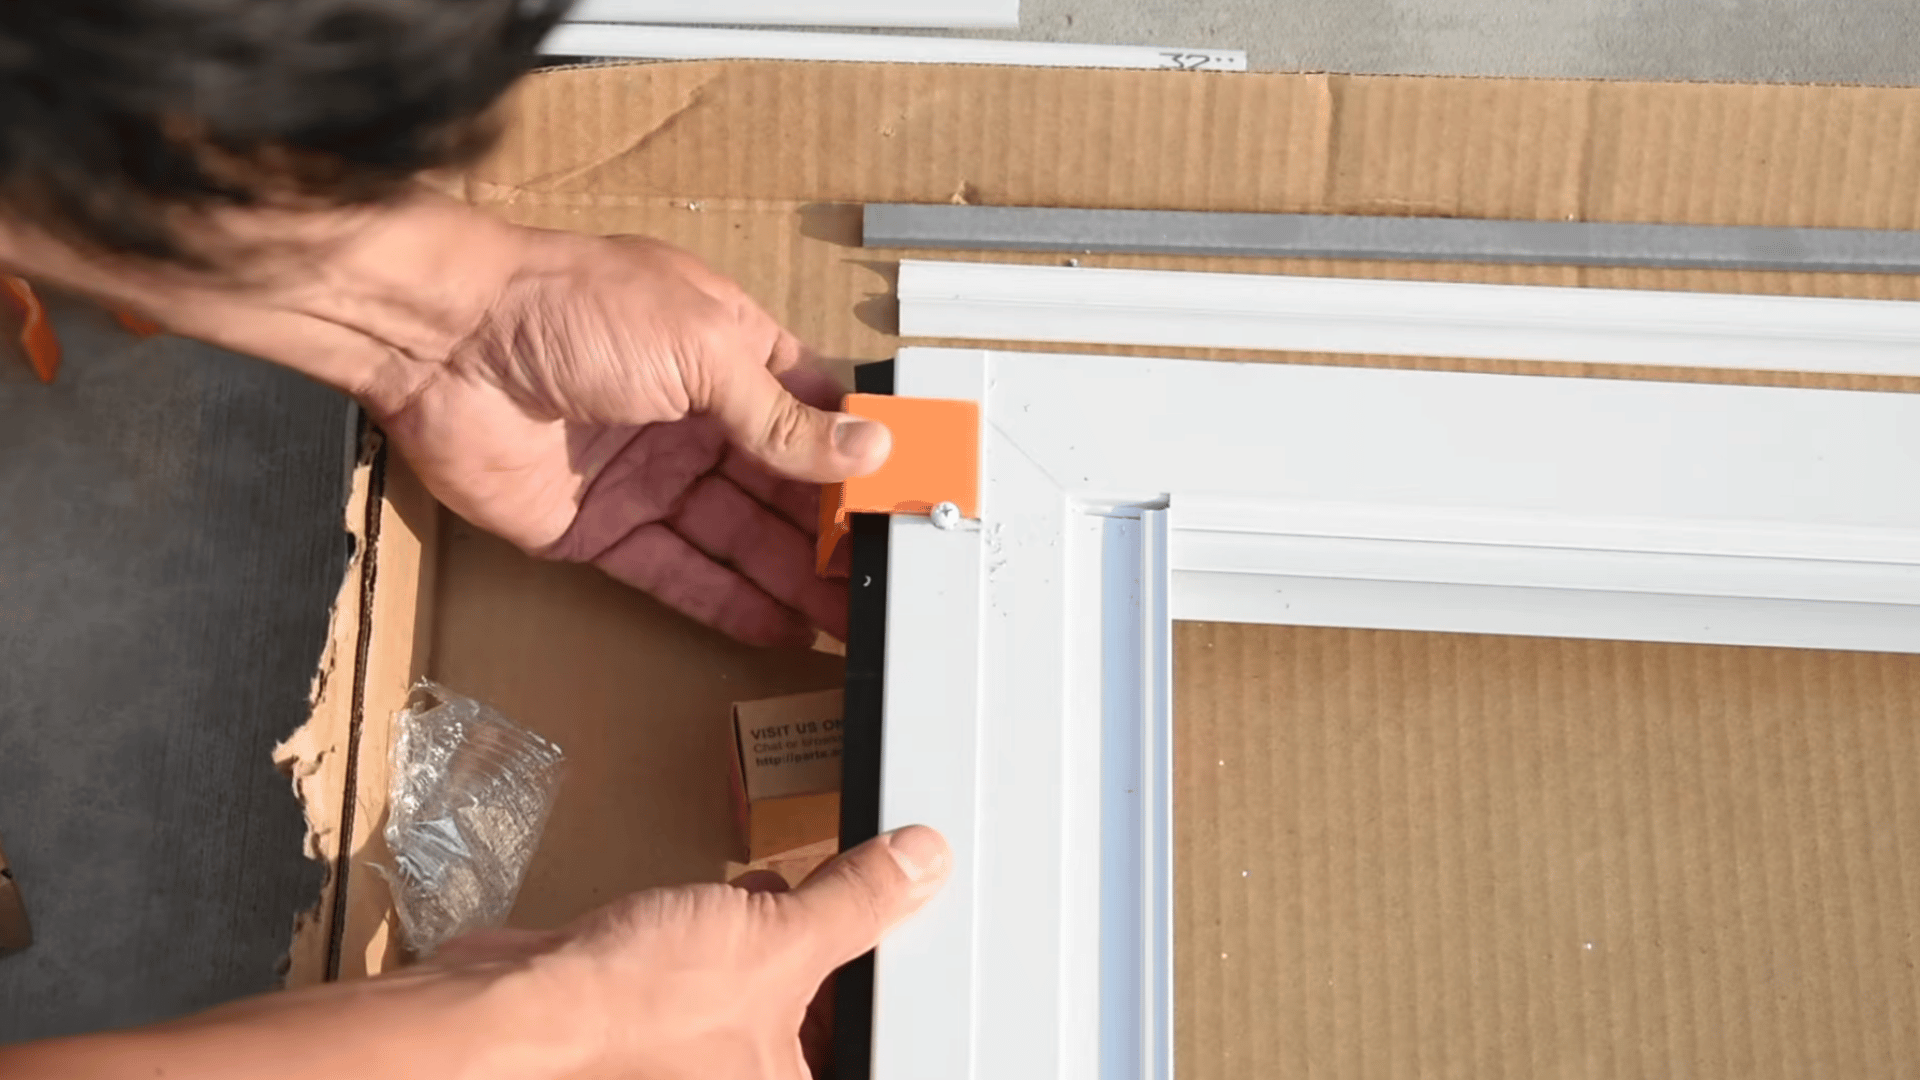
Slide the bottom sweep into the channel along the lower edge of the door and attach it loosely with the supplied screws.
Leave the screws slightly untightened because the sweep height will need adjustment after the door is hung.
Next, attach the temporary installation spacers near the bottom and along the hinge side.
These spacers create an even gap between the door and frame, helping maintain proper alignment while the mounting rails are secured.
Step 4: Position and Secure the Door in the Frame
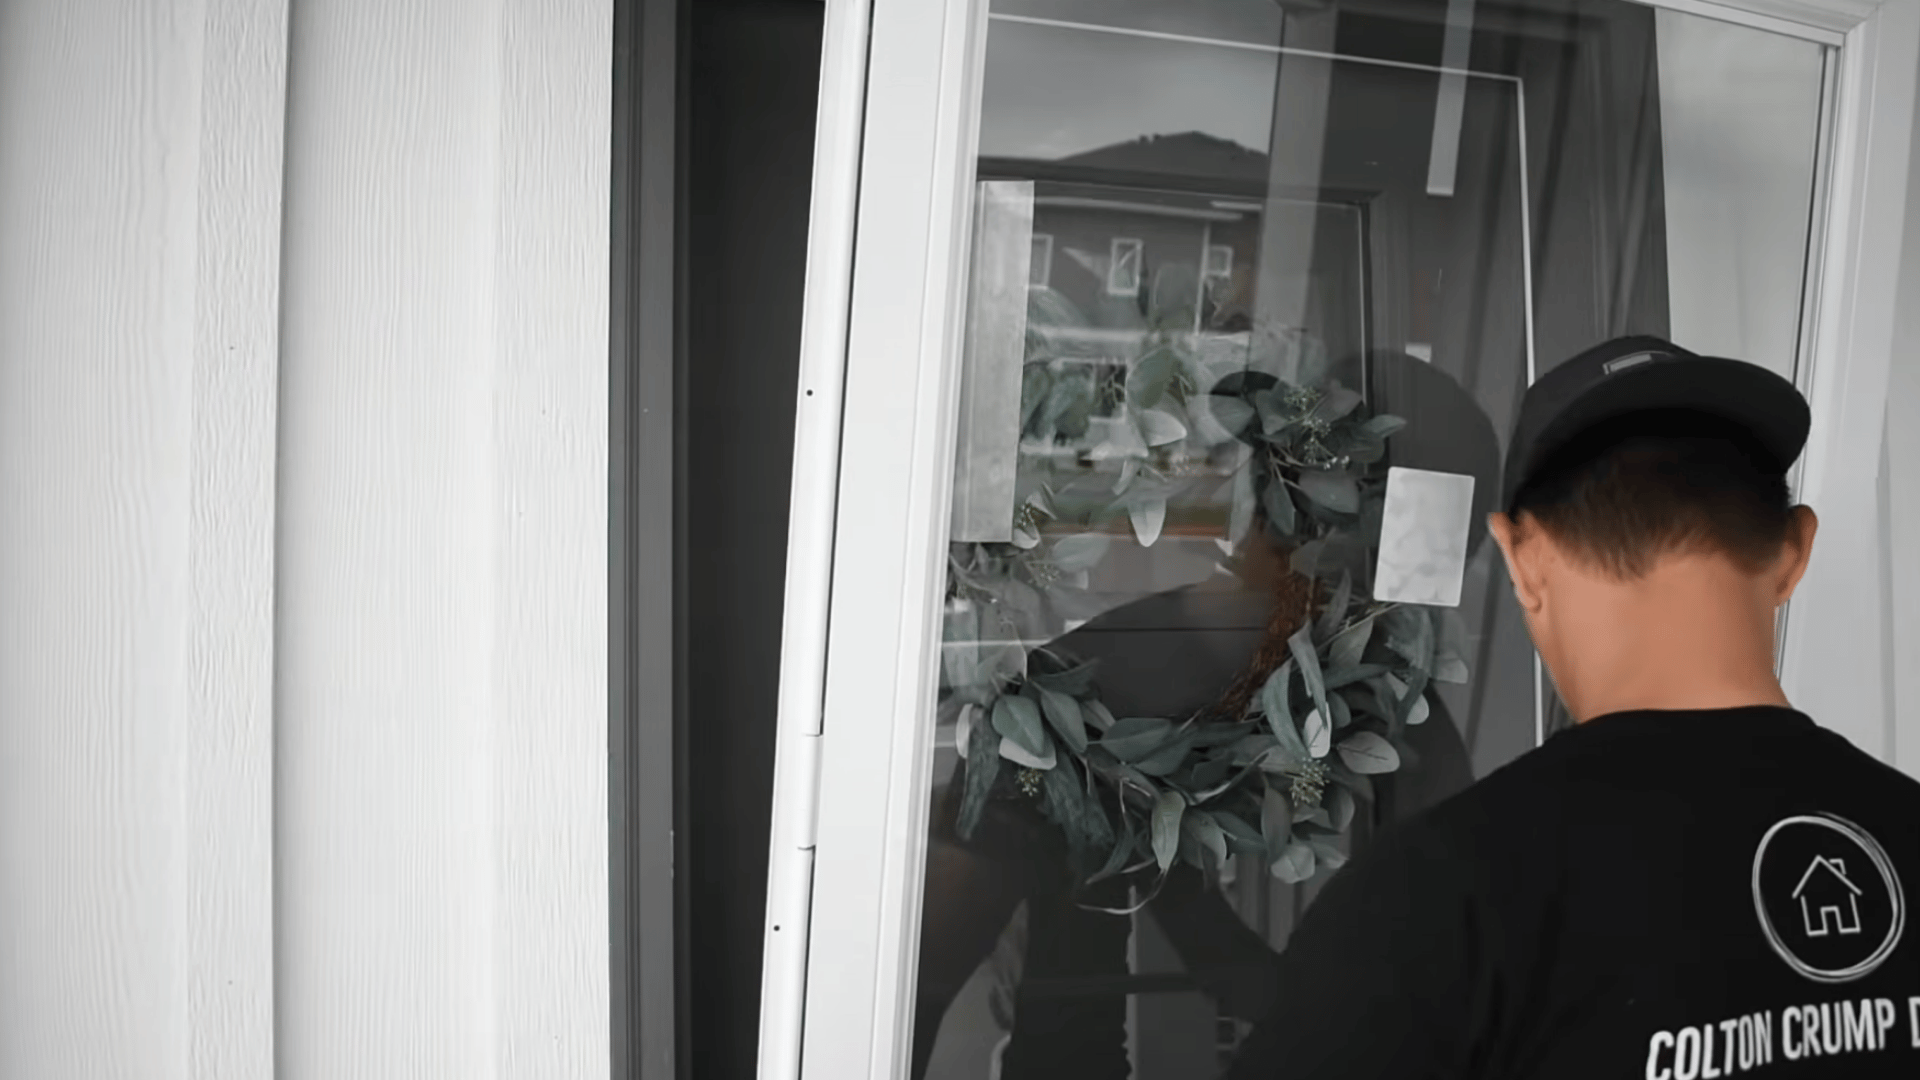
Lift the assembled door into the opening with the interior side facing the house. Rest it on the temporary spacers and hold the hinge rail firmly against the exterior trim.
Use a level to confirm that the rail is straight and the door sits evenly within the opening.
Start with one upper screw, recheck the alignment, then drive the remaining mounting screws through the hinge rail into solid wood without overtightening.
Step 5: Attach the Top and Latch-Side Rails
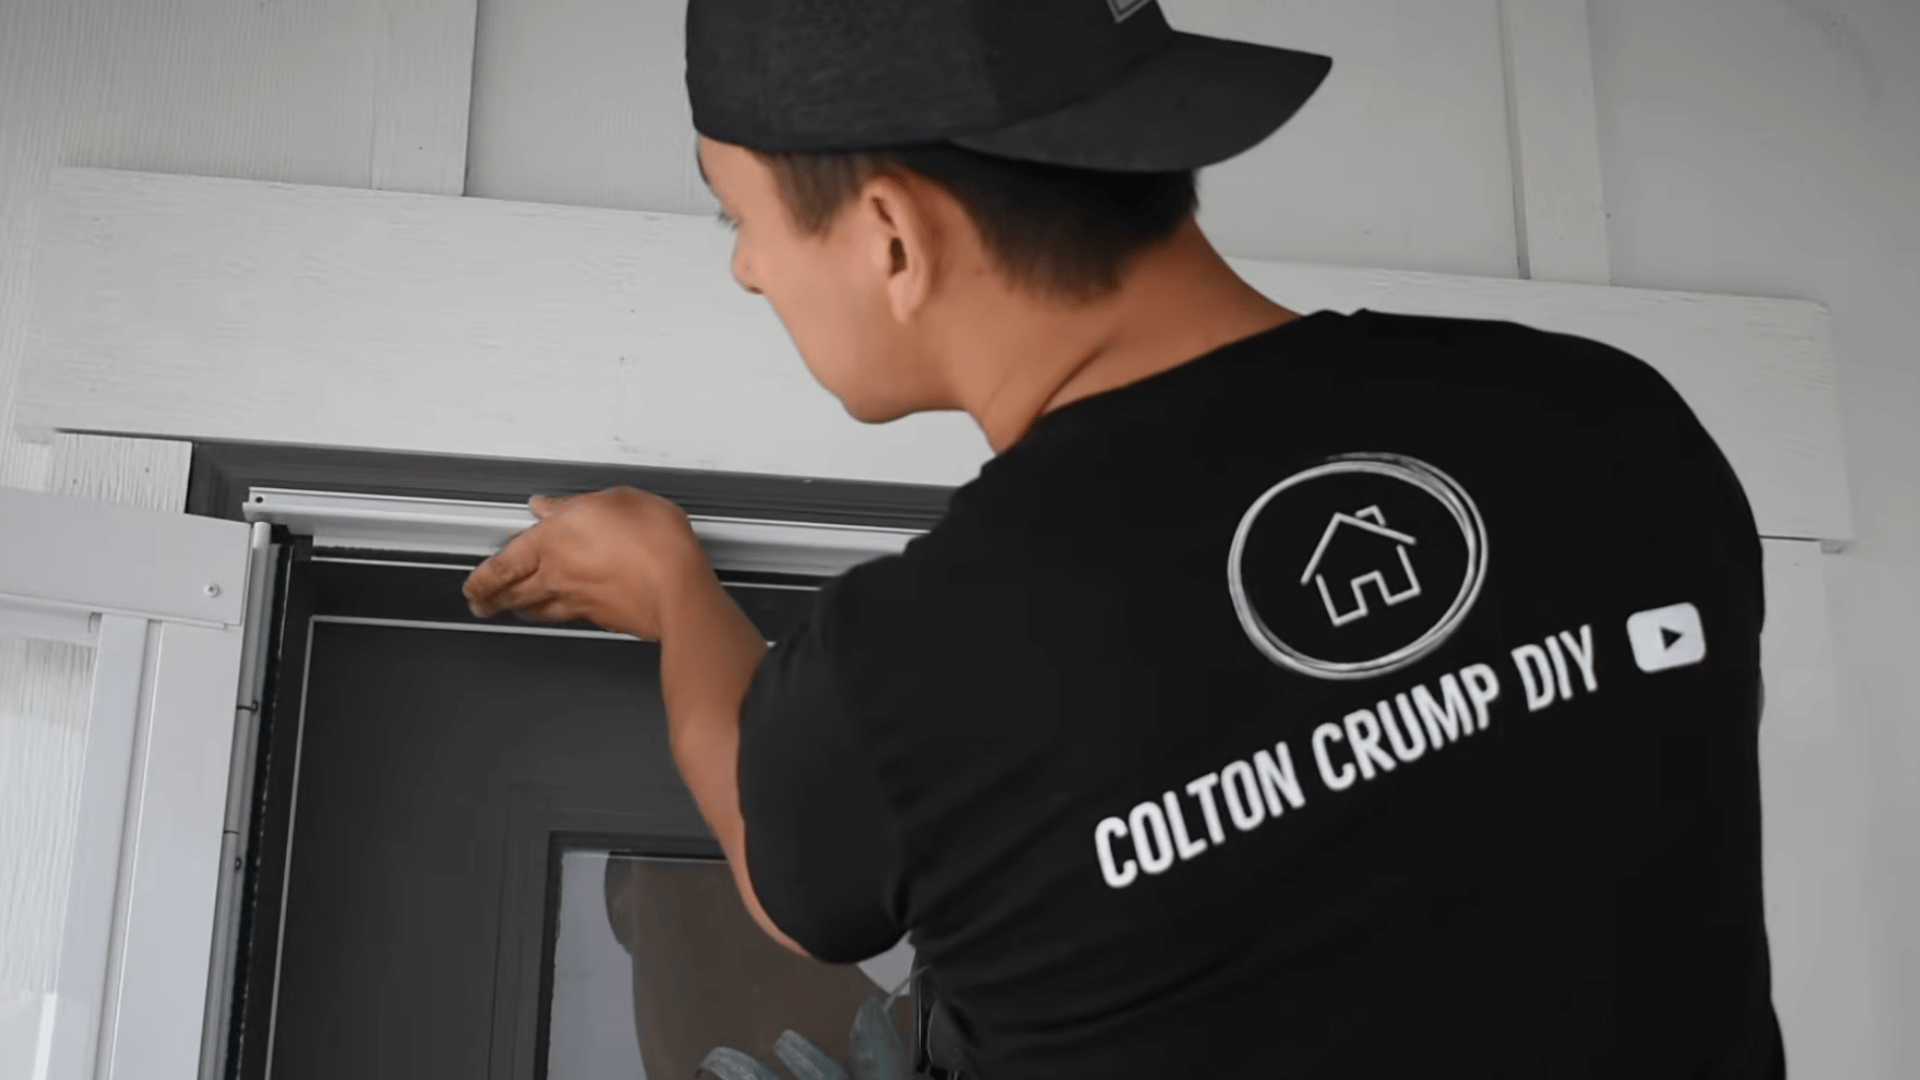
Position the top rail above the door with the weatherstripping facing inward so it presses against the door when closed.
Keep the rail level, fasten it to the frame, and add the decorative cover if included. Place temporary adhesive spacers along the latch side, close the door, and align the side rail against the spacers.
Secure the rail with screws while maintaining an even gap from top to bottom for smooth operation.
Step 6: Drill the Handle Holes and Install the Hardware
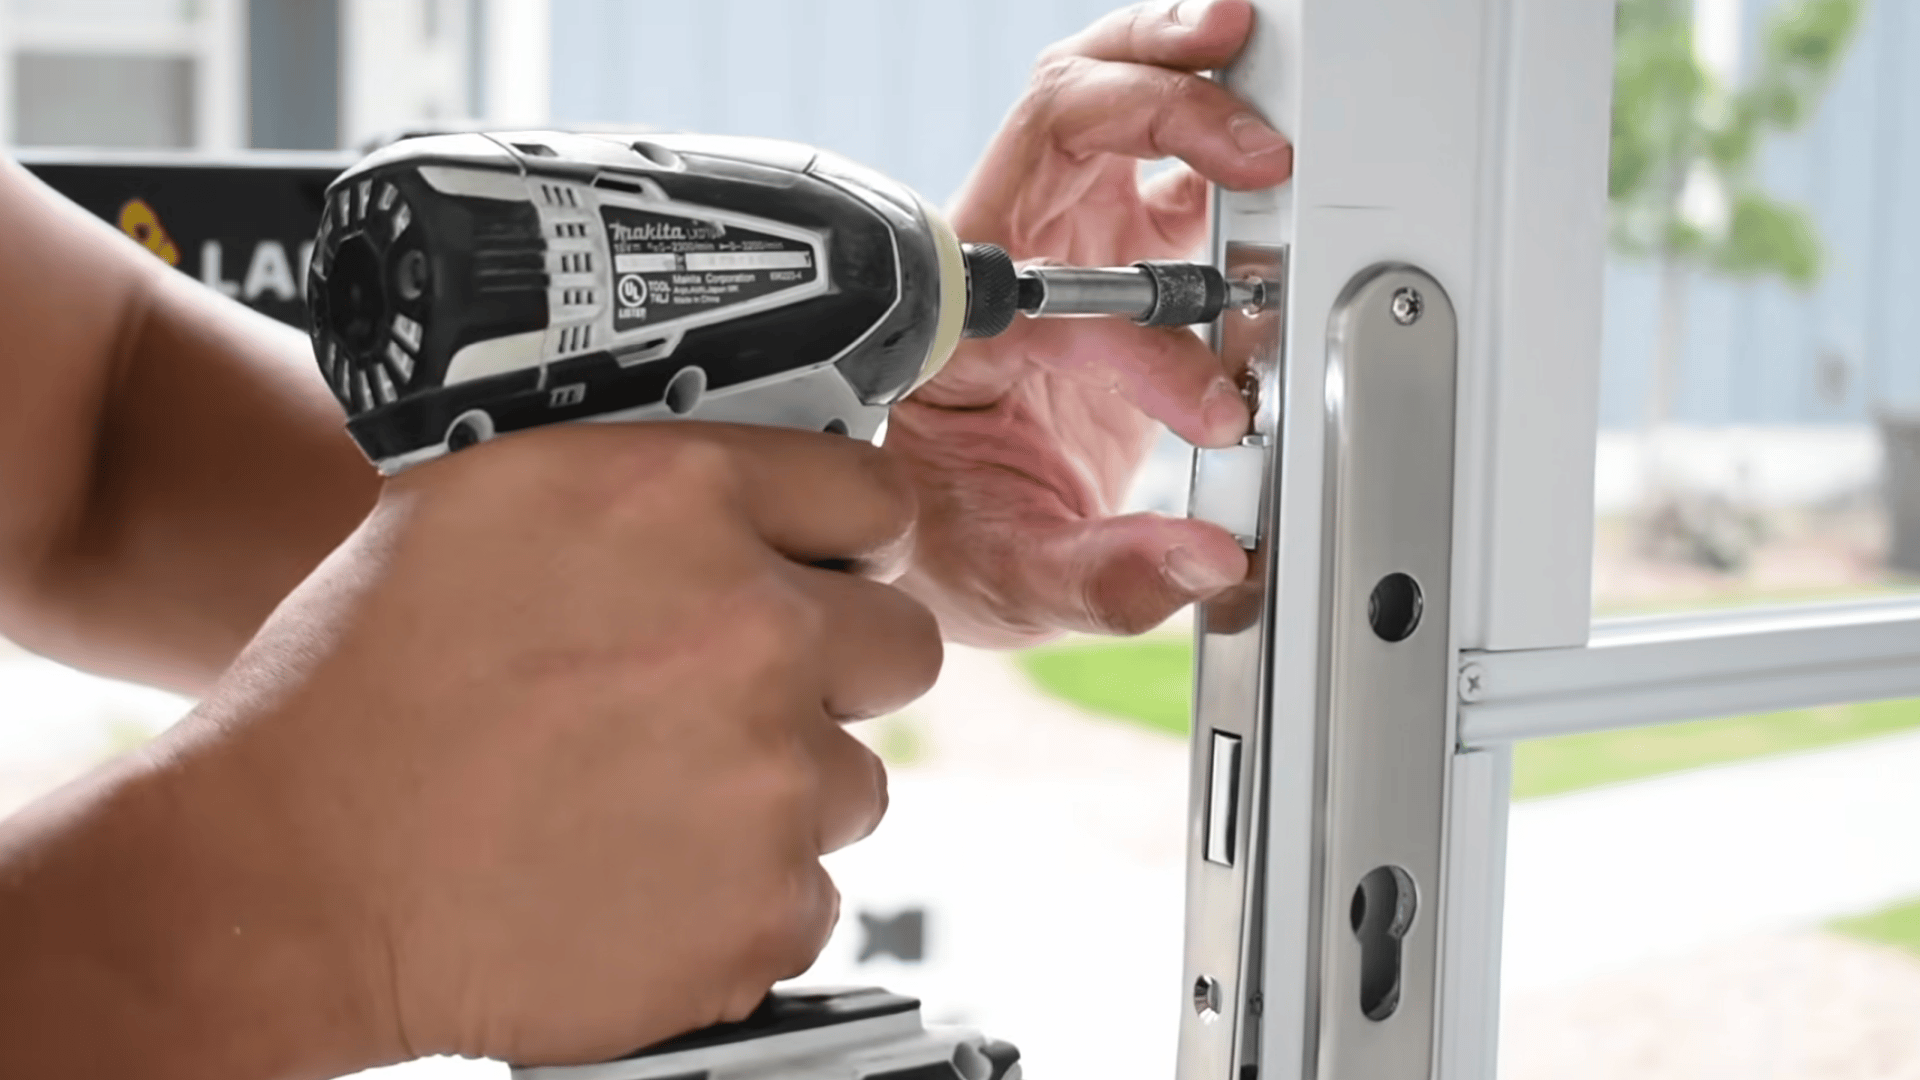
Align the manufacturer’s drilling template with the marked or predrilled locations along the door edge.
Tape it securely so it does not shift, mark each hole, and drill small pilot holes before making the full openings. Attach the exterior and interior handle plates, spindle, latch, and locking parts in the correct order.
Close the door to locate the strike plate, then secure it to the latch-side rail and test the lock.
Step 7: Adjust the Sweep and Install the Door Closer
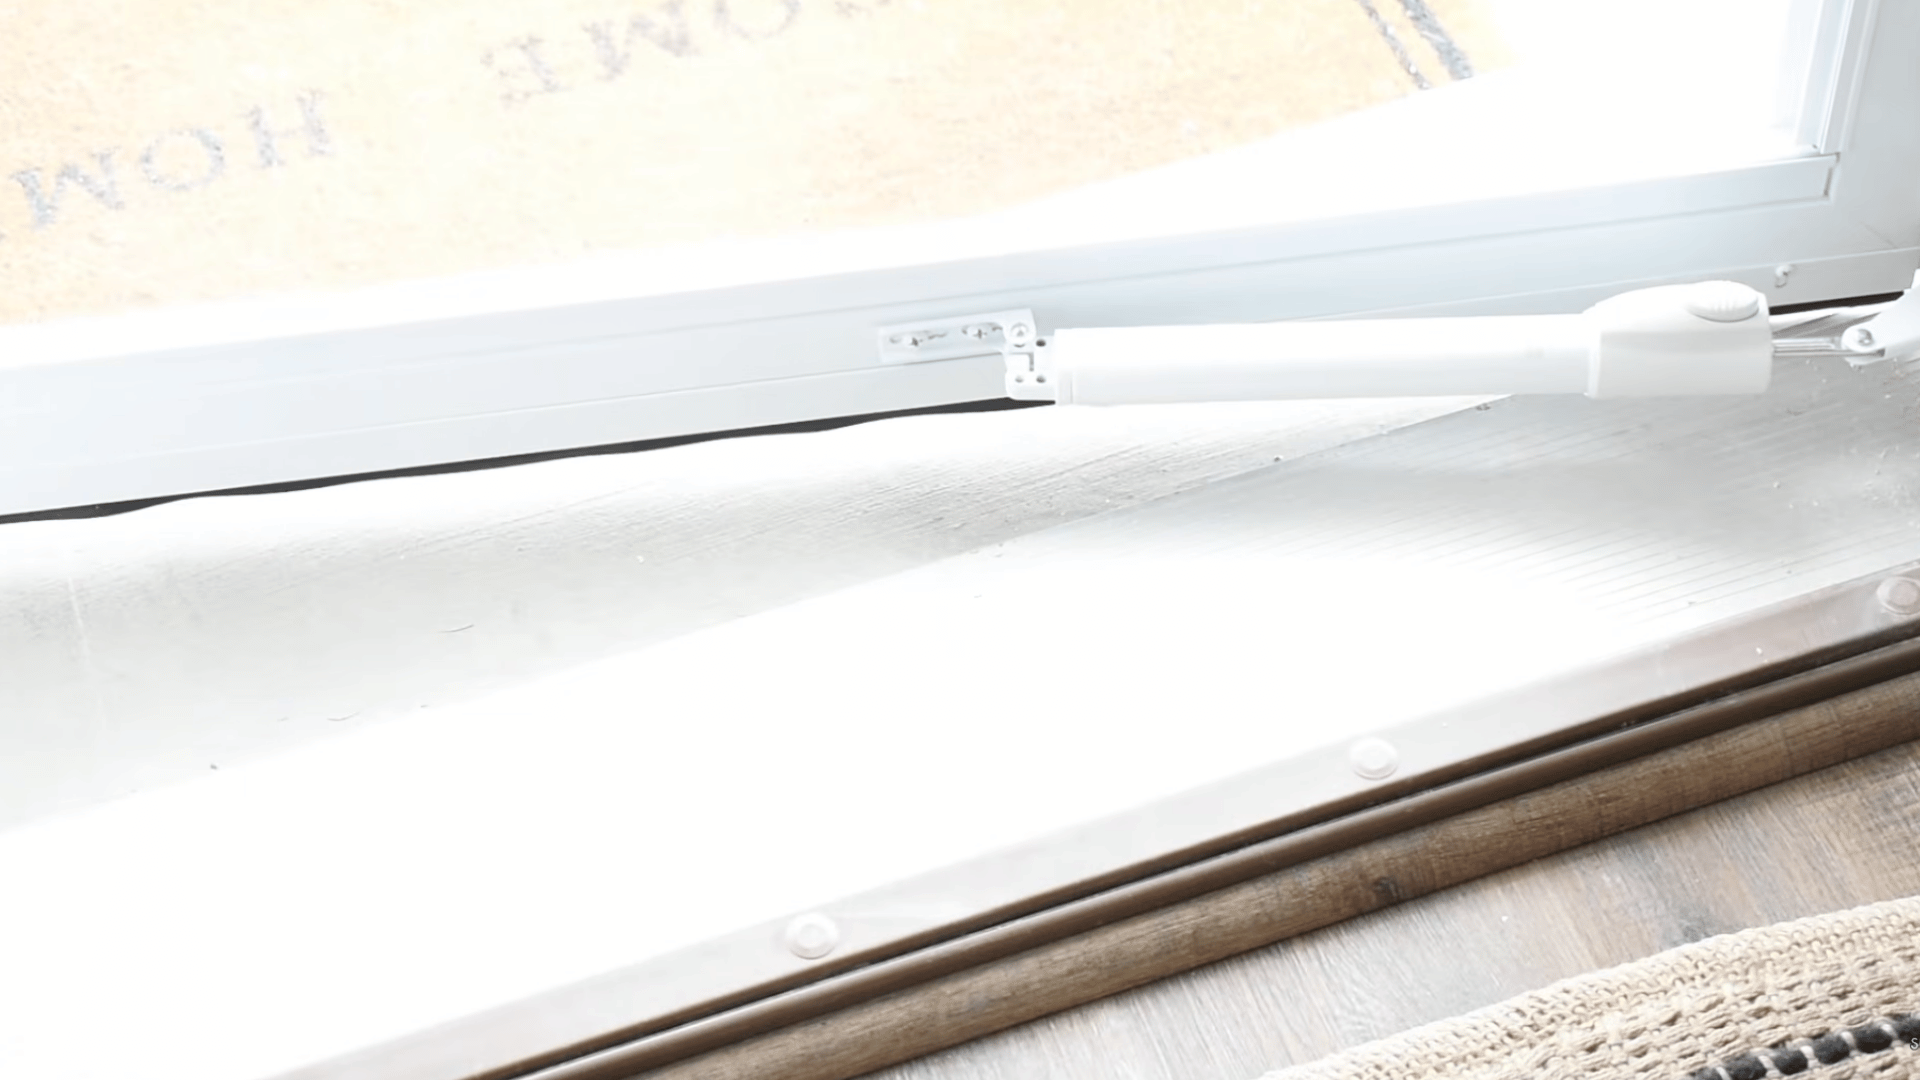
Close the door and lower the bottom sweep until it lightly touches the threshold without bending or dragging. Tighten the sweep screws once the gap is sealed evenly.
Position the closer bracket on the door jamb according to the supplied template and fasten it securely.
Connect the hydraulic or pneumatic closer using the included pins, attach the second bracket to the door, and adjust the control screw until the door closes smoothly without slamming.
Step 8: Add the Trim and Test the Door
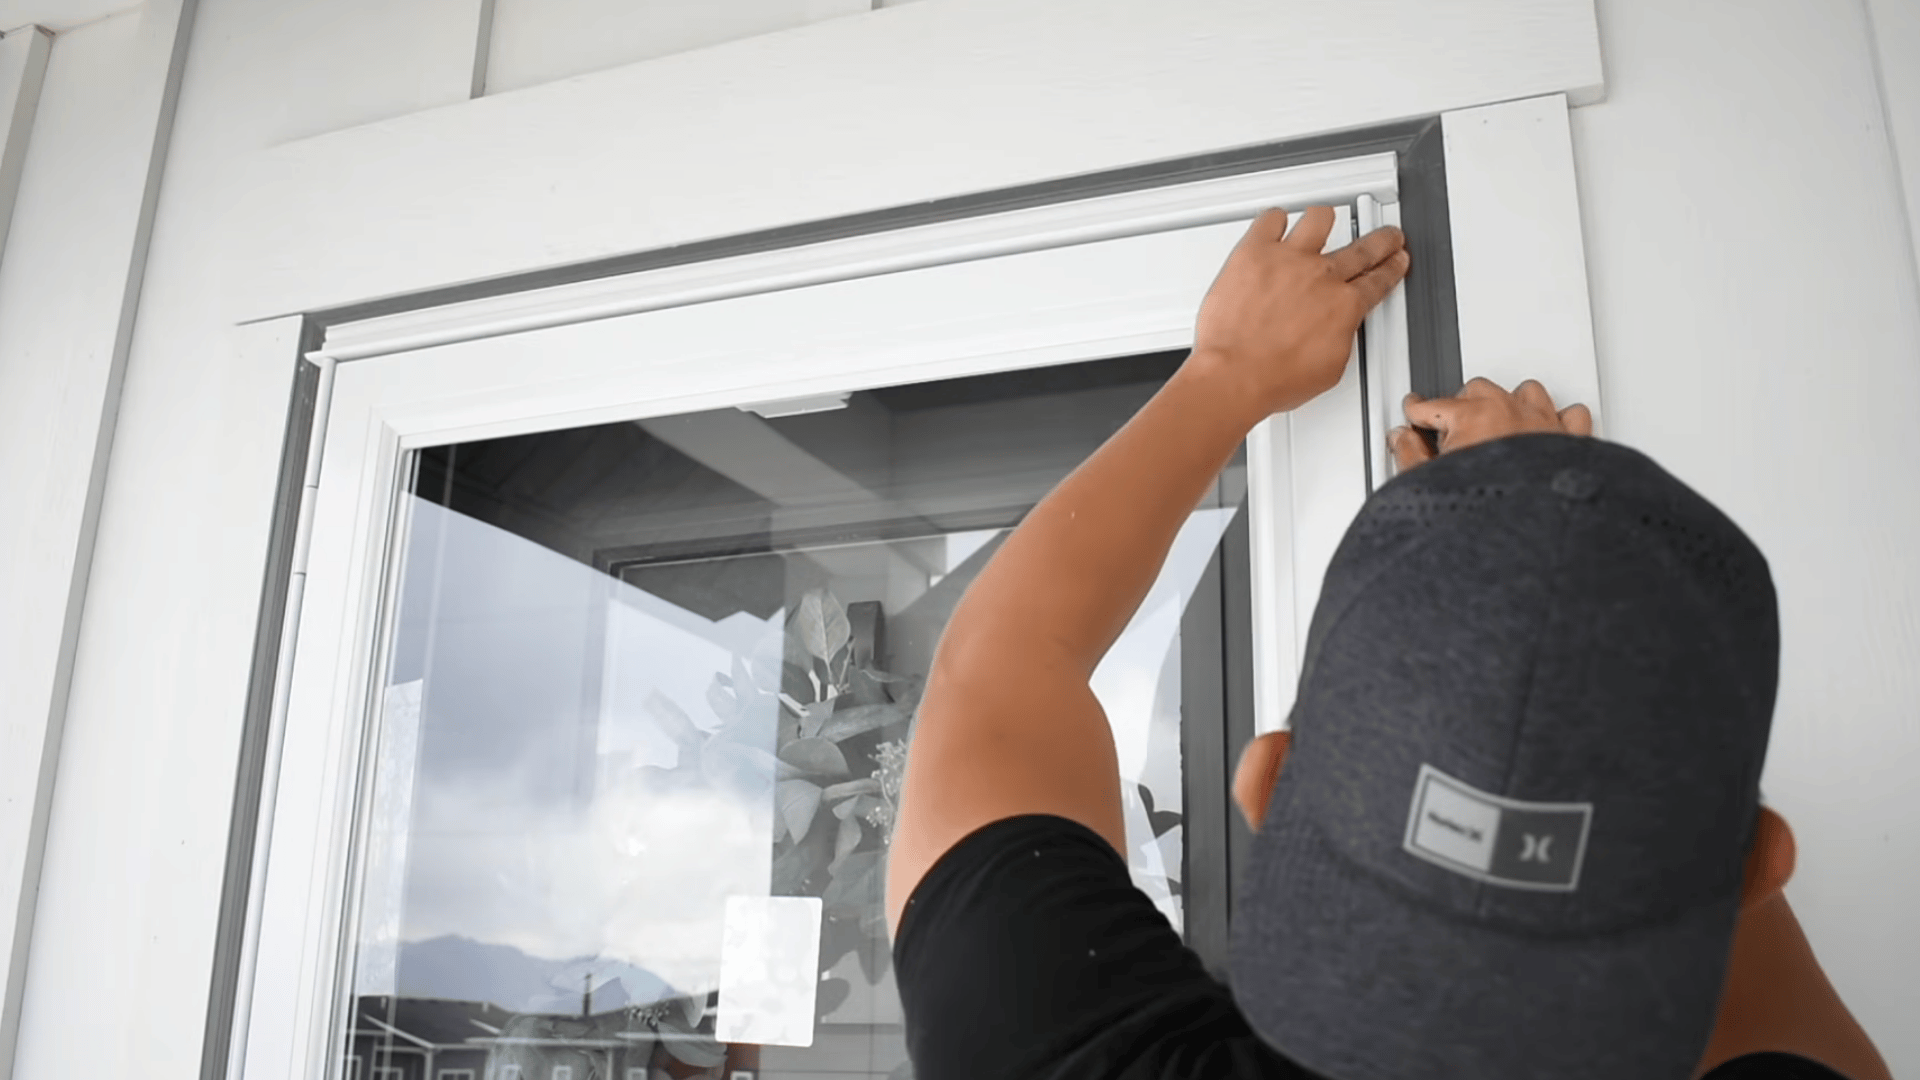
Snap the trim covers over the exposed screws along the hinge, top, and latch-side rails to create a finished appearance.
Remove all labels, protective film, adhesive spacers, and packing materials.
Open and close the door several times while checking the handle, latch, bottom sweep, screen, and closer.
Adjust any rail, strike plate, or closer setting that causes rubbing, gaps, slow movement, or slamming before considering the installation complete.
This tutorial is based on a helpful video by Colton Crump DIY. You can check out the original video below for a more detailed visual guide:
Installing a Sliding Screen Door
A sliding screen door fits into the upper and lower tracks, and then the rollers are adjusted until the door glides smoothly and latches securely. Clean tracks and properly aligned rollers are essential for trouble-free operation.
- Inspect and Clean the Tracks: Vacuum the upper and lower tracks, remove any buildup of dirt and debris, and check for bent or damaged sections that could affect the door’s movement.
- Check the Roller Position: Identify the spring-loaded rollers and locate the adjustment screws before placing the door into the frame. This makes installation and leveling much easier.
- Insert the Door Into the Upper Track: Tilt the door slightly and lift the top edge into the deepest part of the upper track before positioning the bottom edge.
- Place the Bottom Rollers on the Track: Retract or lift the rollers with a screwdriver or putty knife, then guide them onto the lower track. Ensure both rollers sit properly before releasing them.
- Adjust the Roller Height: Turn the adjustment screws a little at a time until the door is level, slides freely, and remains securely seated in the track.
- Install the Handle and Strike Plate: Attach the handle using the predrilled holes, close the door to mark the latch position, and fasten the strike plate to the frame.
- Lubricate and Test the Door: Apply a dry lubricant approved for sliding door rollers, then open and close the door several times to check for smooth operation and proper latching.
How to Install a Magnetic Screen Door?
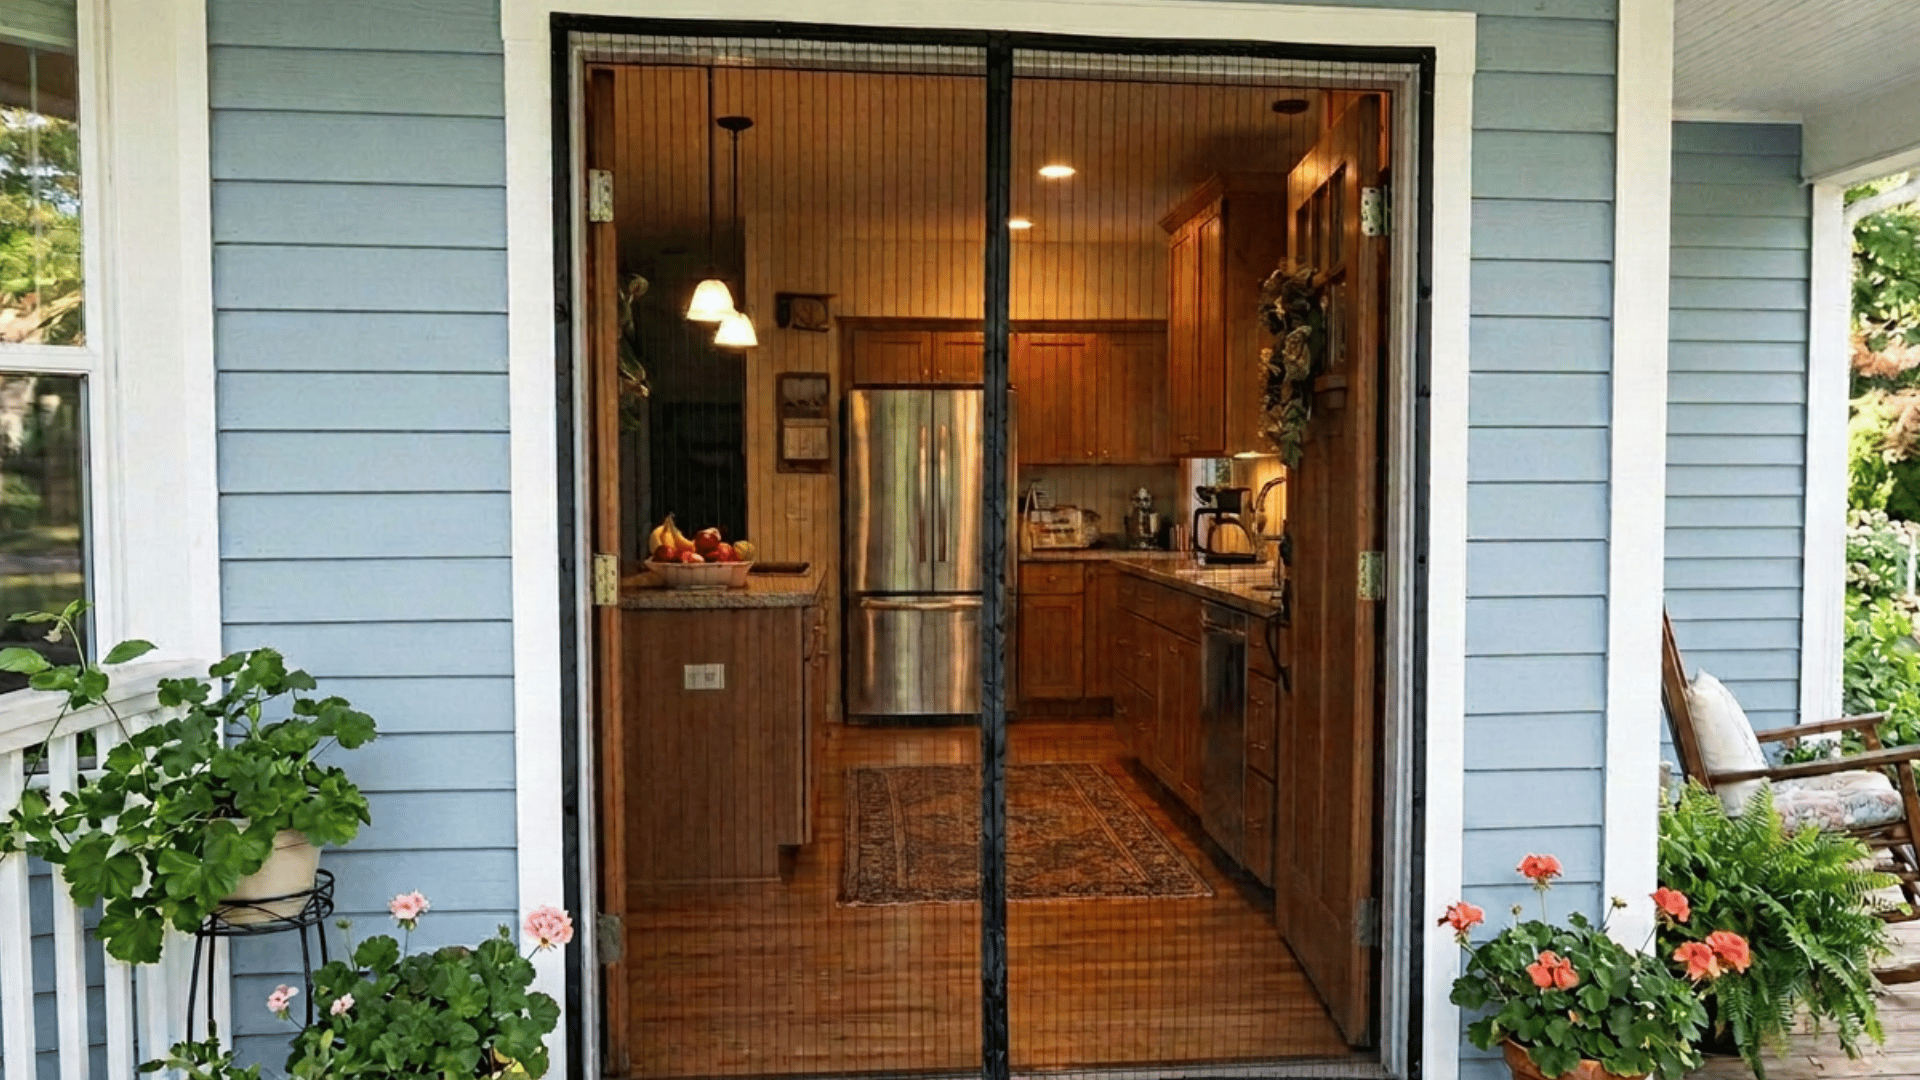
Installing a magnetic screen door is quick and requires only a few basic steps. Start by confirming the screen matches your doorway size, then clean and dry the door frame so the adhesive strips stick securely.
Attach the hook-and-loop strips to the top and sides of the frame.
Align the magnetic seam with the center of the doorway, keeping the center slightly higher than the outer edges to help the magnets close properly.
Secure the top section first, then press the sides into place from the top down to prevent wrinkles.
If the instructions allow it and your frame is made of wood, add the included tacks for extra support.
Finally, walk through the screen several times to ensure the magnets reconnect fully and the screen opens and closes smoothly.
French Door Screen Installation
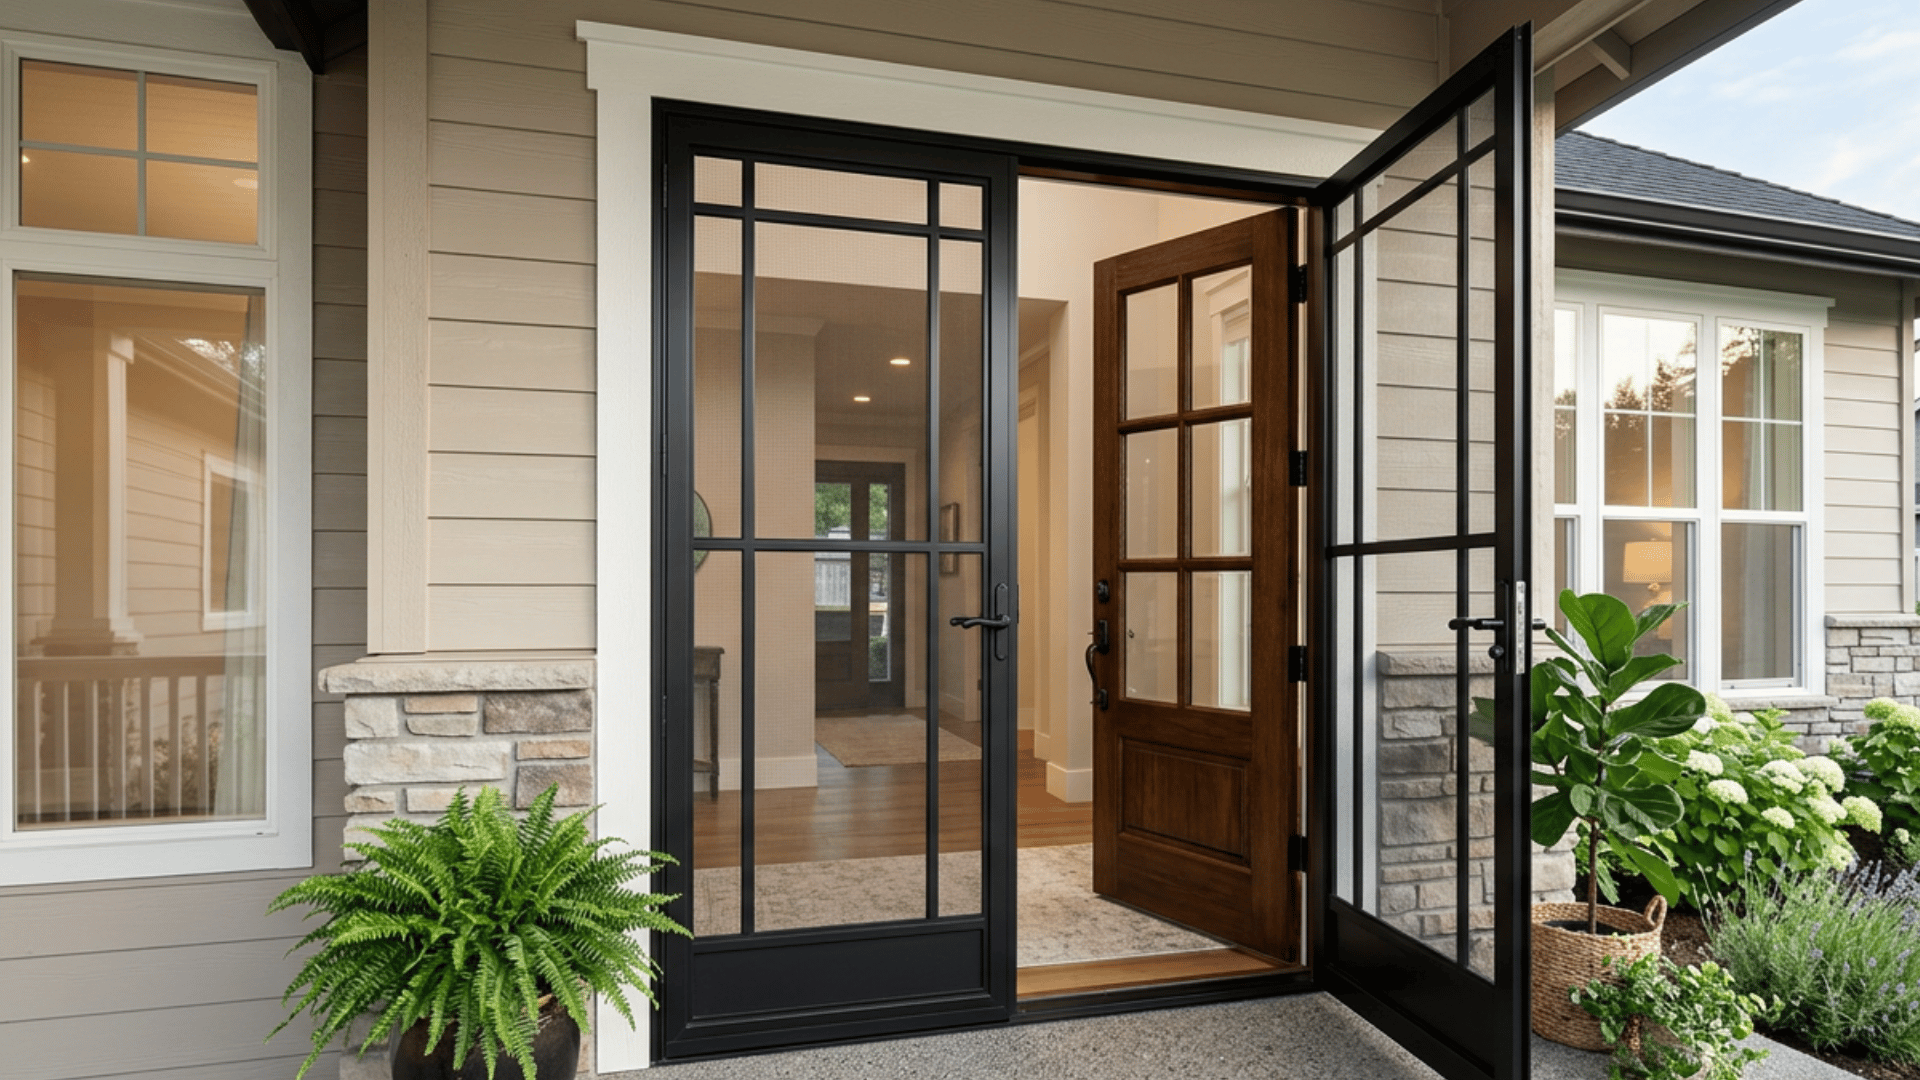
French doors require a screen system that allows both doors to function while maintaining a secure seal. Follow these steps to choose the right setup and install it correctly.
- Choose the Right French Door Screen System: Select a screen system that fits your doorway, such as two hinged panels, double retractable screens, magnetic screens, or a fixed-and-active panel combination.
- Identify the Active and Passive Door: Determine which French door is opened most often. The active door is used for daily access, while the passive door typically stays closed and is secured with flush bolts or an astragal.
- Install the Hinged Screen Panels: Mount each screen door to the outer door jamb, ensuring both panels are level. Leave an even gap where the two doors meet for smooth operation.
- Attach the Center H-Channel or Astragal: Secure the center channel to the passive screen panel to provide a solid surface for the active panel to close and latch against.
- Install Flush Bolts on the Passive Panel: Add upper and lower flush bolts to keep the passive screen door firmly in place while still allowing it to open when you need the full doorway.
- Align the Active Door Latch: Install the handle and strike plate, then adjust them until the active screen door closes securely against the center channel and operates smoothly.
How to Install a Retractable Screen Door?
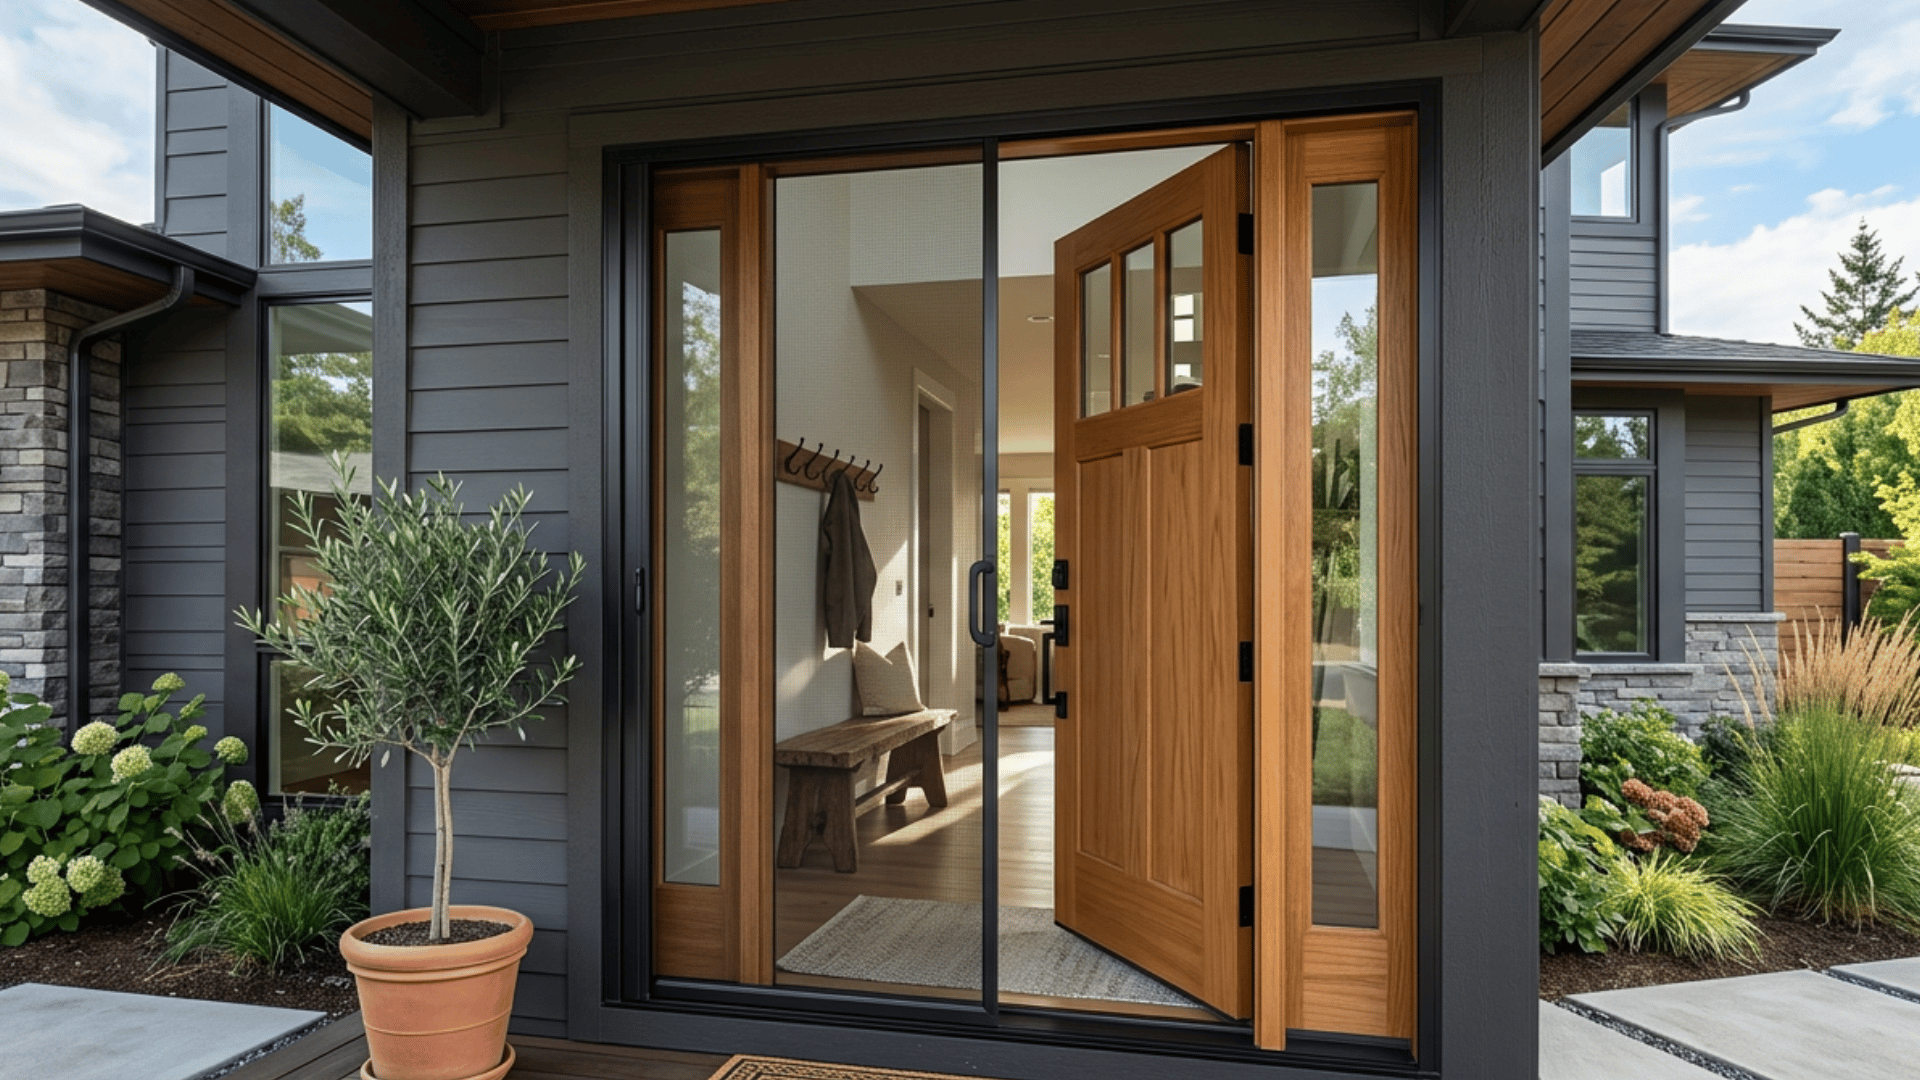
A retractable screen door is installed by mounting the screen housing, attaching the guide rails, and adjusting the latch for smooth operation.
Careful alignment during installation helps the screen retract easily and close securely.
Begin by assembling the screen housing, including the cassette, pull bar, handles, and end pieces according to the manufacturer’s instructions.
Measure the doorway and cut the guide rails to the correct length with square, clean cuts.
Mount the housing vertically using the supplied clips or screws, then install the top and bottom tracks, ensuring they remain level and aligned.
Position and secure the latch or magnetic catch after confirming the screen closes correctly.
Finish by opening and closing the screen several times, making any recommended adjustments to the housing, rails, or spring tension until the screen retracts and latches smoothly.
Screen Door Adjustments After Installation
Even with careful installation, a screen door may need a few adjustments after regular use. Identifying the problem early and making the right fix helps the door open, close, and latch smoothly while extending its lifespan.
| Problem | How to Fix It |
|---|---|
| The door rubs against the frame | Tighten loose hinges, adjust shims, sand swollen wood if needed, and check that the frame is square. |
| Won’t Close Properly | Inspect the closer tension, hinge alignment, latch position, and threshold clearance, and remove any obstructions. |
| Slams Shut Too Quickly | Adjust the pneumatic closer by turning the adjustment screw a little at a time until the closing speed is controlled. |
| The door won’t latch | Loosen and reposition the strike plate so it aligns correctly with the latch, then tighten the screws. |
| Gaps around the door | Check the door size, frame alignment, weatherstripping, bottom sweep, and magnetic-screen tension to improve the seal. |
| Sliding screen door sticks | Clean the tracks, inspect worn rollers, straighten minor track damage, and adjust the roller height for smoother movement. |
Tips for Maintaining Your Screen Door
Regular maintenance helps a screen door operate smoothly and extends its lifespan. A few simple checks throughout the year can prevent common issues like sticking, sagging, and torn screens.
- Clean the Screen Mesh: Remove dust and pollen with a soft brush, vacuum attachment, or mild soap and water.
- Keep Sliding Tracks Clear: Vacuum dirt and debris regularly to prevent roller damage and ensure smooth operation.
- Tighten Loose Hardware: Periodically check the handles, hinges, rails, latches, and door closer for loose screws.
- Lubricate Moving Parts: Apply a manufacturer-approved lubricant to the rollers, hinges, or other moving components as needed.
- Inspect for Screen Damage: Repair small tears or holes early to prevent them from becoming larger.
- Adjust the Door Closer: Fine-tune the closing speed if seasonal temperature changes affect its performance.
- Replace Worn Weatherstripping: Install new weatherstripping when gaps appear to keep out insects, drafts, and moisture.
- Protect Wooden Screen Doors: Repaint or reseal exposed wood when the finish begins to wear to prevent weather damage.
DIY Screen Door Installation vs Professional Installation
Choosing between DIY and professional installation depends on the condition of your doorway, the type of screen door, and your experience with basic home improvement projects.
| DIY Installation May Work When | Hire a Professional When |
|---|---|
| The doorway is square and free from structural damage. | The frame is rotten, warped, or structurally damaged. |
| The screen door is a standard size that matches the opening. | The opening requires a custom-sized screen door. |
| You have basic tools and are comfortable with simple installations. | Masonry drilling, reframing, or other structural work is required. |
| You’re installing a magnetic or standard sliding screen door. | You’re installing a complex storm door or double-door screen system. |
| The existing tracks, threshold, and trim are in good condition. | The tracks, threshold, or frame need to be repaired or replaced. |
| The manufacturer’s instructions are clear and easy to follow. | The door includes advanced locking hardware, electrical wiring, or other specialized features. |
Common Screen Door Installation Mistakes
Even a well-made screen door can perform poorly if it’s installed incorrectly. Avoid these common mistakes to ensure the door fits properly, operates smoothly, and lasts longer.
- Measuring the Doorway Only Once: Door openings are not always perfectly square, so measure the width and height at multiple points before buying a screen door.
- Installing the Wrong Door Swing: Incorrect hinge or handle placement can interfere with the entryway, making the door difficult to use.
- Skipping the Dry Fit: Failing to test the door and frame before fastening everything can lead to uneven gaps or rubbing.
- Mounting Hardware Into Weak Trim: Hinges and rails should be secured to solid framing so they remain stable over time.
- Driving Screws Without Pilot Holes: Installing screws directly into wood can split narrow trim and weaken the mounting points.
- Installing the Frame Out of Plumb: A crooked frame can prevent the door from swinging freely or latching correctly.
- Using the Wrong Lubricant: Greasy lubricants can collect dirt in sliding tracks, making the door harder to open and close.
- Ignoring the Manufacturer’s Instructions: Screen doors vary by model, so following the recommended hardware placement and clearance guidelines helps ensure a proper installation.
Conclusion
Installing a screen door is a practical upgrade that can improve ventilation, keep pests outside, and make your entryway more comfortable throughout the year.
The key is choosing the right type of screen door and taking the time to measure, align, and secure it correctly.
Even after installation, simple maintenance can help prevent common problems and extend the door’s lifespan.
Whether you decide to tackle the project yourself or hire a professional, careful planning leads to better results. If you’re ready to begin, use this guide as your reference and install your screen door with confidence.
Frequently Asked Questions
What Is the Average Cost to Install a Screen Door?
The Average Screen Door Installation Cost Ranges from $150 to $600, Including Labor. Prices Vary Based on Door Type, Materials, Hardware, and Any Modifications Required.
How Much Does Lowe’s Charge to Install a Screen Door?
Lowe’s Installation Pricing Varies by Location, Installer, and Door Type. Labor commonly starts at $100 to $300, while the Screen Door and Additional Materials Are Priced Separately.
Is It Easy to Replace a Screen on a Screen Door?
Replacing a Screen on A Screen Door Is Generally an Easy Diy Project. Most Homeowners Can Complete the Job in 30 to 60 Minutes using Replacement Mesh, Spline, and Basic Tools.
When Is the Best Time of Year to Install a Screen Door?
Spring and early fall are the best times to install a screen door because mild temperatures make installation easier and provide better ventilation before extreme summer or winter weather