

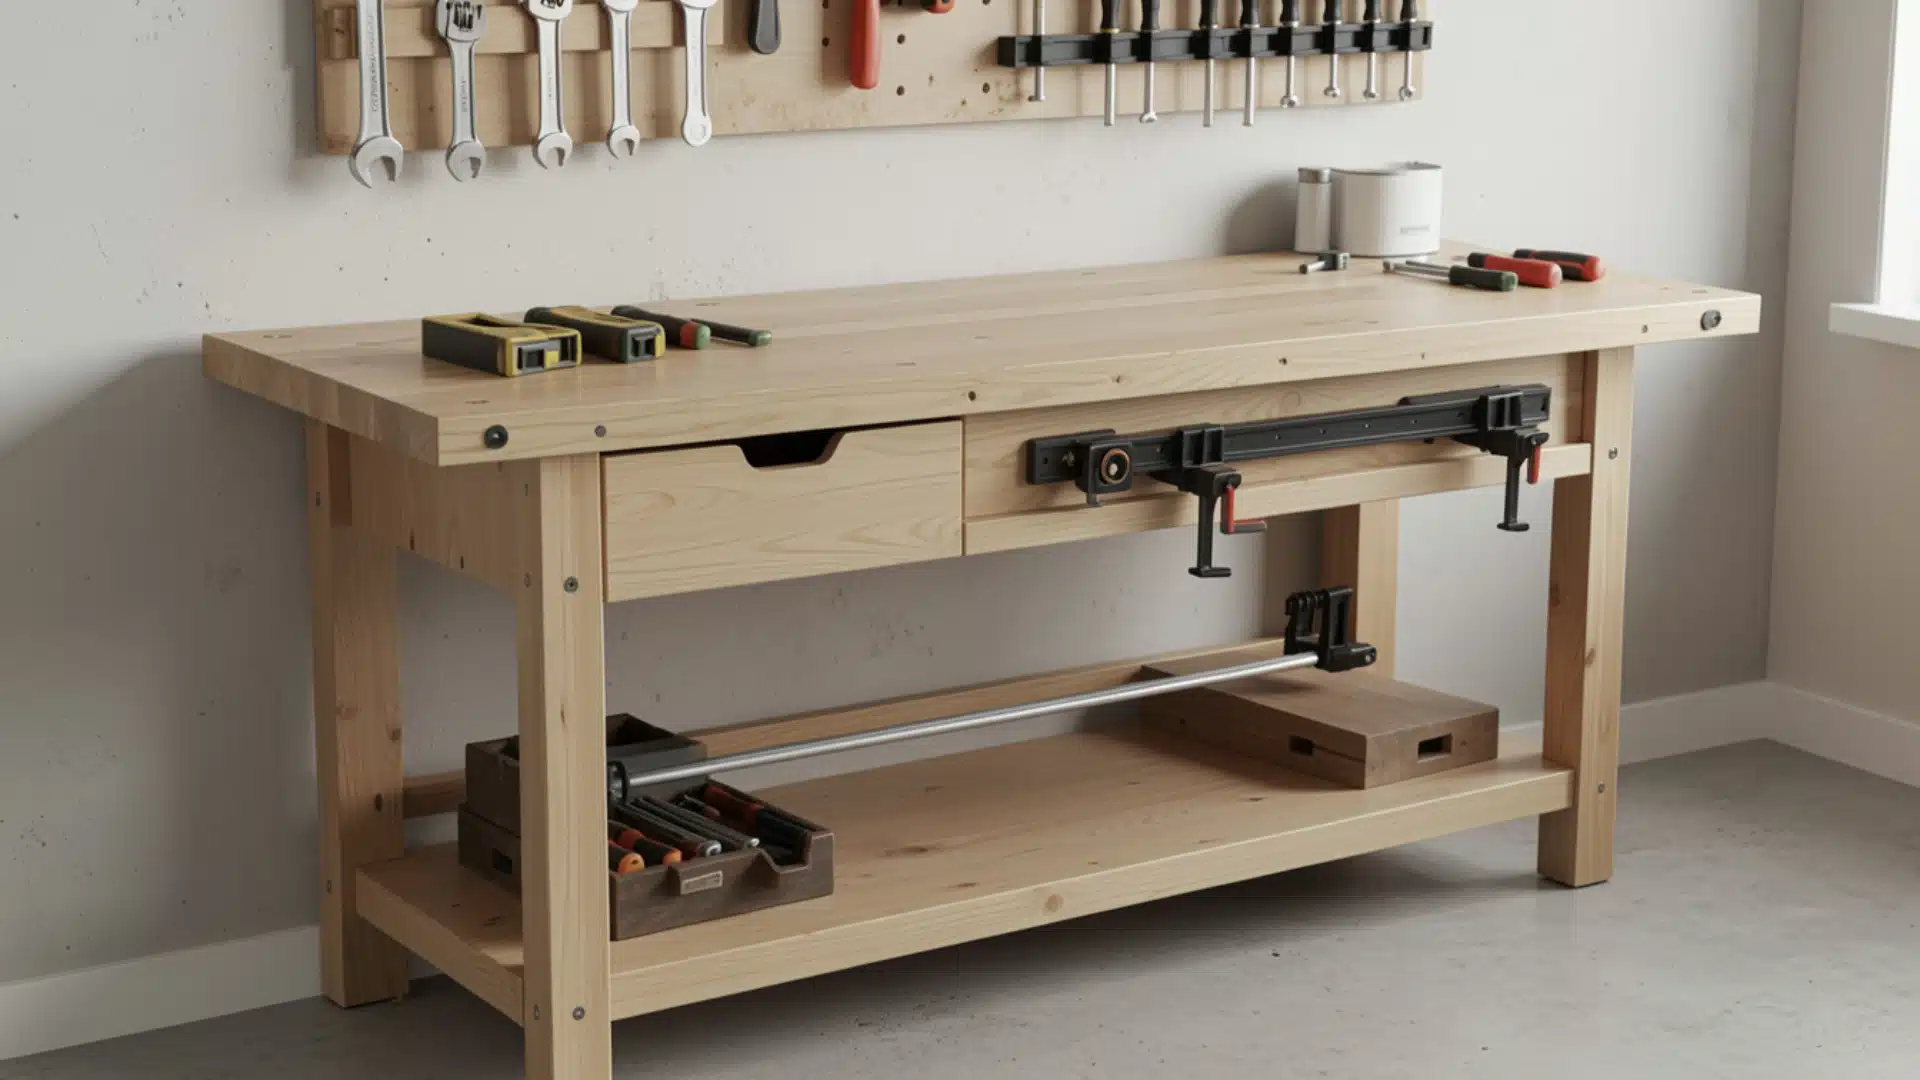
A sturdy workbench can change how your whole workspace feels. Instead of balancing projects on the floor or an old table, a well-built diy workbench gives you a solid place to cut, assemble, repair, and build with confidence.
The best part is that you do not need fancy joinery or expensive materials to make one. What matters is getting the frame square, supporting the top properly, and putting each part together in the right order.
You will work through the build from the first measurements to the final stability checks, with practical steps that keep the project simple, manageable, and worth the effort.
If this is one of your first hands-on builds, it is worth looking over a few practical DIY projects before you settle on a final design.
Which Workbench Type Fits Your Workshop?
The right workbench depends on how much space you have, what you usually build, and whether the bench needs to move. Instead of choosing by appearance alone, match the setup to your actual working habits.
- Simple Stationary Workbench: Best for dedicated workshops where stability matters most. A fixed frame handles sawing, drilling, hammering, and hand-tool work well.
- Mobile Workbench: Useful in shared garages or flexible spaces. Locking casters make it easy to move, but the frame needs strong bracing to reduce movement.
- Small-Space Workbench: Ideal for sheds, basements, and tight corners. Folding or wall-mounted designs help free up floor space when the bench is not in use.
- Workbench With Storage: Adds drawers, shelves, or compartments for tools and supplies. Keep storage positioned so it does not block legroom or clamping areas.
- Heavy-Duty Workbench: Built for planing, chiseling, vise work, and heavier projects. Thicker lumber and reinforced joints provide extra stability.
The best diy workbench is the one that fits your space, supports your usual projects, and makes everyday work easier without adding features you rarely use. If your setup lives in a shed rather than a garage, it also helps to turn that spot into a proper repurposed shed workshop space before you start cutting lumber.
How to Build Your DIY Workbench Step by Step
With your plan, materials, and tools ready, it’s time to start building. Follow these eight steps in order for a workbench that stays steady under real use.
Step 1: Plan Your Size, Materials, and Tools
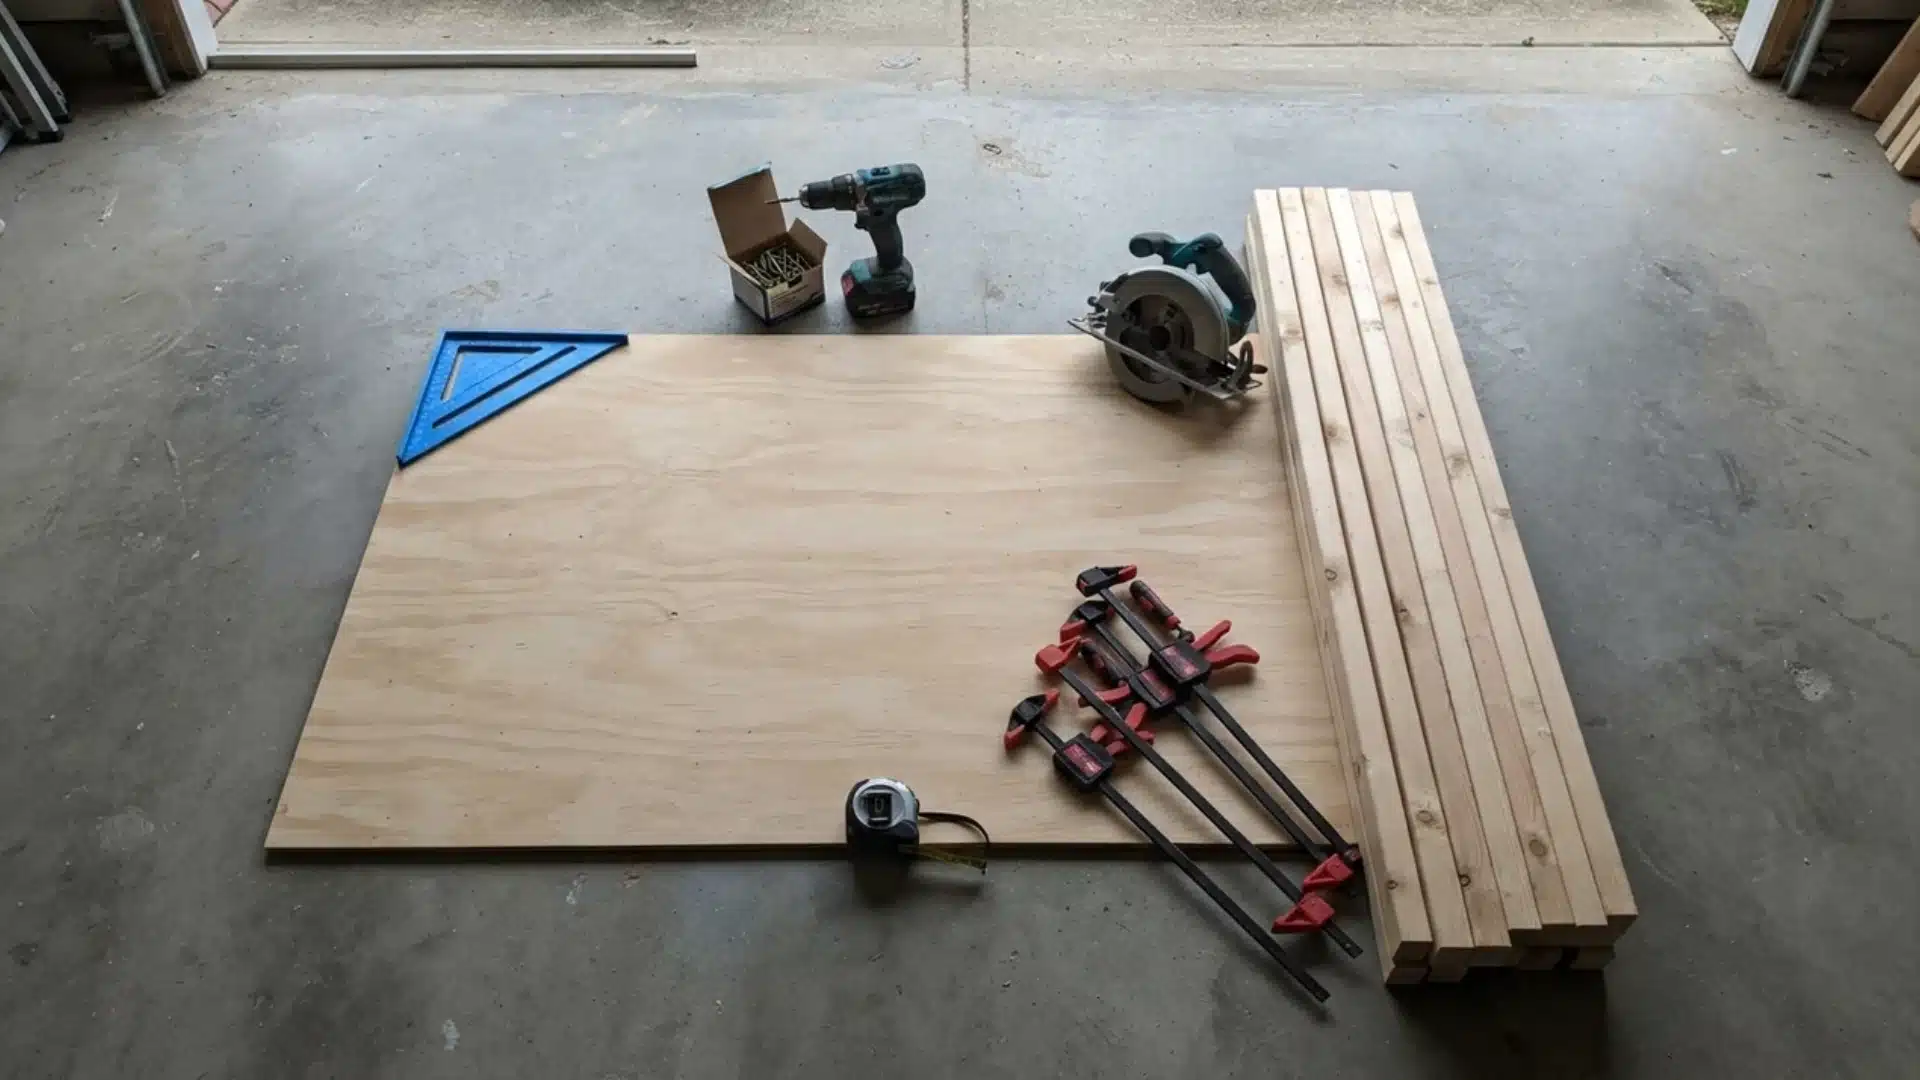
Start by measuring your available space and deciding what the bench needs to handle. Around 6 feet long, 2 feet deep, and 34 to 36 inches high works well for many garages.
This is also a good moment to think about organizing your garage workspace as a whole, since a bench works best when it has room to breathe on every side.
Gather 2×4 lumber, 3/4-inch plywood, structural screws, and wood glue. Add plywood for a shelf or locking casters if needed.
Check boards for twists or bows. You will also need a saw, drill, tape measure, square, level, and clamps.
Step 2: Build the Upper Frame
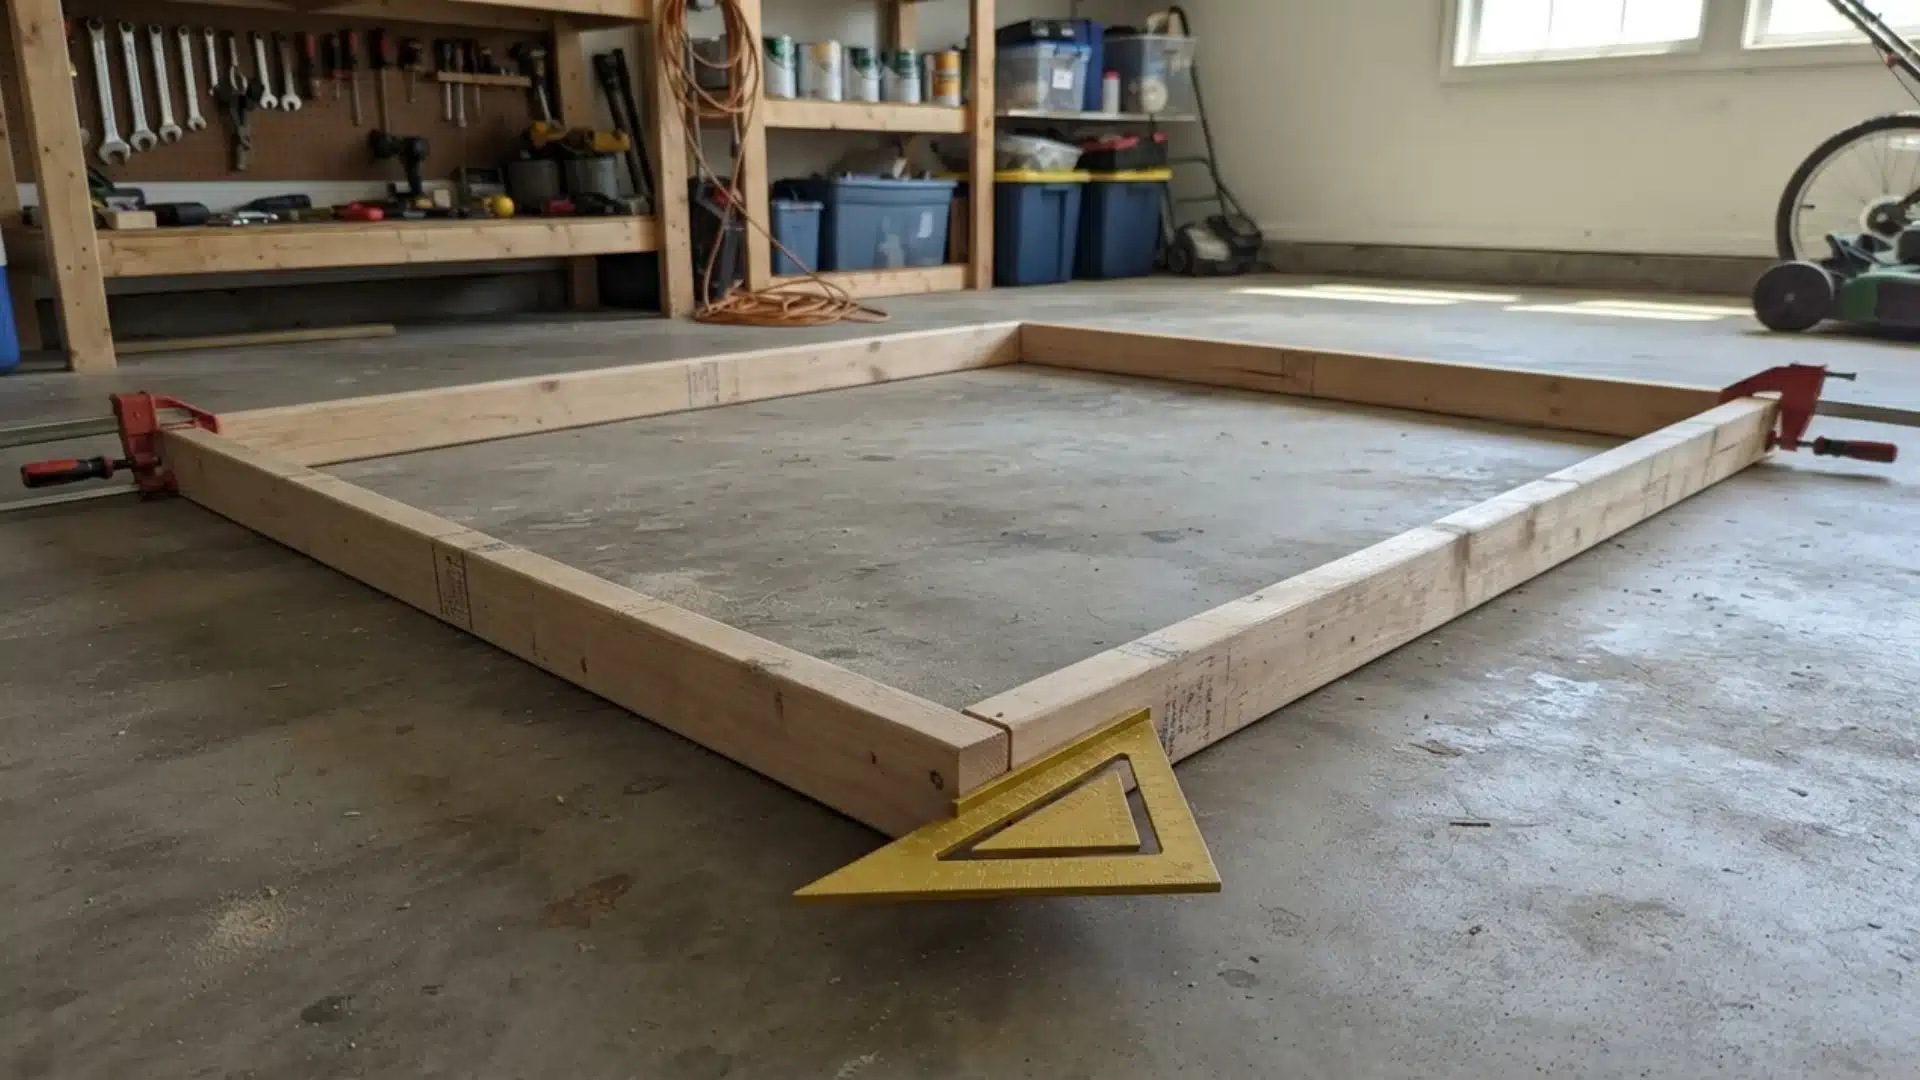
Cut the front, back, and side rails to your planned dimensions. Lay them on a flat surface to form a rectangle, then check every corner with a square before fastening anything.
Measure both diagonals as a second check. Matching measurements mean the frame is square.
Add an internal support if the top spans a longer distance. Take your time here because a crooked upper frame can cause alignment, stability, and worktop problems later.
Step 3: Attach the Legs
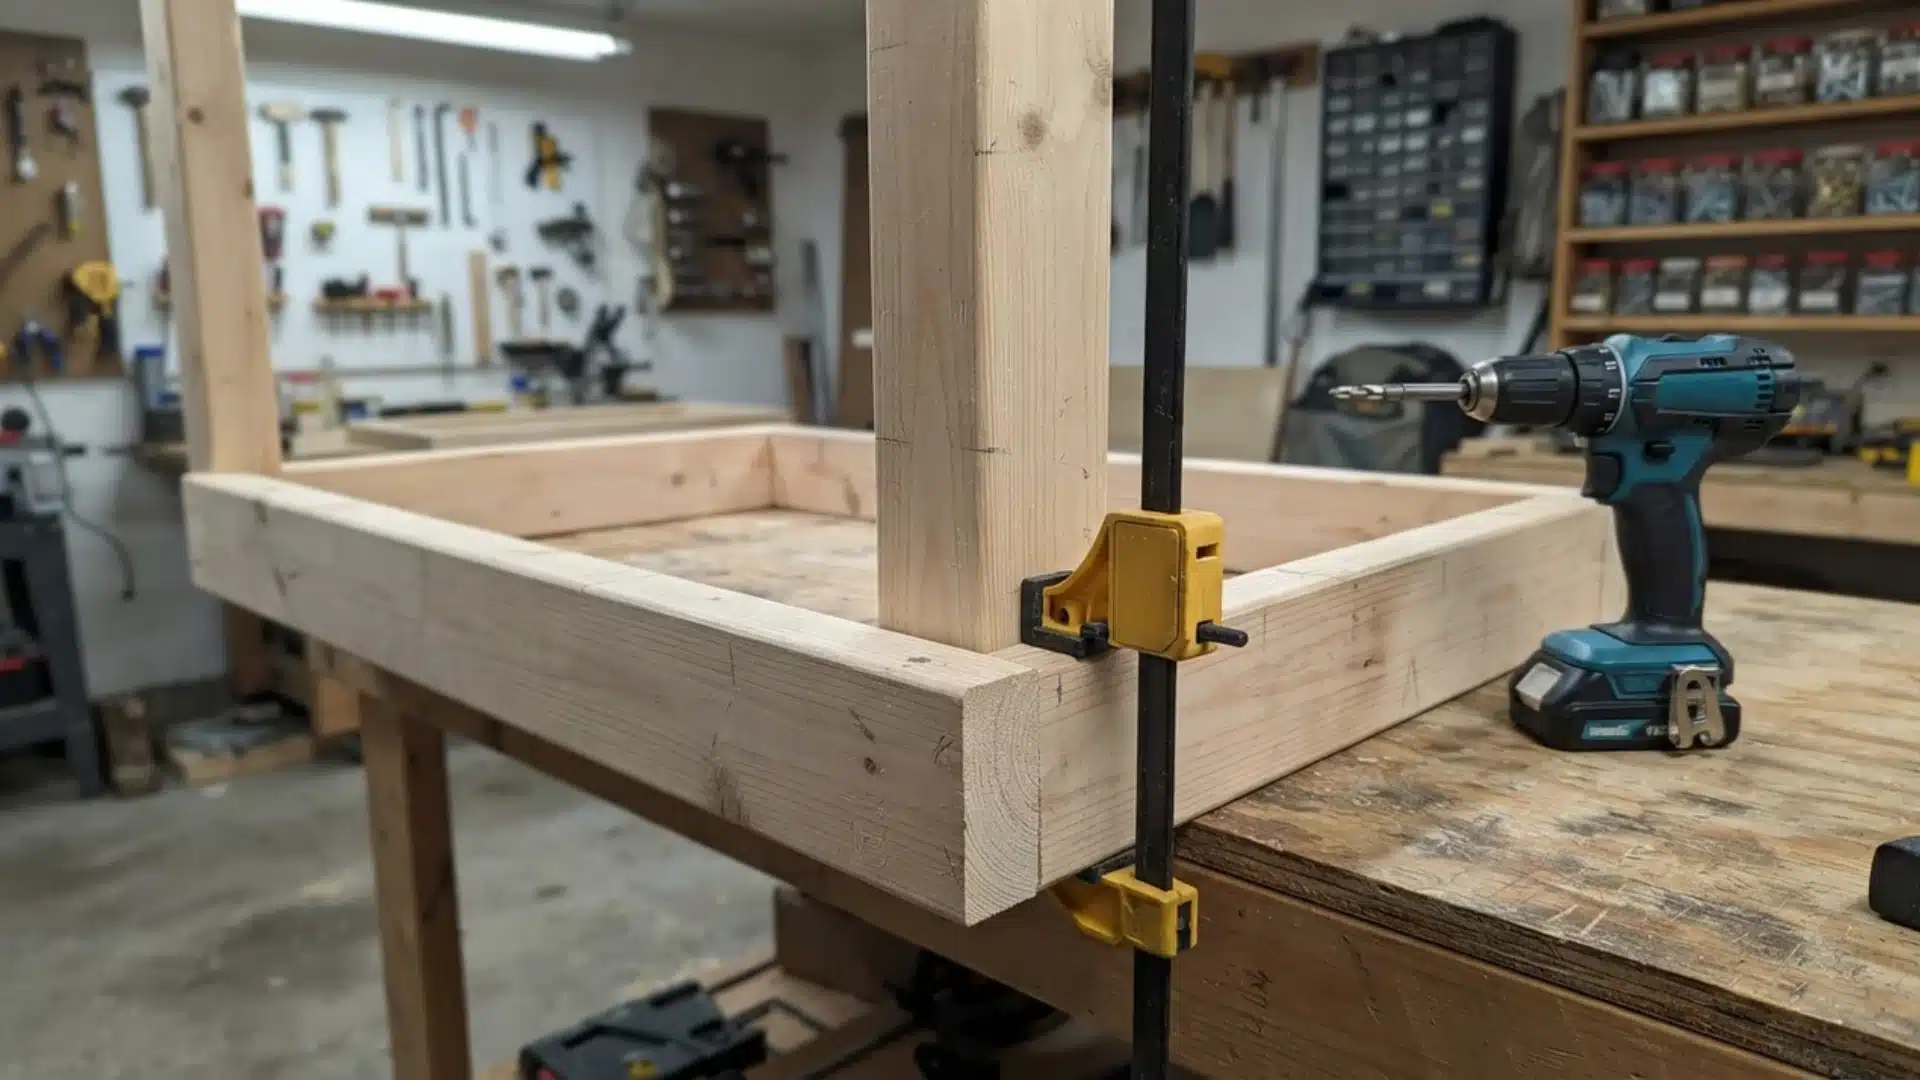
Place one leg inside each corner of the upper frame and hold it securely with clamps. Make sure every leg sits flush against the rails before driving structural screws through the frame.
Check each leg with a square as you work. Gaps or angled legs can create wobble once the bench carries weight.
After attaching all four legs, stand the frame upright and compare their lengths. Correct any uneven positioning before continuing with the lower frame.
Step 4: Add the Lower Stretchers or Shelf Frame
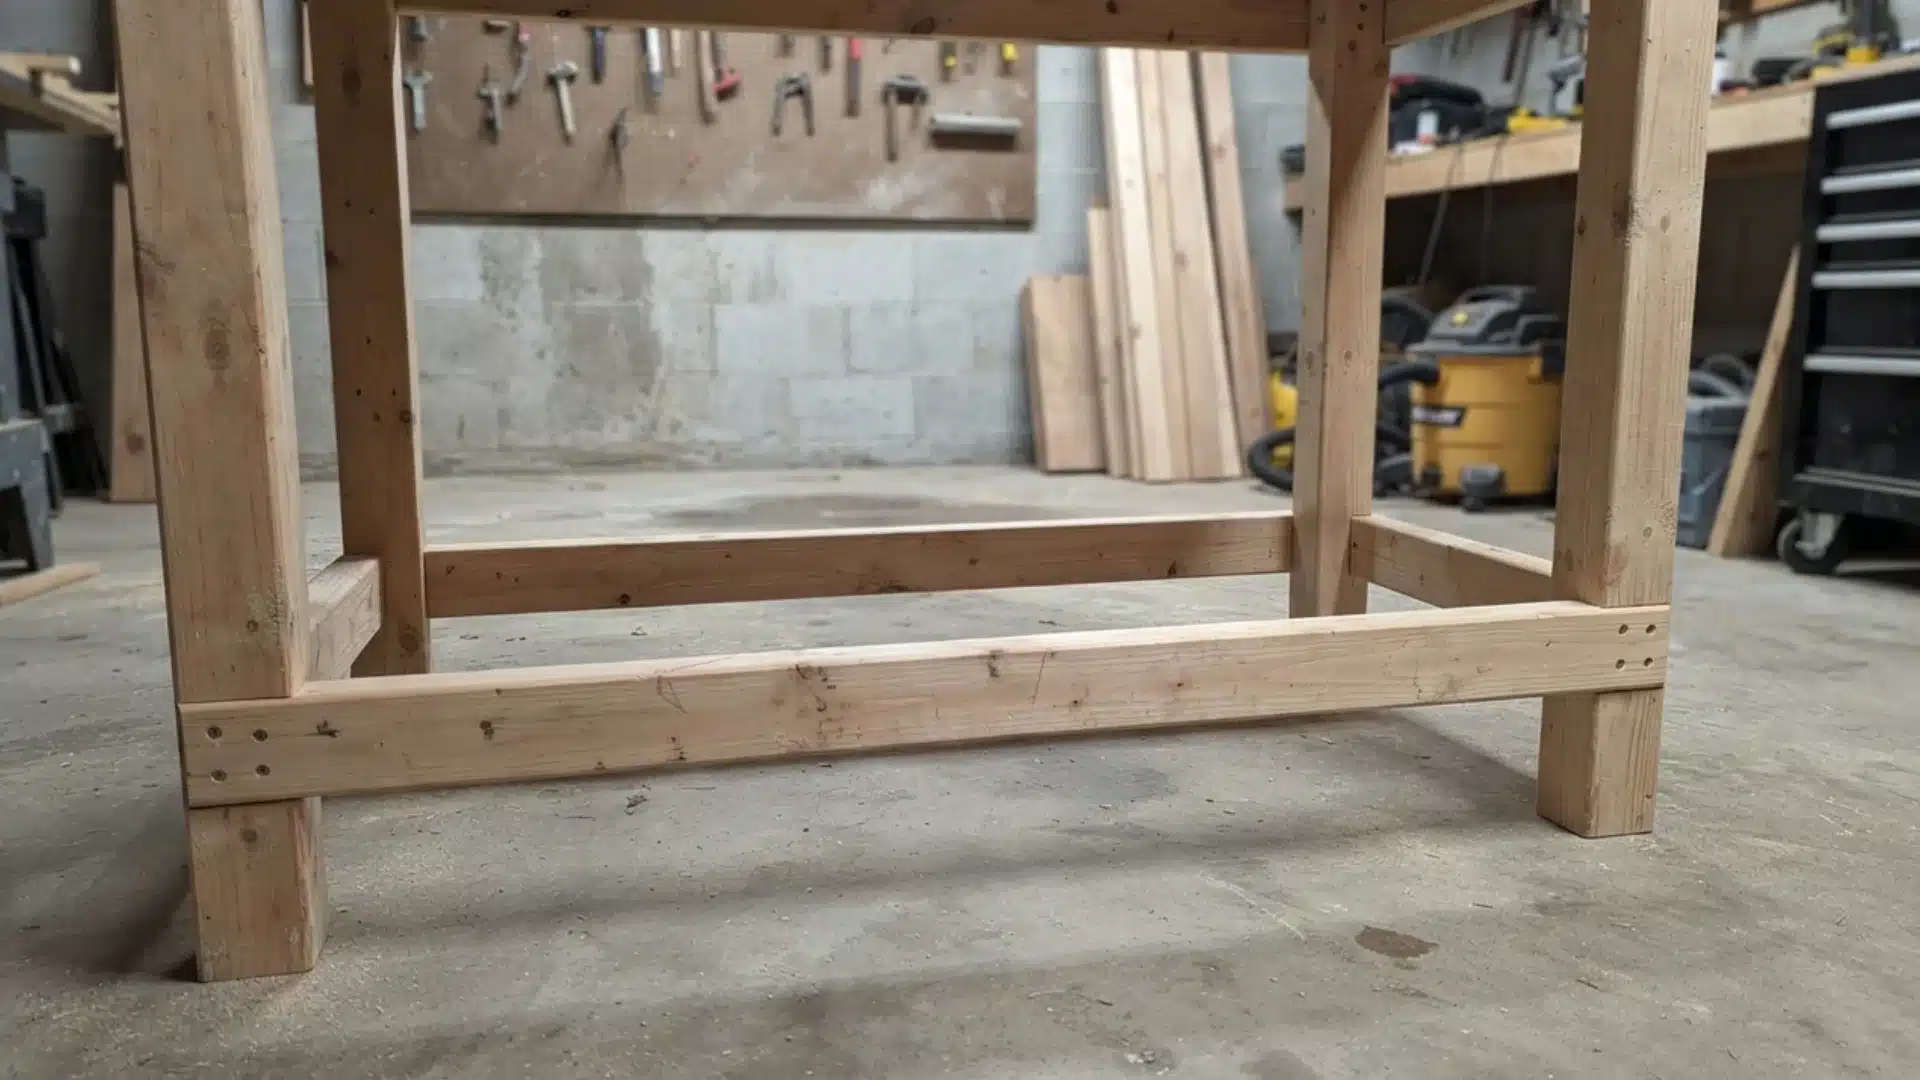
Install horizontal stretchers between the legs to create the lower frame. Position them a few inches above the floor so you still have room for cleaning, storage bins, or anything else kept underneath.
Keep each stretcher level while fastening it to the legs. If you plan to install a lower shelf, set the stretchers at the exact shelf height now.
Pairing this shelf with a few ideas for maximizing garage storage space can turn the area under your bench into real, usable storage instead of a catch-all. This frame also connects the legs, helping prevent them from shifting separately when the bench is under pressure.
Step 5: Square and Brace the Base
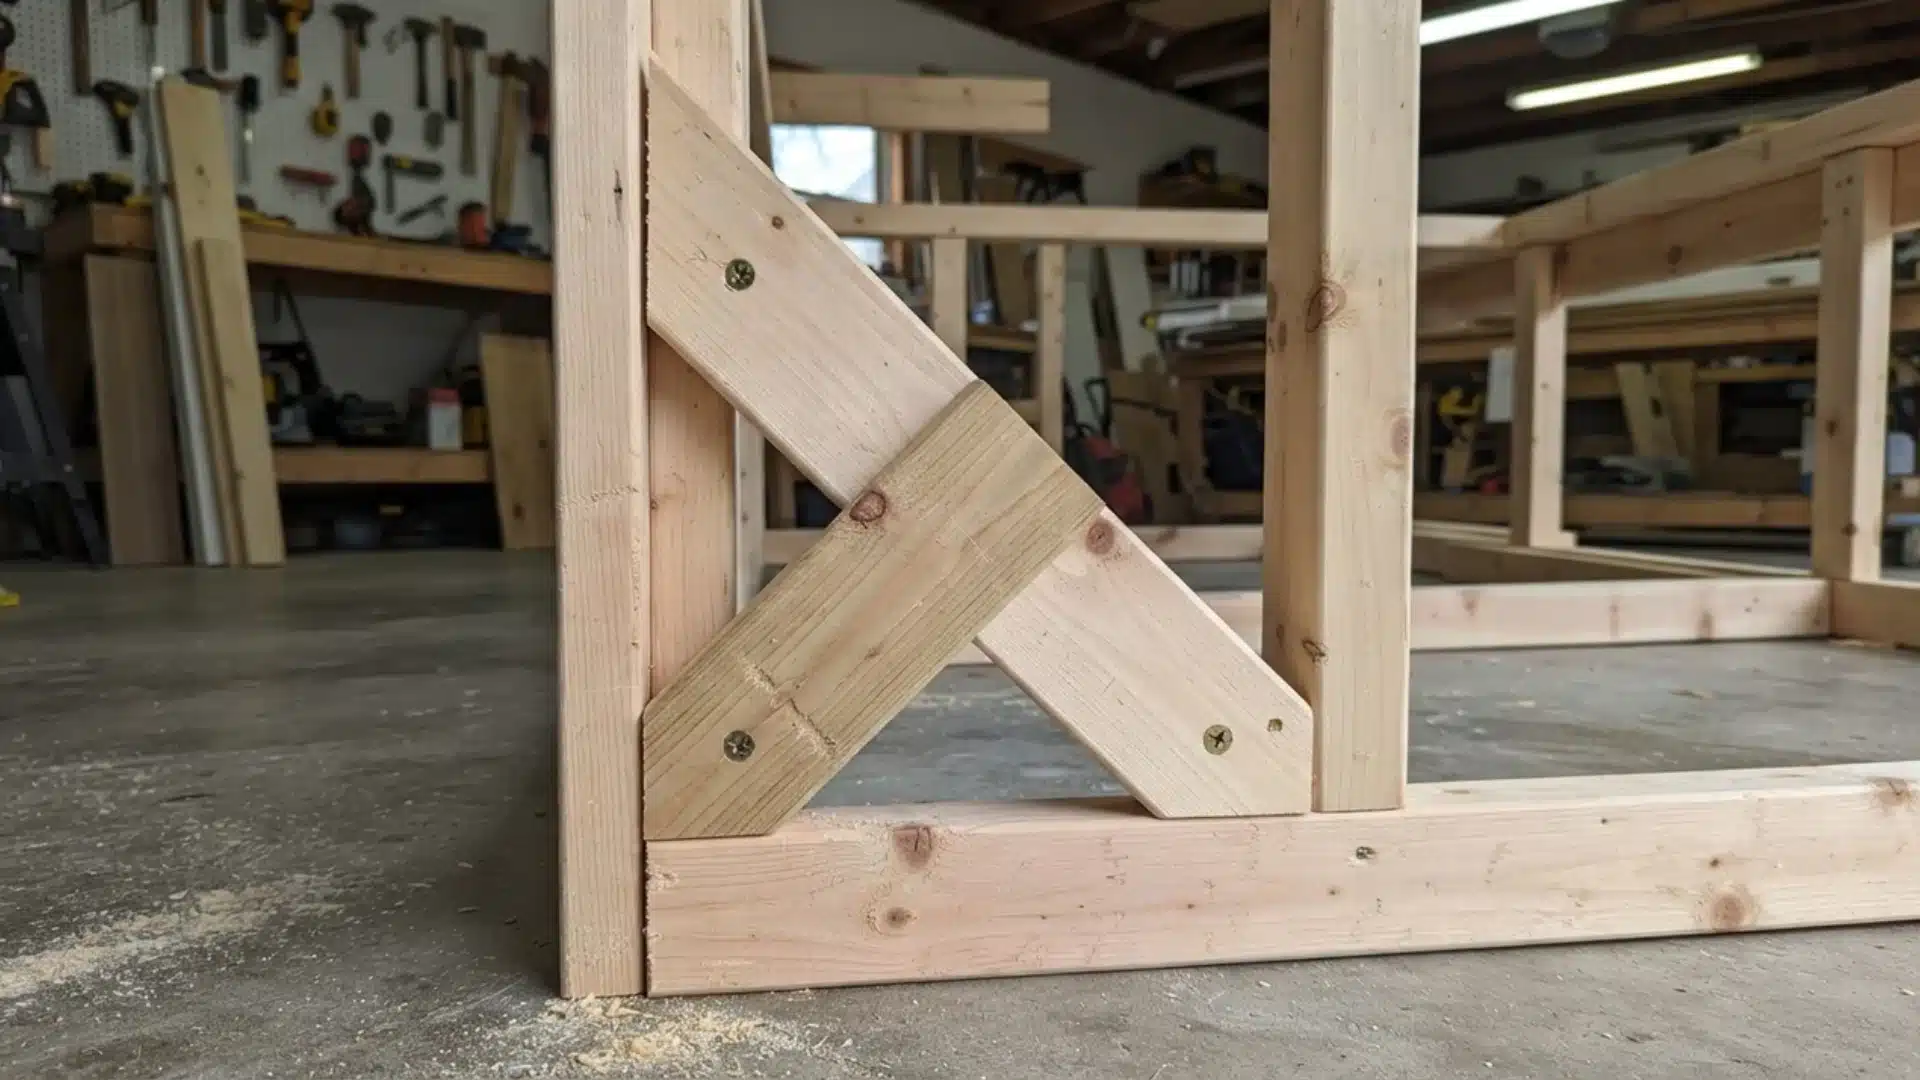
Check the entire base for square before fully tightening the joints. Push gently from different sides and watch for diagonal movement, often called racking.
A bench may support heavy weight while still shifting sideways during use. If the base moves, inspect the joints and alignment first.
Add diagonal corner braces where extra support is needed. A securely fastened plywood shelf across the lower frame can also increase rigidity and help keep the structure steady during demanding work.
Step 6: Install the Workbench Top
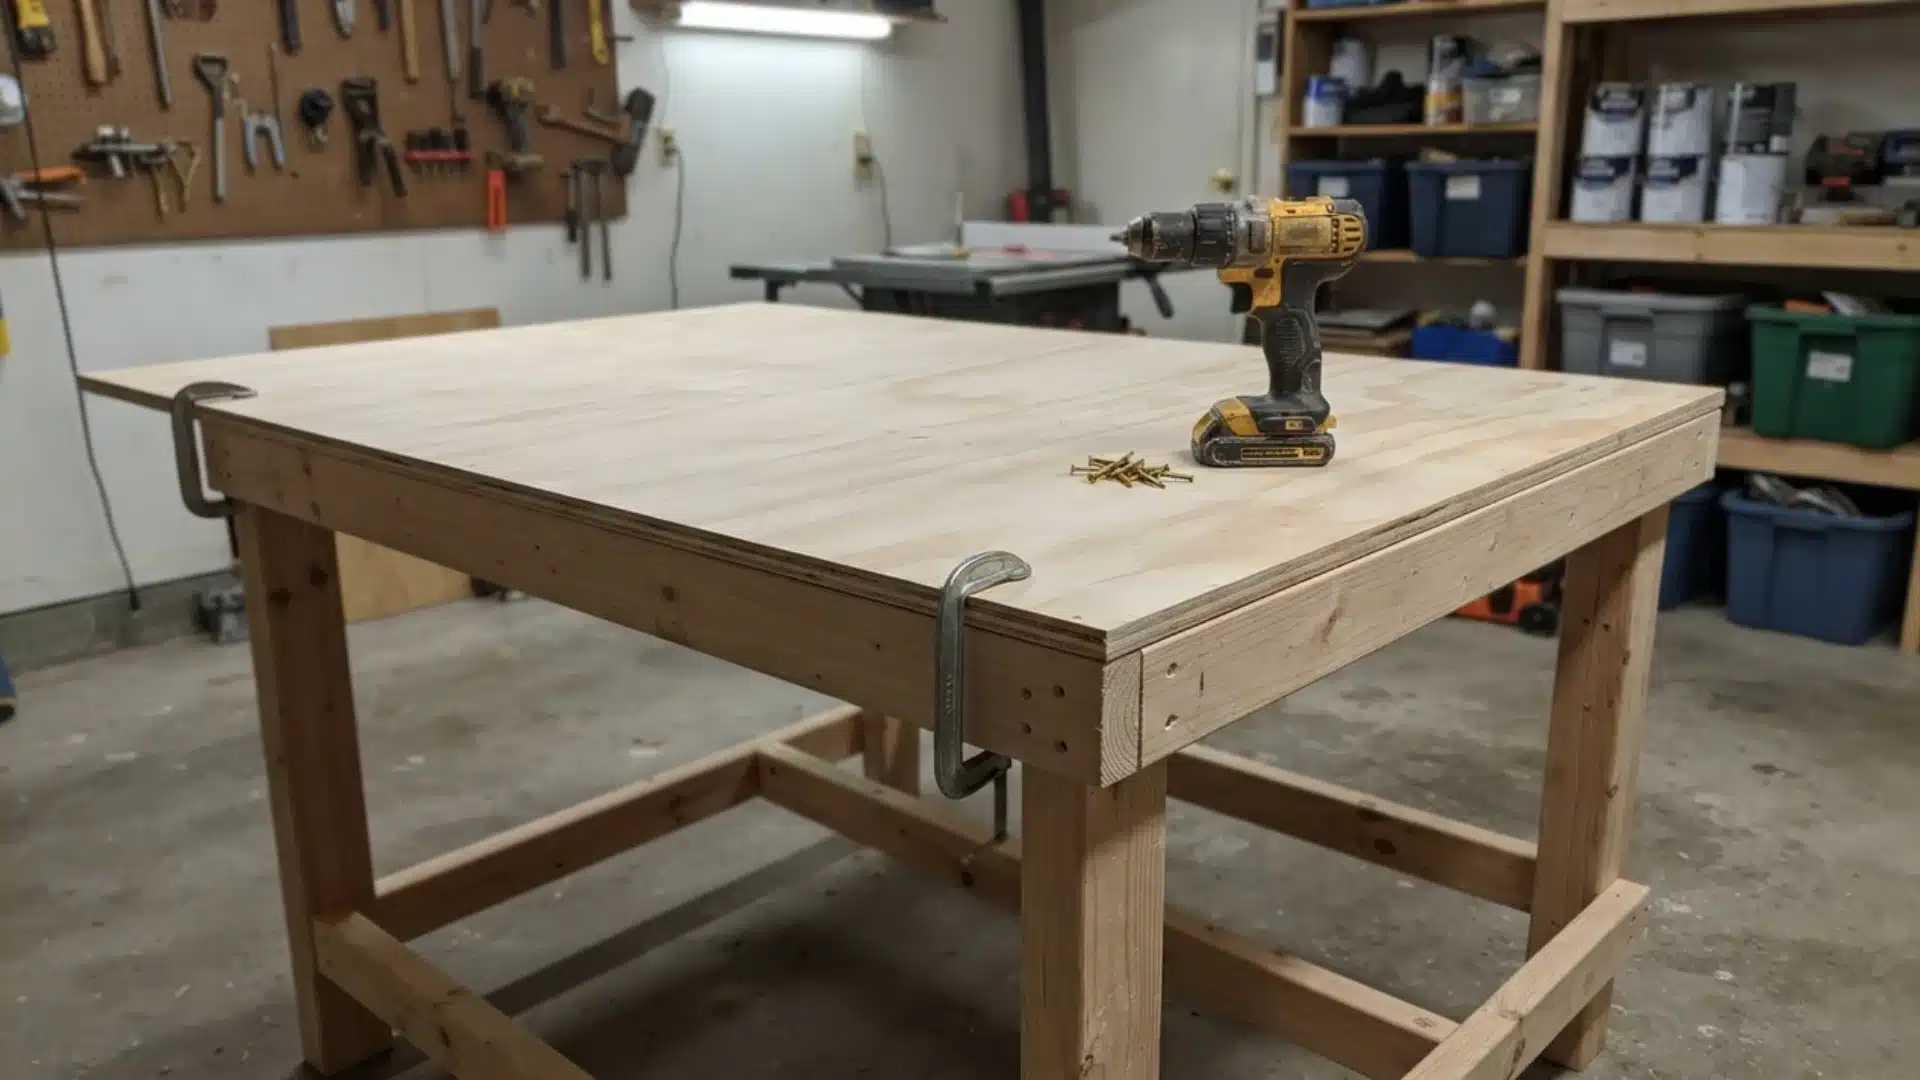
Place the plywood on the finished base and check that it sits flat across the frame. A single 3/4-inch sheet works for most DIY projects, while heavier work may benefit from a second laminated layer.
Leave a small overhang around the edges for clamps, then fasten the top evenly into the rails and internal supports.
Fix any frame alignment problems before attaching the plywood. You can also add replaceable hardboard to protect the main surface from wear.
Step 7: Add Optional Storage and Casters
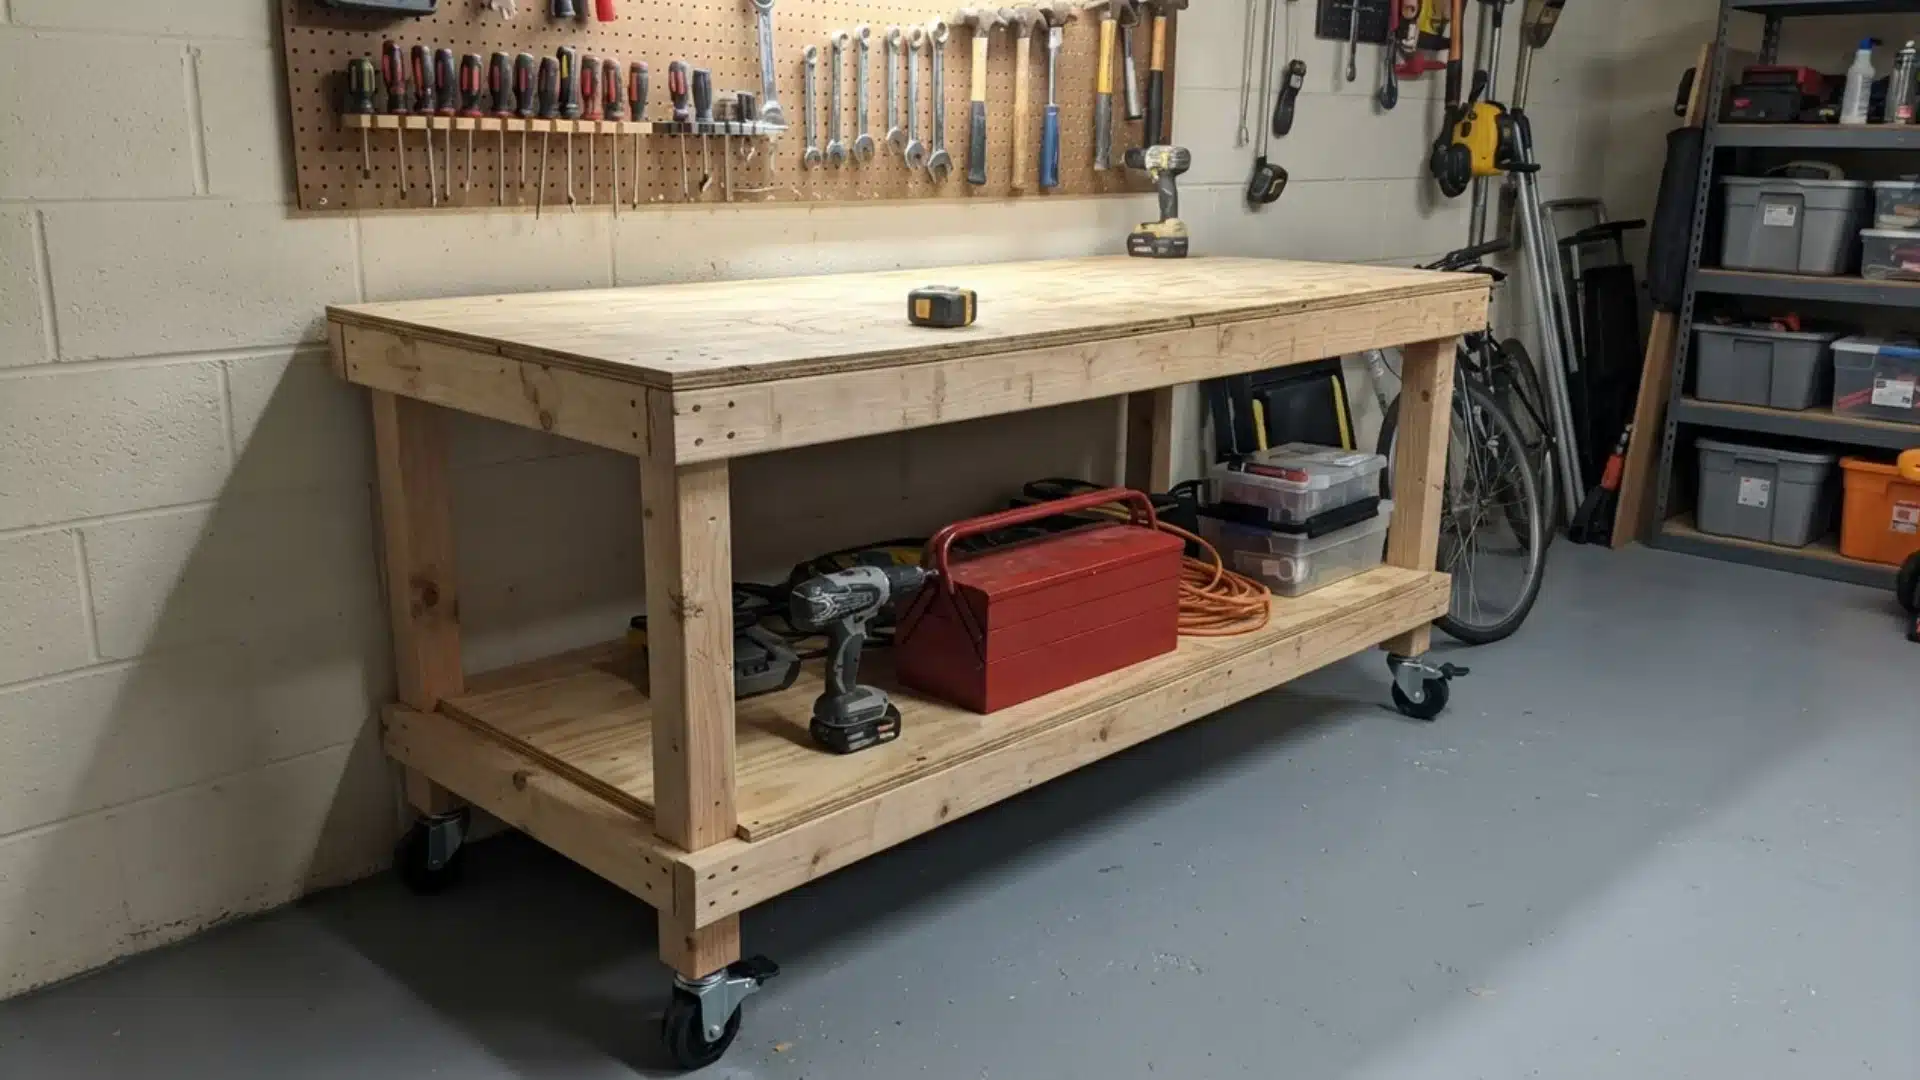
Add a lower plywood shelf if you want convenient storage for tools, supplies, or project materials. Fastening the shelf securely to the lower frame can also provide some extra rigidity.
Locking casters are useful when your diy workbench needs to move around a shared garage. Choose casters rated for the combined bench and tool weight.
Leave clamp racks, pegboard, and tool holders until later. Using the bench first makes it easier to decide where each accessory belongs.
Step 8: Check and Test the Workbench Before Use
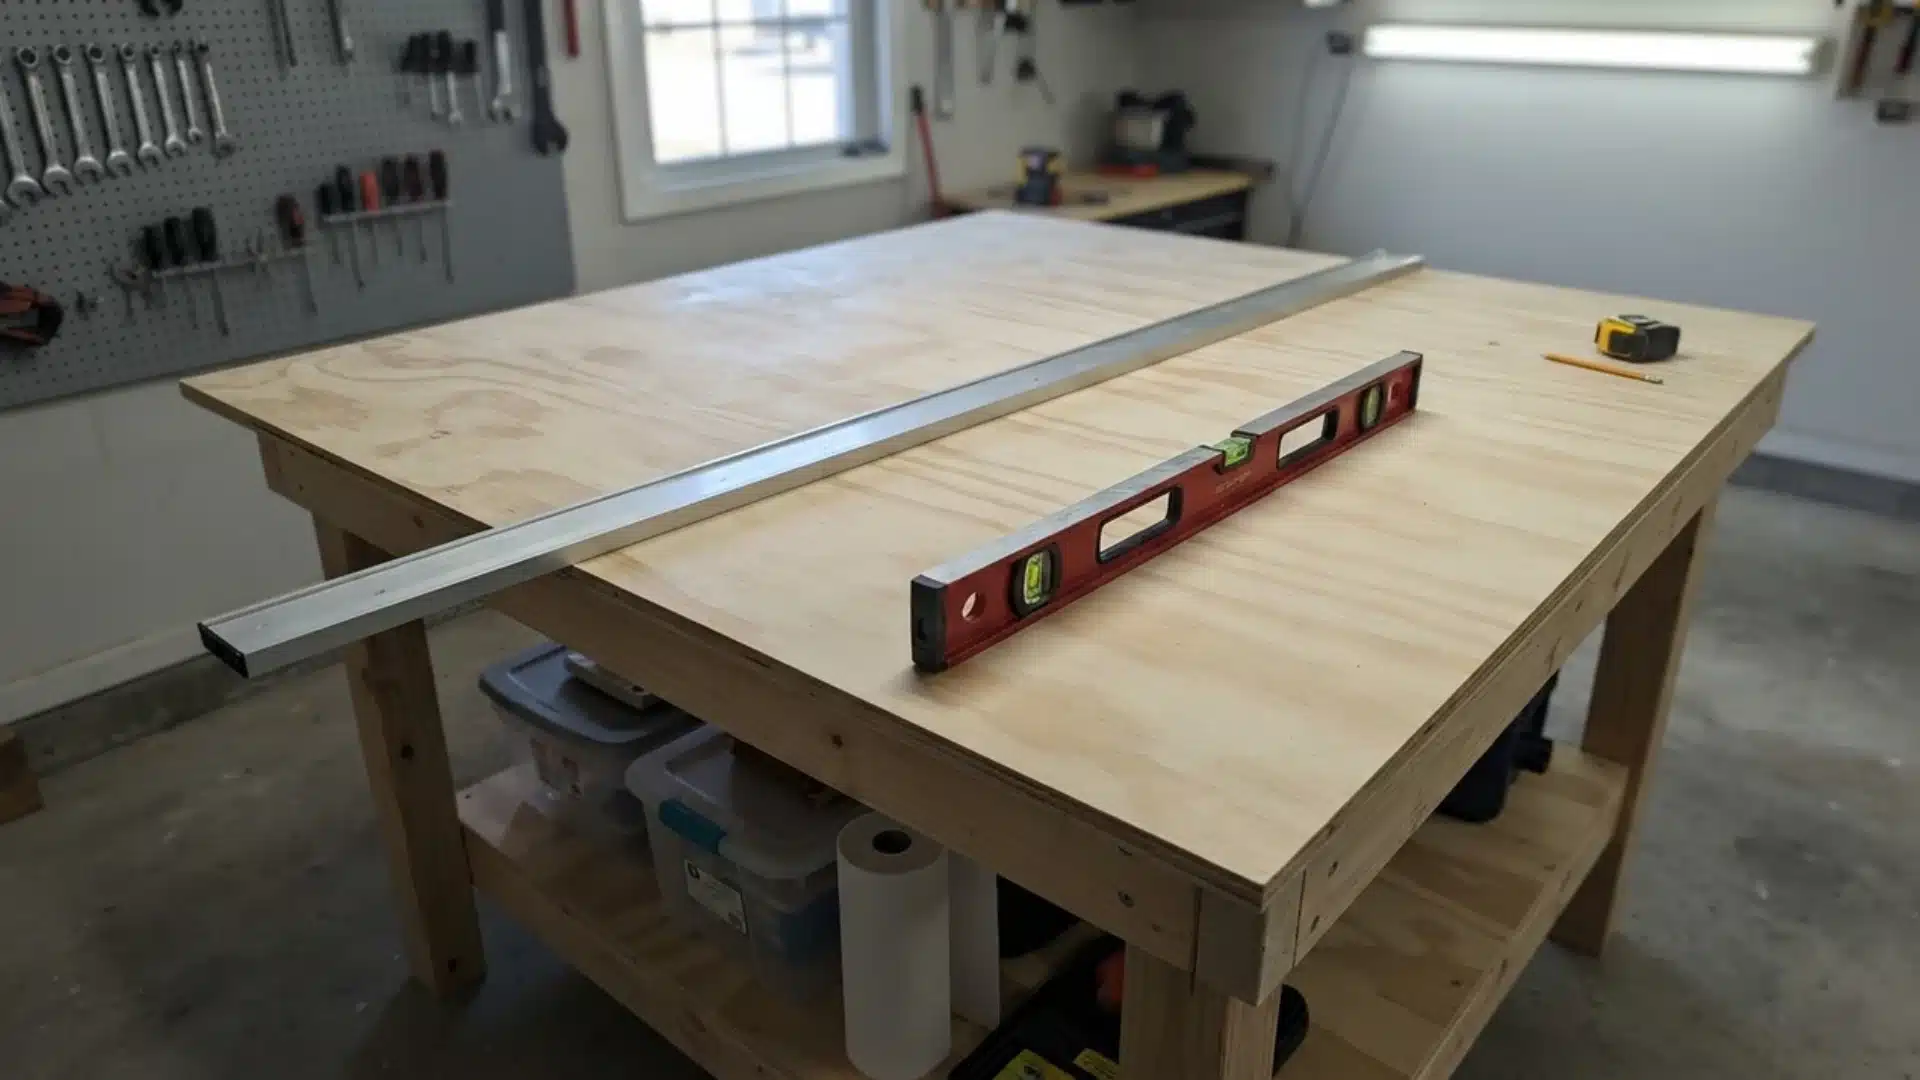
Before loading the bench, give the entire structure one final check. Measure the frame diagonally, run a straightedge across the top, and confirm that every leg touches the floor evenly.
Push the bench firmly from the front and sides. It should stay steady without noticeable racking or wobble.
If something moves, inspect the joints, stretchers, braces, and floor contact points. Tighten every structural screw and fix stability problems before adding tools, materials, or heavy equipment.
Common Workbench Mistakes That Cause Wobble
Workbench wobble usually comes from a few basic build mistakes. Check these areas before assuming the whole bench needs more weight or major reinforcement.
- Frame Not Square: Measure both diagonals before final assembly. Matching measurements help confirm the frame is properly aligned.
- Uneven Legs: Small differences in leg length can make the bench rock, especially on a flat floor.
- Loose Leg Connections: Recheck Step 3 and tighten any joints where the legs meet the upper frame.
- Missing or Weak Bracing: Review Step 5 and add corner braces if the base shifts sideways under pressure.
- Joints Tightened Too Early: Test the base before fully securing every connection so alignment problems can still be corrected.
A few careful checks can usually solve the problem and leave your diy workbench feeling steady during everyday use.
Final Thoughts
By this point, you have everything you need to build a diy workbench that feels solid instead of shaky. The real takeaway is simple: accurate cuts, square joints, proper support, and careful checks matter more than adding extra weight.
I have seen how small mistakes early in a build can affect the finished bench, so taking a few extra minutes at each stage pays off. Get those basics right, and your bench should stay dependable through repairs, assembly jobs, and future projects.
Pick your dimensions, grab your lumber, mark the first cut, and start building your diy workbench this weekend.
Frequently Asked Questions
Is It Cheaper to Build or Buy a Workbench?
Building can be cheaper when you use standard construction lumber, plywood, and a simple frame, especially if you already own basic tools. Buying can make more sense when you need specialized storage or lack the right tools. Compare total material cost against a bought bench of similar size and strength before deciding.
How Can I Build a Cheap Workbench?
Keep the design simple. Use common construction lumber for the frame, plywood or MDF for the top, straightforward screw-fastened joints, and a basic lower shelf if you need storage. Spend your budget on structural stability first, since drawers and premium hardwood add cost fast without adding function.
What Is the Best Material for a Workbench Top?
Plywood is a practical choice for most builds because it’s stiff, widely available, and easy to replace. MDF gives a smoother, flatter surface but handles moisture and impact less effectively. The right pick depends on whether the bench is mainly for assembly, woodworking, or heavier repair work.
What Can I Use Instead of a Traditional Workbench?
A sturdy table, folding work table, or a pair of sawhorses with a supported top can handle many jobs when a permanent bench isn’t practical. Whatever you use still needs enough load capacity, a stable surface, and a safe way to hold material while you cut or assemble.