
Building your own picture frame is a great way to display artwork, photographs, and prints while adding a personal touch to the finished piece.
A custom frame also gives you more control over size, style, wood type, and finish than store-bought options.
While frame-making may seem complicated at first, the process becomes much easier when it is broken down into clear steps.
From measuring the artwork and preparing the wood to assembling, sanding, and finishing the frame, each stage plays an important role in the final result.
In this guide, you will learn how to build a picture frame from scratch using the techniques demonstrated in the steps below.
Quick Answer: How to Build a Picture Frame?
To build a picture frame, start by measuring the artwork and determining how it will be mounted. Next, select and mill the wood, cut a rabbet to hold the artwork and glazing, and cut the frame pieces to size.
The corners are then joined with miter cuts, glued together, and reinforced for added strength.
After assembly, sand the frame smooth and apply your preferred finish.
Once the finish has dried, install the artwork, backing materials, and glazing before securing everything inside the frame.
With careful measuring and proper assembly, you can create a custom picture frame that fits your artwork and complements its style.
Materials and Tools Needed to Build a Picture Frame
Before getting started, gather the materials and tools needed for the project. The exact items may vary depending on the frame design.
- Wood boards (oak, ash, walnut, or similar)
- Wood glue
- Plexiglass
- Archival foam core
- Mat board
- Linen hinge tape
- Water-based or oil-based finish
- Frame backing materials
- Splines for reinforcement
- Table saw
- Miter sled or frame sled
- Sanding blocks
- Point shooter or brad nails
- Spline jig
Having all materials prepared before starting can make the frame-building process more organized and help reduce interruptions during assembly.
How to Build a Picture Frame Step by Step?
Building a picture frame involves more than simply cutting four pieces of wood and joining them together.
Step 1: Choose the Mounting Style and Measure the Artwork
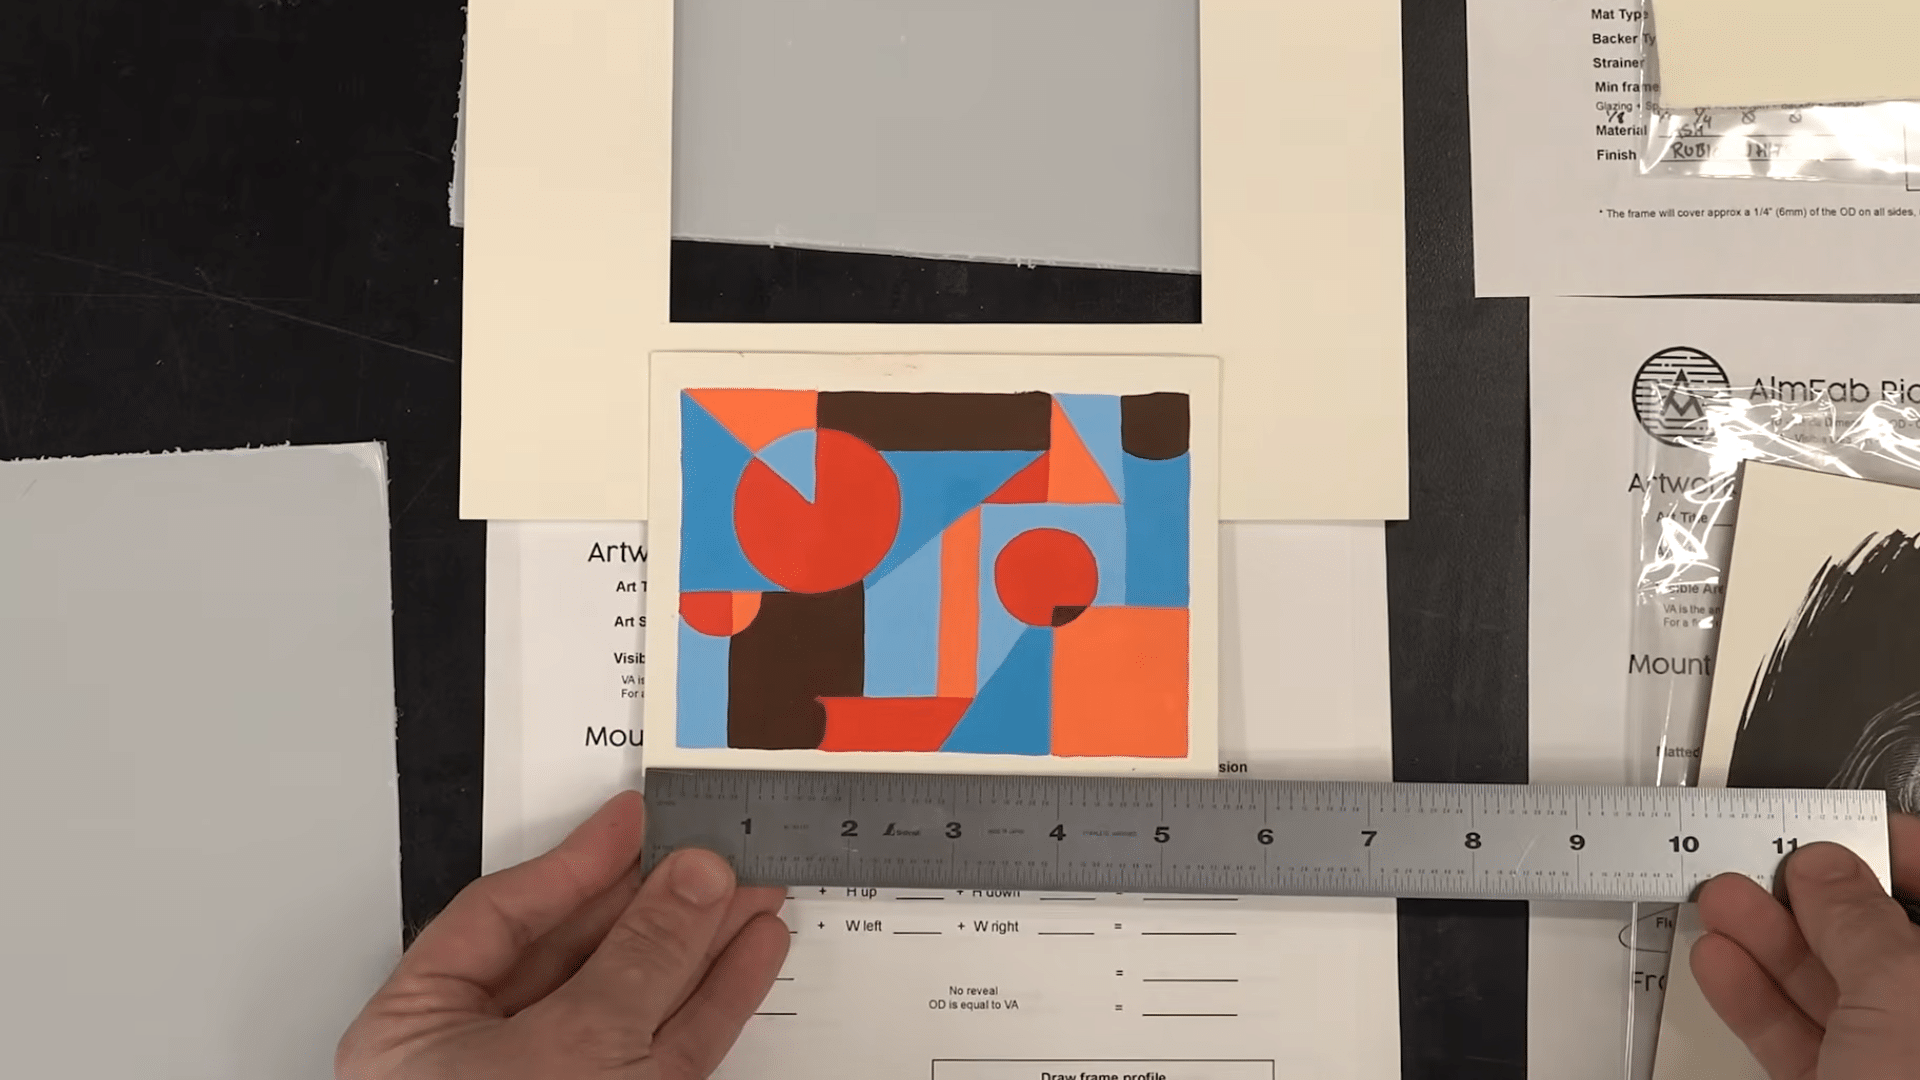
Before measuring anything, decide how the artwork will be displayed inside the frame. Each option affects the final frame dimensions and determines how much of the artwork will be visible.
Once the mounting style is selected, measure the artwork carefully and record all dimensions.
Consider the visible area, any mat or border exposure, and the interior dimensions needed for the frame.
Adding a small amount of extra space inside the frame can help ensure the artwork fits properly without binding. Taking accurate measurements at this stage can help prevent costly mistakes later in the project.
Step 2: Select the Wood and Mill the Frame Pieces

After the measurements have been finalized, choose the wood species for the frame. You can use white oak, ash, walnut, or other hardwoods, depending on the look and finish you want.
Cut the boards into manageable lengths and mill them to the required width and thickness.
At this stage, focus on the frame’s overall size rather than decorative details. Preparing all pieces together helps improve consistency and speeds up the remaining steps.
Proper milling also helps ensure the frame parts fit together accurately during assembly.
Step 3: Cut the Rabbet for the Frame
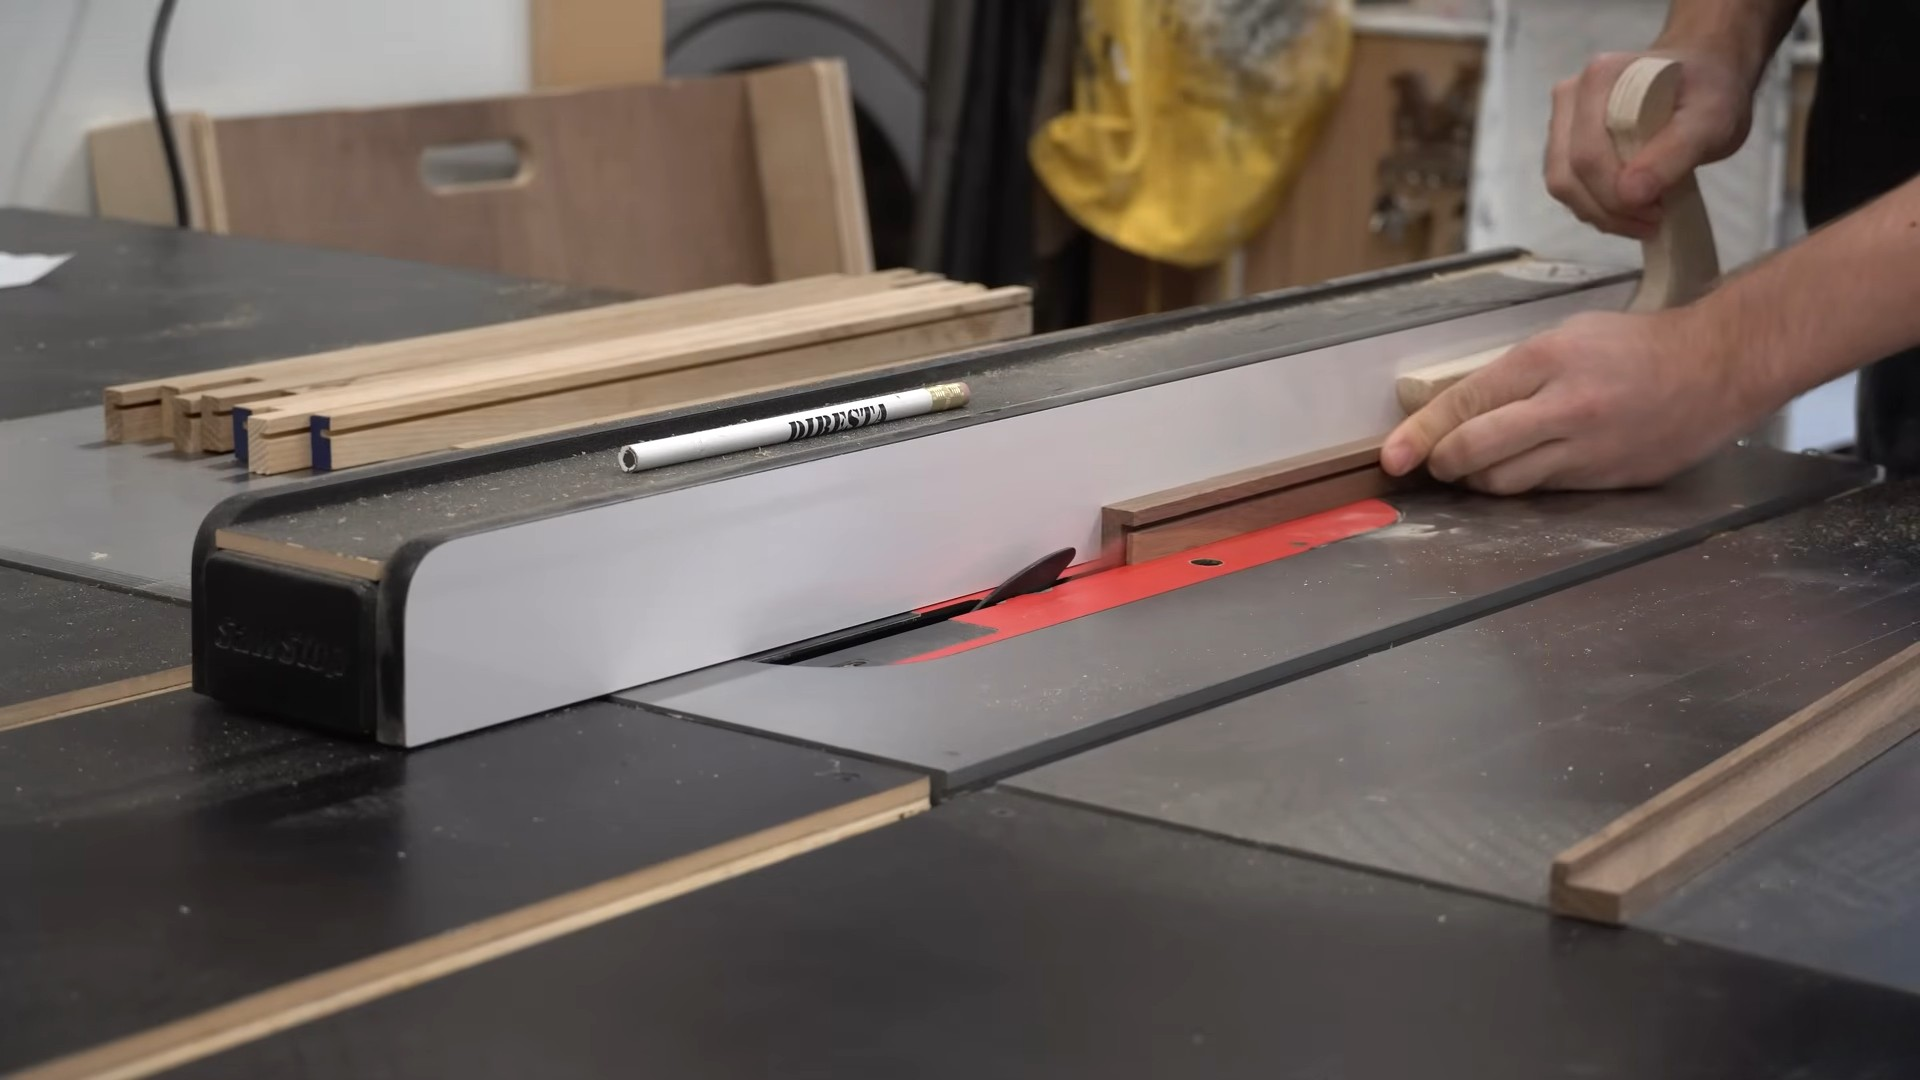
Once the frame stock has been milled, cut a rabbet along the inside edge of each frame piece.
The rabbet creates space for the artwork, glazing, backing materials, and any additional framing components.
A common rabbet size for picture frames is approximately one-quarter inch wide by one-quarter inch deep, although the dimensions may vary depending on the project.
As you cut the rabbet, pay attention to grain direction and determine which face of each board will be visible on the finished frame.
Taking time to set up the cuts properly can improve the overall quality of the frame.
Step 4: Add a Decorative Edge (Optional)
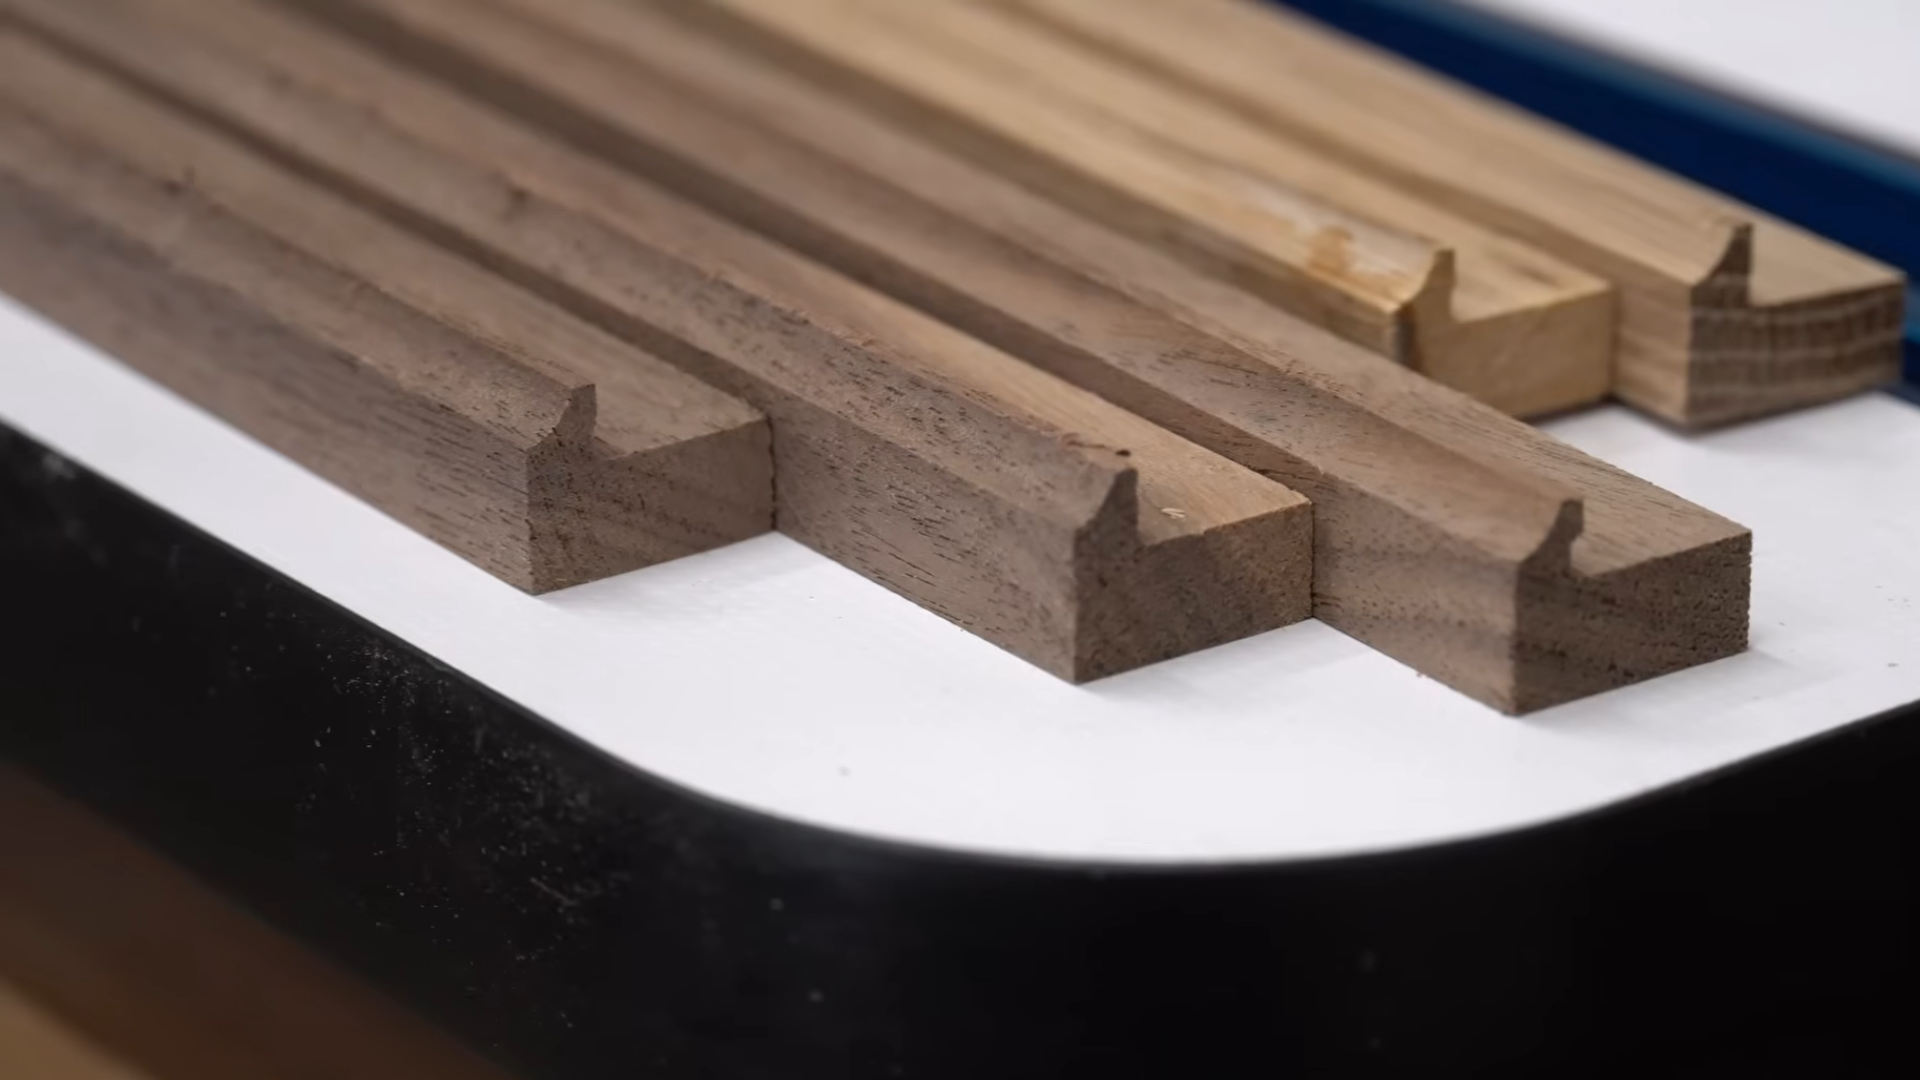
If you want a more detailed frame design, this is the stage where decorative profiles can be added.
Wider frame pieces often provide enough space for simple routed details that can enhance the appearance of the finished frame.
The process shows how to create a small bead profile along the front edge using a router table and a round-nose bit.
Decorative details are optional, but they can help give the frame a more custom look. Complete any routing work before cutting the frame parts to their final lengths.
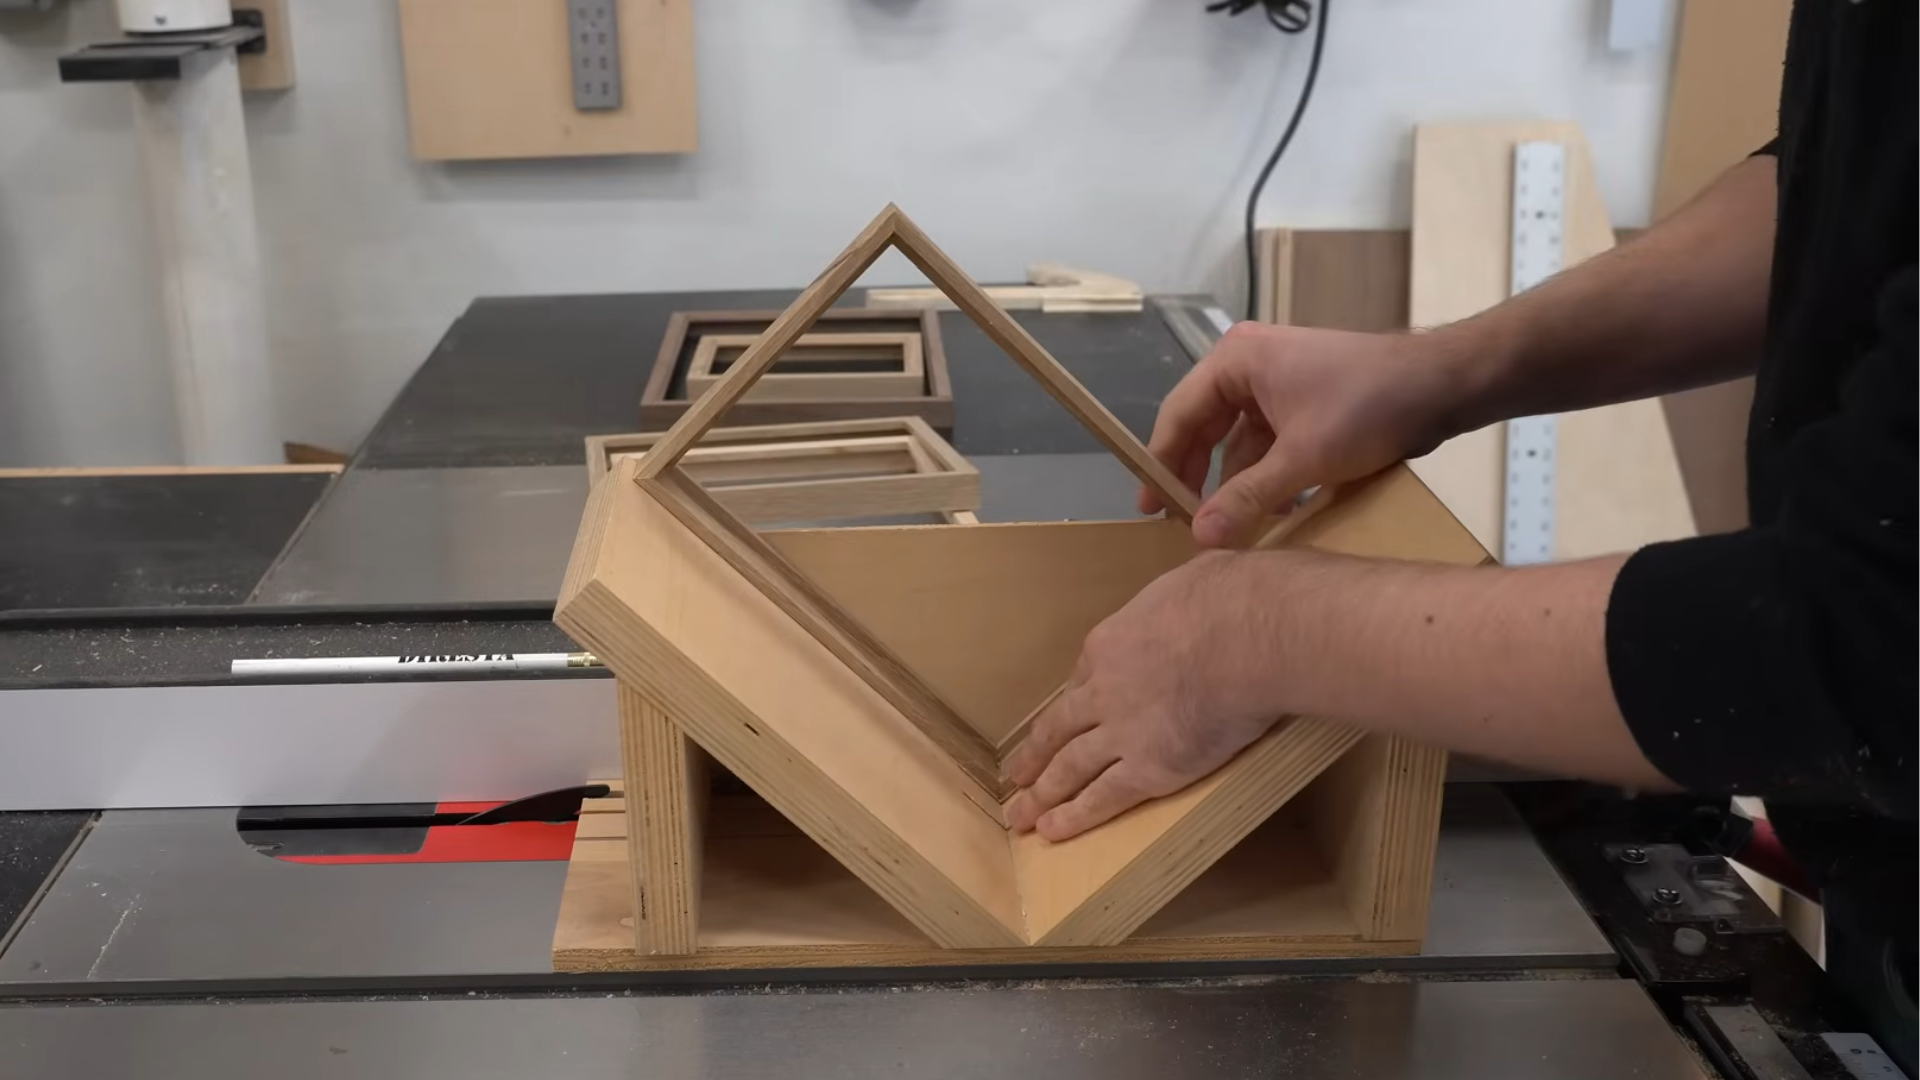
Step 5: Cut the Frame Parts to Size
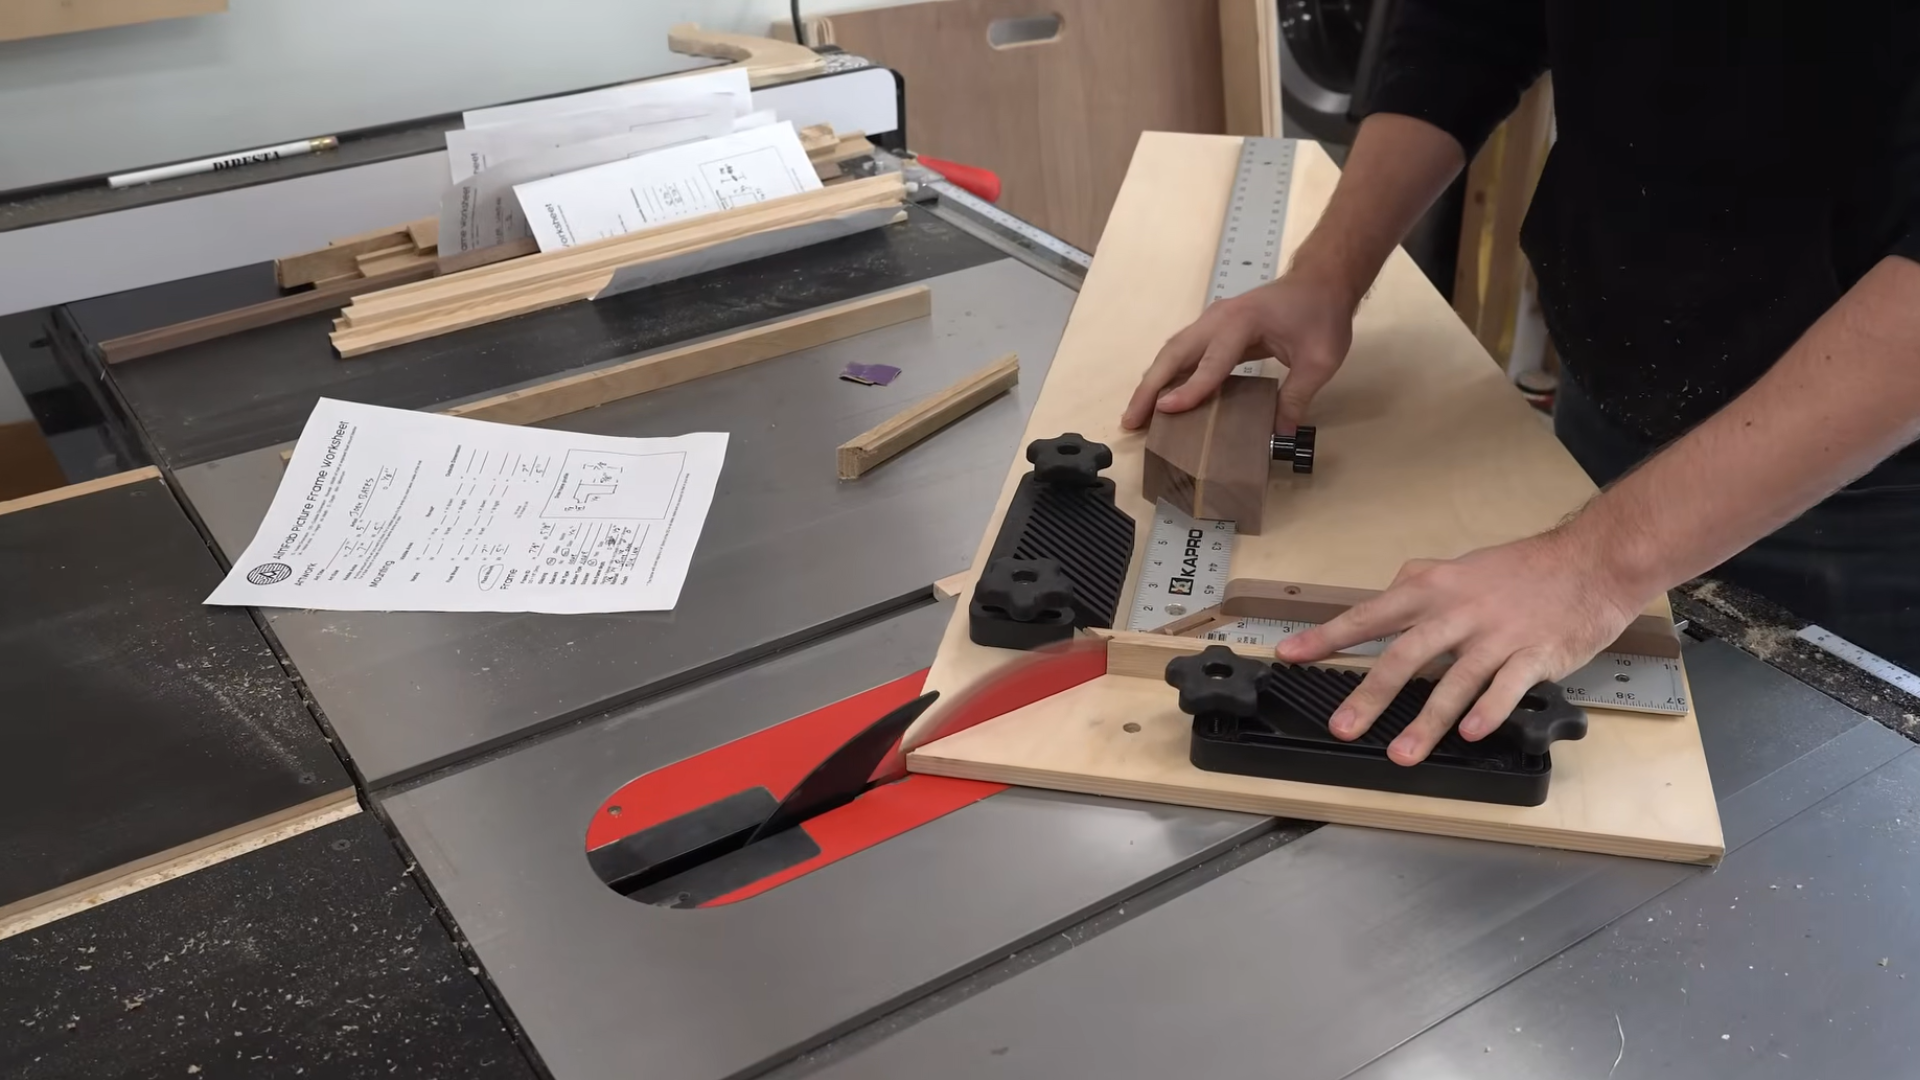
With the frame profile complete, cut the frame pieces to their final dimensions. Use the interior frame measurements calculated earlier to ensure the finished frame will fit the artwork properly.
A frame sled or miter jig can help produce accurate miter cuts and improve consistency across all four sides.
Double-check measurements before making cuts, as even small errors can affect how well the corners align during assembly.
Accurate cutting at this stage helps create tight joints and a square frame.
Step 6: Glue the Frame Together
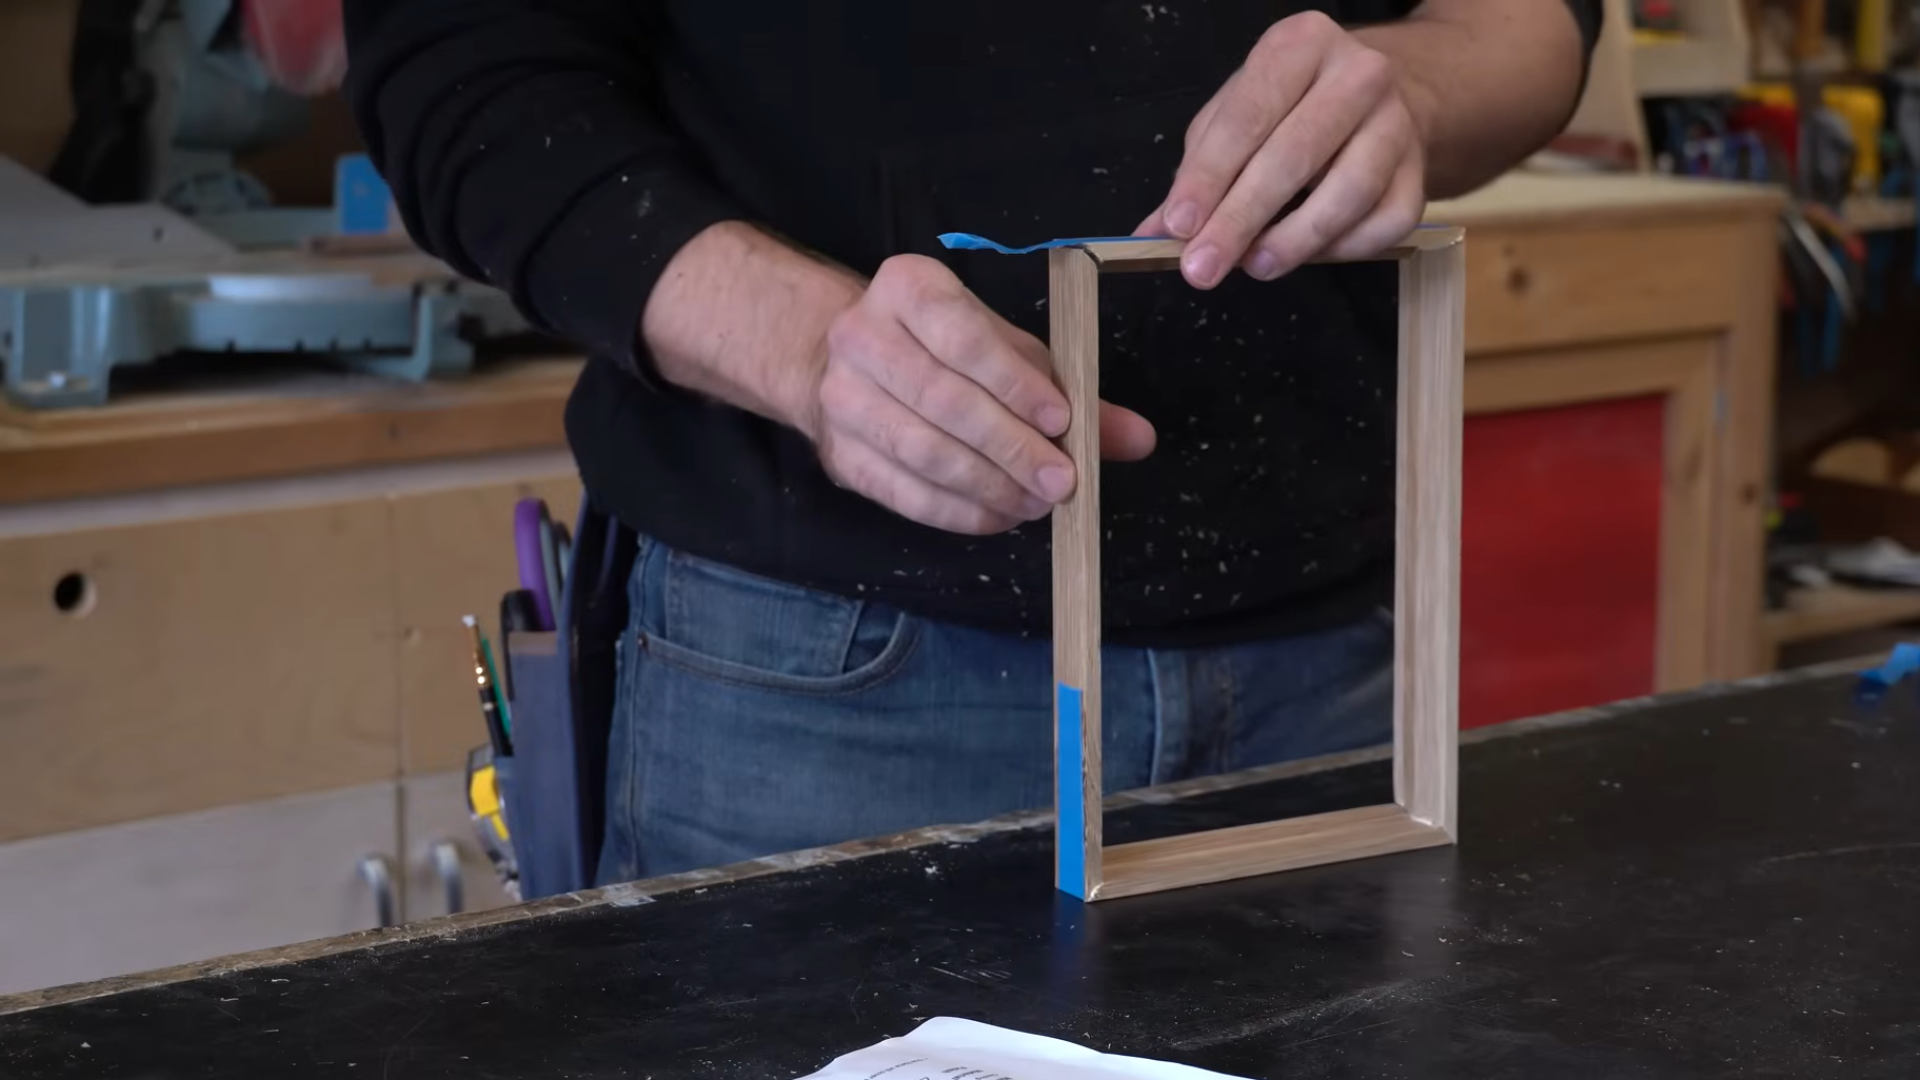
After all four frame pieces have been cut, arrange them on a flat surface and perform a dry fit to ensure the miters align properly.
Checking the fit before applying glue can help identify any issues that need adjustment.
Apply wood glue to each miter joint and assemble the frame carefully.
Once assembled, verify that the frame remains square and allow the glue to cure completely before moving to the next step.
Step 7: Reinforce the Corners with Splines
While glued miter joints can be strong, adding splines provides additional reinforcement and helps improve long-term durability.
Splines are thin strips of wood inserted into slots cut across the miter joints.
Using a spline jig, cut slots through each corner of the assembled frame. Smaller frames may only require one spline per corner, while larger or thicker frames can benefit from two splines.
After cutting the slots, glue the splines into place and allow them to dry before trimming away any excess material.
This step strengthens the joints while also adding a decorative detail to the frame.
Step 8: Sand the Frame Smooth
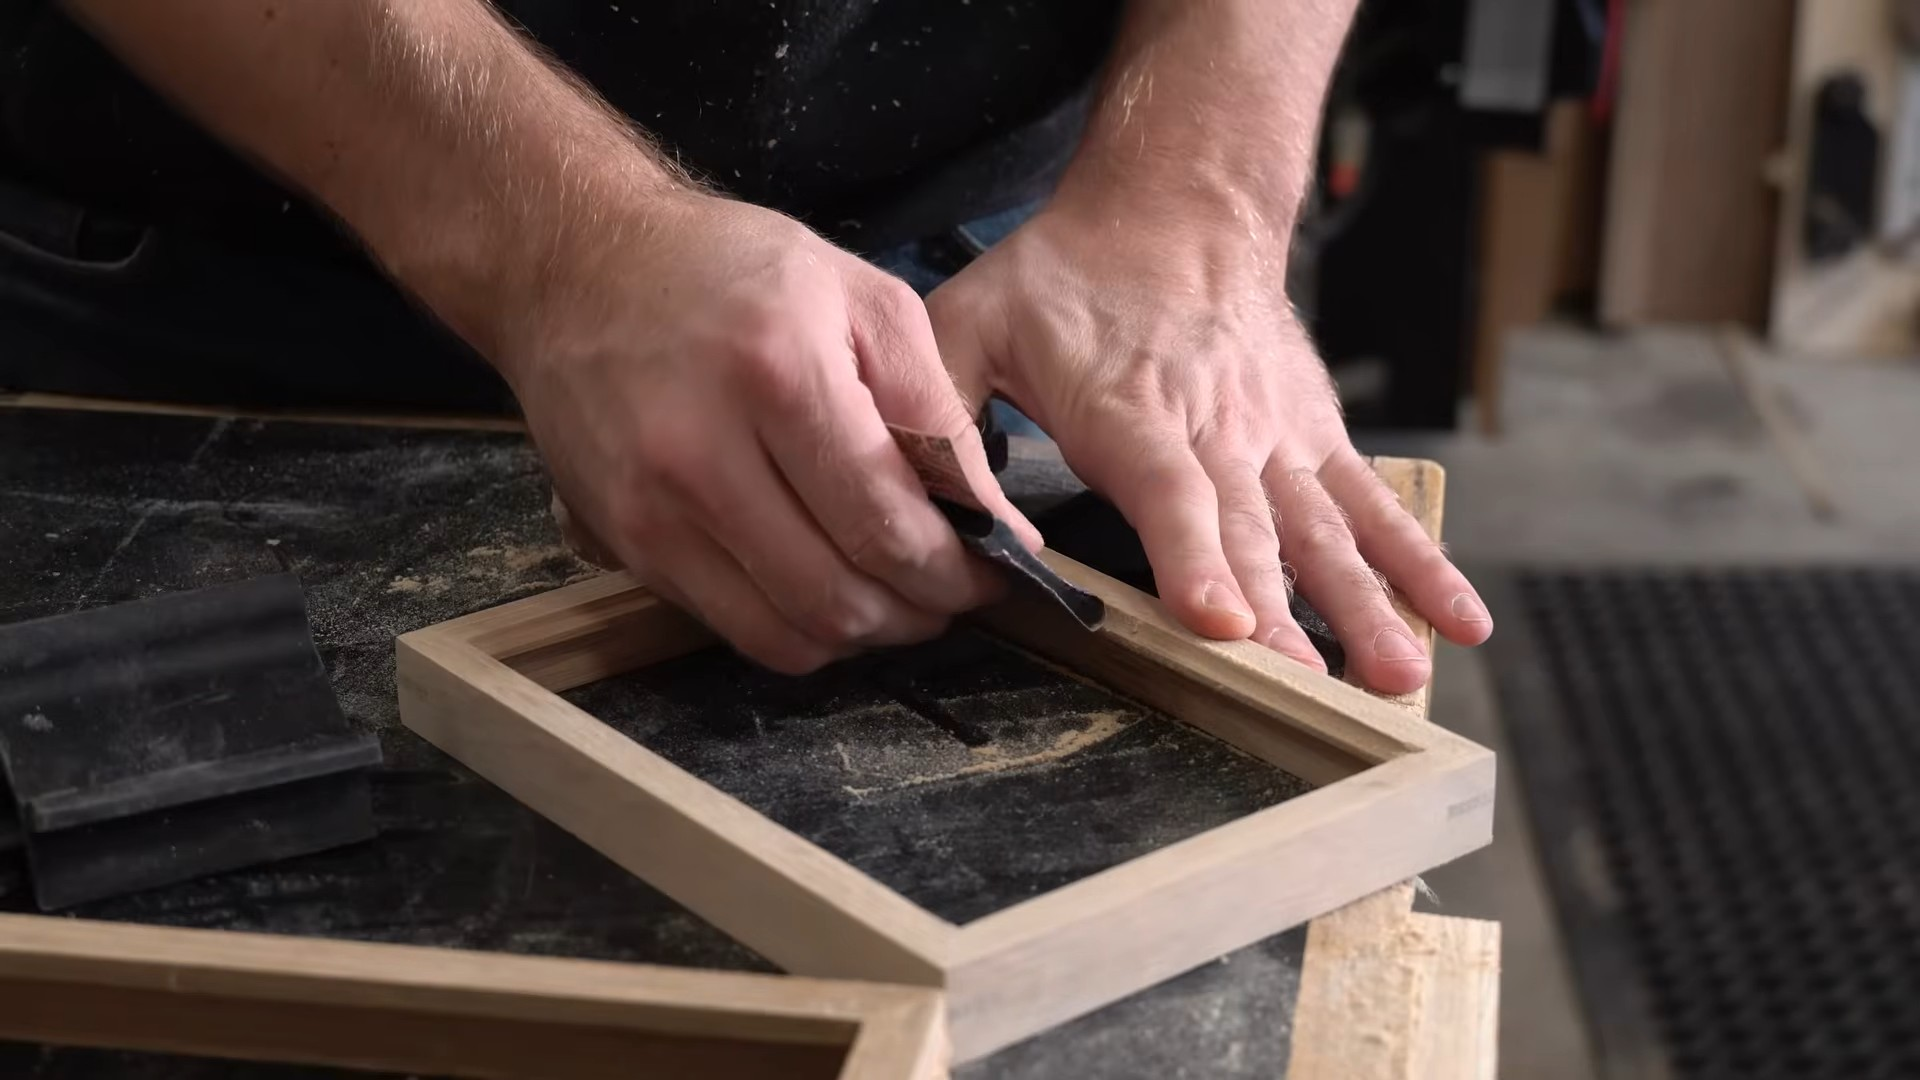
Once the splines have been trimmed flush with the surface, sand the entire frame to remove rough spots and prepare it for finishing.
Sanding helps smooth the joints, blend the splines into the frame, and improve the final appearance.
For smaller frames, hand sanding works best because power sanders can round sharp edges or damage fine details. Pay special attention to the corners and decorative profiles.
If you plan to use a water-based finish, lightly dampen the wood between sanding grits to raise the grain and create a smoother final surface.
Step 9: Apply the Finish
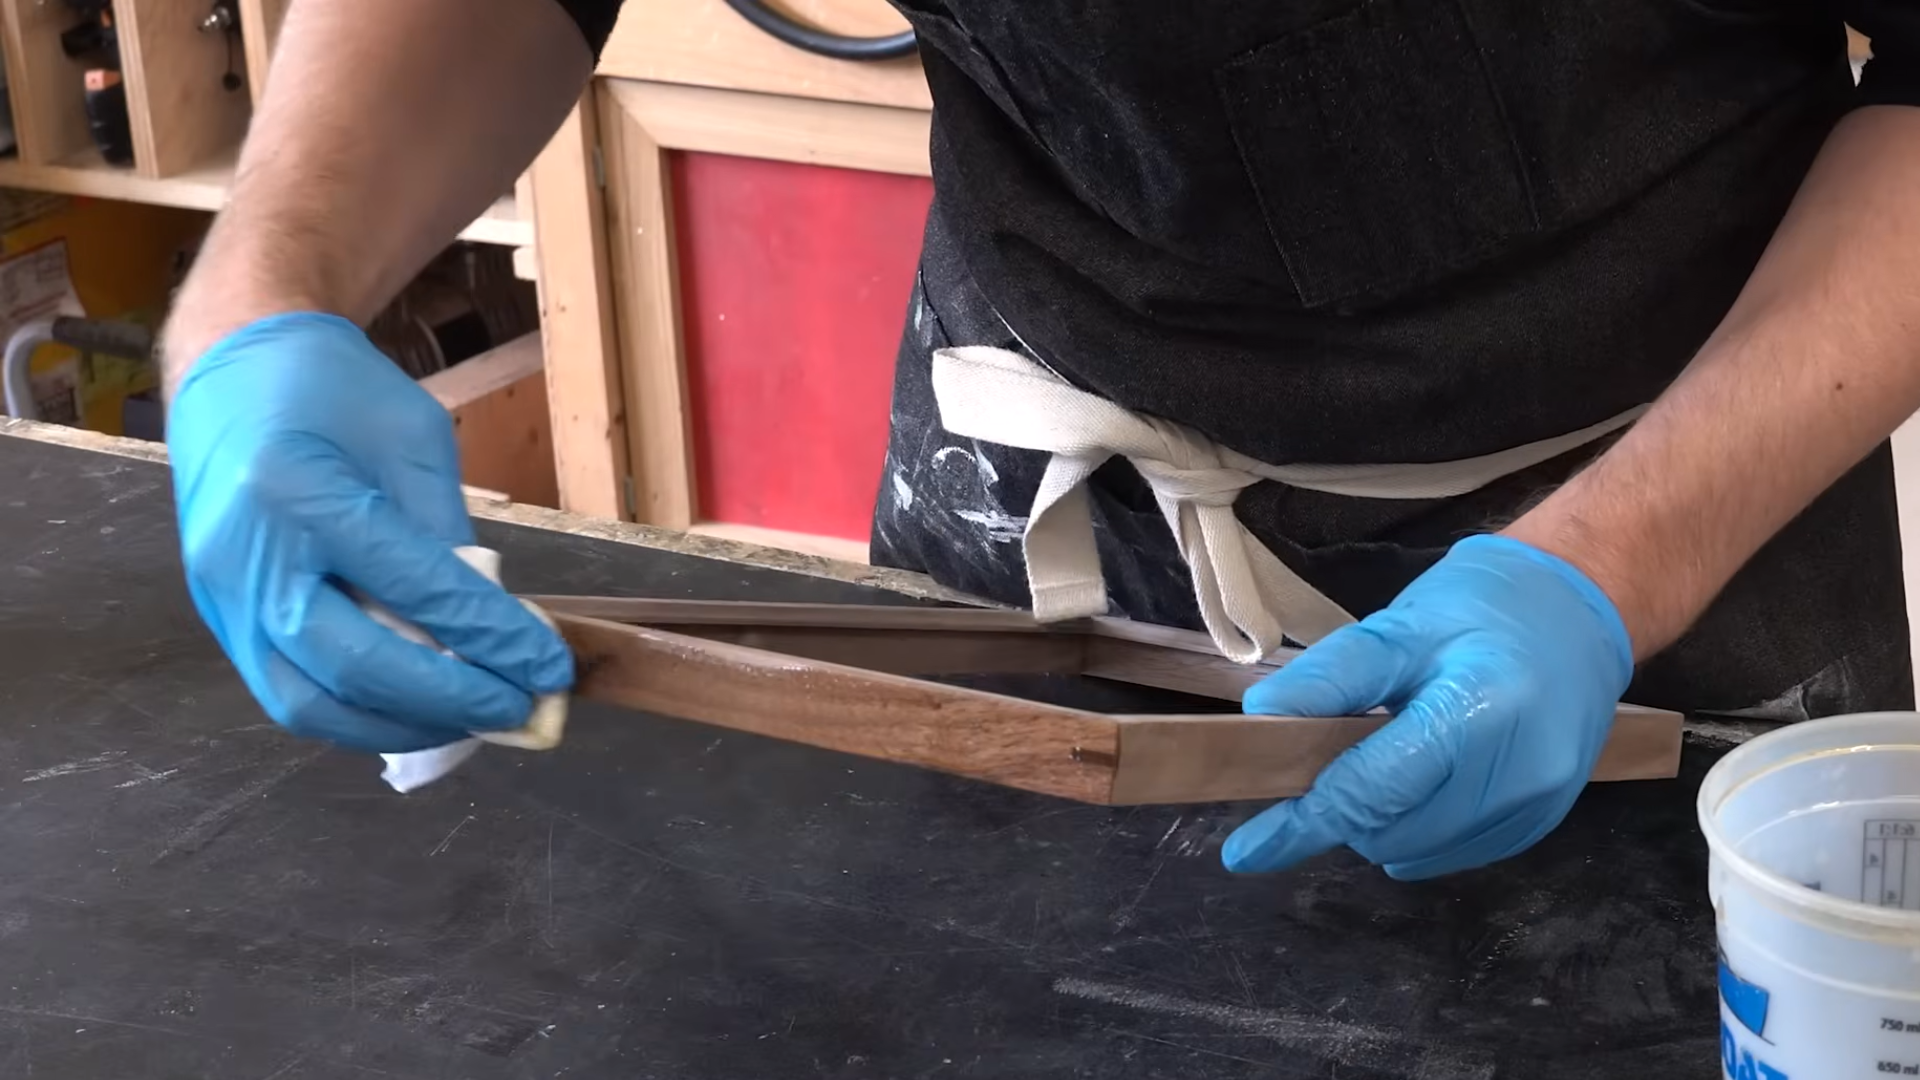
After sanding, apply the finish that best suits the wood species and desired appearance. You can use both oil-based and water-based finishes depending on the frame design and color goals.
Oil-based finishes can enhance the richness and depth of darker woods such as walnut, while water-based finishes help maintain a lighter natural appearance.
Apply the finish evenly and allow sufficient drying time between coats.
Multiple coats can improve durability and provide better protection for the finished frame.
Step 10: Install the Artwork and Backing

When the finish has fully cured, prepare the frame for the artwork. You can use plexiglass instead of glass because it is lighter, easier to cut, and less likely to break during handling.
Place the glazing, artwork, mat board, spacers, and backing materials into the rabbet in the correct order.
If the artwork requires mounting, use archival materials whenever possible to help protect it from damage over time. Proper spacing between the artwork and glazing can also help prevent moisture-related issues.
Step 11: Secure Everything Inside the Frame

The final step is securing all components inside the frame. Once the artwork, glazing, spacers, and backing are properly positioned, use framing points or similar fasteners to hold everything in place.
Check that all materials fit securely and that the artwork is aligned correctly before closing the frame.
After the backing has been secured, inspect the frame for dust, fingerprints, or debris and make any final adjustments. At this point, the picture frame is complete and ready to display.
This tutorial is based on a helpful video by Michael Alm. You can watch the original video on his YouTube channel and follow along with the picture frame building process.
How to Choose the Right Wood for a Picture Frame?
Choosing the right wood affects the frame’s strength, appearance, and finish. Some woods offer better durability, while others provide a smoother surface or richer color. Consider your project goals before making a selection.
| Wood Type | Features | Best For |
|---|---|---|
| Oak | Strong, durable, and long-lasting | Modern and traditional frames |
| Walnut | Rich color and attractive grain patterns | Decorative and premium frames |
| Ash | Light color and takes stain well | Custom finishes and stained frames |
| Maple | Smooth surface with consistent grain | Painted or lightly finished frames |
| Pine | Affordable and easy to work with | Beginner projects and practice frames |
| Cherry | Darkens and develops a richer color over time | High-quality custom frames |
| Best Choice | Depends on appearance, budget, durability, and finish preferences | Any frame project based on your needs |
Common Mistakes to Avoid when Building a Picture Frame
Building a picture frame is a detailed process, and small mistakes can affect both the appearance and fit of the finished piece. Avoiding the following errors can help improve the final results.
- Skipping Accurate Measurements: Incorrect measurements can lead to a frame that is too large or too small for the artwork.
- Forgetting to Add Clearance: Artwork should have a small amount of extra space inside the frame to prevent binding.
- Cutting Miters Inaccurately: Poorly cut miters can create visible gaps at the corners and weaken the frame.
- Ignoring Frame Depth Requirements: A frame that is too shallow may not have enough room for glazing, artwork, backing, and mounting materials.
- Using Weak Corner Joints: Failing to reinforce miter joints can reduce the frame’s long-term durability.
- Rushing the Sanding Process: Insufficient sanding can leave rough surfaces and make the finish appear uneven.
- Using Non-Archival Materials: Certain materials may damage artwork over time through discoloration or deterioration.
- Allowing Artwork to Touch the Glazing: Direct contact with glass or plexiglass can increase the risk of sticking, moisture issues, or damage.
Conclusion
Building a picture frame from scratch lets you create a custom display for your artwork and style. With careful measuring, accurate cuts, and proper assembly, you can achieve professional-looking results.
From selecting a mounting method and milling the wood to reinforcing the corners and installing the artwork, each stage contributes to the quality of the finished frame.
Taking your time and paying attention to details can help prevent common mistakes and improve durability.
Now that you know how to build a picture frame, you can create custom frames for artwork, photos, prints, and more.
Frequently Asked Questions
How Much Does It Cost to Build a Picture Frame?
The cost depends on the wood, glazing, finish, and hardware used. A simple DIY picture frame is often less expensive than a custom-made frame.
What Is the Easiest Type of Picture Frame to Build?
A basic gallery-style frame is one of the easiest options because it uses simple profiles, straight cuts, and minimal decorative details.
Can Beginners Build a Picture Frame?
Yes, beginners can build a picture frame with basic woodworking tools and careful measurements. Starting with a simple design can make the process easier.
What Can Be Used Instead of Glass in a Picture Frame?
Plexiglass is a common alternative to glass because it is lightweight, easy to cut, and less likely to break during handling.
How Long Does It Take to Build a Picture Frame?
The time required varies by design and experience level. A simple frame can often be completed in a few hours, excluding finish drying time.