

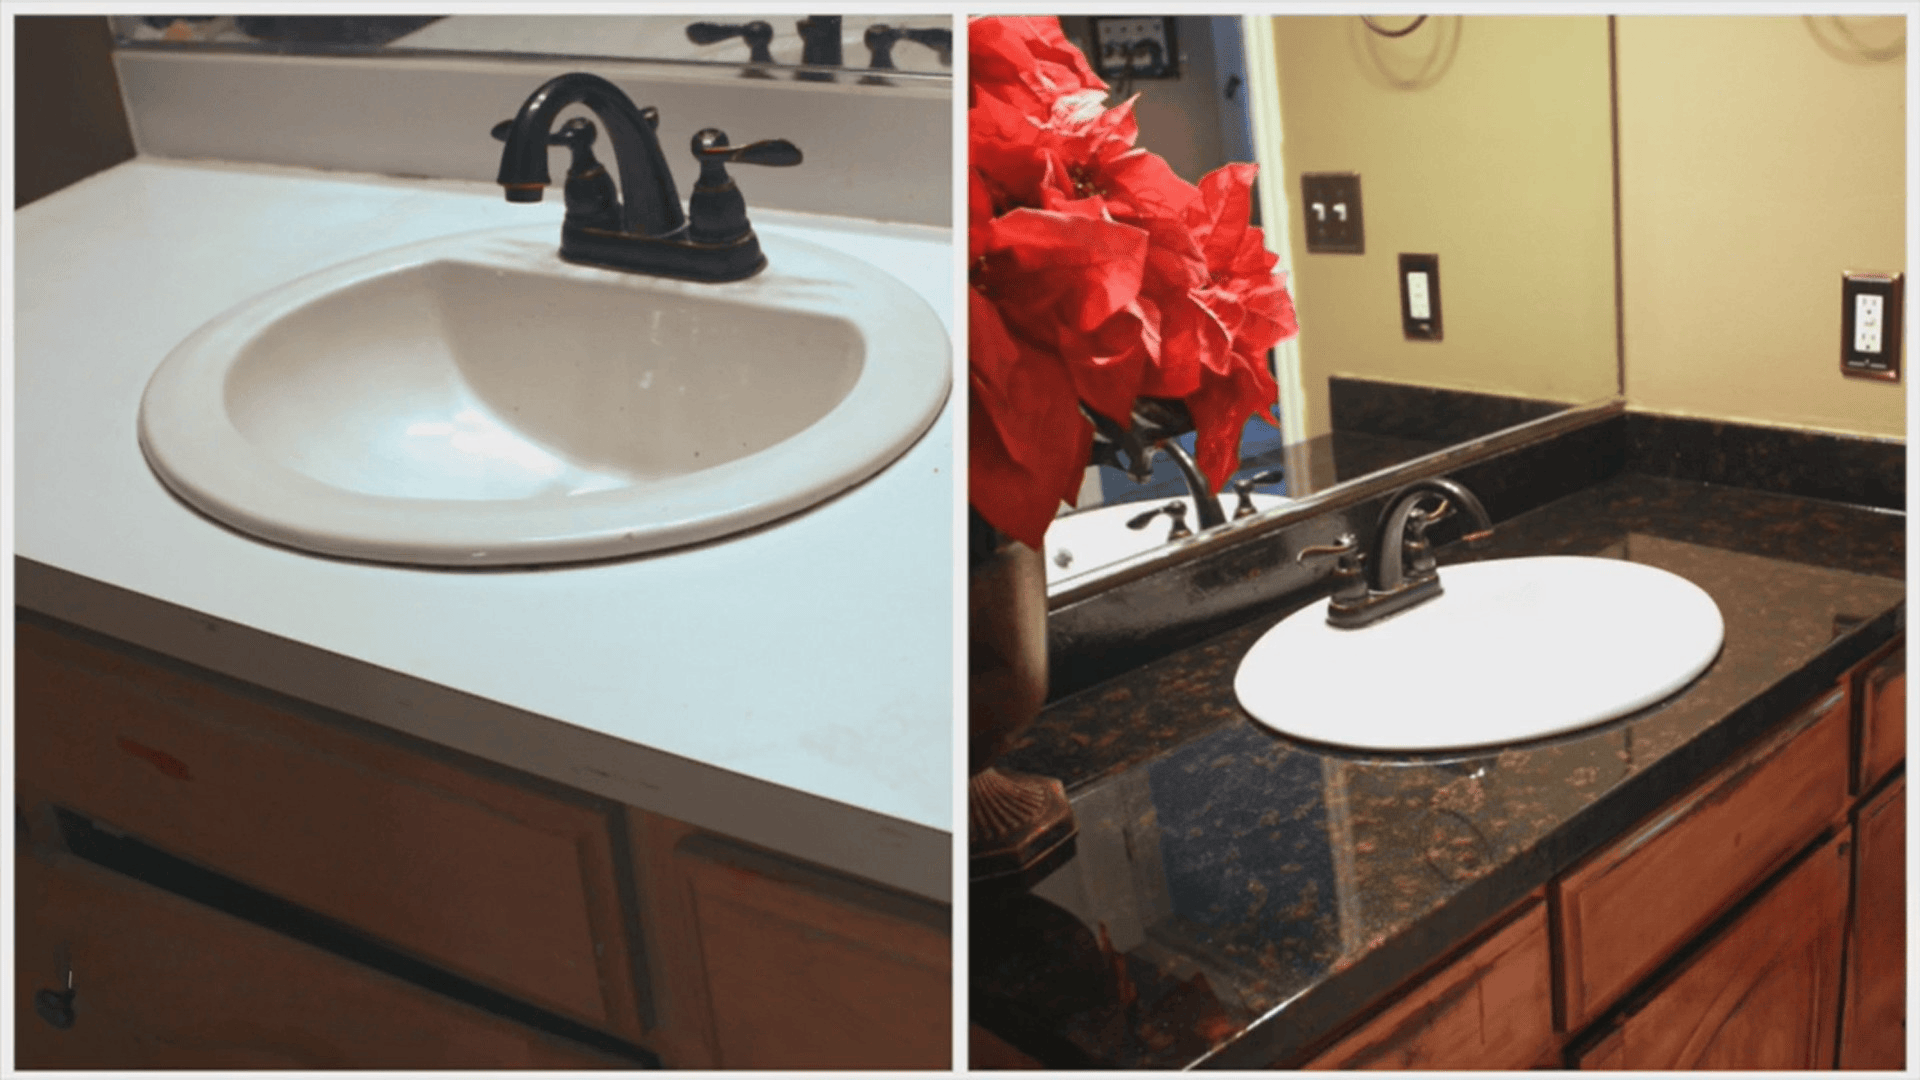
Laminate countertops take a beating. Years of daily use leave them scratched, stained, and faded; and at some point, no amount of cleaning makes them look right.
The surface still functions, but it makes the whole kitchen look run-down.
Replacing them is an option, but it is rarely a necessary one. For most laminate countertops with surface-level damage, resurfacing gets you close to the same result at a fraction of the cost; typically under $100 in materials for a standard kitchen.
This guide covers the full process: what you need, how to prep the surface correctly, how to apply each layer, and how to keep the finish holding up for years.
Can You Resurface Laminate Countertops?
Yes, you can refresh laminate countertops at home without spending much, using a few simple tools and materials. This method works best when the surface has light damage and the base underneath is still solid.
| Factor | Details |
|---|---|
| DIY Friendly | Yes, beginners can do it with basic tools |
| Cost | Low compared to full replacement |
| Best Condition | Light scratches, stains, or fading |
| Not Ideal For | Deep cracks, peeling, or warped surface |
| Durability | 5–10 years with regular care; epoxy finishes typically outlast paint-only methods by 2–3 years |
How to Resurface Laminate Countertops
Each step below builds on the last. Skipping or rushing one will show up in the final result. Follow the order exactly and give each stage the time it needs.
Tools and Materials You Need
- Primer: use a bonding or adhesion primer designed for glossy or hard surfaces; standard drywall primer will not stick to laminate
- Countertop coating: specialty countertop paint only; regular wall or acrylic paint will not hold up on laminate
- Epoxy Kit
- Foam brushes or Rollers
- Painter’s tape and newspaper
- Sandpaper: 120 to 150 grit for scuffing, 220 grit for smoothing after primer
- Mixing Container
Step 1: Remove Sink and Prep Area
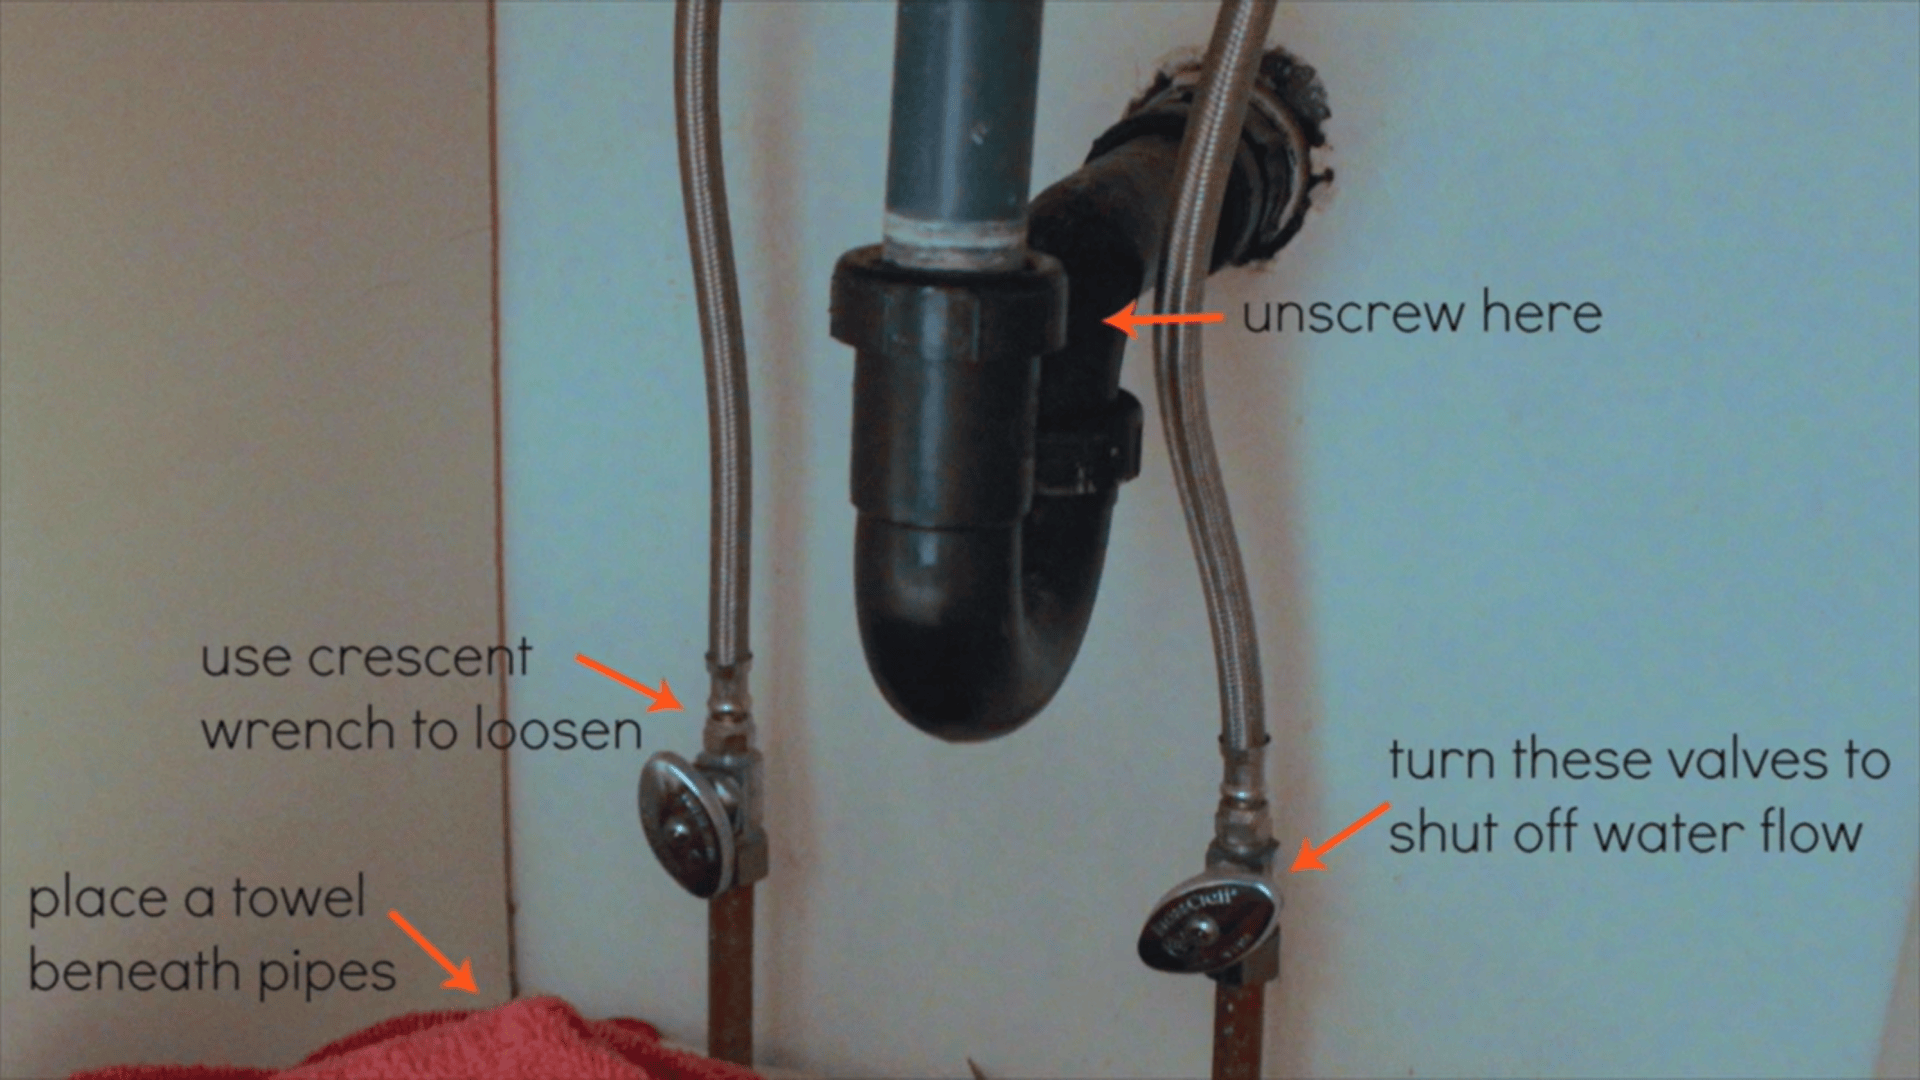
Start by removing the sink so the coating does not seal it in place. Turn off the water valves and disconnect the pipes carefully.
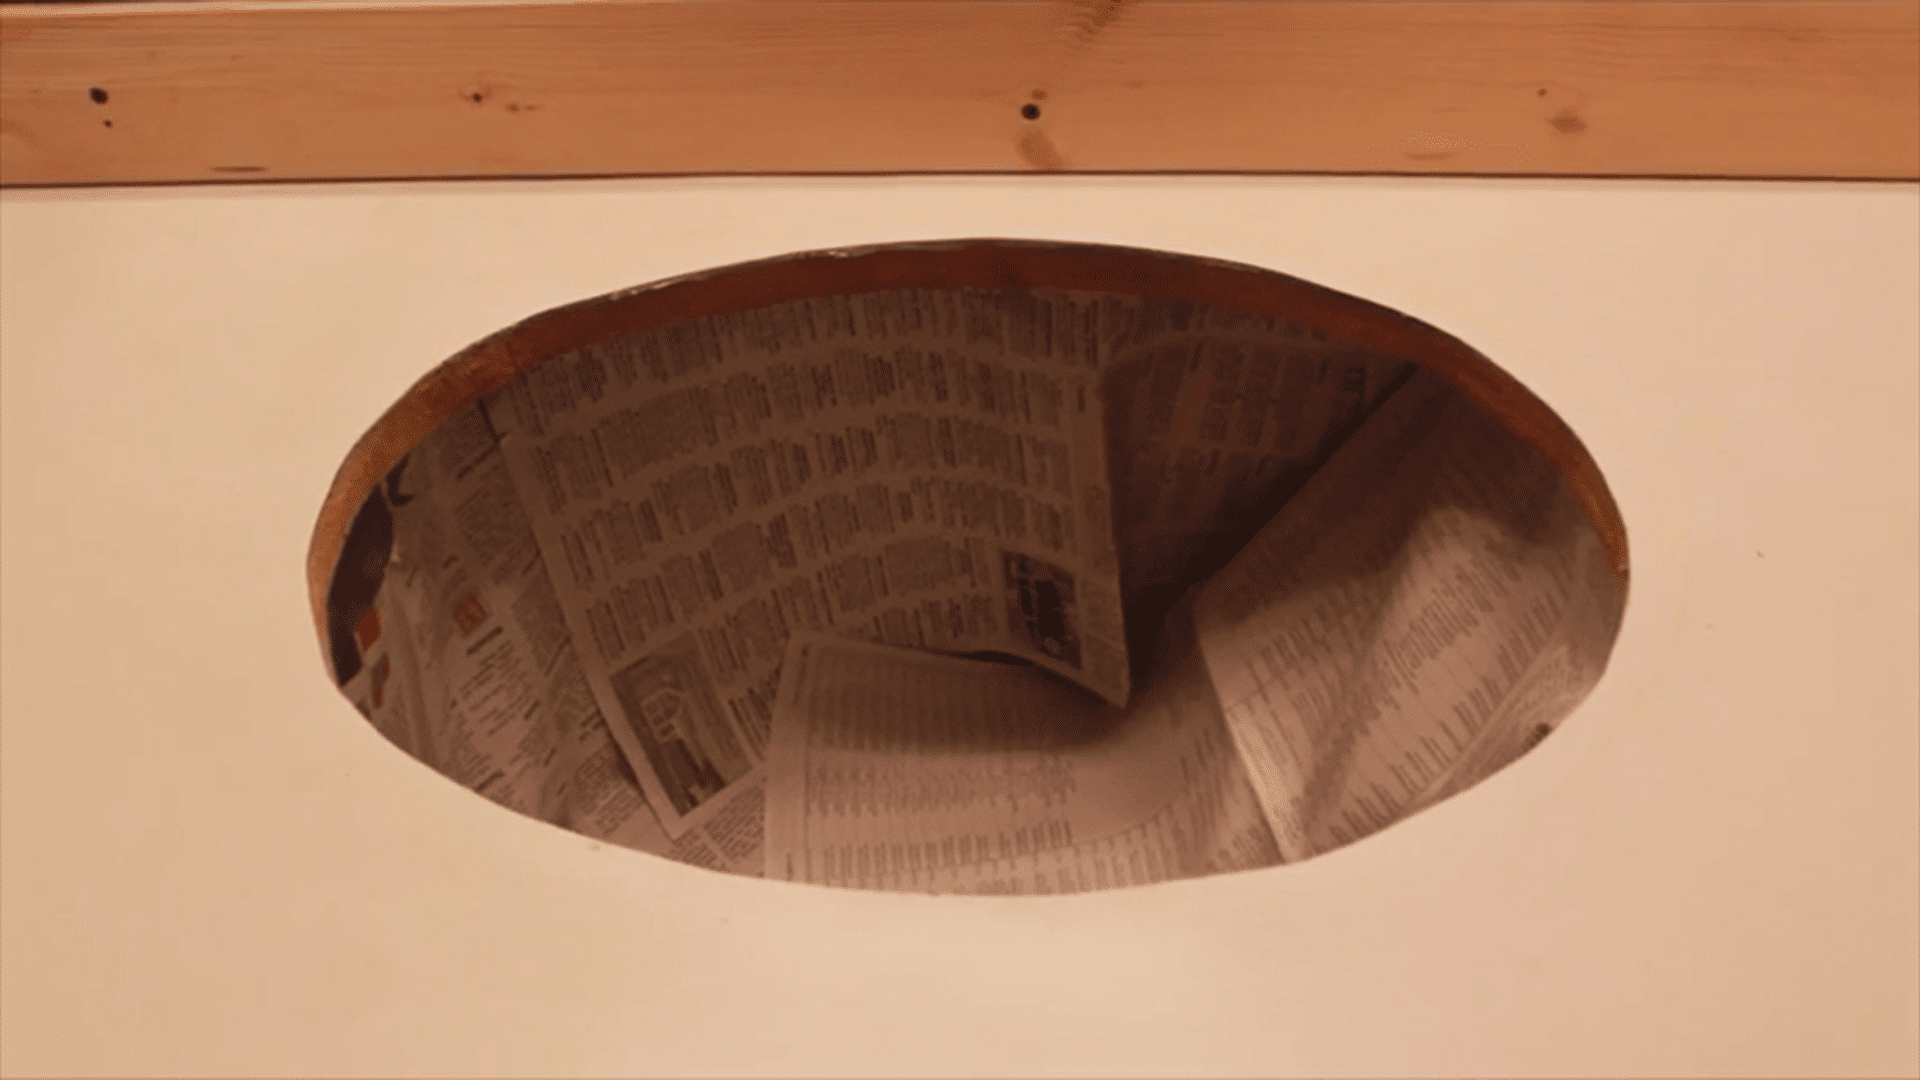
After removing the sink, cover nearby cabinets, walls, and floors with painter’s tape and newspaper. Epoxy drips and runs easily during application, so protect everything now rather than cleaning it up later.
Cover the sink opening too so nothing falls inside while you work.
Step 2: Clean the Countertop Thoroughly
Use a degreaser or strong household cleaner to remove grease, dirt, and built-up grime. Pay close attention to corners and edges; that is where buildup hides most.
After cleaning, wipe the surface with a damp cloth to remove any leftover product. Let it dry fully before moving on.
Any grease or residue left behind will break the bond between the coating and the laminate. This is the step where most failed DIY jobs start.
Step 3: Sand the Surface
Laminate has a glossy finish that prevents primer and paint from gripping properly. Sanding knocks down that shine so everything that goes on top actually sticks.
Use 120 to 150 grit sandpaper and work across the full surface in small circular motions. Cover the backsplash and lip areas too. You are not trying to remove the laminate, just dull the finish.
When done, wipe away all dust with a damp cloth and let the surface dry completely. Skipping this step is one of the most common reasons paint peels off laminate within weeks of finishing.
Step 4: Apply Primer
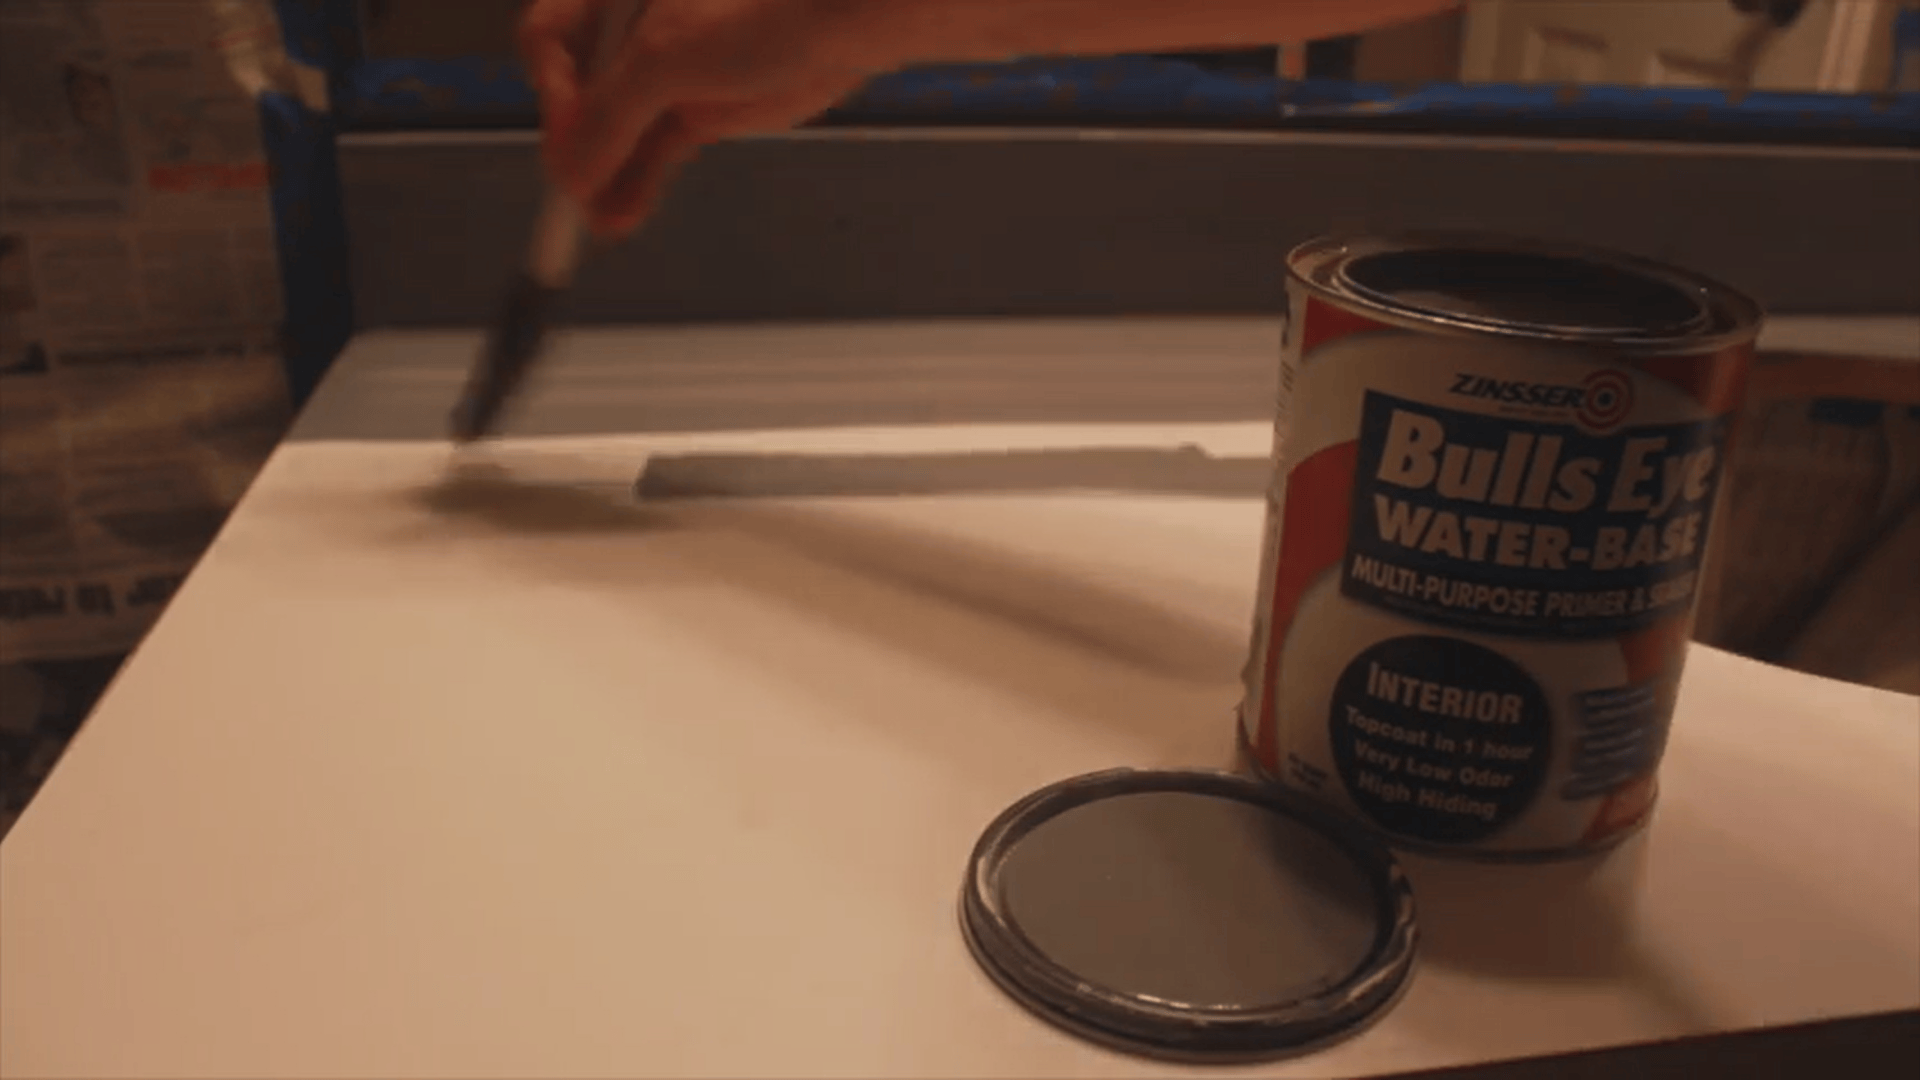
Use a bonding primer designed for glossy or hard surfaces. Standard drywall primer will not adhere to laminate, even after sanding.
Zinsser Bulls Eye 1-2-3 and Rust-Oleum Zinsser Bulls Eye Shellac-Base are two commonly available options that bond reliably to laminate. Either works, just confirm the label lists glossy surfaces in the approved use list before buying.
Apply a thin, even coat using a foam brush, covering the full surface including edges and backsplash. Let it dry fully according to the label, then apply a second coat.
Two coats give you a much more consistent base for the paint to sit on. If you rush this and apply the next layer too soon, you risk lifting the primer and starting over.
Step 5: Apply Base Paint
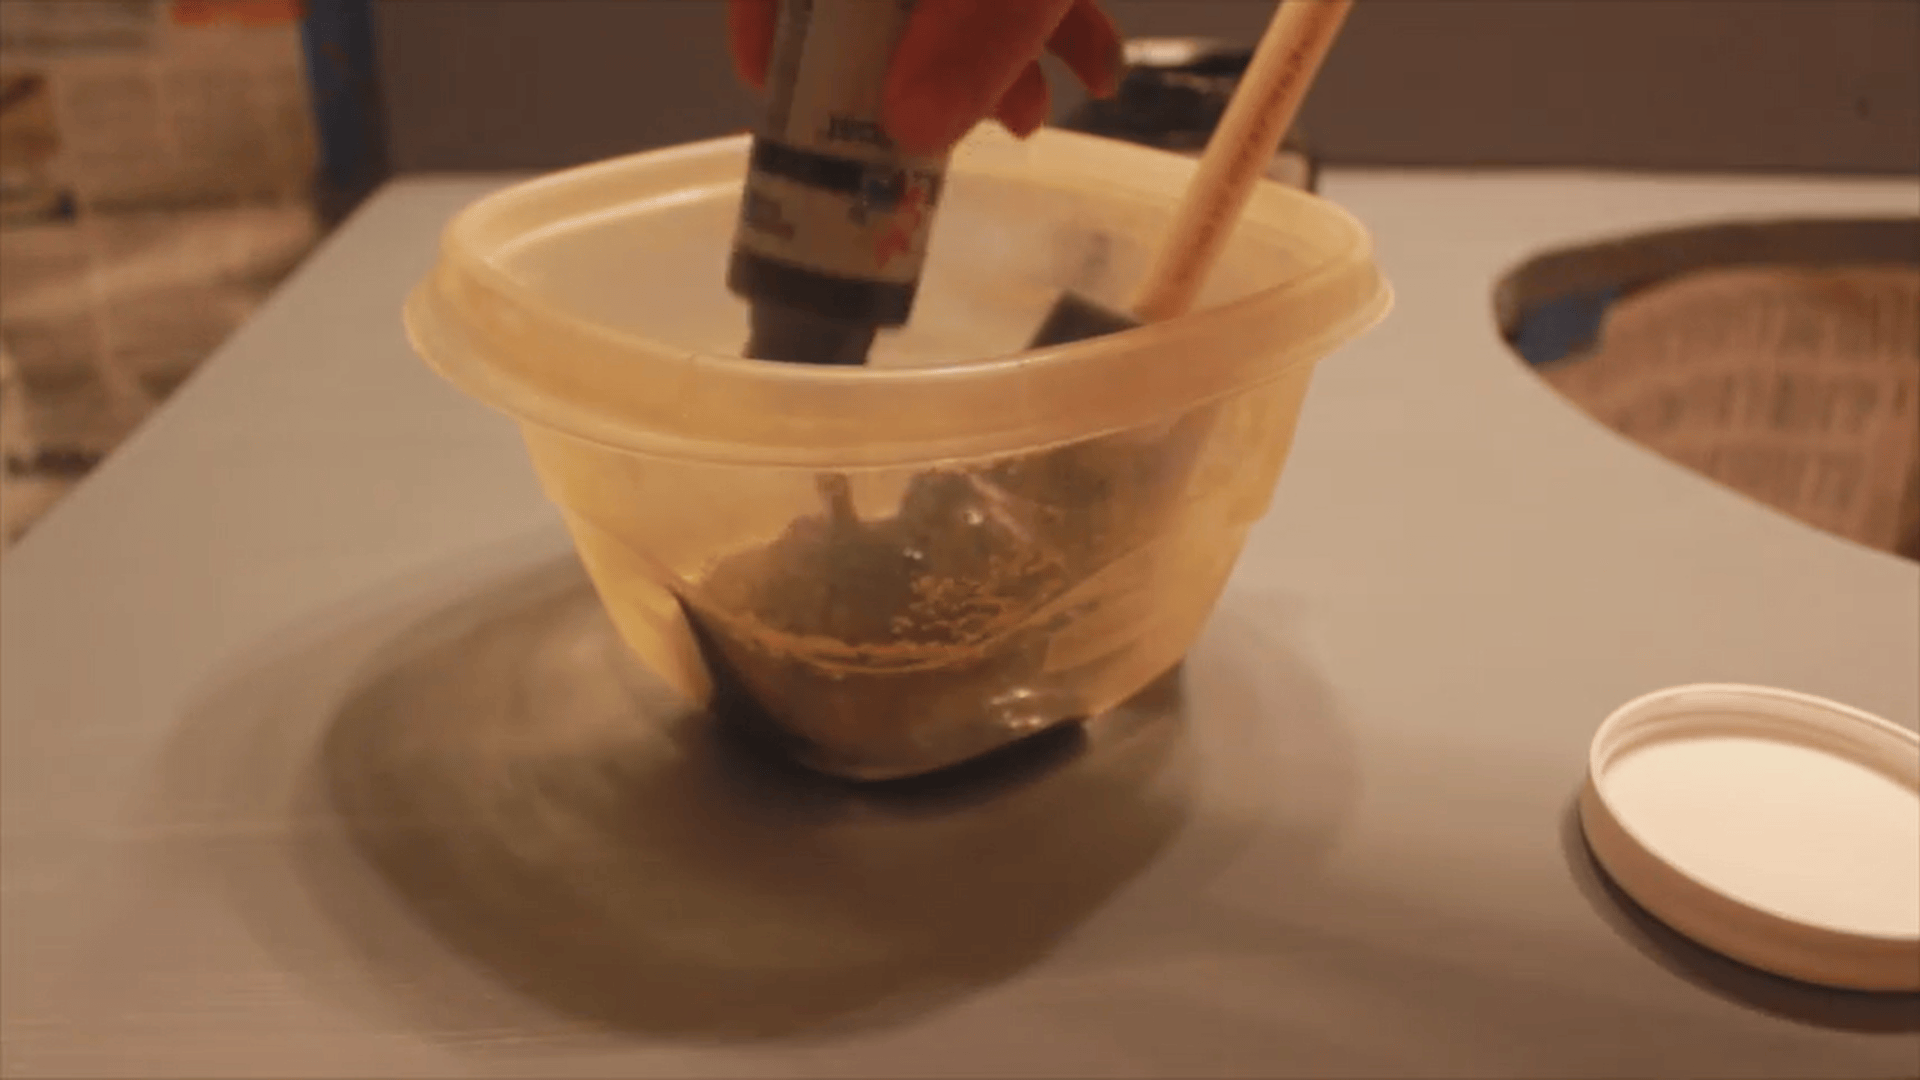
Before you open anything, check the label. You need a specialty countertop coating, not regular wall paint, not acrylic craft paint.
Regular paint looks fine at first and starts peeling within days of normal kitchen use. Products like Rust-Oleum Countertop Coating are built to handle moisture, heat, and daily contact.
Apply it using a foam brush or roller with light, even strokes. Cover the full surface including sides, edges, and corners. Avoid thick layers, they cause streaks and take far longer to dry.
One coat is usually enough if applied evenly. Let it dry completely before moving to the next step.
Step 6: Add Texture and Design
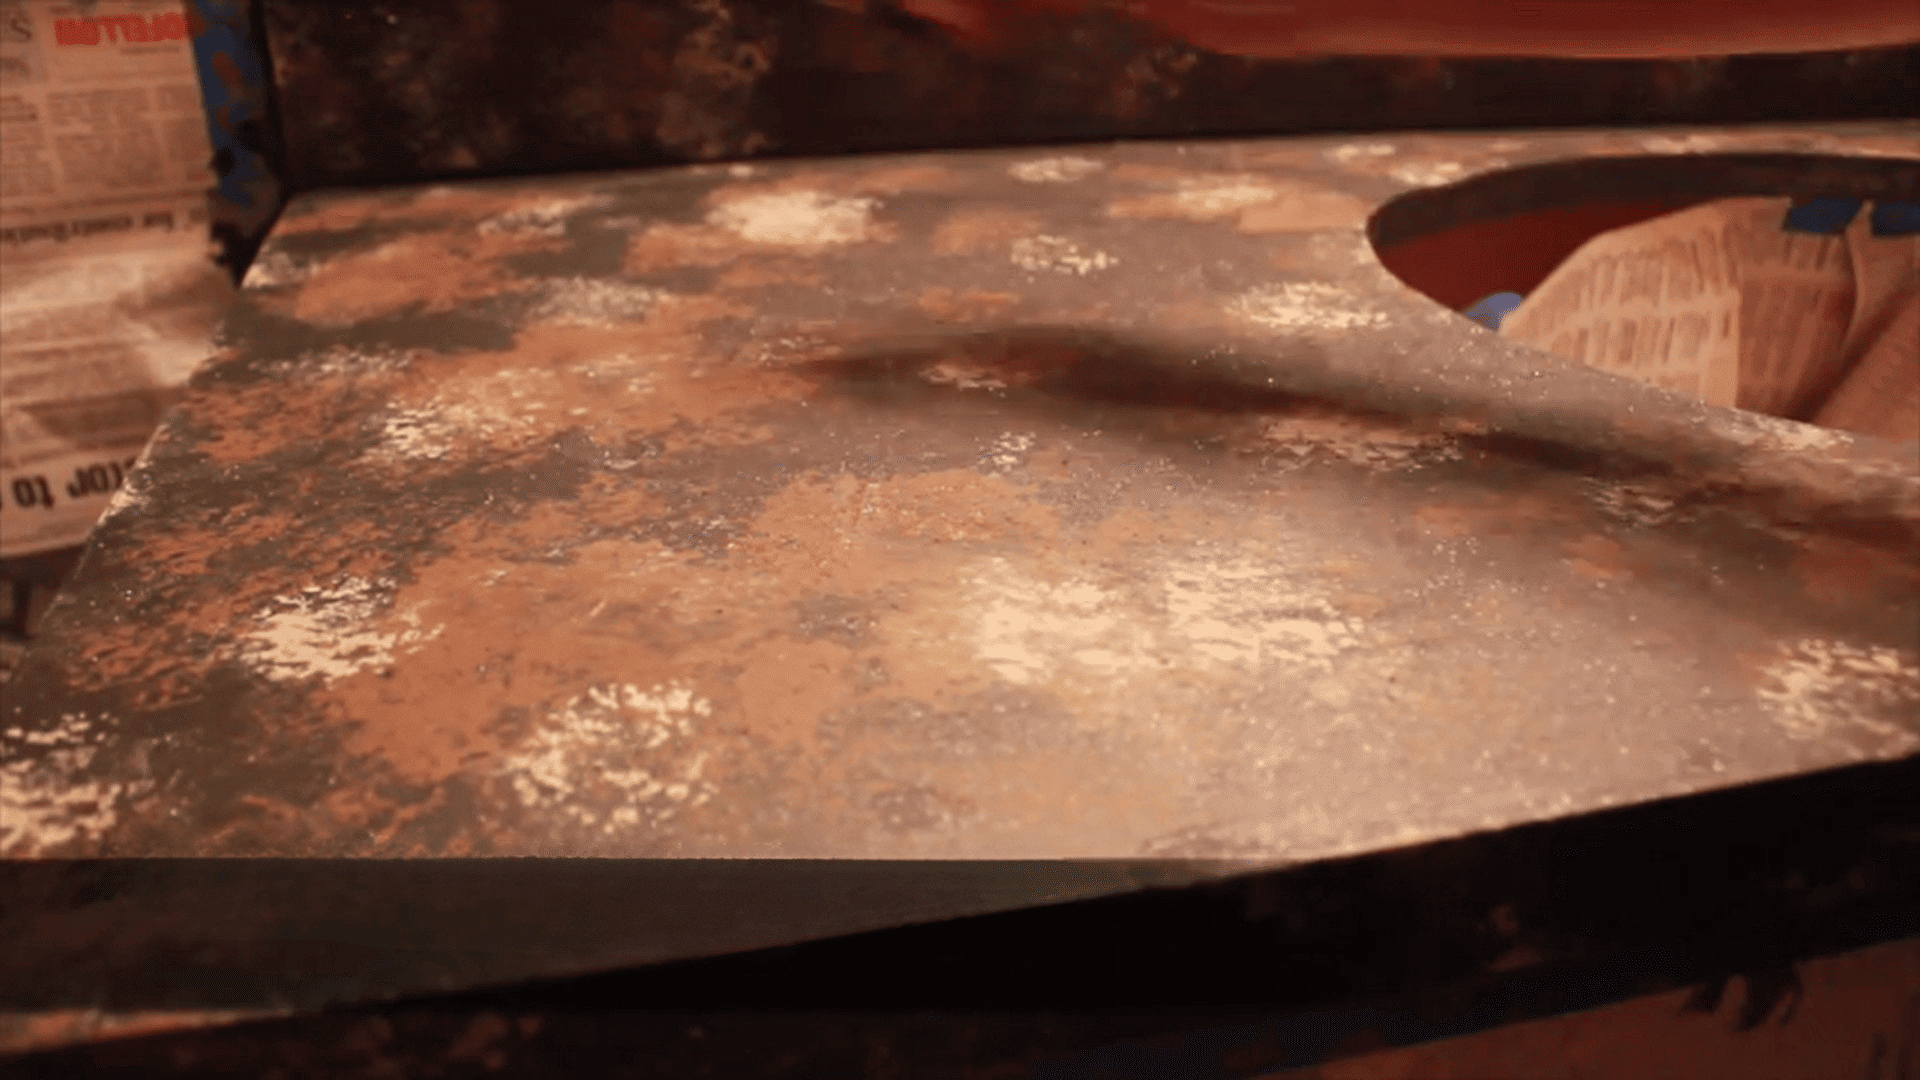
While the base coat is still slightly wet, use a sponge or soft cloth to dab one or two additional colors across the surface. Working into a wet base lets the colors blend at the edges instead of sitting on top as hard outlines, that soft blending is what reads as stone rather than paint.
Choose accent colors that are one or two shades lighter and darker than your base. That contrast is what creates the illusion of depth. Three colors that are too similar will flatten out; colors that are too far apart will look painted rather than natural.
Rotate the sponge as you work so the pattern does not repeat in the same direction. Keep it light; a subtle variation reads as stone, while heavy dabbing just looks patchy.
Step back periodically and check from a few feet away. You will catch uneven areas and overly heavy spots much more easily from a distance than when you are right above the surface.
Step 7: Mix and Apply Epoxy
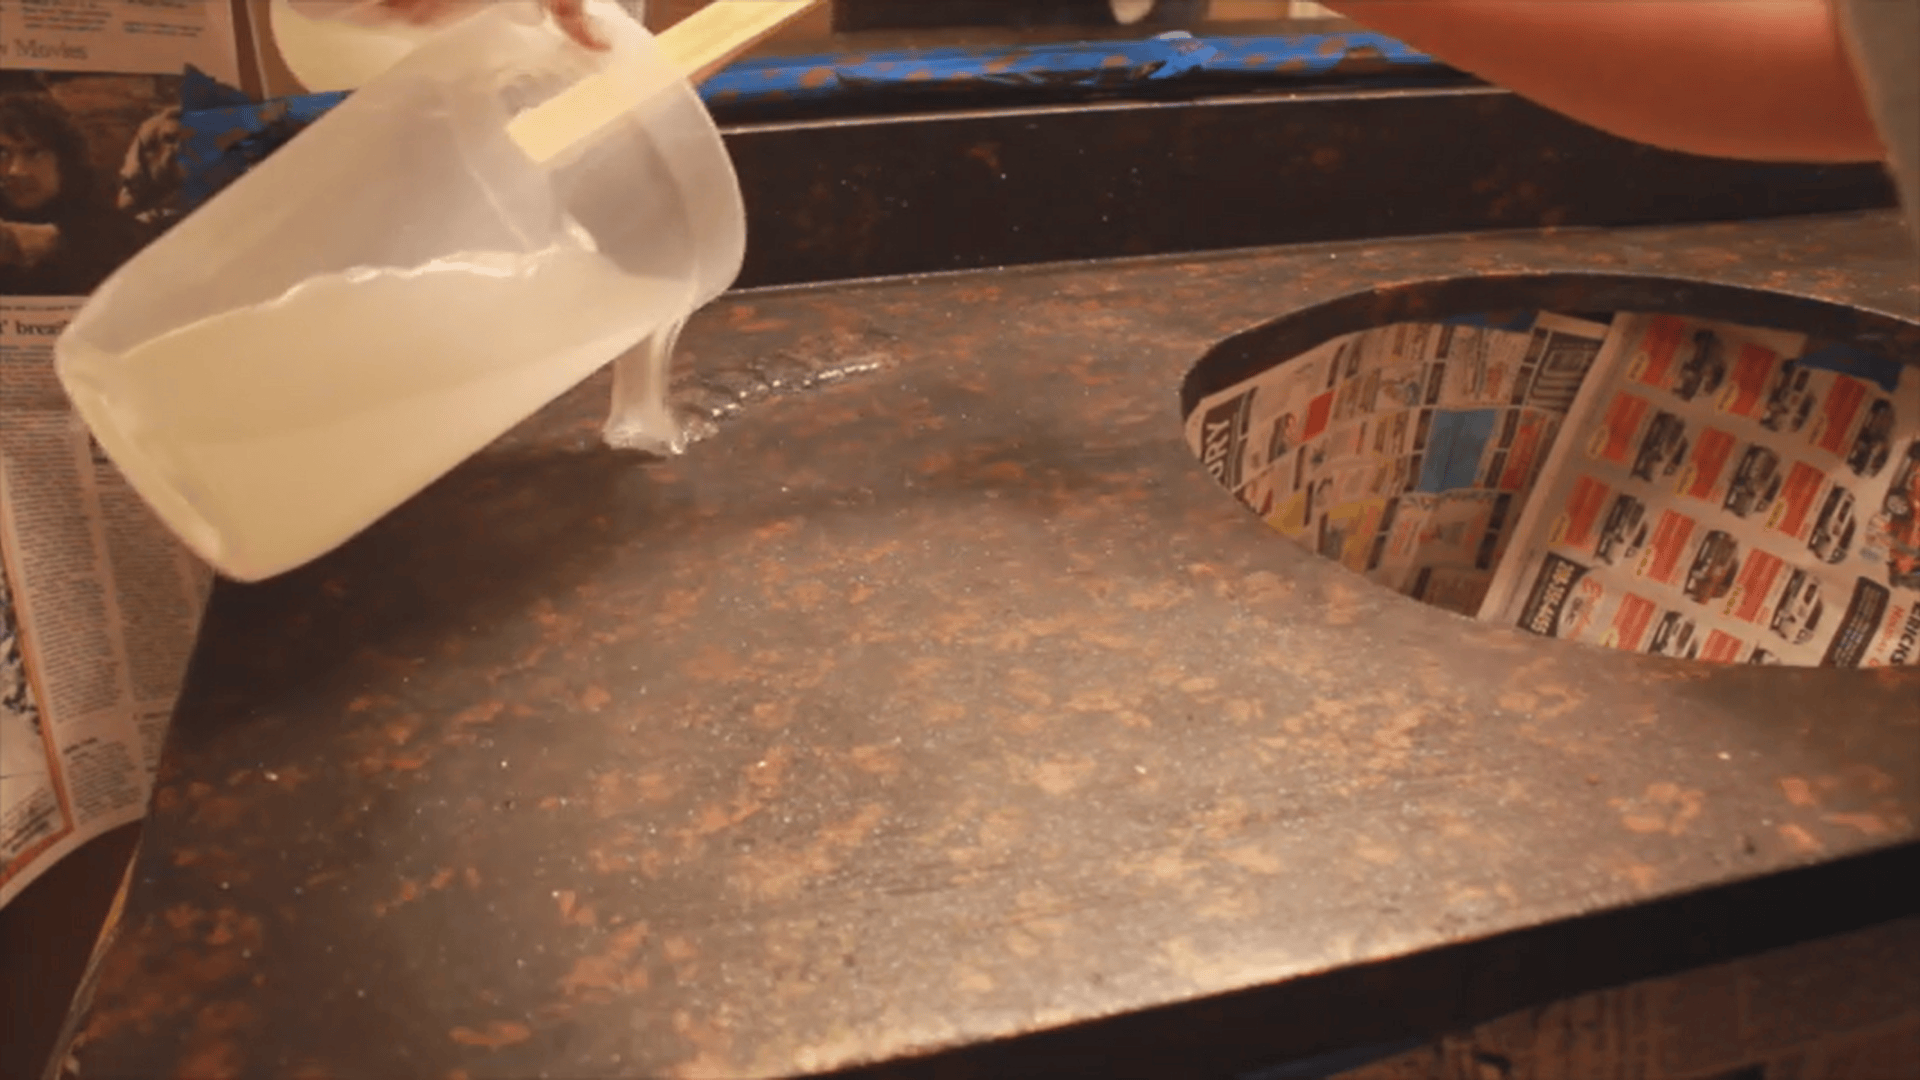
Mix the two parts of the epoxy in the exact ratio listed on your product label — most countertop epoxies use a 1:1 ratio by volume. Pour Part A into the container first, then add Part B.
Stir slowly for at least two to three minutes and scrape the sides and bottom of the container as you mix. Under-mixing is the most common cause of soft spots and areas that never fully harden.
Pour the epoxy onto the countertop and spread it evenly using a brush or flat stick. Make sure it covers all areas including edges and corners. Work quickly, epoxy begins to set and gets harder to spread as time passes.
Step 8: Remove Bubbles and Drips
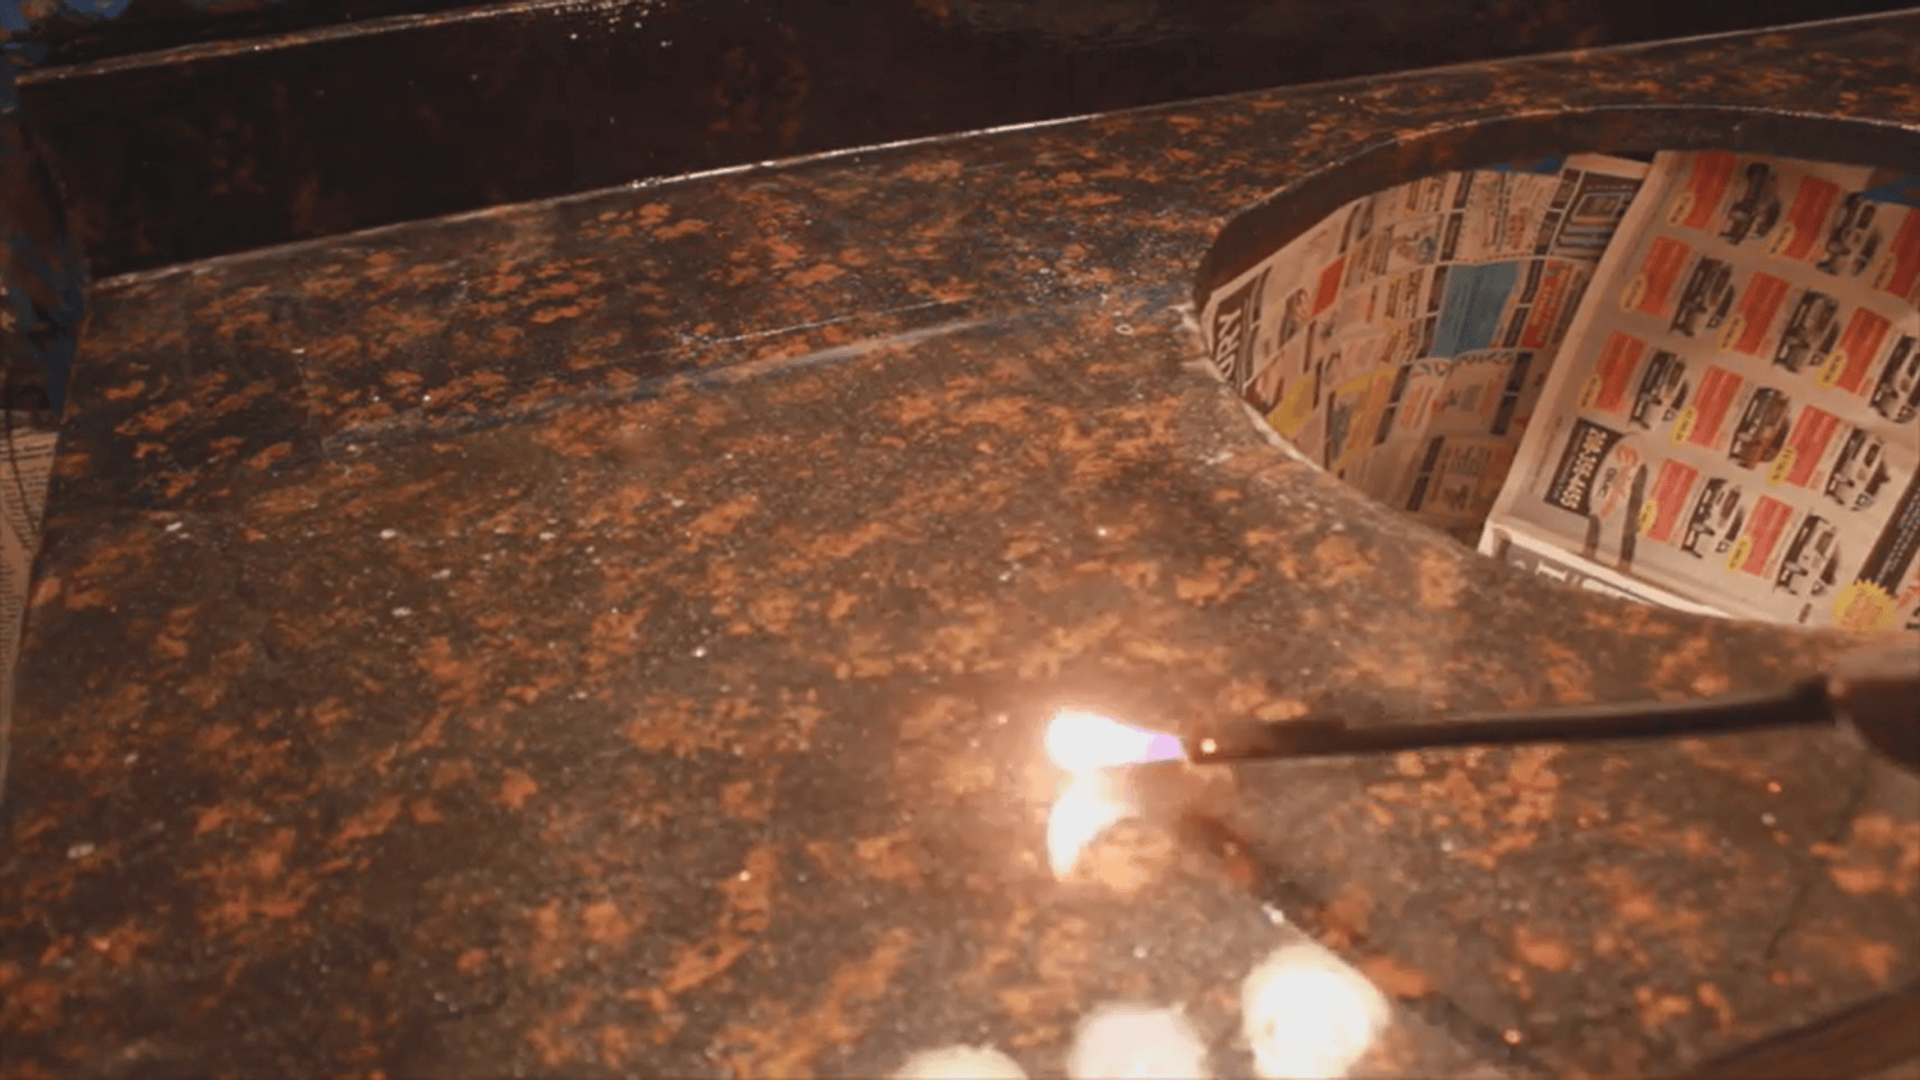
Small bubbles are normal after pouring epoxy. Pass a lighter or a small torch quickly over the surface to pop them. Keep the flame moving and never hold it in one spot; holding it still can scorch the finish.
Check the edges for drips and smooth them out with a brush before they harden. Stay with the surface for the first 30 minutes because new bubbles continue forming as the epoxy settles.
Step 9: Let It Cure Properly
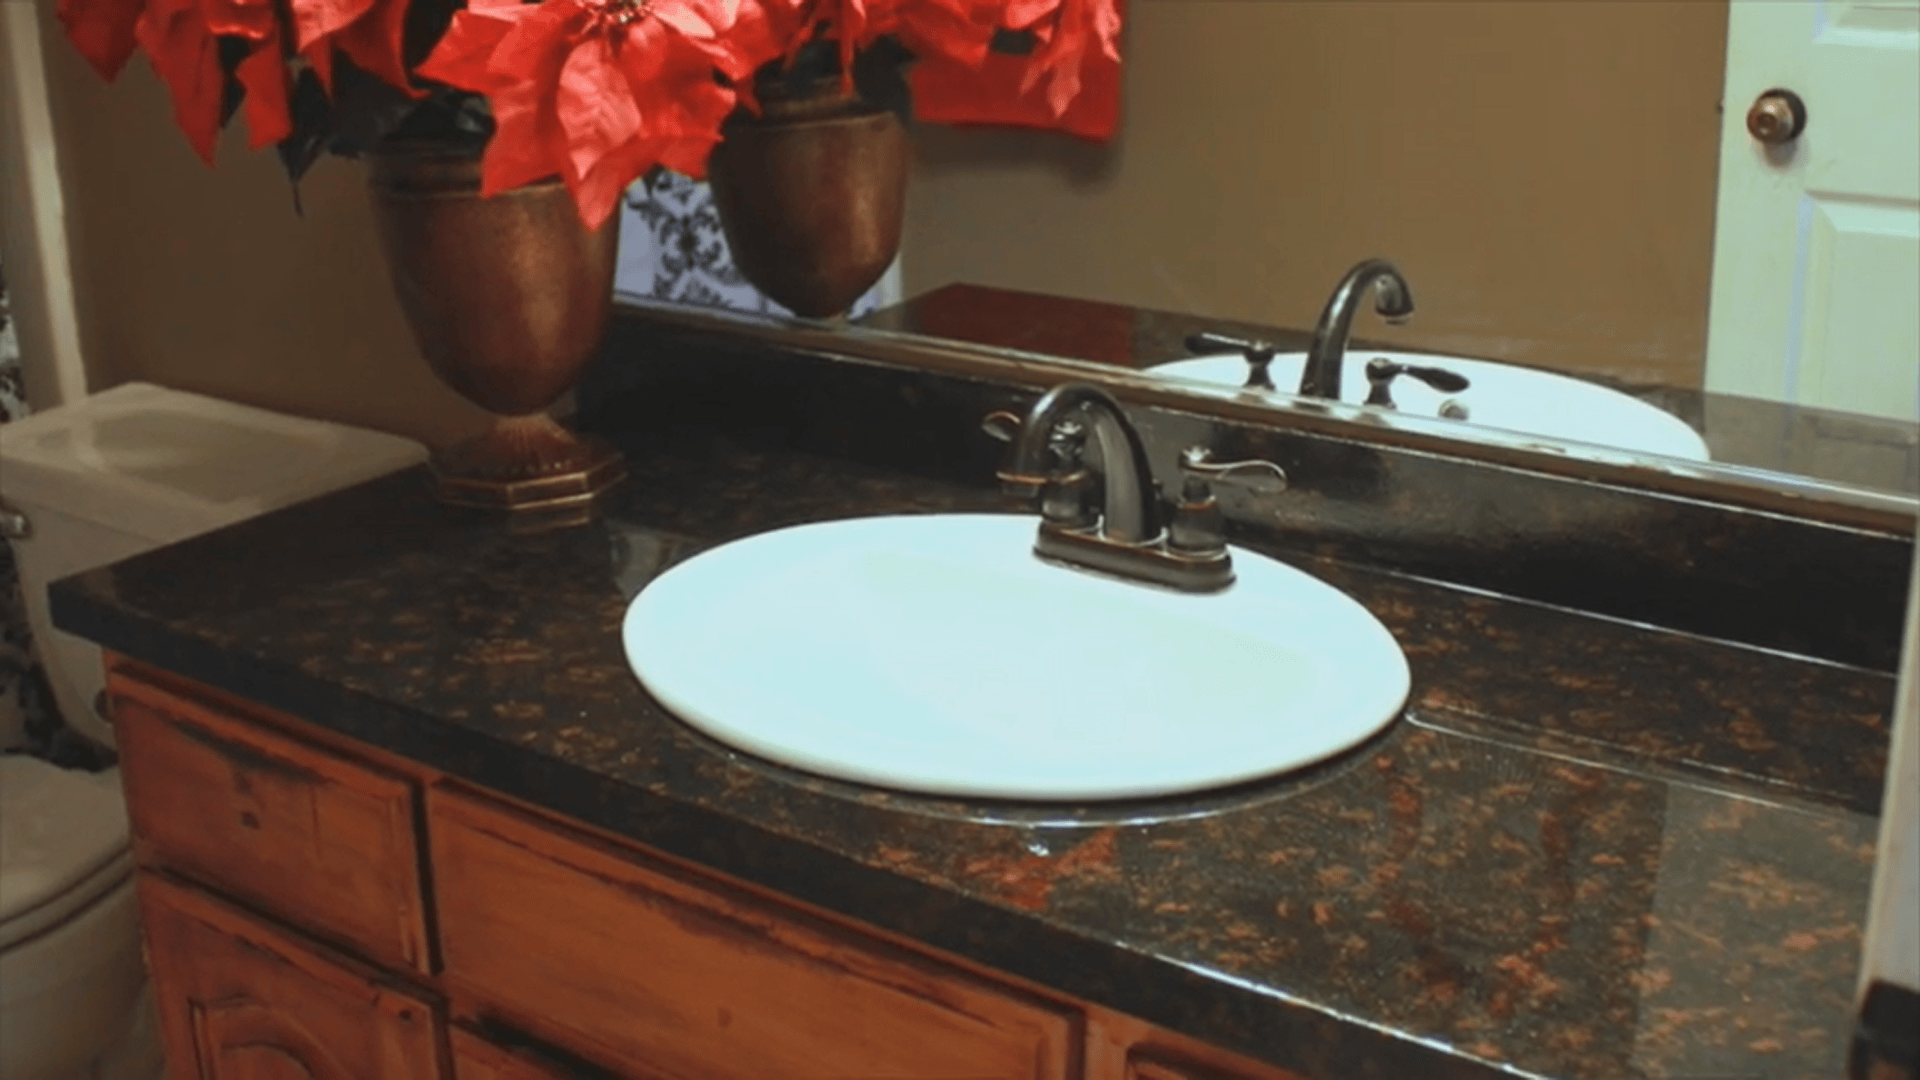
Once the epoxy is applied, do not touch or disturb the surface. After a few hours, when the edges feel slightly tacky, carefully peel back the tape and protective coverings.
Do not run fans near the surface; airflow carries dust and debris that will get trapped in the finish as it hardens. The epoxy will start to firm up around the 8-hour mark.
Wait a full 72 hours before putting anything on the countertop or using it for food prep. Cutting that time short is how you end up with marks and impressions in what should be a hard, clean surface.
For a complete walkthrough of the whole process, check out the complete resurfacing video tutorial below:
Cost to Resurface Laminate Countertops
Resurfacing costs depend on the method you choose and the condition of your countertop. DIY is cheaper, while professional work gives a more polished and long-lasting result.
| Type | Cost Range | Details |
|---|---|---|
| DIY Cost | $50 to $200 | Depends on materials like paint, primer, and epoxy |
| Professional Cost | $250 to $750+ | Based on countertop size, finish, and labor charges |
| DIY Option | Saves money | Requires time, effort, and basic skills |
| Professional Service | Higher cost | Offers a smoother and more durable finish |
| Extra Costs | Varies | Repairs, prep work, or extra coatings can increase the total cost |
Tips to Make Your Countertops Last Longer
The finish you just applied is durable, but it is not indestructible. A few simple habits will keep it looking clean for years and push back the point where it needs attention again.
- Avoid direct heat: Hot pans transfer heat directly into the coating and can cause discoloration or cracking — always use a trivet
- Clean with mild soap: Harsh or abrasive cleaners strip the finish over time; warm water and a small amount of dish soap is enough for daily cleaning
- Use cutting boards: Even a hard epoxy finish will show knife marks over time — always cut on a board
- Reapply sealant when needed: When the surface starts to look dull or water no longer beads up, it is time for a fresh topcoat — typically every one to two years with regular kitchen use
- Wipe spills quickly: Acidic liquids like vinegar, citrus juice, or coffee can etch the finish if left to sit
- Avoid heavy impact: Dropping heavy items can chip or crack the coating, especially near edges
- Use soft cloths: Rough scrubbers scratch the surface and wear down the finish faster than anything else
- Keep water away from edges: Standing water along the edges can seep under the coating and soften the particle board base over time
- Do not drag items: Sliding heavy objects leaves marks that are difficult to buff out without refinishing
- Check for damage early: A small chip is a five-minute fix; a chip that spreads becomes a full refinish job
None of these require extra effort once they become habit. The countertop does the hard work — you just need to avoid the things that shorten its life.
When Should You Resurface Instead of Replace?
The condition of the laminate surface tells you which direction to go. If the damage is cosmetic, resurfacing works well. If the structure underneath is compromised, no amount of coating will fix it.
| Condition Type | Signs | What It Means |
|---|---|---|
| Good for Resurfacing | Light scratches on the surface | Surface damage is minor and easy to cover |
| Good for Resurfacing | Faded or dull color | Can be refreshed with coating or paint |
| Good for Resurfacing | Minor stains that do not wash out | Surface can be covered and sealed |
| Not Suitable | Deep cracks in the laminate | Structure may be weak; coating will crack too |
| Not Suitable | Peeling or lifting surface layer | Bonding issues will cause the new coating to fail |
| Not Suitable | Warped or soft base underneath | Needs full replacement, not resurfacing |
Press firmly across different areas of the countertop before you start. If it feels soft, spongy, or flexes underfoot, the particle board base has moisture damage. Resurfacing over that will not hold.
Best Methods to Resurface Laminate Countertops
There is more than one way to do this job, and the right choice depends on your budget, your comfort level, and what kind of finish you want. Here is how the three main options compare.
1. Paint Method (Most Popular)
This is the most beginner-friendly option and the one that costs the least. You apply a specialty countertop coating in thin layers using a foam brush or roller, let it dry between coats, and seal it at the end.
The key is specialty; regular wall paint or acrylic will peel off the laminate within days of kitchen use. Products made specifically for countertops bond differently and are built to handle daily contact, moisture, and cleaning. With proper sealing, a painted finish holds up well for several years of normal use.
2. Epoxy Coating
Epoxy creates a harder, thicker surface than paint and is better suited to high-traffic kitchens. Once cured, it resists stains, scratches, and moisture in ways that paint simply cannot match.
It also gives you more creative control. You can swirl in color, add metallic effects, or create a marble-like pattern before it sets.
The trade-off is that the application window is short. Once you mix the two parts together, you have a limited time to pour, spread, and pop bubbles before it becomes too thick to work with. It is worth doing a dry run with timing before you mix the actual product.
Set a timer the moment you finish mixing a small test batch of water in the same container you plan to use. Watch how long it takes to go from pourable to too thick to spread; most countertop epoxies give you 20 to 30 minutes of working time.
Do the same mental rehearsal with your actual countertop: know where you will start pouring, which direction you will spread, and where the edges are before you open the product.
3. Countertop Refinishing Kits
Refinishing kits are the all-in-one option; primer, paint, sealant, and basic tools included in one package. They take most of the guesswork out of product selection, which makes them a good choice if you have never done this before.
The results are more consistent than a mix-and-match approach, and most kits include instructions written specifically for laminate. They also come in a range of finish styles — stone, matte, solid color — so you are not locked into one look.
The cost is slightly higher than buying individual materials, but the reduced risk of choosing the wrong product usually makes it worth it for a first-time job.
Common Mistakes to Avoid When Resurfacing Countertops
Most resurfacing jobs that fail do so at the prep stage, not the painting stage. These are the mistakes that cost the most time to fix after the fact.
- Skipping sanding: Laminate is glossy — without scuffing the surface first, even good primer will not grip it properly
- Using the wrong paint: Regular wall paint is not built for laminate and will start peeling within days of normal kitchen use
- Ignoring cleaning: Grease or residue under the coating breaks the bond — no amount of sanding compensates for a dirty surface
- Applying thick coats: Heavy layers dry unevenly, take longer to cure, and are more likely to crack or peel at the edges
- Not letting layers dry fully: Applying the next coat too soon traps moisture underneath, which causes bubbling and finish failure
- Rushing the cure: 72 hours feels like a long wait, but using the countertop before it has fully hardened will leave permanent marks
If you get the prep right, the rest of the process is straightforward. Most problems trace back to one of the first three steps above.
Conclusion
Resurfacing laminate countertops is one of the more satisfying DIY projects you can do.
The materials are inexpensive, the process is manageable for a beginner, and the difference in how your kitchen looks and feels afterward is significant.
If this is your first time, start with a small section like a bathroom vanity or a laundry room counter before doing the full kitchen. It lets you get comfortable with how the materials behave before you commit to a larger surface.
Follow the steps, give each layer the time it needs, and the result will hold up well for years.
Frequently Asked Questions
Does Resurfacing Increase Countertop Lifespan?
Yes. A properly applied epoxy or coating layer adds a protective barrier that shields the laminate from daily wear, moisture, and scratches. Most resurfaced countertops last an additional 5 to 10 years with regular care.
Can Chips Be Repaired Before Resurfacing?
Yes. Fill small chips with a color-matched laminate filler or an all-purpose body filler like Bondo. Let it harden fully, then sand it smooth before applying primer. The coating will cover the repair and blend it into the rest of the surface.
Is Ventilation Important During Resurfacing?
Yes, and it matters more than most guides acknowledge. Epoxy and countertop coatings release VOCs while they cure. Work with windows open, use a fan to push air out of the room, and wear a respirator, not just a dust mask, when sanding or applying epoxy.
Can Water Damage Resurfaced Countertops?
Standing water along the edges is the main risk. If it gets under the coating, it can soften the particle board base and cause the finish to lift. Wipe up spills quickly and keep the edge sealed, especially where the countertop meets the wall or backsplash.
Do Resurfaced Countertops Need Special Care?
Nothing complicated. Mild soap and a soft cloth for daily cleaning, trivets for hot items, and cutting boards for food prep. Avoid bleach-based or abrasive cleaners; they degrade the finish faster than normal use does.
Can Edges and Corners Be Resurfaced Too?
Yes, but they need extra attention. Edges are where drips form and where thin coverage shows up most. Apply the coating in thin layers along the edges and check for runs frequently during the first 30 minutes of curing.