
If you have ever taken a close look at your roof, you may have noticed thin metal pieces placed around certain areas.
I remember spotting them and wondering whether they really made a difference or were just part of the design. It turns out these small details are more important than they seem at first glance.
Most homeowners focus on shingles or tiles, but other parts work quietly to keep everything in place, especially during rain.
These hidden elements often go unnoticed until a problem shows up.
In this blog, I will share what flashing is, why it matters, where you can find it, and what you should keep in mind if you plan to maintain or install it on your roof.
What Is Flashing on a House?
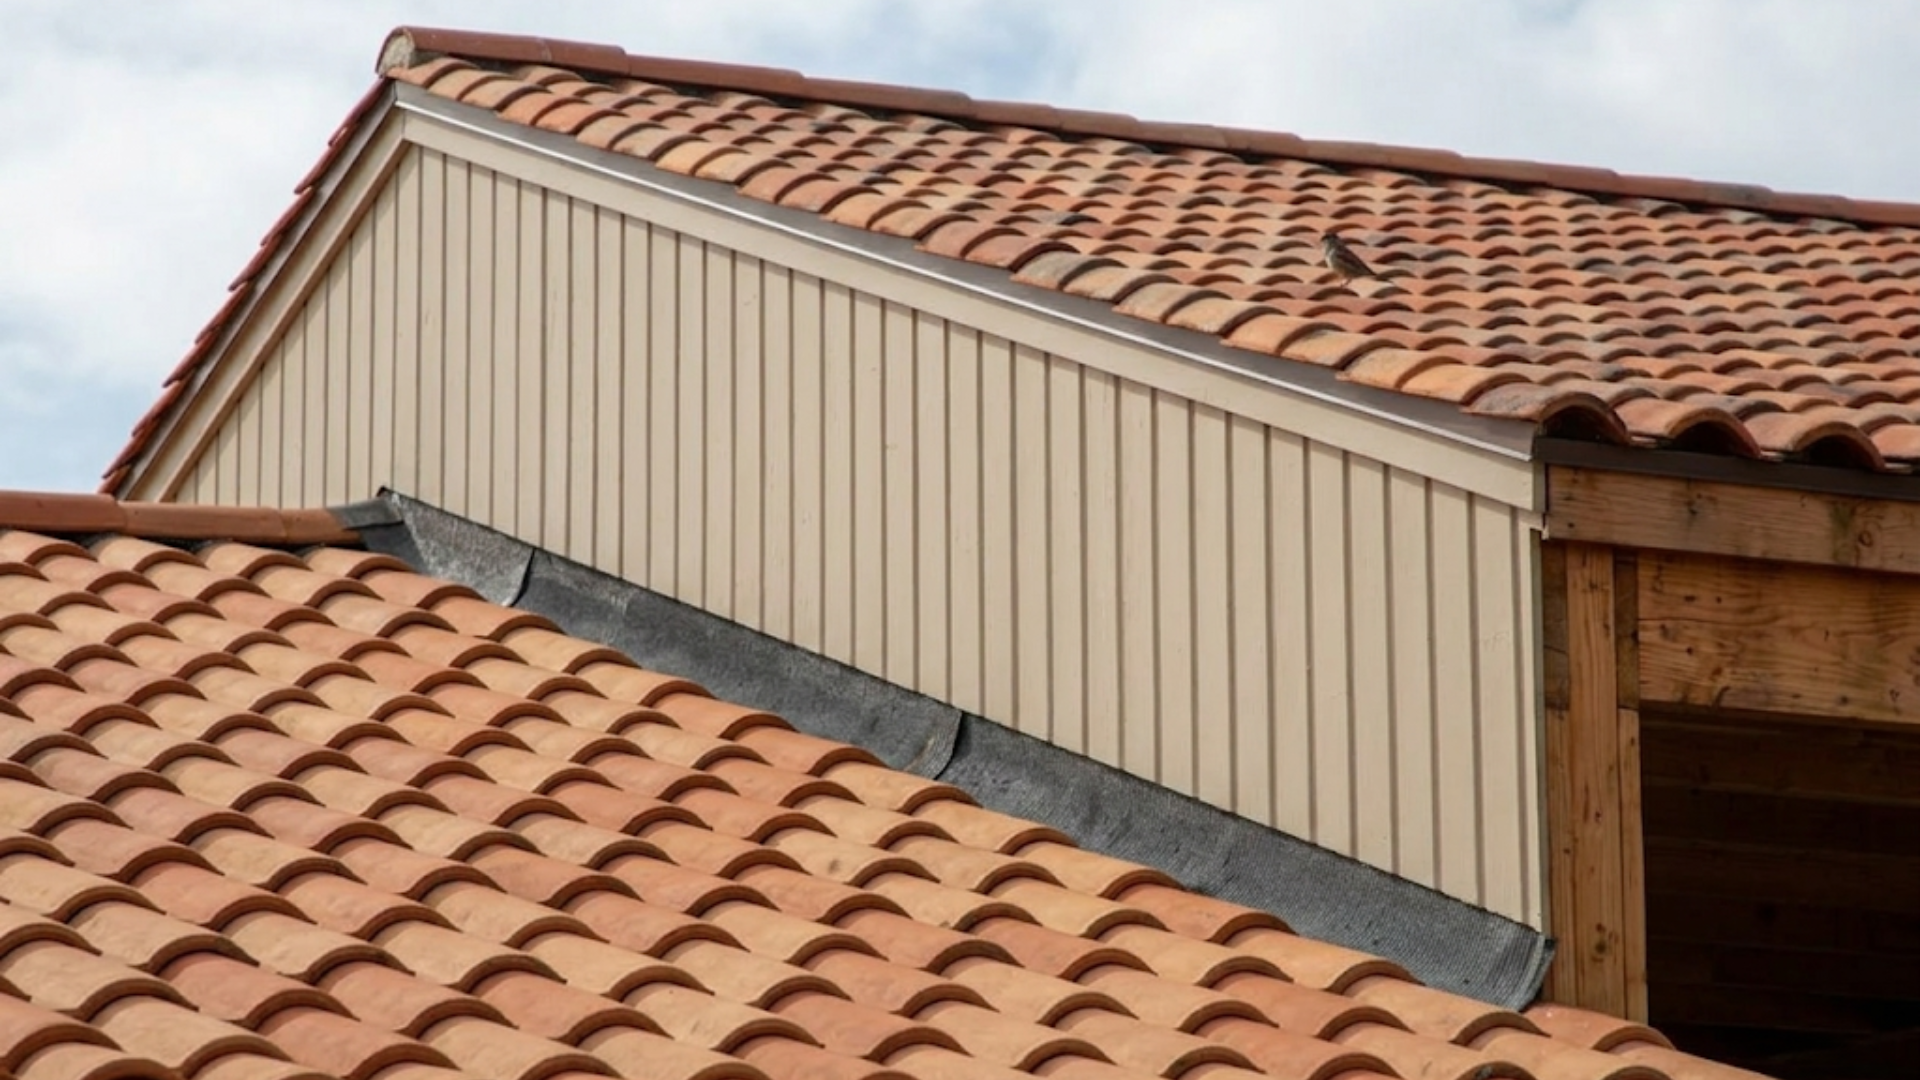
Flashing on a house is a thin layer of material, usually metal, placed at joints and edges to keep water out. It acts as a barrier where leaks are most likely to happen, such as around roofs, chimneys, windows, doors, and vents.
Rainwater can slip into small gaps, but flashing directs the water away and helps protect the structure.
Common materials include aluminum, copper, and steel because they last long and resist rust.
You will often see flashing under roof shingles or around roof valleys where water flows more. If flashing is missing or damaged, water can enter and cause issues like mold, stains, or wood damage.
Proper flashing helps extend the life of your home by keeping moisture out and reducing repair needs over time.
Why Flashing Is Important for Your Home?
Flashing plays a key role in keeping water out of your house. It protects weak points where leaks are most likely to happen.
1. Prevents Water Leaks
Flashing helps stop water from entering your home through small gaps and joints. Areas like roof edges, chimneys, and vents are common leak points, and flashing seals these spaces.
When rain hits your roof, water flows down, but flashing redirects it away from openings.
Without it, water can slip inside and cause damage. This simple layer works as a shield, keeping your home dry and safe from unwanted moisture problems over time.
2. Protects Structural Parts
Water can slowly damage wood, walls, and roof parts if it gets inside. Flashing helps protect these important areas by keeping moisture away.
When water stays out, your home’s frame stays strong and lasts longer.
Over time, even small leaks can weaken structures, leading to costly repairs. Flashing reduces this risk by blocking water at key points.
It supports the overall strength of your home and helps avoid serious damage caused by long-term exposure to moisture.
3. Reduces Mold and Damp Issues
Moisture inside walls or ceilings can lead to mold and damp spots. Flashing helps prevent this by stopping water before it enters.
Mold can grow quickly in hidden areas and affect the air quality inside your home.
By keeping water out, flashing helps maintain a clean and dry environment.
This is especially important in areas with frequent rain. A well-installed flashing system lowers the chance of mold growth and keeps indoor spaces healthier and more comfortable.
4. Extends Roof Life
Your roof faces constant exposure to rain, heat, and wind. Flashing adds extra protection by covering weak spots where damage can start.
It helps direct water away from these areas, reducing wear over time.
When flashing is in good condition, your roof stays in better shape and lasts longer.
This means fewer repairs and less stress on roofing materials. It is a simple way to help your roof handle weather conditions more effectively.
5. Saves Repair Costs
Fixing water damage can be expensive, especially if the issue spreads. Flashing helps prevent these problems before they begin.
By keeping water out, it reduces the chances of leaks, mold, and structural damage.
This lowers the need for frequent repairs and saves money over time. A small investment in proper flashing can avoid higher costs later.
It is a practical way to protect your home and manage maintenance expenses more effectively.
Types of Flashing Used on a House
These flashing types work together to protect key parts of the roof from water. I find that using the right one in each spot helps prevent leaks and damage.
| Type of Flashing | Where It Is Used | Main Purpose |
|---|---|---|
| Step Flashing | Where the roof meets the walls | Guides water away from joints |
| Counter Flashing | Over-step flashing | Adds extra protection from leaks |
| Valley Flashing | Roof valleys (where two slopes meet) | Directs heavy water flow safely |
| Drip Edge Flashing | Roof edges | Pushes water away from the fascia |
| Vent Pipe Flashing | Around pipes and vents | Seals openings to stop leaks |
| Chimney Flashing | Around the chimney base | Prevents water from entering gaps |
| Skylight Flashing | Around skylights | Keeps water out of the glass edges |
Signs of Damaged or Failing Flashing
Small issues with flashing can turn into bigger problems if ignored. Checking early signs helps you fix damage before it spreads.
- Water Stains On Ceilings: Brown or yellow marks inside the home can mean water is getting past the flashing and reaching the ceiling.
- Loose Or Missing Pieces: Flashing that looks lifted or out of place may not seal the area properly, letting water enter.
- Rust or Corrosion: Metal flashing can wear down over time, and rust can create small holes through which water can pass.
- Cracks Or Gaps: Small breaks in the flashing can grow over time, allowing moisture to seep into the roof structure.
- Mold or Damp Smell: A musty smell inside the home can indicate moisture trapped by poor sealing.
- Peeling Paint Near Roof Areas: Paint that starts to peel near the roofline can indicate water issues due to weak flashing.
Cost of Roof Flashing
Costs can change based on roof size, design, and labor difficulty. Choosing durable material can help reduce repair costs over time.
| Type of Flashing | Material Cost (Per Linear Foot) | Installation Cost (Per Linear Foot) | Total Estimated Cost |
|---|---|---|---|
| Aluminum Flashing | $5 – $10 | $10 – $20 | $15 – $30 |
| Galvanized Steel | $8 – $15 | $15 – $25 | $23 – $40 |
| Copper Flashing | $15 – $30 | $20 – $40 | $35 – $70 |
| Lead Flashing | $10 – $25 | $20 – $35 | $30 – $60 |
| PVC/Rubber Flashing | $5 – $12 | $10 – $20 | $15 – $32 |
Maintenance Tips for Roof Flashing
Regular care helps keep flashing in good shape and prevents hidden damage. Simple checks can help catch small issues before they grow into bigger problems.
- Inspect Flashing Regularly: Check flashing around chimneys, vents, and edges for any signs of wear, movement, or damage.
- Clear Debris Build-Up: Remove leaves, dirt, and debris that can trap moisture and affect how water flows off the roof.
- Seal Small Gaps Early: Use roof sealant to fix minor gaps or cracks before they turn into leaks.
- Check For Rust Or Corrosion: Look for early signs of rust on metal flashing and address them quickly to avoid further damage.
- Ensure Proper Fit: Make sure flashing stays flat and tight against surfaces to maintain a proper seal.
- Schedule Professional Checks: Have a roofing expert inspect flashing once a year to ensure everything is working properly.
When to Repair or Replace Flashing?
You should repair or replace flashing as soon as you notice signs of damage or wear.
Small issues like loose edges or minor cracks can often be fixed quickly before they get worse.
If flashing shows rust, bending, or gaps, it may not protect your home well. Water stains, leaks, or mold are clear signs that flashing needs attention right away.
In some cases, repair is enough, especially if the damage is limited to one area.
But if the flashing is old or badly damaged, replacing it is the better choice. Old flashing can fail even if it looks fine on the surface.
Regular checks after heavy rain or storms can help you catch problems early and avoid costly repairs later.
Common Mistakes to Avoid with Flashing
Avoiding simple errors can help extend the life of your roof. Careful installation and regular checks make a big difference over time.
- Poor Installation: Incorrect placement or loose fitting can allow water to pass through and cause leaks.
- Using The Wrong Material: Choosing low-quality or unsuitable material can reduce durability and lead to early damage.
- Skipping Step Flashing: Not using step flashing in roof-to-wall areas can leave gaps that let water enter.
- Nailing Flashing Incorrectly: Nailing flashing to the wall rather than the roof can restrict its movement and cause damage.
- Ignoring Small Leaks: Small issues can escalate quickly if left unaddressed, leading to higher repair costs.
- Not Layering Properly: Failing to overlap flashing pieces correctly can break the water flow path and allow leaks.
Conclusion
Understanding small parts of your roof can make a big difference in how well your home stays protected.
I have learned that even things that seem minor at first can play an important role over time.
When you know what to look for, it becomes easier to spot issues early and take the right steps before they turn into bigger problems.
Roof flashing is one of those details that many people overlook, but it deserves attention if you want to keep your home in good shape.
A little awareness can help you avoid stress and extra costs later.
If you have ever dealt with flashing issues or have tips to share, drop your experience in the comments below. It could really help others.